Before I knew it, we’re already at the end of August. When I think about it, it’s already been 3 months since I moved to Chiba. Country living is turning out to be quite enjoyable! That said, this year has been way too hot (*´ω`*)
So with that, I’m moving forward with the remaining Z1R work.
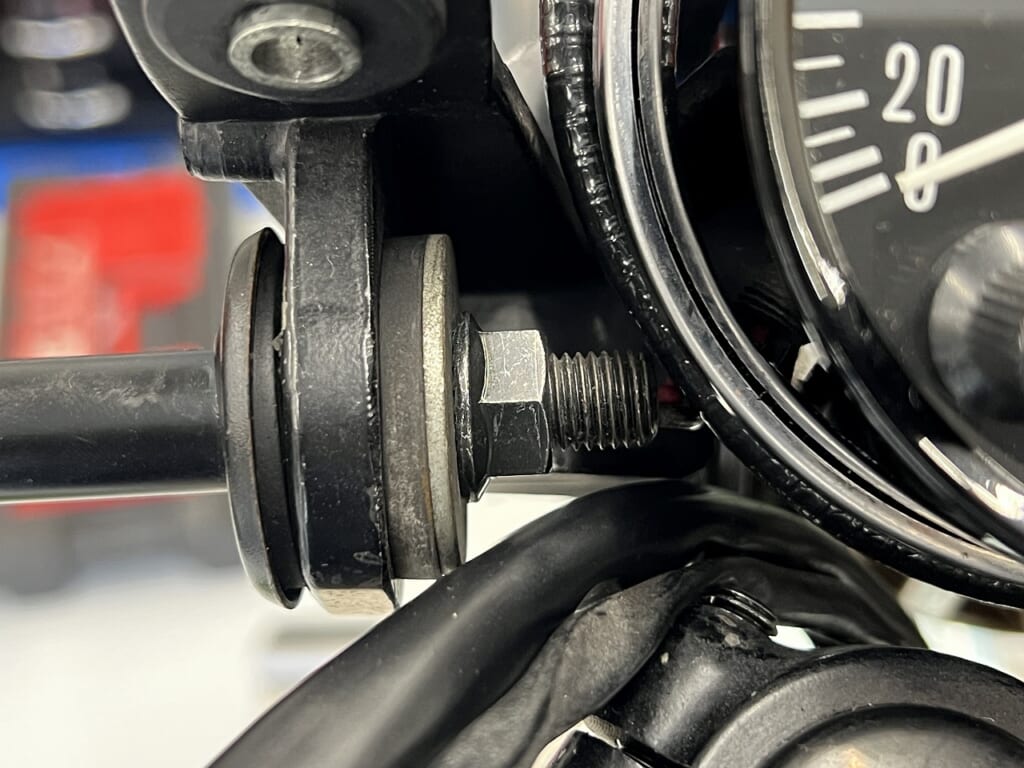
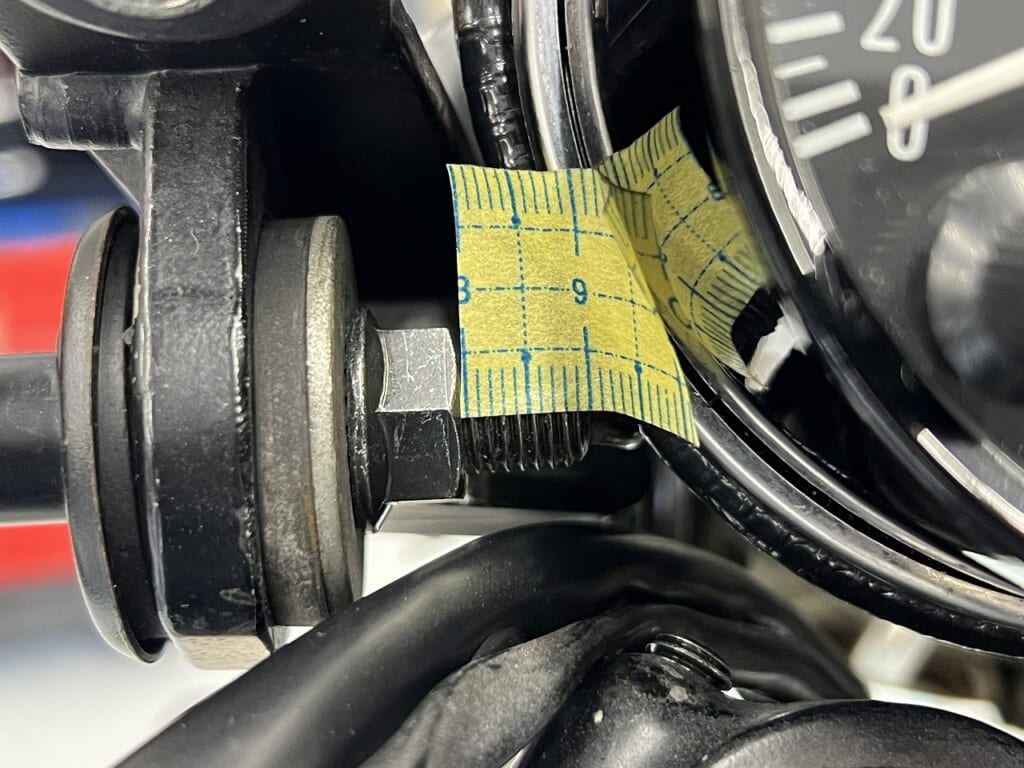
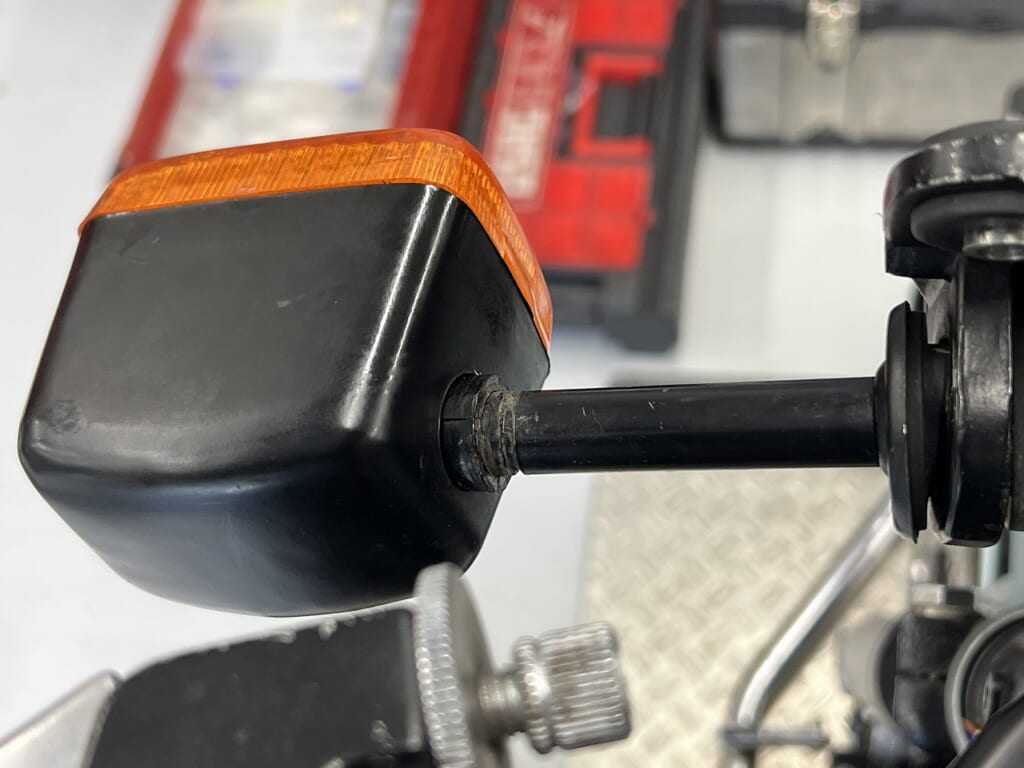
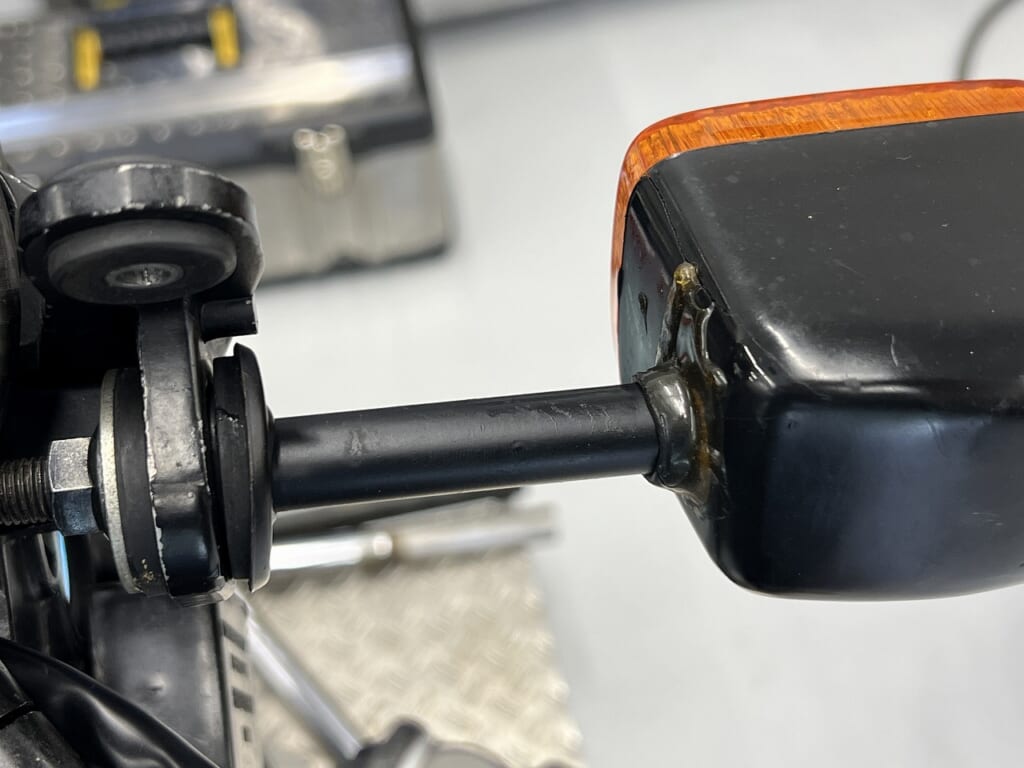
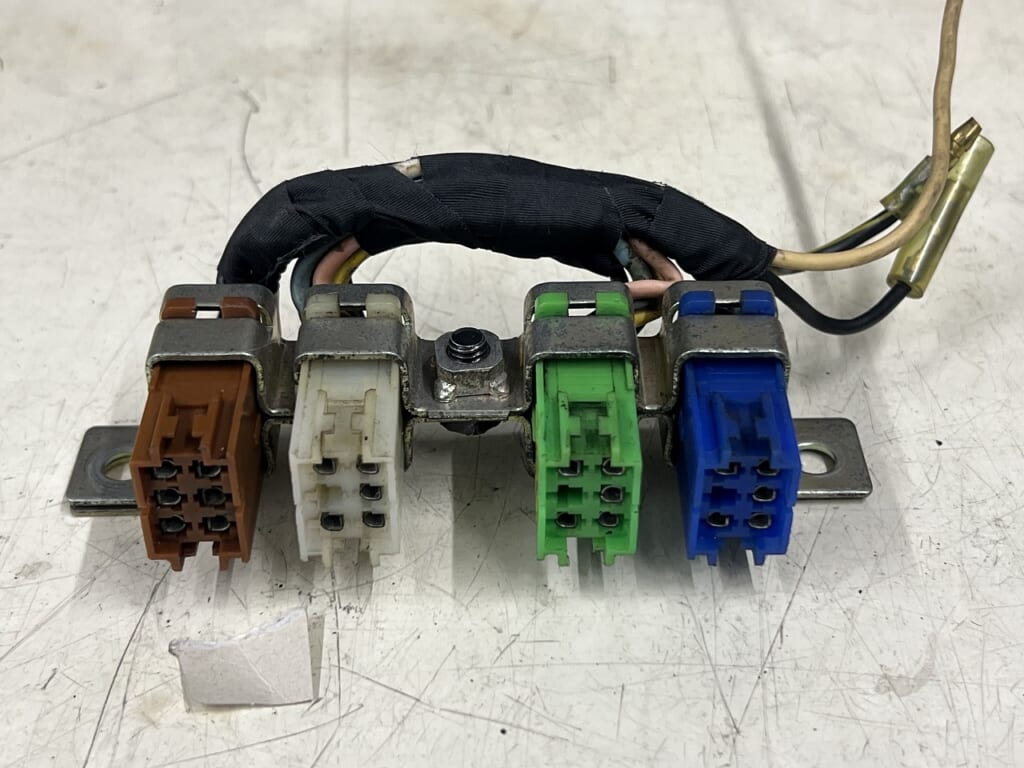
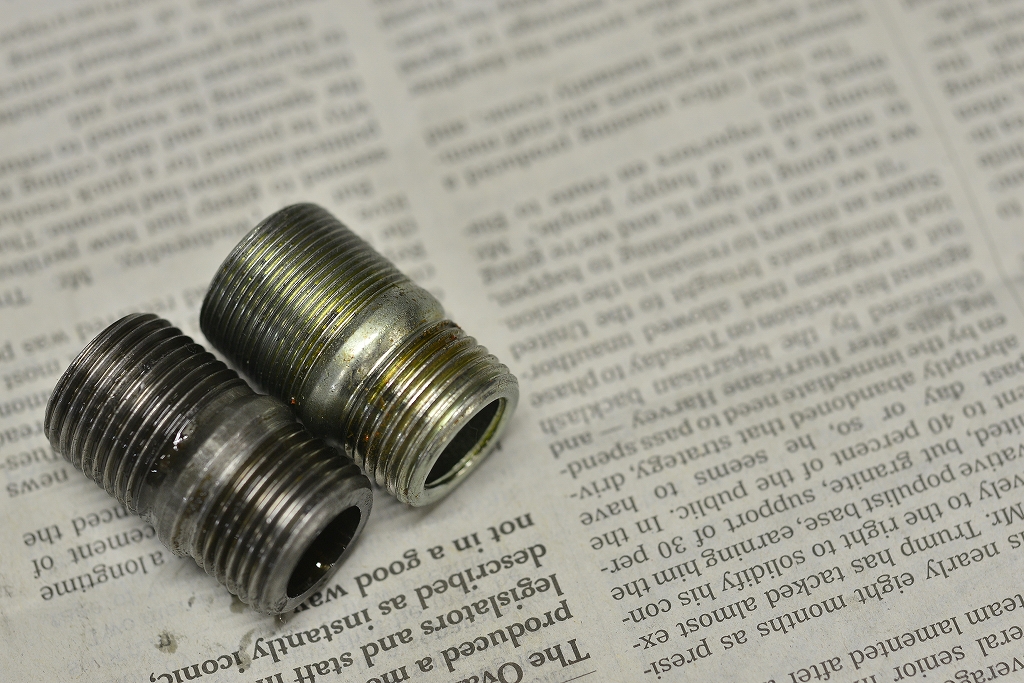
The mounting method was pretty sloppy and it would come out if you pulled it. And the right side is fixed with epoxy so it won’t rotate, so even though I went through the trouble of machining it, I decided not to use it.
I should have noticed earlier! (;∀;)
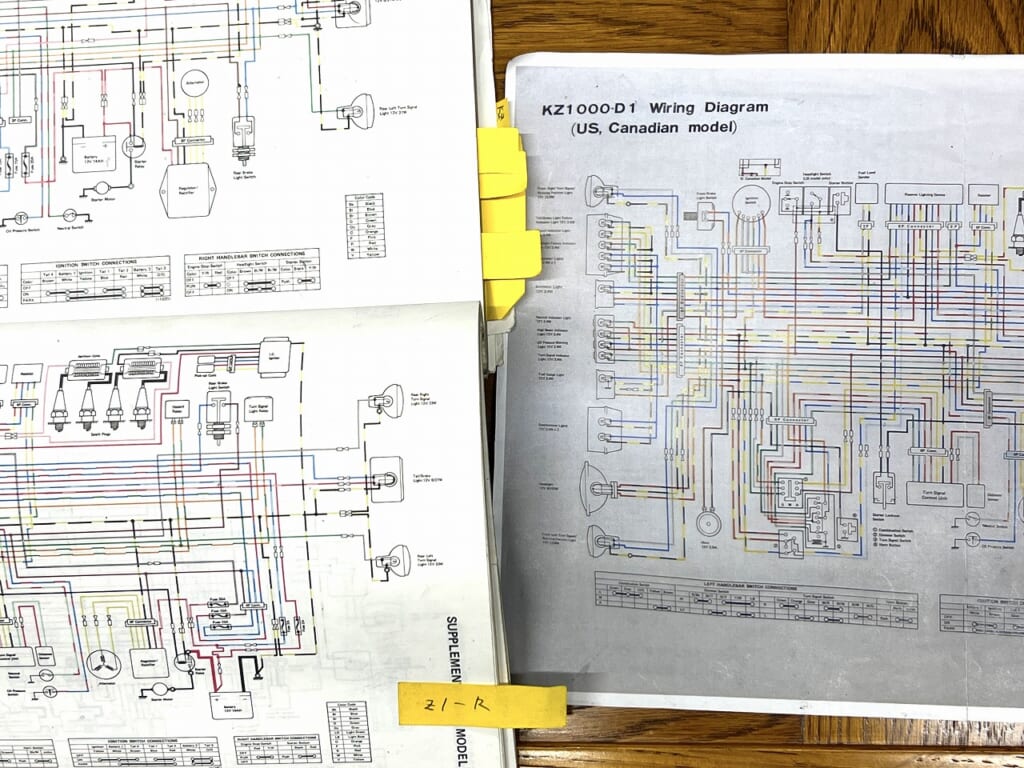
I’m still not quite sure how far to go with the Z’s wiring – I can’t remember.
I want to minimize the work as much as possible. In other words, keeping new installations to a minimum and doing things safely and speedily is the way to go.
After looking into it more carefully, if you’re replacing the regulator, this junction box-like connector isn’t necessary.
Of course you need to modify the harness side a bit, but it cleans things up quite a bit.
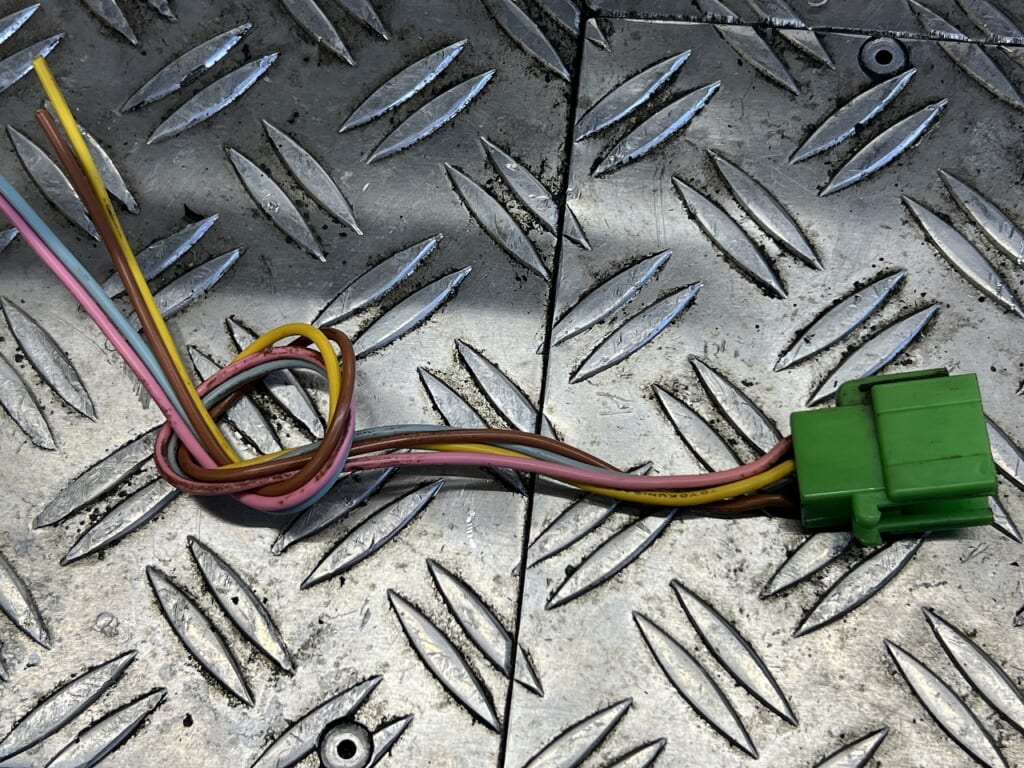
The regulator and generator wiring is surprisingly thin.
Was it really this thin??? That’s a bit surprising. I haven’t removed the left engine cover, so I can’t say for sure, but I wonder if there’s some kind of repro unit attached???
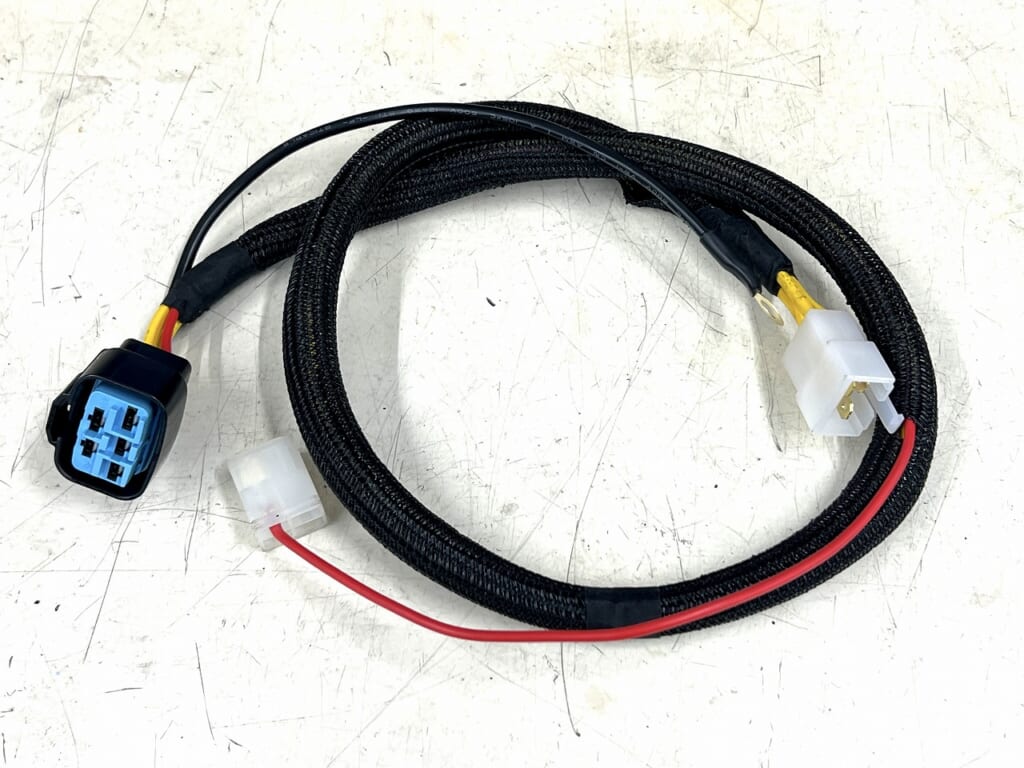
I’ve installed a new regulator harness.
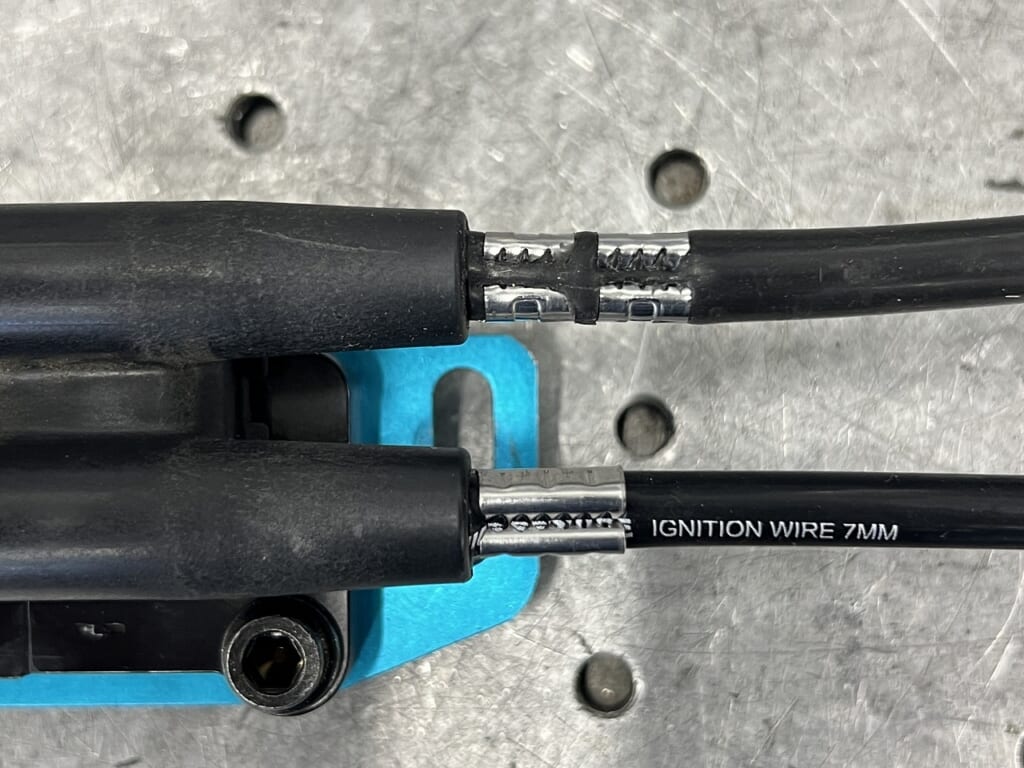
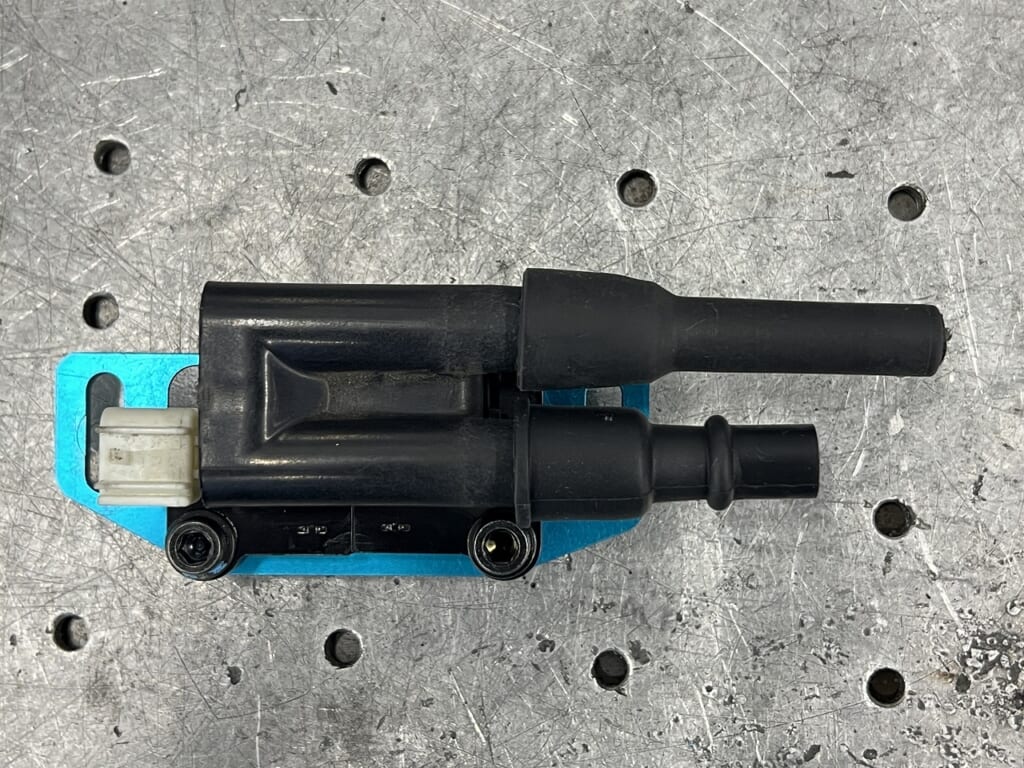
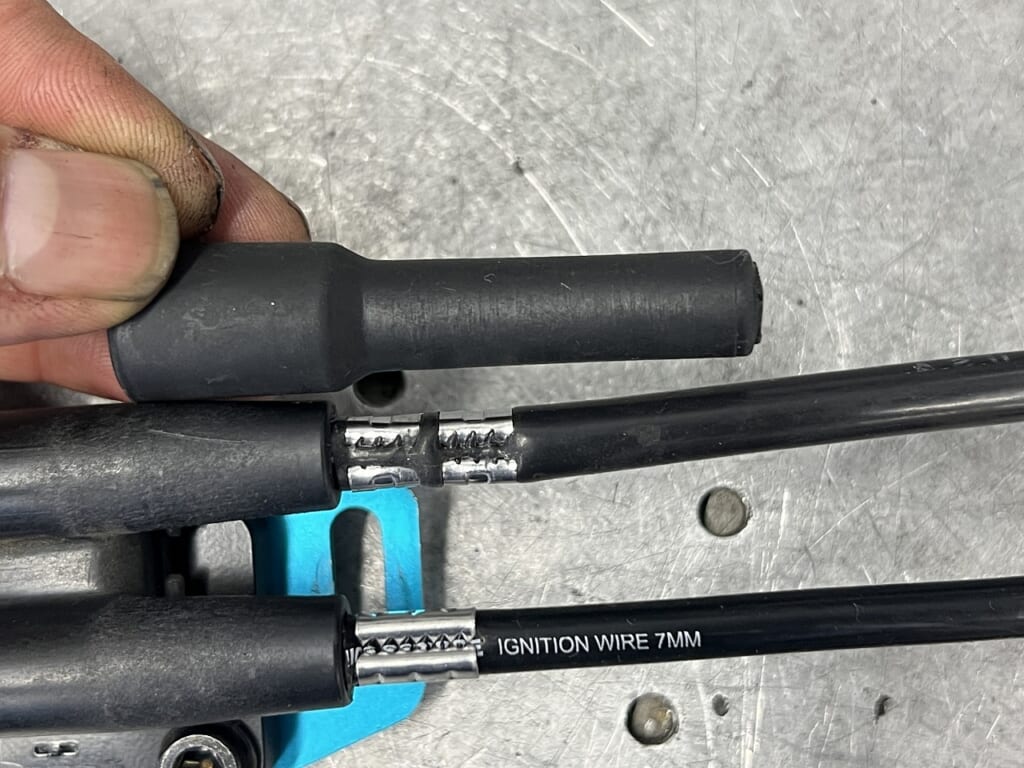
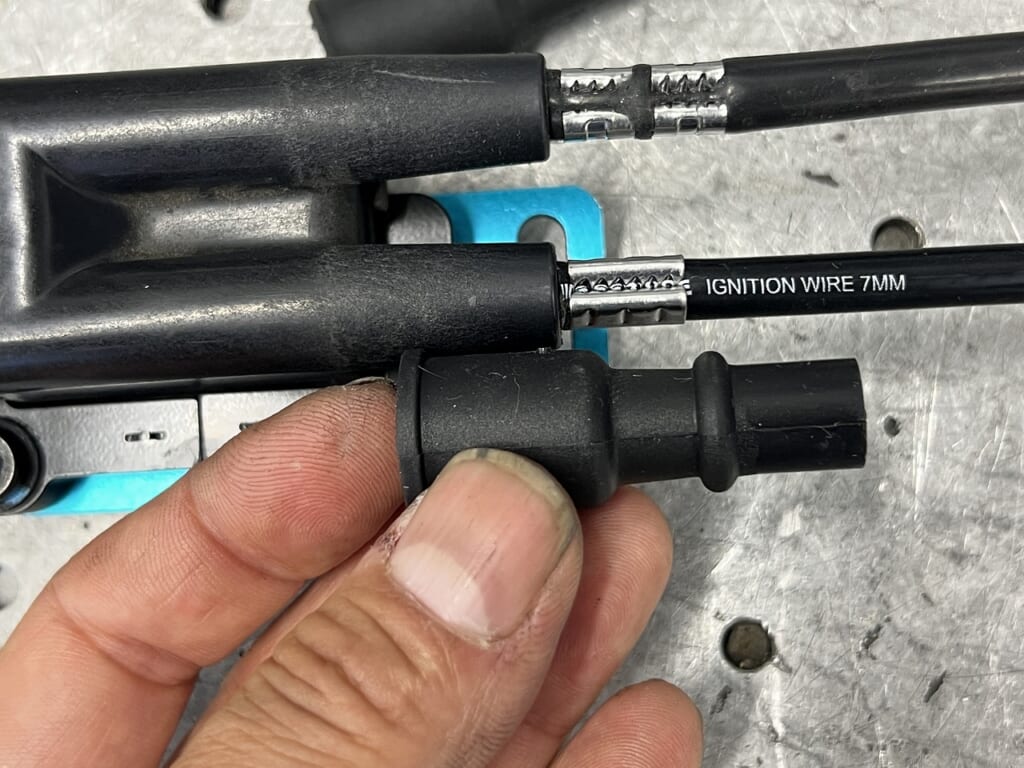
With a Watanabe 2P coil, the PAMS plug cord is exceptionally excellent.
Top: Watanabe Bottom: PAMS The protruding hardware is shorter and the boot length is also shorter. When the straight section is quite long, the plug cord layout becomes a bit tricky.
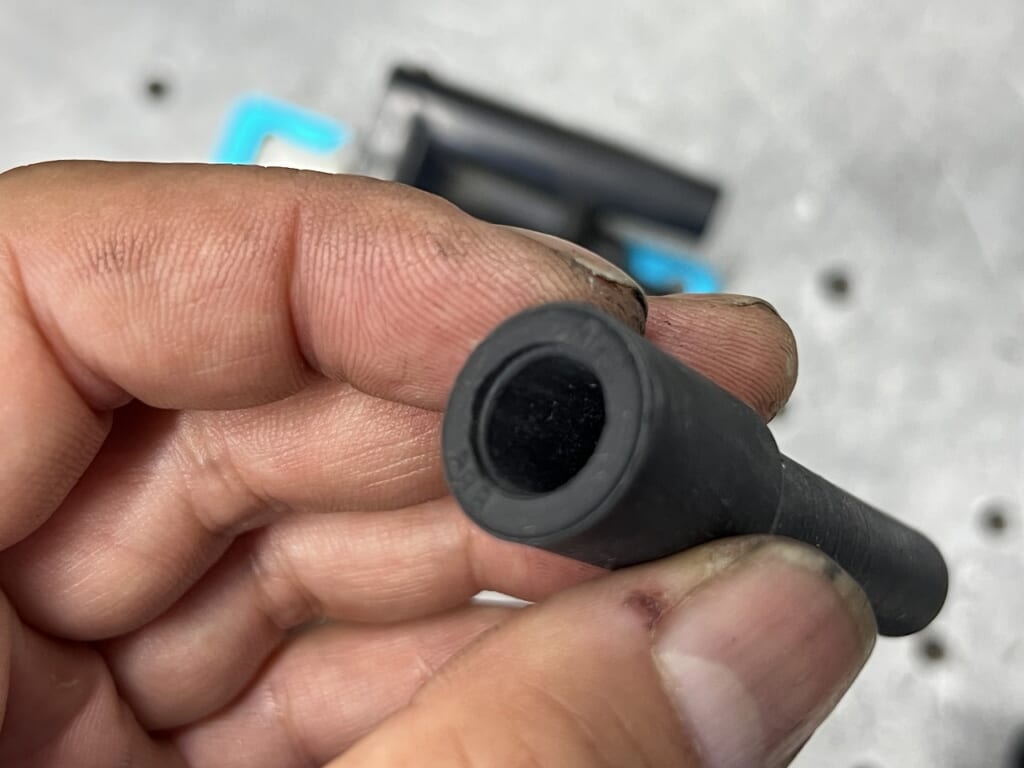
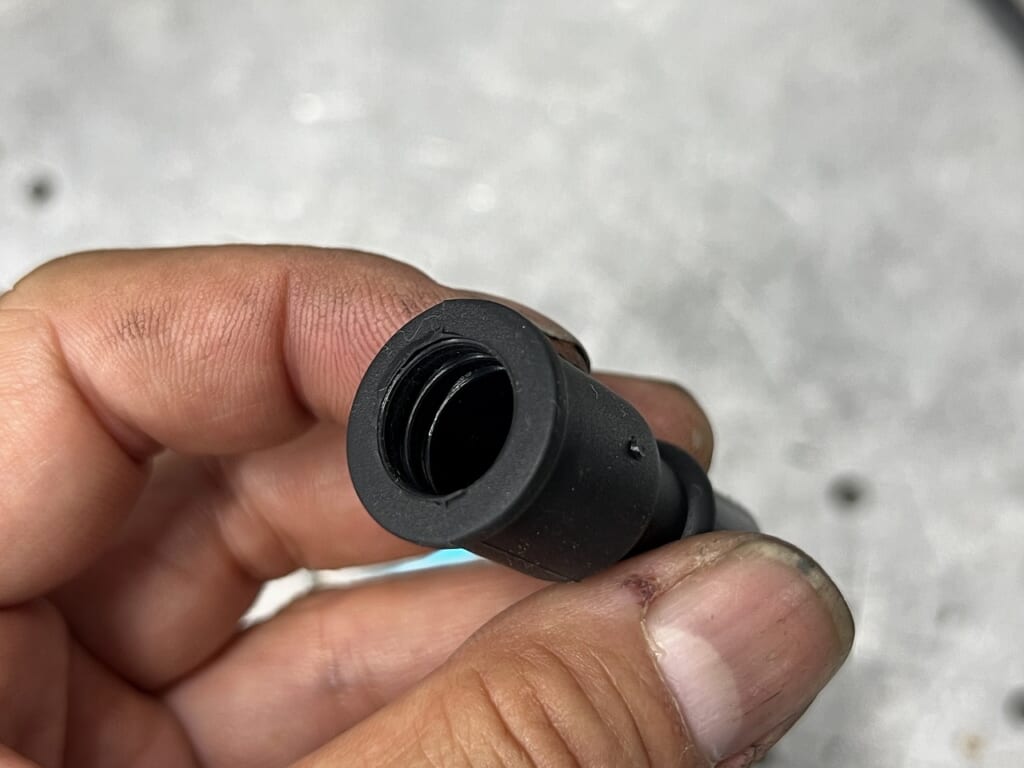
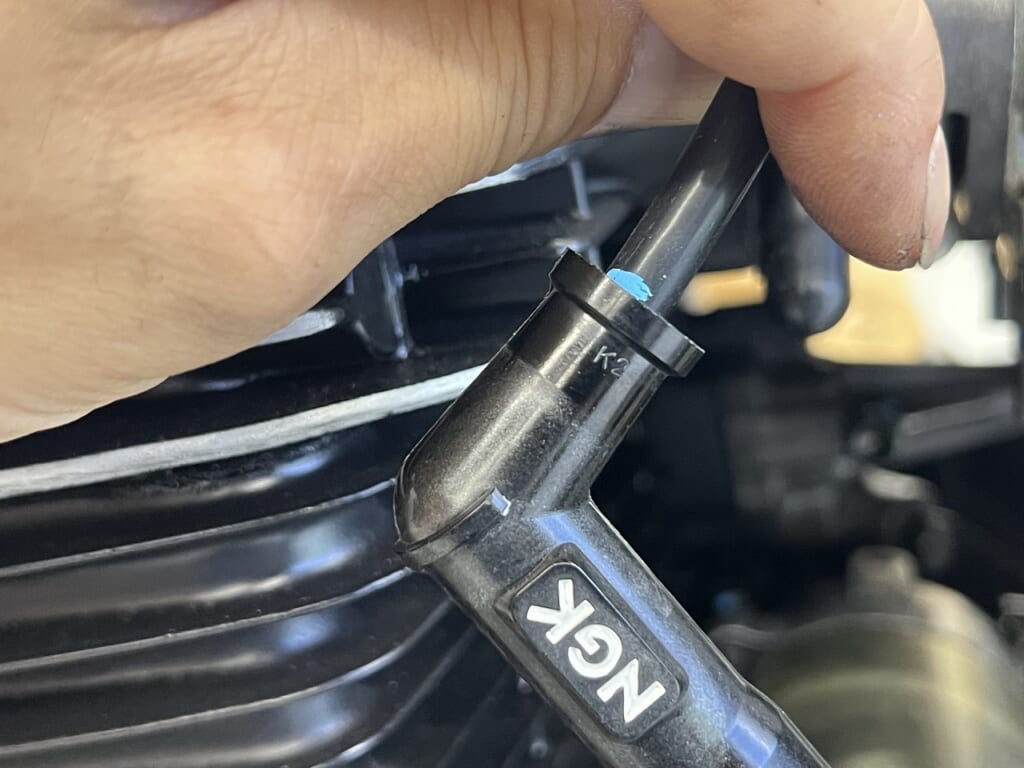
Left: Watanabe Right: PAMS The boot is extremely soft and the return ribs are well-defined, so it’s easy to insert and hard to pull out . It’s truly a well-made product designed from the technician’s perspective.
The insertion feel is incredibly solid. You don’t have to worry about whether the plug cord is actually in there, or nervously fidget and wonder if it’s going to come out.
This is a great plug cord that combines the right length, shape, softness, and solid insertion feel all in one.
When screwing in the plug cap, follow the numbers.
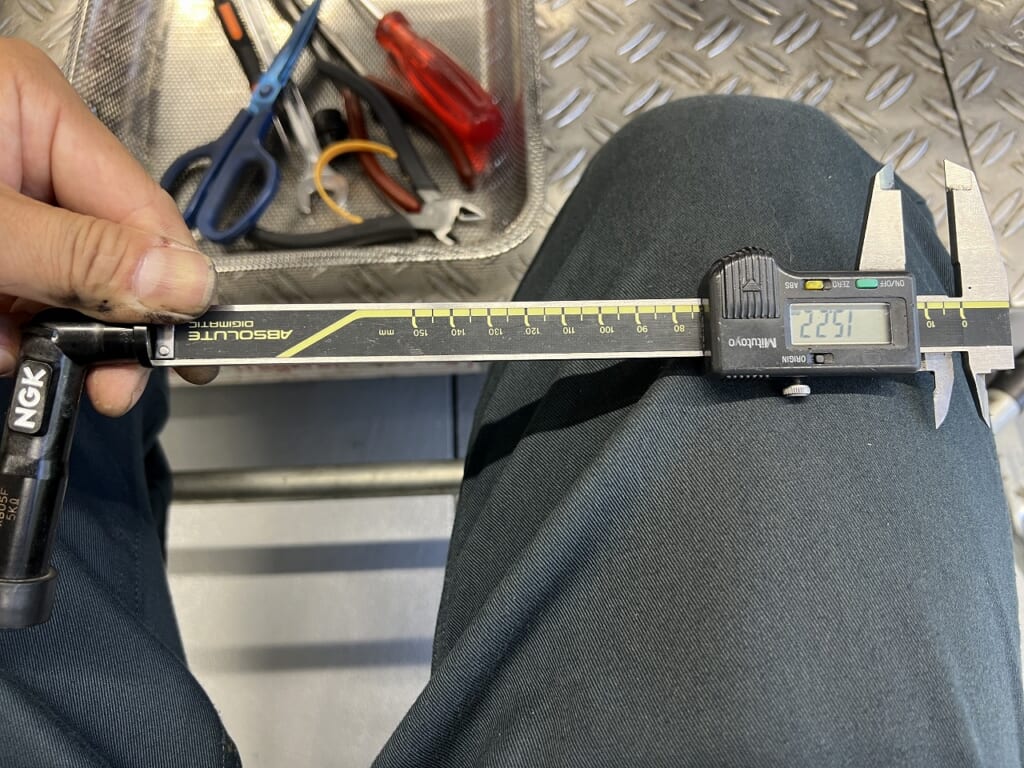
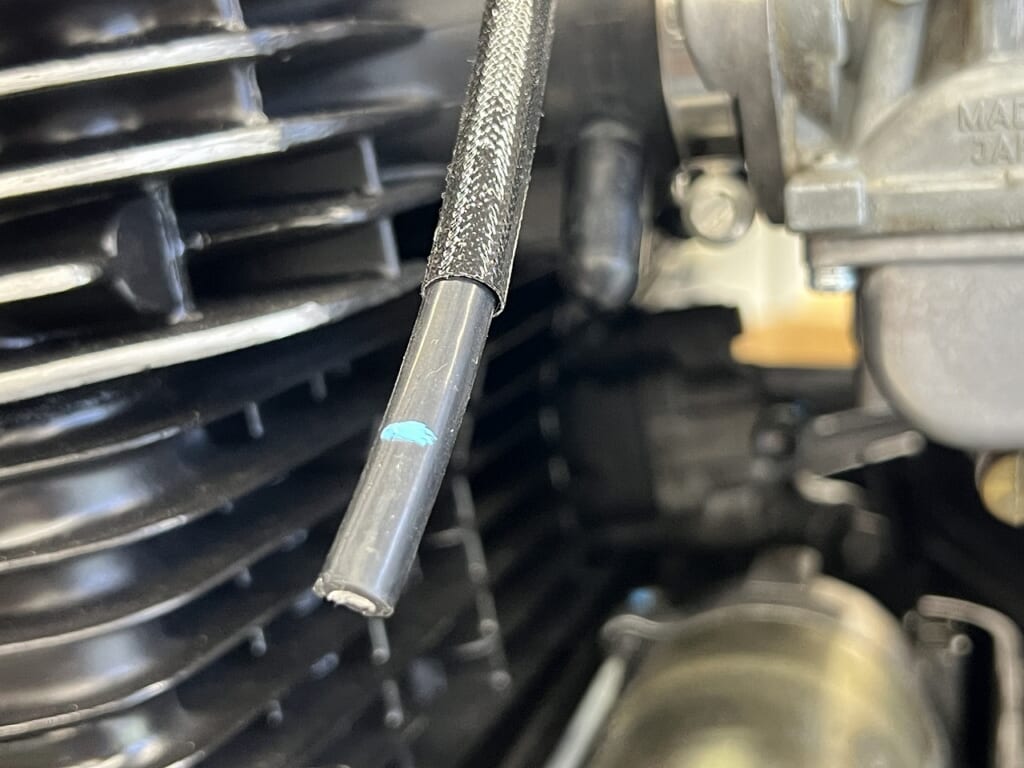
I’m checking the depth of the plug cap’s threaded section.
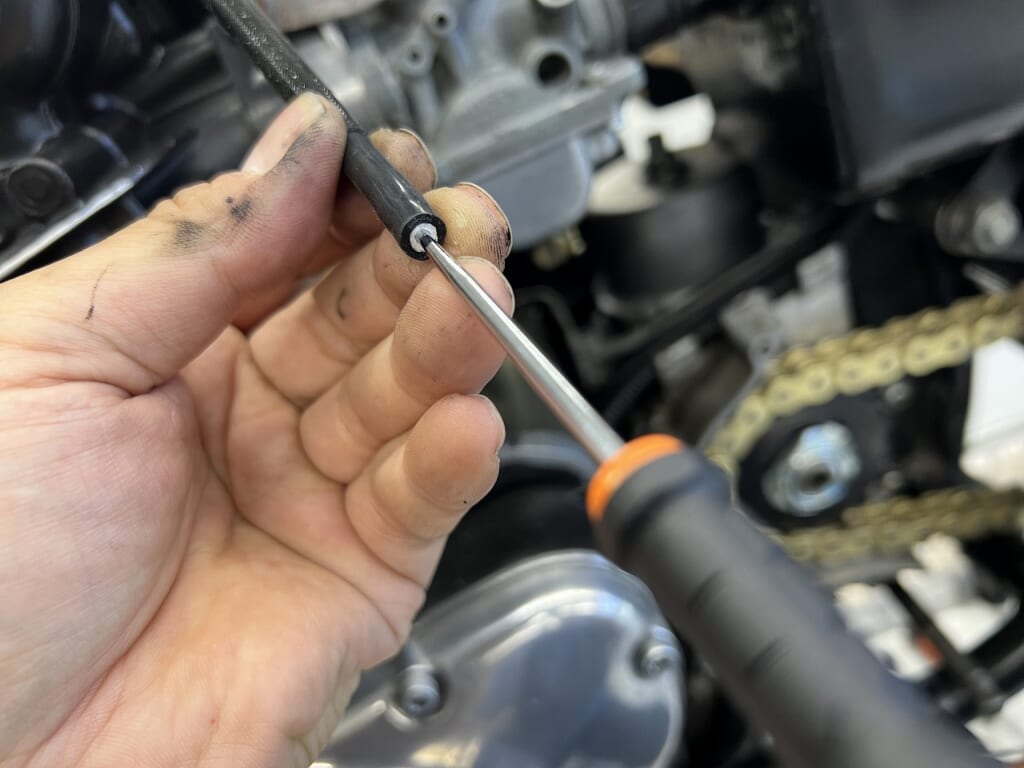
I mark a pilot hole with a fine-pointed scribe-like tool. Just doing this ensures it goes in straight, making the work much easier.
Then screw it in and mark the depth with a marker – screw it in to that point and you’re done.
Also, basically if the plug cap comes off when you pull on it, cut about 10mm off the plug cord and redo it. At that point the internal structure of the plug cord has already collapsed and the threads aren’t gripping anymore. Making sure the spark fires reliably and securely gives you peace of mind.
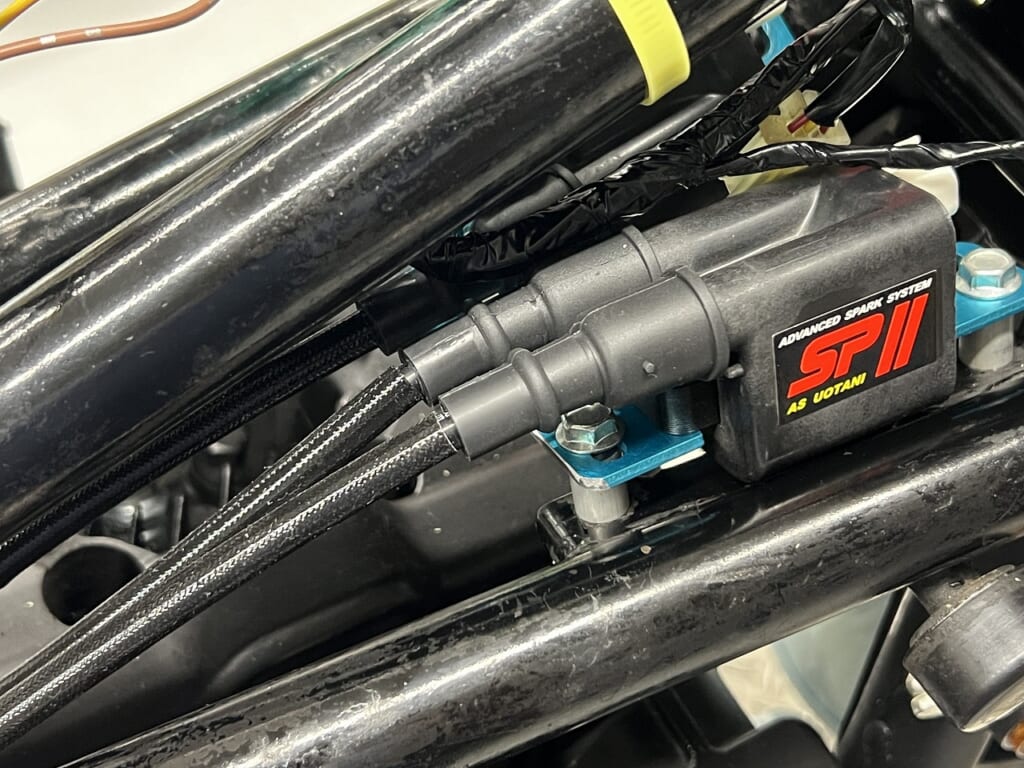
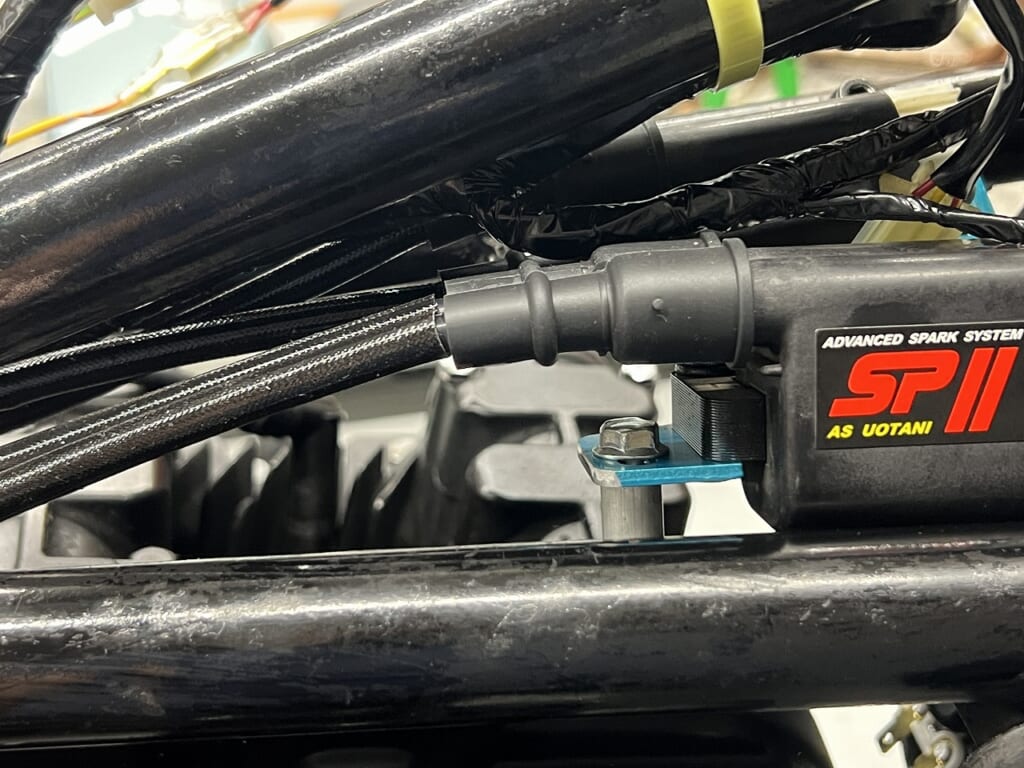
Having plenty of space in the layout under the tank gives you peace of mind.
Normally it would stick out almost 10mm more, making the layout quite tight. With a shorter straight section, you can route the plug cord in a gentle curve, which is really nice.
Since this is the ignition system, having everything installed reliably, beautifully, and with good maintainability gives you real peace of mind. I was planning to start the engine today, but that didn’t happen at all… (;∀;)




 ポチップ
ポチップ