Basically we’re closed Mondays and Tuesdays, but on Mondays I’m usually going for inspections or preparing things. We’ve already jumped into November and it’s starting to feel like year-end mode.
It’s not as hectic as when I was in Tokyo, so I’m working at a steady pace. I apologize to everyone who’s been waiting, but I’m going to work on the quicker jobs first.
Another blog by Decoboco. “RURAL GARAGE”
A hidden room for non-motorcycle topics. I share about convenient everyday items, relocation, delicious food, and life philosophy and more. ←click
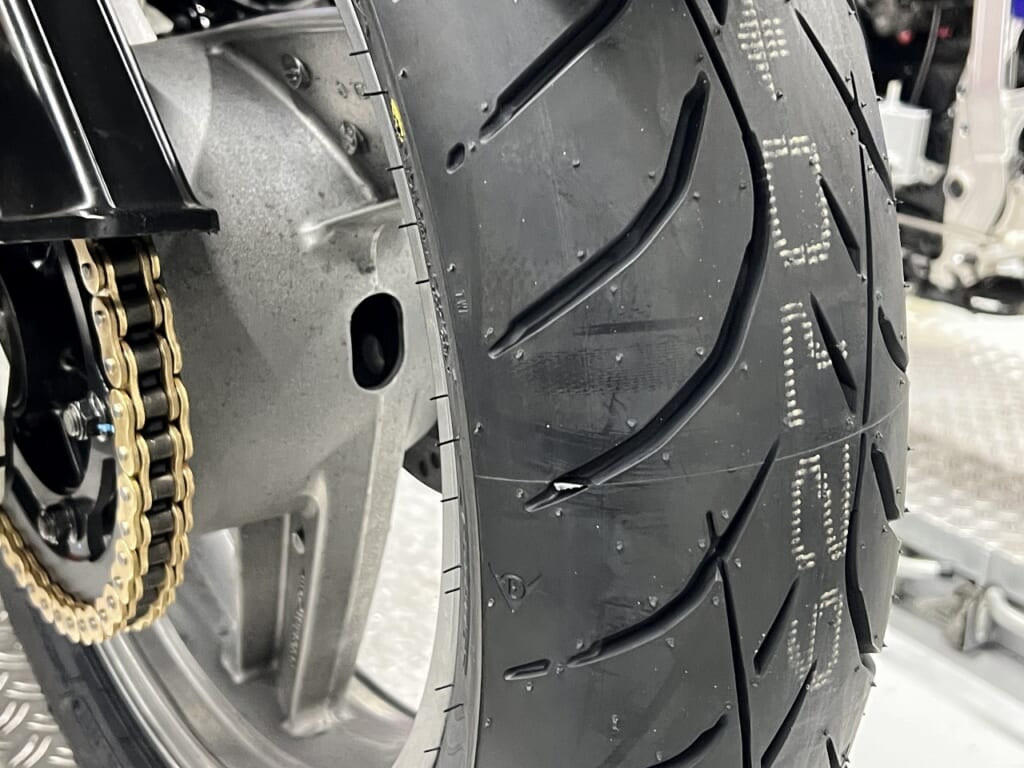
The tire tread is gone, so I’m going to replace it with a RoadSmart 4.
He had a feeling that version 5 would be coming out soon… But the tread ran out before version 5 came out. So I’m going to replace it along with the inspection.
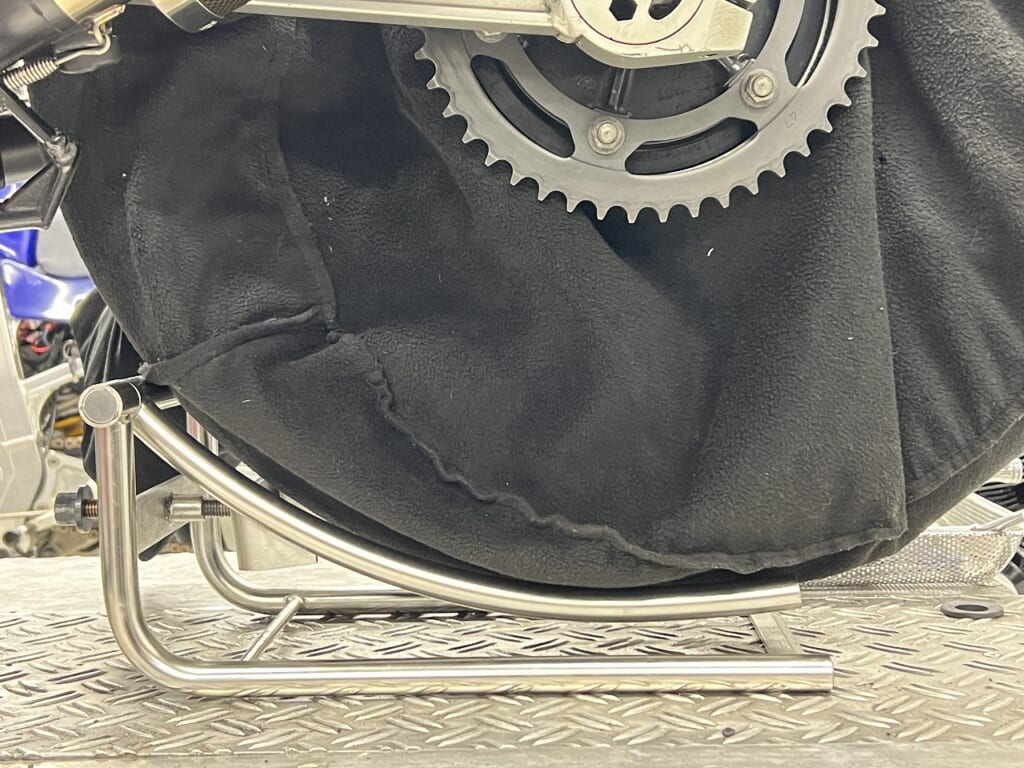
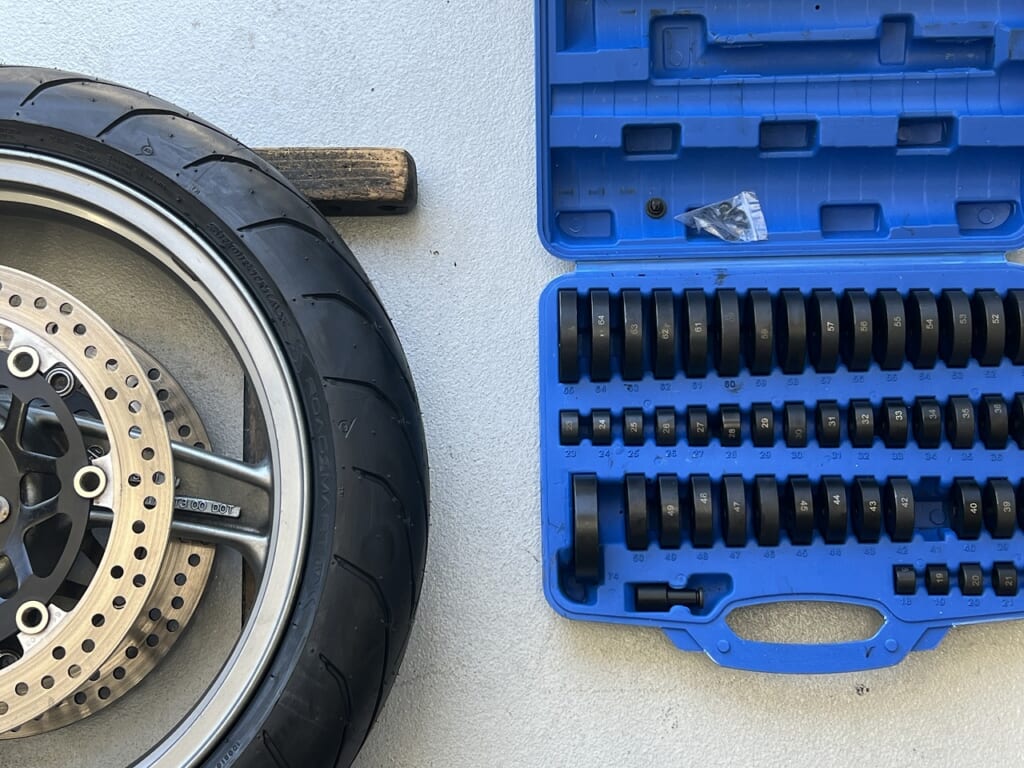
Removing even one wheel requires various tools. We wrap the wheel cover to avoid scratching it as much as possible when attaching and detaching.
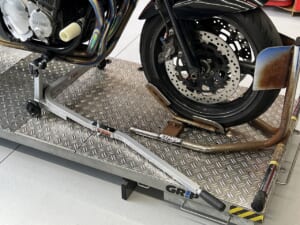
With a wheel &tire lifter, removing and attaching the axle shaft becomes much easier.
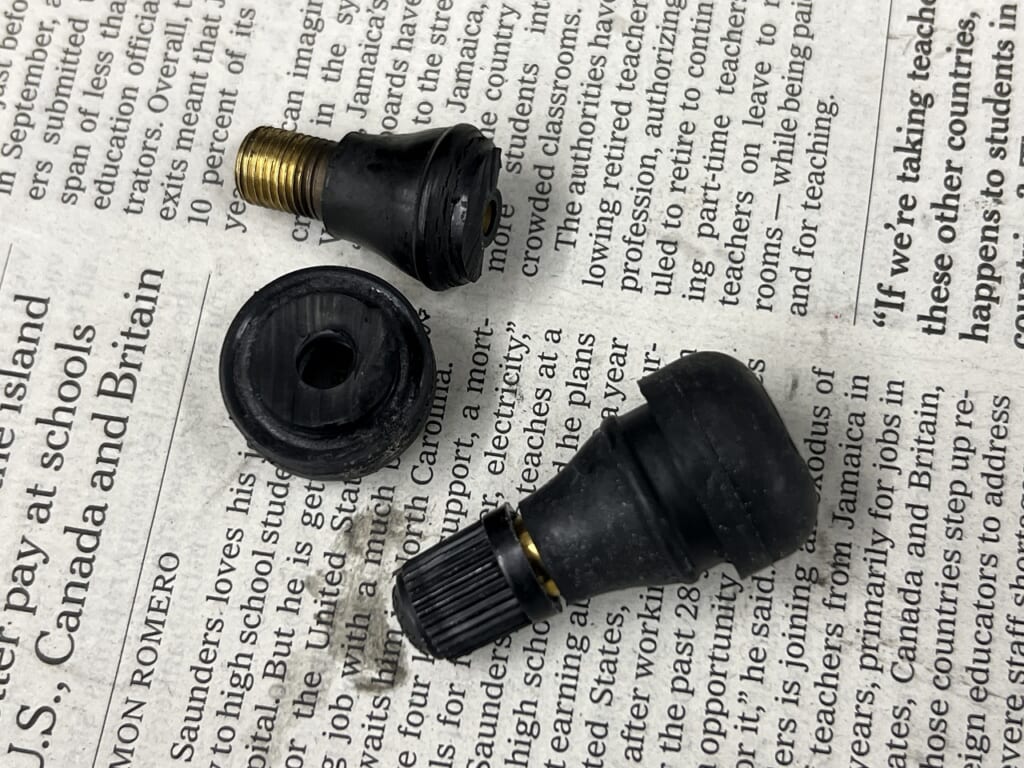
If the air valve is rubber, it’s fine to replace it every time. I replaced it with the same TR 412.
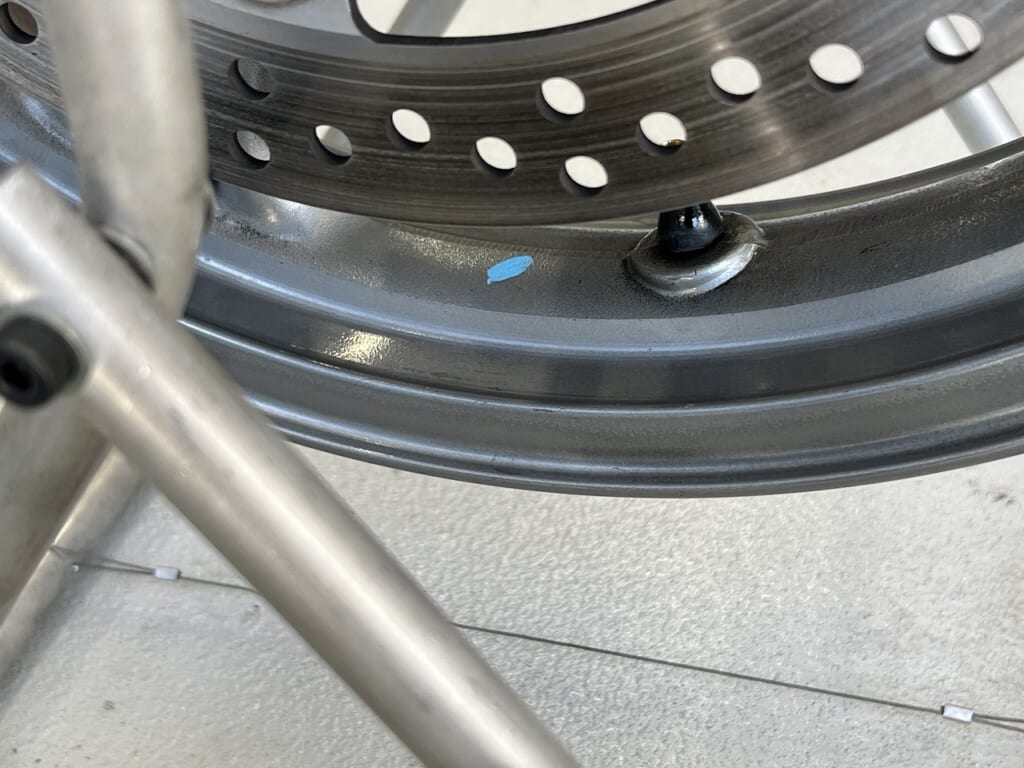
If you check the light spot on the wheel alone and align the tire mark to this point, basically the balance weight should be minimized. We don’t want to add unnecessary things.
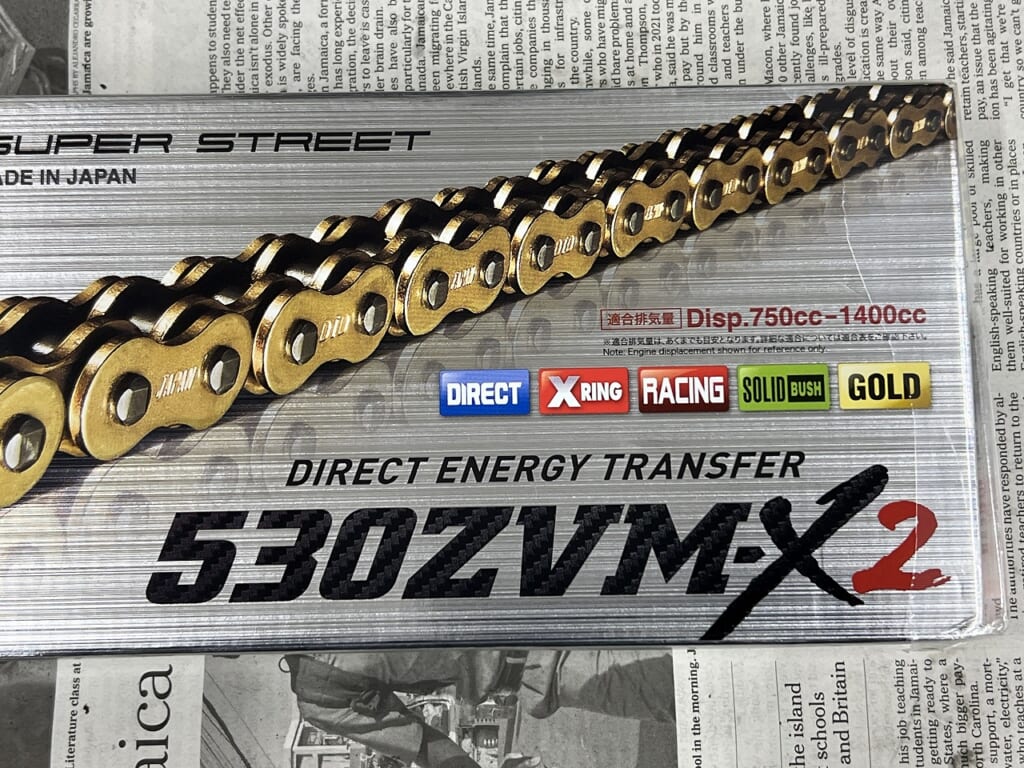
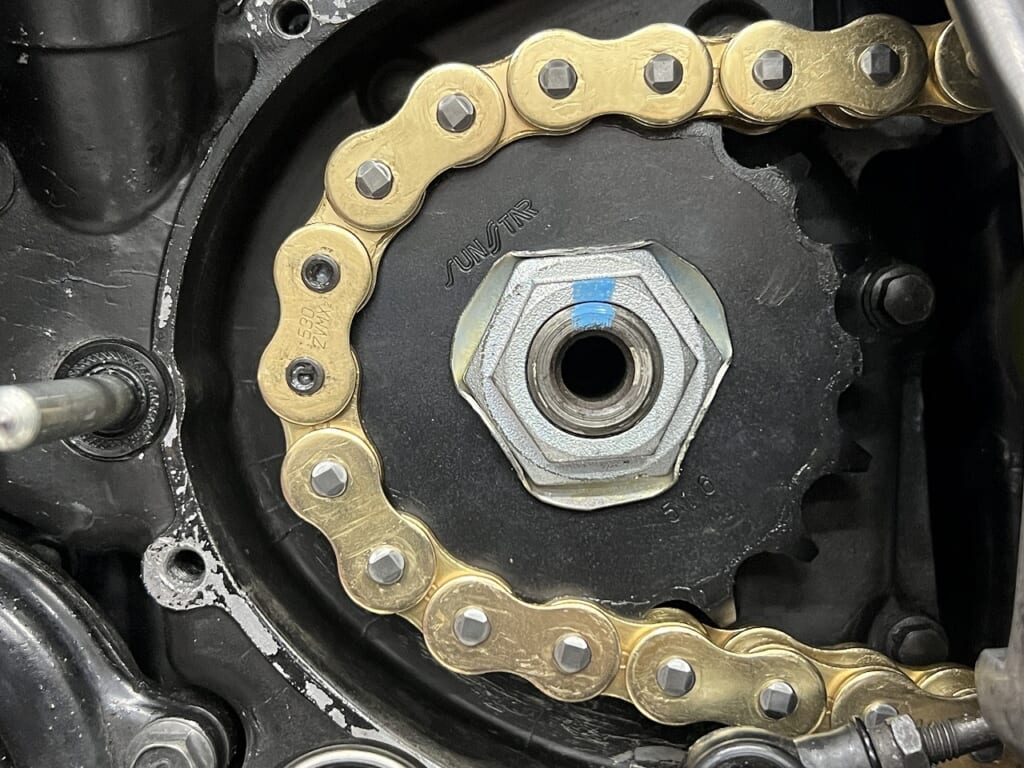
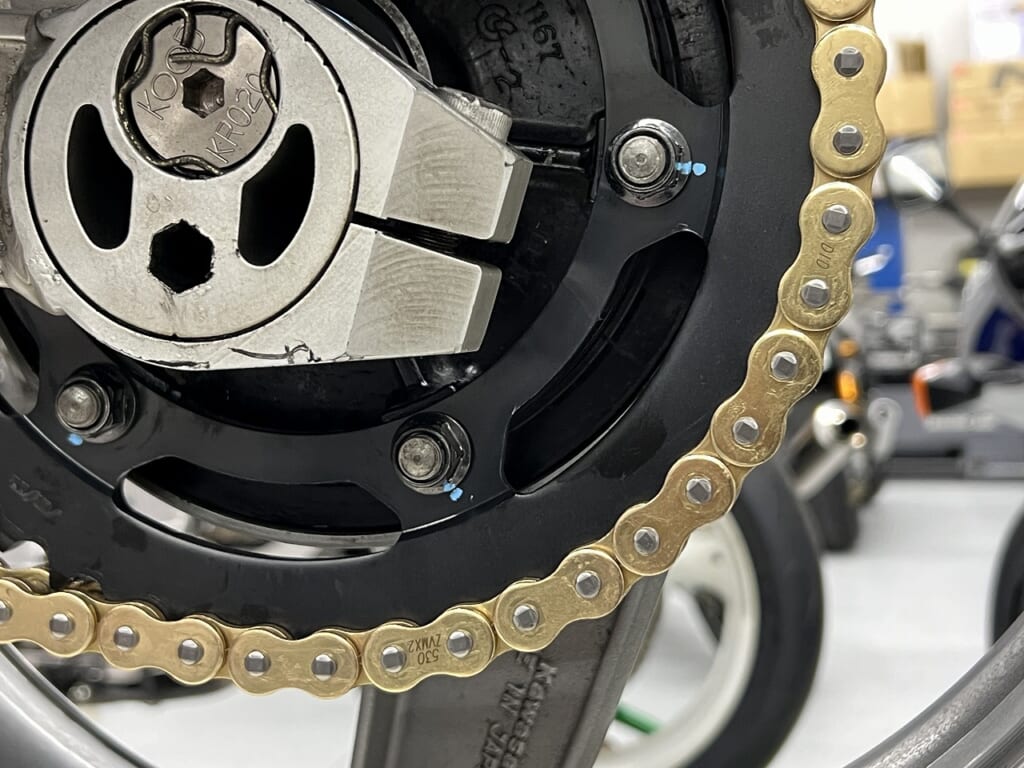
Drive chain is Daido! Sprockets are Sunstar
Our shop still mainly uses 530 (*´ω`*)
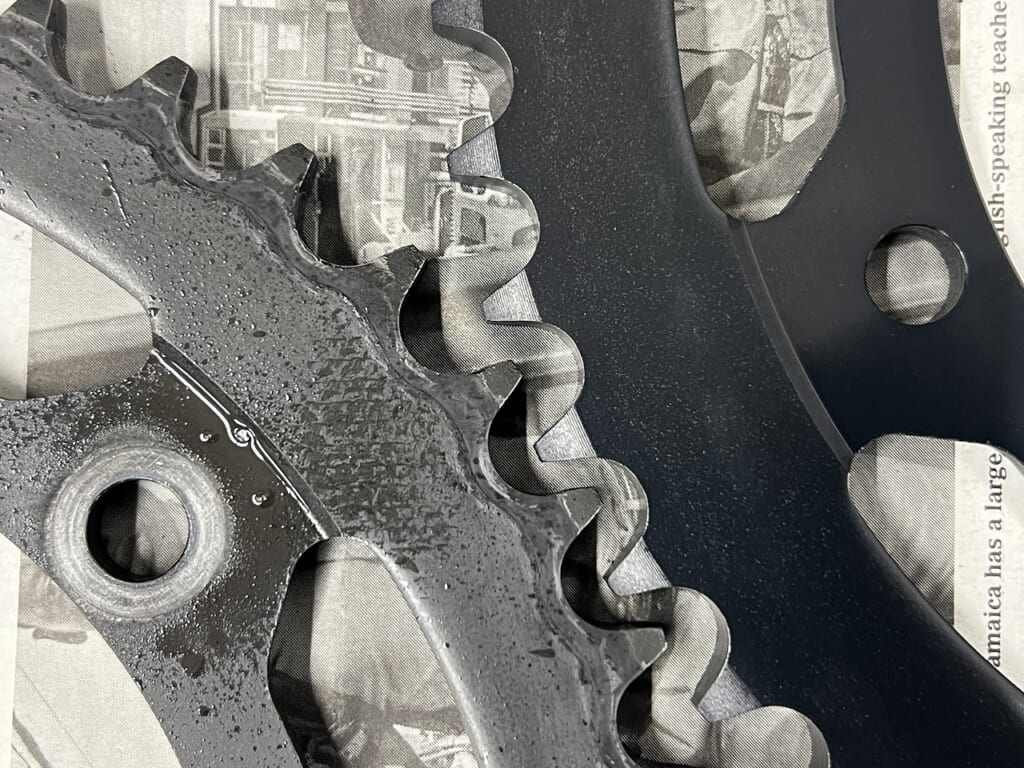
They’ve cleaned it really nicely. By the way, I haven’t cleaned it at all. It’s amazing.
When you compare them like this, you can see quite a bit of wear. It’s been used for about 40,000 kilometers.
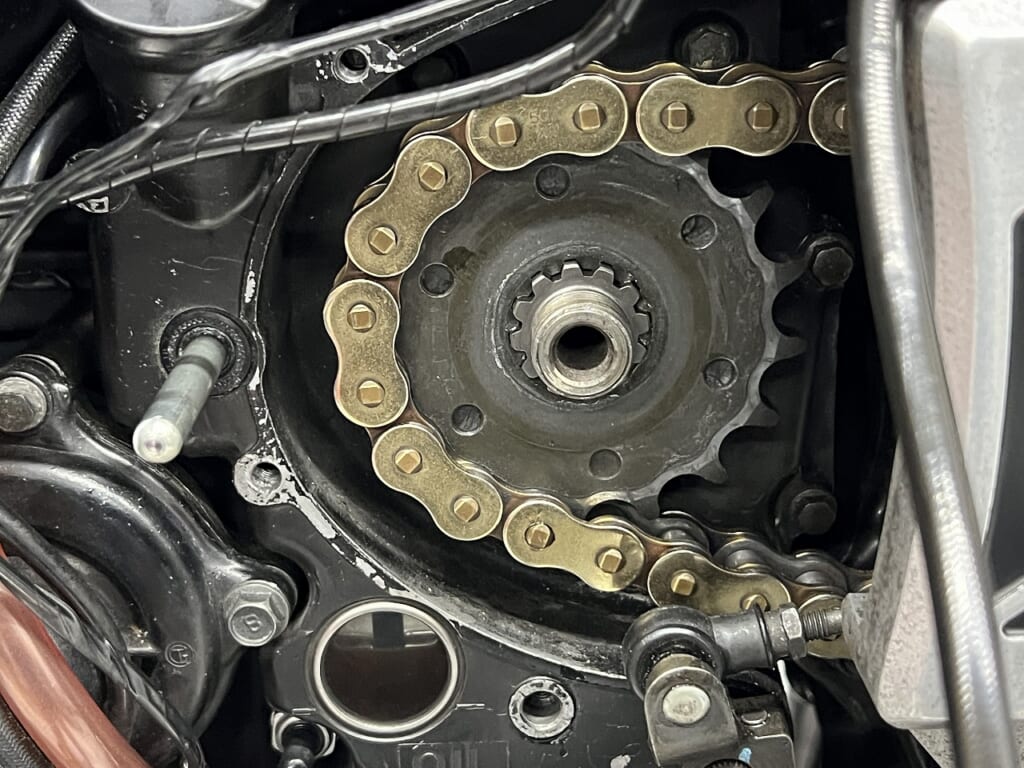
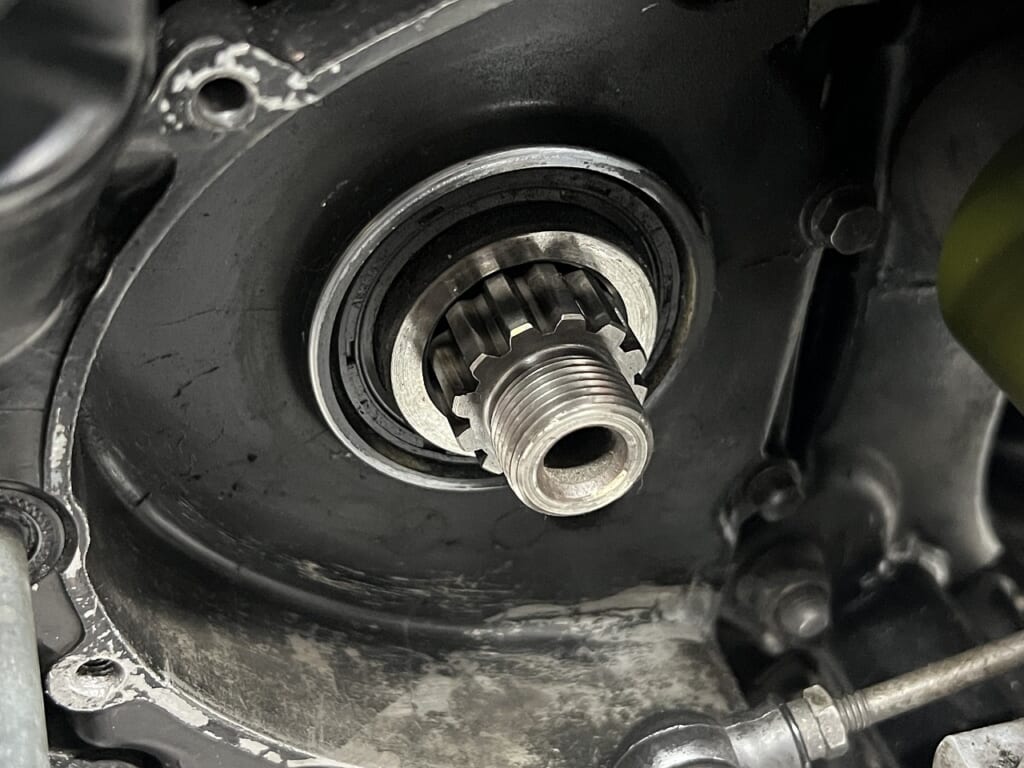
I bent the lock washers on the front sprocket in three places as a service. When the chain and sprockets are clean, it really feels good.
Plus the play is reduced and the sound when you turn it becomes very quiet.
I’m not sure what “while we’re at it” means… but I did it anyway.
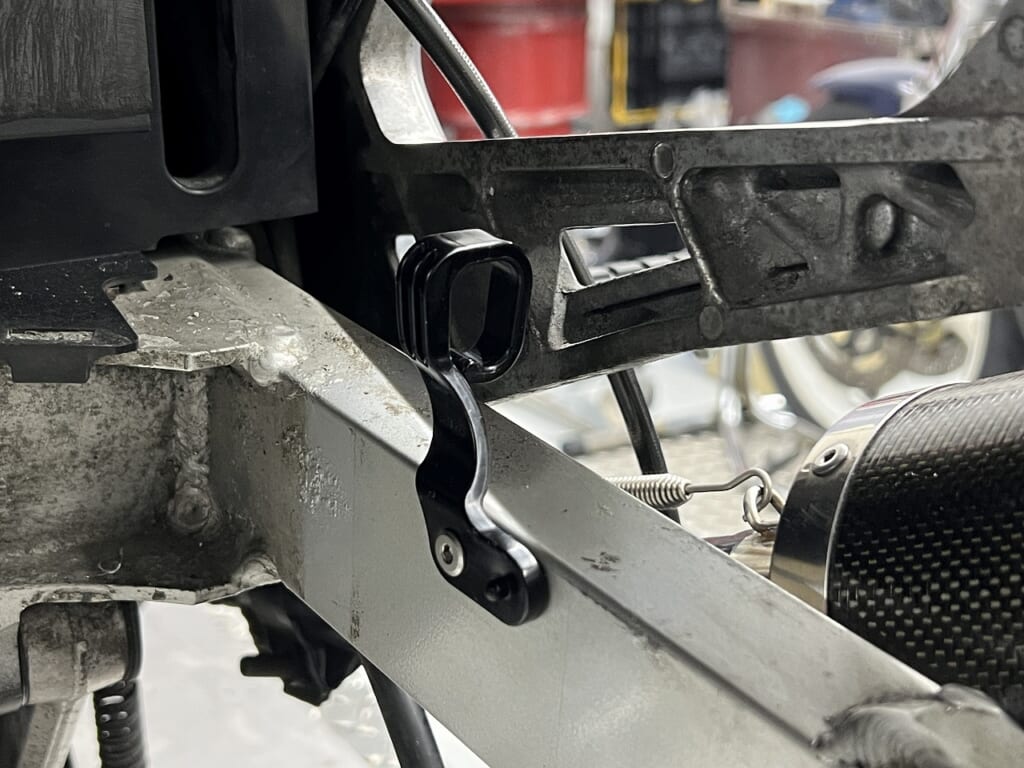
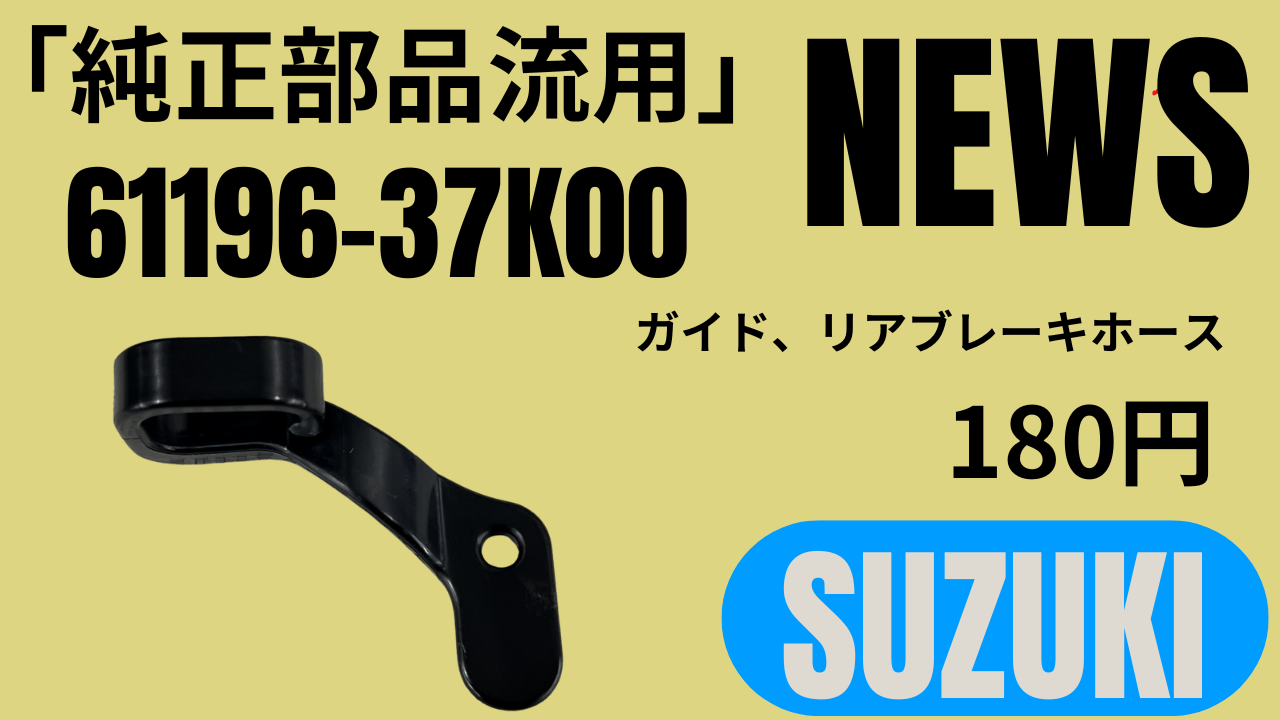
I simplified the rear brake hose mounting method to improve maintainability.
This guide is C-shaped, so it’s very convenient to attach and detach during maintenance.
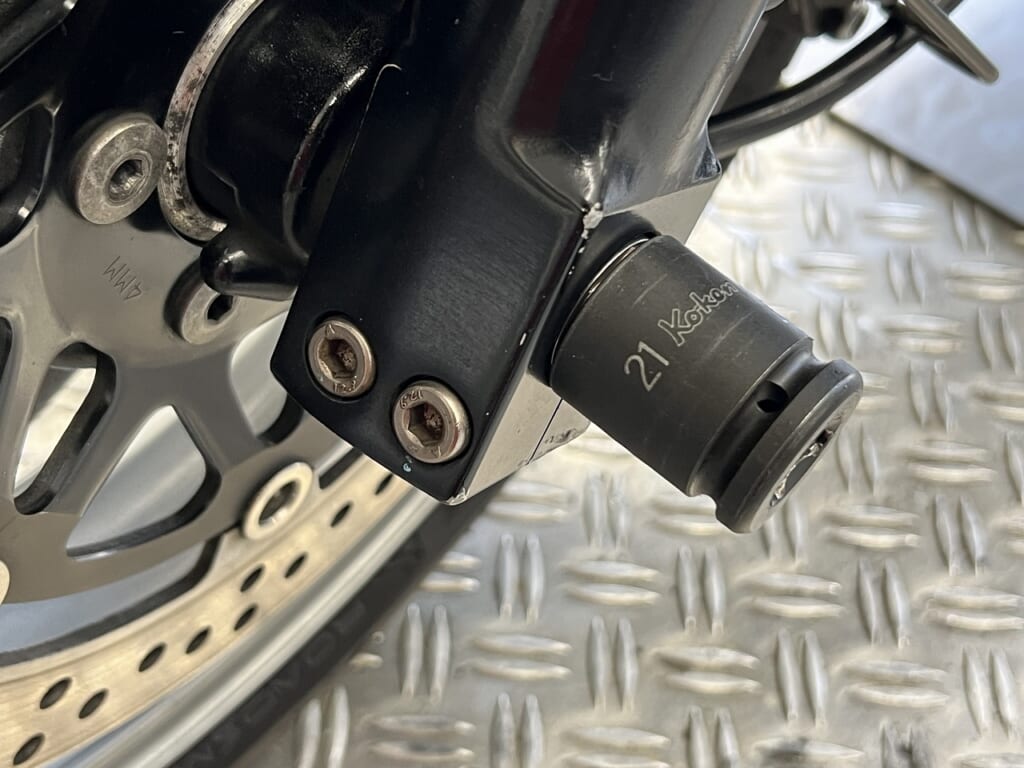
The aftermarket axle shaft is 21mm across flats… That’s a dimension that doesn’t come up much with axle shafts or motorcycles.
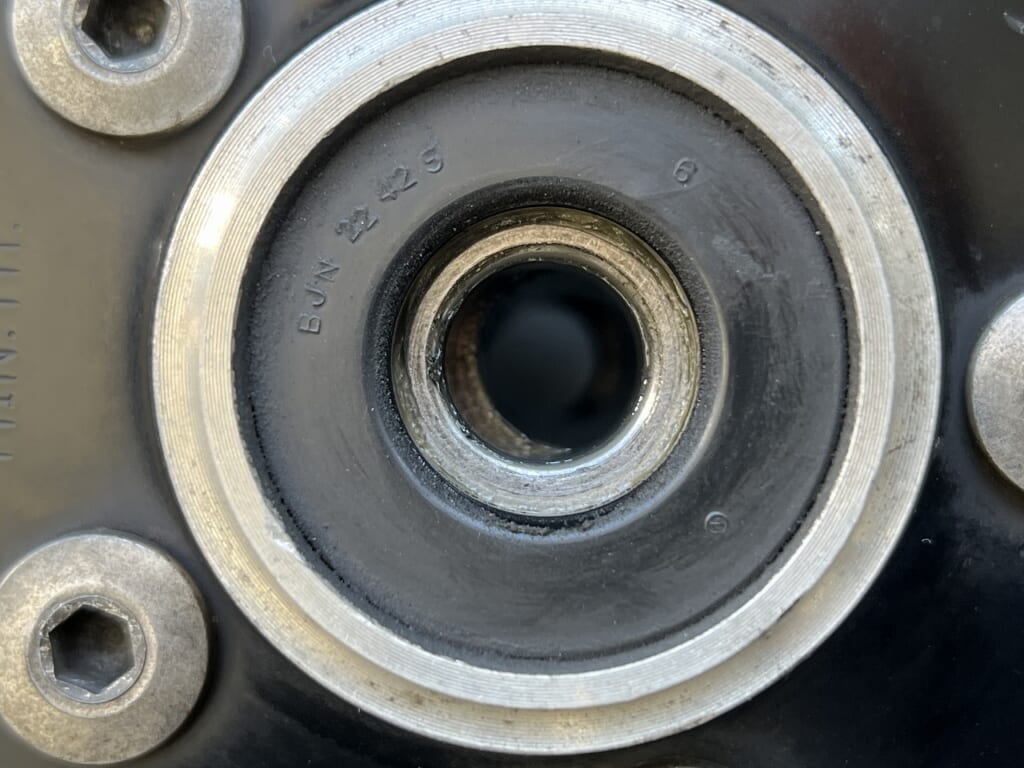
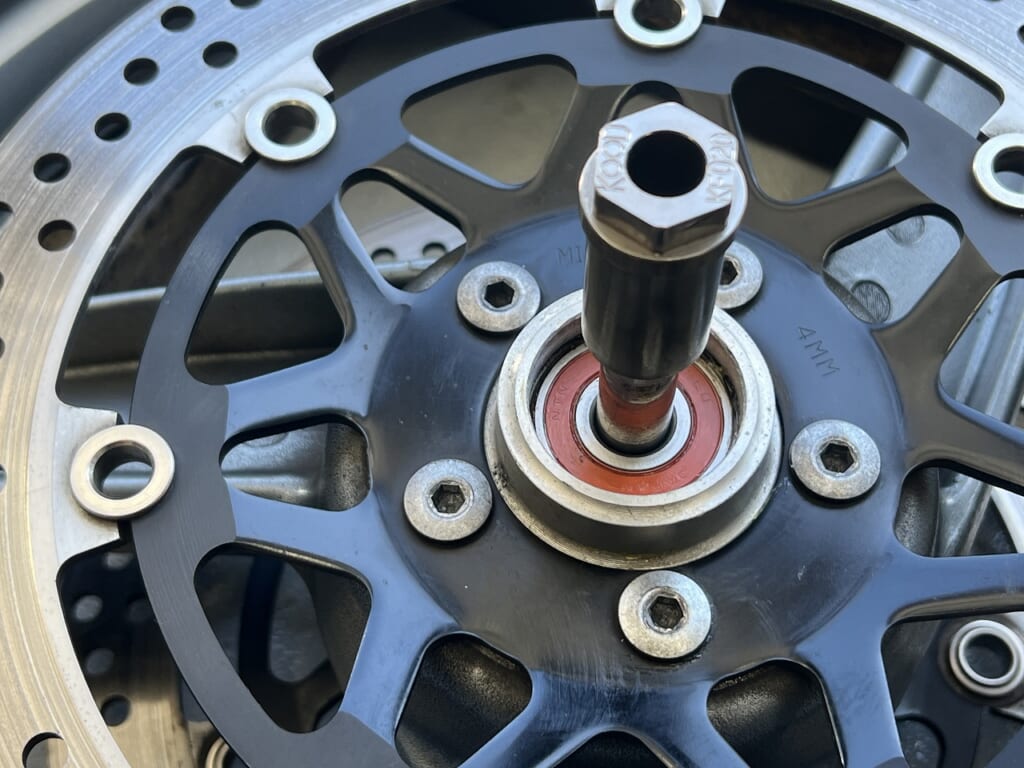
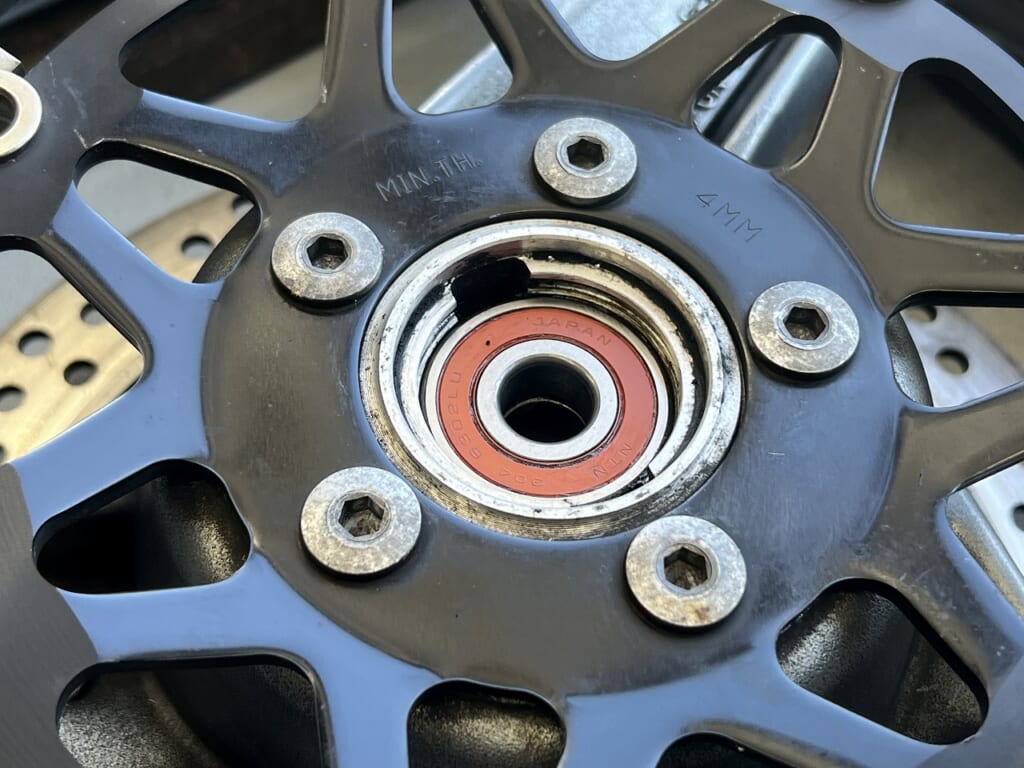
The distance collar is loose, so I’m adjusting the bearing position.
Kawasaki doesn’t really have specific instructions either way. Since snap rings fit on both sides, they’re probably okay with that.
With Suzuki and aftermarket wheels, “the stepped side is the reference for bottoming out” is often the case. The opposite side doesn’t bottom out and is straight, allowing for position adjustment.
You can tell right away when you tap it in. It looks like one side comes off the same way. I adjusted it carefully like that.
Sometimes with wheels where the distance collar is rattling, “the press fit clearance is loose” If the wheel side wears out, that can happen, so if the distance collar is misaligned, you should check it.
Also, basically when you tap in the axle shaft, you might tap the bearing, so be careful.
This item I purchased the other day! I’m so glad I bought it. I checked the link a little while ago and it was sold out…
The reason I replace the oil seals at the same time is “if the oil seal breaks and leaks after just changing the fork oil, that’s a bummer”
Then you end up thinking, why didn’t I just do a full fork overhaul from the start? It’s awkward for both of us. If that happens, you have to disassemble it one more time, which increases the work and the cost.
I think it’s better to do it right the first time and have peace of mind.
It was pretty dirty… It seems it hadn’t been changed in quite a while, so it can’t be helped.
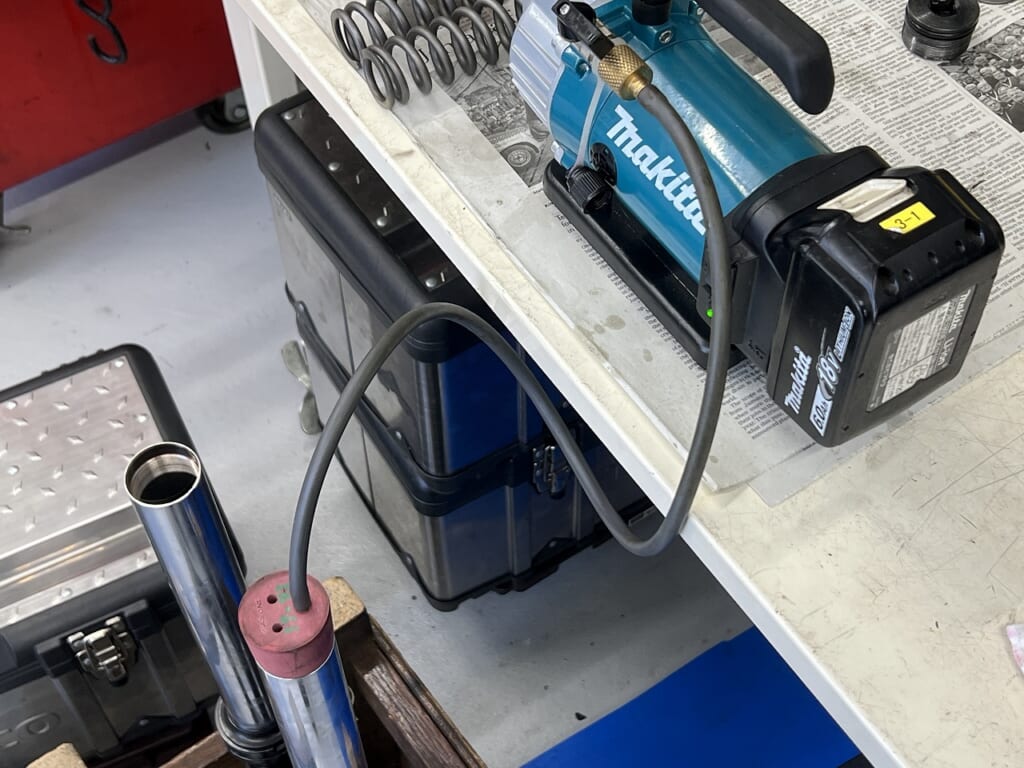
Using a vacuum pump for fork air bleeding gives you much more peace of mind.
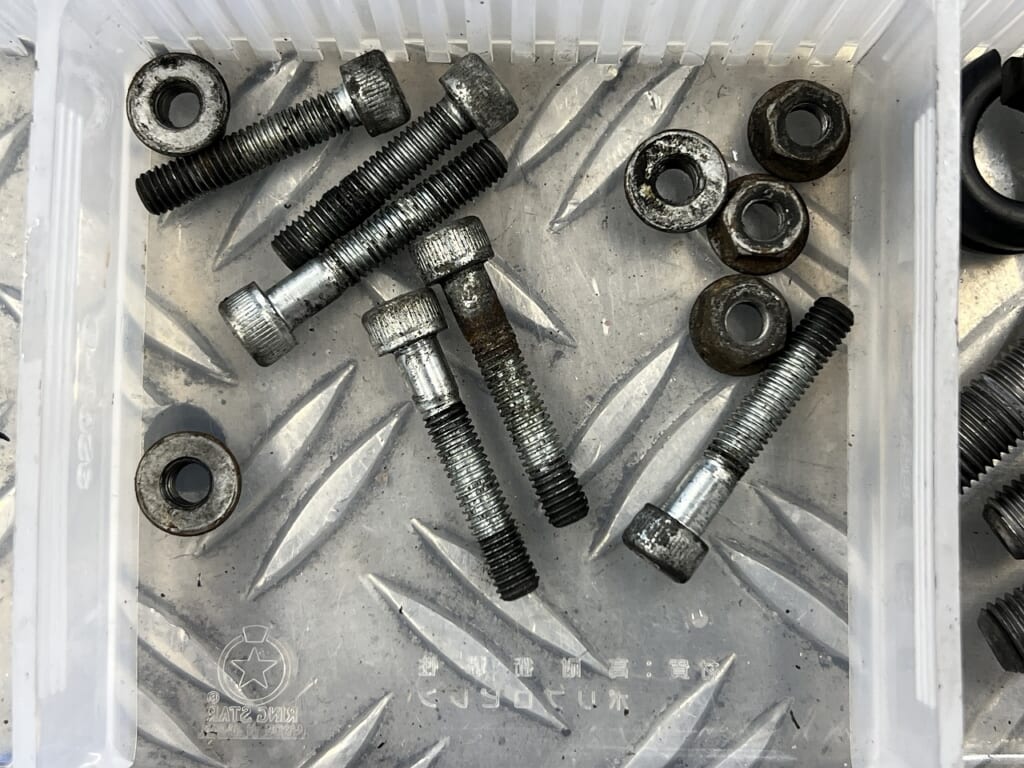
I replace all bolts that have been used for quite a while… I think doing the work at the same time gives it a restoration element or anti-aging effect.
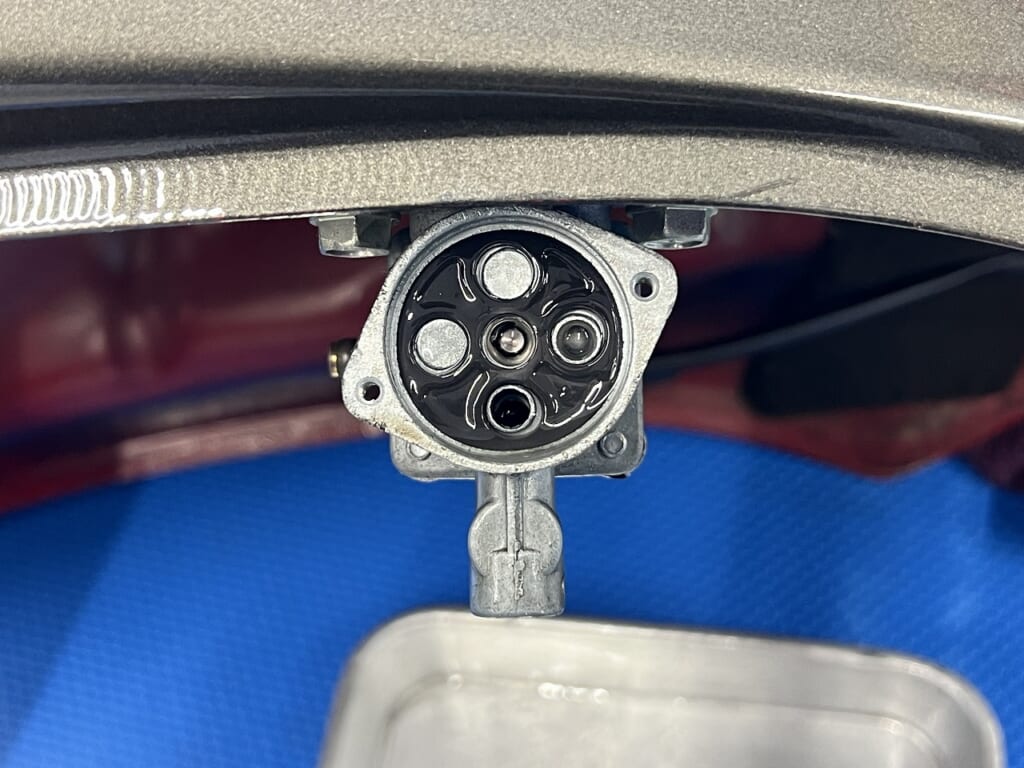
Older motorcycles really have wonderful design, don’t they? Just not having these small rubber parts available means you have to replace the whole assembly, which is tough… And sometimes the assembly isn’t even available? That’s even tougher…
Keeping an old bike running is really challenging.
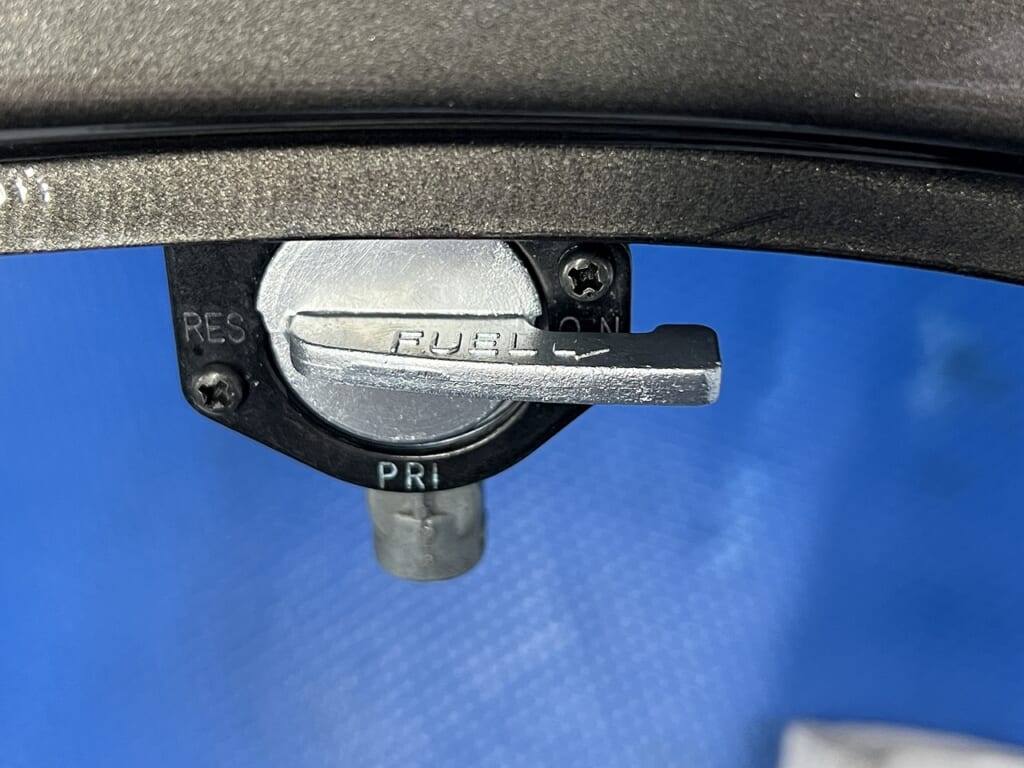
At first glance, it doesn’t look too bad.
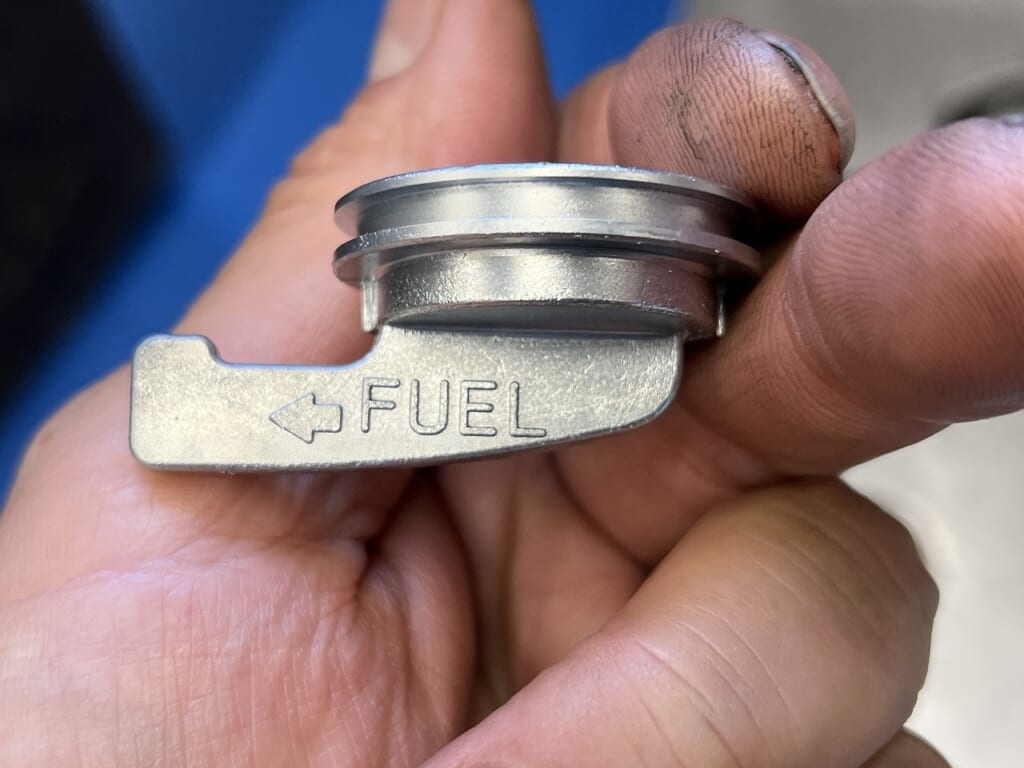
So I wet blasted the knob and replaced the O-ring and lotus packing.
Just cleaning up the knob makes it look sharp again. If you’re thinking about wet blasting! It’s really an amazing tool, so getting one will really speed things up.
I’m going to replace the brake fluid and coolant
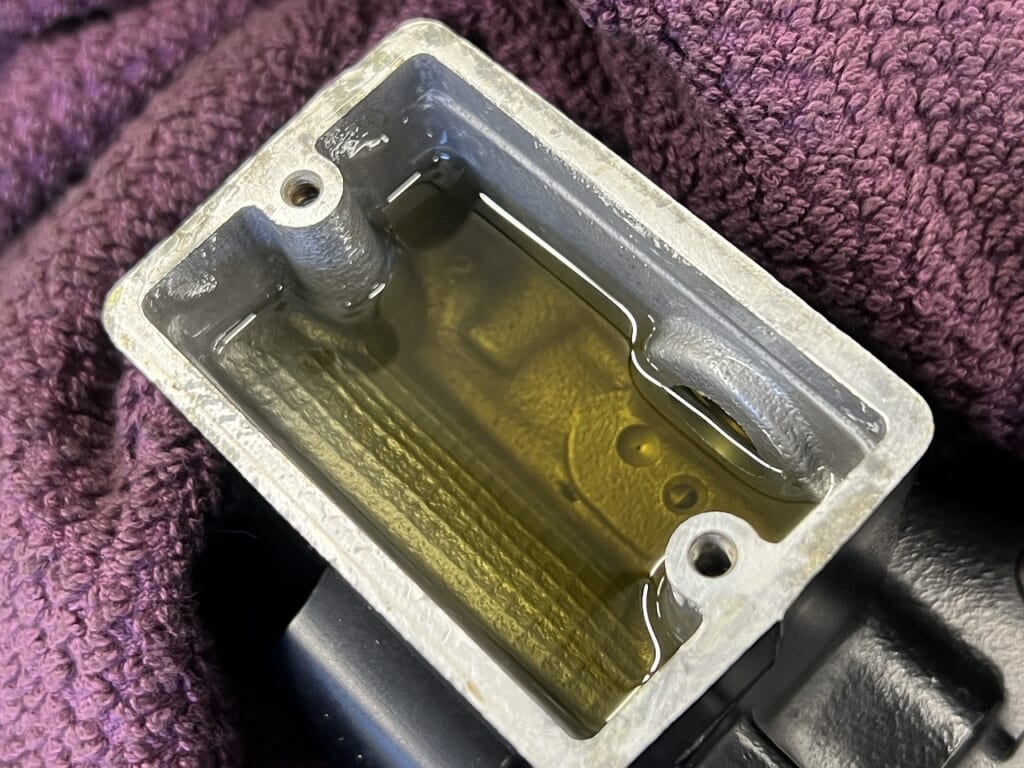
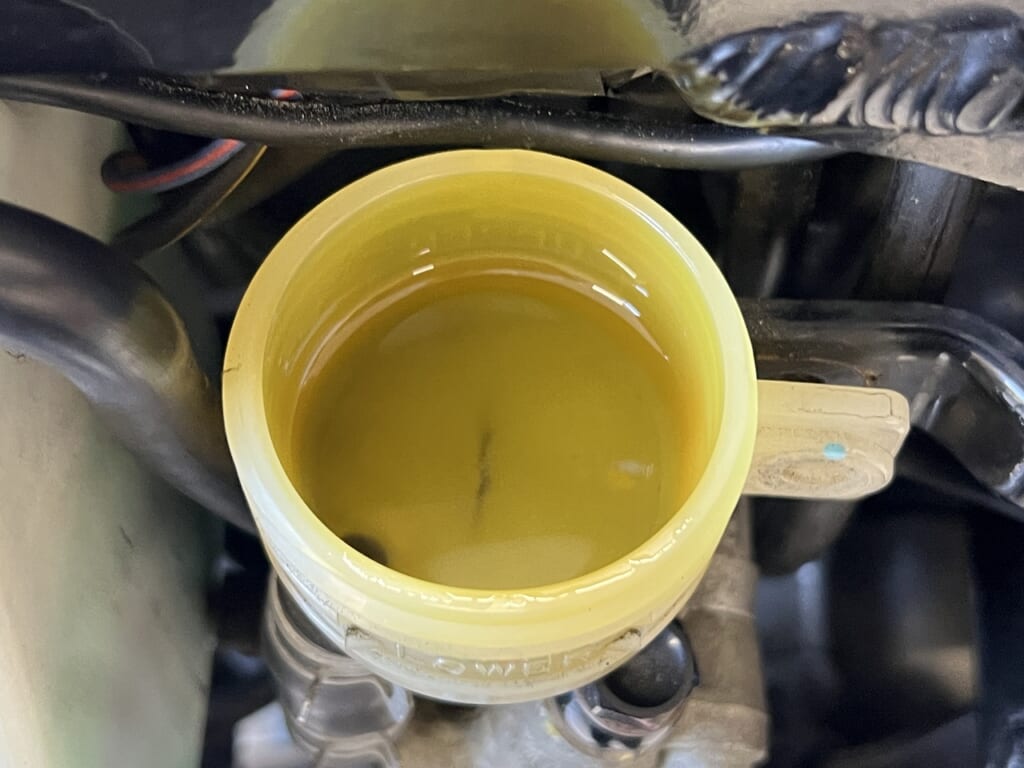
I use Golden Cruiser for brake fluid. It looked a bit cloudy. I think this is good timing to change it.
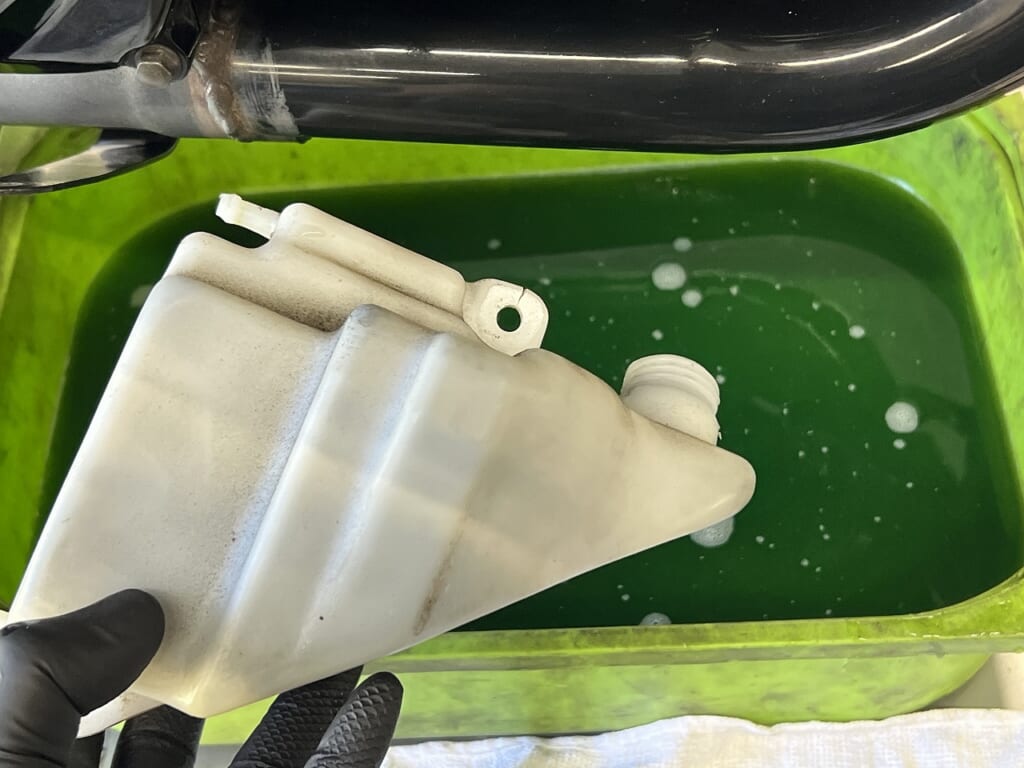
The coolant is also a bit dirty. There seemed to be some debris floating around in it. Let’s keep an eye on it. We might want to replace the reservoir tank next time.
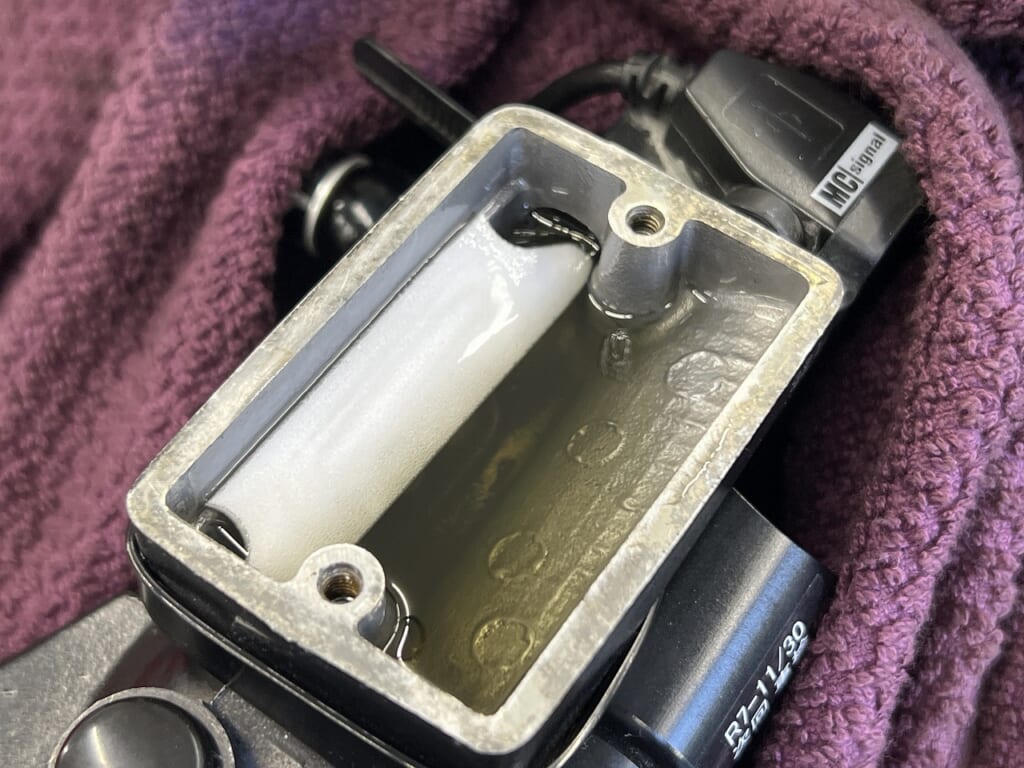
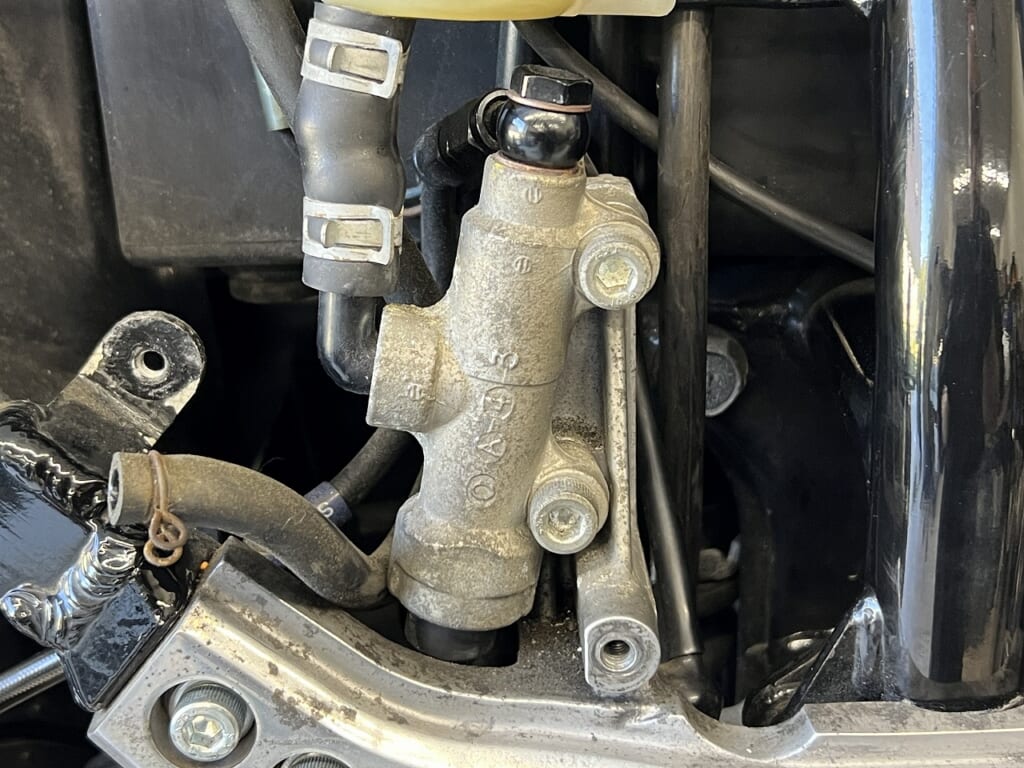
The rear brake master is also looking pretty good… So I think we should keep in mind whether to replace or overhaul it in the future.
After that, we just need to get the inspection and we’re done.


 ポチップ
ポチップ