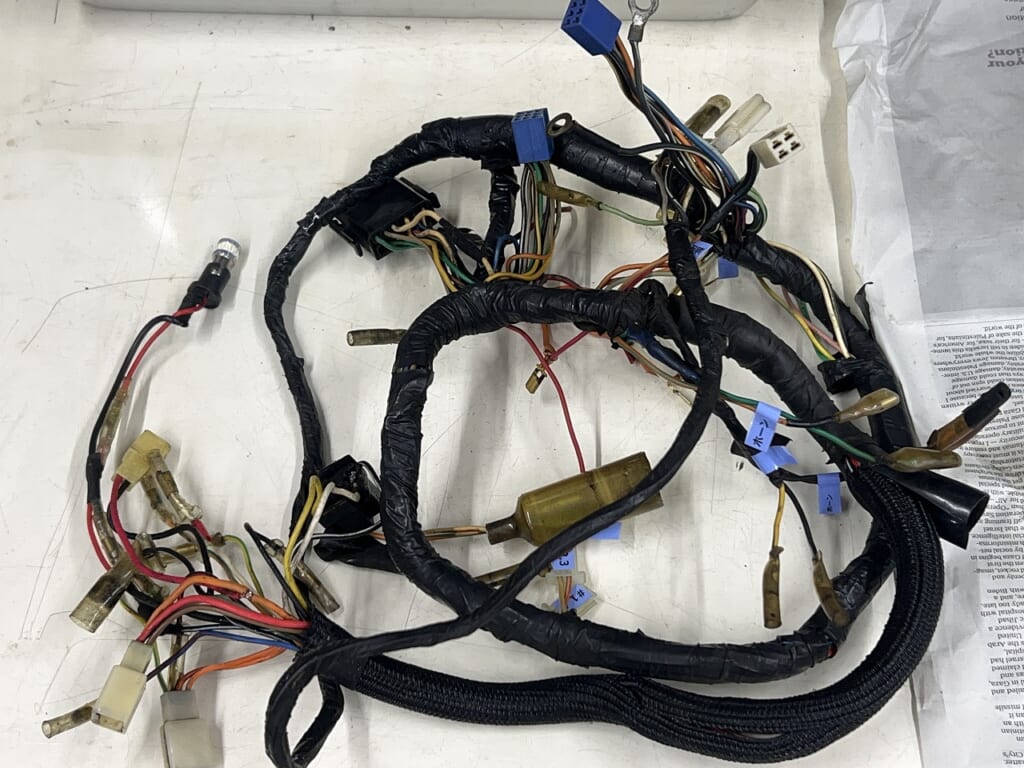
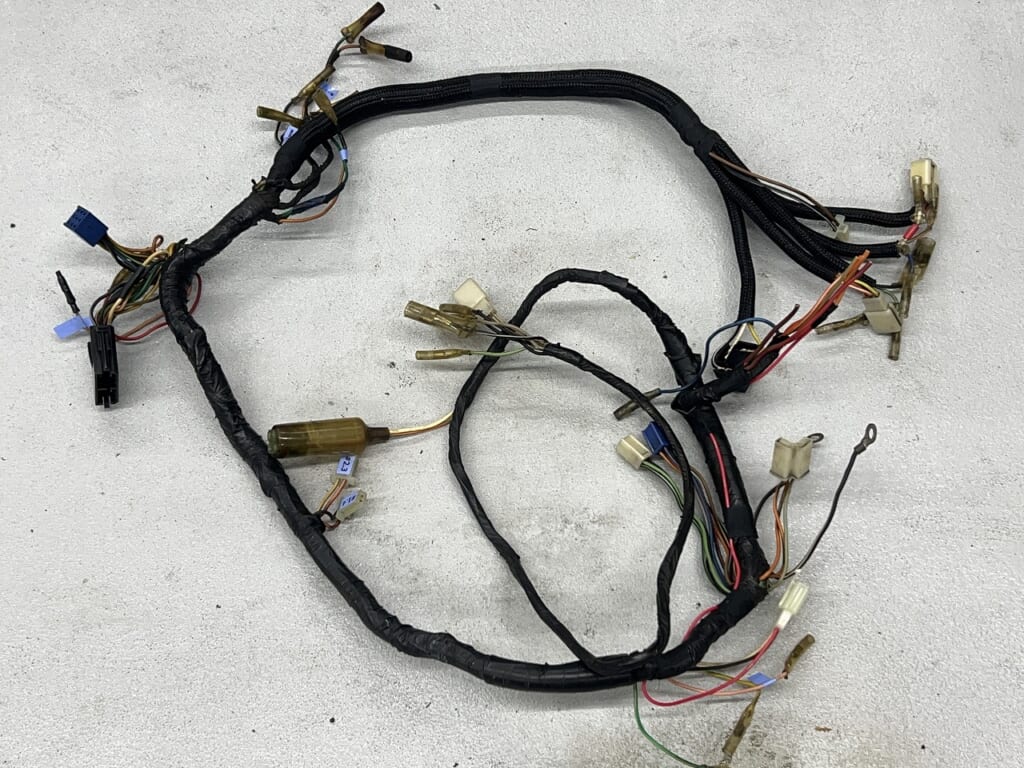
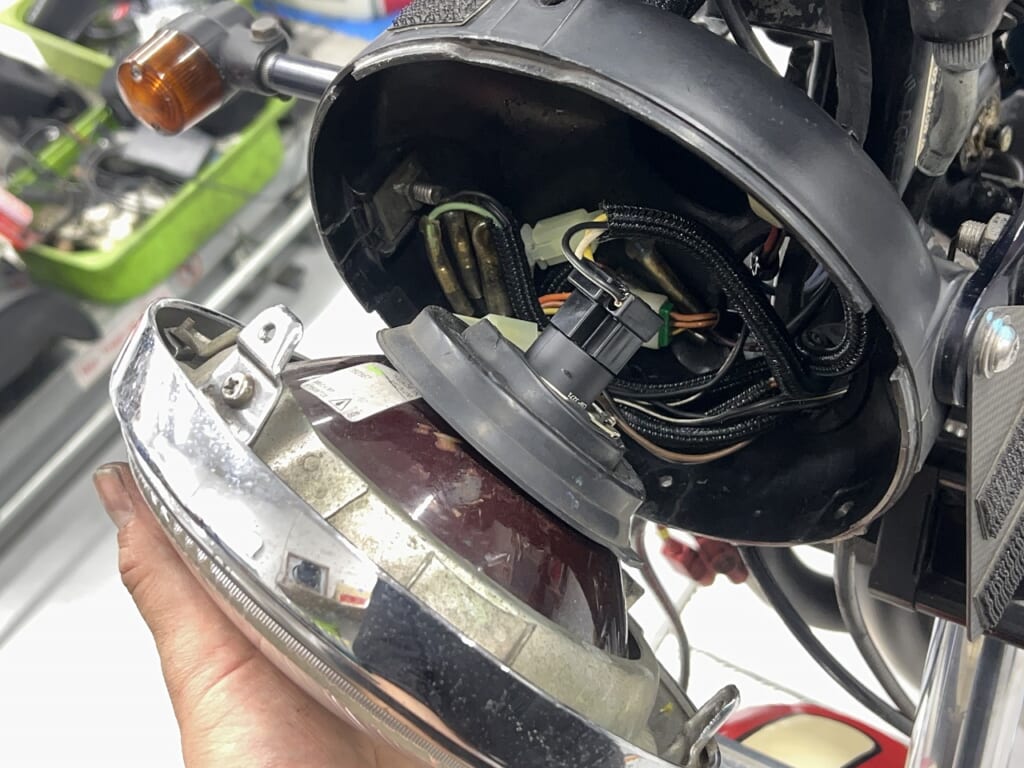
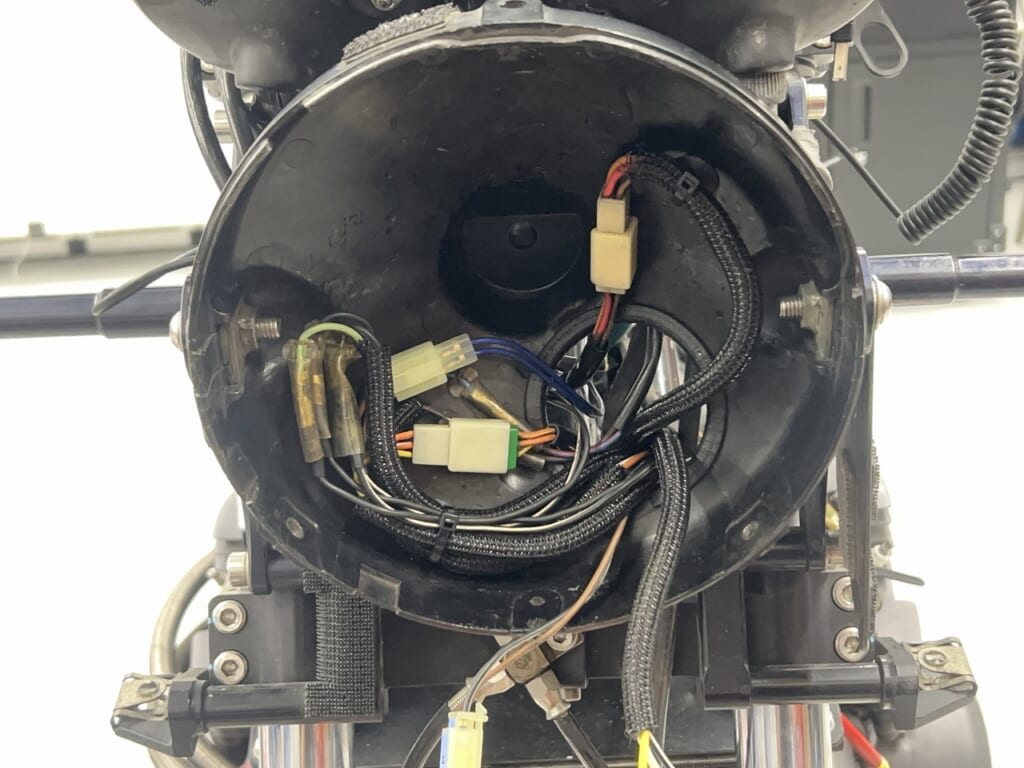
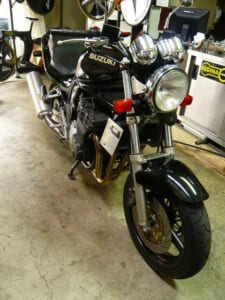
Suzuki’s harness is not as troublesome as the Z and is extremely simple
Basically, Suzuki vehicles that eliminate waste are extremely simple.
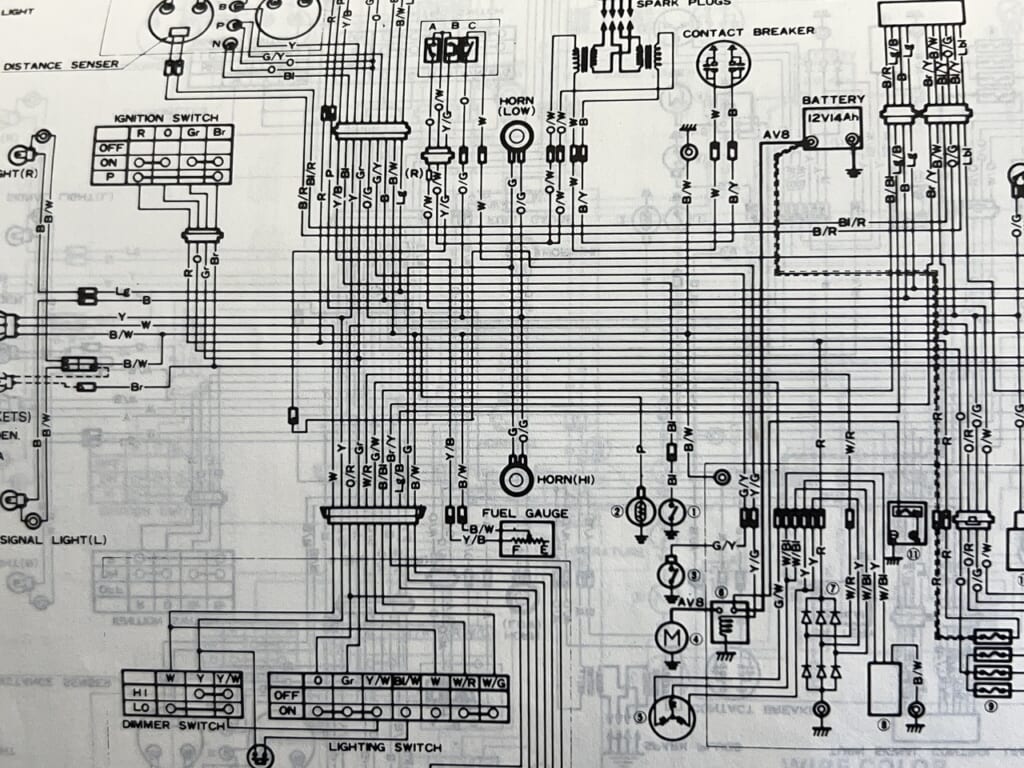
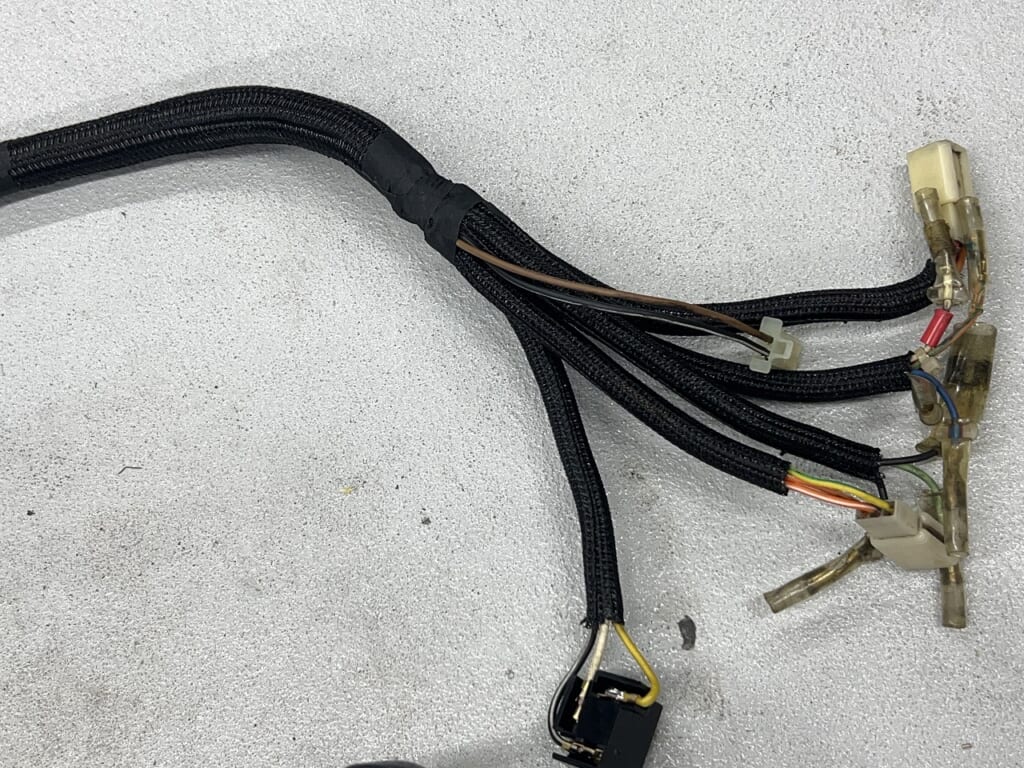
For now, I’ve removed the harness. There are traces of multi-tap marks in various places and some unclear wiring, so I’ll decode them.
Kawasaki’s manual using colors instead of text is excellent. When I record things, I basically use colors to keep track. Information that’s not immediately understandable can lead to mistakes and troubles.
This 15-color Prockey set is the best. I’ve never run out of colors “Can be purchased one at a time” Wiring work becomes more reliable, and notes can be saved as data. *Saving as PDF instead of paper is the ultimate solution(*´ω`*)
There’s so much going on that I didn’t photograph everything(*´ω`*) There’s old TESA harness tape and such, so it must be from when I used it before.
Since materials have improved so much lately, I’ll repair everything nicely.
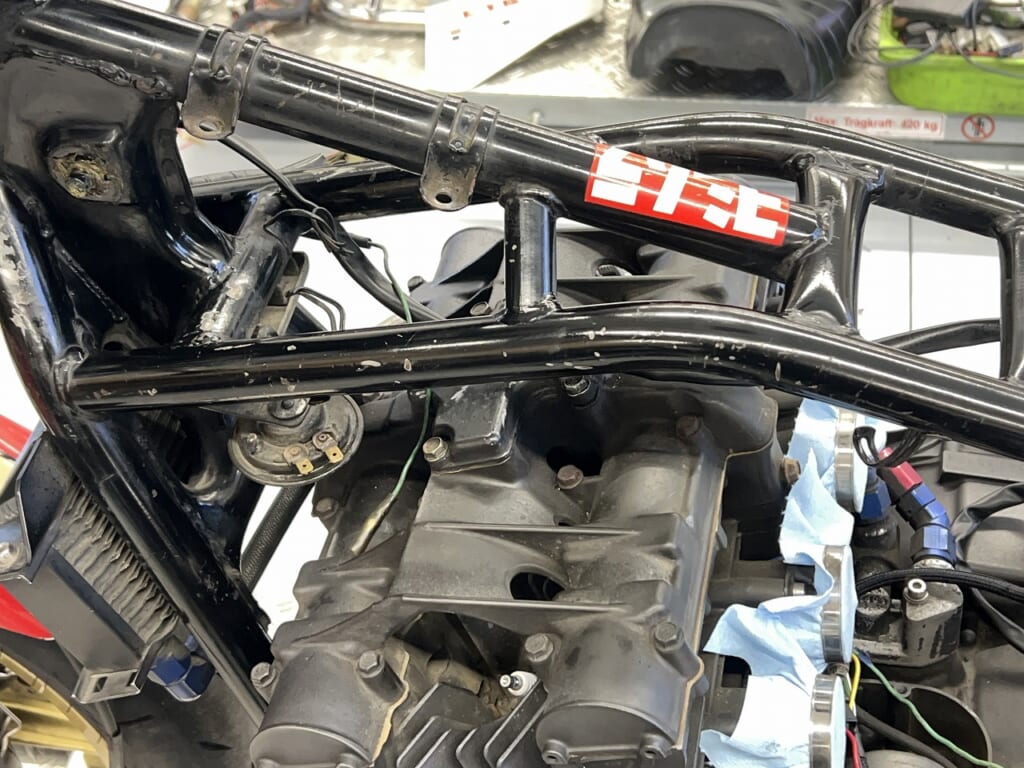
I think this is the first time I’ve removed the harness from the frame.
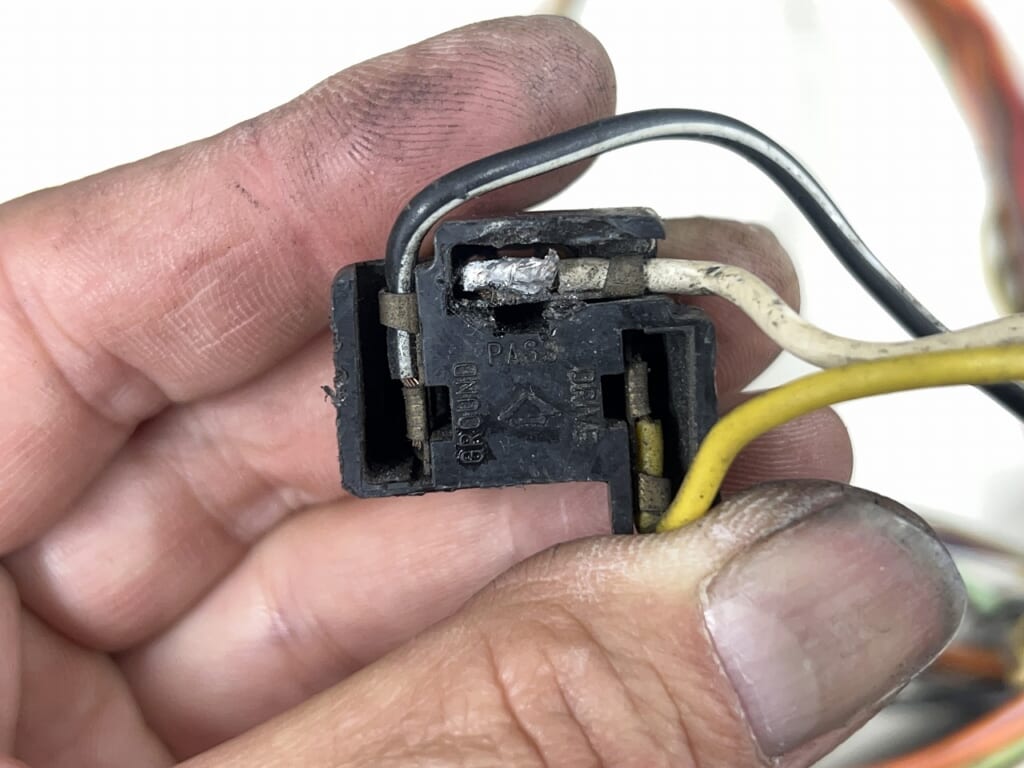
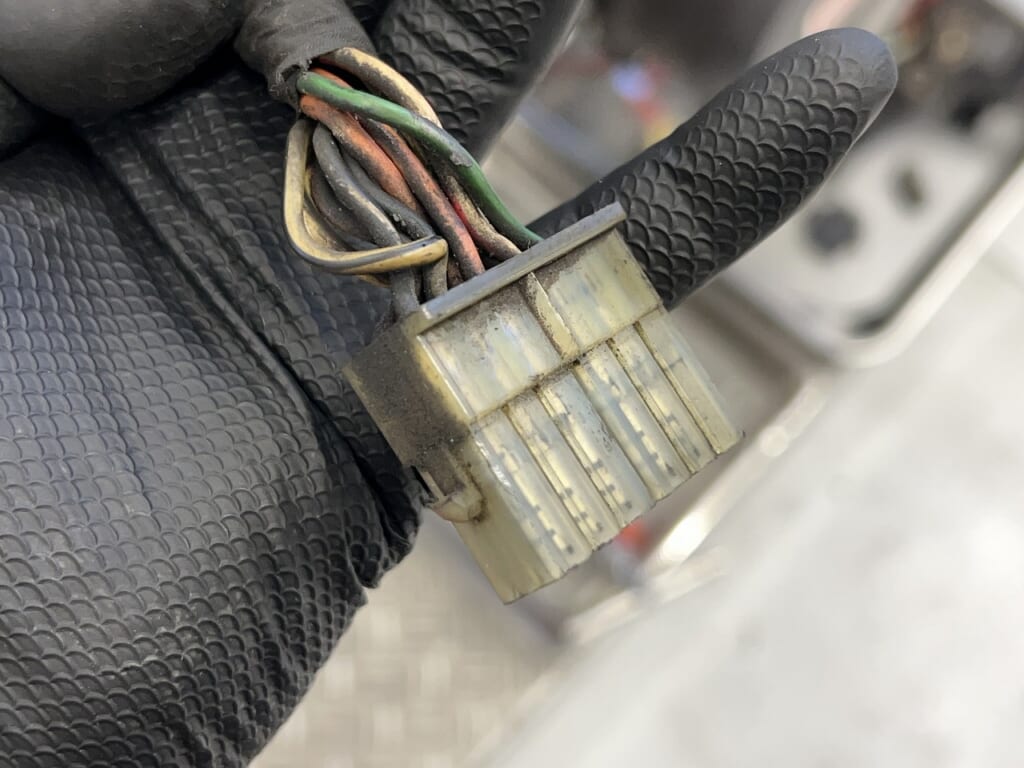
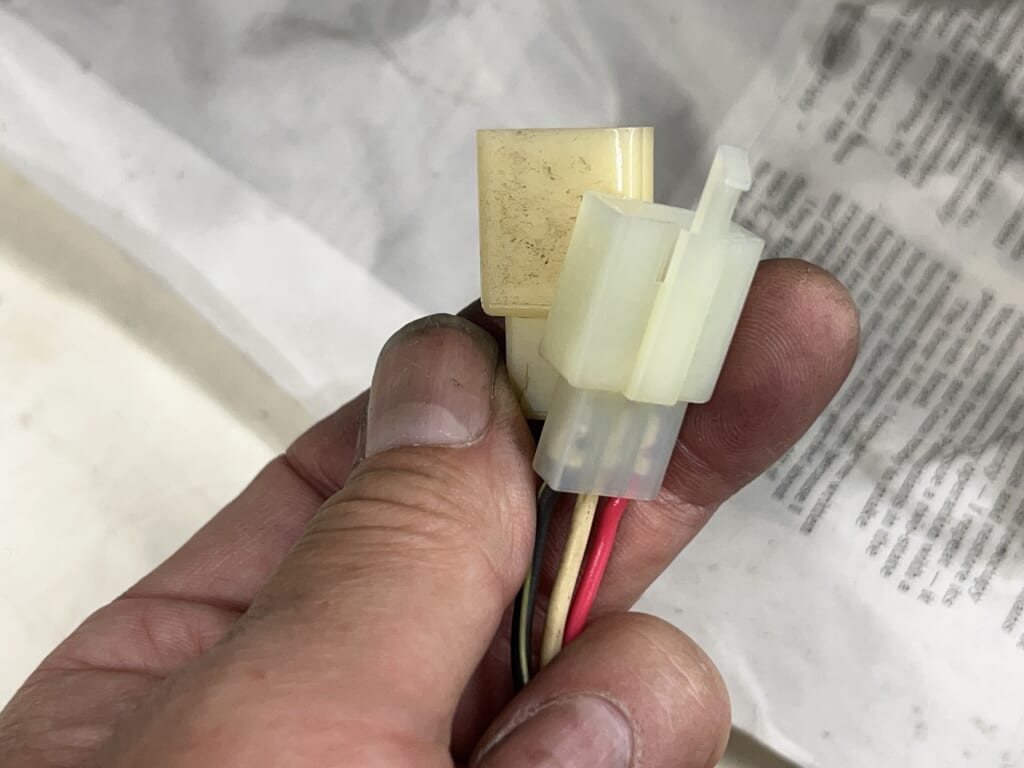
All the connectors and wiring were covered in oil and dust, so they were quite dirty. However, there was still some flexibility left, so I was relieved.
For now, I dampened a rag with a little thinner and wiped… checked visually and wiped. It’s tedious work, but I’m convinced it was one step away from a major problem(*´ω`*)
I replaced the oddly laid-out connectors with locking ones. Doing all of them would be a lot of work, so I’ll just do the ones that look problematic.
There’s still some grounding work to do, but it’s mostly cleaned up and looking nice now. There’s nothing I don’t understand anymore, so I’m confident.
I wish the main harness and other parts were designed to be simpler and easier to remove. When I do wiring layouts, I “balance cleanliness and serviceability” as my priority.
Using as few cable ties as possible and making it so people don’t get frustrated when removing surrounding parts seems to make it loved by everyone. Since I’m already removing the harness, I polished various parts.
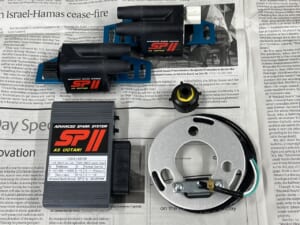
Since the harness is really simple, I was able to lay it out easily. It feels good that the dyna coil attachment and detachment convenience has improved too.
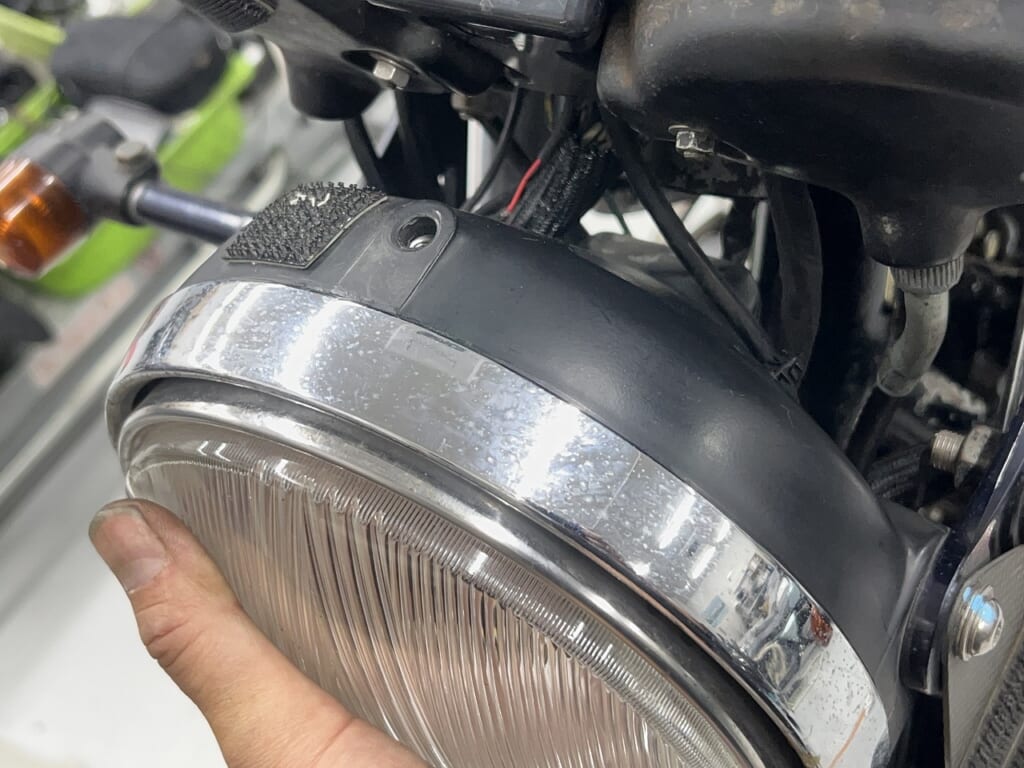
Don’t force the headlight lens in
It now goes in smoothly.
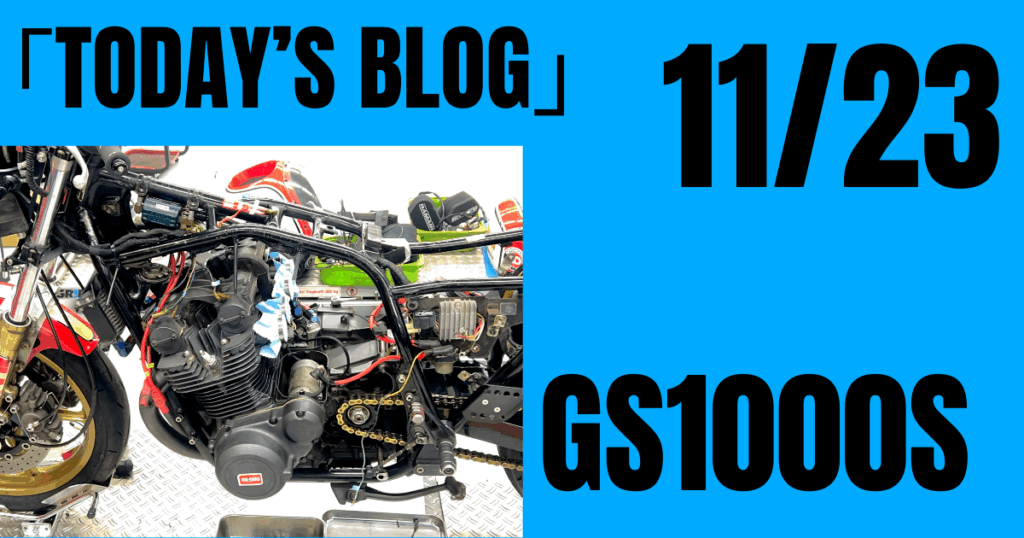
▼ Continue with this GS1000S maintenance series here


 ポチップ
ポチップ