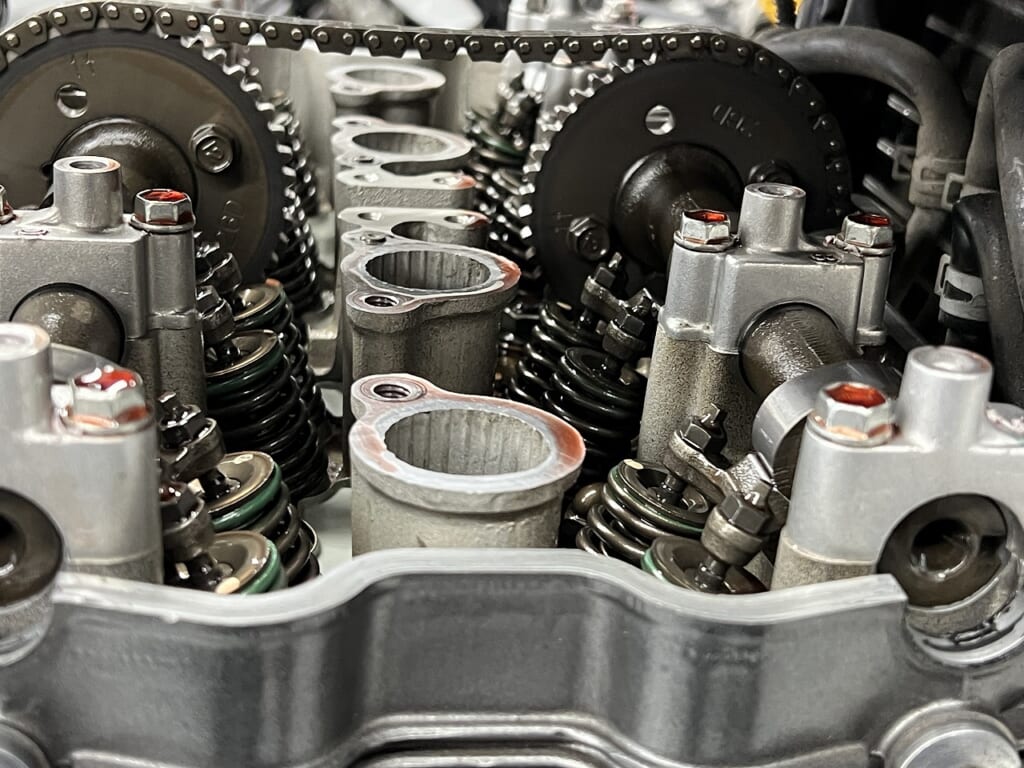
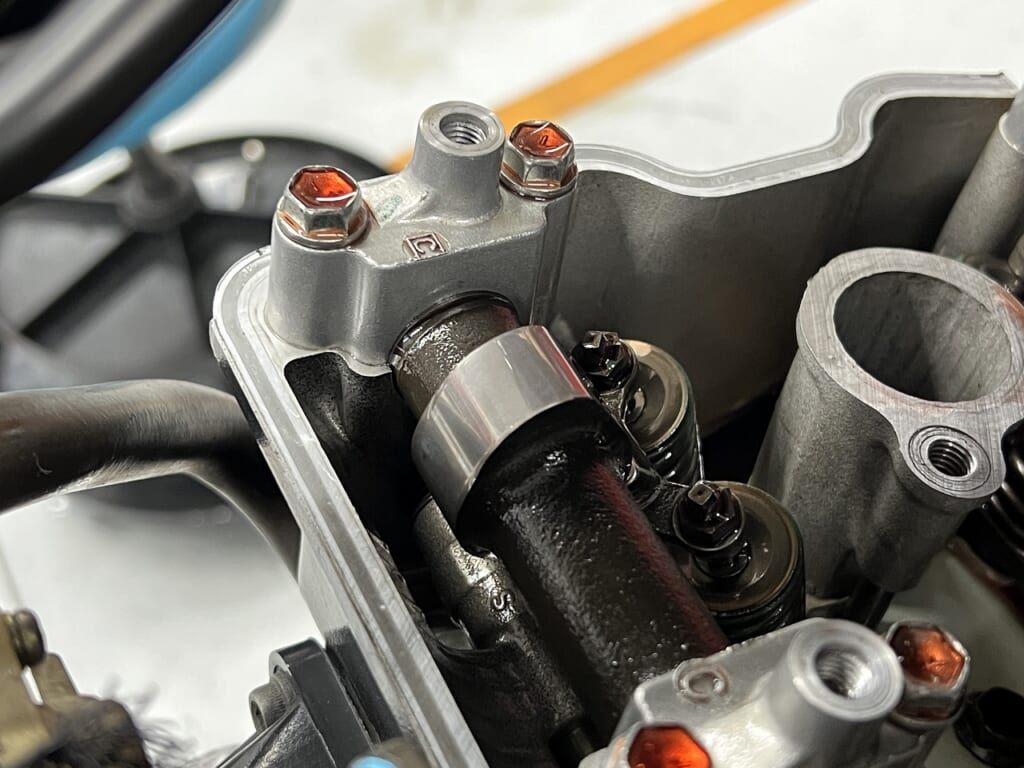
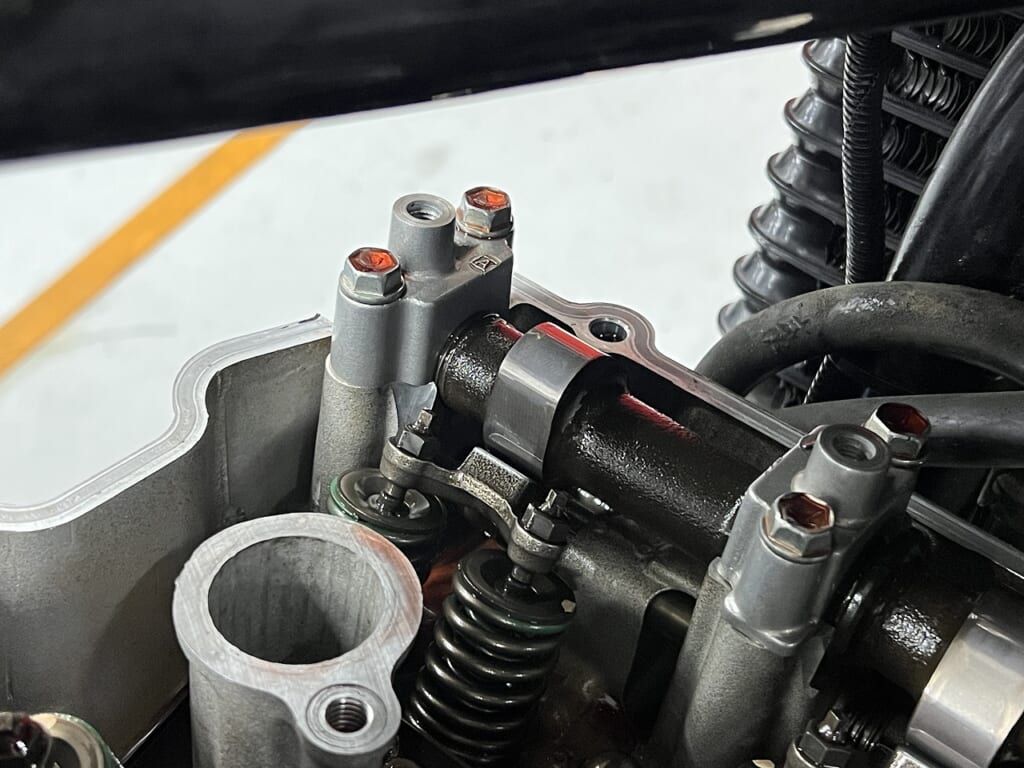
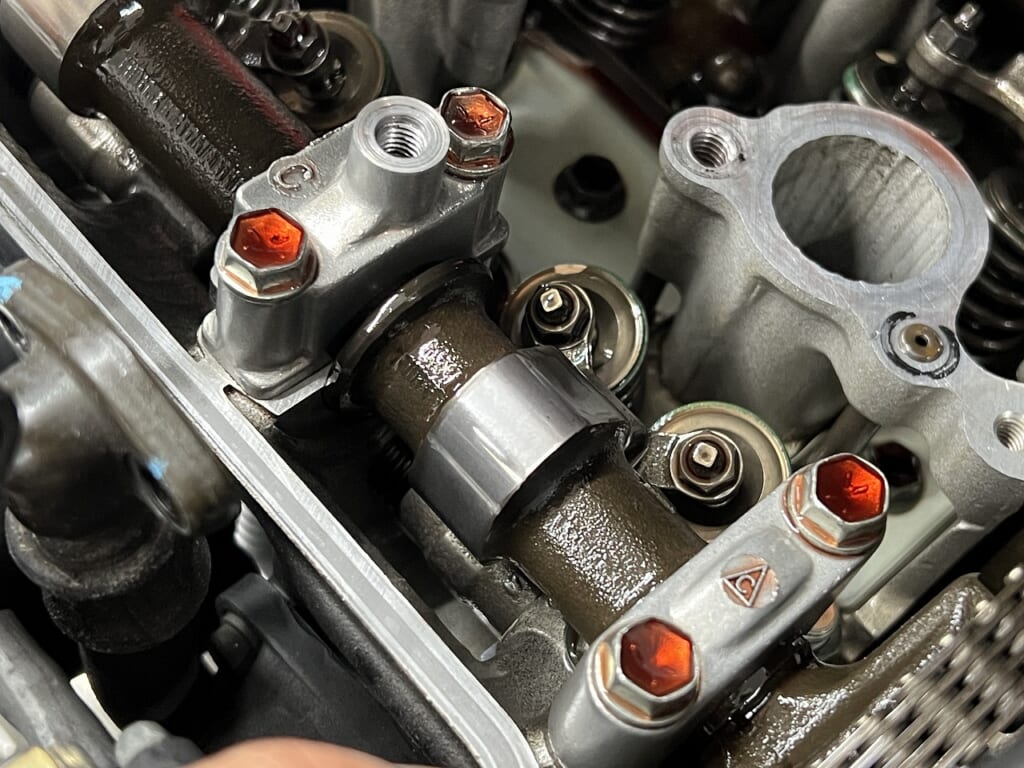
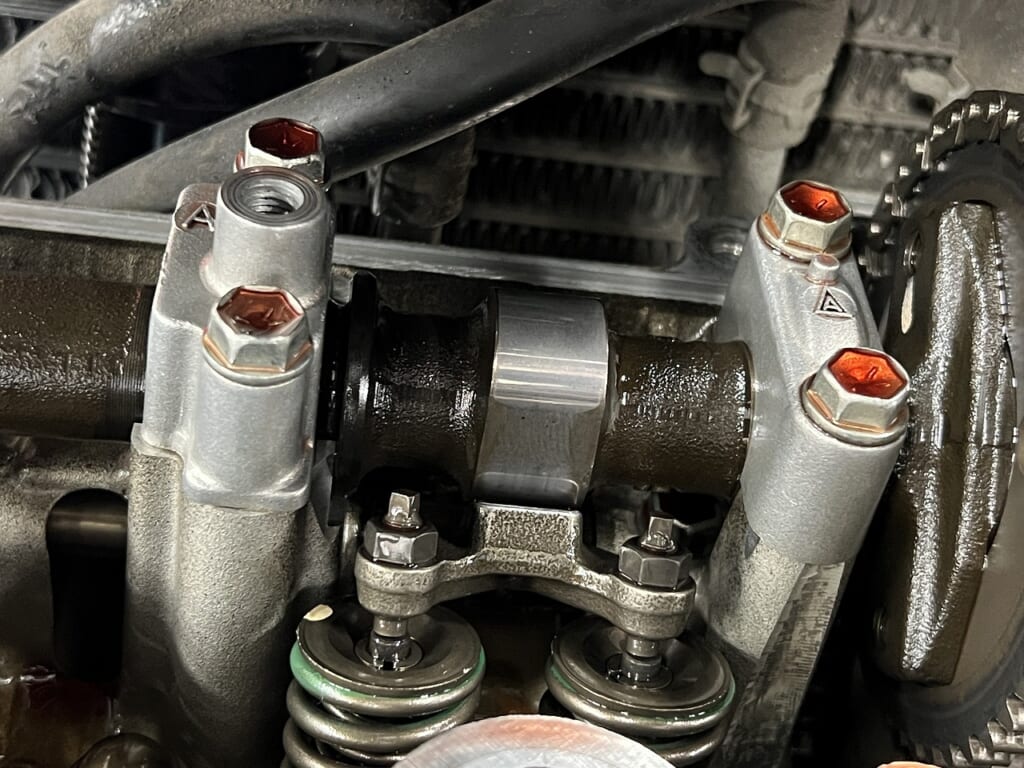
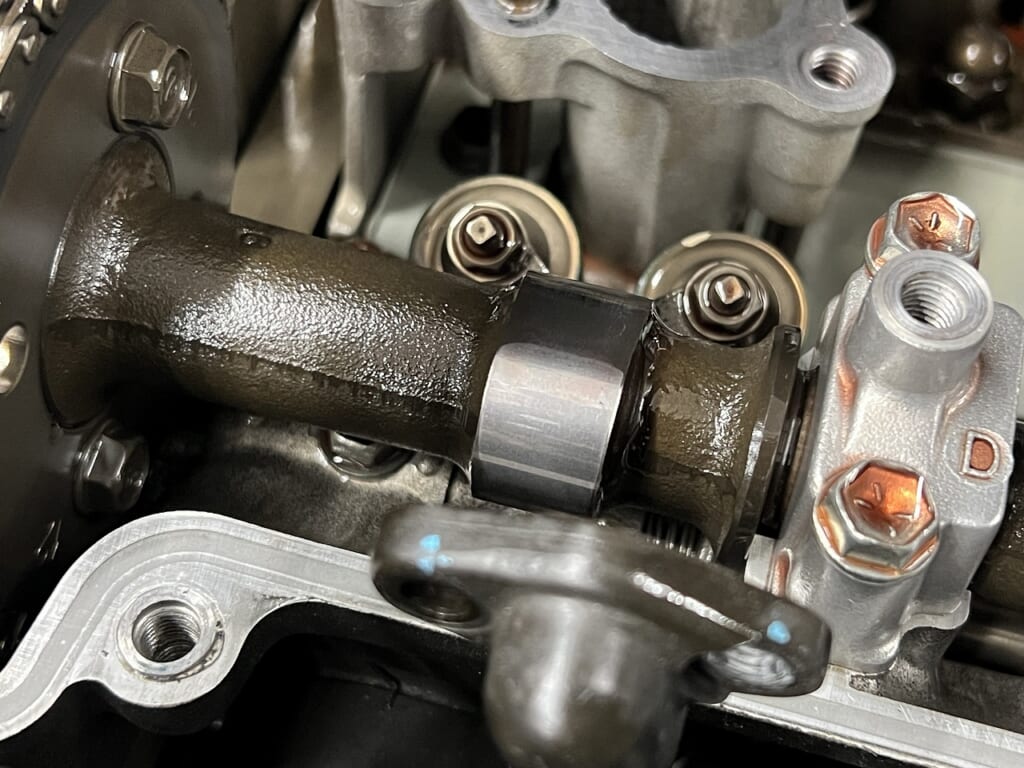
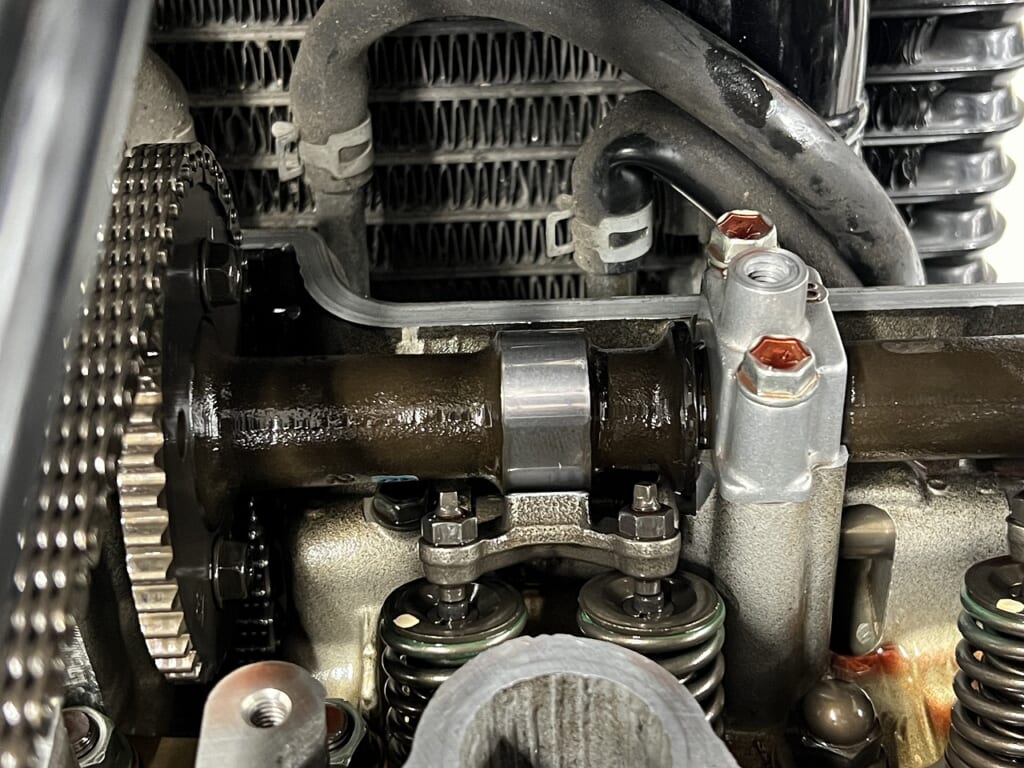
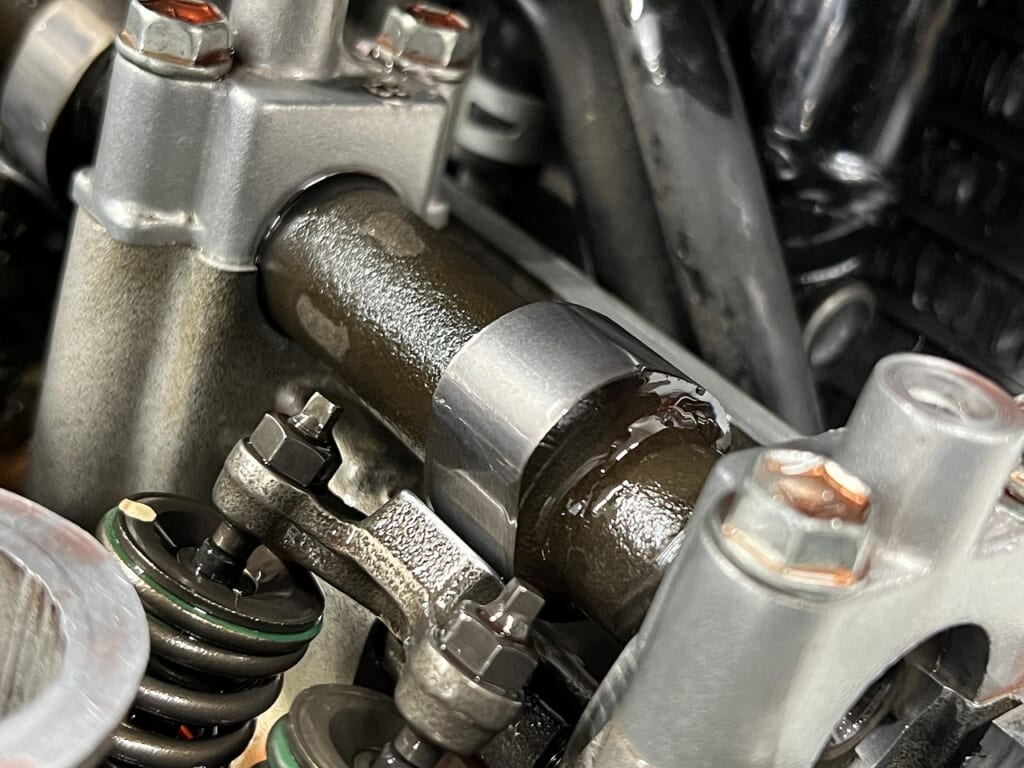
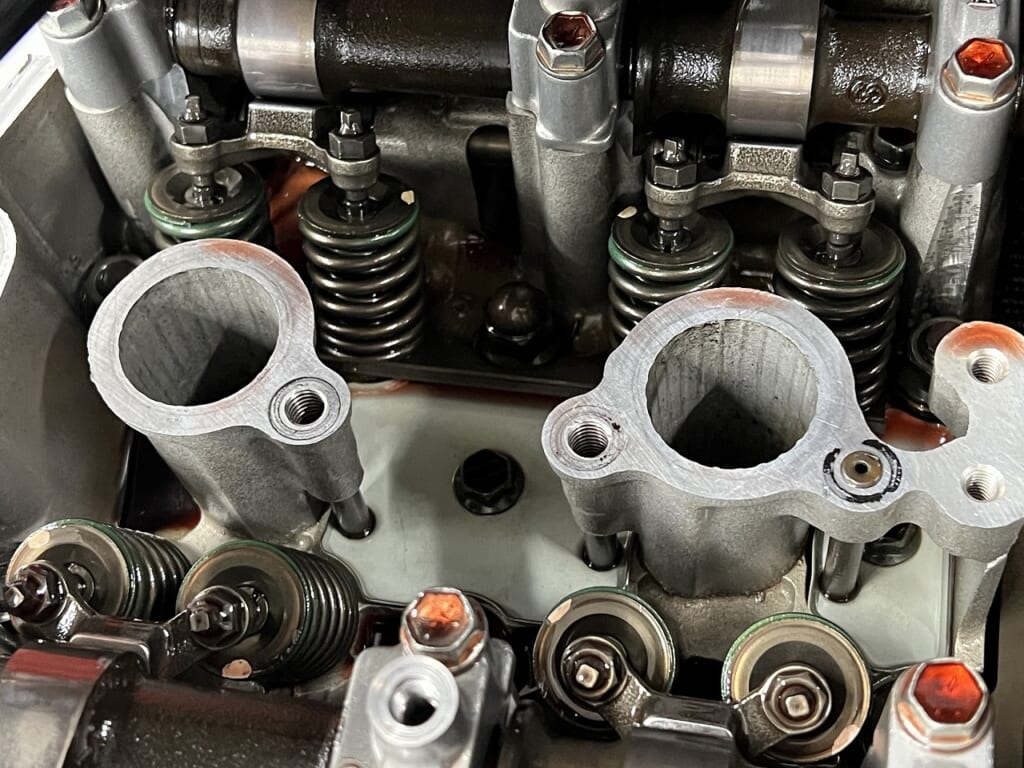
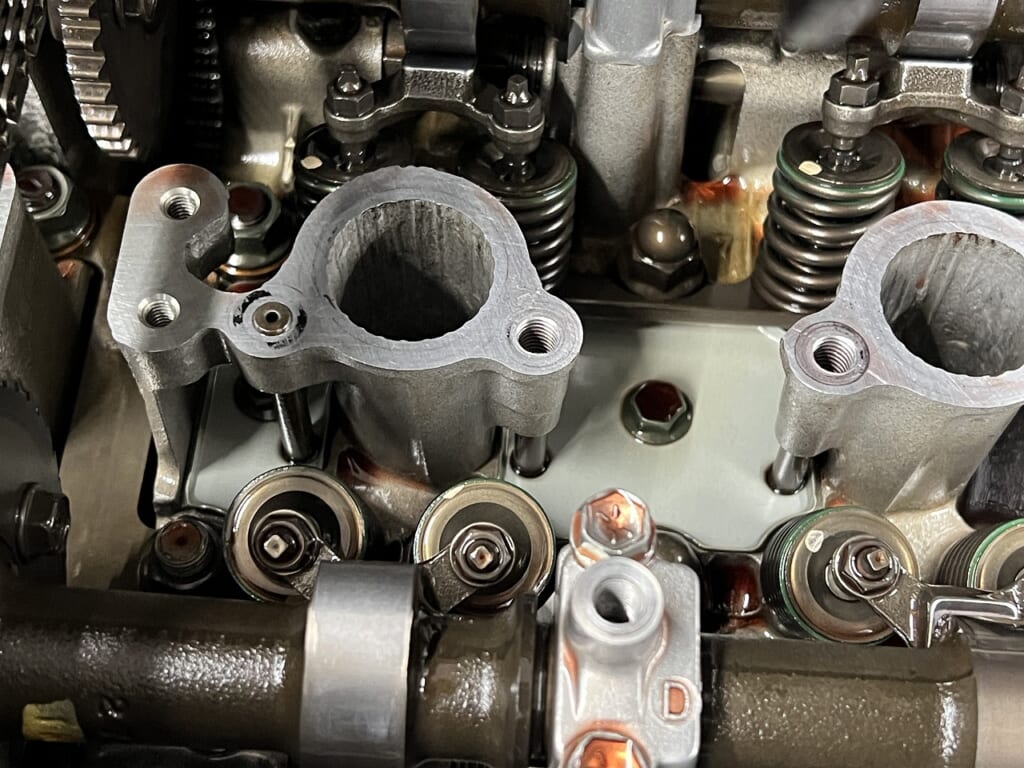
Tappet (valve clearance) adjustment: Opened the head cover and adjusted the valve clearances that had drifted out of spec to their proper values (shim adjustment).
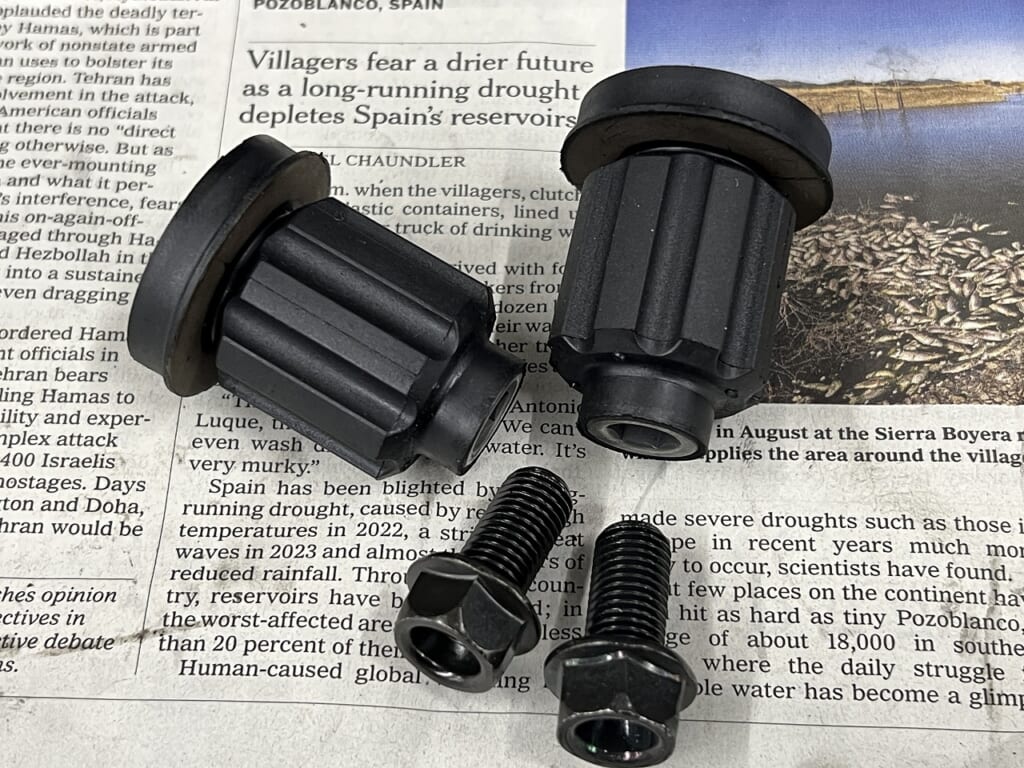
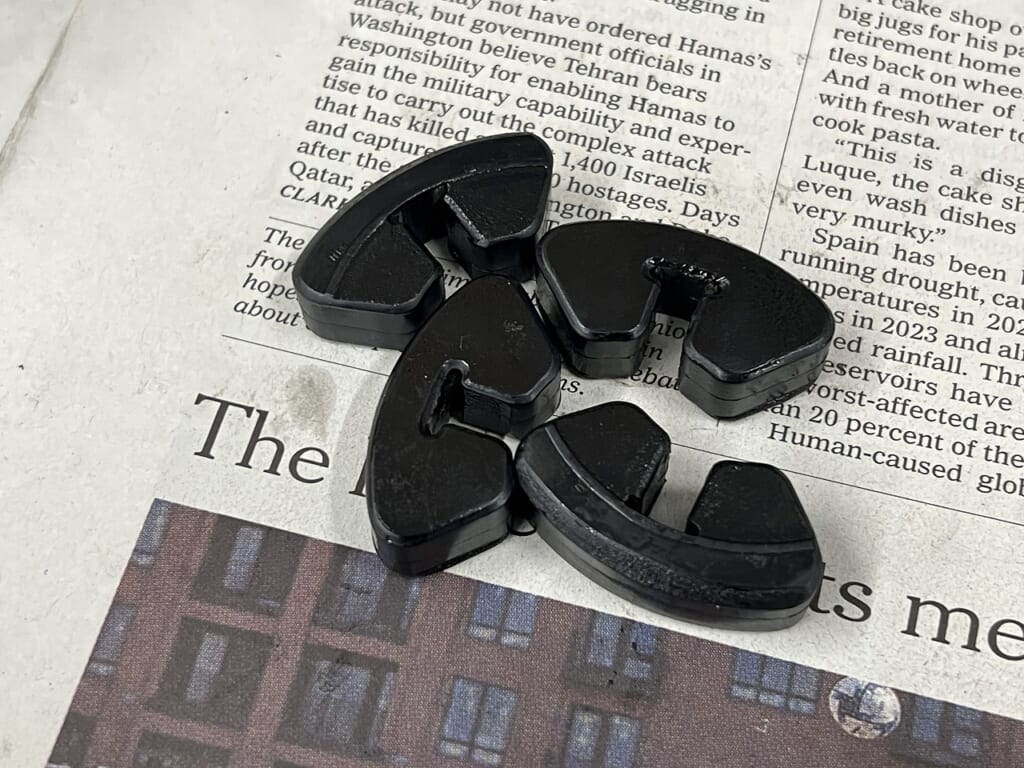
Engine mount damper replacement: Replaced the old, rock-hard rubber dampers that connect the engine to the frame with fresh ones.
Result: The mechanical ticking noise from the engine is gone, and the unpleasant micro-vibrations transmitted to the frame have been beautifully shut out. The silky, powerful ride quality worthy of the final oil-cooled model has been restored!
Decoboco’s other blog. “RURAL GARAGE ”
A hidden room for non-motorcycle topics. We share convenient everyday items, relocation, delicious food, life philosophy and more. ← click
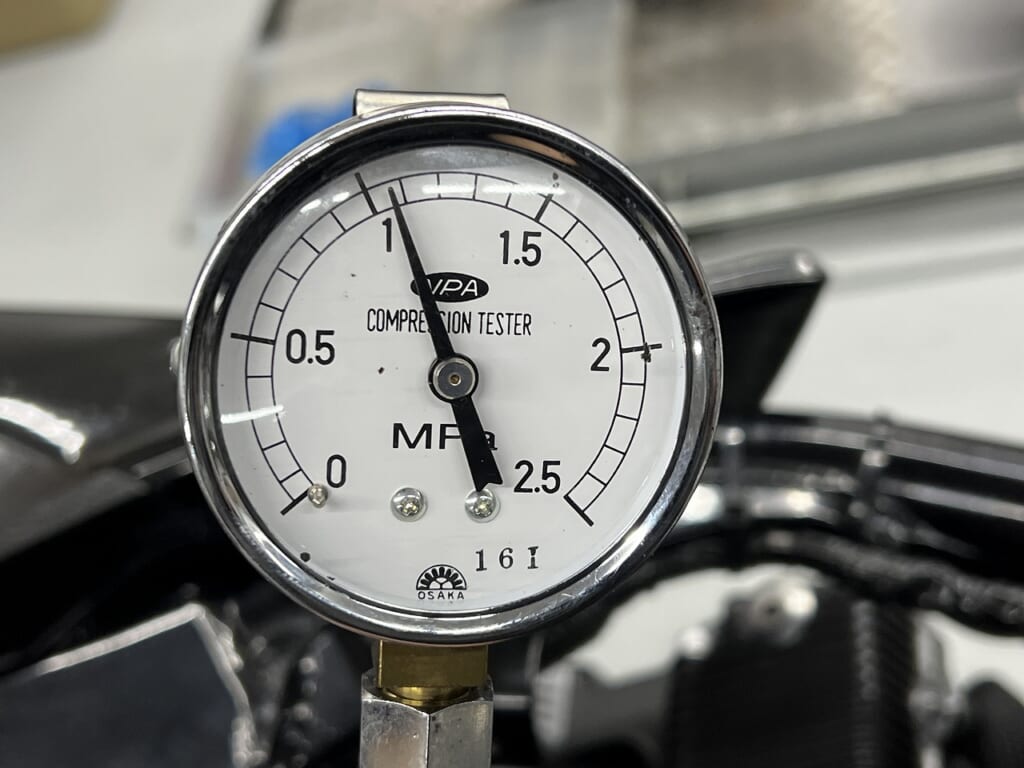
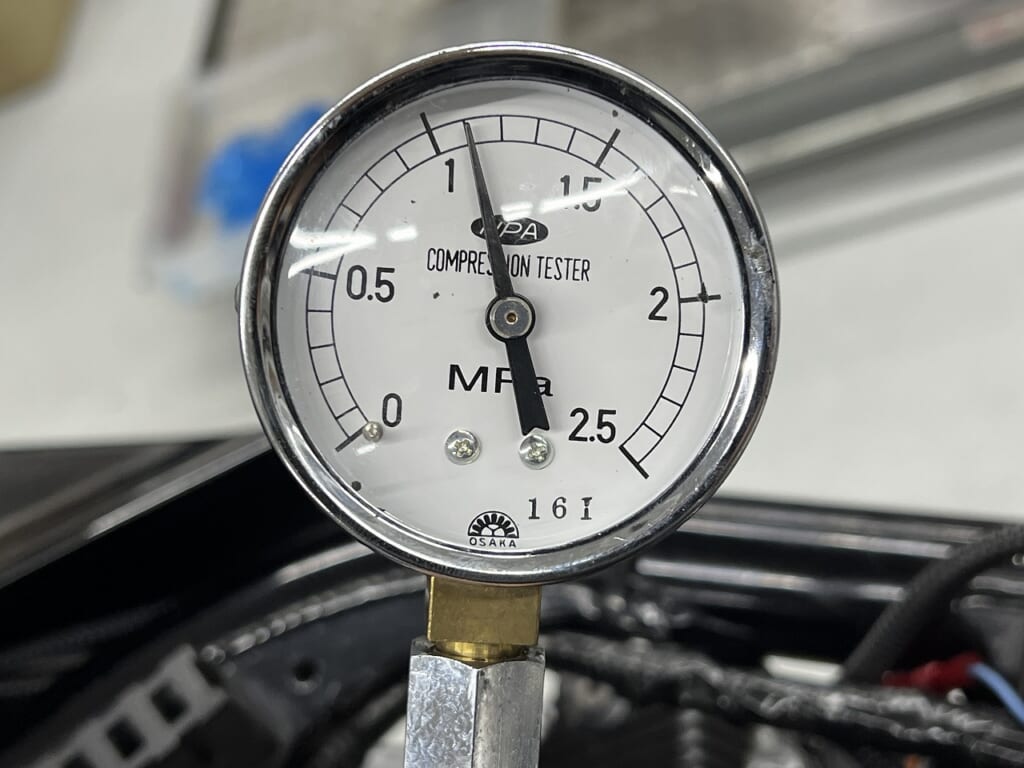
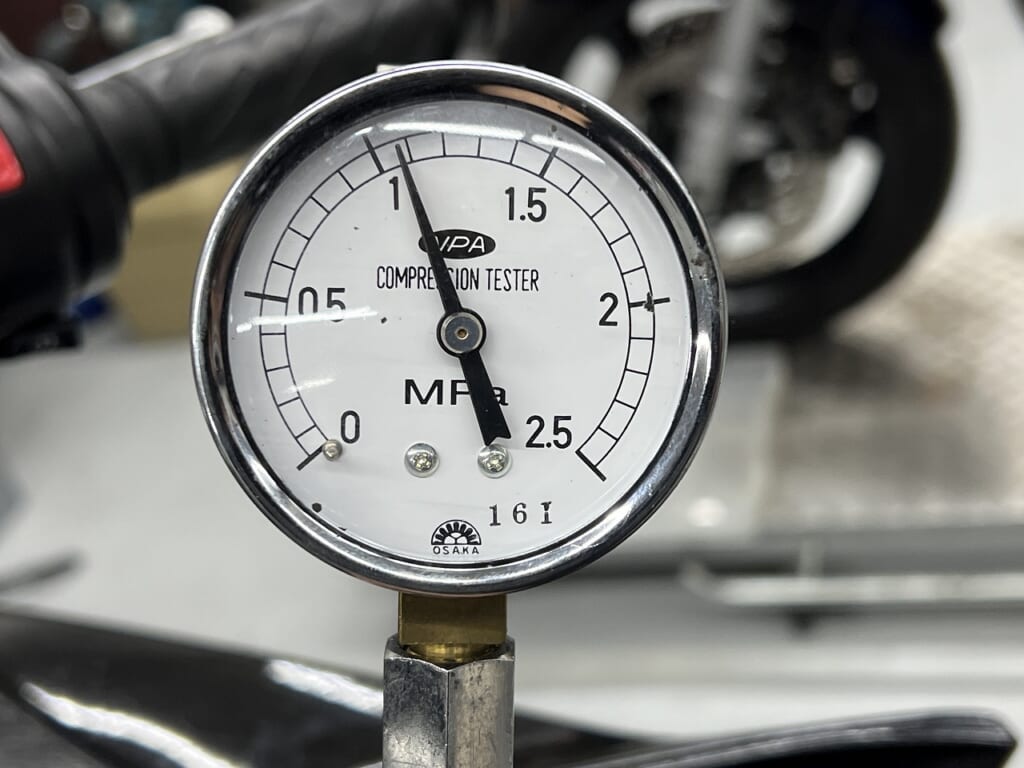
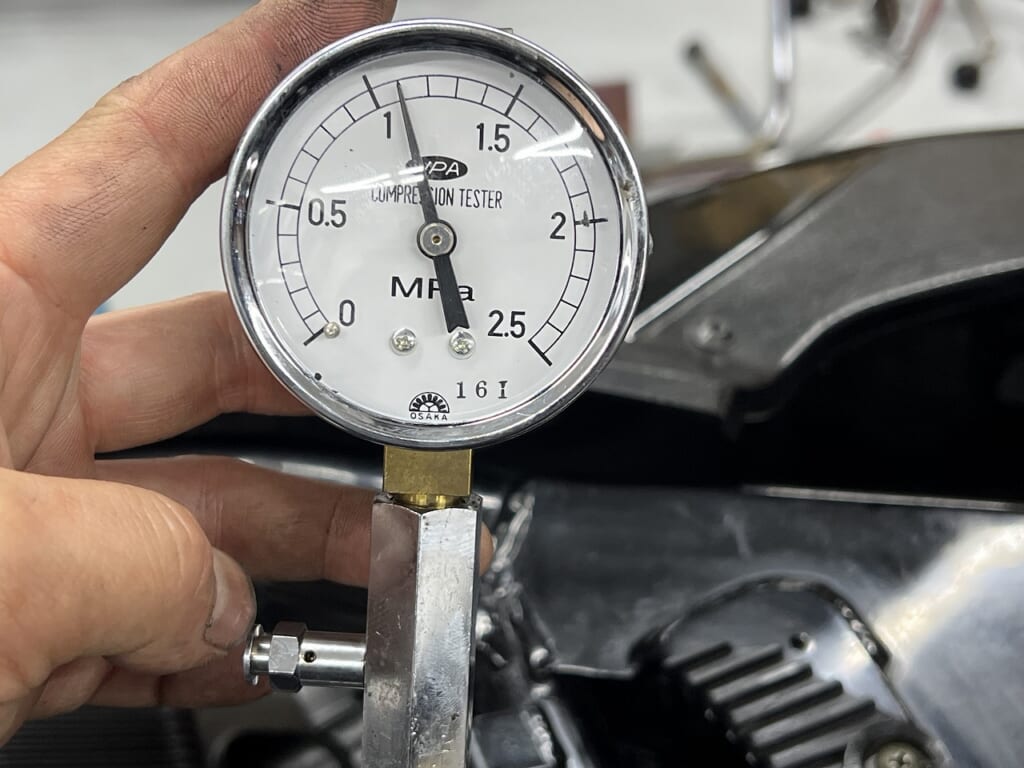
Overall, these are reassuring numbers. The readings will be even higher once the engine warms up. Checking the cold compression is a good way to gauge the engine’s morning condition.
Now let’s proceed with the tappet adjustment.
Since we did the oil-cooled maintenance a few years ago, there was hardly any change. * Thankful
#1 IN
#1 EX
#2 IN
#2 EX
#3 IN
#3 EX
#4 IN
#4 EX
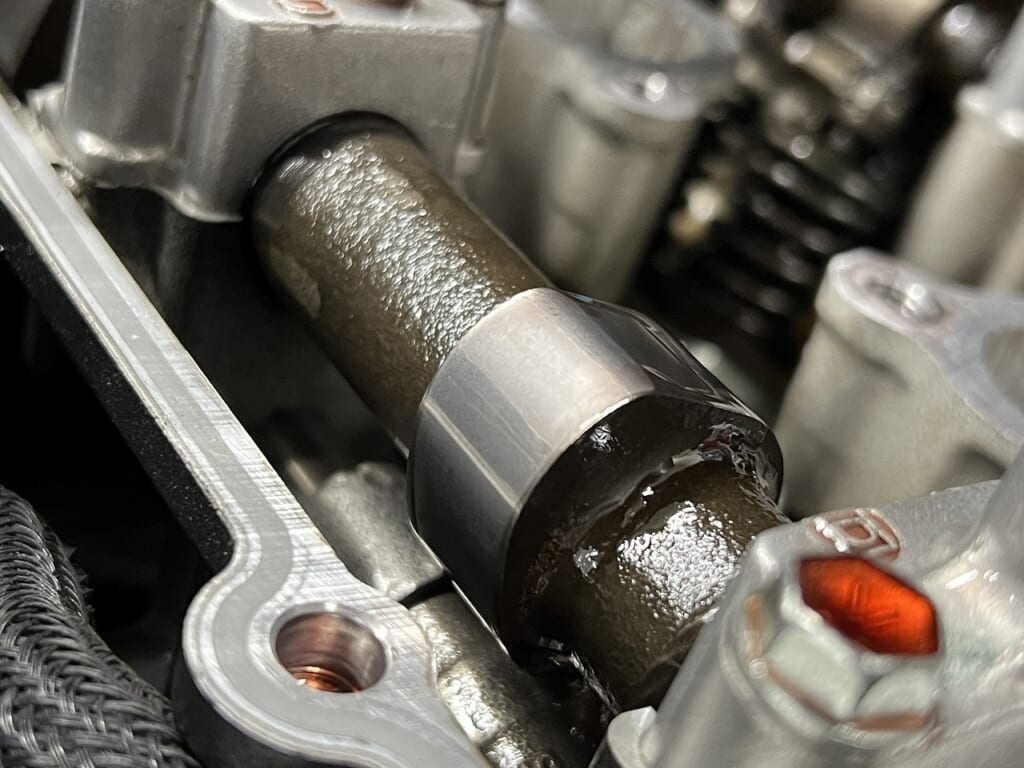
The cam showed no scuffing and was in excellent condition.
The head interior was clean, so the previous owner must have taken excellent care of it.
Engine mount bolt replacement and alignment
The tolerances at the engine mount locations stack up, so the engine can move quite a bit. Especially if there’s a history of crashes.
When I removed the front engine mount, it wouldn’t fit back in easily. I want to loosen it, apply load, and then position it where it seats well and the bolt goes through smoothly.
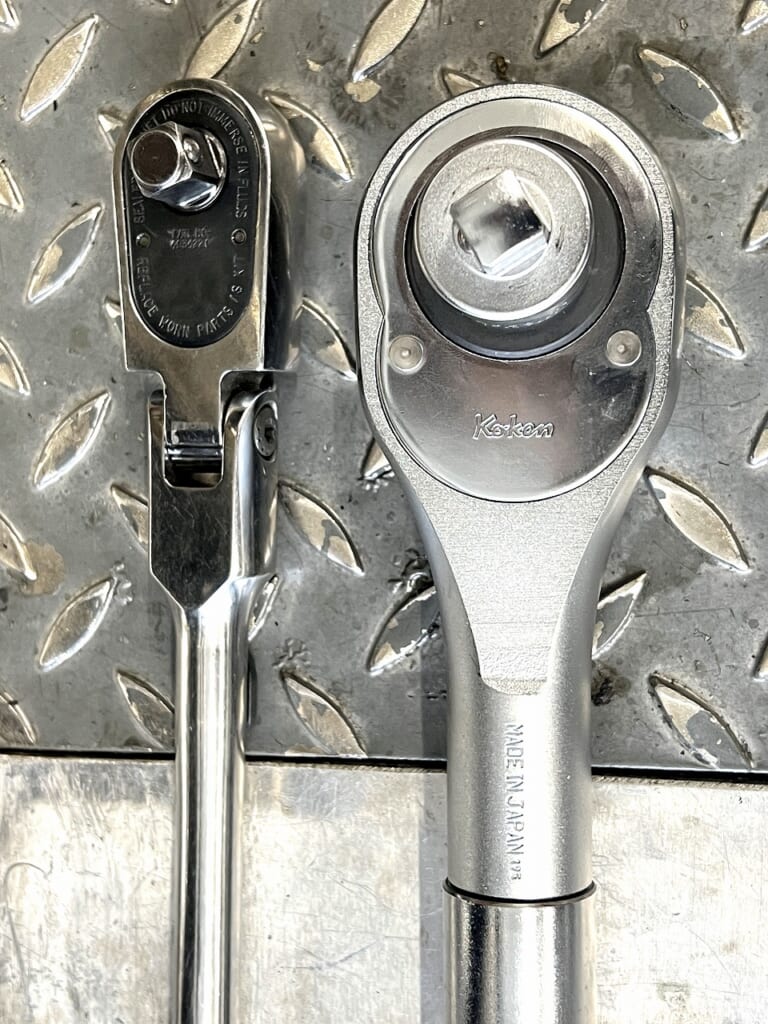
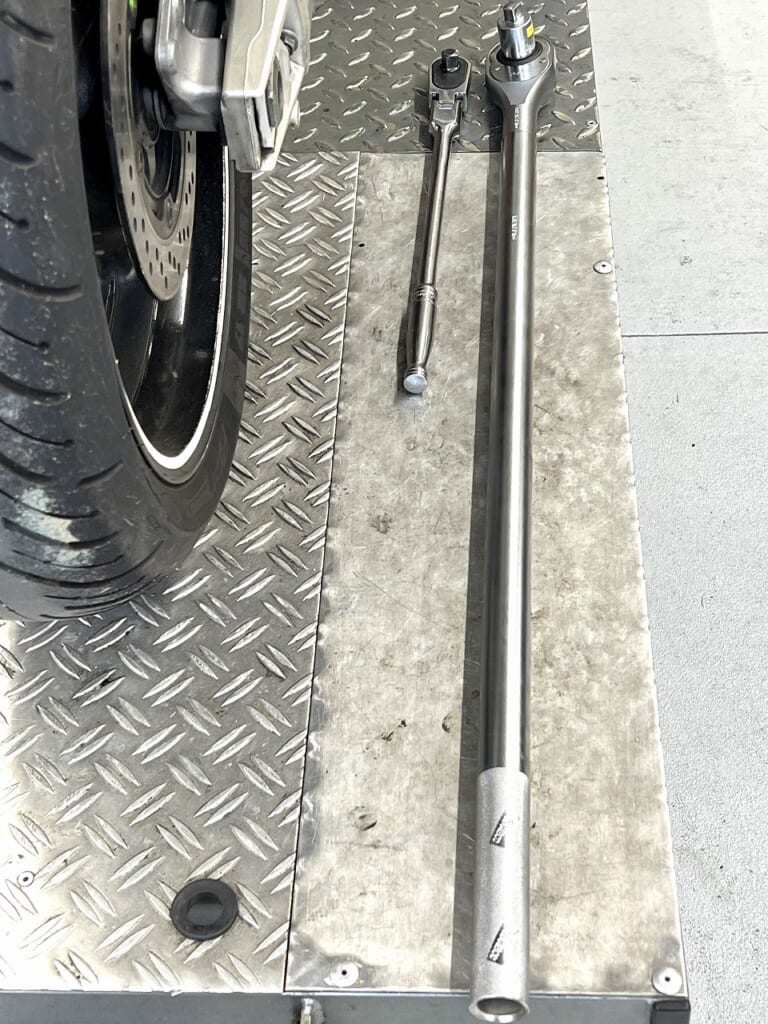
The 1200 series has tons of thread-locking compound, so skip the impact wrench. The difference between a 1/2-inch and 3/4-inch wrench is significant.
With 3/4-inch you’ll have plenty of leverage. With 1/2-inch you’ll struggle quite a bit. If you damage a bolt in a spot like this, it becomes a nightmare, so it’s better not to touch it carelessly.
We basically use Honda bolts. The reason is that they’re reasonably priced and have excellent quality.
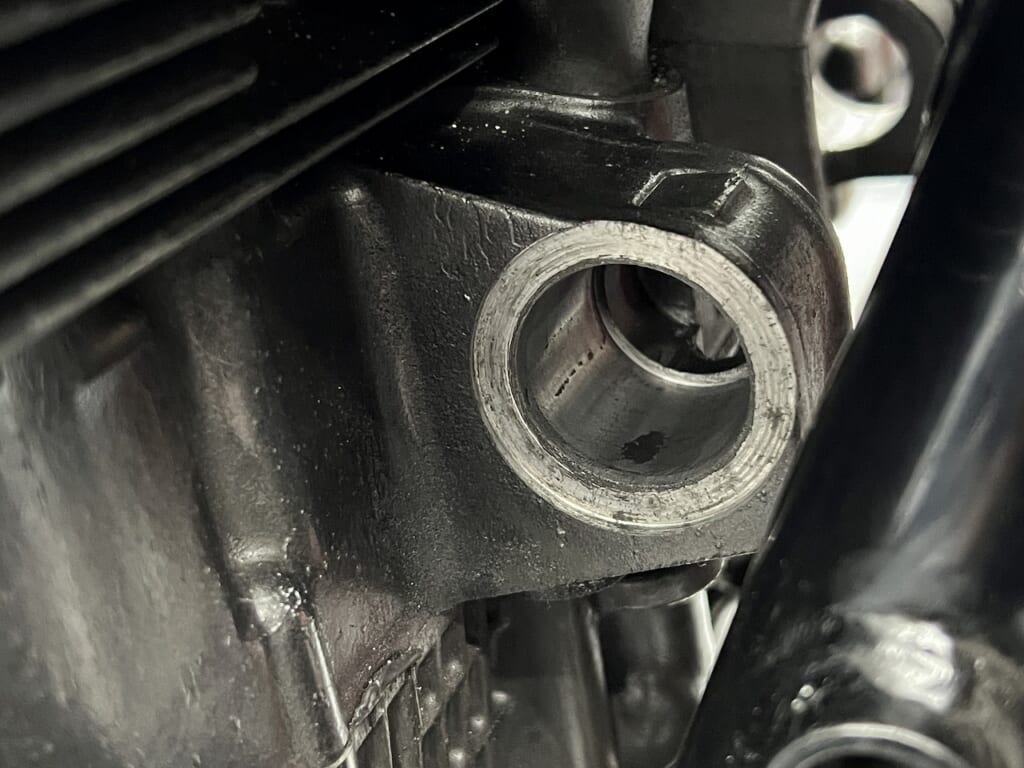
We polish thoroughly and lubricate before assembly. There are actually some units out there where the case has worn down and become loose.
If it wears too much, the damper won’t do its job, so any unit that’s never been replaced should be checked carefully.
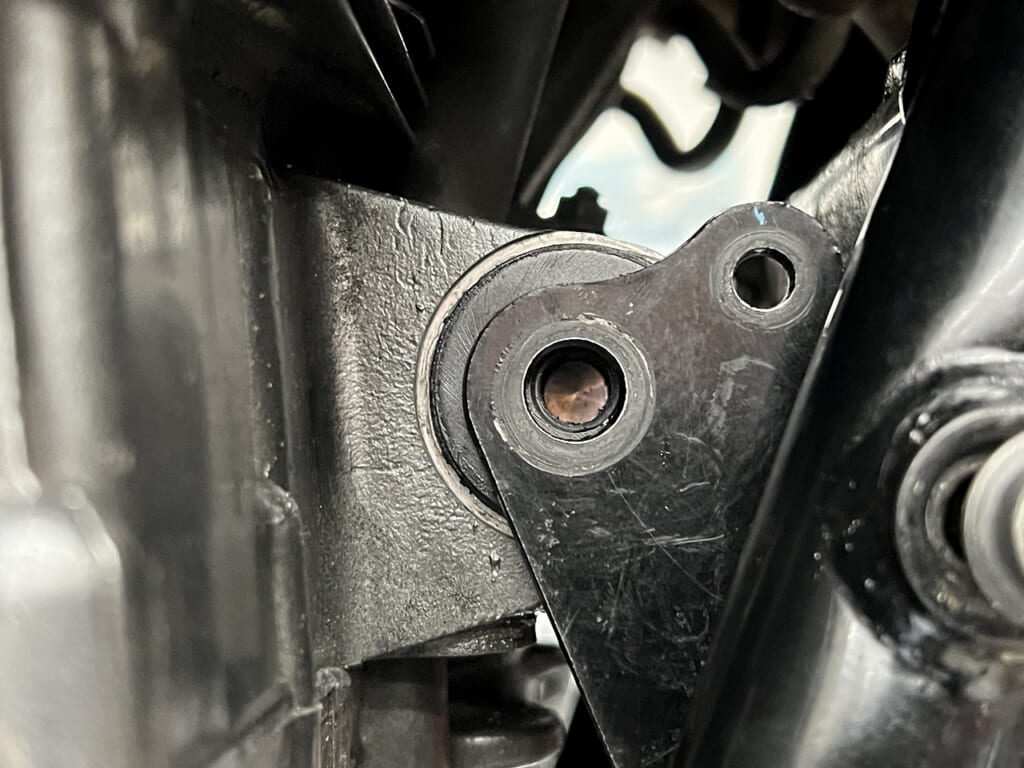
If it slides in smoothly by hand, the damper won’t experience unnecessary stress. When it’s misaligned, the damper will wear unevenly. First, get it perfectly straight! Assembling it in the best possible position given the current state is what matters.
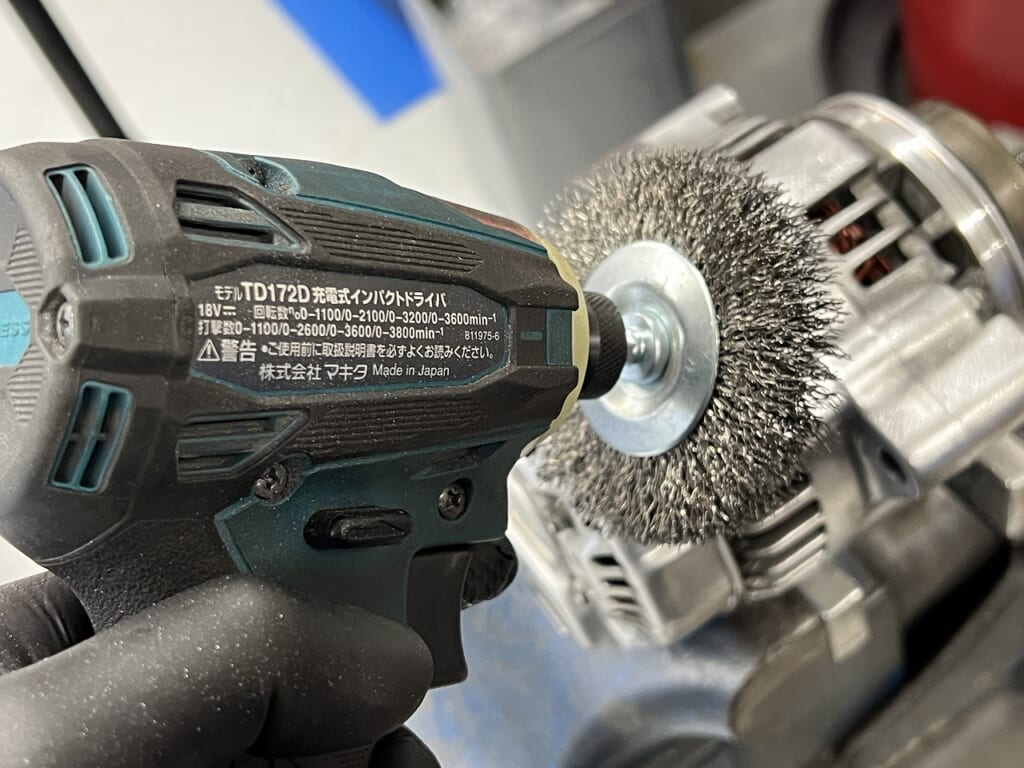
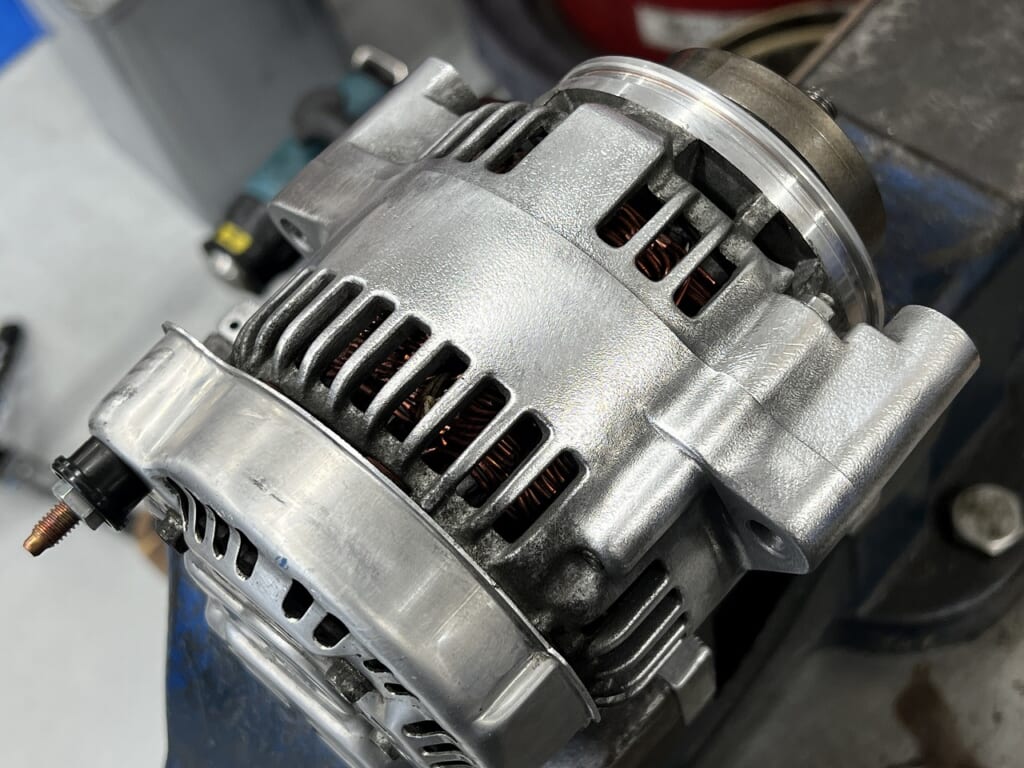
Polish the generator body and replace the damper
The condition was excellent. We replaced this too. The starter motor has also been serviced. Units that have never been replaced tend to become loose and rattle. If you hear clattering from around here, it’s worth checking.
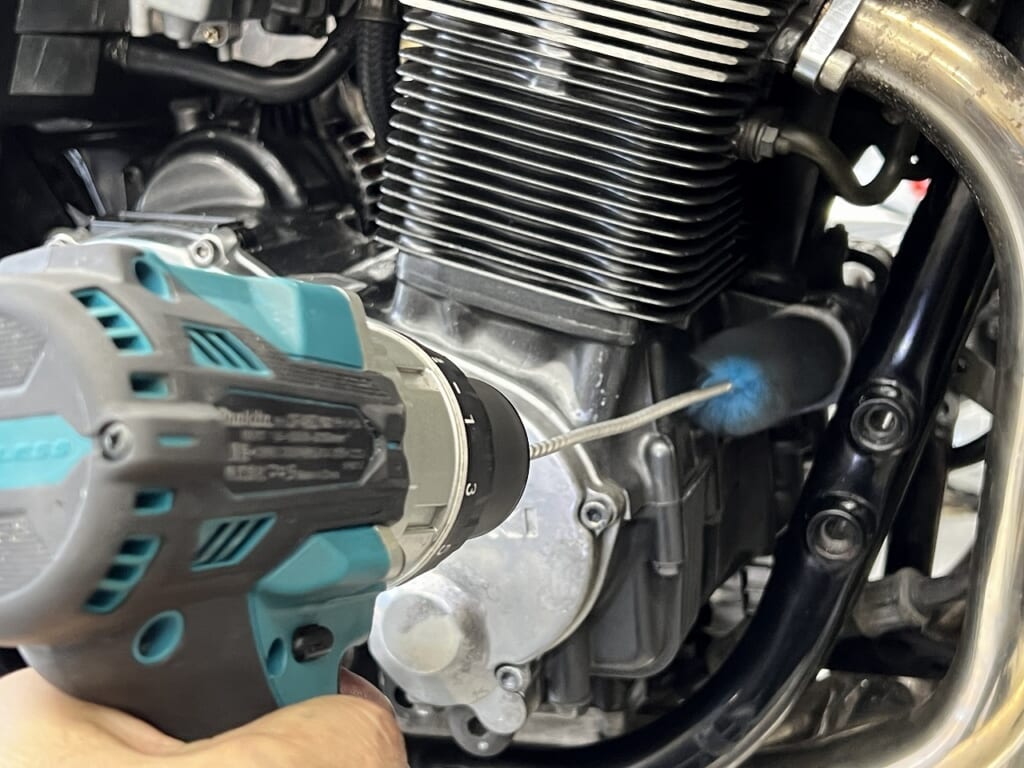
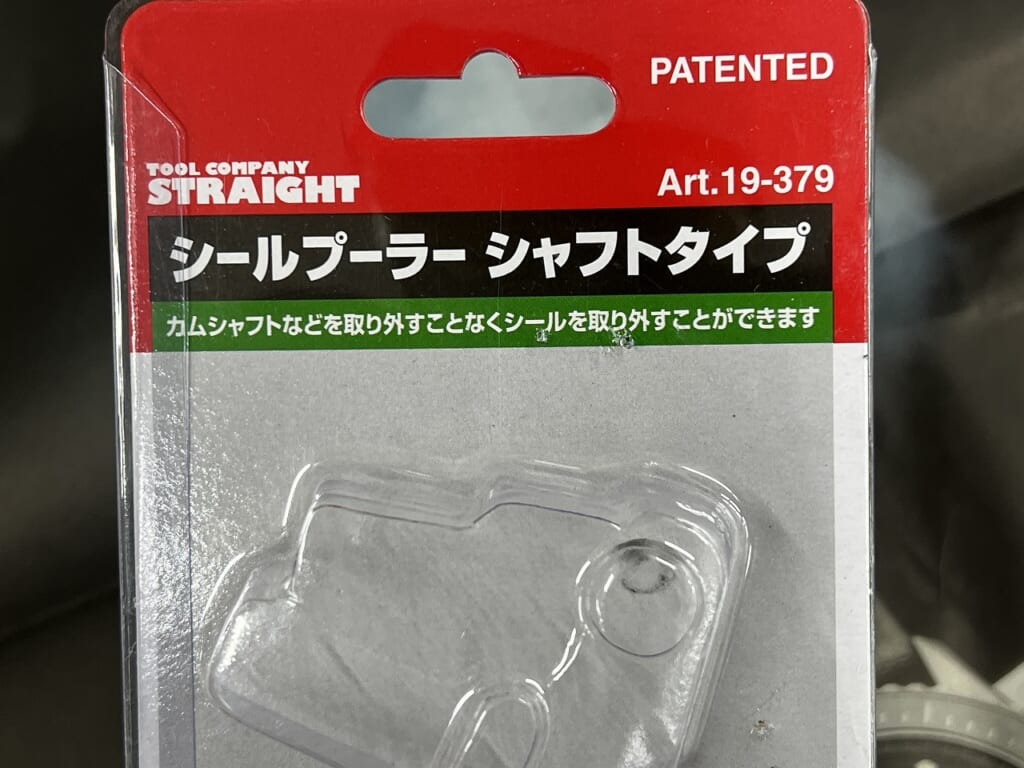
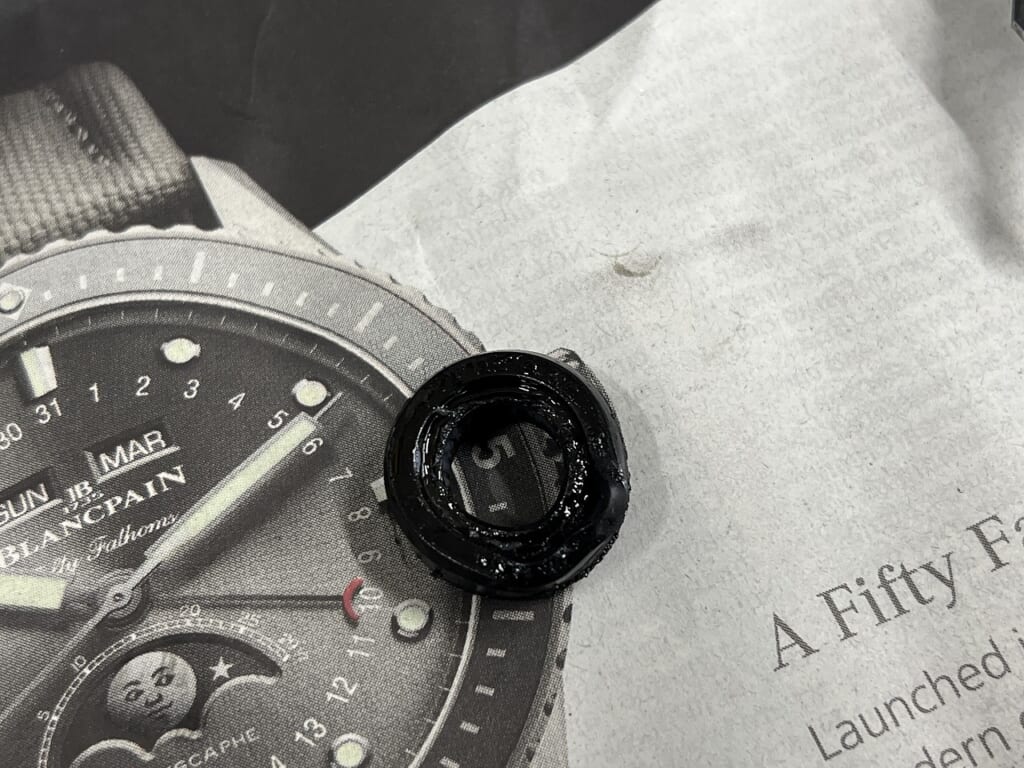
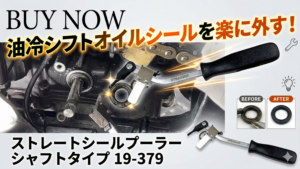
Divine tool: Seal puller shaft type
Thanks to this tool, work goes much faster now. Equipment and tools really are essential. At this price point, I think it’s definitely worth having one.
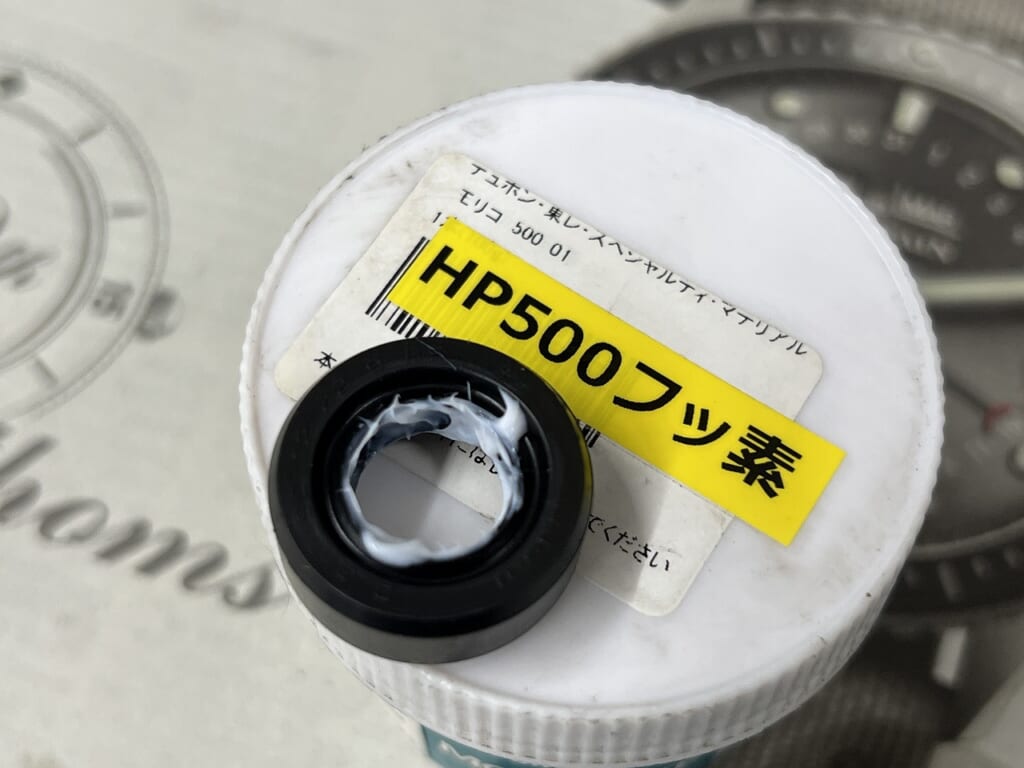
We remove all the original grease and apply HP500 fluorine grease to the lip section. Fluorine grease has excellent lubricity, doesn’t attack rubber, and resists oil, solvents, and chemicals. The benefit of applying it is improved lubrication and better sealing.
We’re essentially using the fact that it doesn’t mix with oil to our advantage. Try to keep it from getting inside as much as possible. After that we’re just waiting on the throttle cable and hose, so we’re almost there!
The core of oil-cooled maintenance: Tappet adjustment and engine dampers on a Bandit 1200. &
Vehicle: Suzuki Bandit 1200 K6. Work: Valve clearance (tappet) adjustment and engine mount damper replacement. Details: After completely refreshing the chassis and brakes, it’s time to focus on the heart of the machine. I opened the cylinder head to precisely measure and adjust the valve clearances, which cures power loss and annoying ticking noises. Next, I replaced the old, plastic-hard engine mount rubber dampers with fresh, elastic ones. Verdict: The mechanical noise is gone, and the new engine dampers completely absorb the unpleasant micro-vibrations. The engine now feels incredibly silky and powerful. This is how the final oil-cooled model was truly meant to ride!


 ポチップ
ポチップ