I’ve been a bit slack with blog updates lately… I’ve got various bikes in different stages of work, so it’s hard to focus on just one.
September’s already here before I knew it. Just four months left—September, October, November, December. A year really does fly by. I want to live a more fulfilling life, but that’s easier said than done.
Enough complaining—time to get to work!
Today’s Brake and Control System Tuning Log
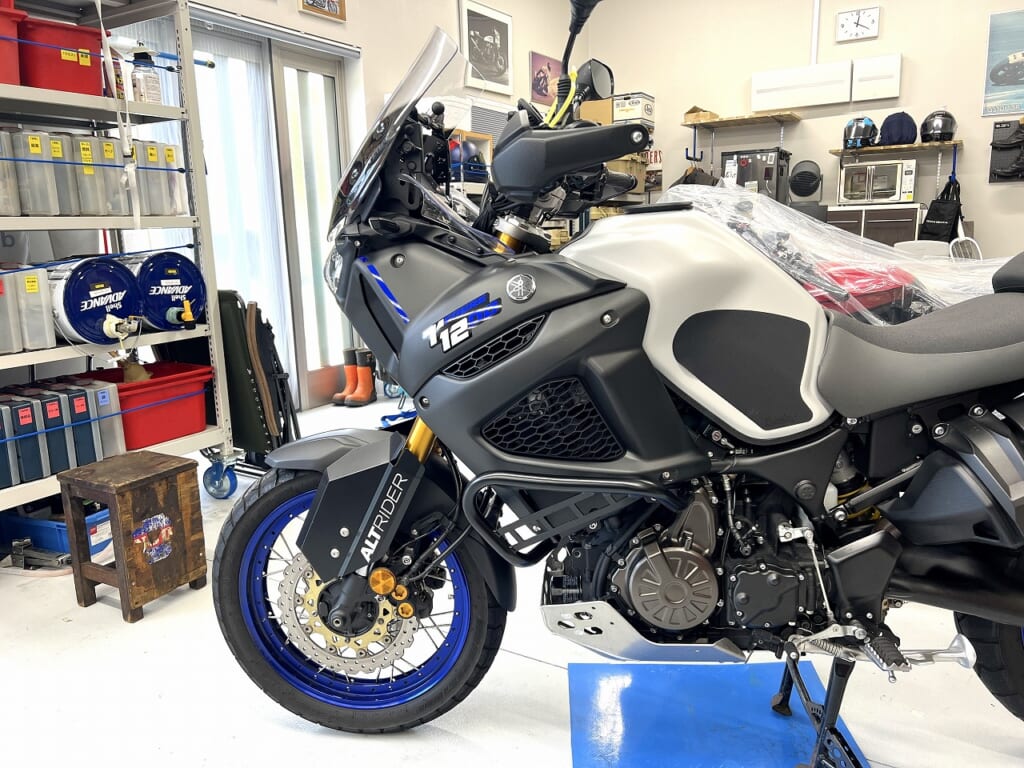
Target Vehicle:Yamaha XT1200ZE Super Ténéré (Super Ténéré 1200)
Goal of the Installation: Optimize braking input control for this big adventure bike weighing over 260kg so it can be modulated with fingertip precision. Eliminate the vagueness inherent to side-pull masters and drastically reduce hand fatigue during long-distance touring.
Key Technical Challenge: Precise positioning of banjo angles and brackets to avoid interference with the adventure bike’s large handguards, switchbox, and windscreen. Complete fluid replacement and thorough air purging deliver that perfect lever feel—crisp engagement with progressive pressure buildup!
When I say “new,” it’s already 15 years old. At our shop where carburetors still reign supreme, this counts as a pretty modern bike.
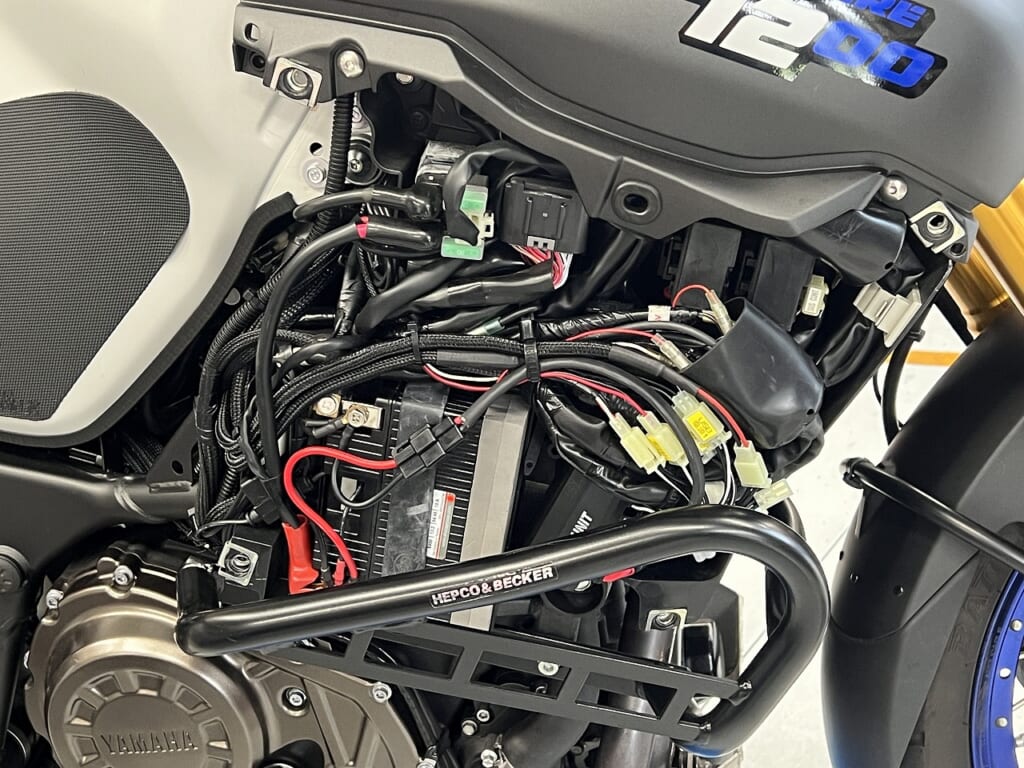
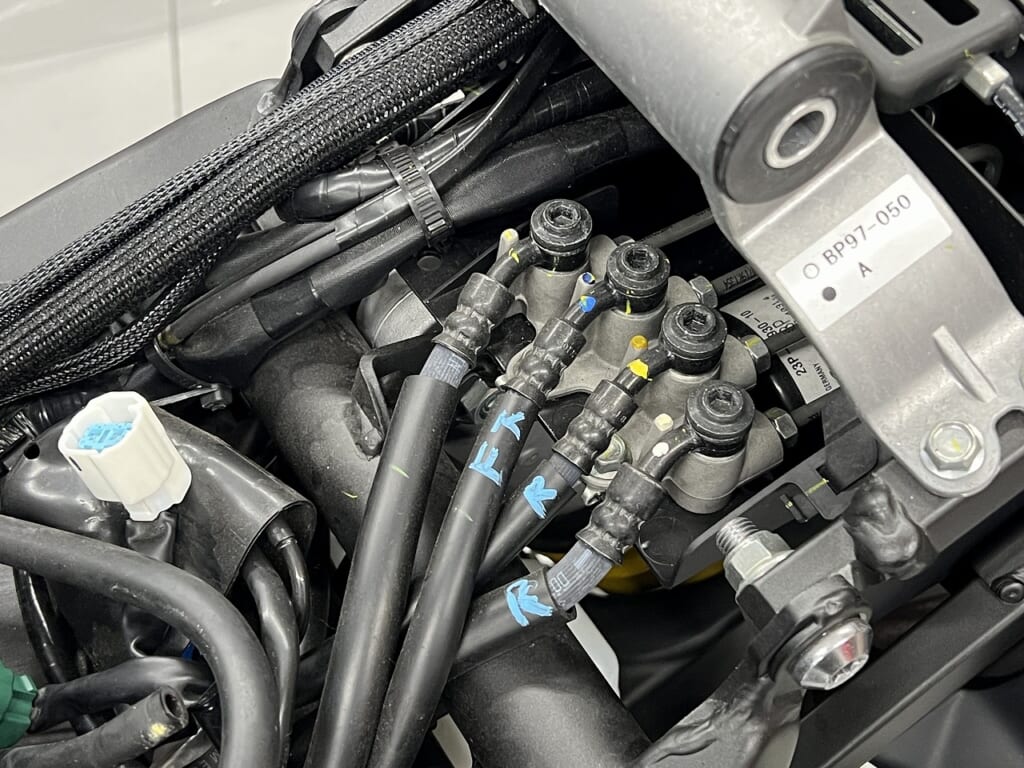
Just looking at the wiring makes me go “ugh…” Electronic control really is amazing when you think about it.
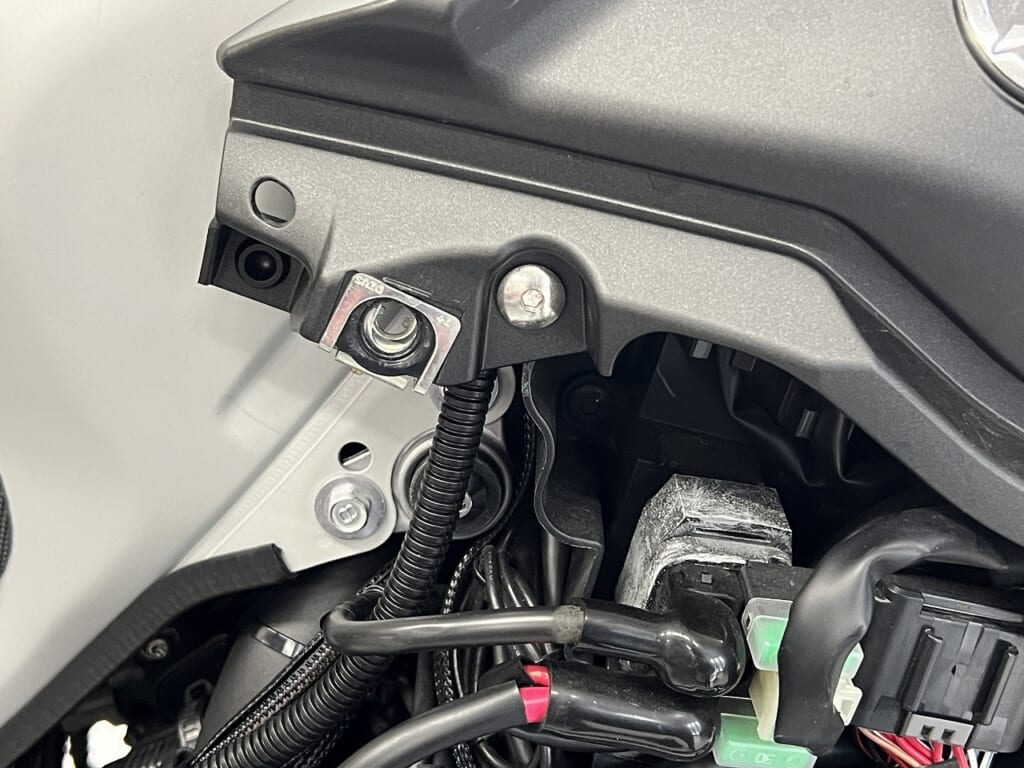
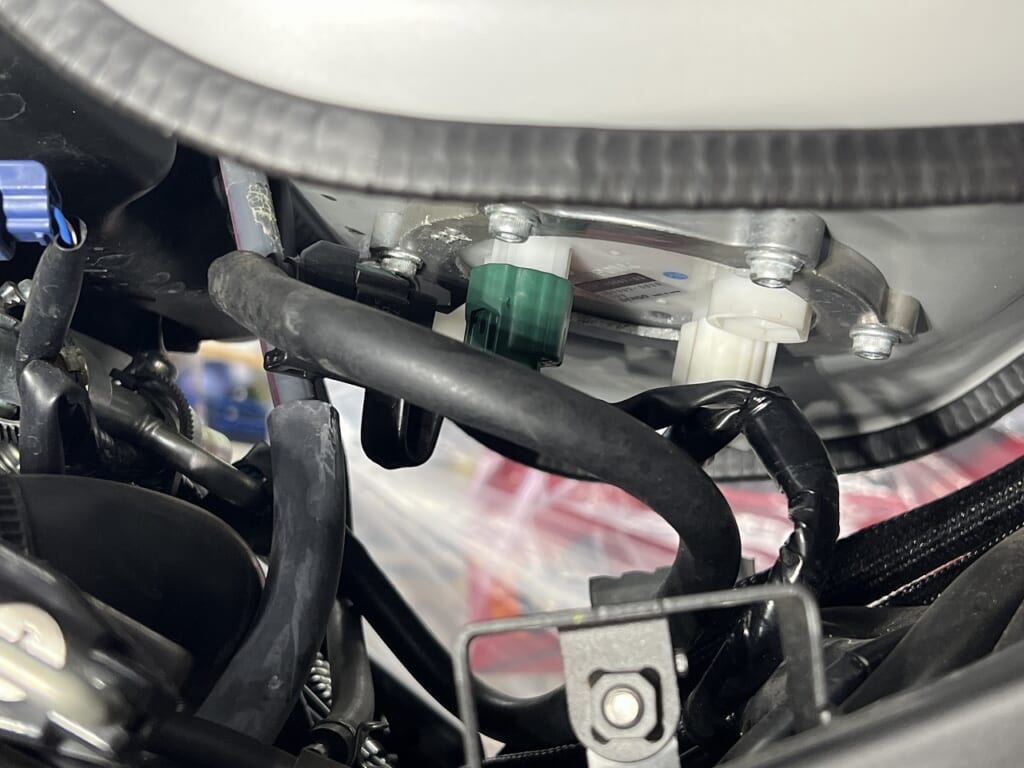
Yamaha really is“generous with quick fasteners—so elegant” combining design and serviceability beautifully. It’s genuinely impressive.
I was browsing parts and thinking… a starter relay that can handle this 1200cc engine seems pretty decent?
I’m documenting everything with photos so I don’t lose track.
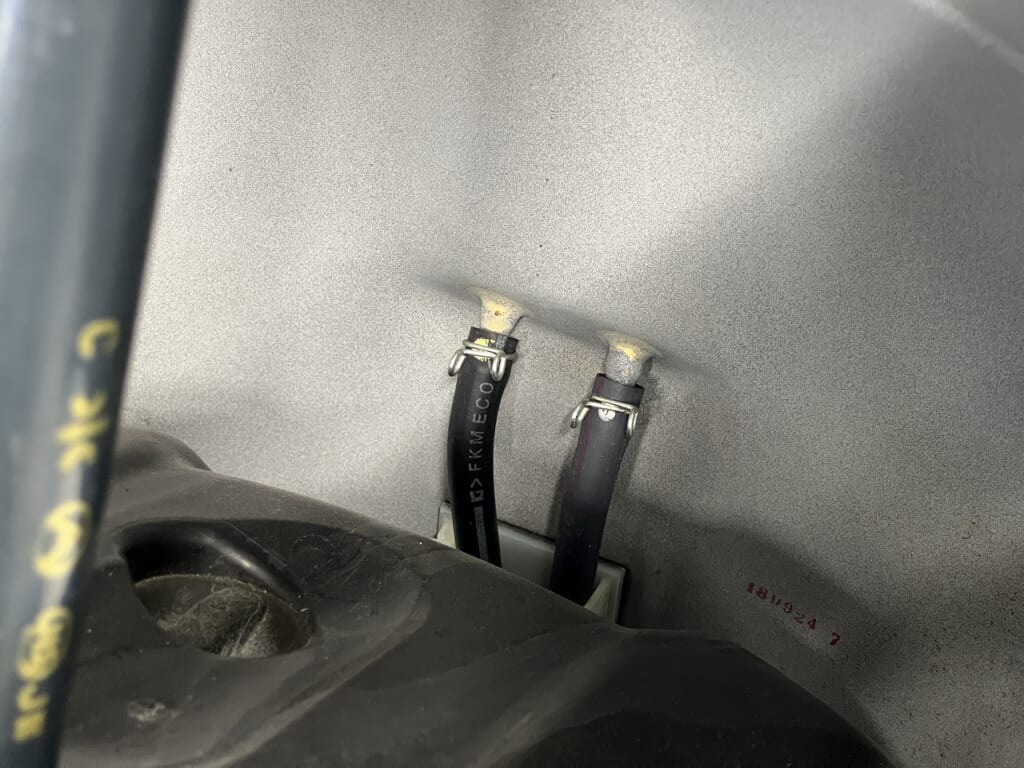
I’ve traced the lines all the way to the ABS unit. There’s an incoming and outgoing line… I need to double-check before ordering parts. Thankfully the banjo bolt setup is pretty standard—no surprises there.
Let’s start with the simpler clutch master swap.
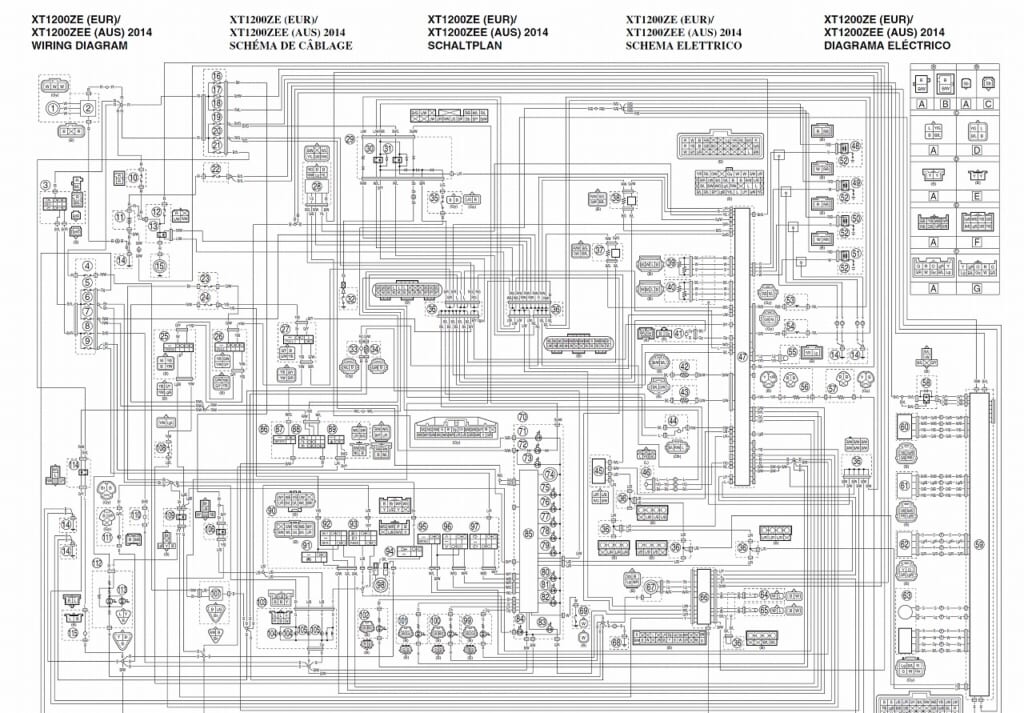
The wiring diagram doesn’t match…
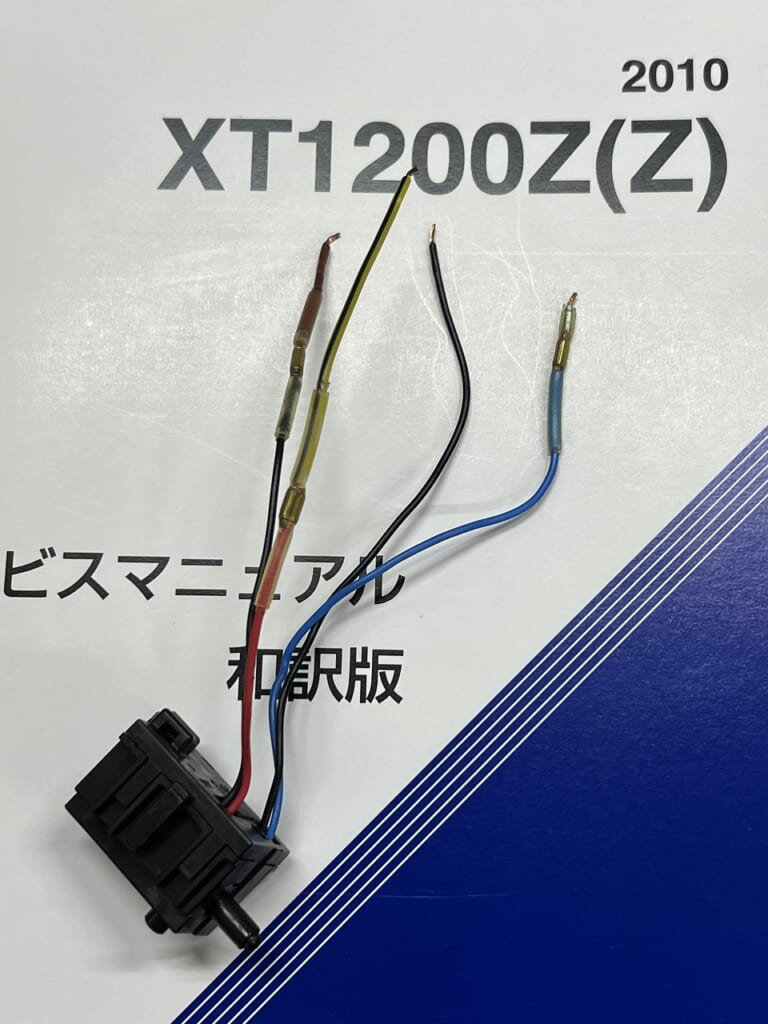
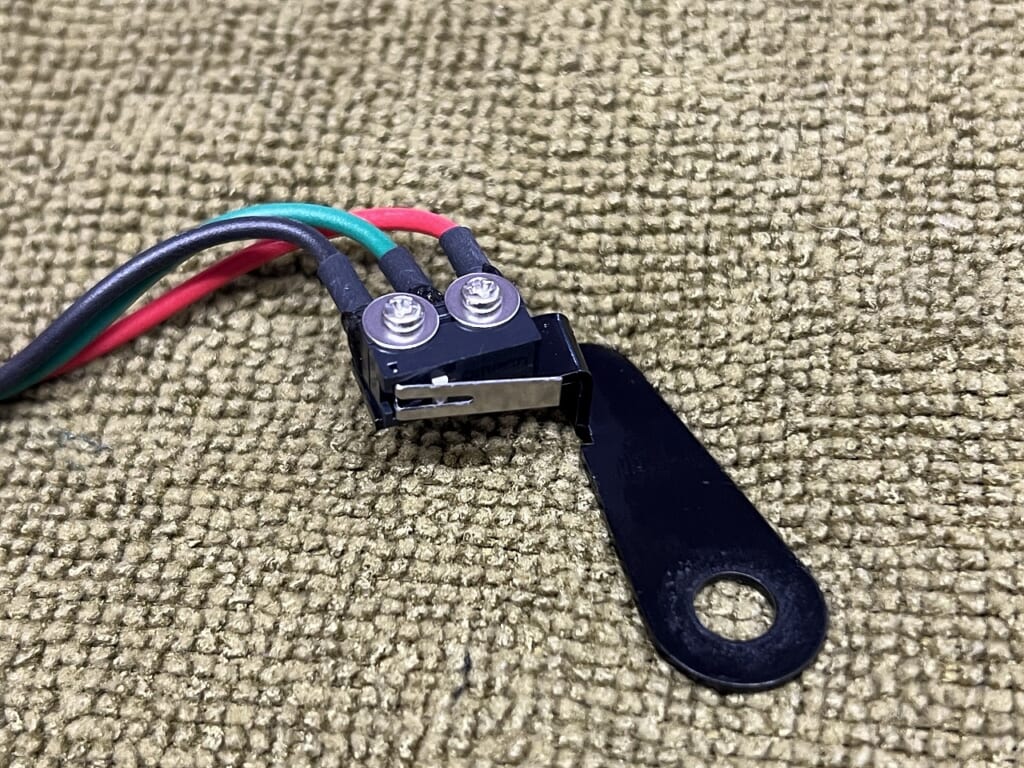
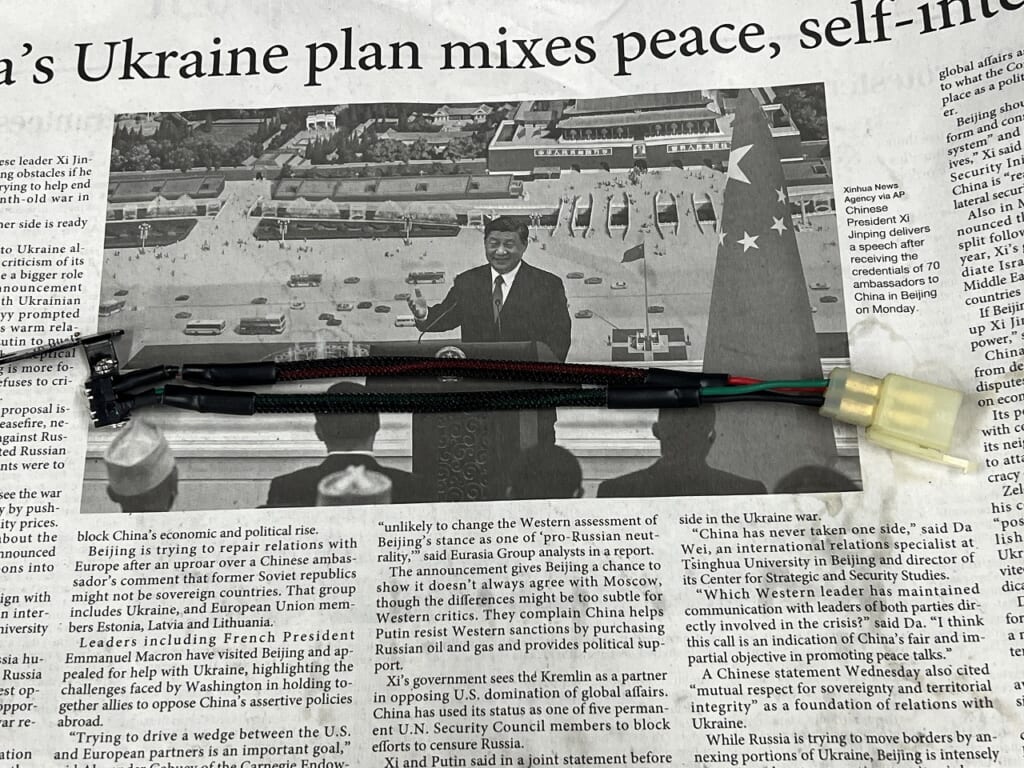
I was trying to cut the connector to keep it reversible, but… wait, there really are four wires? Hmm, that’s odd… Tracing wires on a bike like this is nearly impossible.
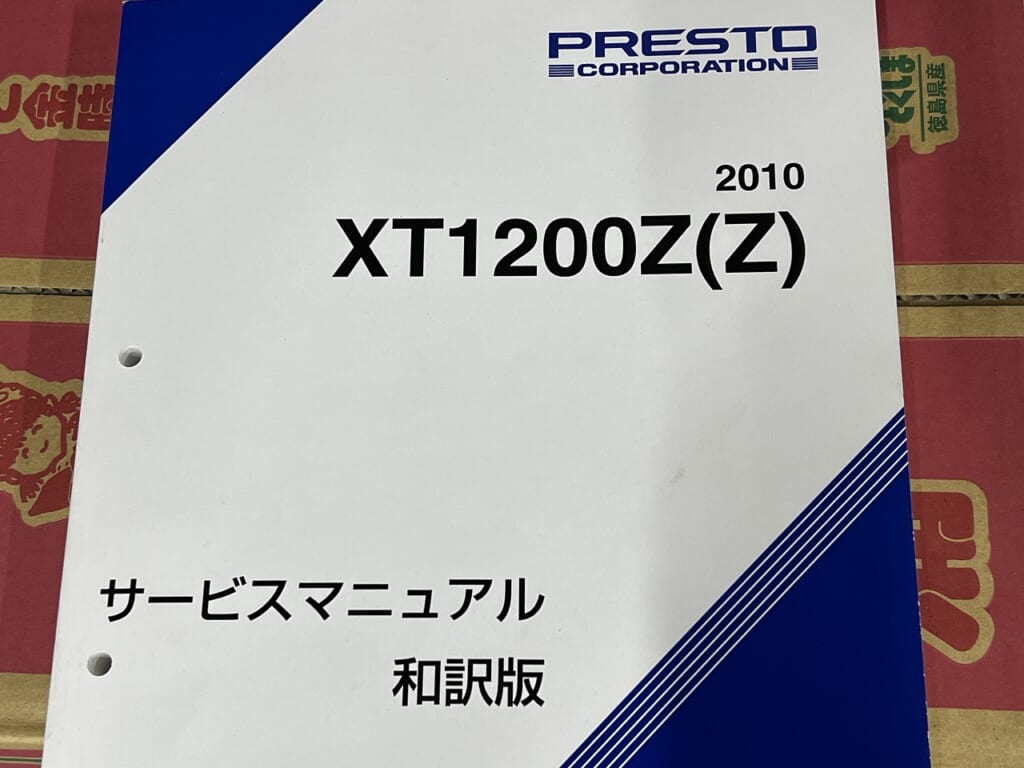
After some digging, I realized this bike is“XT1200Z”not“XT1200ZE”—a completely different model. The wiring diagrams are totally different.
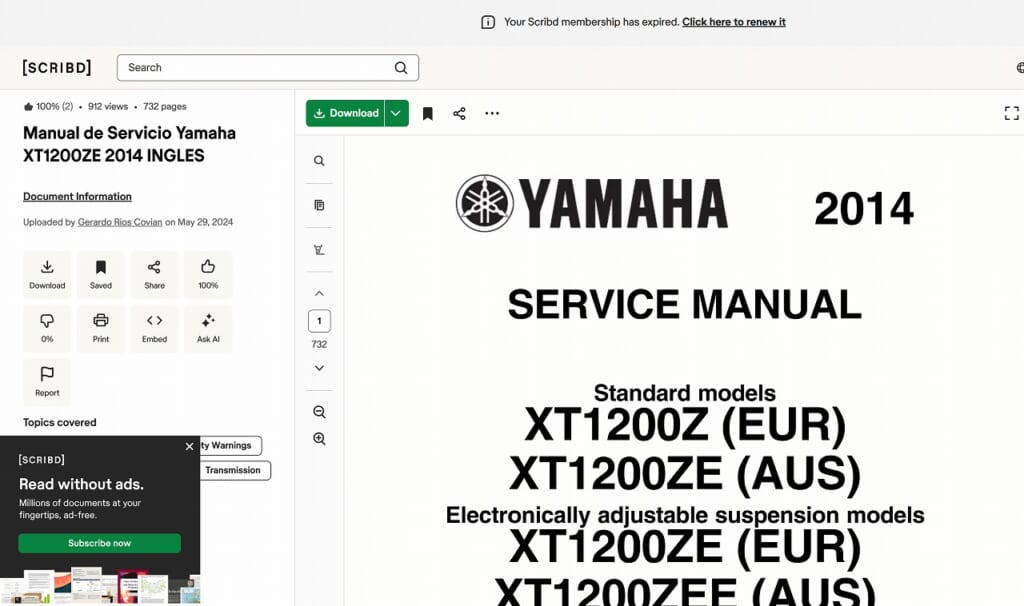
The manual sites I know don’t have such recent models. But without wiring diagrams, I’m stuck, so I dug deeper and found…
A site with all sorts of documents. It’s Google-certified, so it’s safe according to Gemini5. To download, you either“upload 5 documents”or“subscribe”.
When I worked on this, the site was having issues and uploads were down for several days. *So I basically waited. Since the first 30 days are free, I signed up, downloaded, and then canceled. You can view documents for free without downloading.
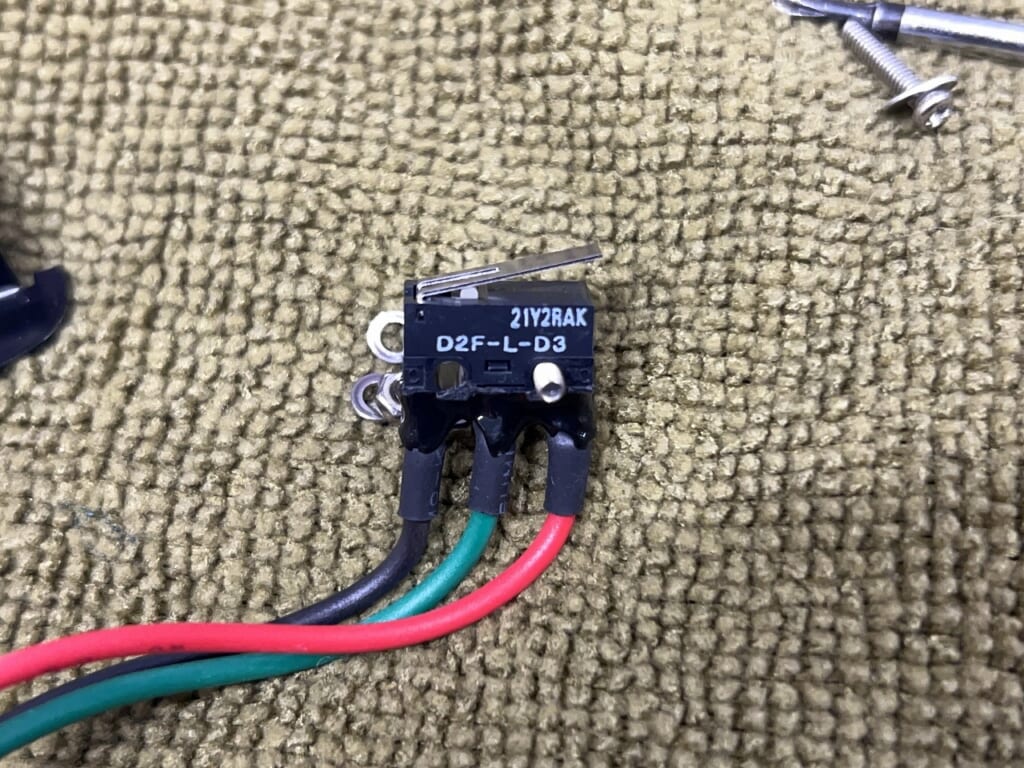
After downloading and tracing, I found… with three terminals, you can’t mess around. The standard setup is clear: “two wires conduct when ON” and “two wires conduct when OFF.”
Parts Procurement Prep
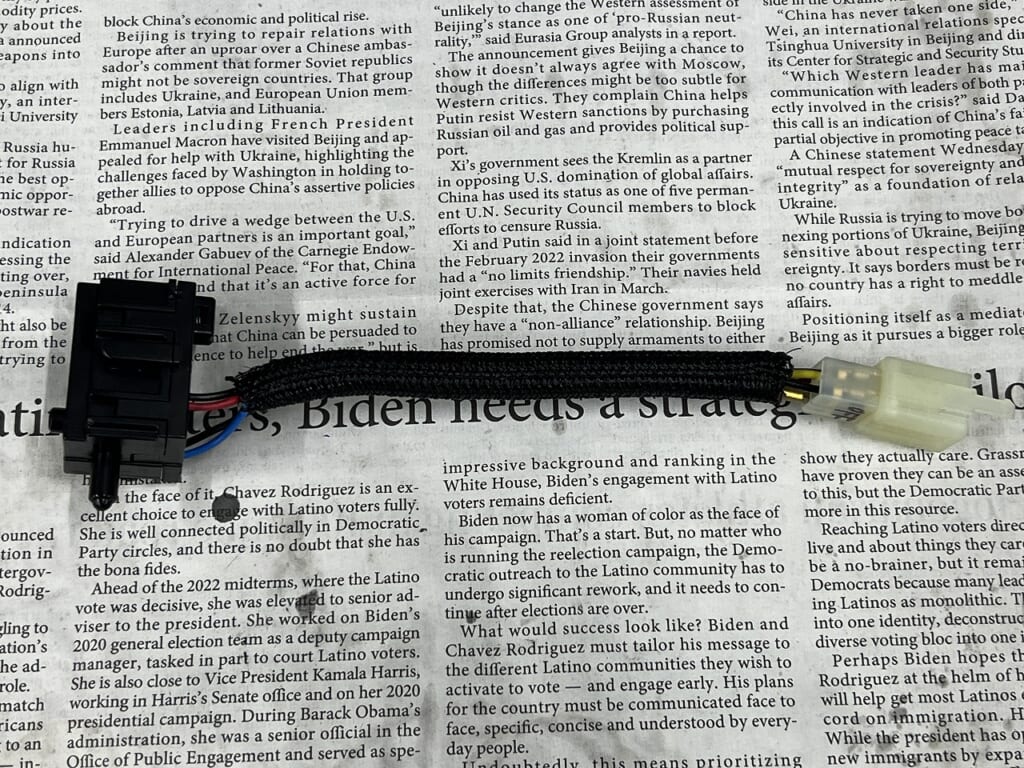
The switches use D2F-L-D3, so I ordered the same ones. Since I’m going dual-row, I also need longer M2×16 screws.
This prep work is surprisingly time-consuming. I ordered everything from Monotaro, thinking of it as part of the learning process.
Is There a God? A Miraculous Perfect Fit
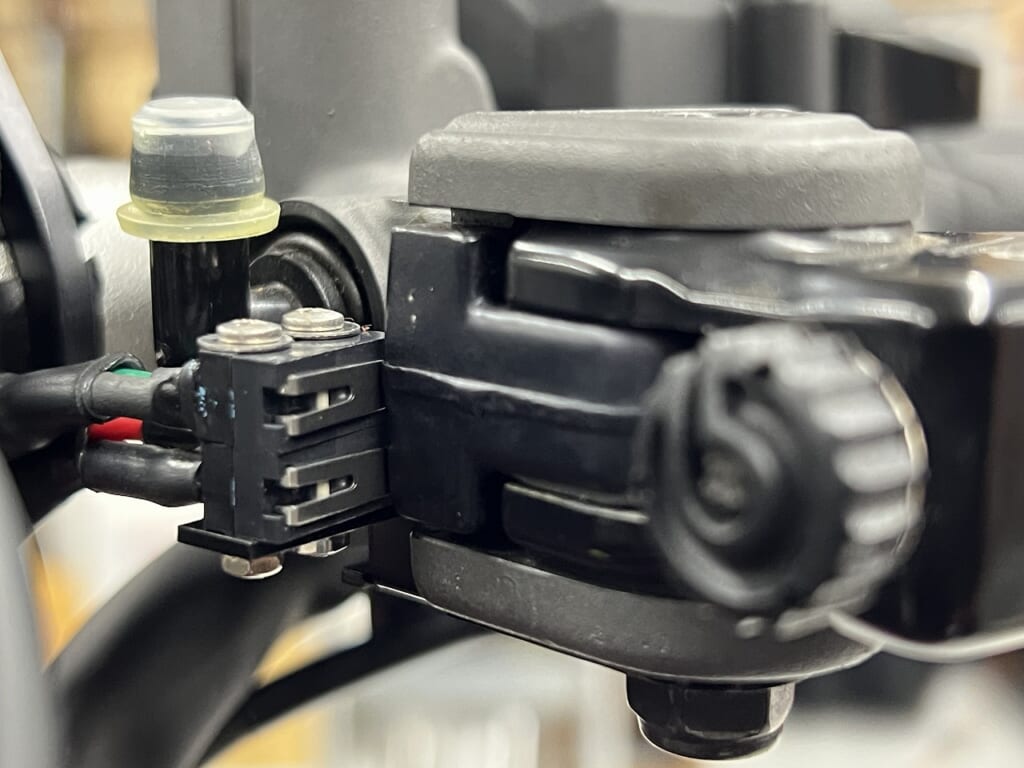
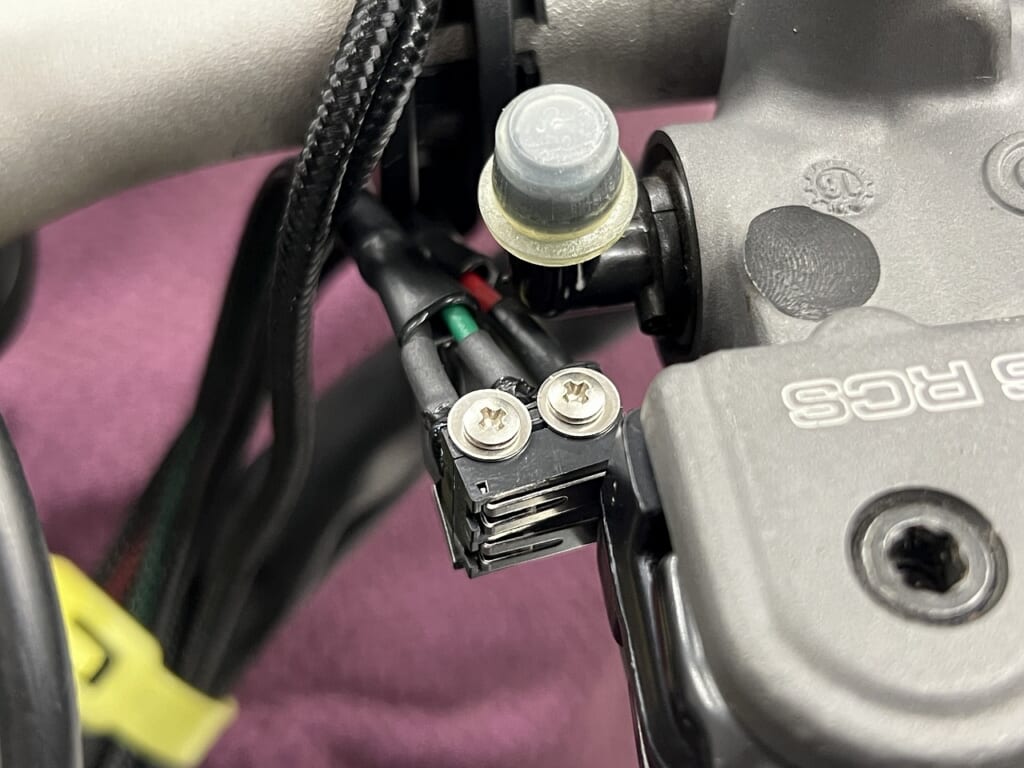
I was saved by the generous clearance that allows dual-row configuration. I’d imagined needing to machine the lever side too, but it fit as-is.
I set up the switches so each can be replaced individually. Bundling them together would confuse me later, and keeping them separate makes future work easier.
I made sure it can be reverted to stock. If I ever sell the bike, I can just swap it back (*´ω`*)
So I’m stumbling right from the start. Let me install the clutch first and take it slow.
Yamaha XT1200ZE Super Ténéré (Heavyweight Adventure Tourer).
Topic: Installing and precision-fitting a Brembo RCS Radial Brake Master Cylinder. Details: Happy Thursday night from the Decoboco tech bay! Tonight’s upgrade focuses on braking control for Yamaha’s flagship adventure tourer, the XT1200ZE. Weighing over 265kg, this machine demands refined, linear front brake modulation rather than brute lever force. We replaced the OEM axial master with a Brembo RCS radial pump. The main technical challenge on adventure rigs is clearance: we precisely tailored banjo angles and reservoir brackets to clear large OEM handguards and the windshield at full steering lock without binding brake lines. Verdict: Radial geometry and complete air-bleeding deliver silky-smooth initial bite and deeply progressive braking pressure. Controlling a heavyweight tourer with just two fingers drastically reduces fatigue on epic highway journeys!




 ポチップ
ポチップ