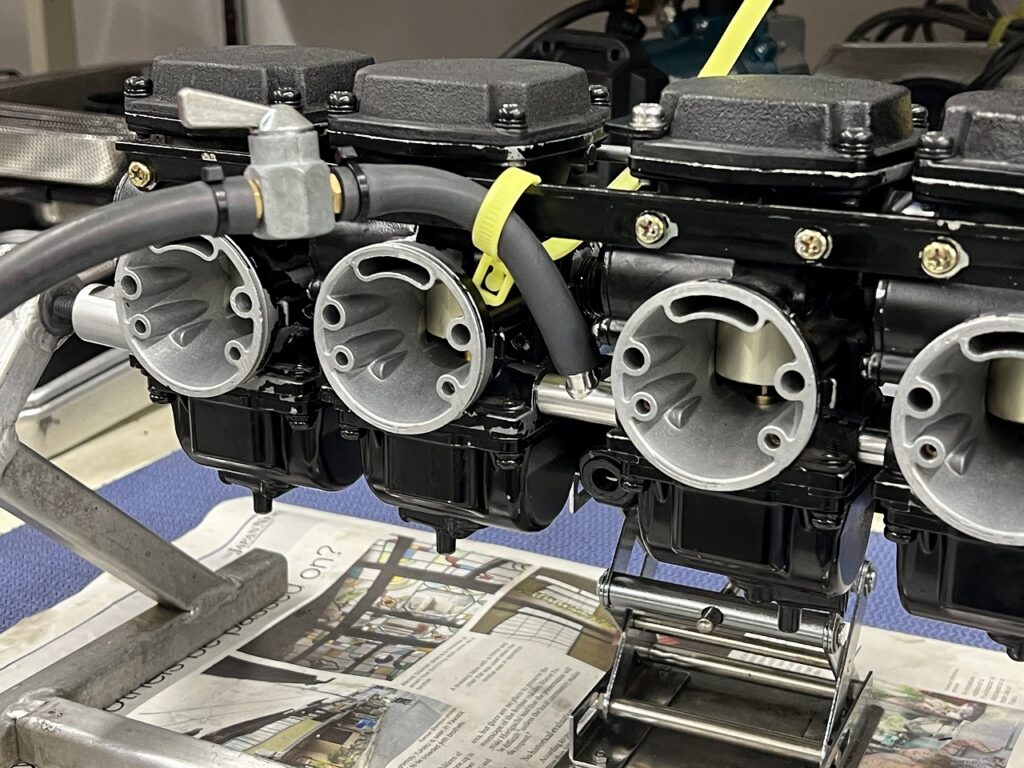
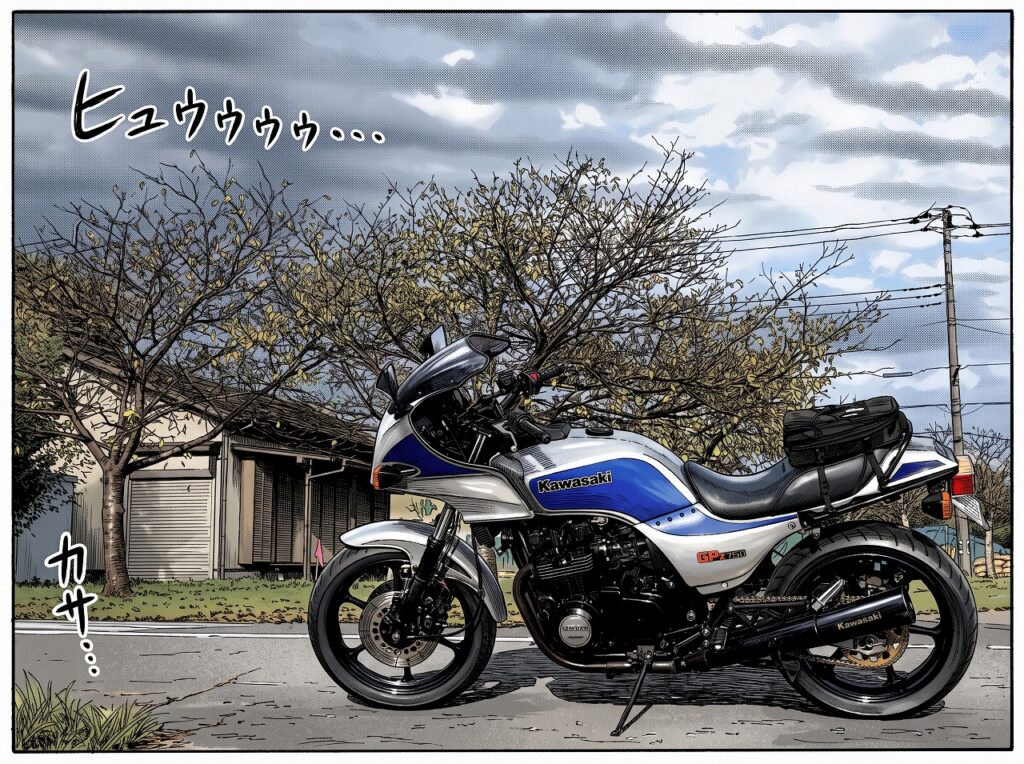
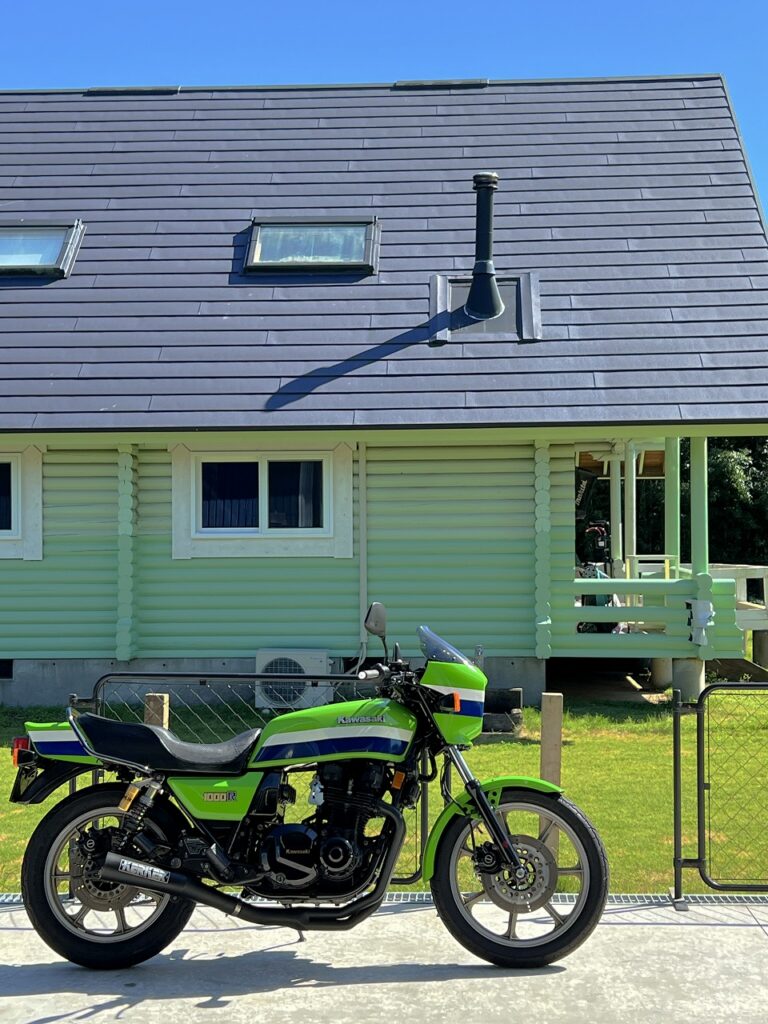
[Maintenance log] The legendary Kawasaki Z1000R-1 Lawson Replica! Bringing the original Mikuni BS34 to pristine condition—carburettor foundation tuning
It’s become such a pleasant season, hasn’t it? Country living at this time of year is absolutely wonderful! A freshly brewed cup of coffee enjoyed outdoors while feeling the autumn breeze—such a luxuriously indulgent moment (‘;’)
Well, I’ve had a wonderful opportunity these past few days and have suddenly decided to raise a few hens. At first I thought naively, “Great, I won’t have to buy eggs every morning…!” (laugh). But when I calculated the cost of the cages, water and feed containers, and feed itself, I faced the obvious reality that “there’s actually quite a bit of initial expense and effort involved!”
Well, this is a luxury hobby that you can only attempt if you have such spacious grounds and some flexibility with your time. I’m going to live by the philosophy “do everything you want to do in life.”
In any case, I’m really looking forward to eating fresh eggs from hens I’ve raised myself (´ω`) So I’m making preparations with excitement every day!
Star carburettor: Mikuni BS34 negative-pressure carburettor (original equipment specification)
Condition on arrival: Poor starting due to long storage and age, vague throttle response at low openings, and slight idling fluctuations.
Why we deliberately restore the “original BS34” to perfection:
While FCR, TMR, and CR forced-induction racing carburetors are tempting, the best way to experience the thick torque and flat, uninterrupted acceleration of a J-series 1000cc engine on city streets and touring is with a “perfectly tuned original BS34.”
Decoboco’s approach to Mikuni BS34 foundation tuning:
Complete ultrasonic cleaning of all passages: Thorough removal of varnish from slow jets, pilot screw passages, and starter circuits.
Restoring throttle shaft V-seal integrity: Inspection and replacement of seals on the butterfly shaft, which tends to draw secondary air over time.
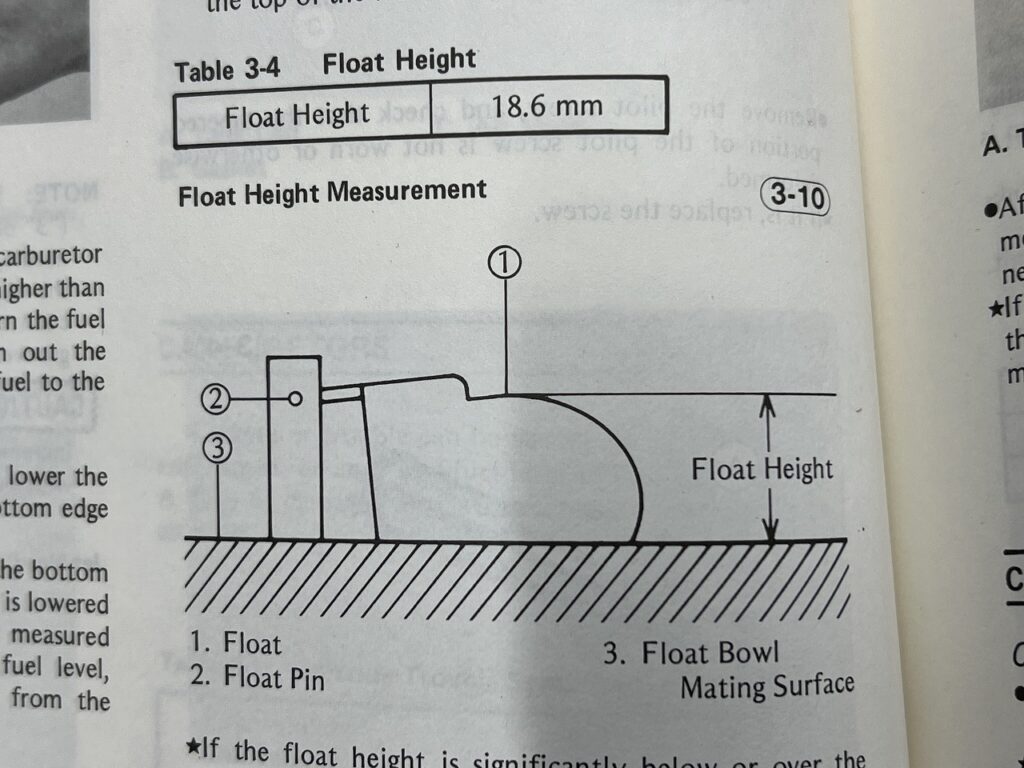
Fine-tuning fuel level (measured with actual fuel level gauge) and four-carb synchronization: Going beyond desktop float height adjustment to achieve submillimeter tuning with actual gasoline flowing through.
Shop owner’s note: Following last night’s GPz750F, tonight it’s the crown jewel of Kawasaki air-cooled engines—the Lawson Replica’s BS34! A negative-pressure carburettor with its foundation perfectly reset unleashes silky, powerful acceleration that surpasses modern bikes!
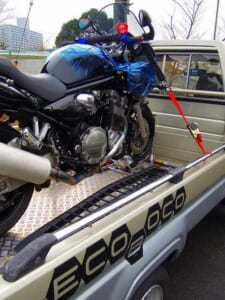
Four months have passed in a flash…sorry about that. The carburettor was overflowing, so we had it towed in.
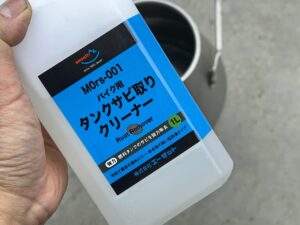
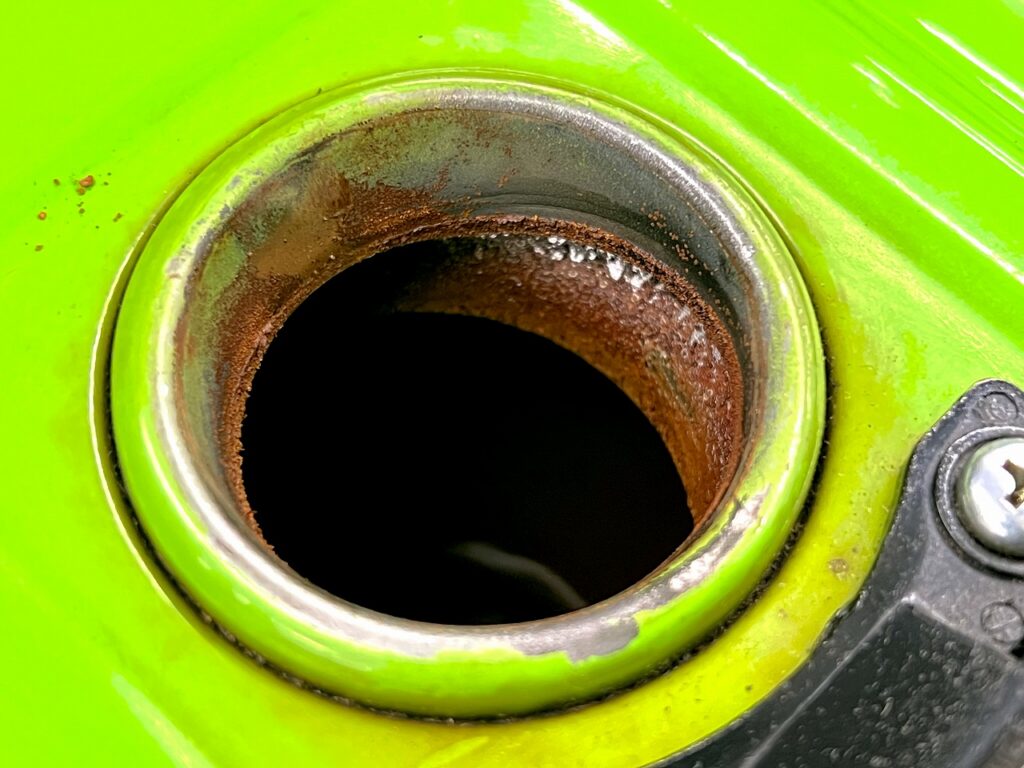
The fuel tank has a decent amount of decay smell and rust formation. We’ll drain everything first and then decide how much rust removal to do.
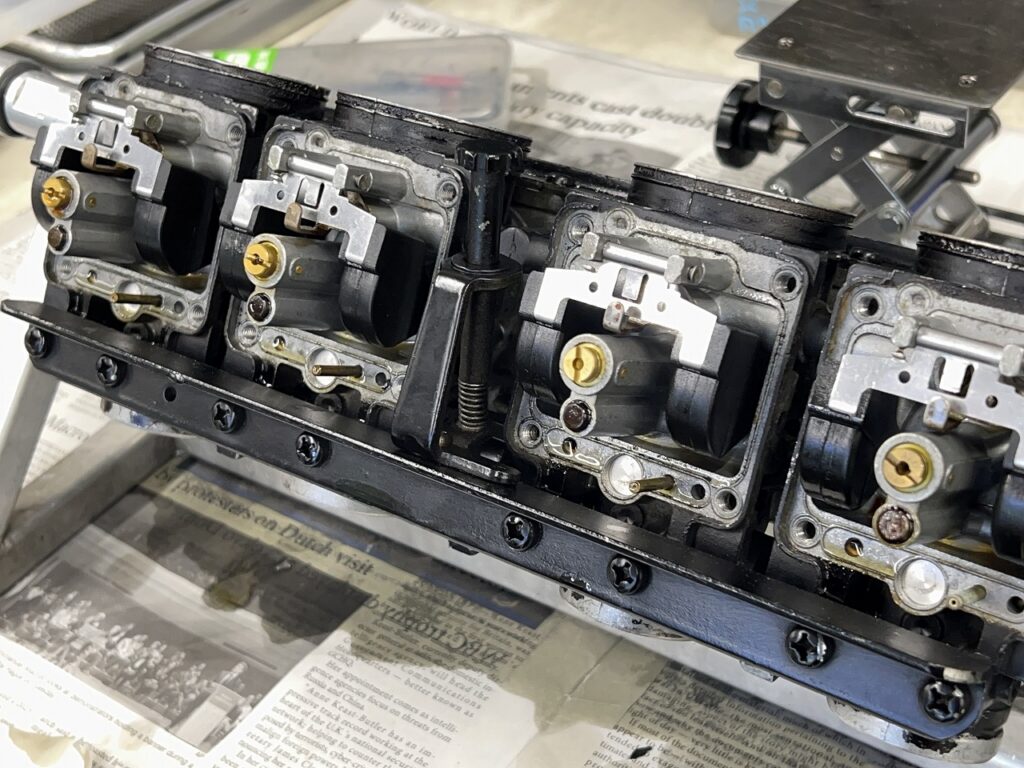
We quickly removed the carburettor. At first glance it doesn’t look too bad, but…
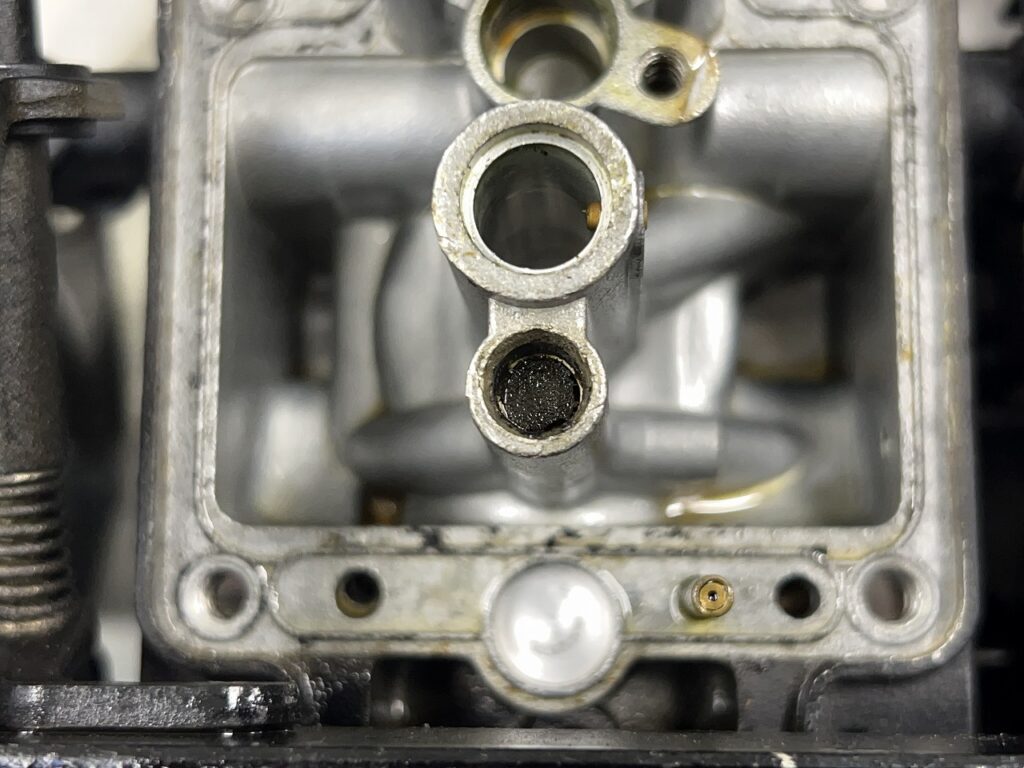
The back of the PJ is completely clogged…we’ll assess how much is salvageable.
Carburetors from this era have a really annoying structure. Well, they really thought this through…it’s impressive.
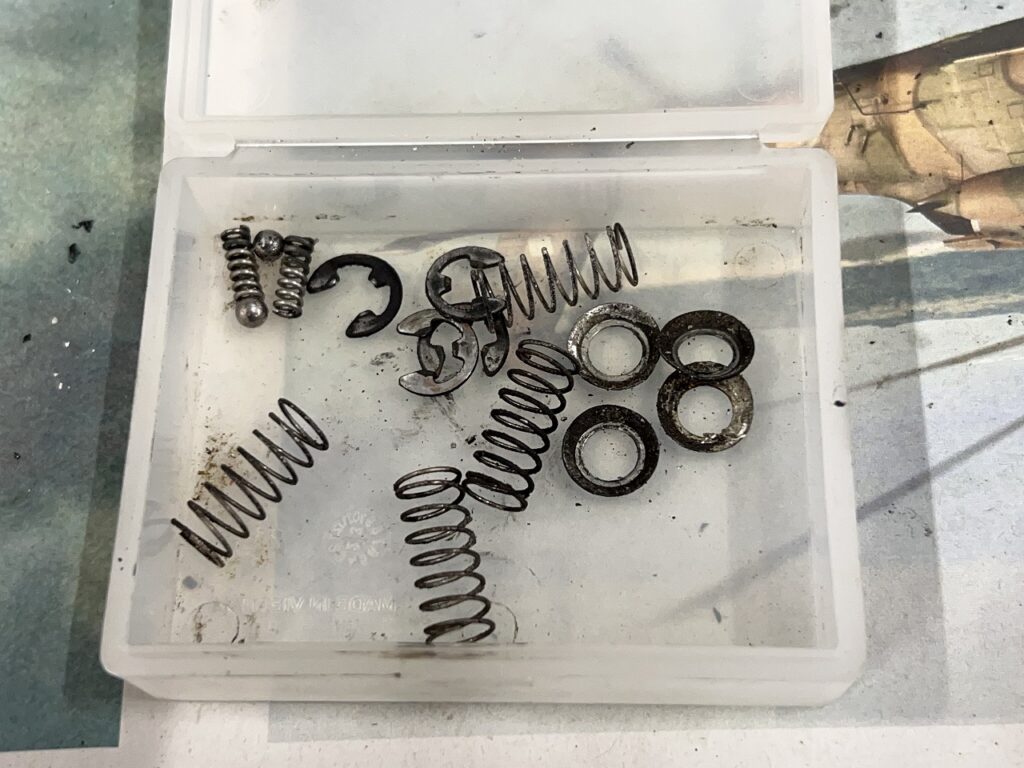
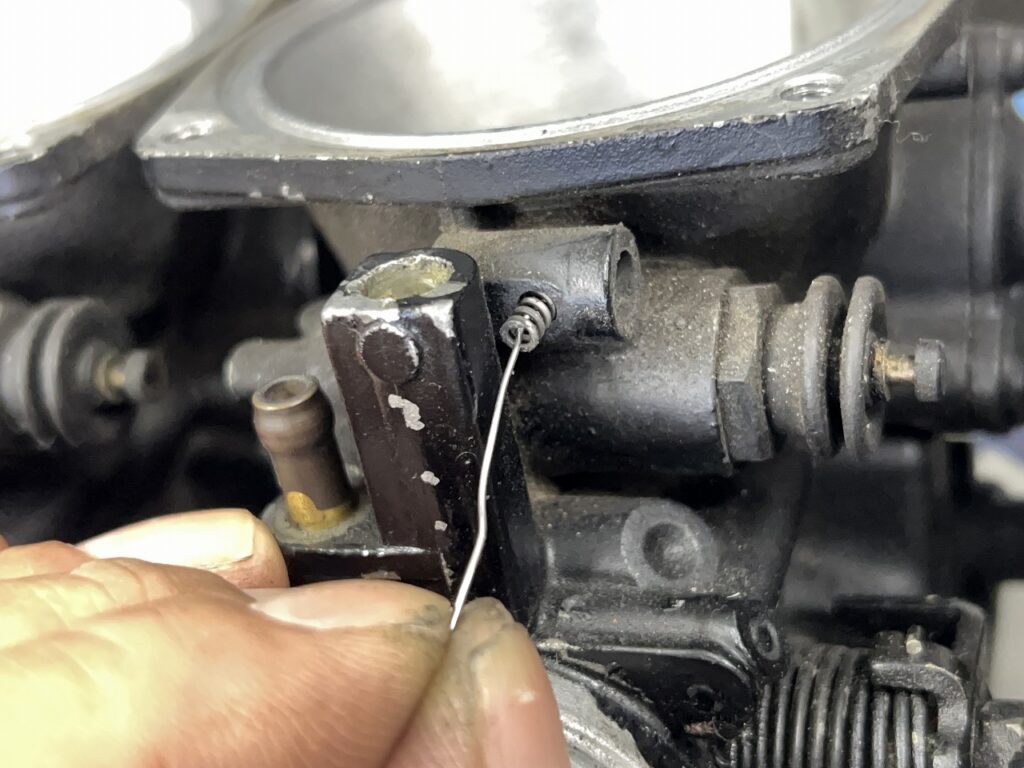
There are balls and springs in two places to create a click feel, so be careful.
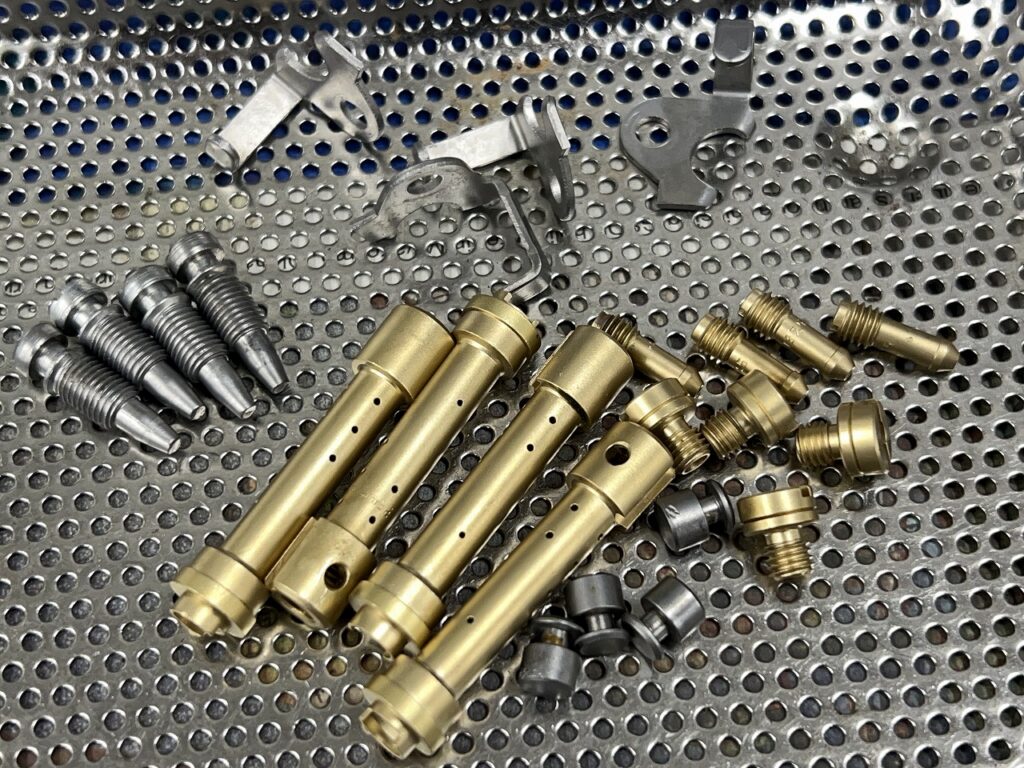
Parts to be reused get wet-blasted
We’ve processed them with convenient wet blasting. For jets, you can only use it on the outside. Don’t spray the inside just to be safe.
If clogging is severe, replacement is best. But in most cases, they’re reusable unless it’s really bad.
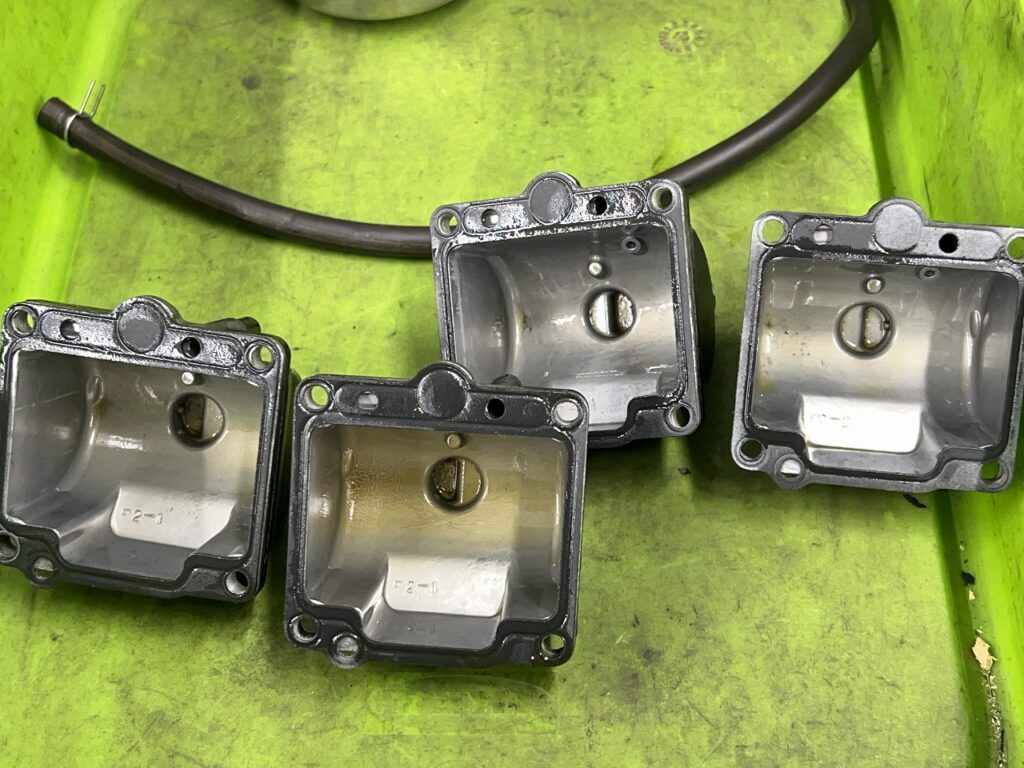
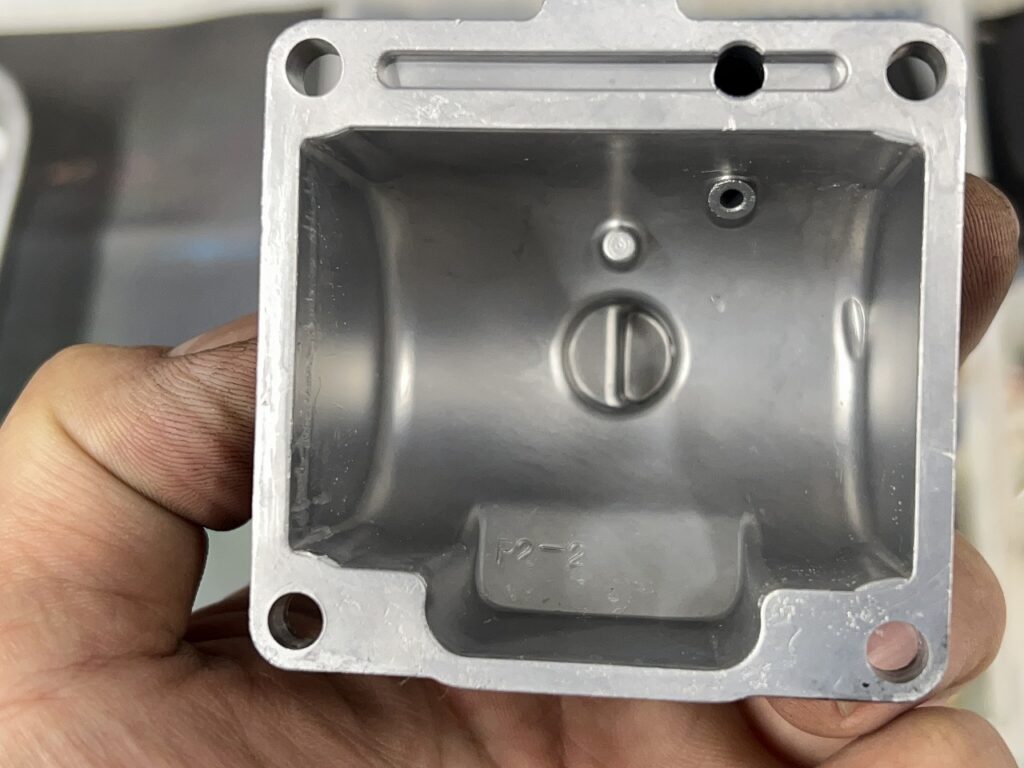
We’ve also finished the float chamber. While it doesn’t affect performance, having clean individual parts just feels good when you’re working on them.
Parts like this are hard to polish by hand, aren’t they? A little extra effort really tightens things up.
Kawasaki’s mysterious original pricing.
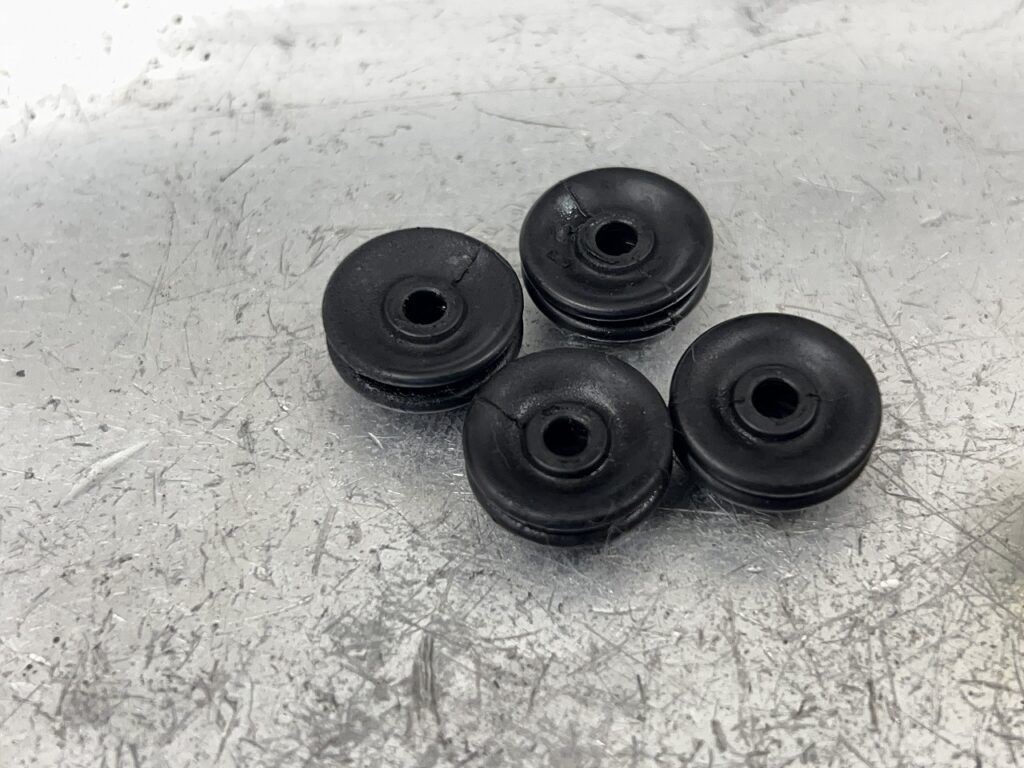
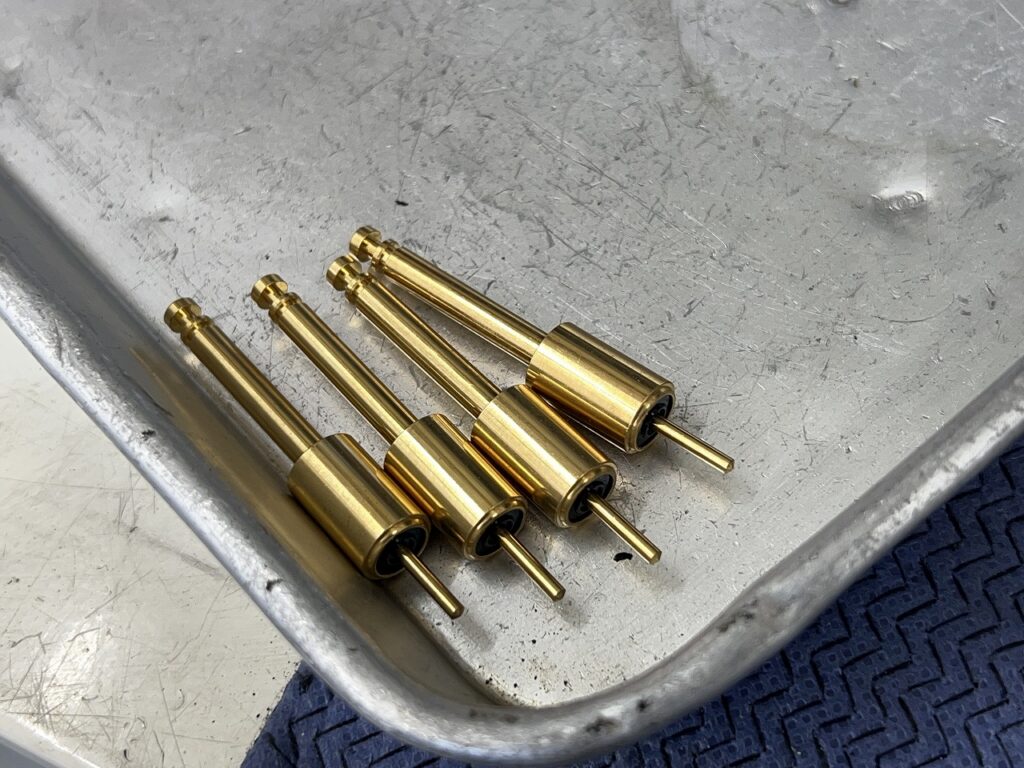
Amazingly, a simple rubber boot and a precision starter valve (plunger) cost almost the same…! So we’ve decided to reuse the boot, which has no tears and still has elasticity, by carefully cleaning and protecting it with silicone spray.
By the way, those “aftermarket carburettor overhaul repair kits” you see all over the internet—from a working mechanic’s perspective, I basically don’t recommend them at all. Using them is literally the final last resort when original parts are discontinued and unavailable.
You won’t get the original performance as designed just by bolting them on. So many DIY challengers have fallen into the trap of jet hole diameter tolerances, taper angles, and needle dimensions, crying tears of frustration in tuning hell…( ;∀;)
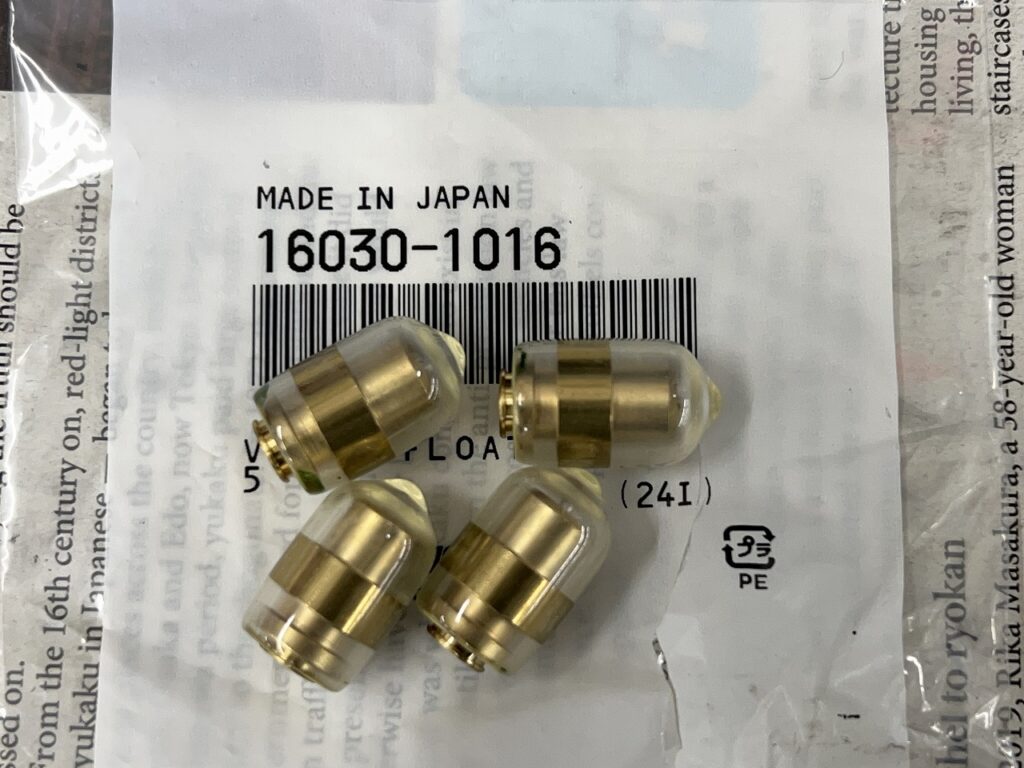
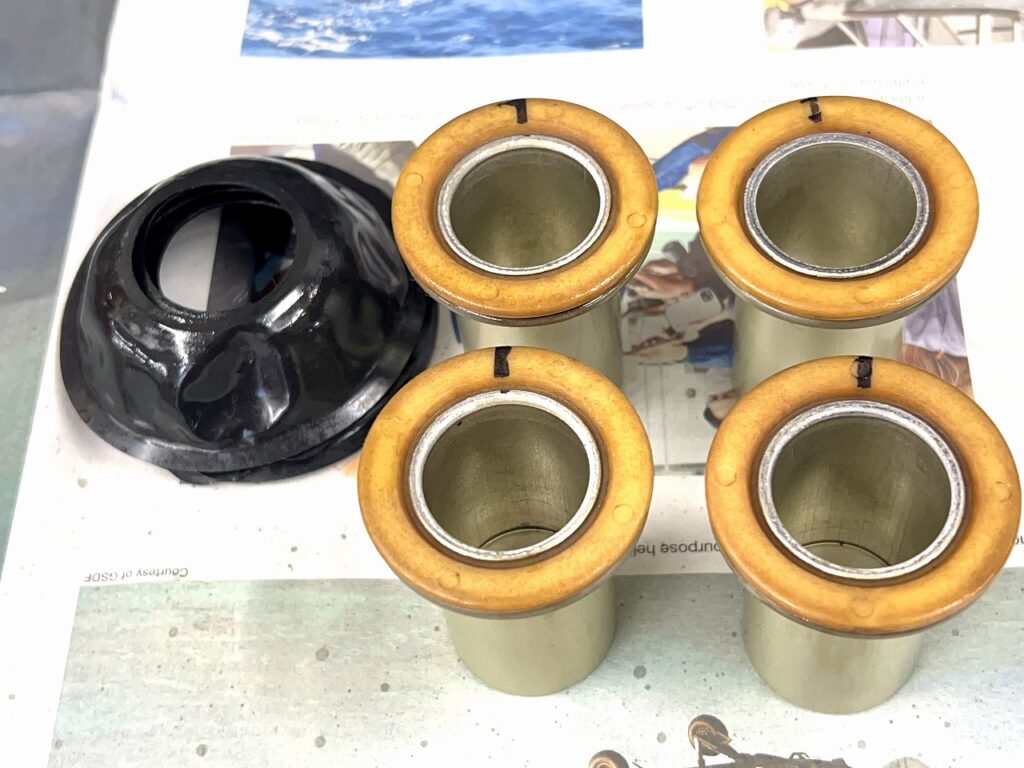
We’re using a new float valve this time. We’ve also replaced the PJ cover. The Lawson BS34 is really special in this regard— The BS34 really changes so much from era to era…
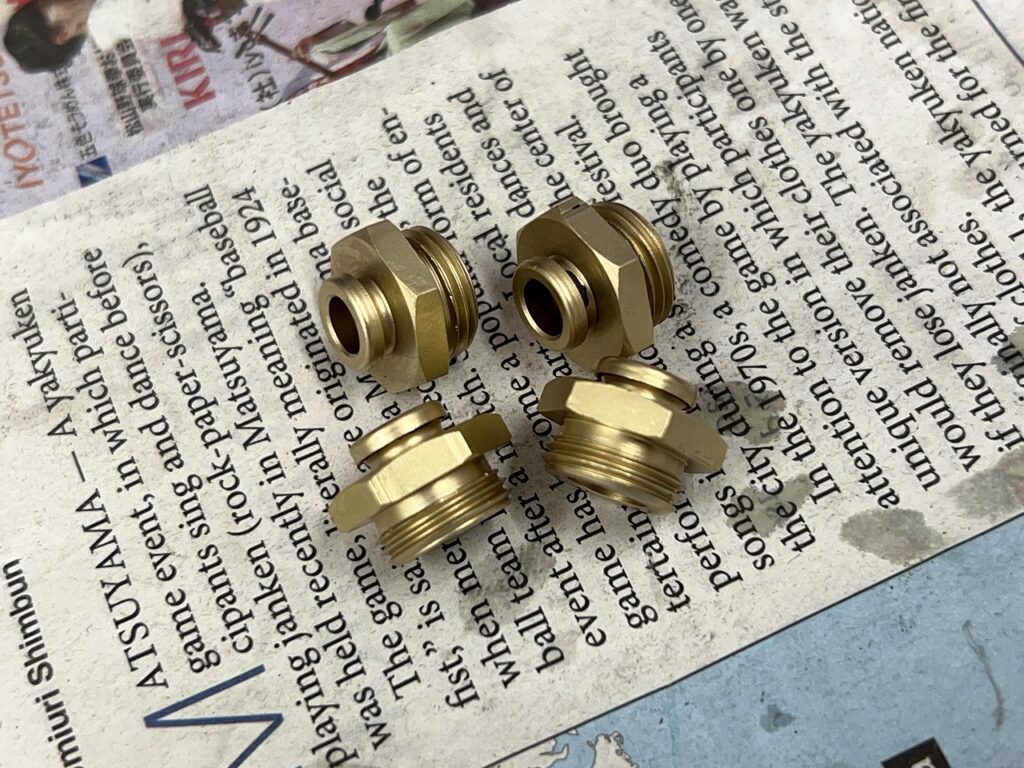
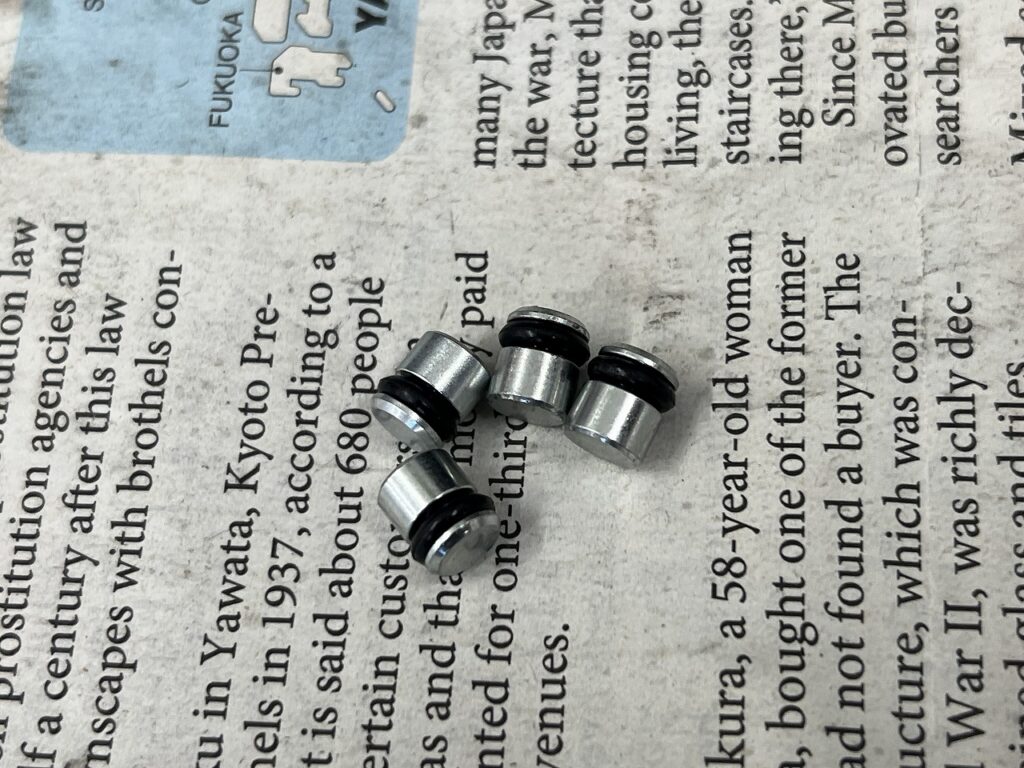
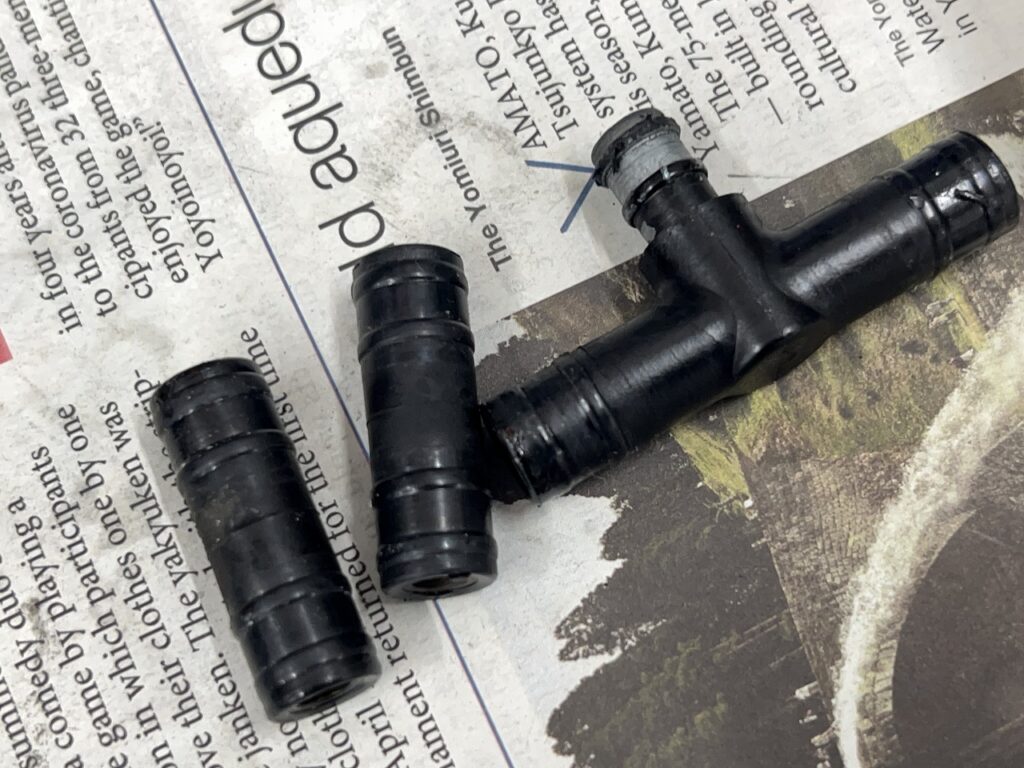
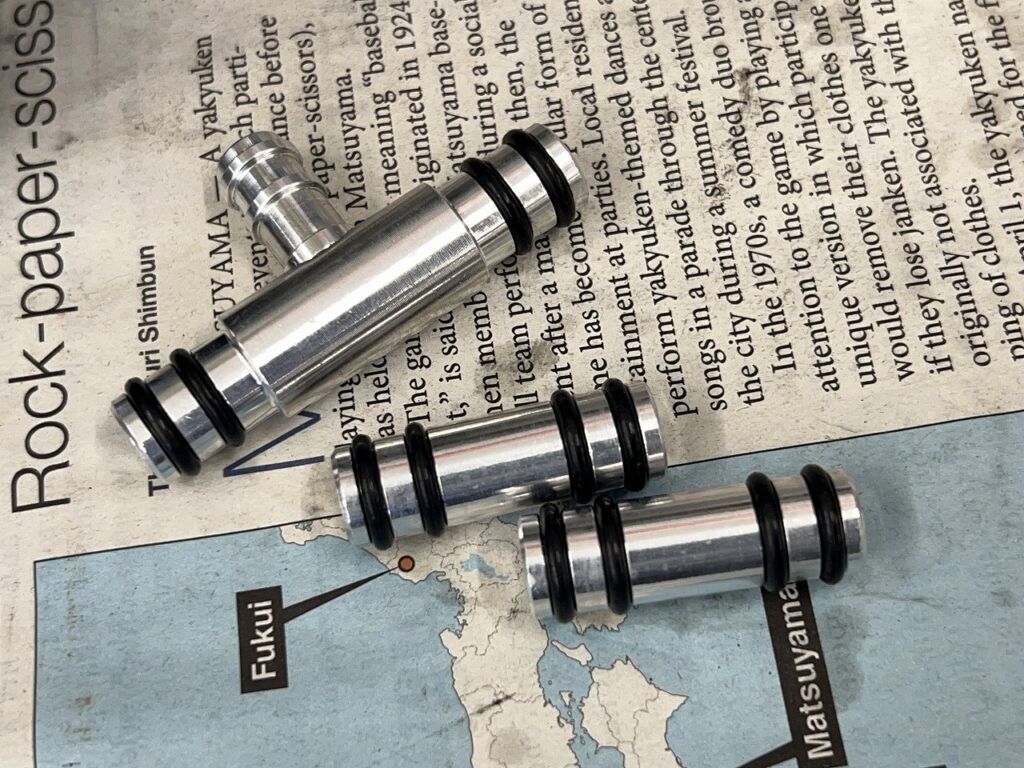
We’re installing the fuel passage they prepared. It’s really helpful to have repro parts like this available.
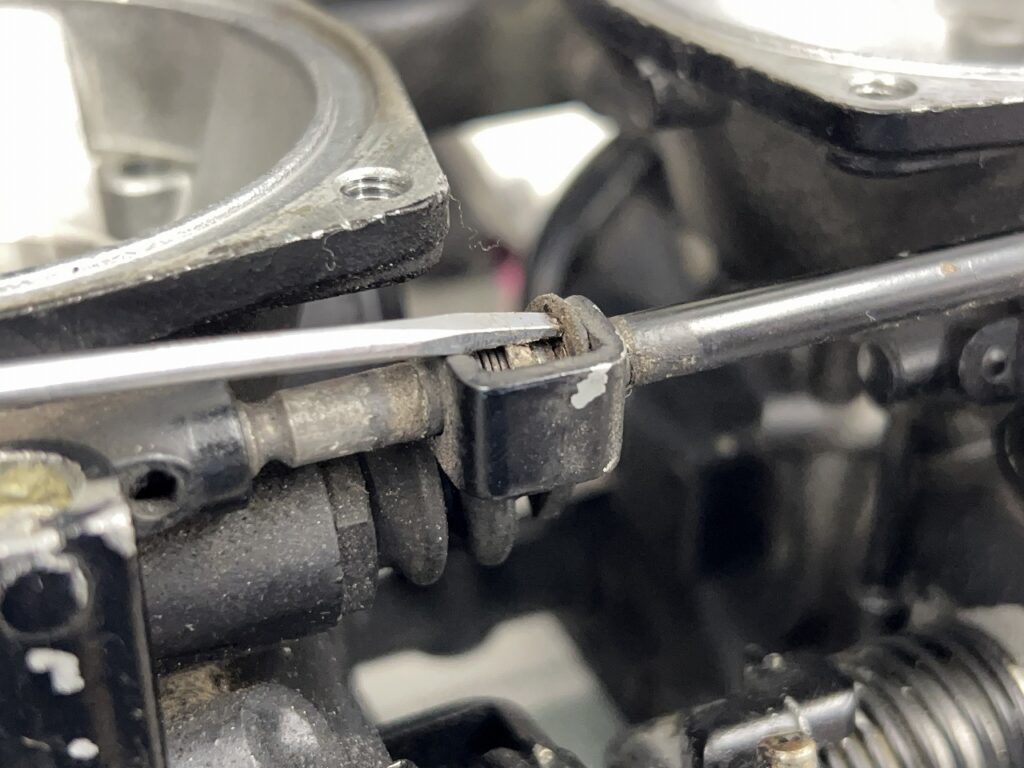
The hose insertion point has a square pin…is it hard to insert? Hard to remove?
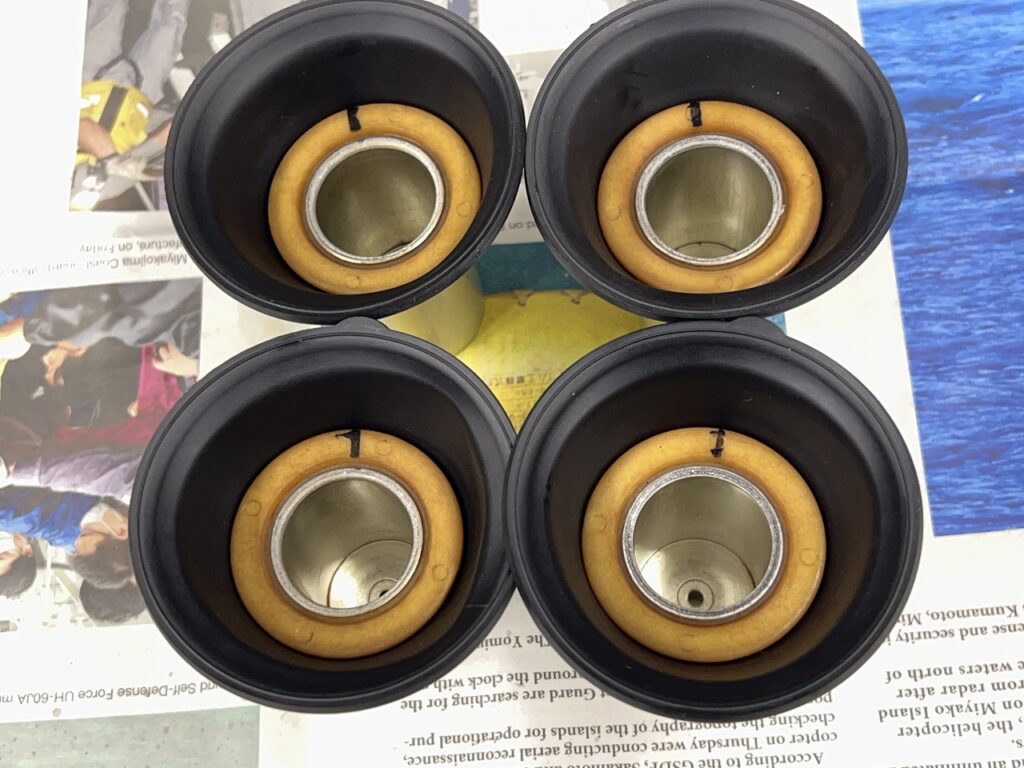
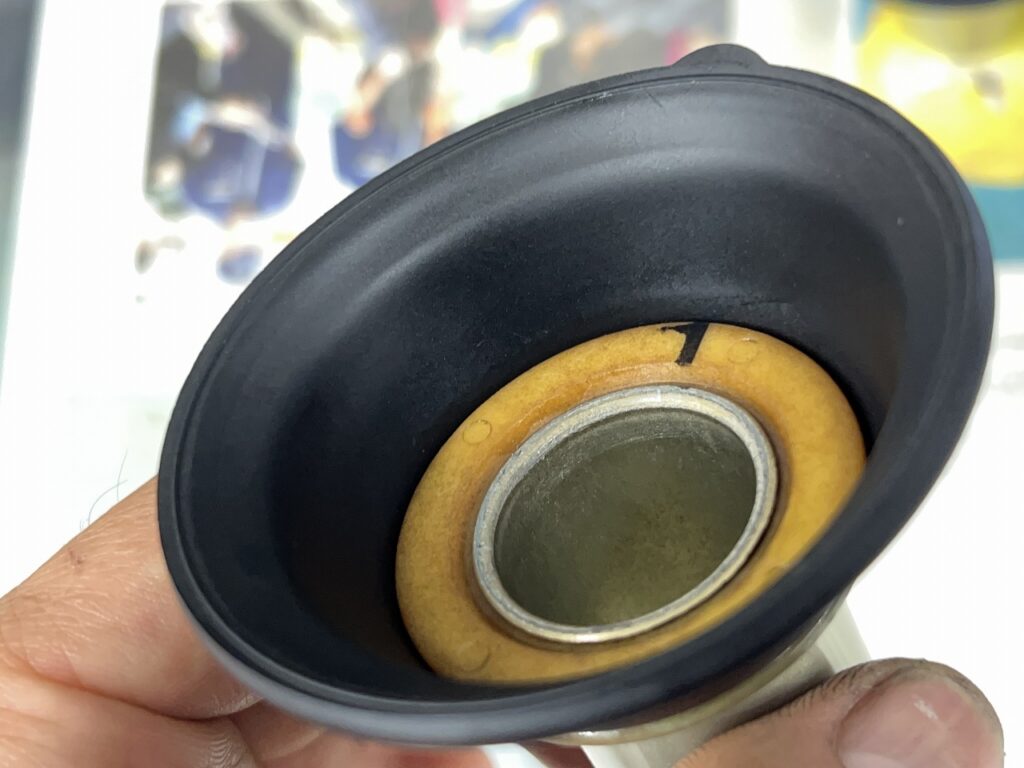
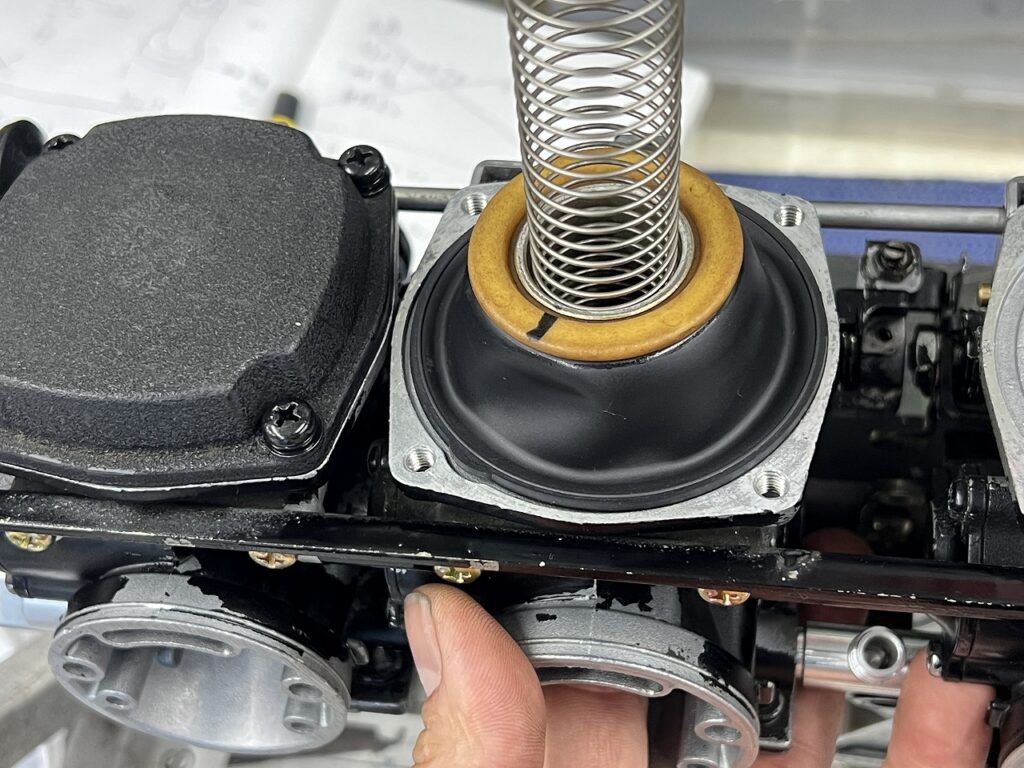
The standard diaphragm replacement (‘◇’)ゞ
I can’t really say since we haven’t worked on this alone, but “it’s probably good.” I think you could replace this type of snap-fit diaphragm on all bikes.
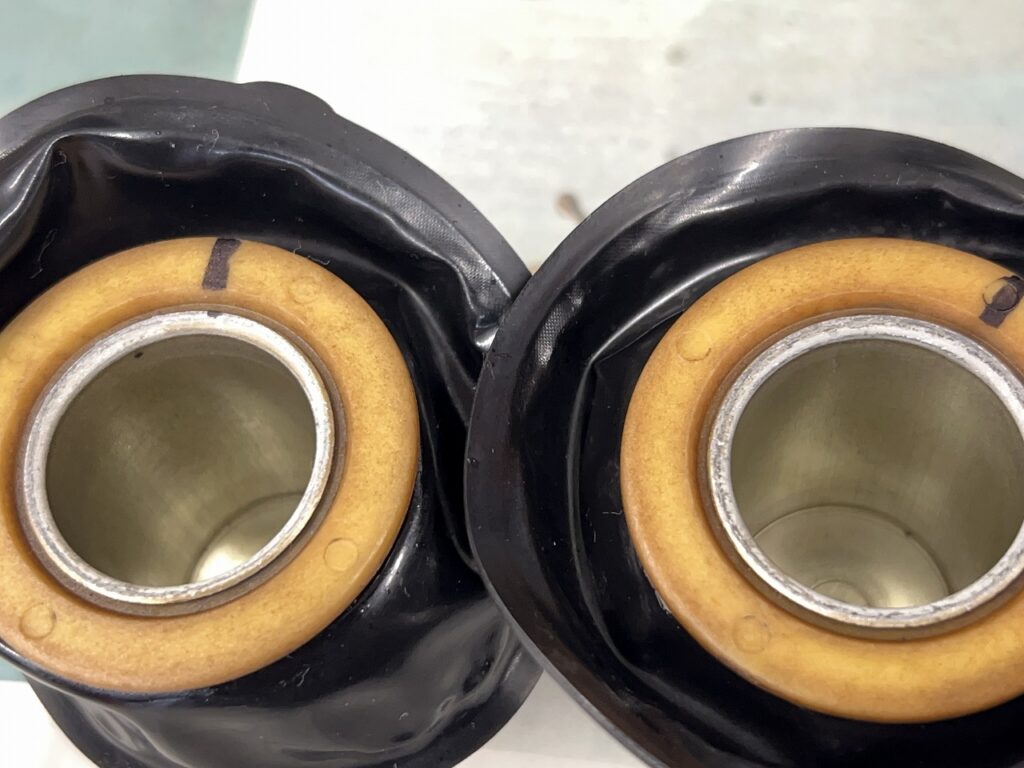
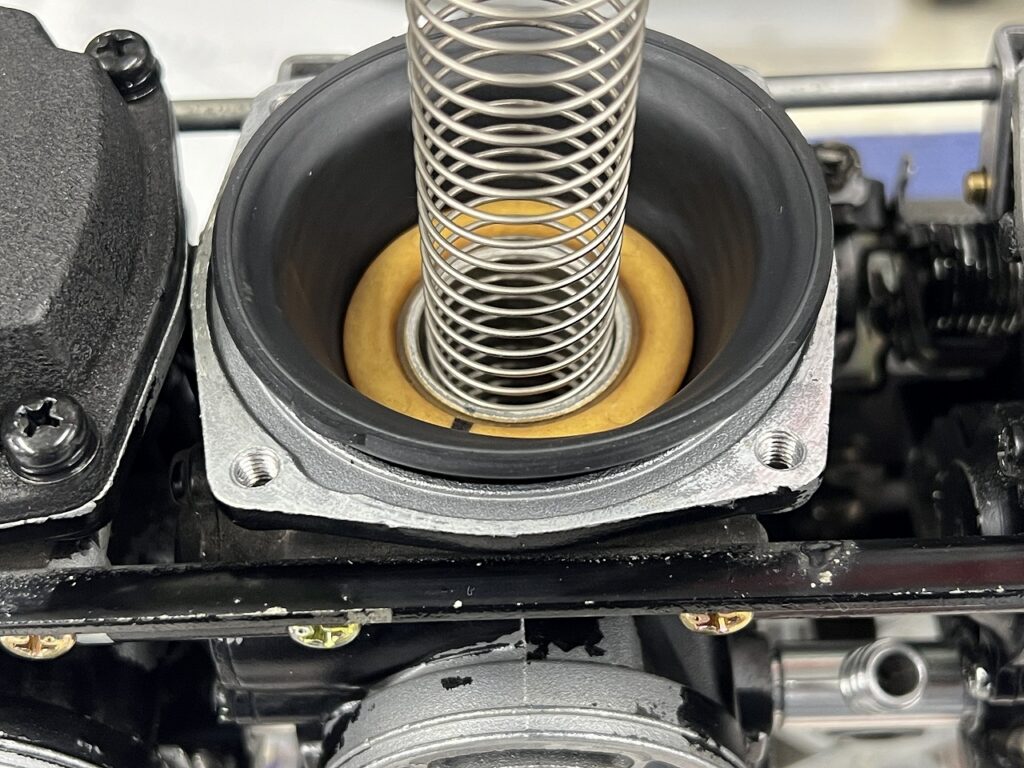
At first there’s no habit, so closing the cover takes a bit of technique.
And then…the diaphragm does this—throws its hands up! If you put the cover on like this, it could get pinched.
Like this—hold it up by hand, position the diaphragm where it settles, then gradually lower the cover. That’s the sure way to do it.
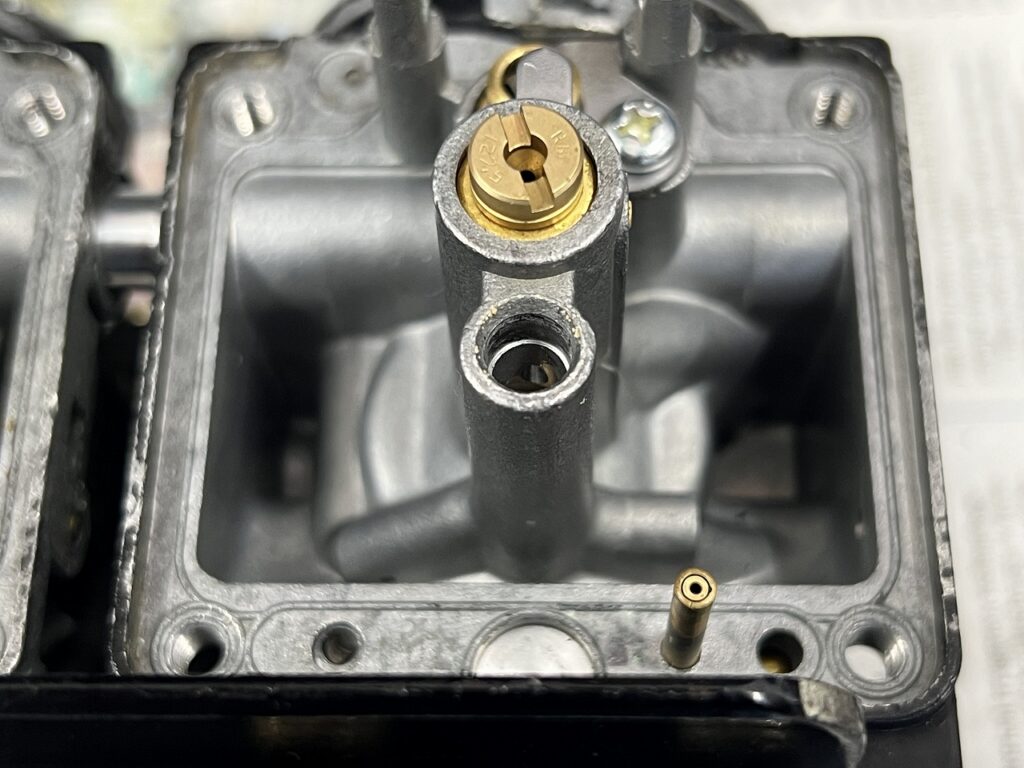
The BS34 with main passage branching to side port
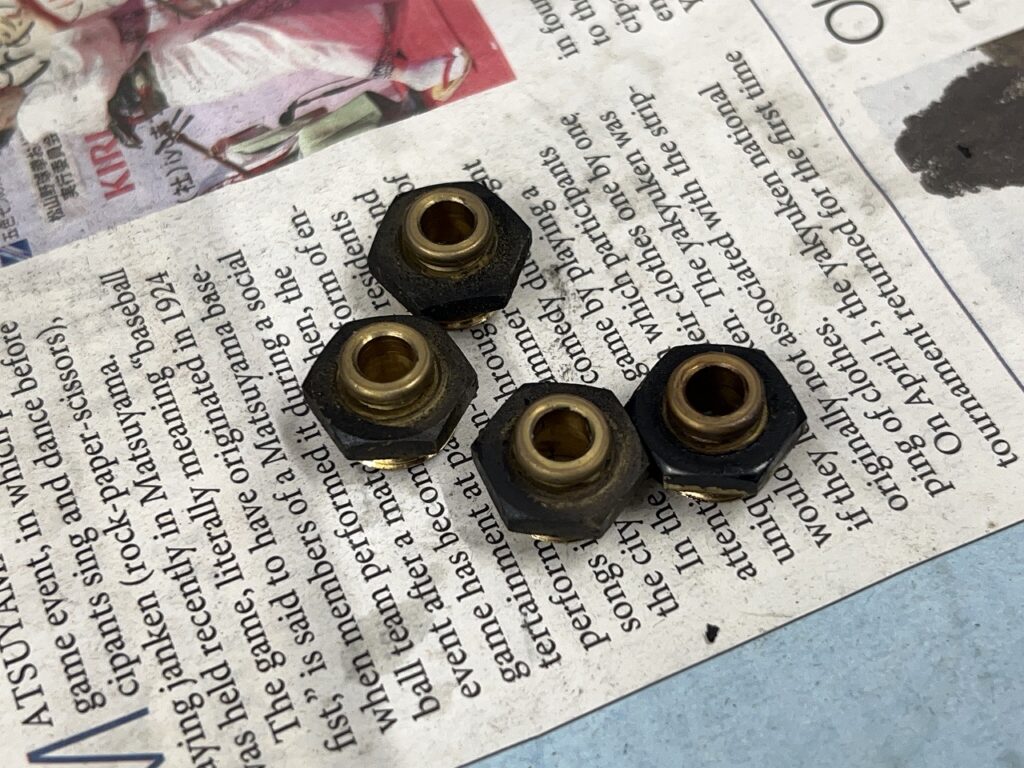
Anyone who thinks “it’s weird that the pilot jet has a rubber plug sealing the bottom” is 100% right.
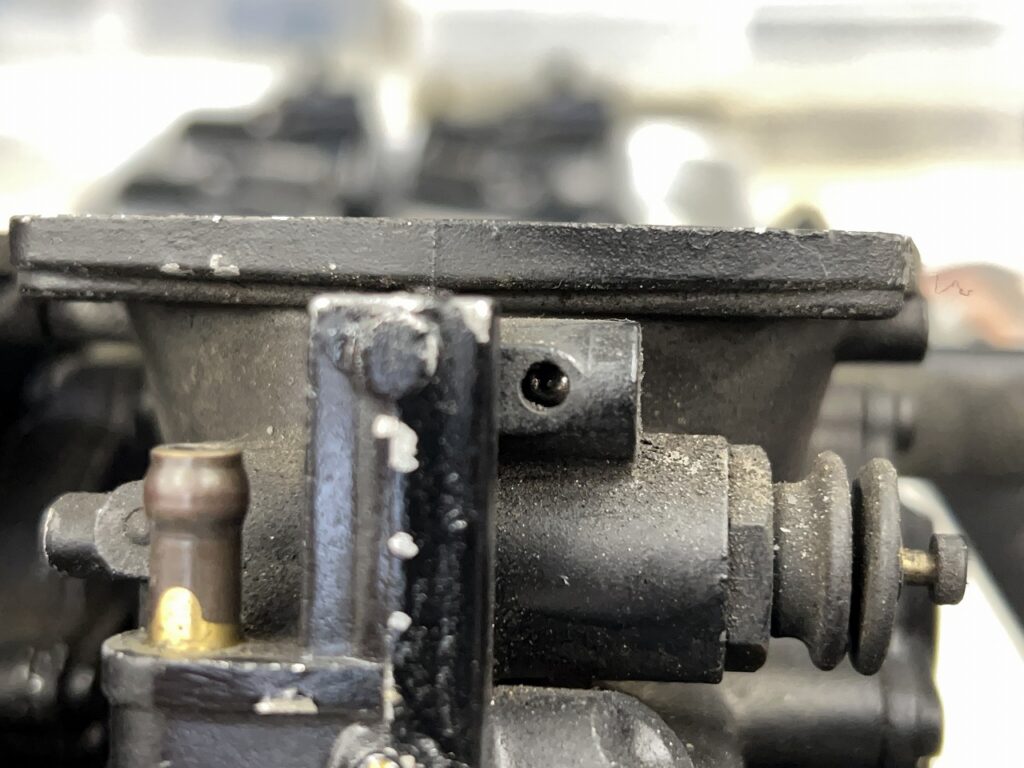
It supplies gasoline to the pilot system from the main nozzle passage via a side hole (side port)—an unusual routing. That’s why they deliberately seal the bottom of the PJ with a blind plug. The tricky part is that some BS34 versions don’t have this side hole open. Even though they’re the same “BS34” model number, the internals are completely different, so you really need to be careful with swaps and overhauls.
By the way, this Z1000R version is equipped with an air-cut valve on the side. When you snap the throttle closed at high RPM or decelerate, it picks up the intense intake vacuum with a diaphragm and temporarily blocks the slow-circuit air bleed (air vent). It momentarily richens the fuel to suppress the violent afterfire popping.
The atmospheric vent joint is nowhere to be found, and the more you disassemble it, the more you see the trial and error of the era—it’s a really fascinating carburettor (´ω`)
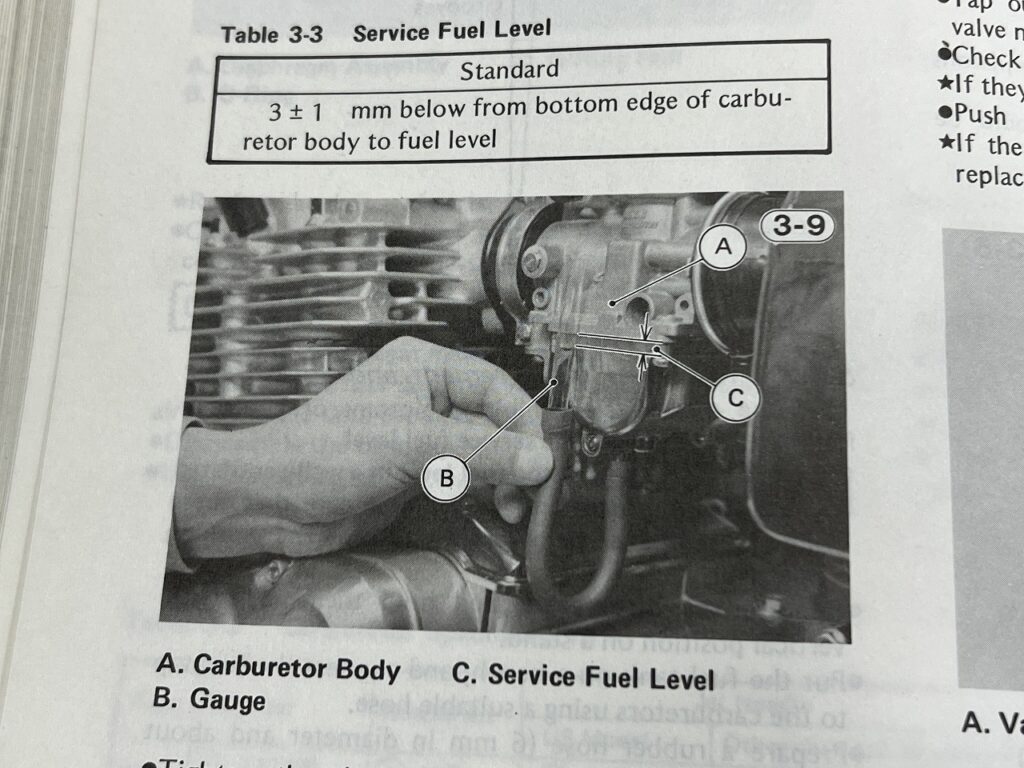
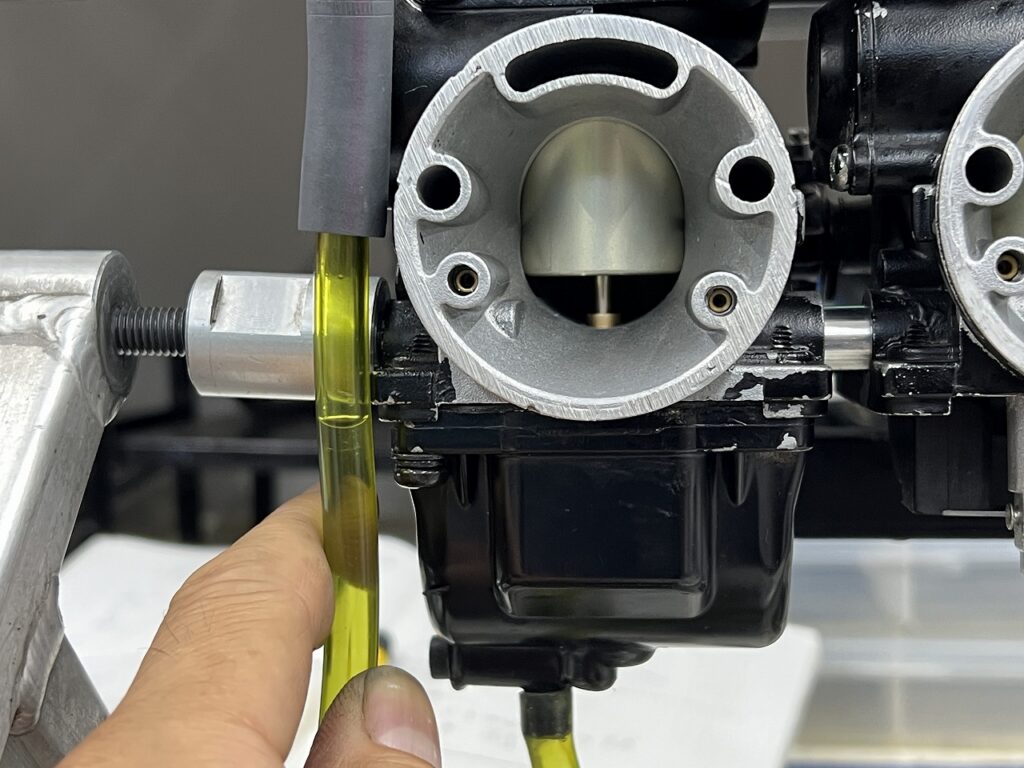
Just looking at the carburettor’s actual fuel level increases confidence
Old service manuals have a human touch different from today’s, don’t they? You feel the warmth of “this is a real maintenance guide!” (‘◇’)ゞ
…Well, that aside. When measuring float fuel level or fuel quantity, “what angle should the vehicle (carburettor) be tilted to?” —that crucial prerequisite isn’t written anywhere (laugh). “Stand it vertical, or tilt it just barely enough that the float valve plunger doesn’t sink—a pro should figure that out without being told,” is the silent message between the lines of the manual, I suppose (´ω`)
With the carburettor alone, run gasoline through it and confirm on the bench that it “absolutely will not overflow.” This is super important.
If overflow happens right after mounting on the bike, you can immediately tell the cause isn’t a carburettor assembly mistake but rather “rust dust or debris from the fuel tank getting stuck.” If you set up your workflow to instantly troubleshoot like this, recovery from any mishap becomes dramatically faster.
For now, the labor-intensive carburettor body is complete! Next we’ll drain the old gasoline from the tank while checking for rust and debris, swap in fresh engine oil, and then it’s time for the big moment—engine start-up ( `ー´)ノ
[Maintenance log] The legendary Kawasaki Z1000R-1 Lawson Replica! Bringing the original Mikuni BS34 to pristine condition—carburettor foundation tuning




 ポチップ
ポチップ