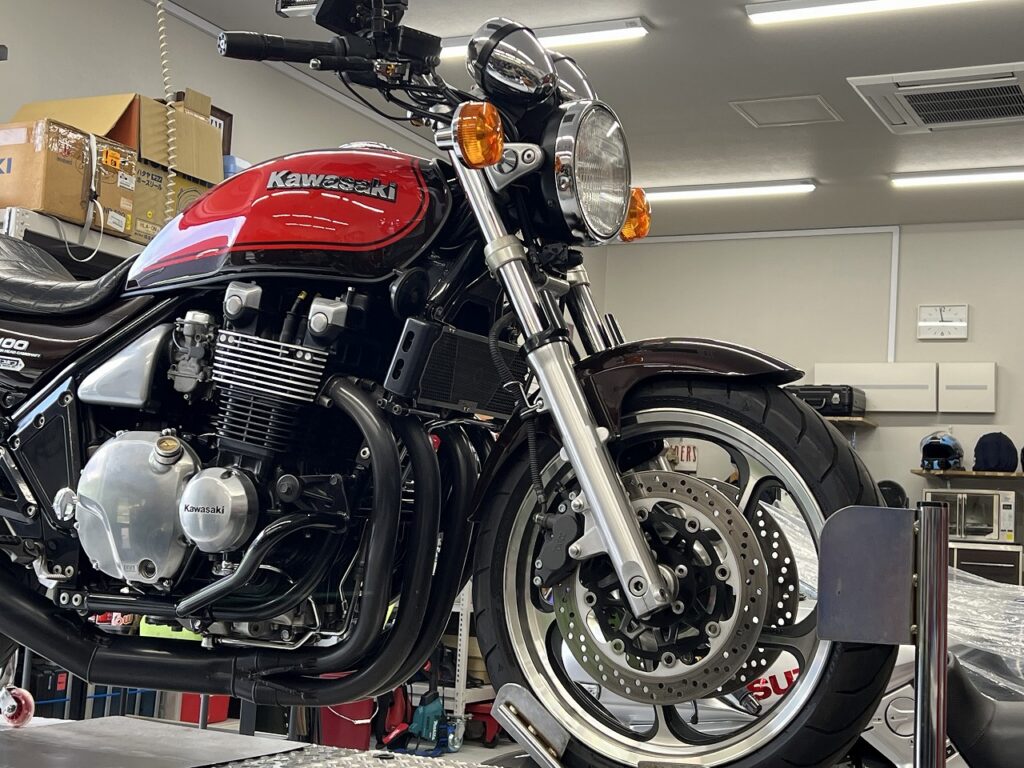
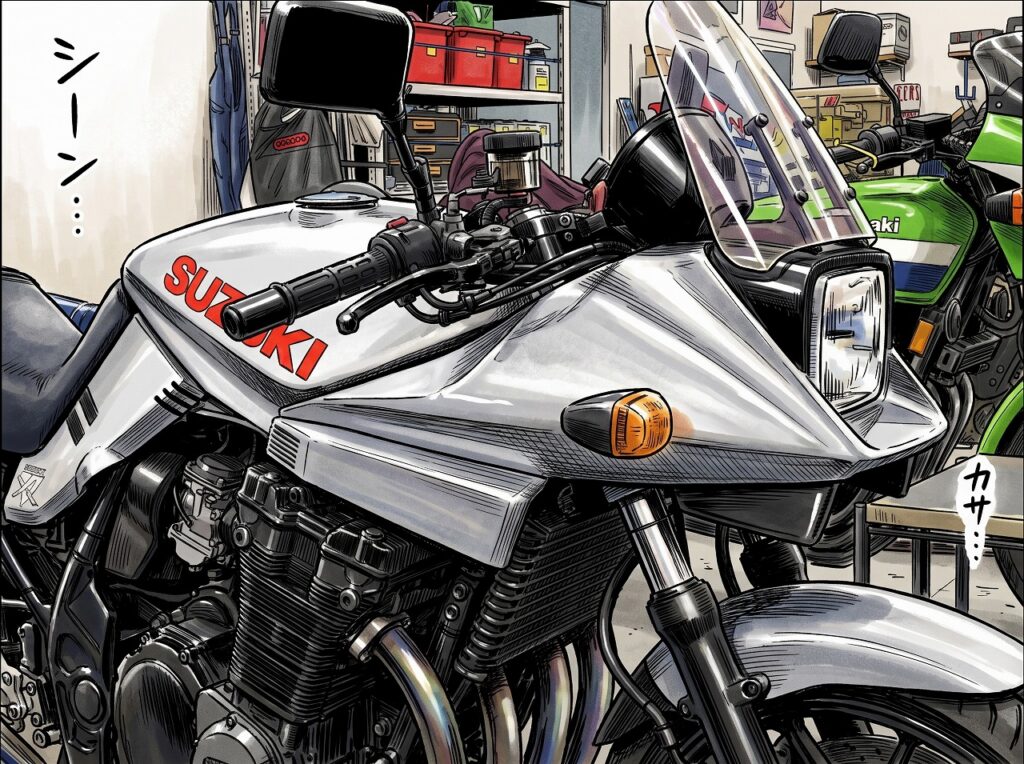
Maintenance log: GSX1200S oil-cooled! Inspection and light maintenance plan with comprehensive checks of all components—the merits of keeping things in good shape through disciplined tuning
Time seems to pass faster and faster, day by day and year by year. How are you all doing? I’m here in the outer Chiba area, taking it easy with some racing—well, maintenance work—today too!
When you’re working on a bike, you get a steady stream of little questions—”Hmm, what’s this?”—and flashes of insight: “Oh, if I handle this differently next time, it’ll be even better.” Thanks to that, the shop’s maintenance menu and work procedures keep getting updated and evolving every single day.
Rather than blindly taking everything apart and racking up costs, I spend my days thinking through—or fermenting, as I like to say—where to put in the work for maximum effect, and what the real critical points are that could become trouble spots. It’s all about narrowing it down.
Lately, I’ve noticed that customers’ mileage isn’t climbing much—the annual distance just isn’t adding up. That’s exactly why I want to strike the right balance between work scope and maintenance cost, and propose a way to keep things running smoothly and feeling good for the long haul, even without racking up a lot of miles (´ω`)
Today’s inspection and oil-cooled condition tuning log
Service request: 24-month periodic inspection, continuous inspection, and Decoboco Light Maintenance Plan
What is the Light Maintenance Plan?:
As opposed to the comprehensive tuning “Deco-mainte” where we dig deep with a full teardown, this is a **practical, fundamental inspection course** designed for bikes that get regular maintenance or have low mileage with a sound basic structure.
It’s nothing like a “rubber-stamp inspection” that just passes through the transport bureau. We rigorously diagnose the critical points of essential safety components—go, turn, stop—using professional senses and measuring instruments.
Key checks and tuning points for this visit:
Front and rear suspension lift diagnosis: Wheel bearing play and stiffness, brake drag presence, pad wear by sight and measurement.
Torque management of critical fasteners and lubrication of moving parts: Spec torque confirmation on axles, caliper mounts, and pivot areas, plus lubrication of lever pivots and stands.
Pre-inspection push on electrical and safety standards: Battery voltage health, tester measurement of exhaust gas (CO/HC), and headlight beam axis adjustment to the millimeter.
Shop owner’s note: You don’t need to spend a fortune on heavy maintenance every time. Because this is a well-maintained bike, the light plan lets us confirm its condition and make sure you can ride the next two years stress-free—it’s a “health check” to verify the foundation!
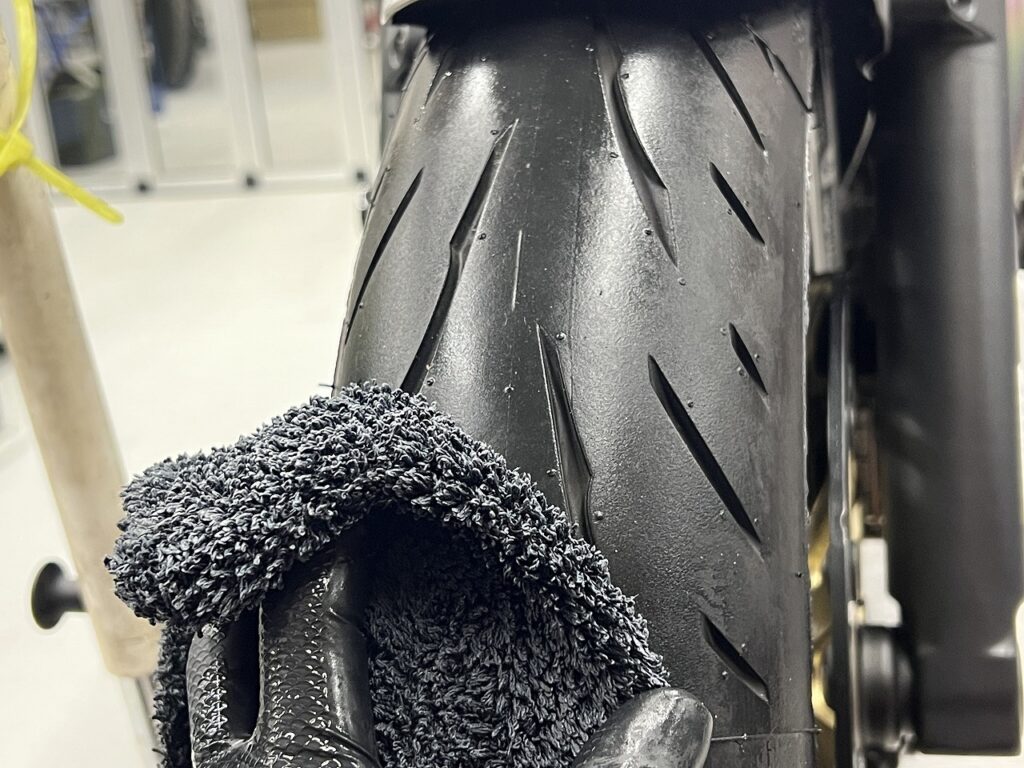
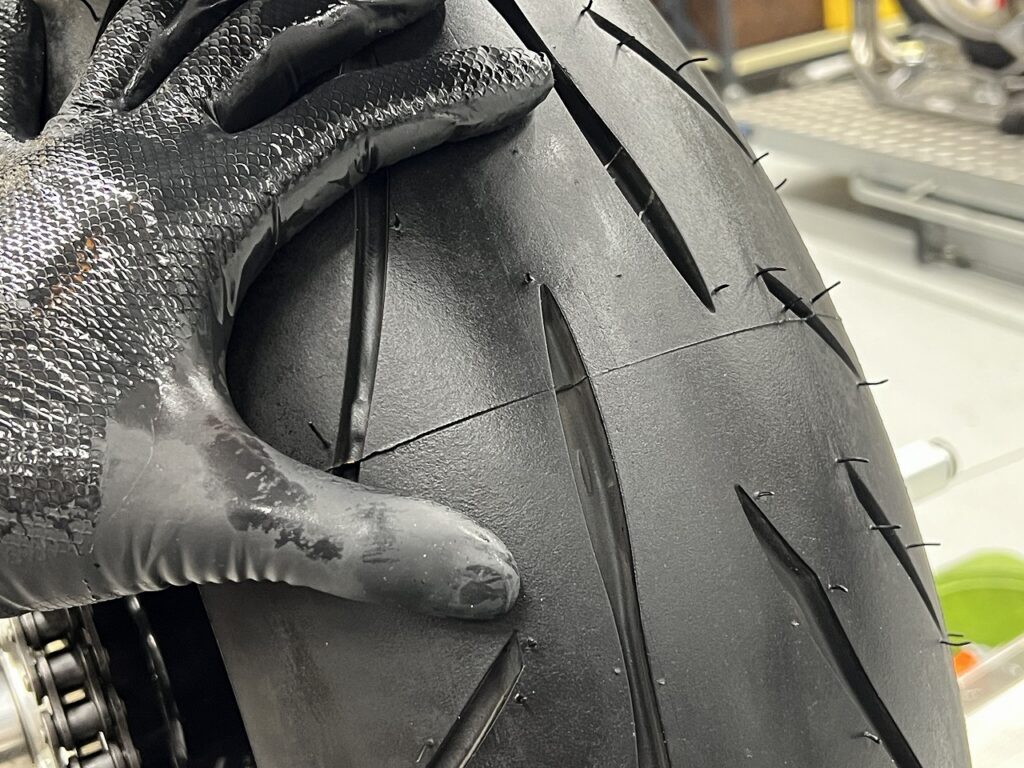
I wipe the tire tread all the way around with a wet cloth to check for any pebbles or metal fragments embedded in it.
While wiping, I also check the tire brand, the sidewall “manufacturing date code (serial number),” and wear condition like cracks and wear indicators. It makes a huge difference in peace of mind. It might look like I’m just wiping a tire with a damp rag and staring at it, but this is actually pretty deep stuff—even pros and regular folks often miss this blind spot.
Just a little extra effort while washing or before heading out. These small checks add up and prevent burst and puncture risks, boosting your confidence dramatically ( `ー´)ノ
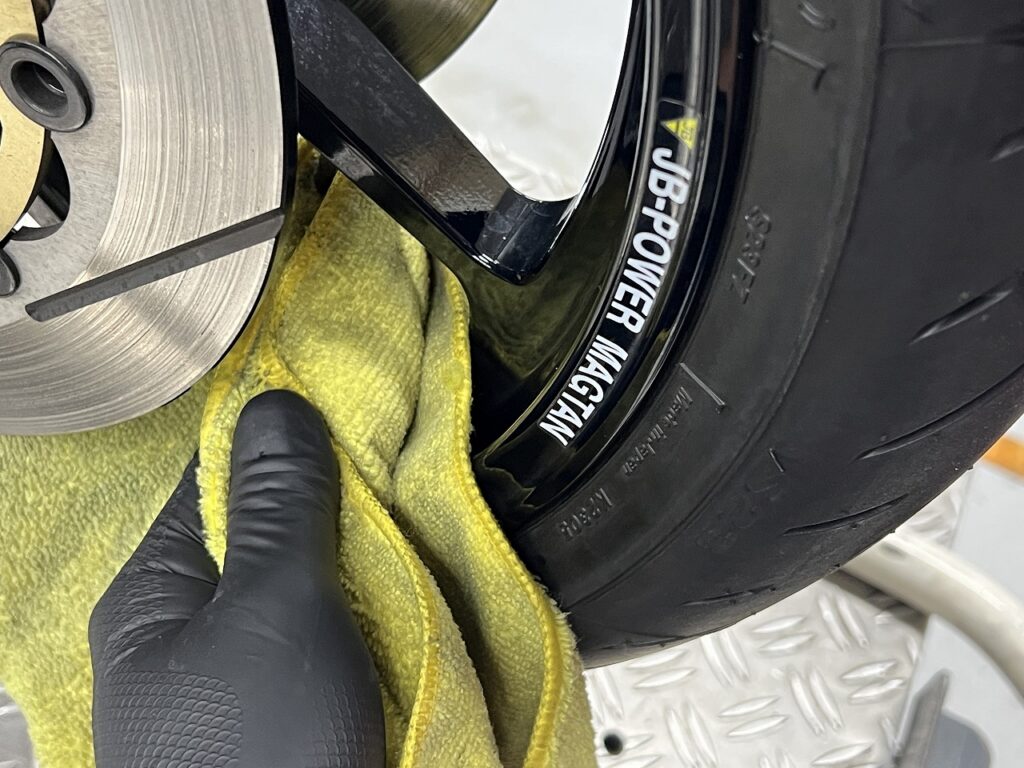
Next, I clean and check the wheel rim, spokes, and hub area all the way around.
As I wipe away brake dust and chain oil grime, hidden damage like stone chips, small rim scratches, crack signs, and rubber cracking around the valve stem suddenly become visible.
“The foundation of maintenance is to clean first, then look carefully with your own eyes.” I really feel it now—the act of touching, wiping, and polishing is the best inspection there is, even before any complex measurements or special tools (´ω`)
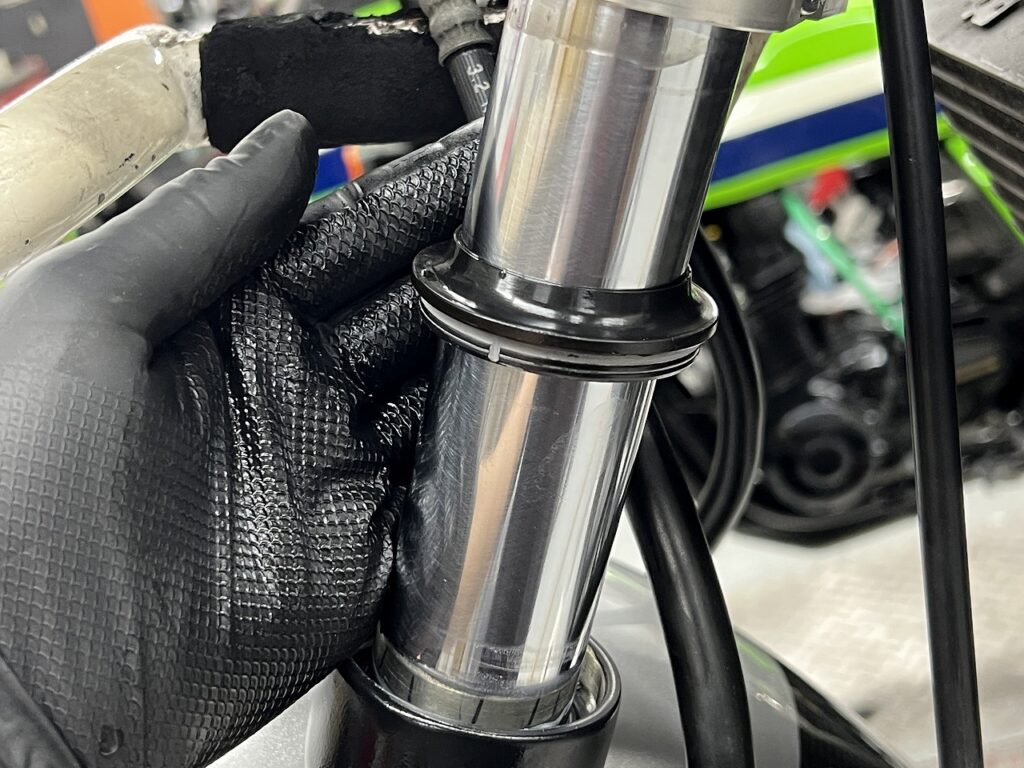
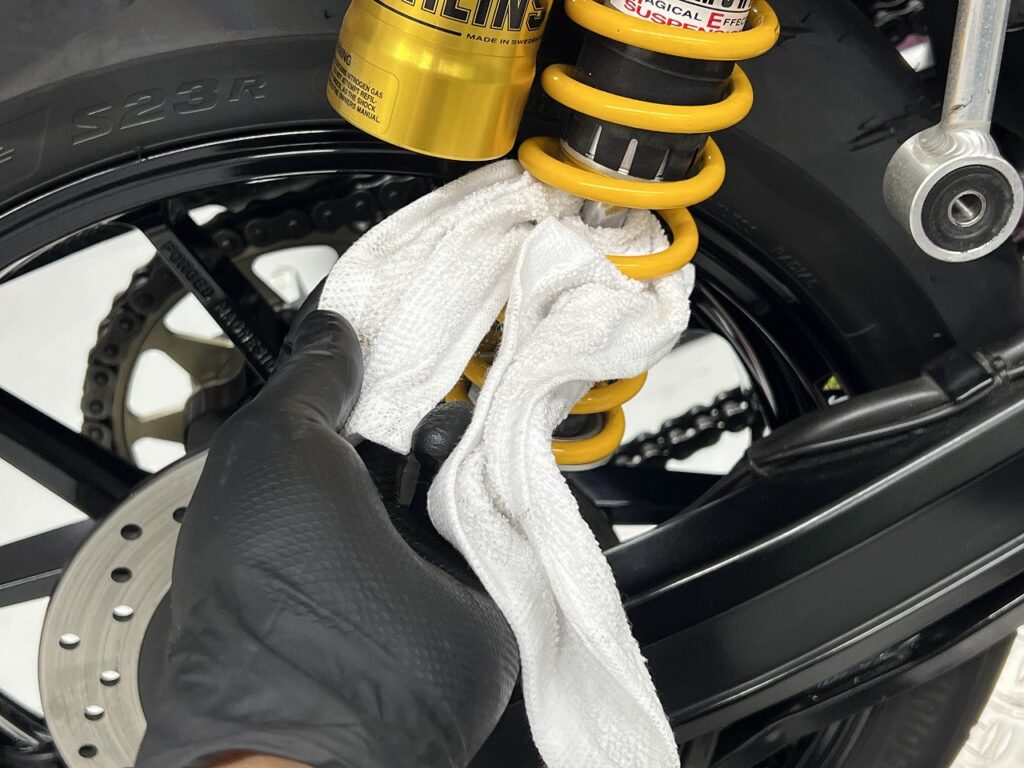
Suspension gets the same treatment. Clean and check thoroughly
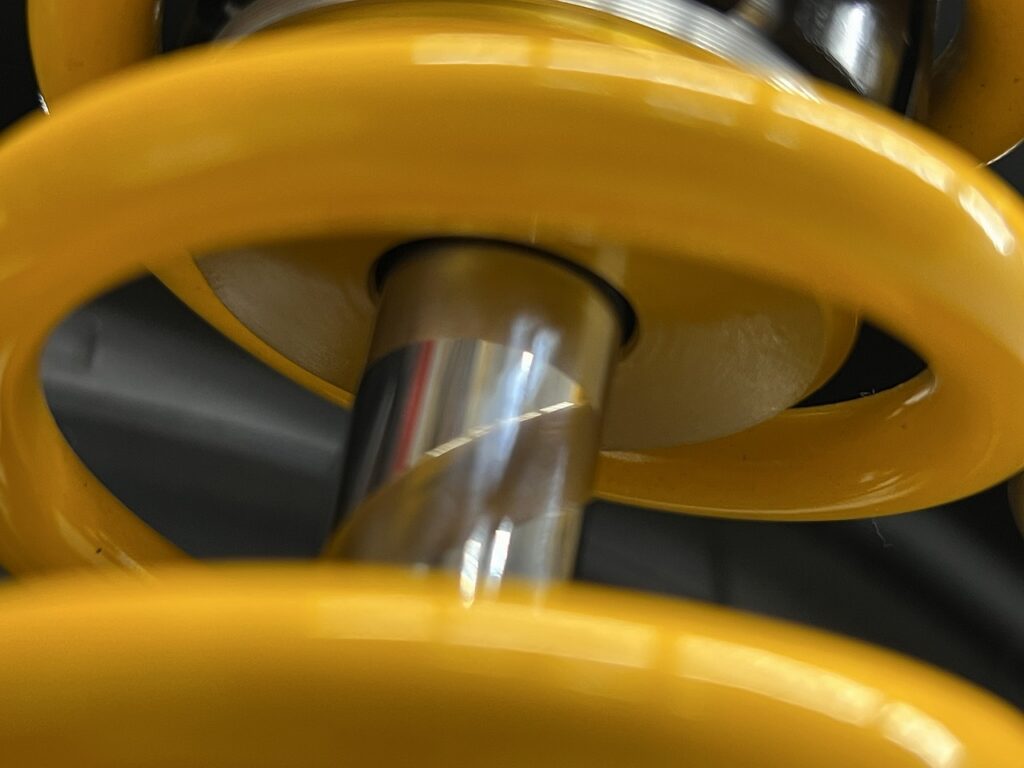
Suspension lubrication and cleaning.
After applying silicone spray or fork oil, it’s super important to finish with a dry cloth wipe. If you leave the oil slick and ride, airborne dust sticks to it and turns into an abrasive paste in no time, actually damaging the seals and inner tubes.
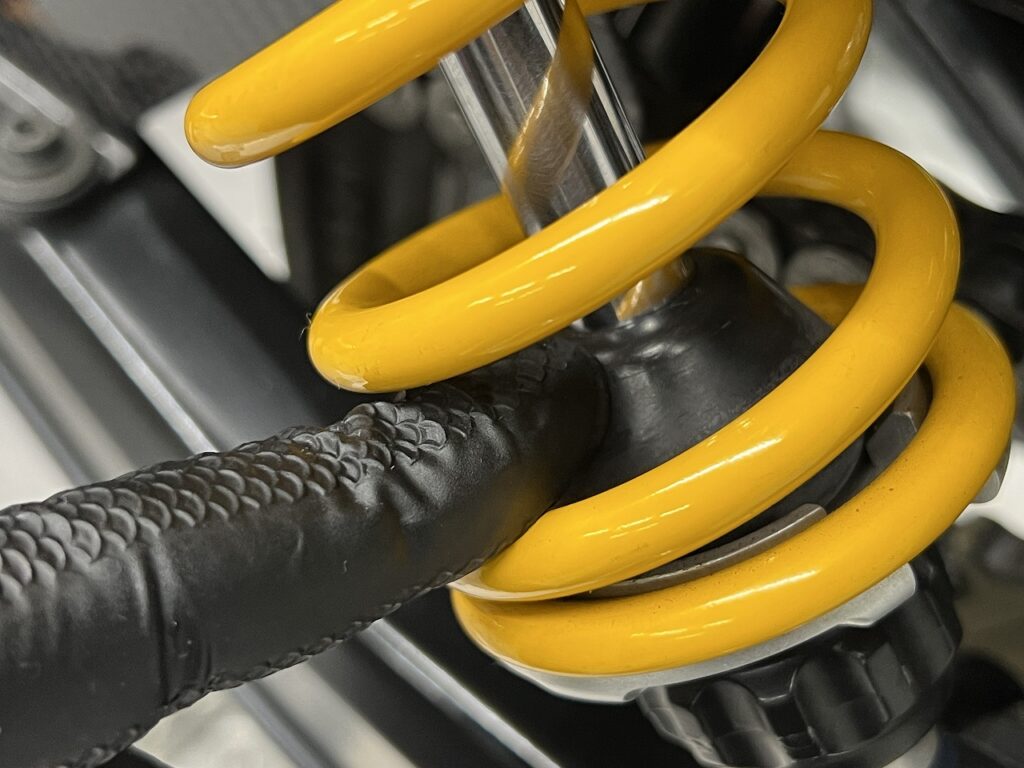
• No surface rust on the inner tubes or shock rods • No cracks or oil seeping from fork dust seals • Rear shock bump rubber not degraded and crumbling
Touch and look while wiping. The key to keeping your bike running long is that final wipe and a careful eye ( `ー´)ノ
Everything checked out fine—peace of mind all around.
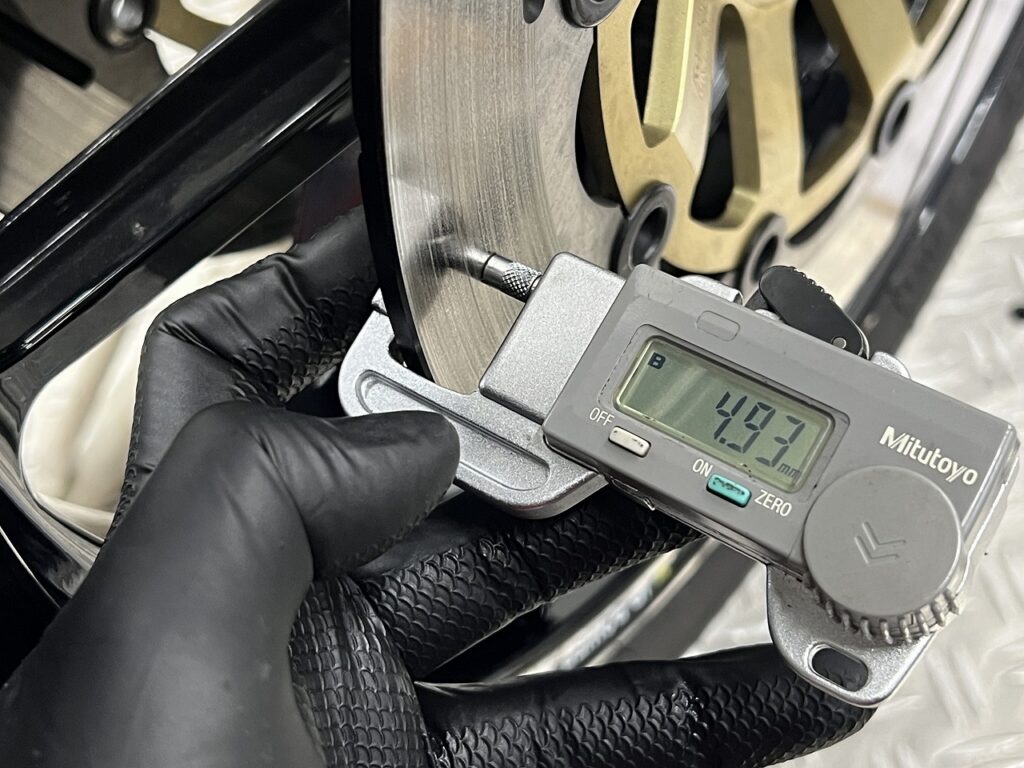
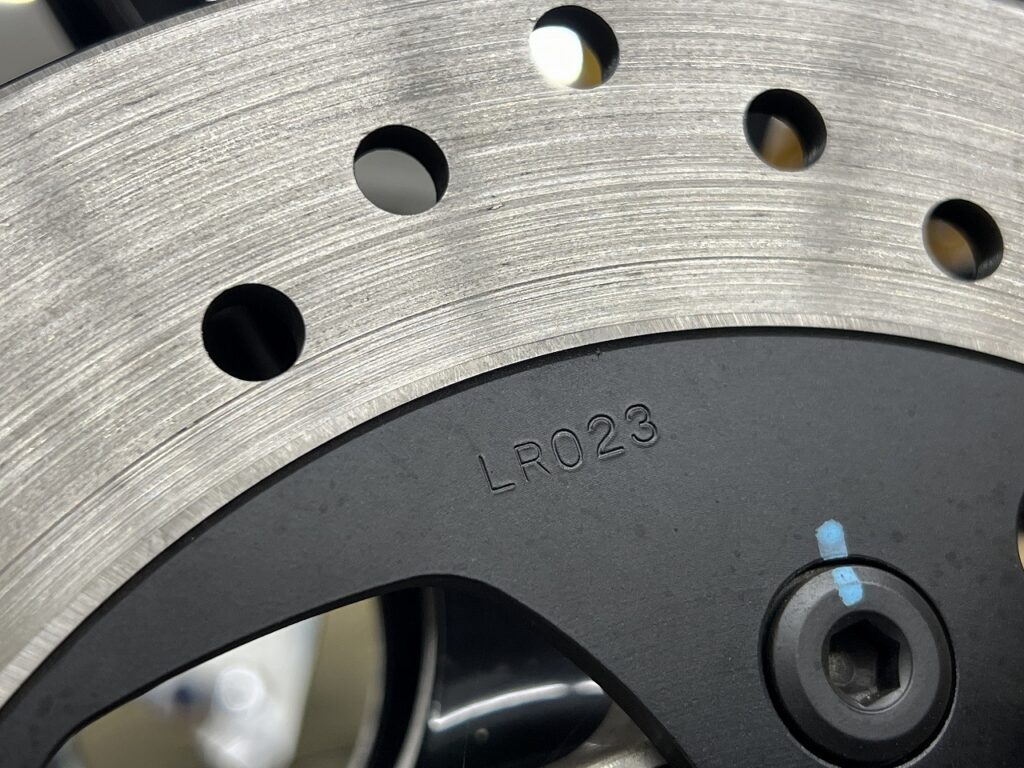
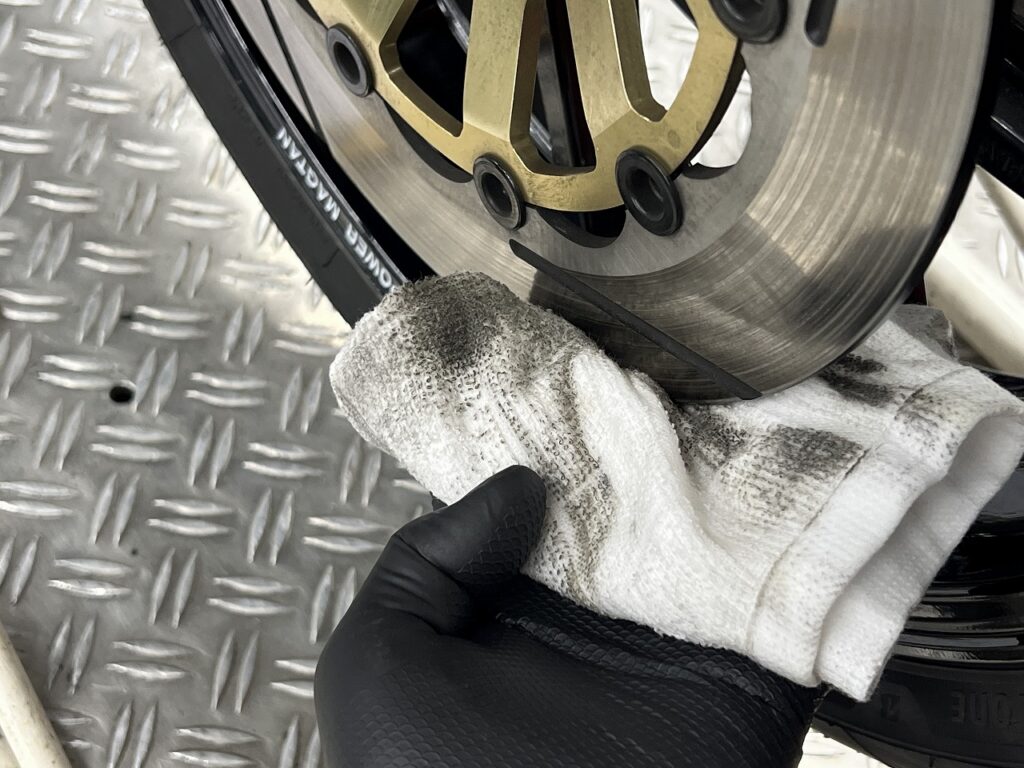
Brake disc cleaning and wear inspection
I check the brake disc rotor wear and brake pad remaining thickness. This lets me plan realistic maintenance timing for the next replacement. This bike has plenty of pad left on both sides—still safe to ride!
The standard rule is to replace disc and pads as a set. Even if the disc is under spec at inspection, I usually don’t rush to replace it right then. Instead, I suggest: “When the pads you’re using now get worn down, we’ll replace both the disc and pads together.”
That way, you’re not throwing away usable pads, and you have time to budget for the next service. Rather than going by the manual rigidly, flexible suggestions based on your riding pace and situation are best (´ω`)
I do a thorough degreasing and a test ride to bed them in. That alone brings them back to life quite a bit.
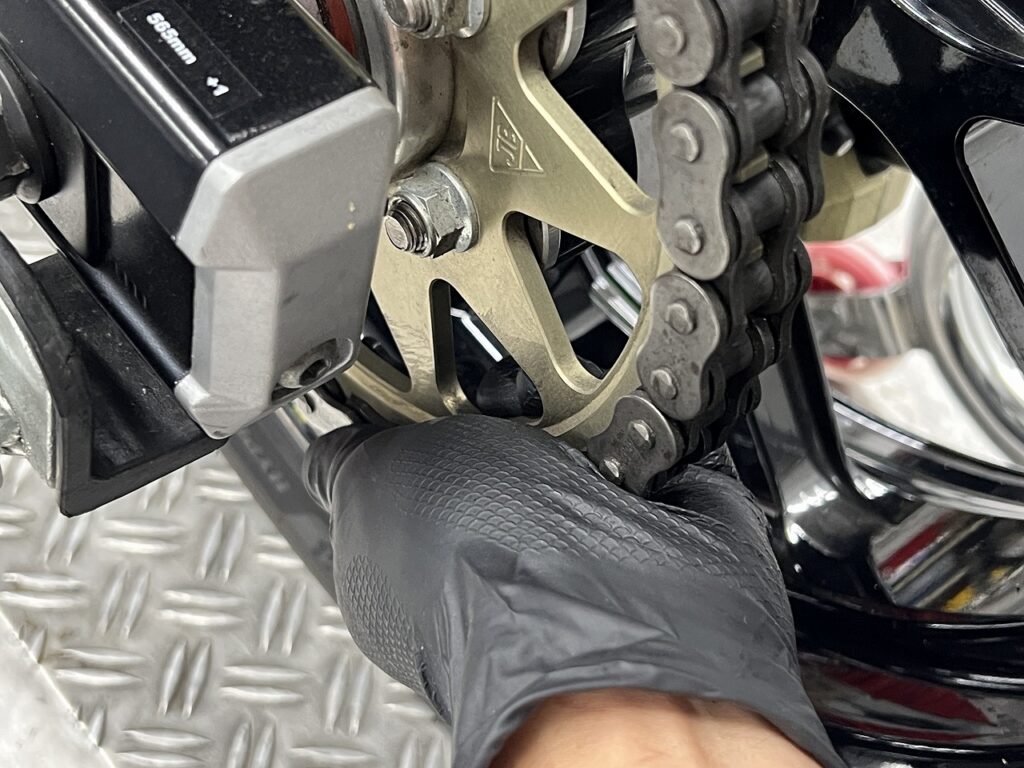
Drive chains don’t stretch evenly
It’s obvious when you think about it.
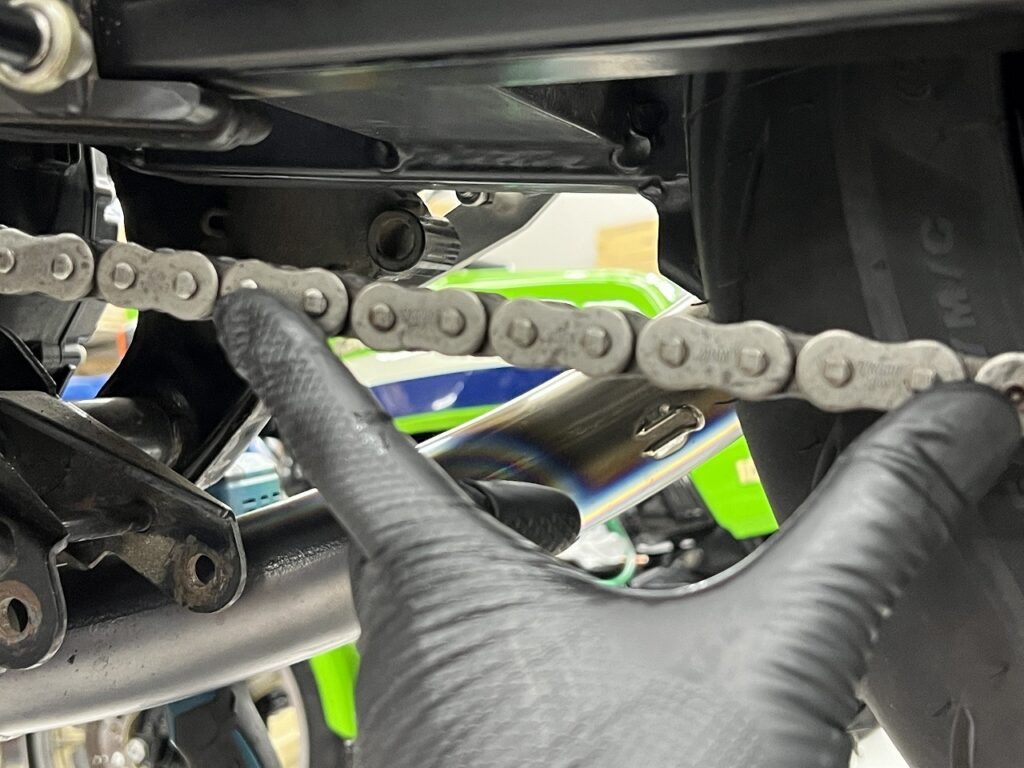
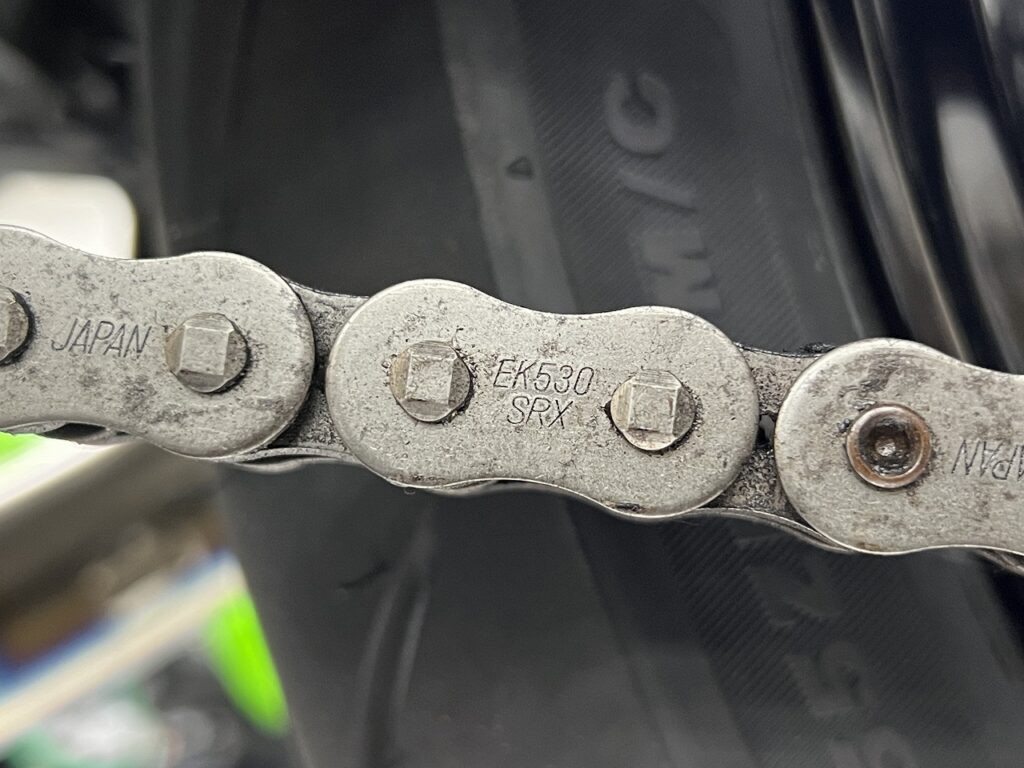
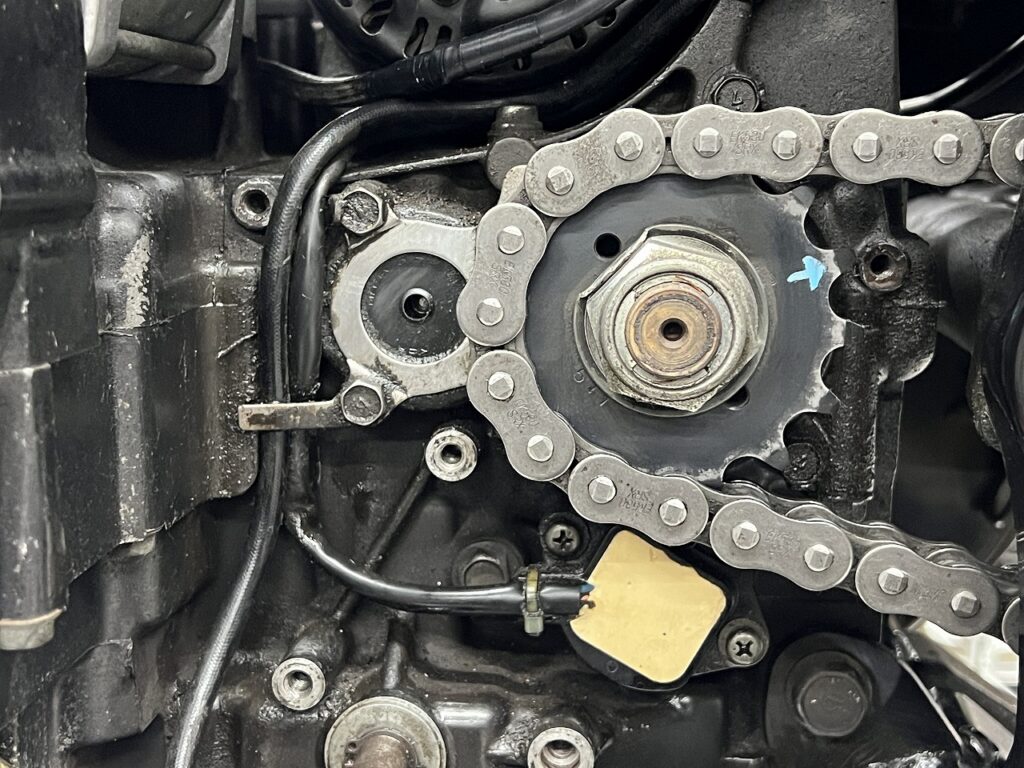
Drive chains don’t stretch uniformly—often just one section stretches way out (uneven stretch). When that happens, normal tension adjustment is impossible. If you adjust the slack to match the loosest spot, you hit a trap: the rest of the chain becomes rock-hard tight (over-tensioned).
Funny enough, cam chains work on exactly the same principle. I sometimes meet DIY folks who say with a smile, “I adjusted my cam chain myself!” But I’m too scared to ask: “Did you rotate the crank a full revolution to find the tightest point?” (;’∀’) (laughs).
Anyway, chain tension adjustment means you must rotate the wheel by hand and check the whole circumference, then set the spec at the tightest point. No shortcuts—that’s the absolute rule to avoid trashing the transmission and bearings ( `ー´)ノ
Checking at 4-5 link intervals makes it easier to spot.
What brand, what model chain is fitted? Chain size, link count, pivot-to-axle distance, front and rear final drive ratios, sprocket brand—if you keep all this in your bike’s file and take notes, the next replacement is a breeze.
You instantly know whether to go with the same setup, try a longer ratio, or how much slack room you have for the chain guide.
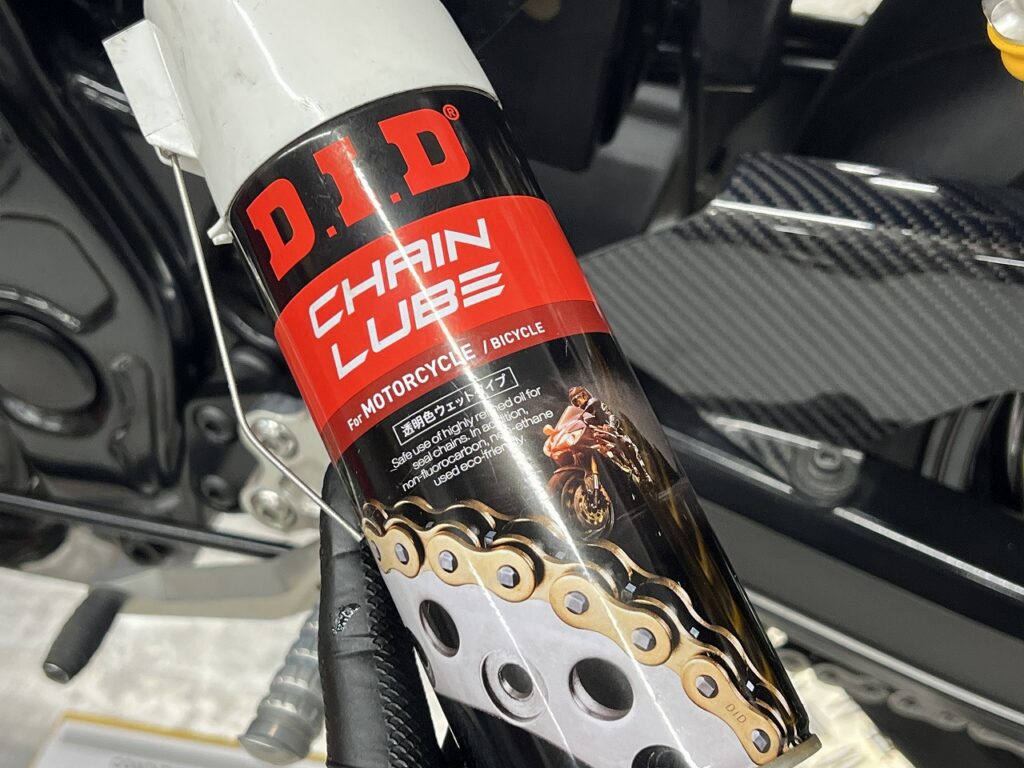
By the way, I’ve been using DID chain lube for ages. The balance of low fling, penetration, and fluororesin film feel is just right, and I always come back to it (´ω`)
I use DID chain lube.
Hunting for oil leaks
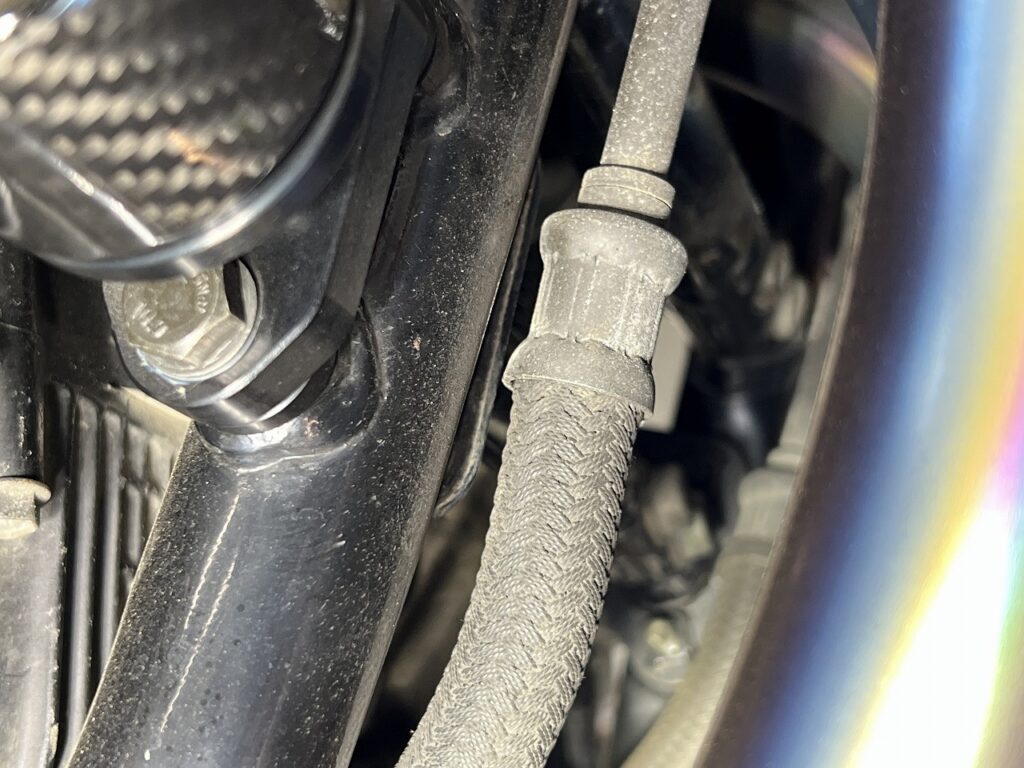
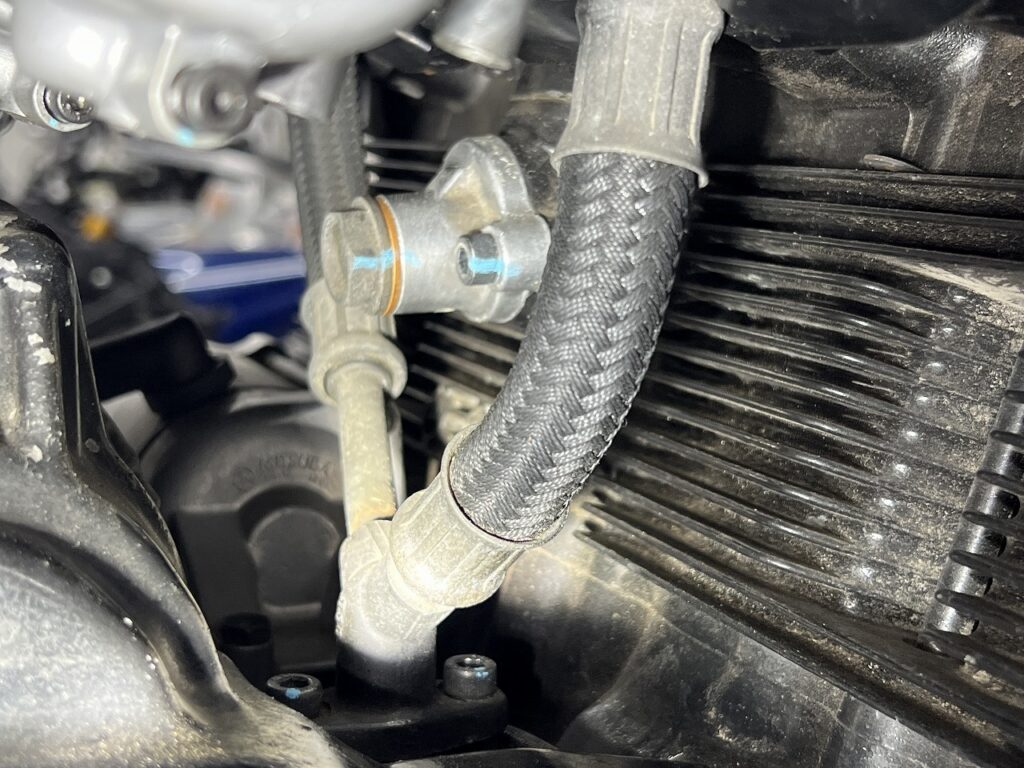
I check oil lines, all oil seals, and gasket joints for leaks or seeping. This bike is clean—no suspicious spots, staying nice and dry!
On older or big-displacement bikes, leaks and seeping usually show warning signs gradually rather than suddenly. If I catch them at inspection and tell the owner “It’s fine now” or “This spot is a bit oily, watch it next time,” I prevent trouble and make future maintenance much smoother.
Confirming with a pro’s eye that “nothing is wrong” and recording it—that’s what builds real peace of mind ( `ー´)ノ
I’ll skip some details to keep this brief: fluid replacement, control and moving part lubrication, fastener checks, and a final test ride.
Output voltage and belly-punch charging are key
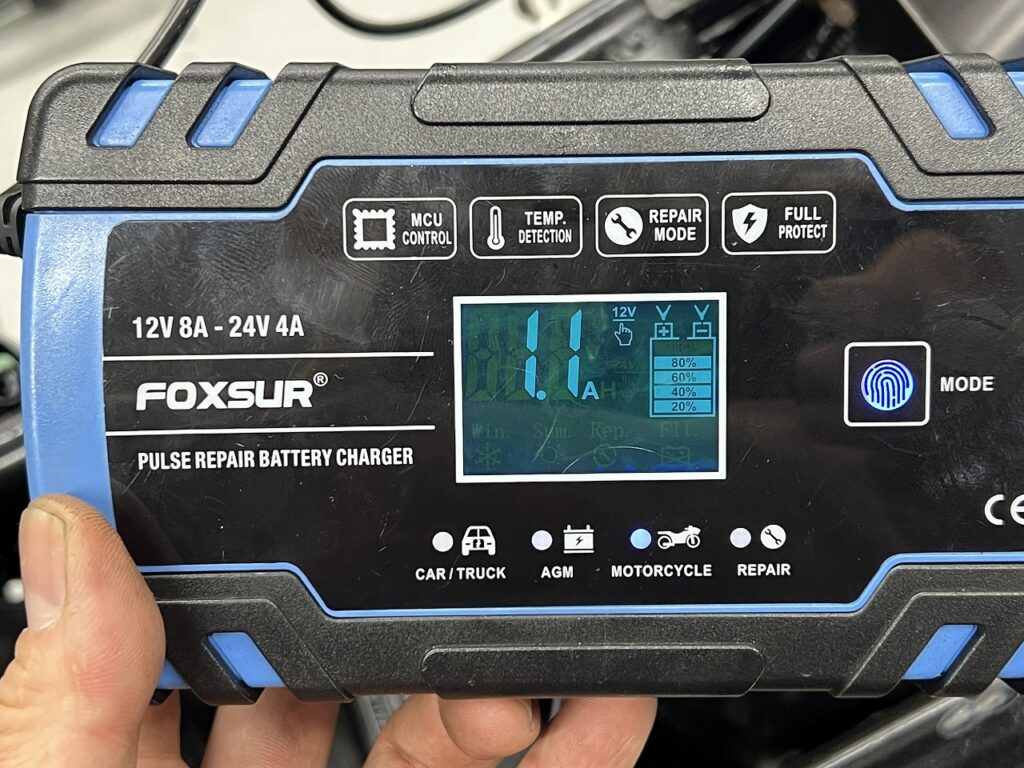
There’s natural discharge too, and even modern bikes often run low on battery voltage. People think “It charges while you ride,” but city riding and short trips don’t keep up with consumption—many bikes are chronically undercharged. Just topping off with a charger regularly makes a huge difference: better starter spin, stronger spark for better low-end torque and throttle response.
Of course, fresh out of the box is the absolute peak! Don’t skimp on the battery—keeping it healthy is the best shortcut to great riding feel.
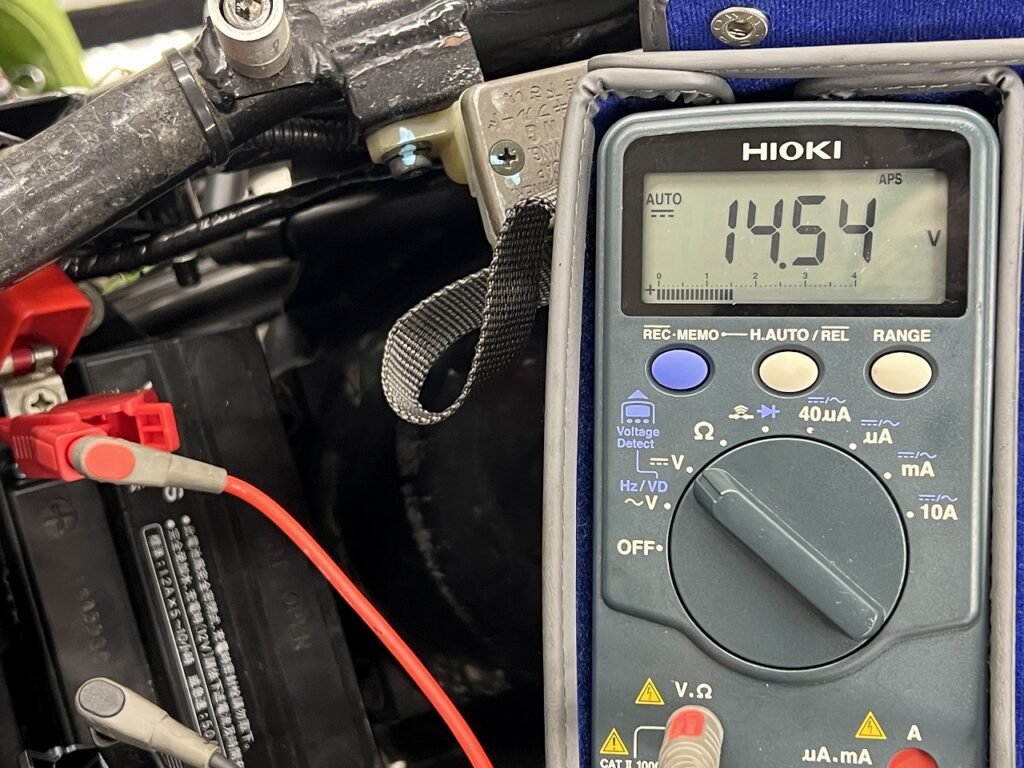
Also, during charging checks, it’s essential to know “at what RPM does the alternator hit peak output?” with a tester. Regulator failure (overcharging) is bad enough if it just kills the bike, but overvoltage on a lithium battery can cause swelling, rupture, or even fire—super dangerous.
No mechanical part lasts forever. A tester can tell you if something works or is broken, but nobody—not even a god—can predict when an electrical part is about to fail. That’s why electrical systems need “preventive replacement by age and mileage.” There’s no better self-defense ( `ー´)ノ
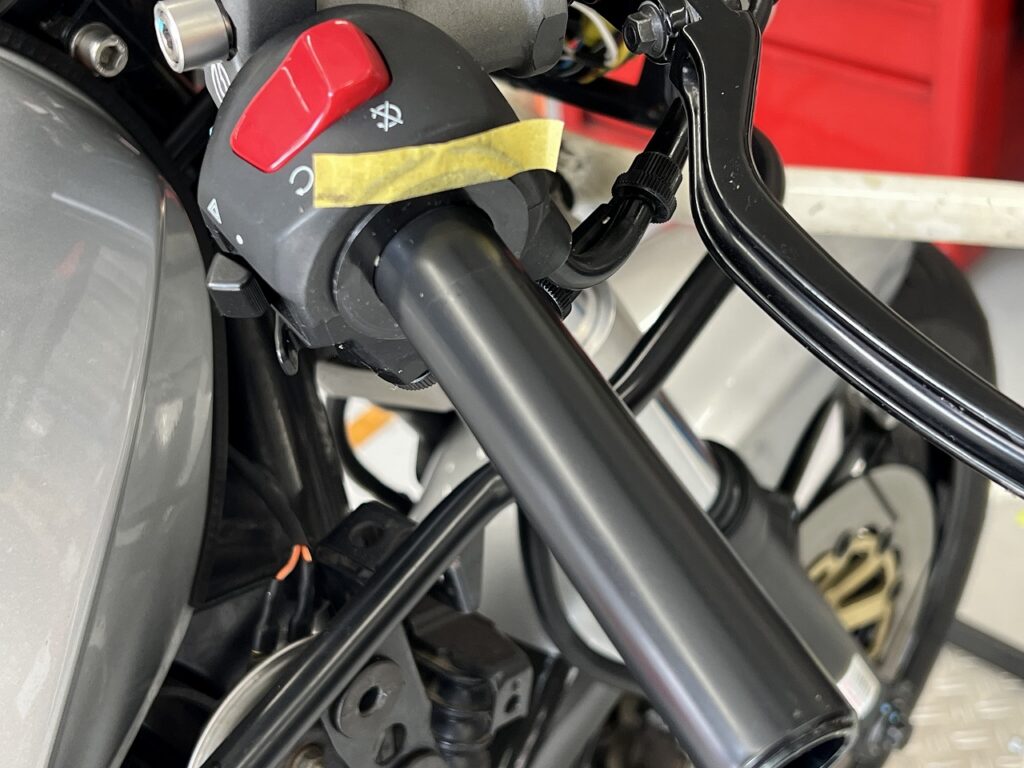
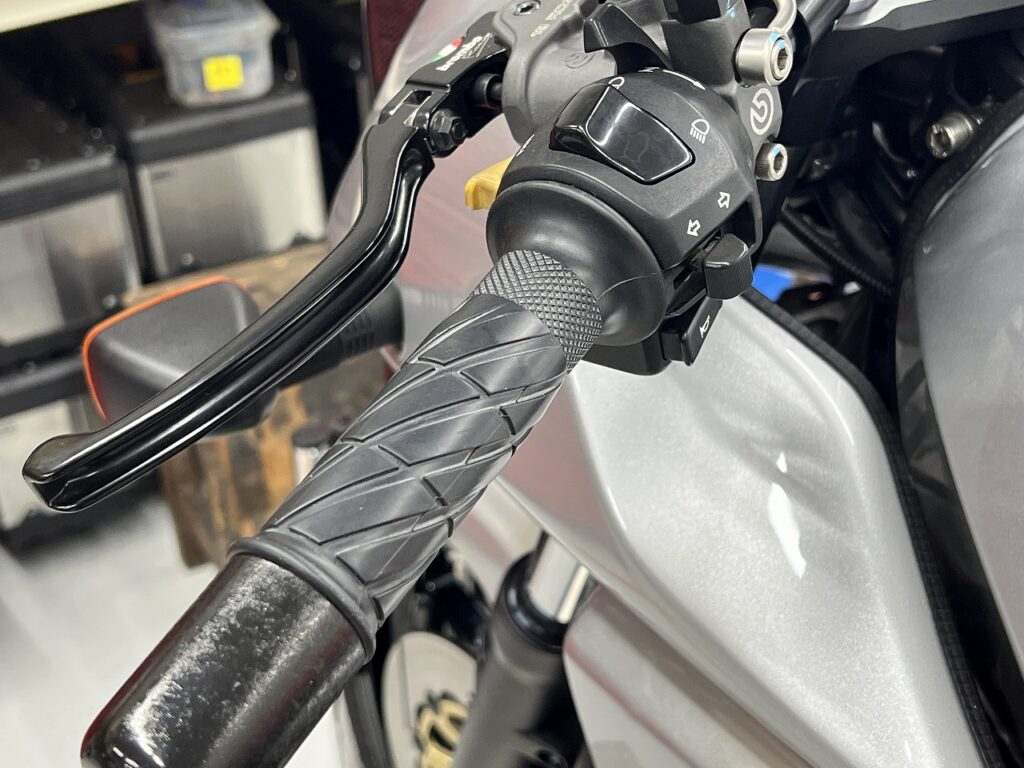
Grip, tank rubber, and plug cap replacement
When bonding, remove all old adhesive and degrease thoroughly for a solid hold.
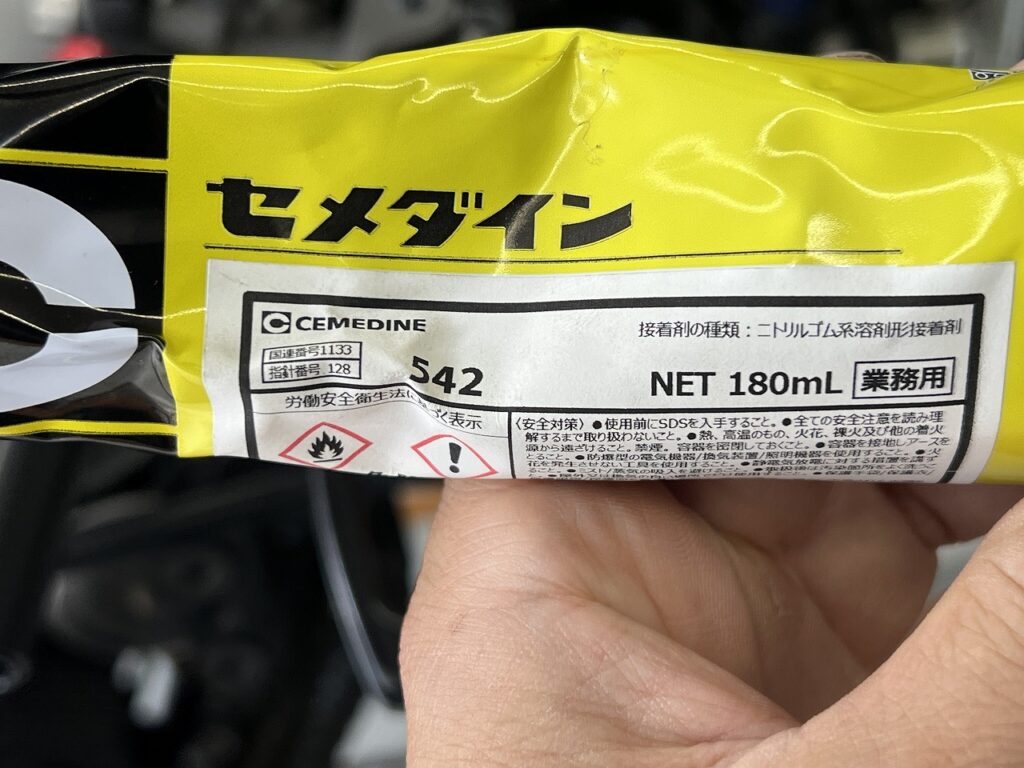
For carburettor overhauls and handlebar work, the adhesive we always stock at the garage is Cemedine 540/542. It’s a rubber-based adhesive known as the OEM equivalent to Honda’s heat and oil-resistant grip bond.
Of course it works great for handlebar grip bonding, but where it really shines in the field is “preventing carburettor float chamber O-ring (gasket) dropout and positioning.”
Modern fluorocarbon or fresh float chamber O-rings tend to float in their grooves or pop out during assembly from their own weight and spring-back, getting pinched between the body and chamber and causing fuel leaks. Liquid gasket is a no-go (clogs passages), but a tiny dab of this 542-type rubber cement in the groove holds the O-ring perfectly without hardening thick, and it won’t damage rubber or aluminum. Next time you take it apart, cleanup is easy too.
Rather than buying a bunch of specialty products, having one solid, well-understood adhesive boosts work reliability from grip swaps all the way to delicate intake assembly. A real gem for streamlining maintenance.
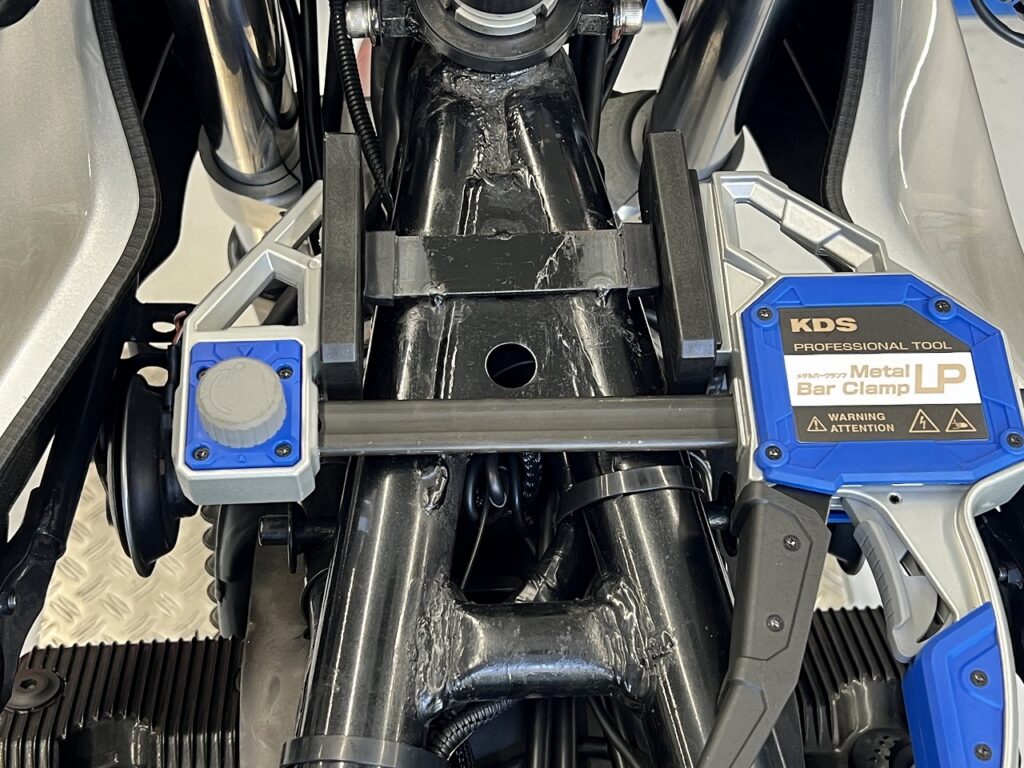
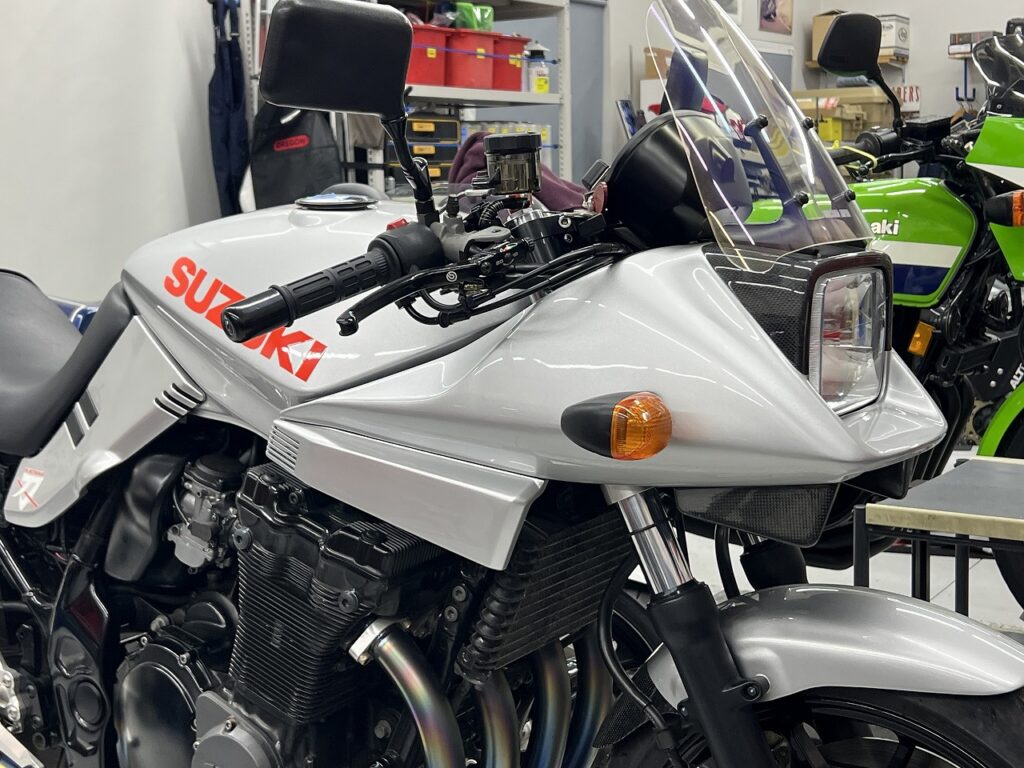
A special fuel tank damper *for the Katana sidecover bonded in place.
#4 plug cap—I’m a flush-fit guy.
Covers like this really shape the head’s visual appeal, and if they’re floating or rattling, it bugs you. The stock design is pretty loose, though. Mold tolerances on the cap and cover, plus plastic warping over time, mean “doesn’t seat fully,” “tiny gap,” or “weird flex” are common.
Rather than forcing it, I adjust things like: • Trim the cap’s protrusion (rib/flange) • Machine the cover’s back groove to align the fit. With this hands-on tuning, you get a perfect flush fit that sucks right in.
These small details really tighten up the whole bike’s finish ( `ー´)ノ
Maintenance log: GSX1200S oil-cooled! Inspection and light maintenance plan with comprehensive checks of all components—the merits of keeping things in good shape through disciplined tuning


 ポチップ