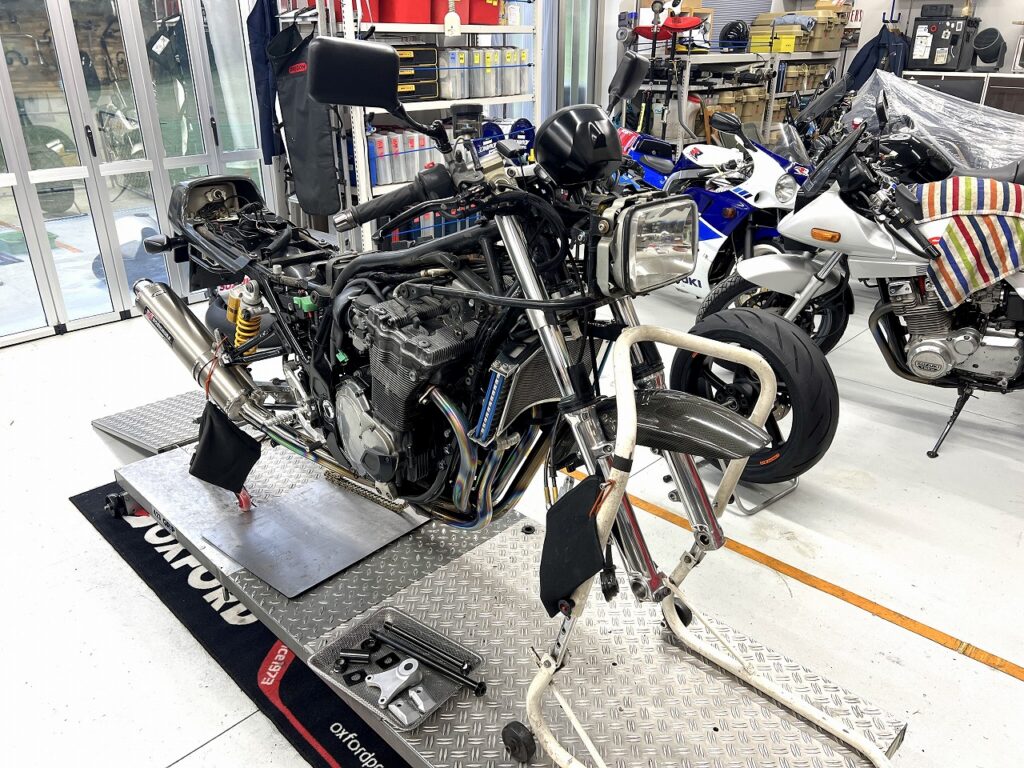
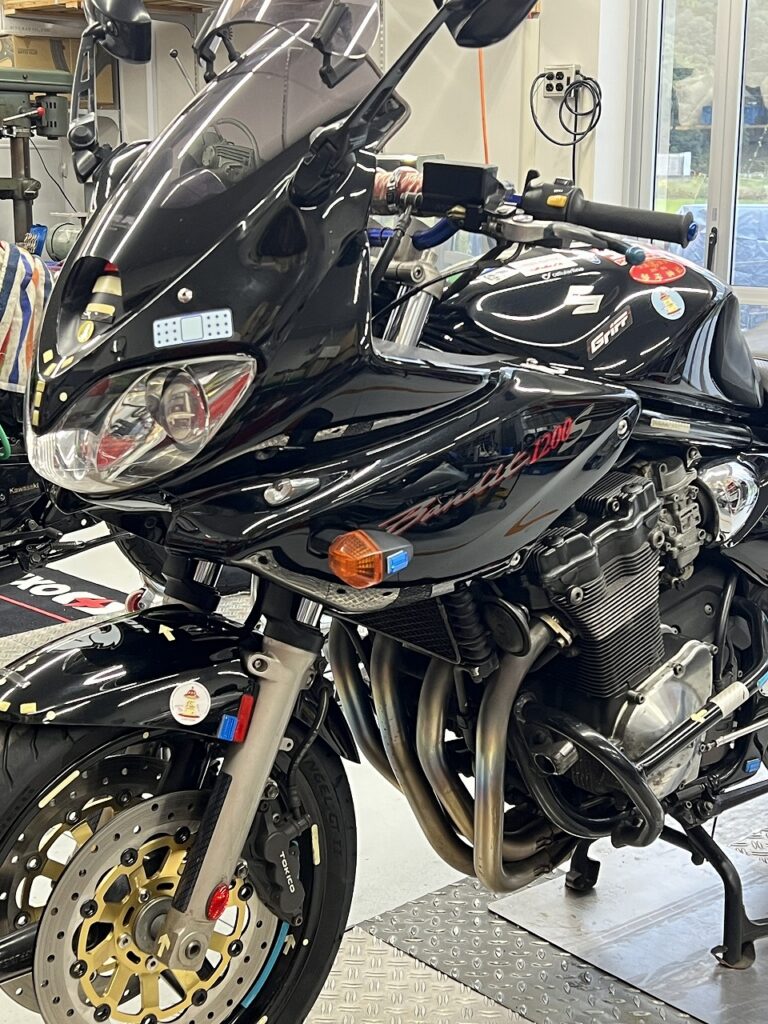
Maintenance Log: This Season Is Oil-Cooled Katana! Unicorn Japan GSX1200S Oil-Cooled Katana’s Completeness and Deep Foundation Tuning to Cut Through Autumn Winds
It’s been about a month since I started keeping chickens. I’ve gotten the daily routine down, but I’ve come to realize that I really do need a proper coop.
Because in just one month, they’ve [almost completely wiped out] all the insects on my 240-tsubo property and started escaping the grounds (laugh).
I looked at the lawn during a work break and… they were gone. I looked at the empty lot next door and they were pecking away at something intently. They’d figured out that the neighboring property was crawling with bugs. Today they even tried to charge into a rice paddy over 100 meters away—I panicked! I quickly banged on a metal feed box—”Clang clang!”—and all three came sprinting back at full speed, so disaster was averted (´ω`)
But this way I can’t concentrate on work because I’m worried about them! Fencing off the whole property would be too much of a renovation, so after much deliberation I ordered an assembled coop. It arrives next week, so until then I’ll just have to manage with a makeshift enclosure.
Still, they’re getting bigger and more robust by the day, and even though their faces are sharp and dignified, the way they waddle along behind me is just so cute. For the past month, my head has been completely full of chickens ( `ー´)ノ
Today’s oil-cooled Katana autumn deep condition tuning log
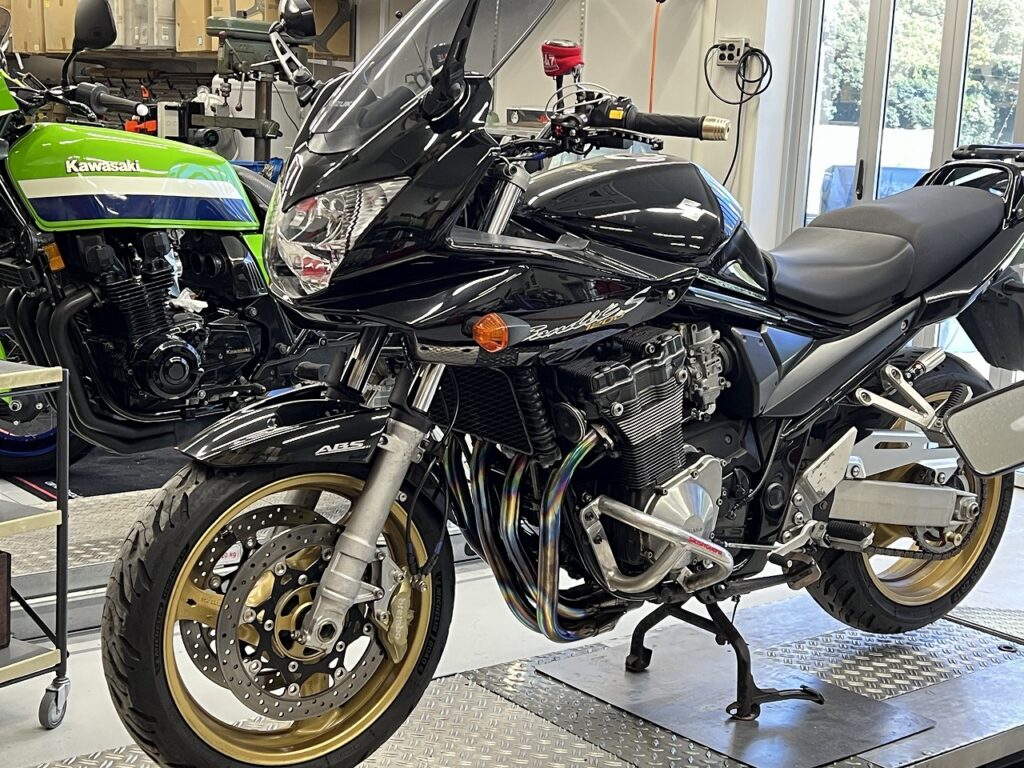
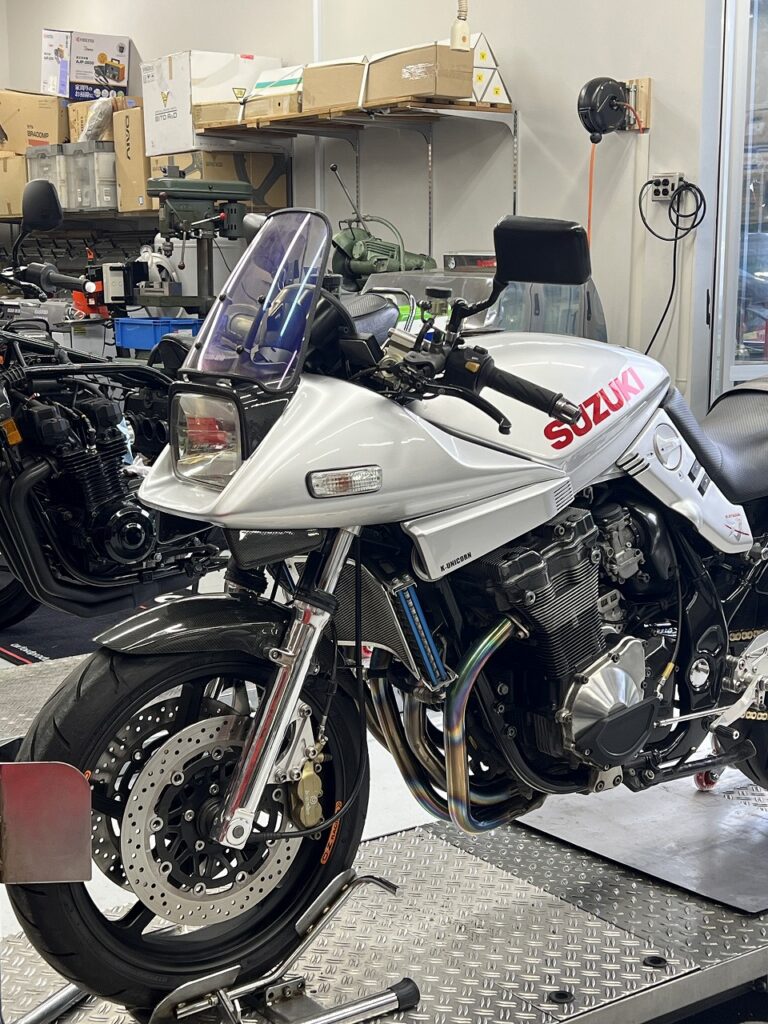
Today’s theme:“This season is oil-cooled Katana!”—Why the oil-cooled engine shows its true worth in November as autumn deepens & complete inspection of each part of the masterpiece created by the legendary Unicorn JAPAN
Why is November the best season for oil-cooling?:
Freedom from the curse of heat management: Released from the intense oil temperature rise of summer, the large oil cooler receiving the wind of travel delivers 100% of its true cooling capacity. Oil temperature stabilizes and the worry of heat sag vanishes!
Thicker torque from improved air density: By drawing in cold, clear air, the oxygen fill efficiency inside the cylinder increases, and the thick, raw kick unique to the oil-cooled 1200cc big block becomes even more sharp and angular.
Unicorn JAPAN complete machine’s sculptural beauty and inspection essentials:
Confirming the integrity of the dedicated fairing stay and fitting that perfectly docks the flowing original form of the GSX1100S Katana onto the modern skeleton of the Inazuma 1200.
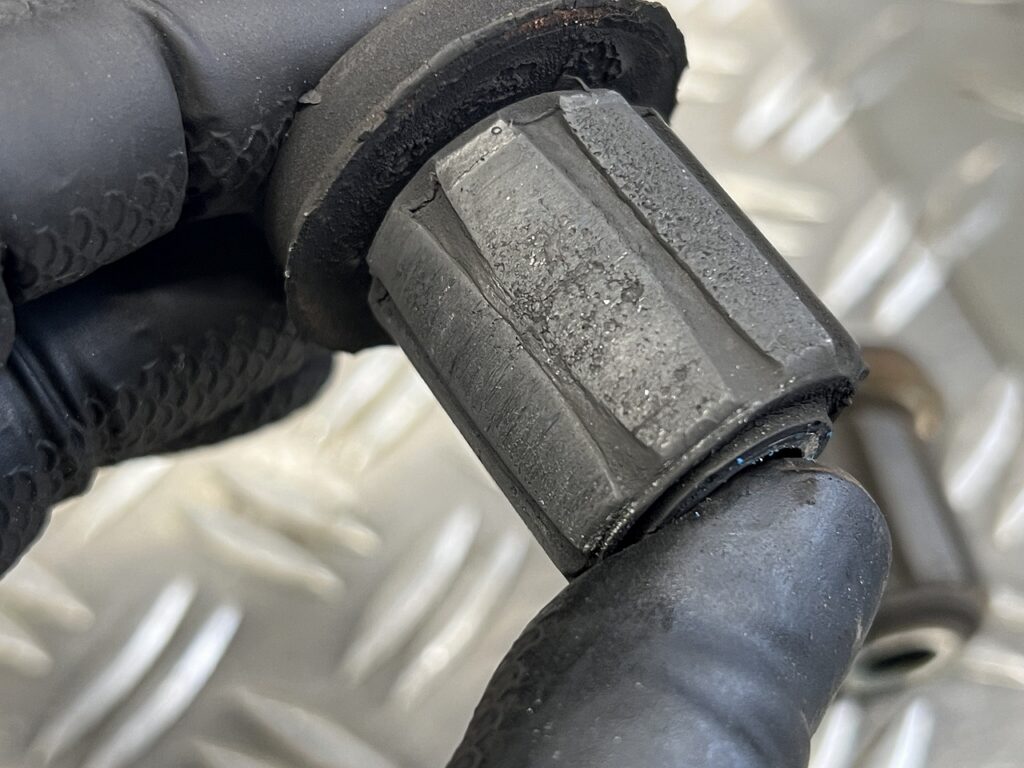
Inspection of rubber mount deterioration from vibration over the years, air-tightness confirmation of the carburettor intake system, and elimination of friction in the suspension.
A word from the shop owner: This is the best season when the oil-cooled engine, having endured the heat, shows its true power in the crisp autumn air. Because it’s a beautiful Katana built by a legendary maker, we prepare the invisible foundation and deliver the ultimate riding feel!
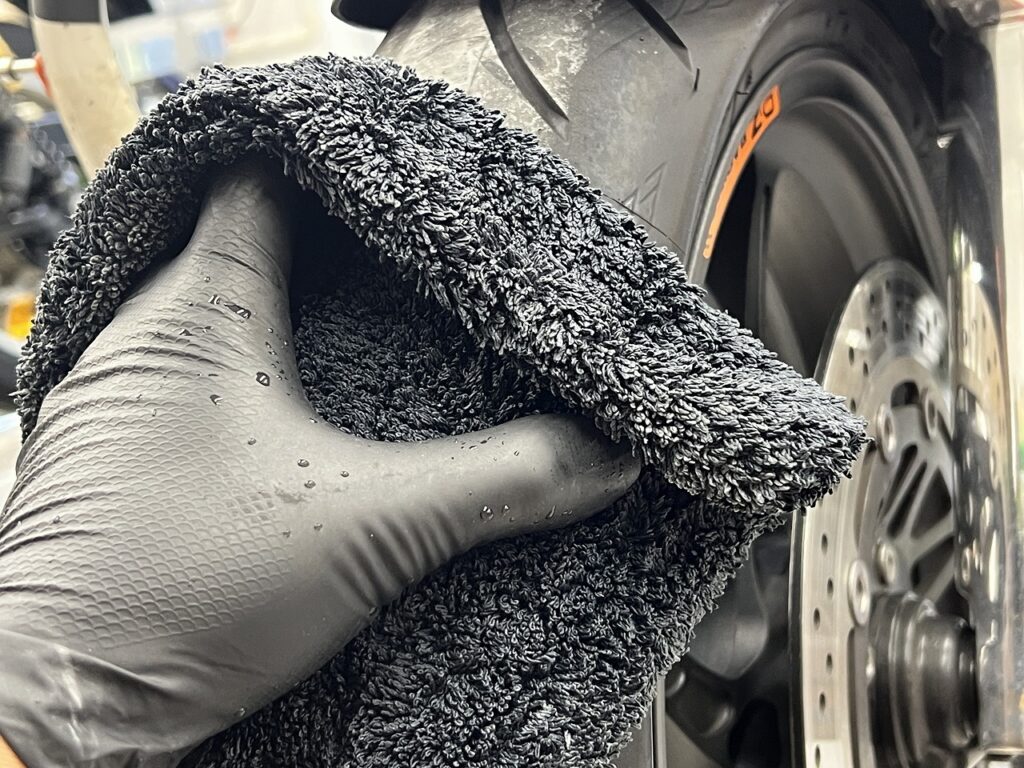
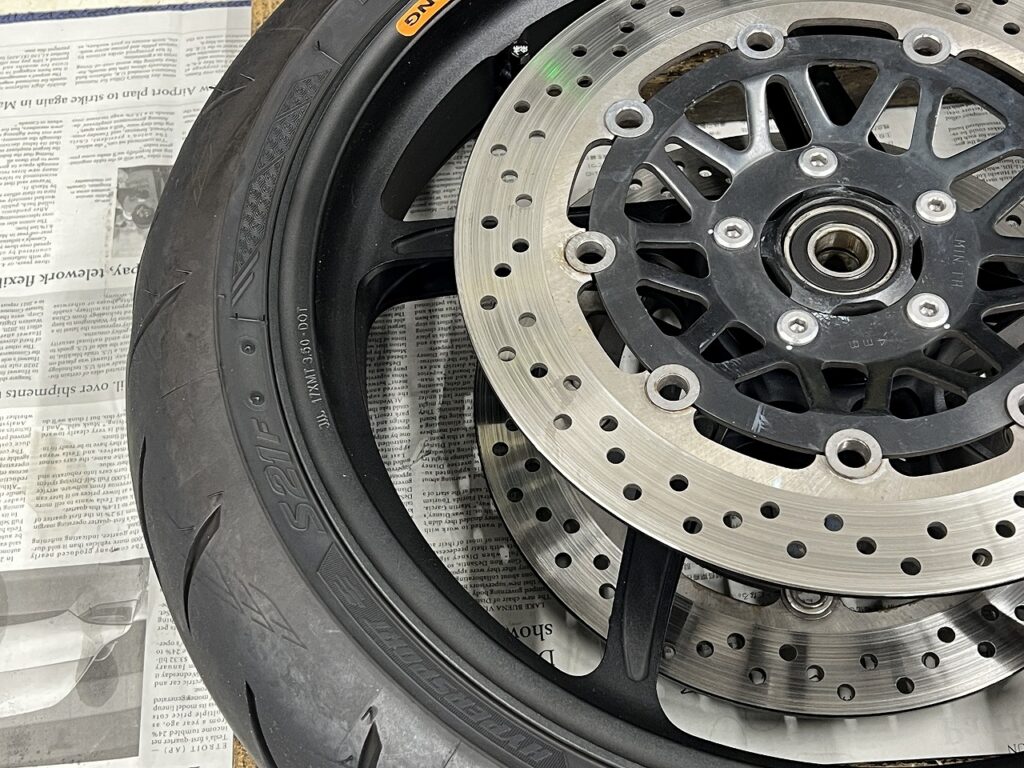
I clean the tire thoroughly with a damp towel. I check carefully by eye to see if any foreign objects are embedded, or if there are cracks or other damage.
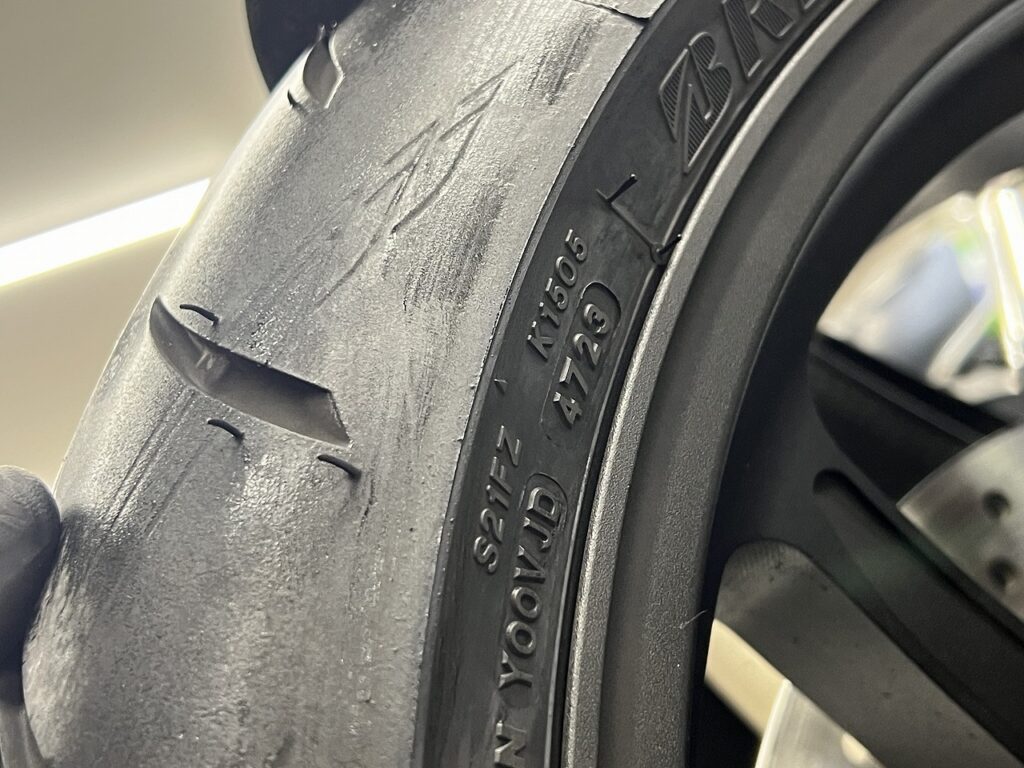
It’s also good to check the manufacturing date while you’re at it.
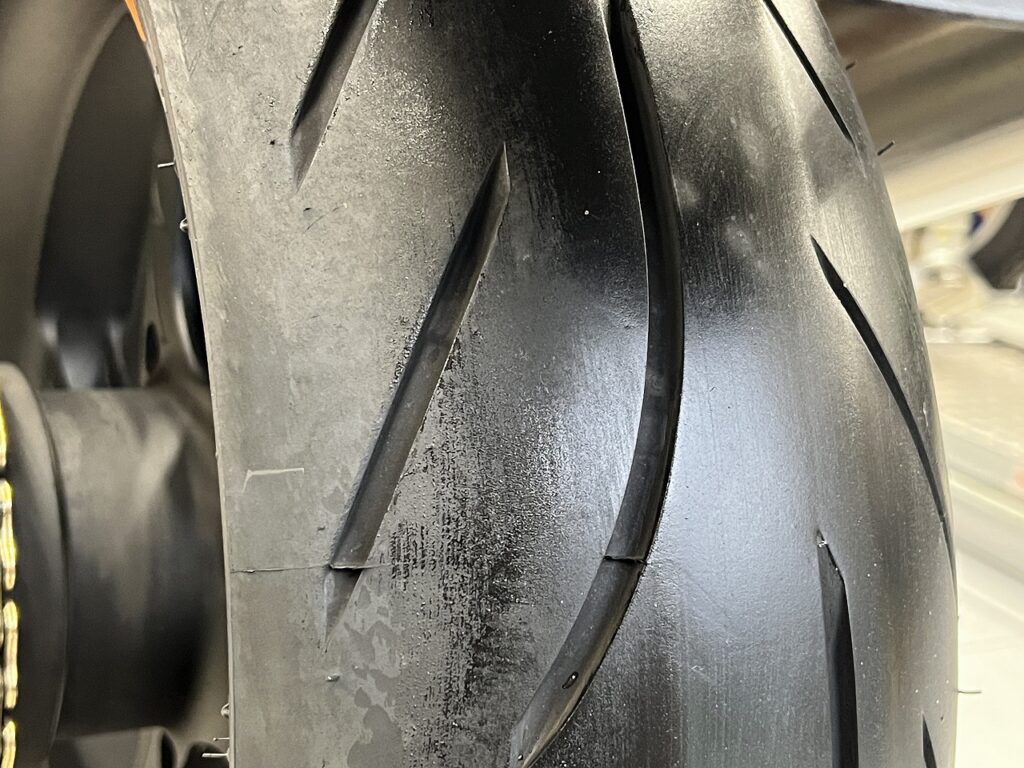
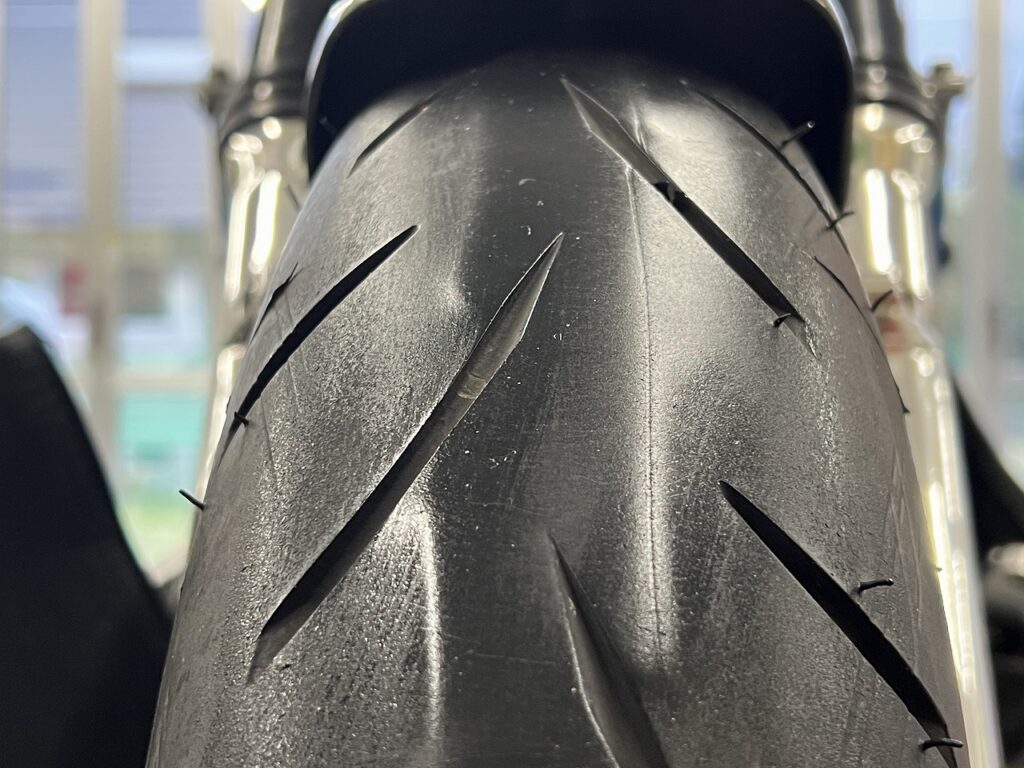
These are Bridgestone BATTLAX S21, but… the center is worn down unusually. In fact, the way it’s worn so evenly flat—as if drawn with a ruler—is worth a double take.
Even for a sport-oriented high-grip tire with a three-part compound center, you’d expect a bit more grip. I wonder if the riding was mostly highway and bypass straights, or if the tire pressure was running higher or lower than specified.
I’ll check the service record later to see how long and how far it’s been ridden. A tire with a pointed center and shoulders still remaining is scary—it cuts abruptly even just turning at an intersection ( `ー´)ノ
Checking the wheel individually
Checking each part individually gives you a lot more peace of mind.
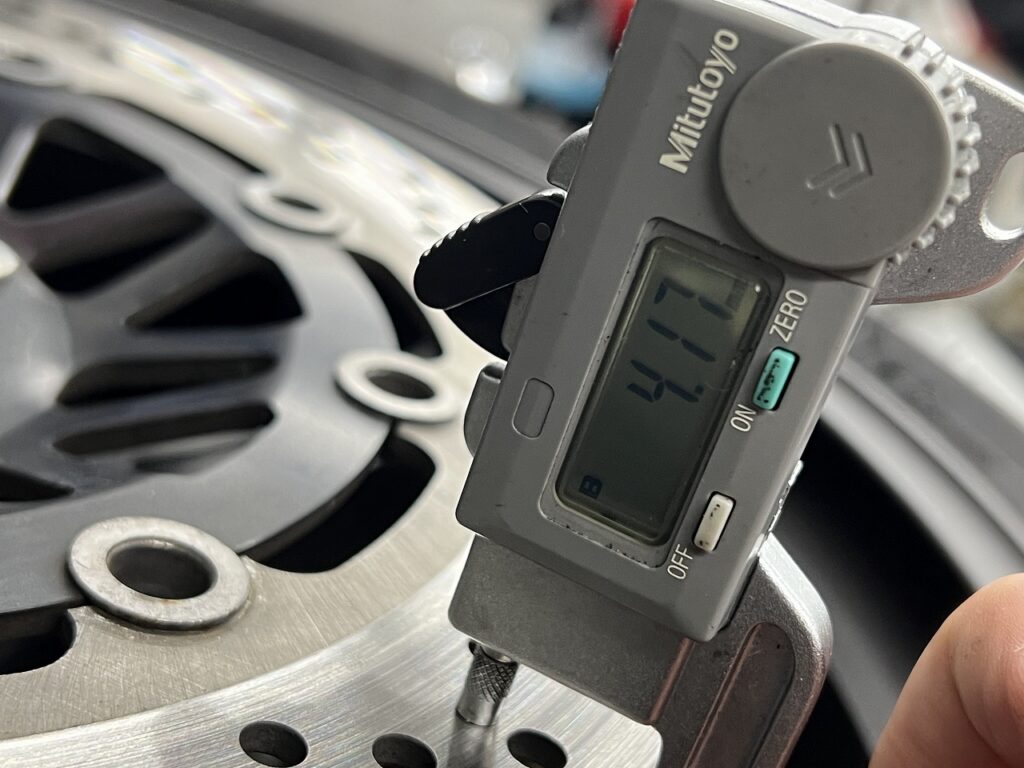
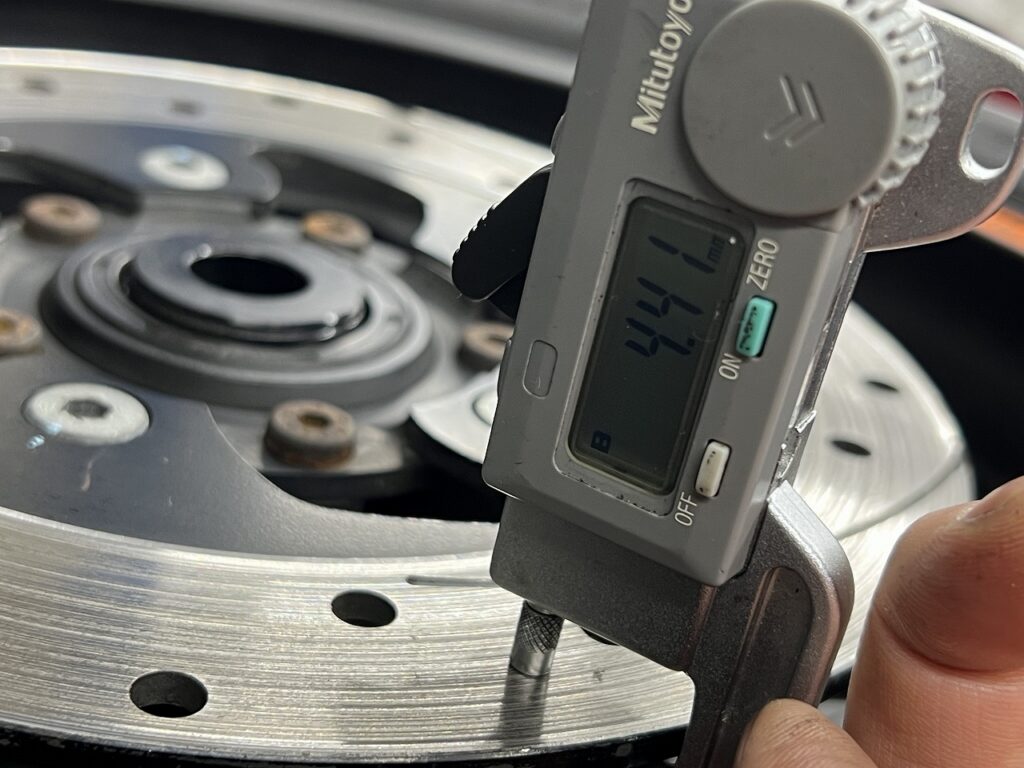
Both front and rear brake discs have worn evenly to the minimum thickness limit (MIN TH).
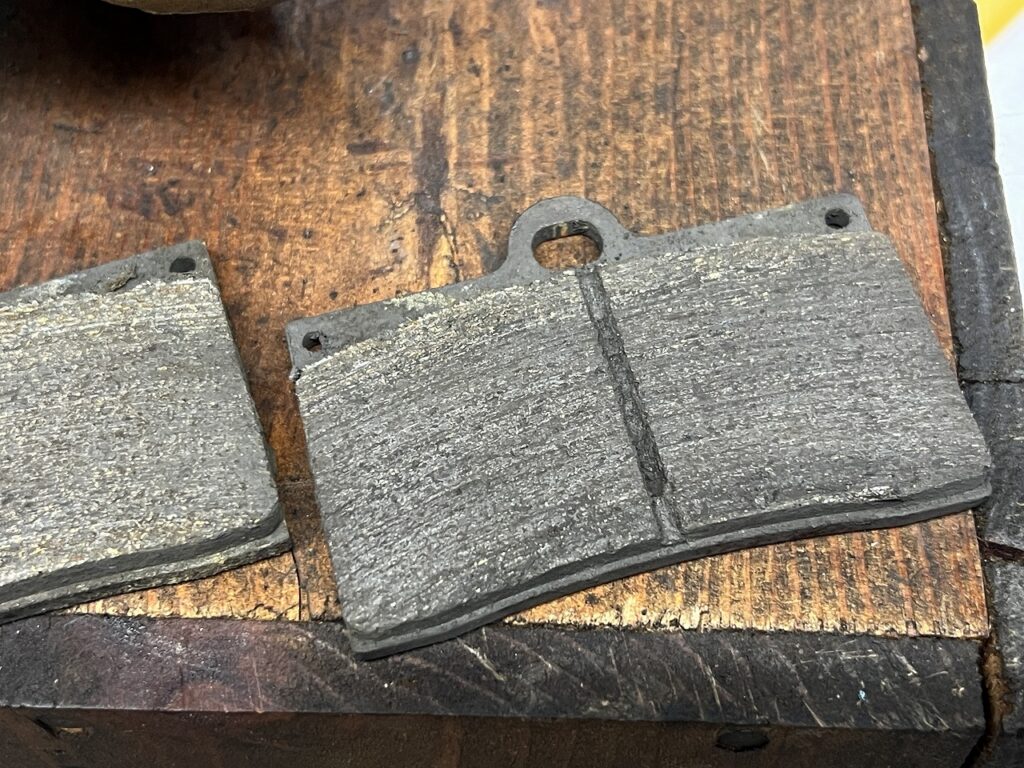
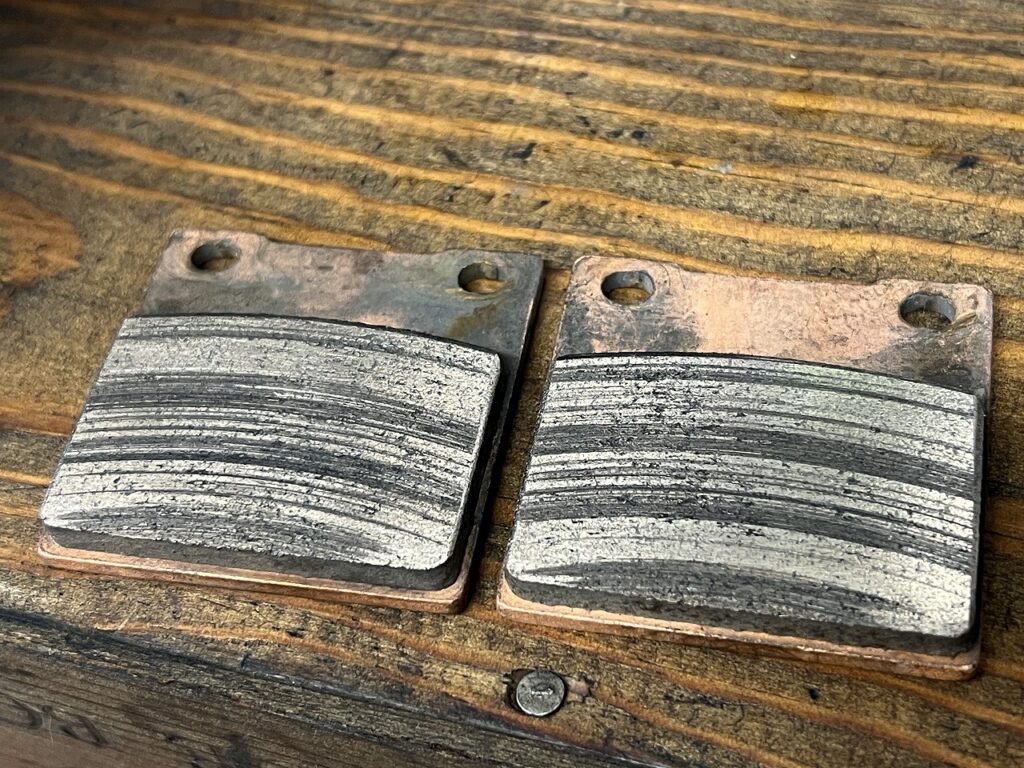
When replacing brake disc rotors with new ones, the rule of thumb is “always replace the brake pads with new ones too.” If you install old pads with the wear marks and uneven wear patterns from a used disc, the new rotor will develop uneven contact, ruining both its life and feel.
That said… the pads themselves still have plenty of material left. I tell the owner, “Ideally we’d replace everything right now, but you could also ride until the pads wear out completely and then do a full replacement, or you could go ahead and refresh everything now.”
Front and rear disc rotors plus front and rear new pads means the parts cost alone suddenly jumps up. Rather than pushing “replace everything new right now!”, it’s important to balance the remaining material, riding pace, and budget, and find a compromise where the owner is satisfied and can ride happily ( `ー´)ノ
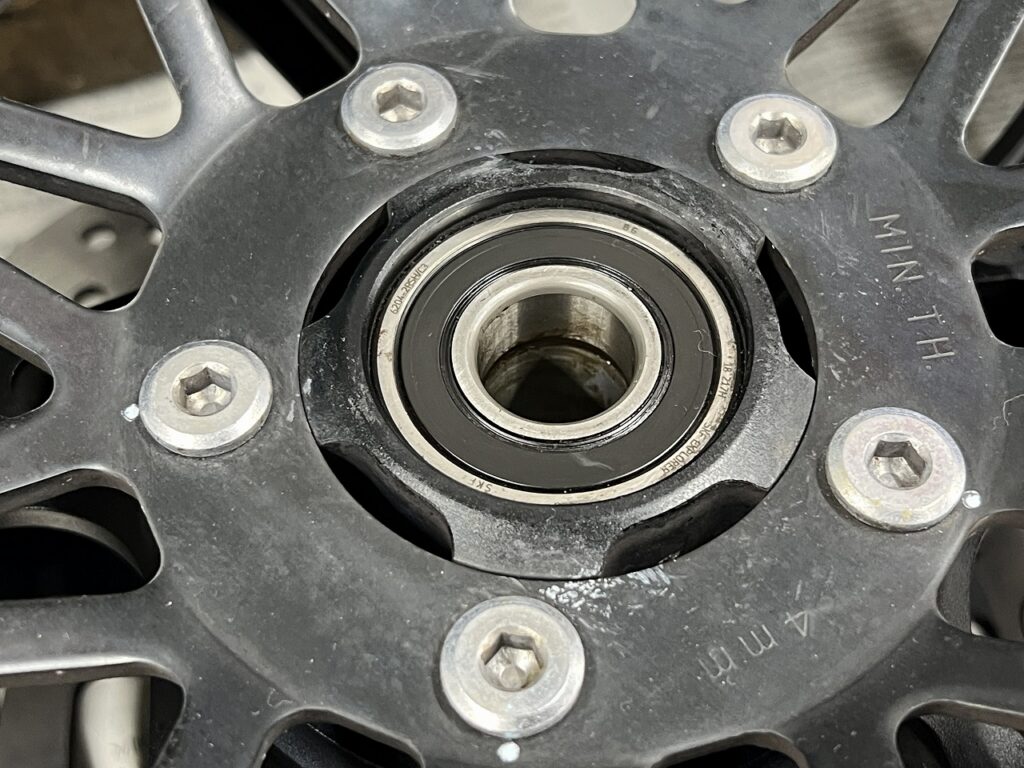
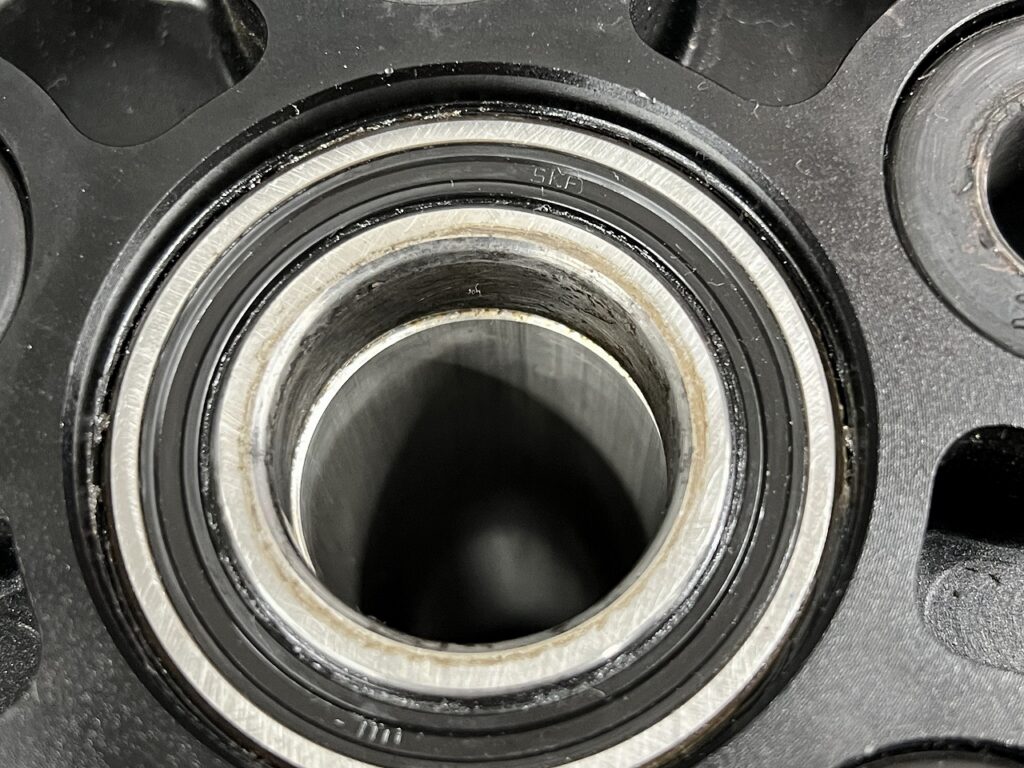
To prepare for future maintenance, I also note the wheel bearing part numbers.
I could confirm the front, but the rear is oriented so the marking isn’t visible (inside), or it’s an aftermarket or OEM spec without part numbers on the surface… so I’ll leave it.
There’s no need to go out of my way to tap out the part number, so this time I’ll just keep it as is.
I spun it by hand and checked for roughness, play, and binding in the axial and radial directions, and the bearing itself is in great shape! The best approach is to leave healthy things alone and intervene smartly when the time is right ( `ー´)ノ
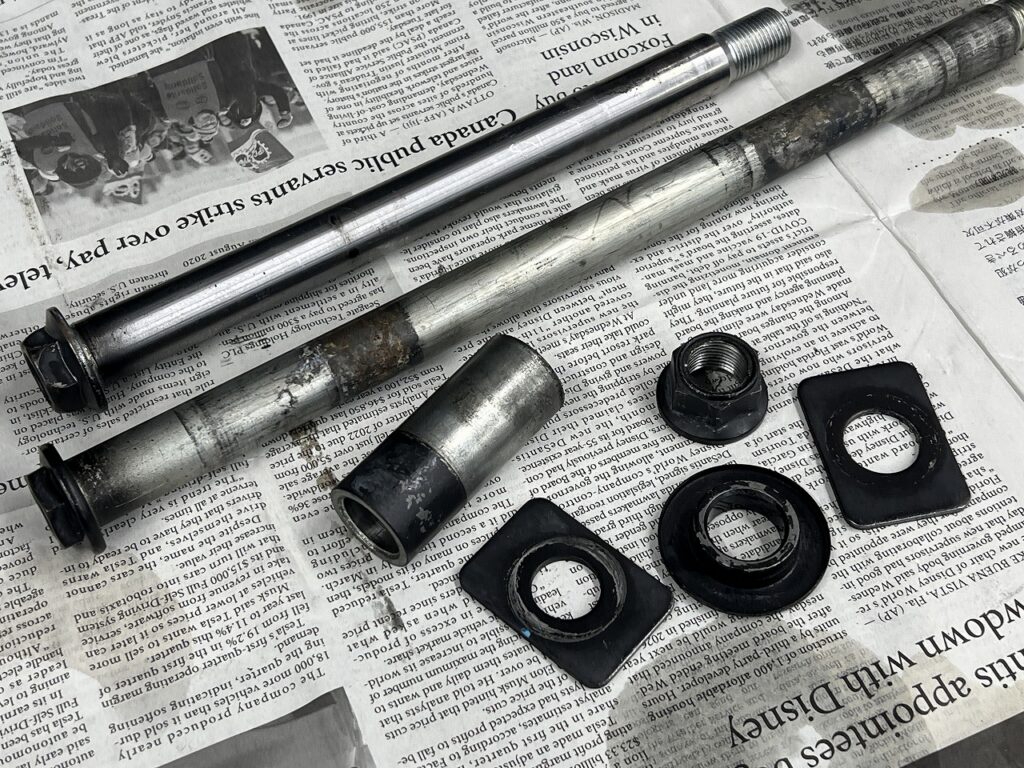
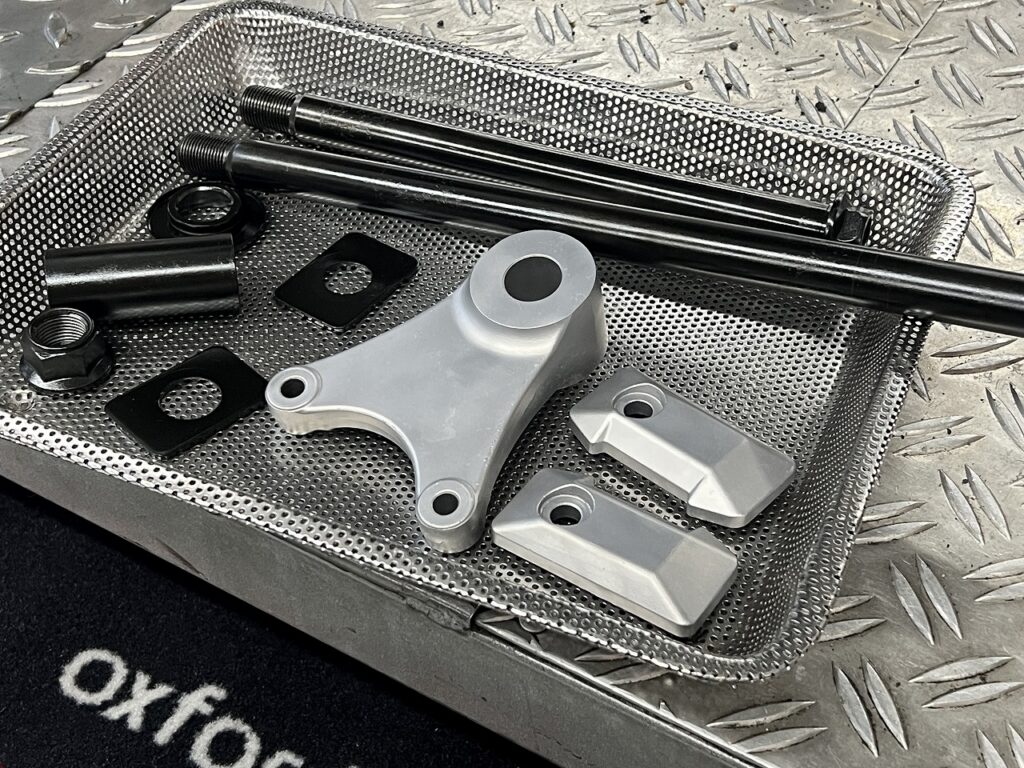
It was pretty worn, so I refreshed it with Gun-Kote again. It’s turned black and now looks like a chromoly shaft.
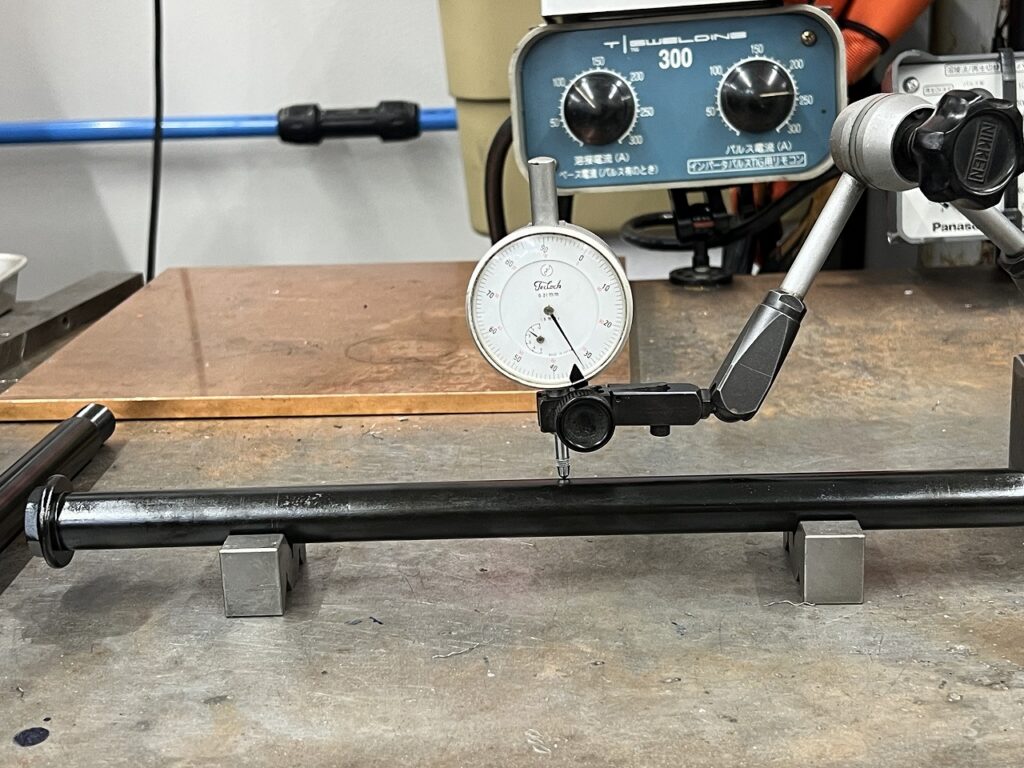
The shaft runout is fine front and rear.
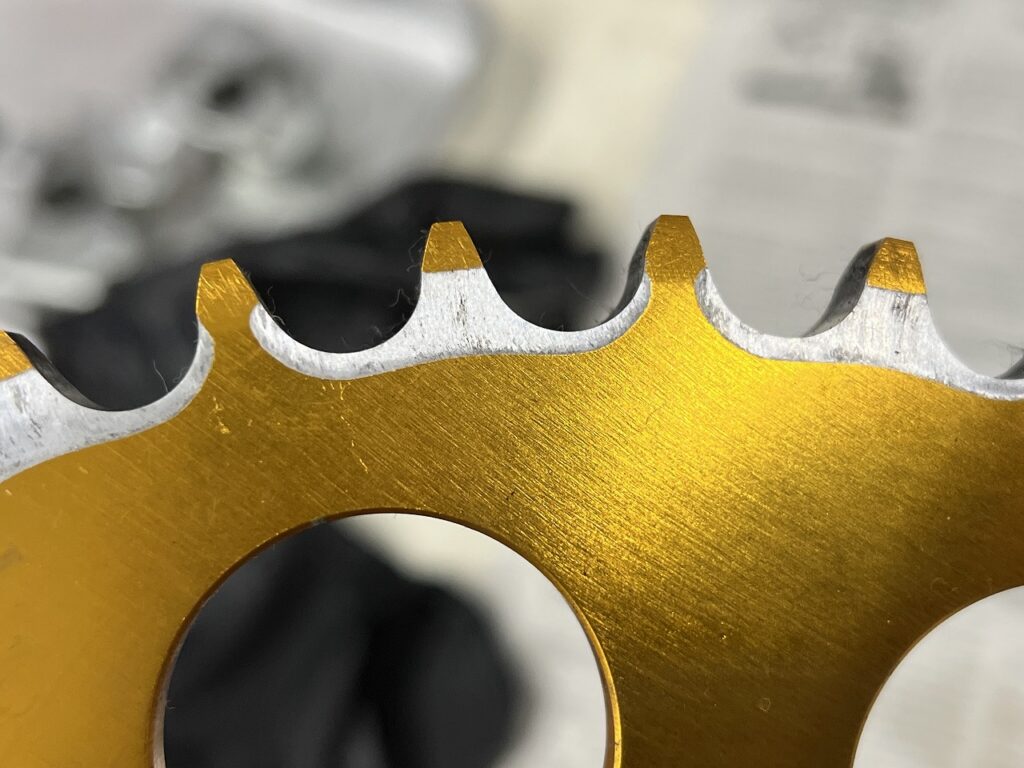
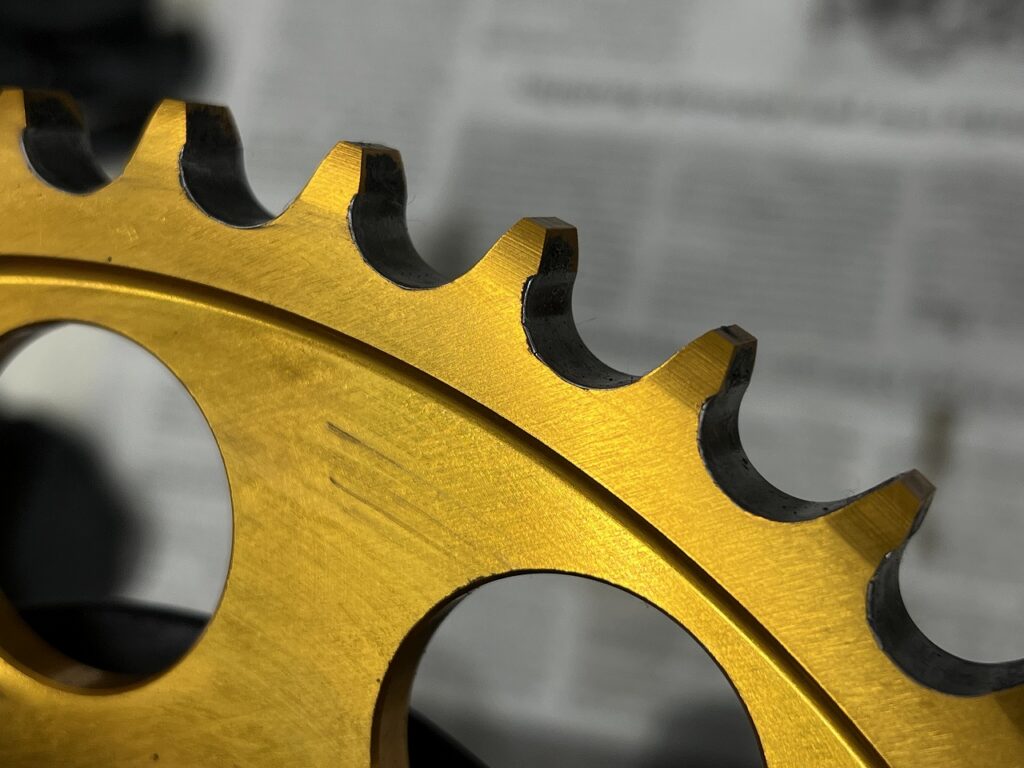
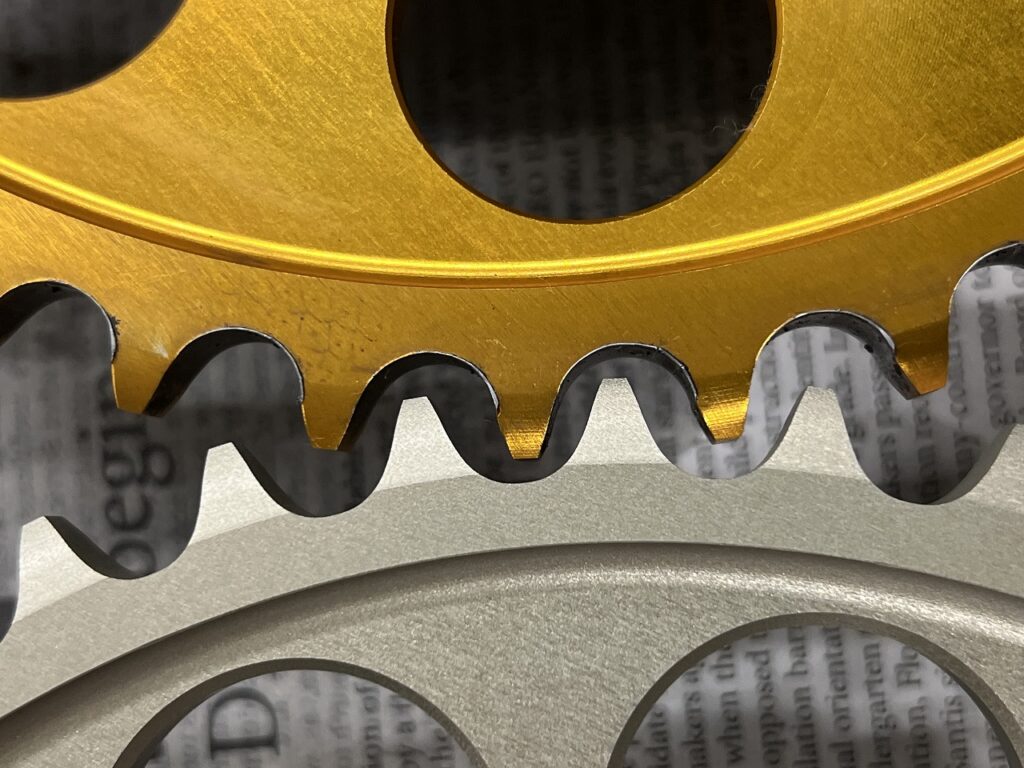
Looking at the rear sprocket after removing it, it’s worn more than expected. The valleys between the teeth have deepened, and there are hints of uneven wear like a shuriken on the contact face where torque is applied.
Depending on riding style and throttle control, it’s not at the point where it won’t run, so “refresh when the time is right” seems about right.
Wheel and brake work takes more time than you’d expect.
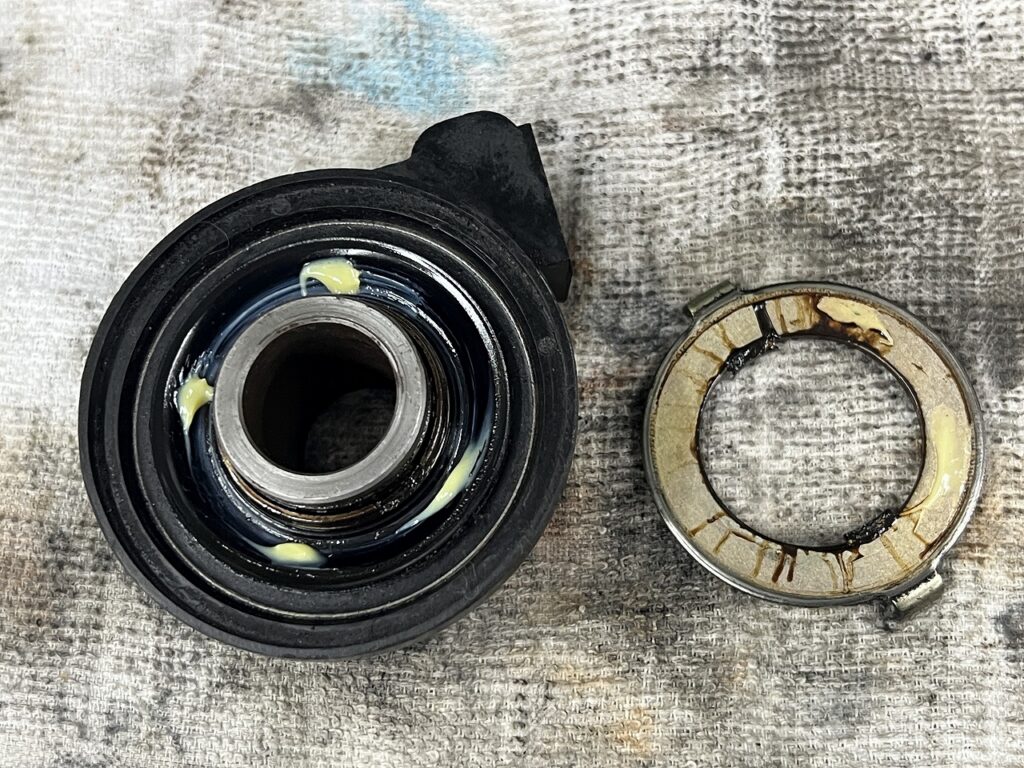
Inspection and cleaning of the important speedometer gear.
Box assy, speedometer gear [54600-17C01]
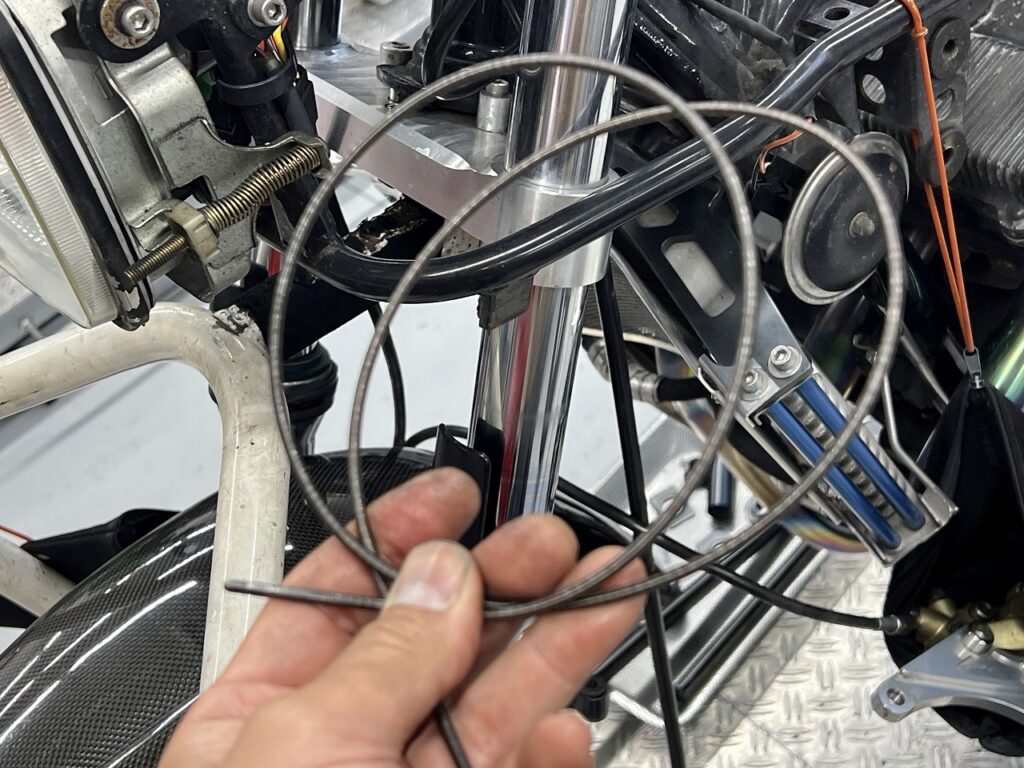
This is already [discontinued by the maker]…! If it breaks, it’s an instant used parts bidding war, so please handle it carefully and don’t damage the tabs. To prevent the gear from getting heavy and the tabs from breaking, I thoroughly clean and lubricate the inside of the speedometer cable.
By the way, the cable itself is
Cable assy, speedometer [34910-27E02-000] ¥4,500
Still available new! As I flip through the parts list, I’m struck by how the oil-cooled has finally entered the era of “worrying about the supply of these fine OEM parts.” ( `ー´)ノ
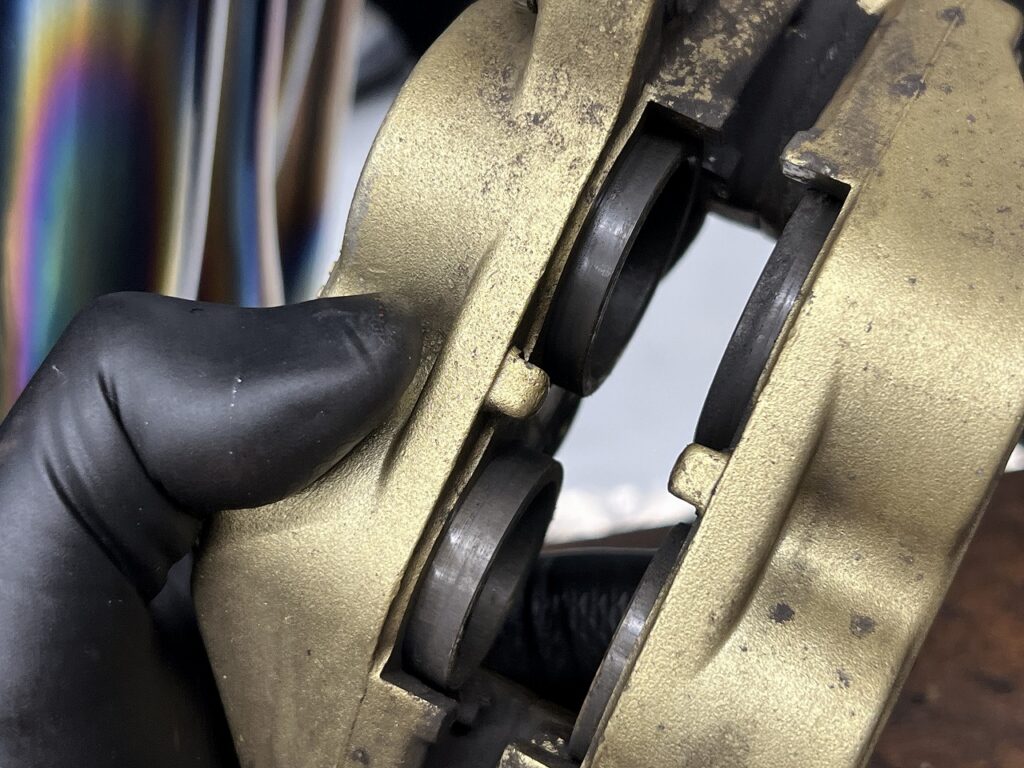
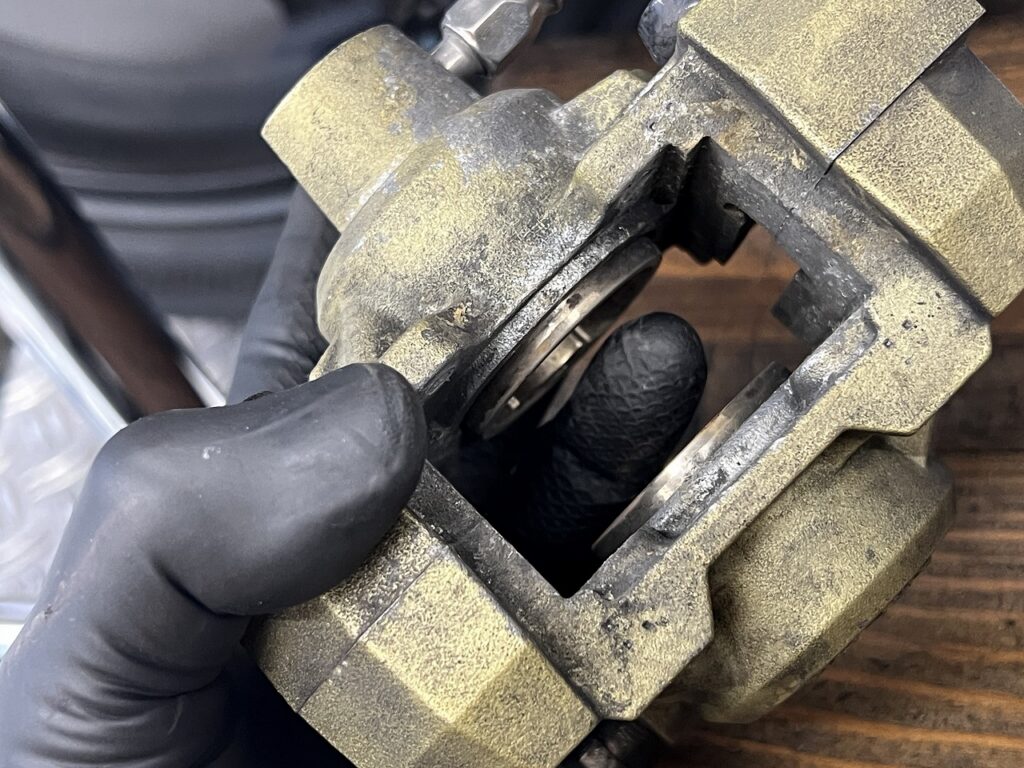
Brake caliper cleaning
Both front and rear are working fine, so they can continue in service.
I just lightly skin the pads. A fresh surface should improve bite.
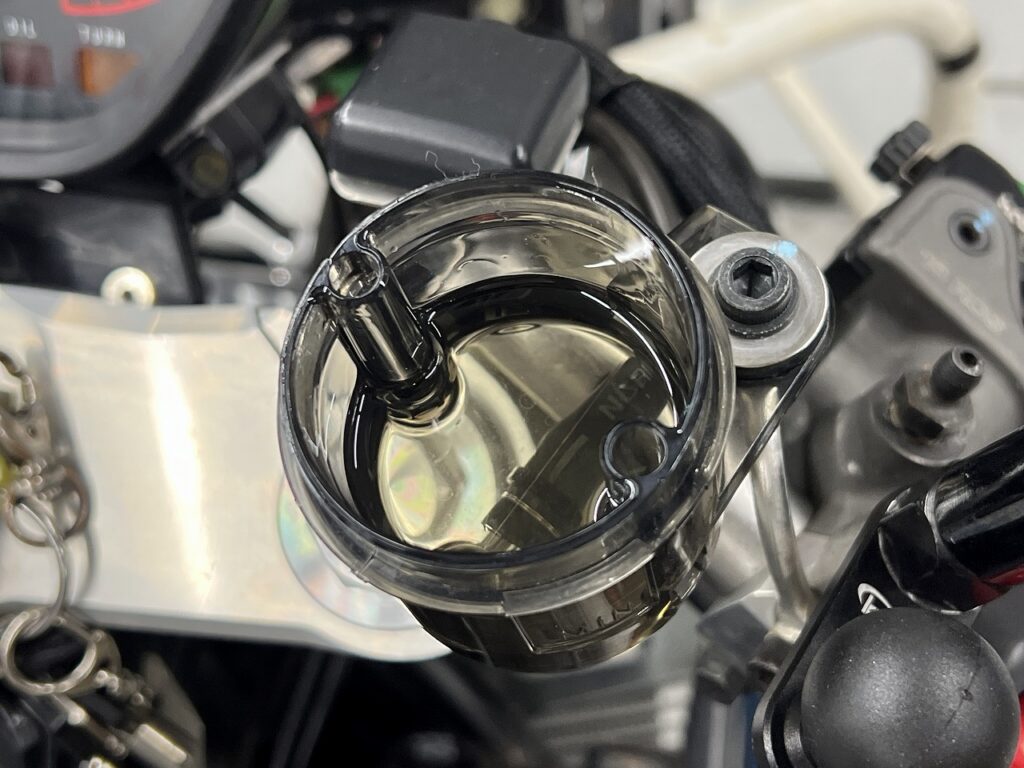
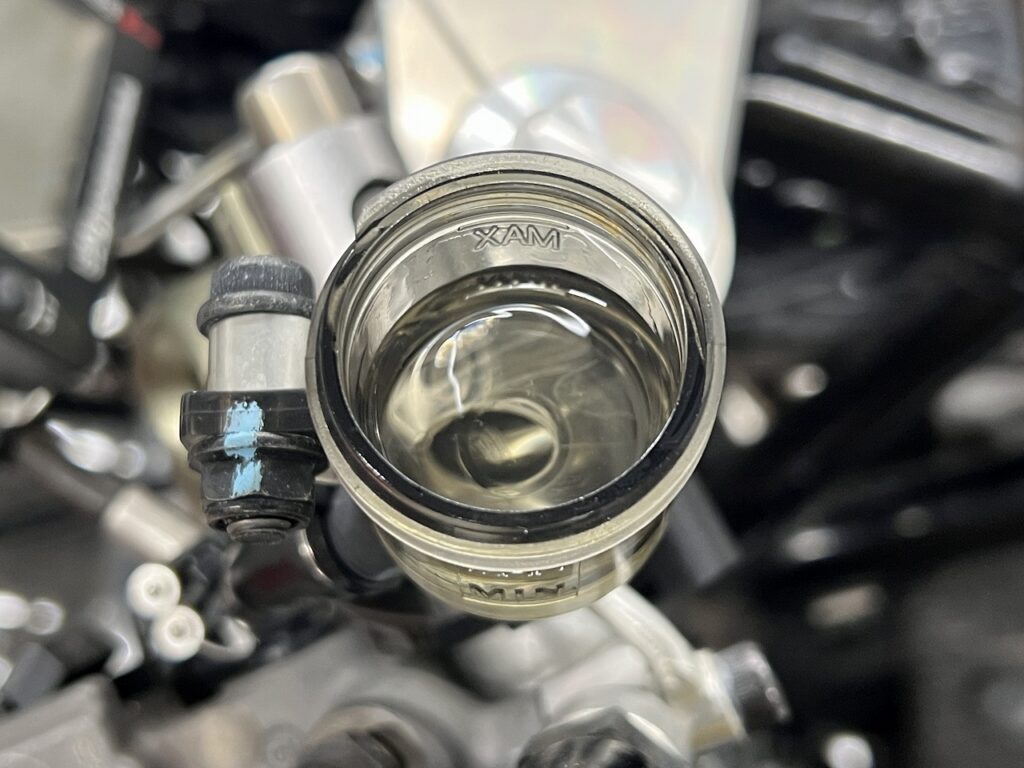
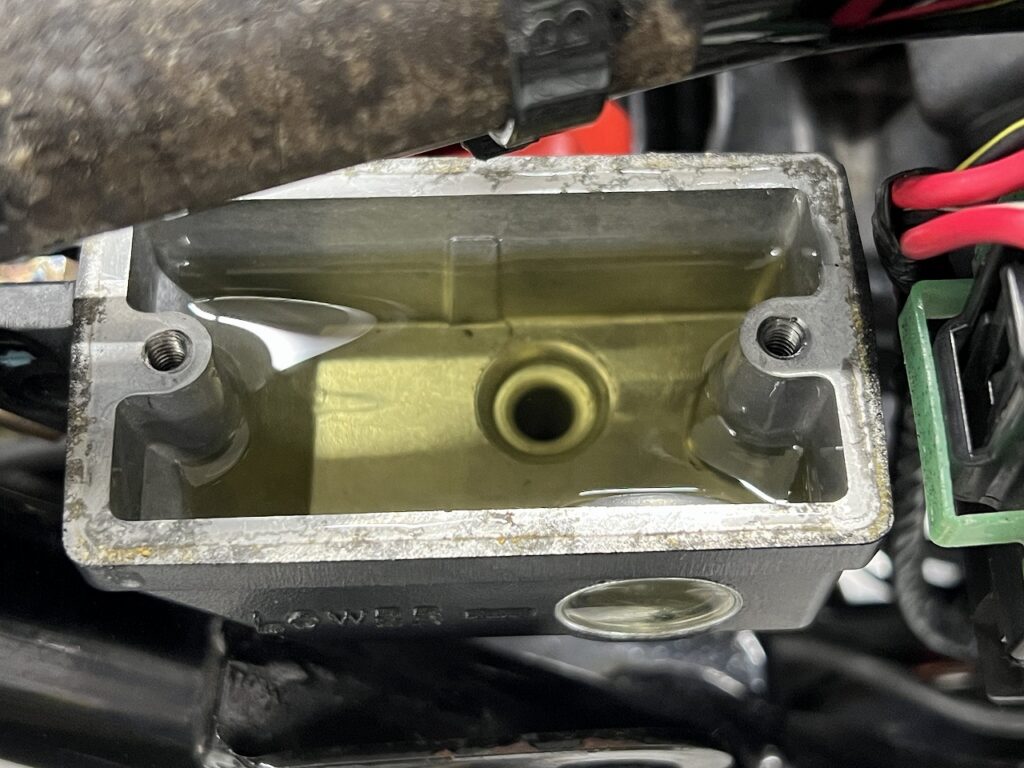
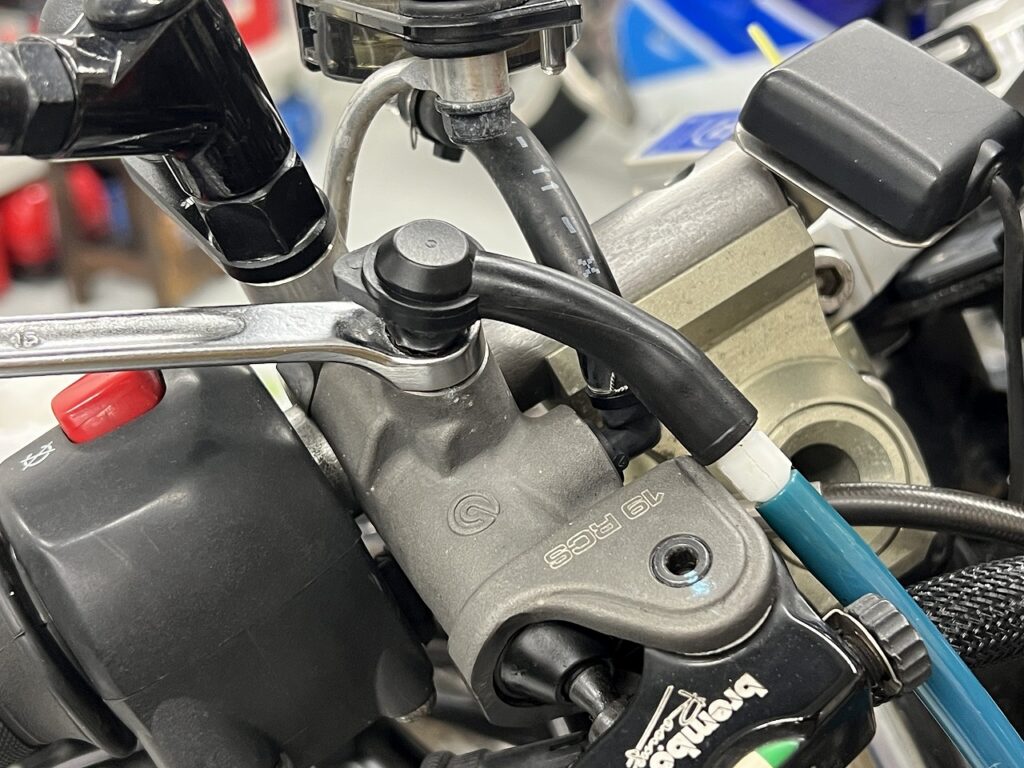
The brake fluid was all in good condition, but I’ll replace it anyway.
Occasionally bleeding from the master side too improves the feel.
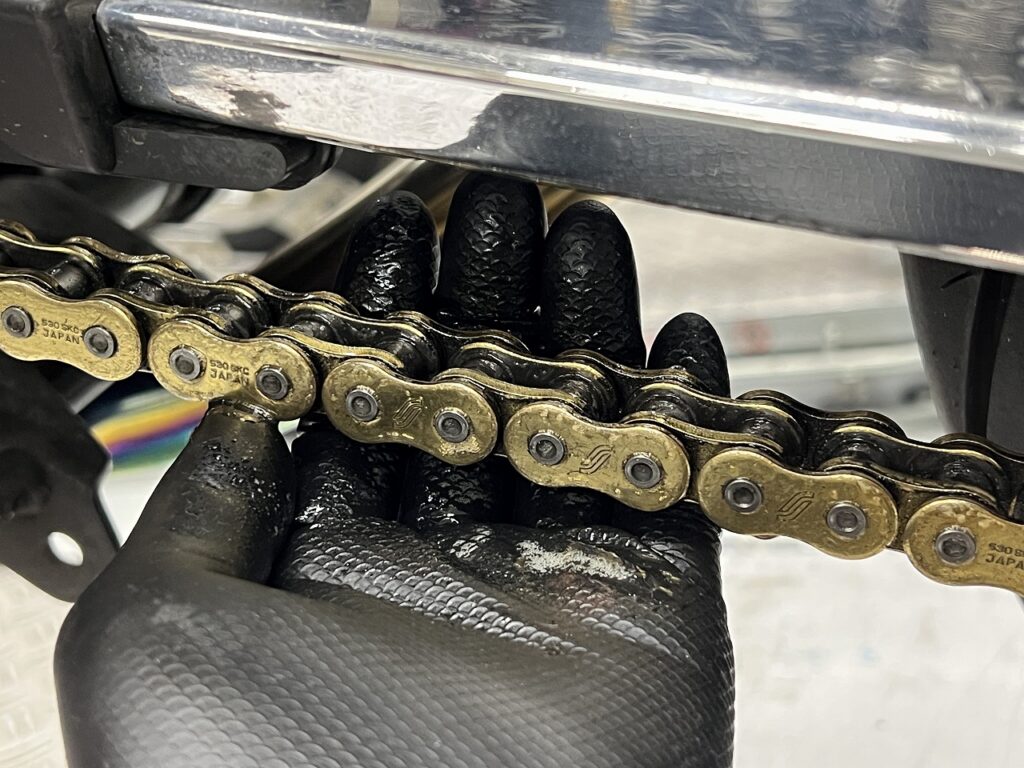
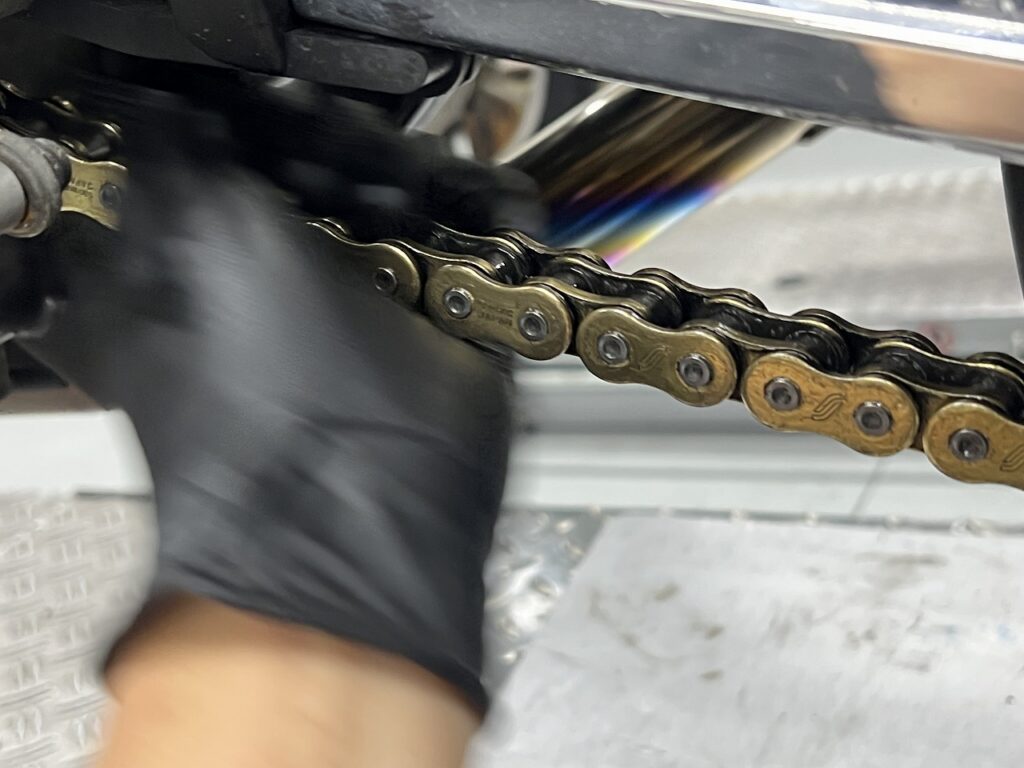
The rule is to apply chain lube [from the inside]! The centrifugal force during riding spreads the oil to the outer plates and seal rings on its own, so the whole thing soaks in evenly (*our testing). Spraying from the outside just flies off the moment you start riding, leaving the wheel all greasy (laugh).
And the chemical we use is the reliable standard—DID! There are all kinds of fancy lubes and dry types out there, but when you think about resistance to flinging, penetration, gentleness on rubber seals, and ease of wiping… you end up coming back here ( `ー´)ノ
I squeeze chain lube onto a nitrile glove and work it into the chain with my fingertips, rubbing it in.
No spray mess, and body heat and finger pressure work the lube quickly and evenly into the gaps between plates and deep into the seal rings—the strongest method. It prevents unnecessary flinging and minimizes excess to wipe away afterward. Of course I wipe it off at the end.
I’ve tried all kinds of nozzles, brushes, and special tools… but pulling out all those gadgets is more hassle than just doing it by hand. This hand-rubbing style is the most reliable and settled ( `ー´)ノ
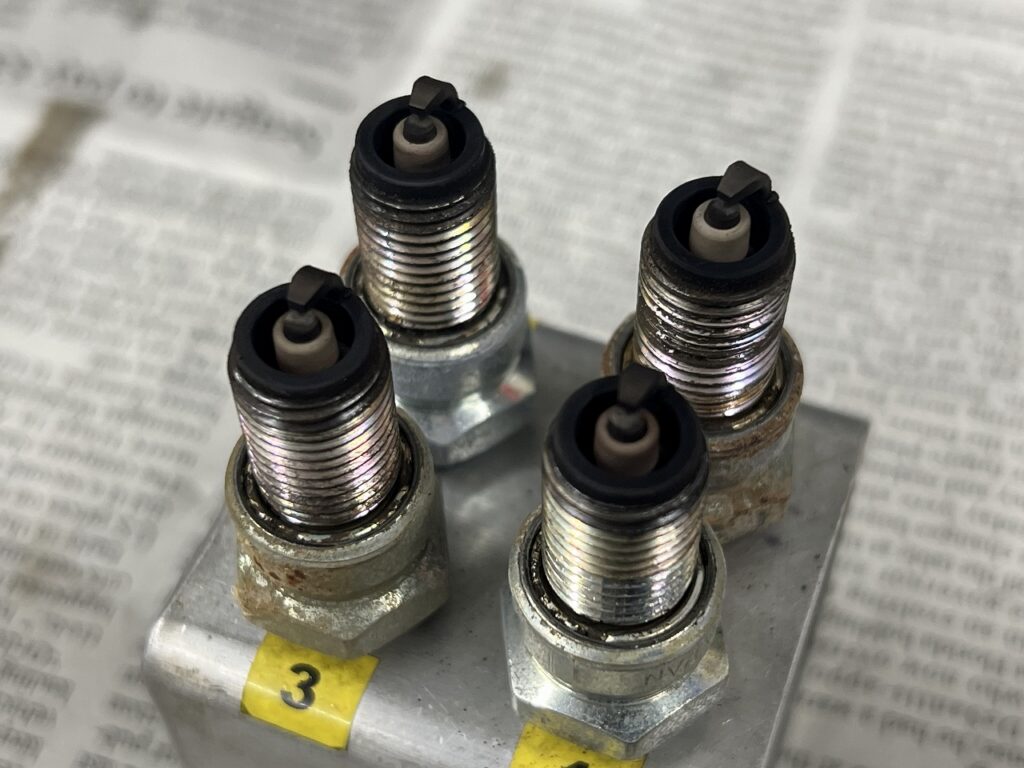
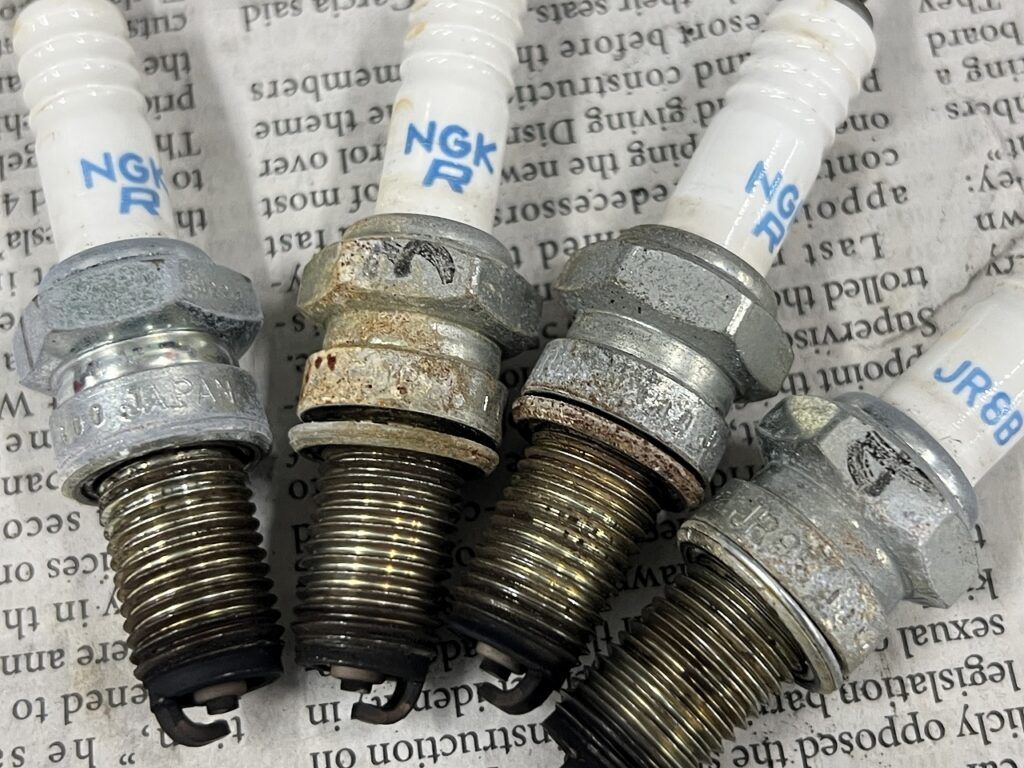
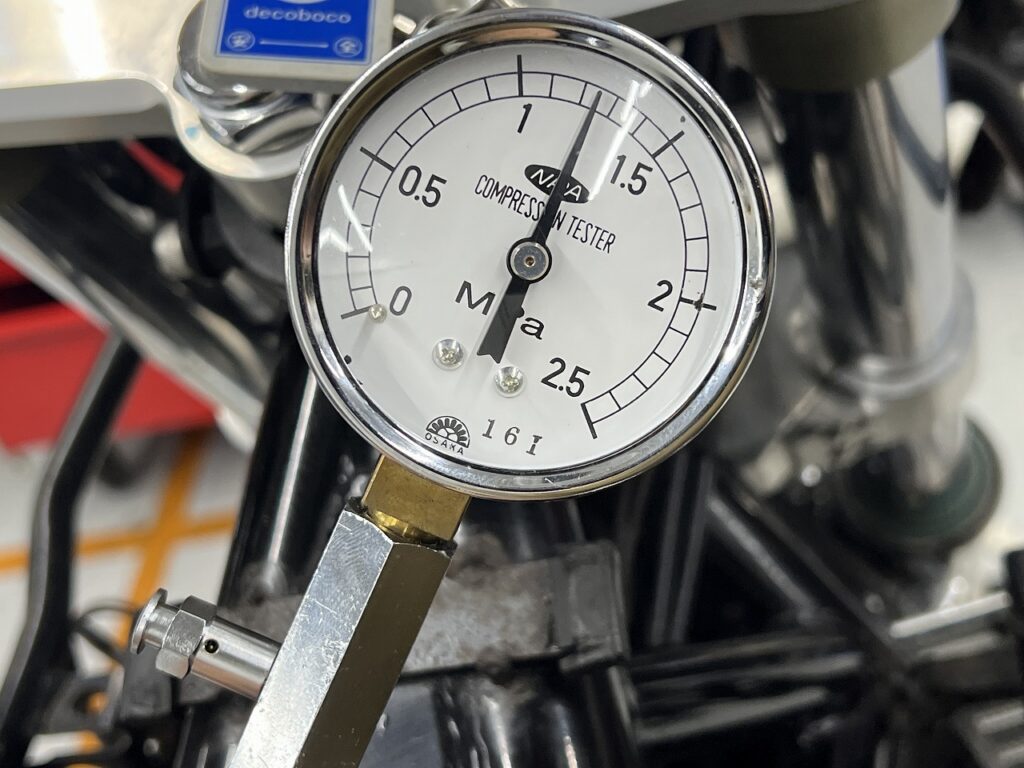
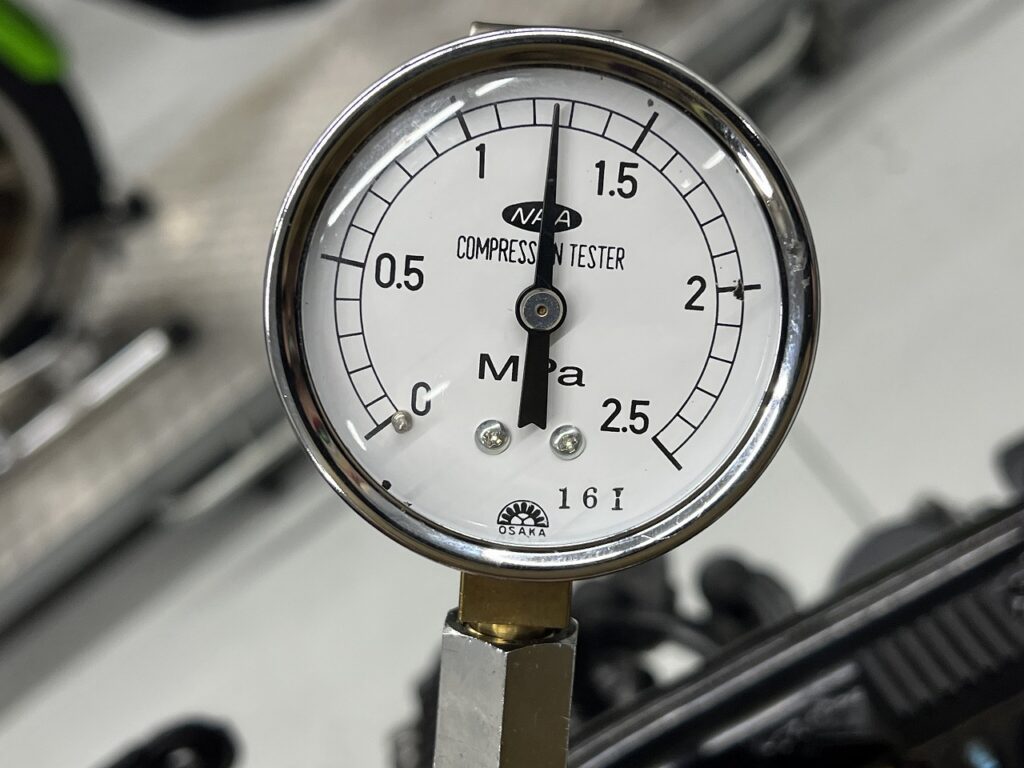
Checking spark plugs and compression
When I pull the plugs, I usually just swap them for new ones while I’m at it.
Standard plugs are only a few hundred yen each; four of them don’t cost much. For a carb bike, never cheap out on spark plugs.
The hassle of scrubbing an old plug with a brush and reusing it, weighed against the risk of misfires (near-misfires) and fouling, is just nonsense. A fresh plug with a strong, snappy spark makes all the difference—starting and idle quality snap right into shape ( `ー´)ノ
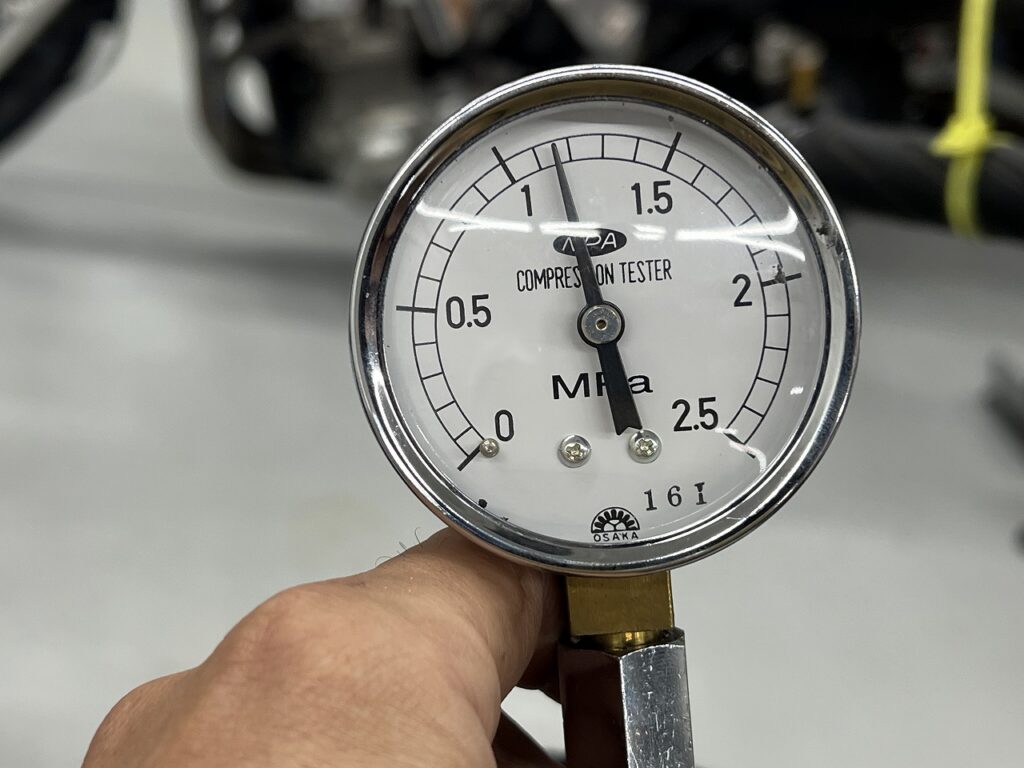
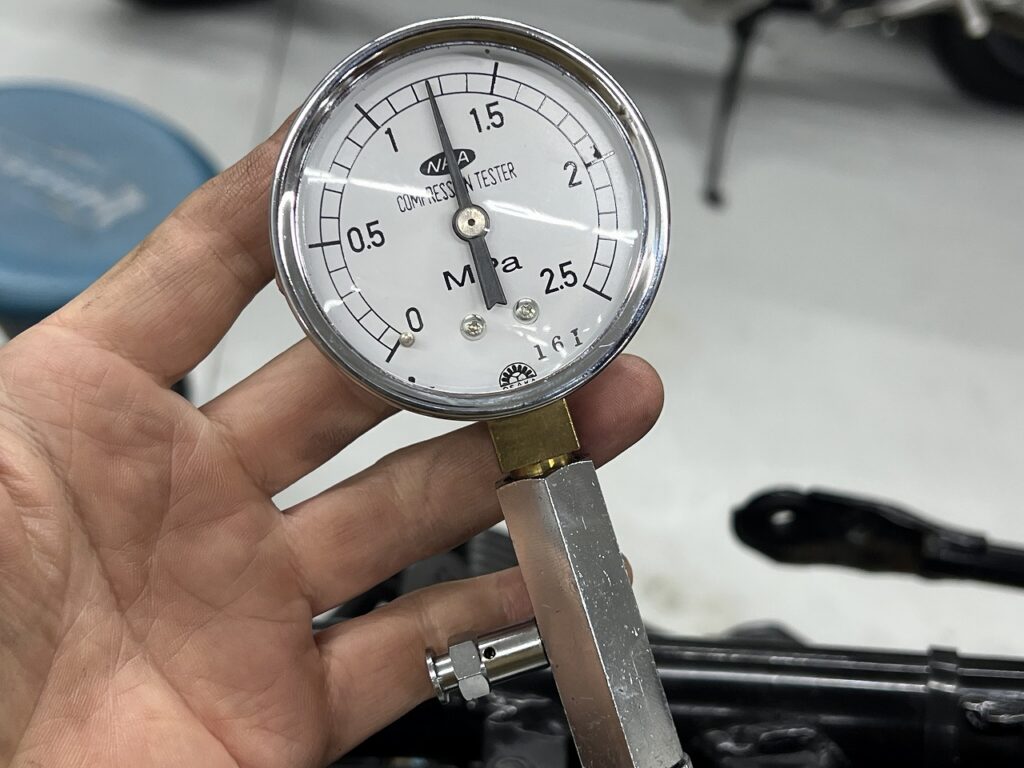
Measuring compression (compression pressure) when cold (engine fully cooled). Nice and even with good numbers! When warm, thermal expansion and oil film push the numbers even higher.
Cold readings are the lowest, of course, but a bike with compression loss when cold has terrible starting. Cold compression measurement is a really excellent diagnostic for objectively assessing “starting health.”
Suzuki’s oil-cooled engines are really tough. Even with fairly loose clearances, they maintain surprisingly solid compression numbers. In other words, they’re “designed not to lose compression”—a tough design. Run stock and normal, and 80,000 or 100,000 km is no problem. Cases of oil leaks from the cylinder base or extreme oil consumption are extremely rare.
When maintaining a vintage or discontinued bike, “being able to skip major lower and upper end overhauls under normal use” is a huge peace of mind for the owner ( `ー´)ノ
Normal voltage. Absolute fuses
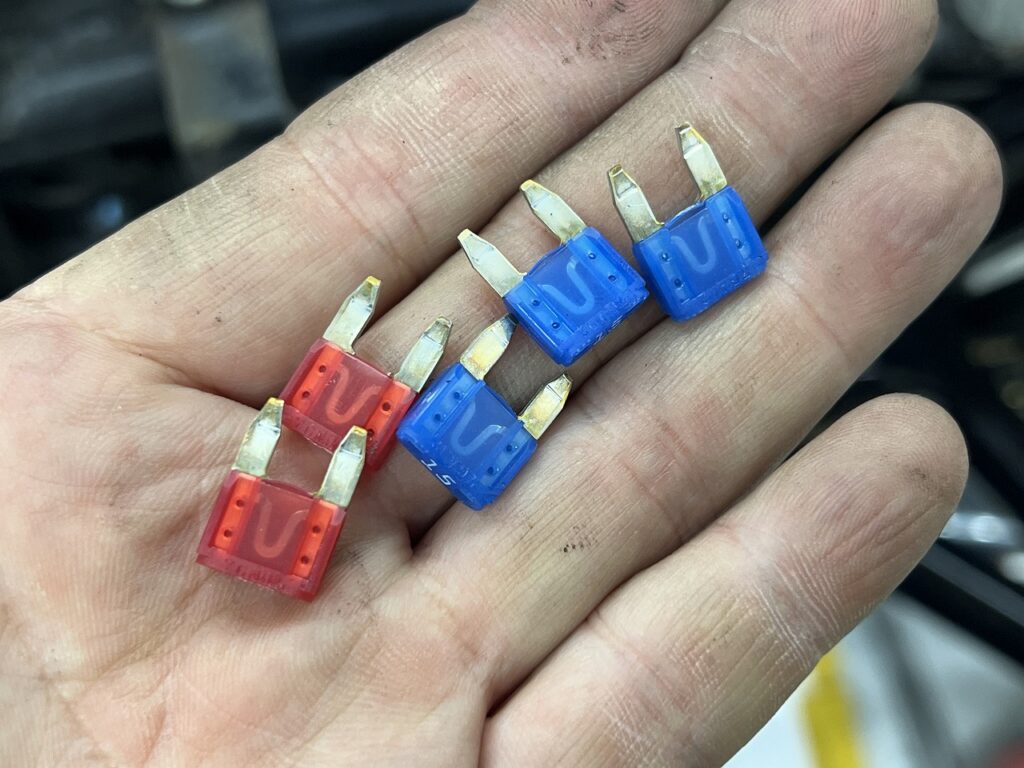
I pull every fuse in the fuse box and the main fuse in the starter relay to check them.
Honestly, if they’re not blown, just looking at them doesn’t “dramatically change” anything (laugh). But if they’ve been untouched for decades with terminals blackened or white corrosion crusted on, spending a few hundred yen to replace them all with fresh ones gives you a world of difference in peace of mind and trouble prevention.
This time they were in good condition from a previous replacement, so I just quickly clean off the thin oxide film and dirt from the terminals and reuse them. Keeping the invisible electrical pathways clean is a subtle but important part of tuning ( `ー´)ノ
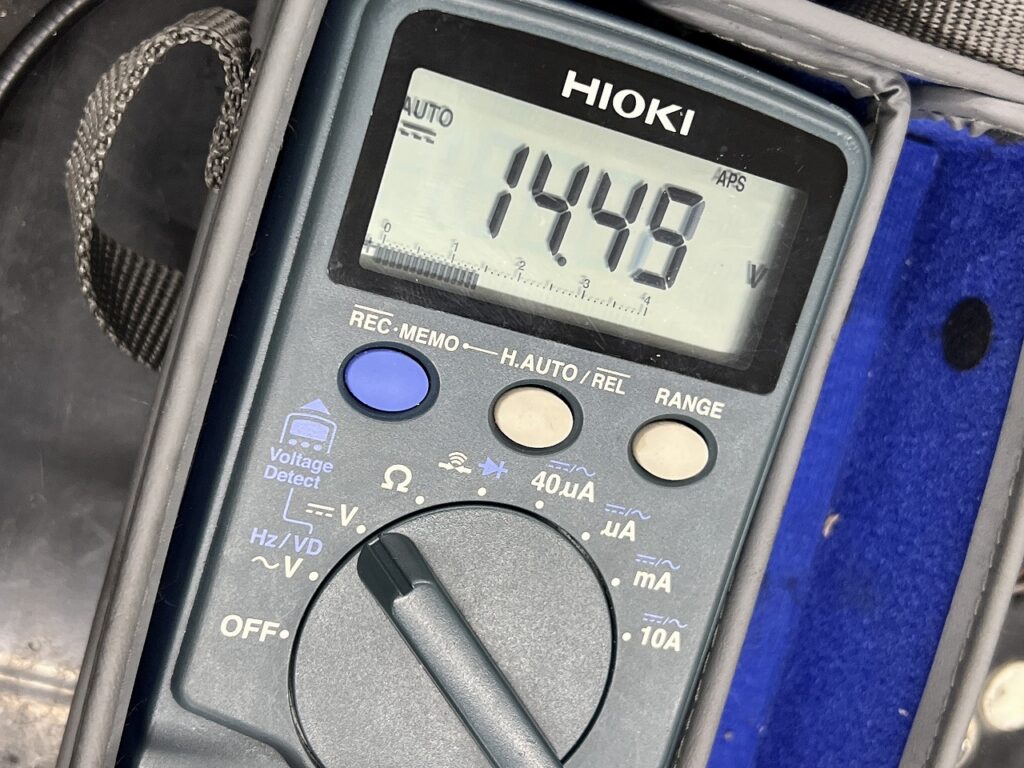
I put a meter on it to check “at what RPM it generates maximum voltage.” It’s surprising how reassuring this is.
Around idle it reads low 12V and you think “that’s awfully low…”, but crack the throttle and it jumps to 16V or 17V-plus, right on the edge of regulator failure—that horror story happens in the field.
A liter bike in city riding only uses the low end, so you don’t usually rev it high, and you’re not staring at the voltage gauge while riding anyway. Getting the numbers down in the pit—”this bike hits what voltage at what RPM and caps out”—is really important ( `ー´)ノ
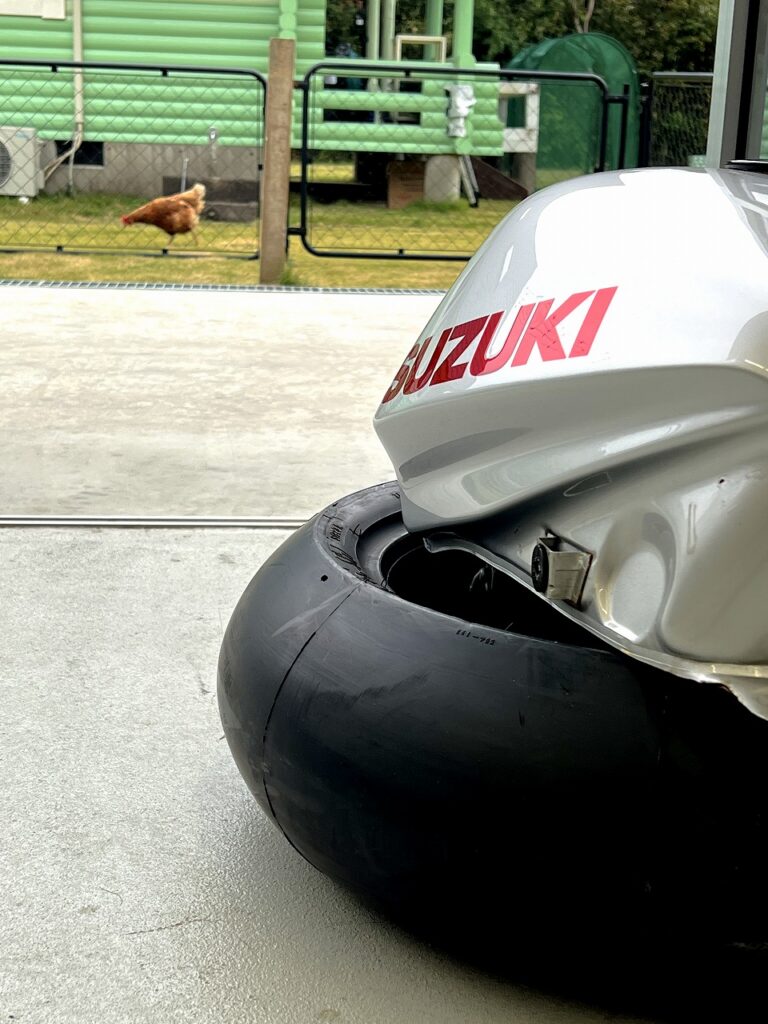
A recent little trend? Using a new slick tire on the work bench to set a gas tank or whatever on.
That tire’s curve, the right amount of rubber give, the grip that never scratches the paint… the shape and material are just perfect as a tool. That said, I can’t love a used tire with oil and gravel ground in, so I quickly sourced a deadstock “old new slick” on Mercari (laugh).
No tread pattern means dust and swarf don’t accumulate, and wiping is super easy! Just sitting in the corner of the pit, it catches the eye with that racy look.
The factory’s quiet updates continue a bit more ( `ー´)ノ
Maintenance Log: This Season Is Oil-Cooled Katana! Unicorn Japan GSX1200S Oil-Cooled Katana’s Completeness and Deep Foundation Tuning to Cut Through Autumn Winds


 ポチップ