Hey there, thanks for stopping by~ It’s already late November, but it’s surprisingly warm out. I’m not sure if that’s a good thing or not.
Work has been piling up and the shop is cramped, so I’m tackling jobs that can be finished quickly. For those of you spending big money, please hang tight a bit longer.
So I’ve been progressing with work that can be completed in a day.
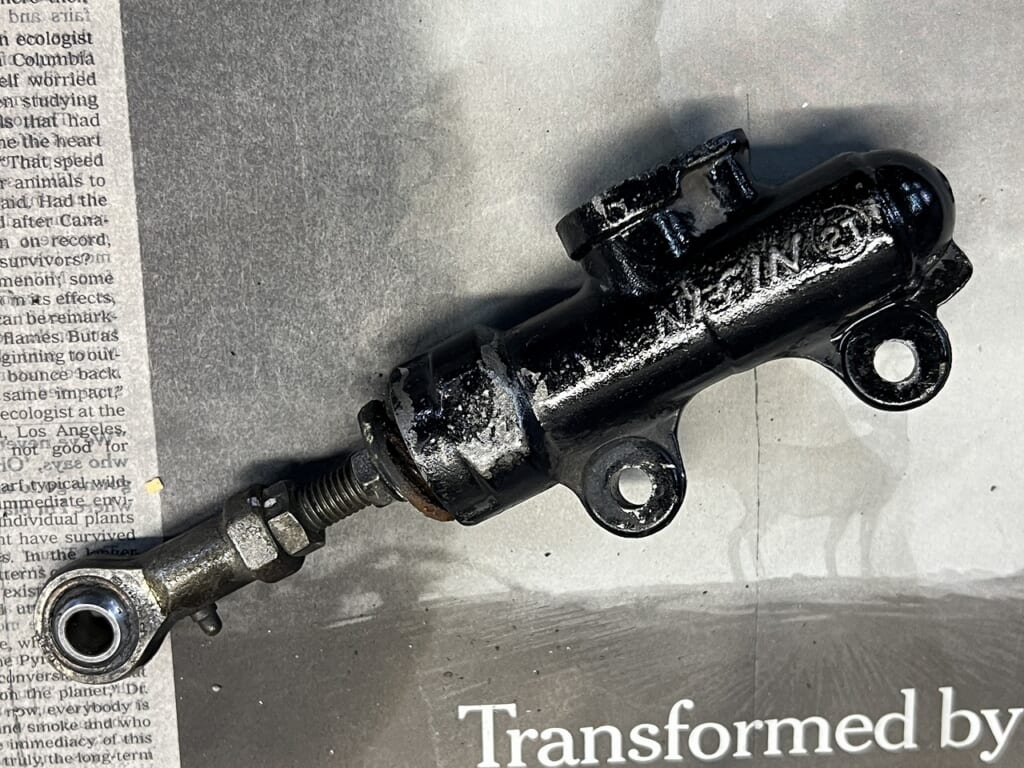
Let’s do an overhaul on this popular rear master cylinder
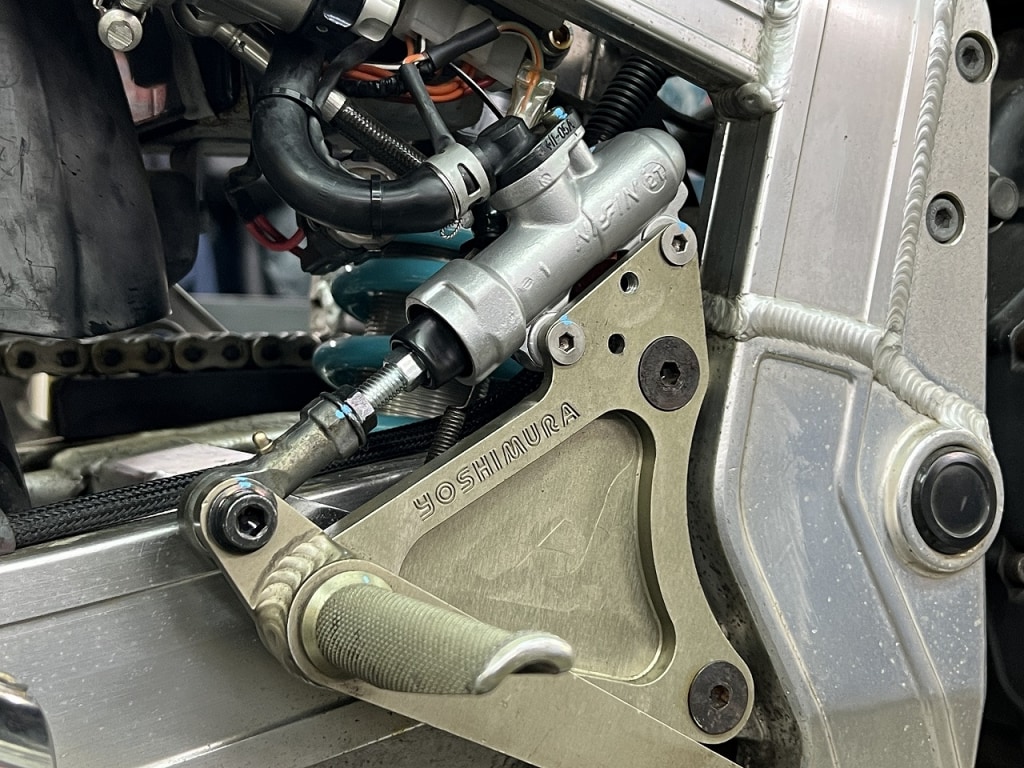
You might think, why not just replace this 1/2 rear master with a new one? But here’s the thing – the mounting bolt position for the reservoir hose outlet joint is a bit unconventional. It’s positioned opposite to what’s standard.
The rear brake master is often overlooked. If it hasn’t been serviced in 10 years, you should definitely get it worked on.
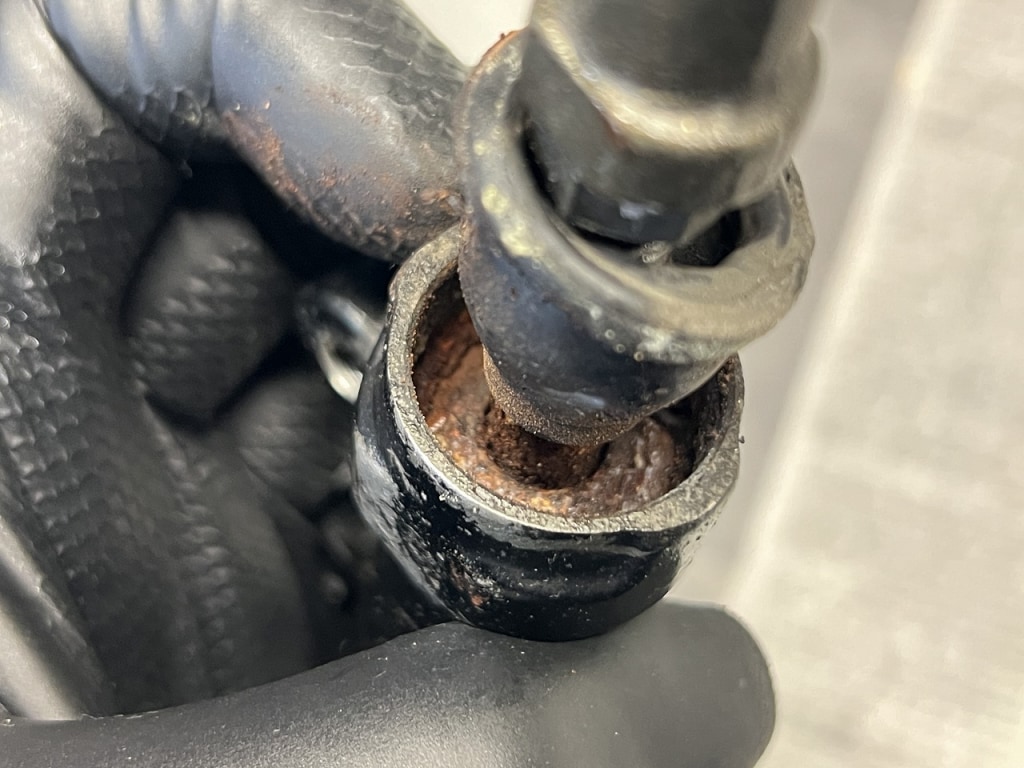
There was no leakage this time, but the rod was heavily rusted and difficult to remove.
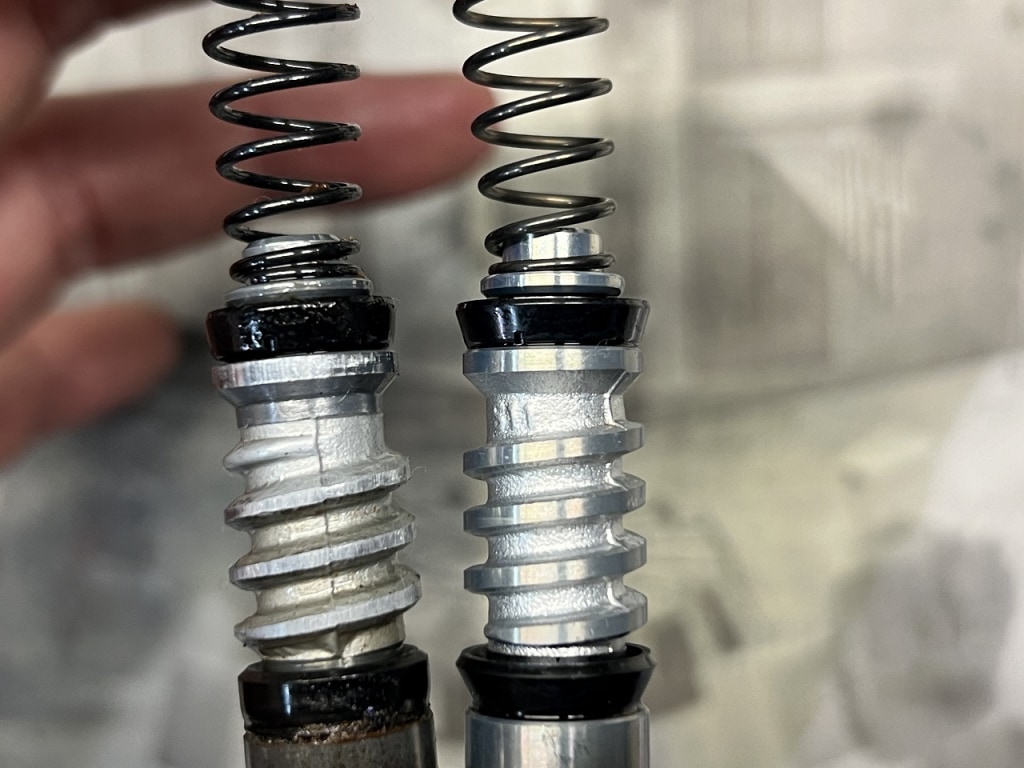
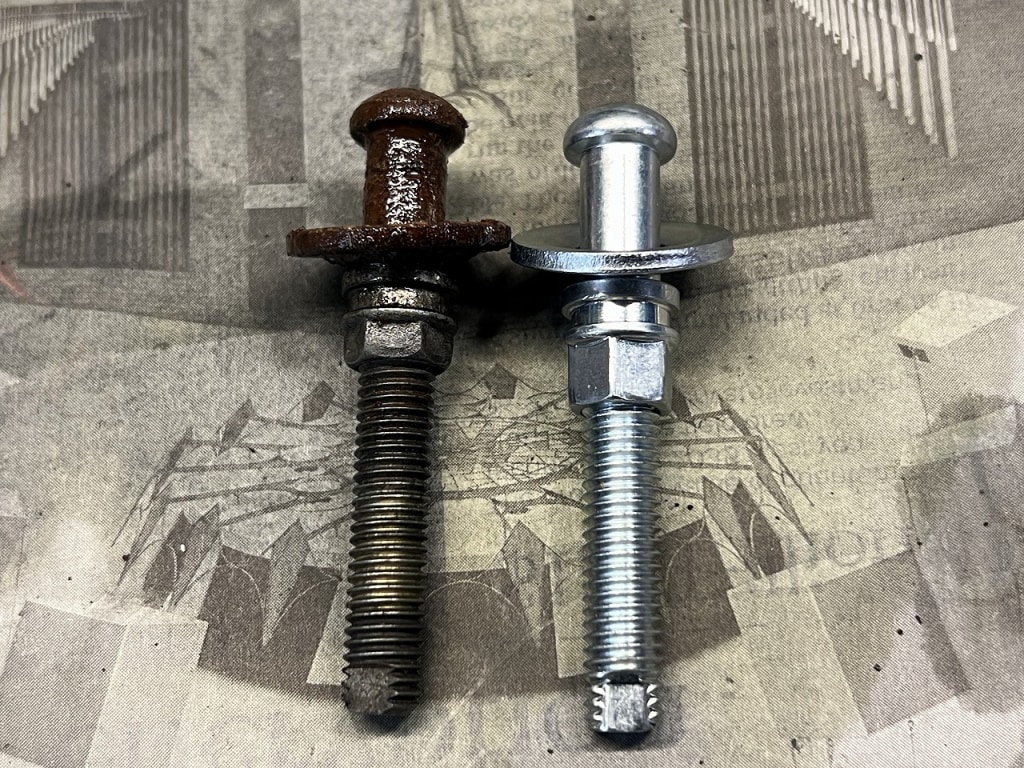
Comparing old and new, there’s quite a difference.
The cup seal has completely collapsed and the material has become spongy. I believe this is the first overhaul in over 30 years. Japanese parts are really durable, aren’t they?
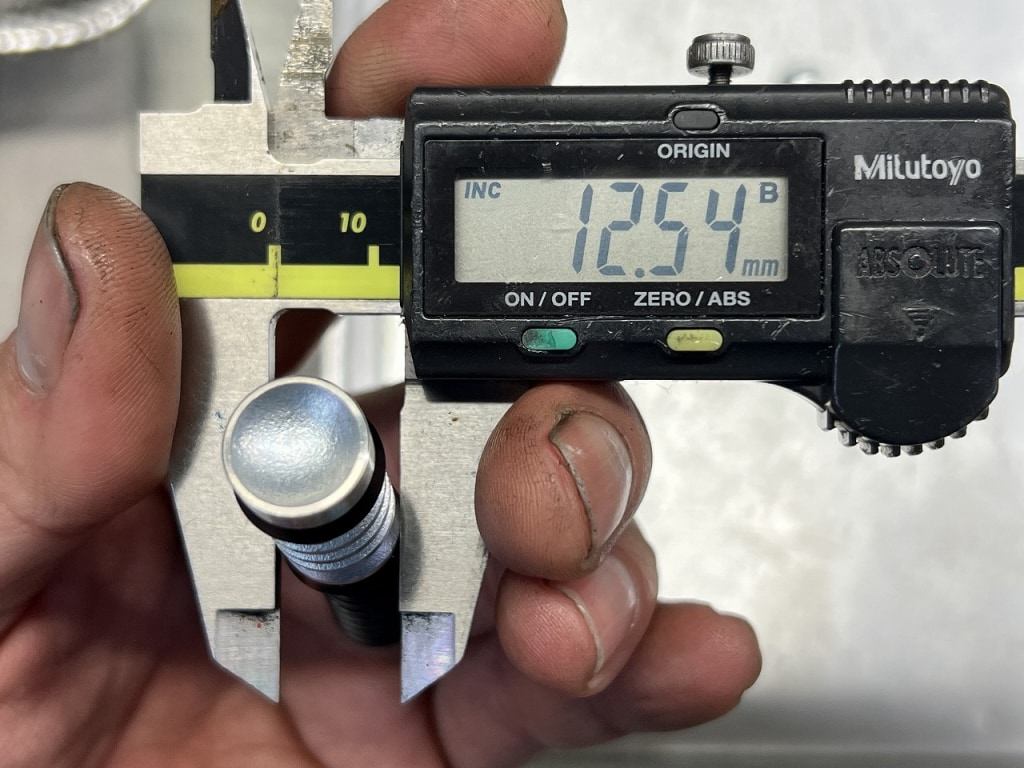
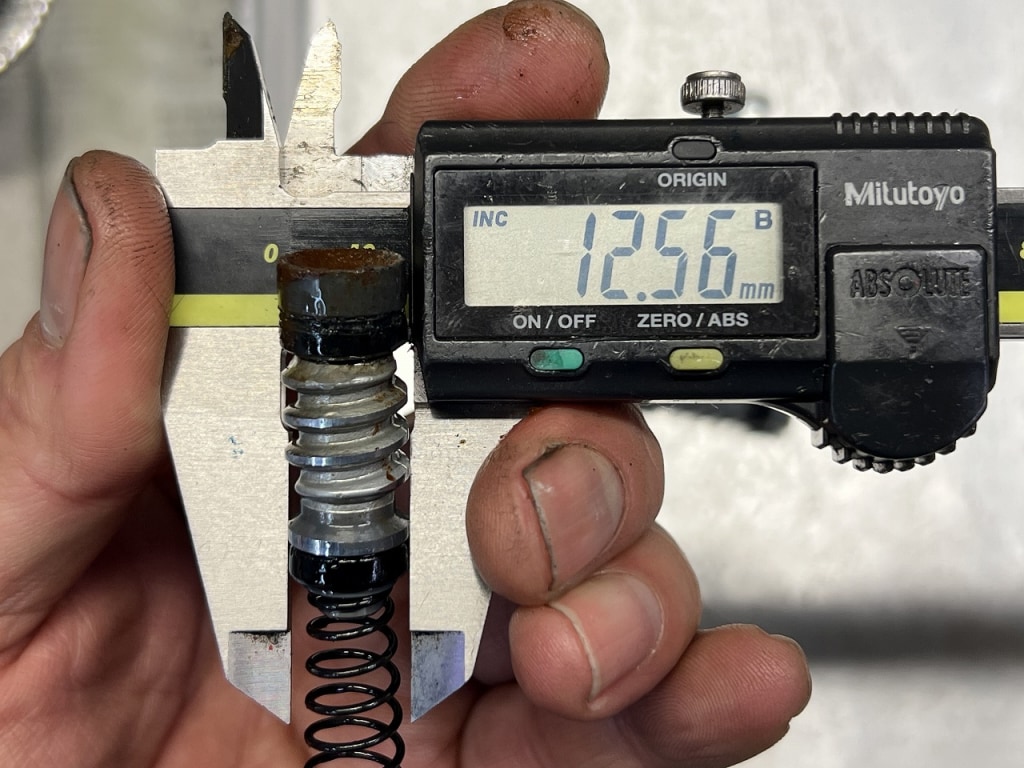
The piston size is 1/2 inch. It’s a good idea to measure it with calipers during inspection to make sure there are no mistakes.
If the rod is available as a separate part, it’s best to order it in advance to be safe.
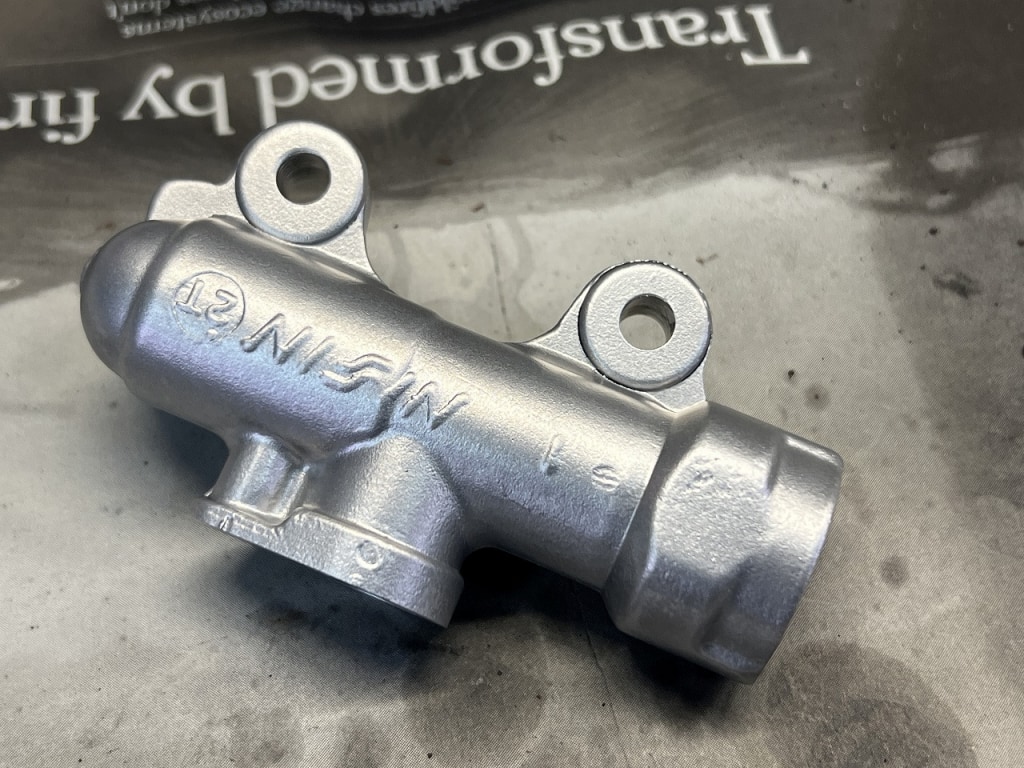
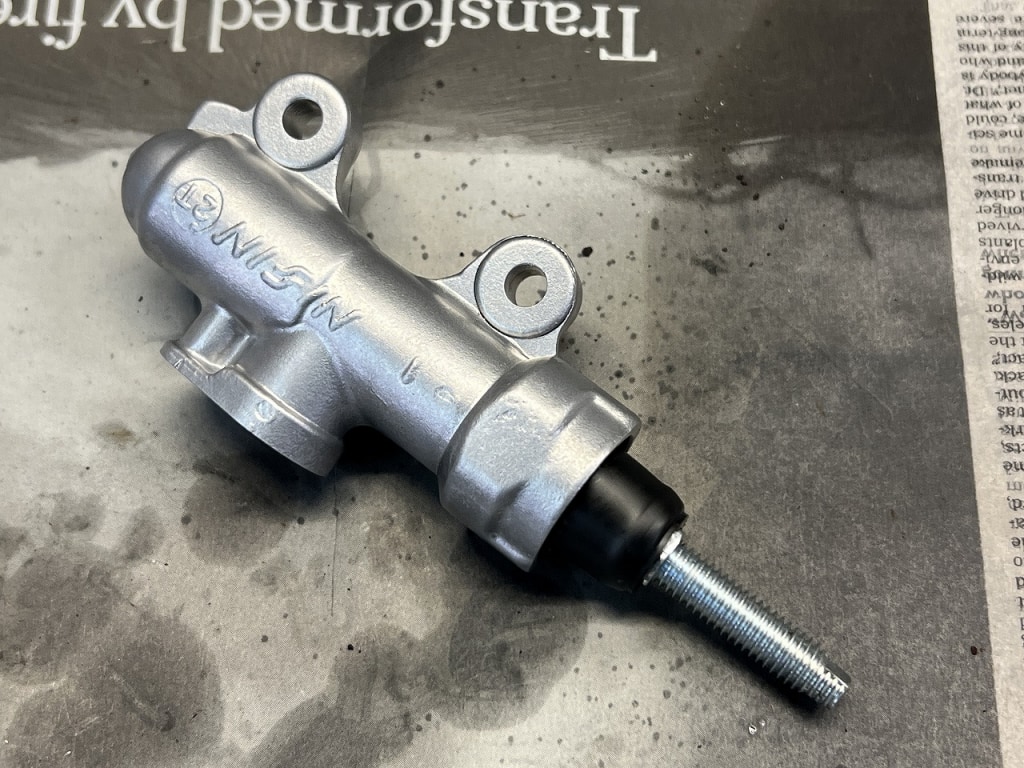
Let’s strip the paint from the body and wet blast it
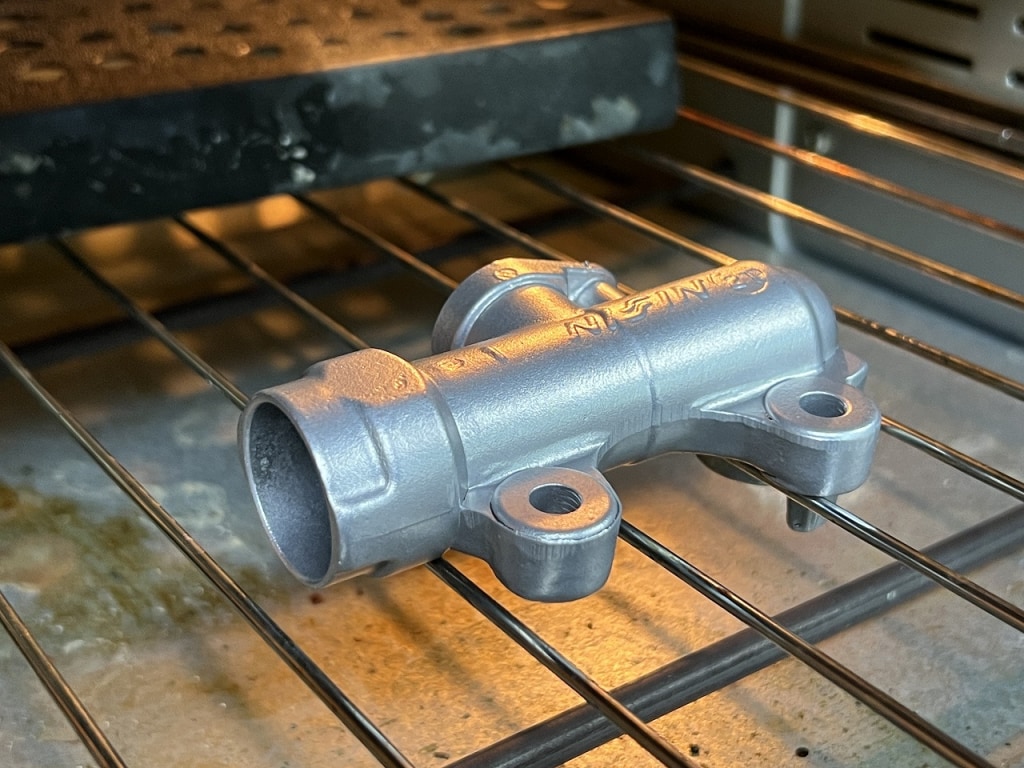
We always warm brake calipers and brake masters in an oven to completely remove moisture before air blowing and assembly.
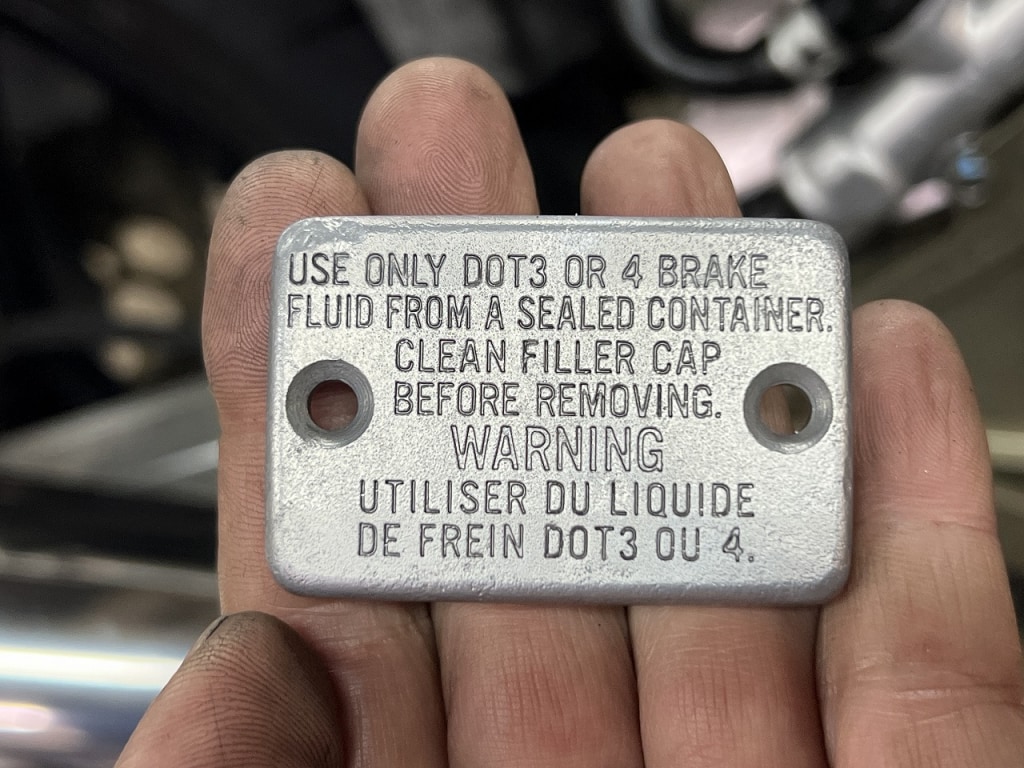
We want to eliminate as many potential issues as possible. I also cleaned up the rear brake reservoir tank cap. Back in this era, DOT 3 was acceptable too.
Personally, for customers who don’t ride much, I sometimes think about using DOT 3.
It turned out nice and clean like this. Just cleaning up these small details makes the whole machine look so much sharper. Plus the rear brake feel improves too, so it’s the best.
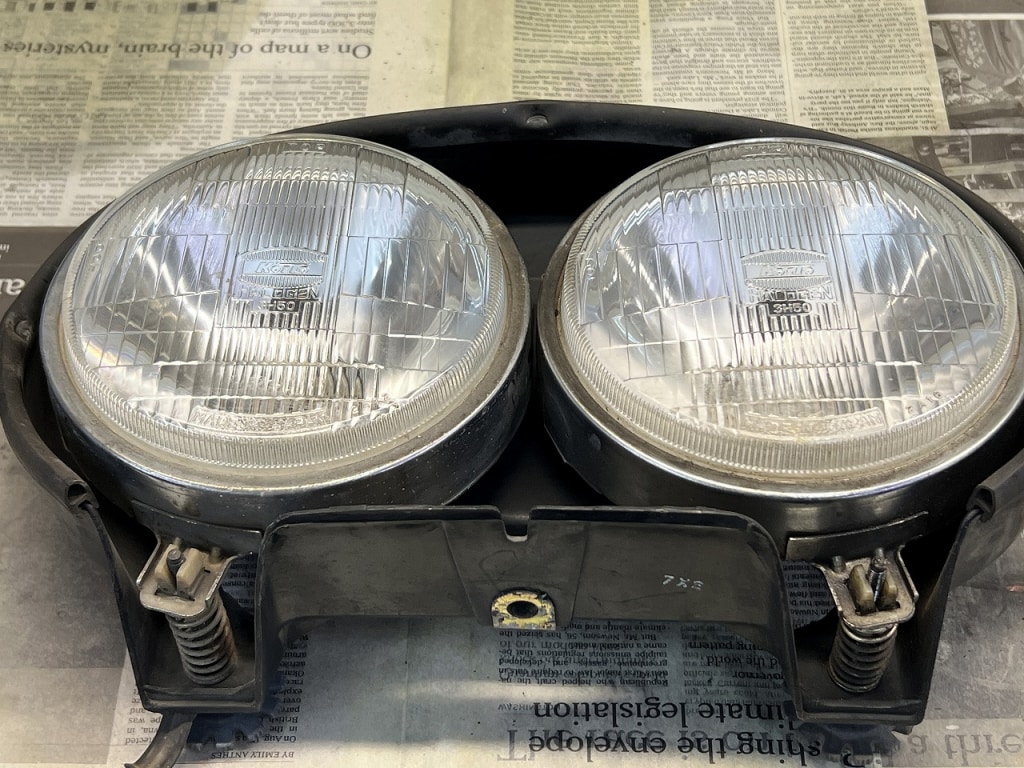
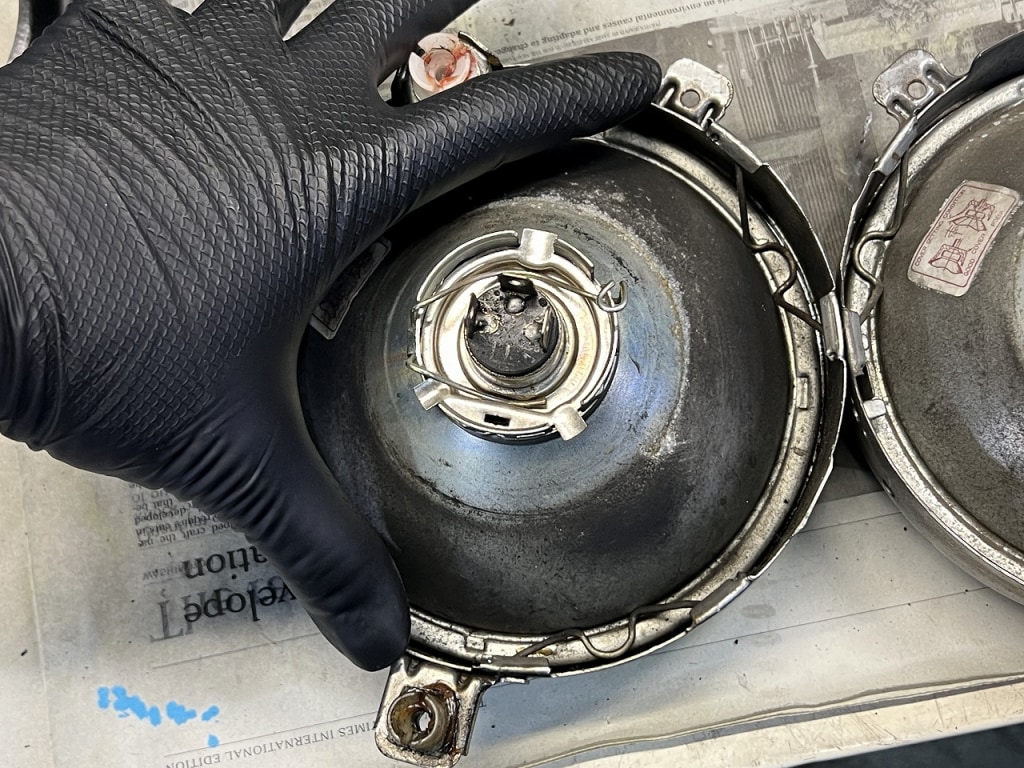
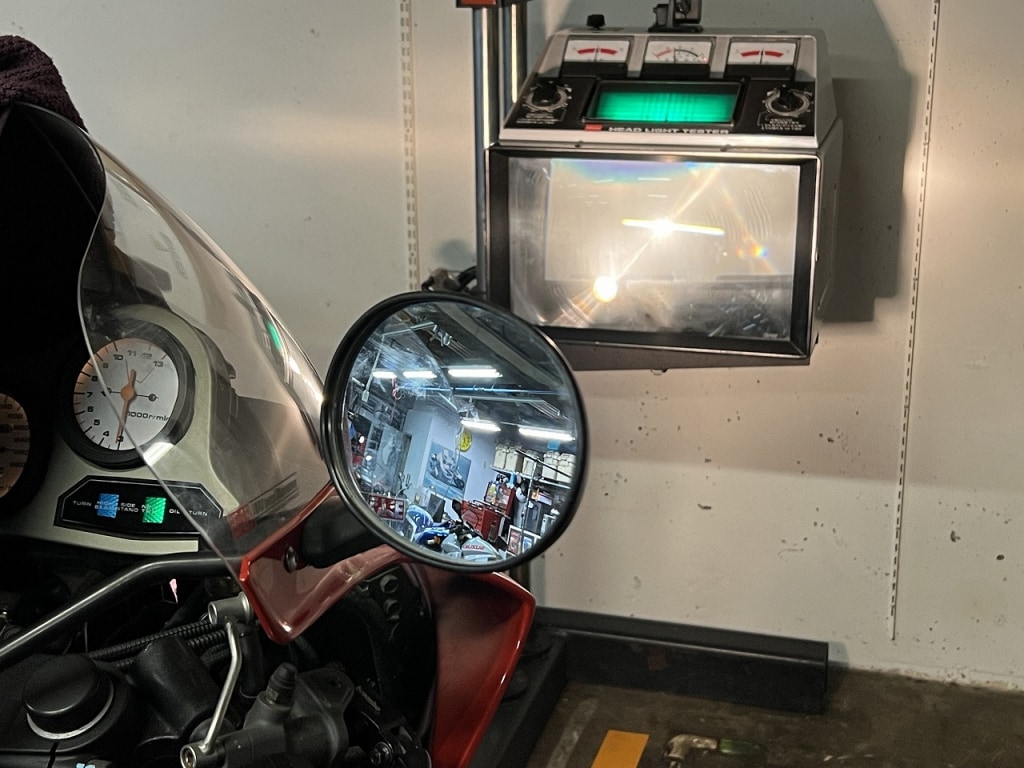
Let’s fix the headlight rattle
Ultimately, you have to remove everything from the upper cowl to get it out. Bikes from this era have excellent serviceability, so work progresses smoothly.
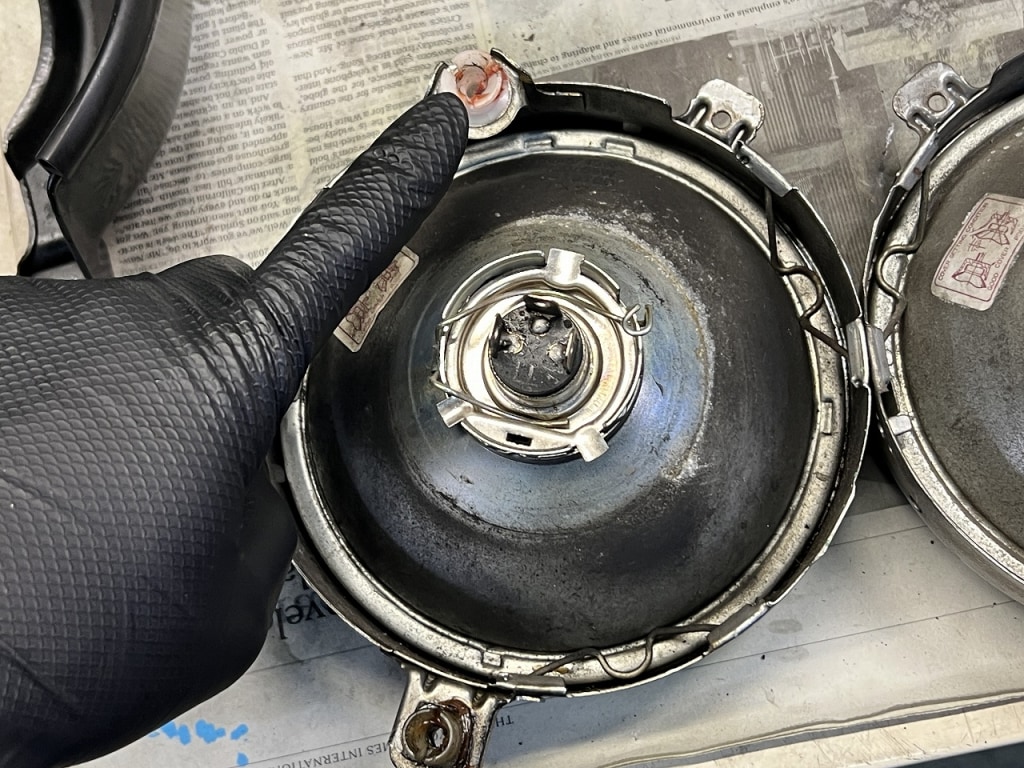
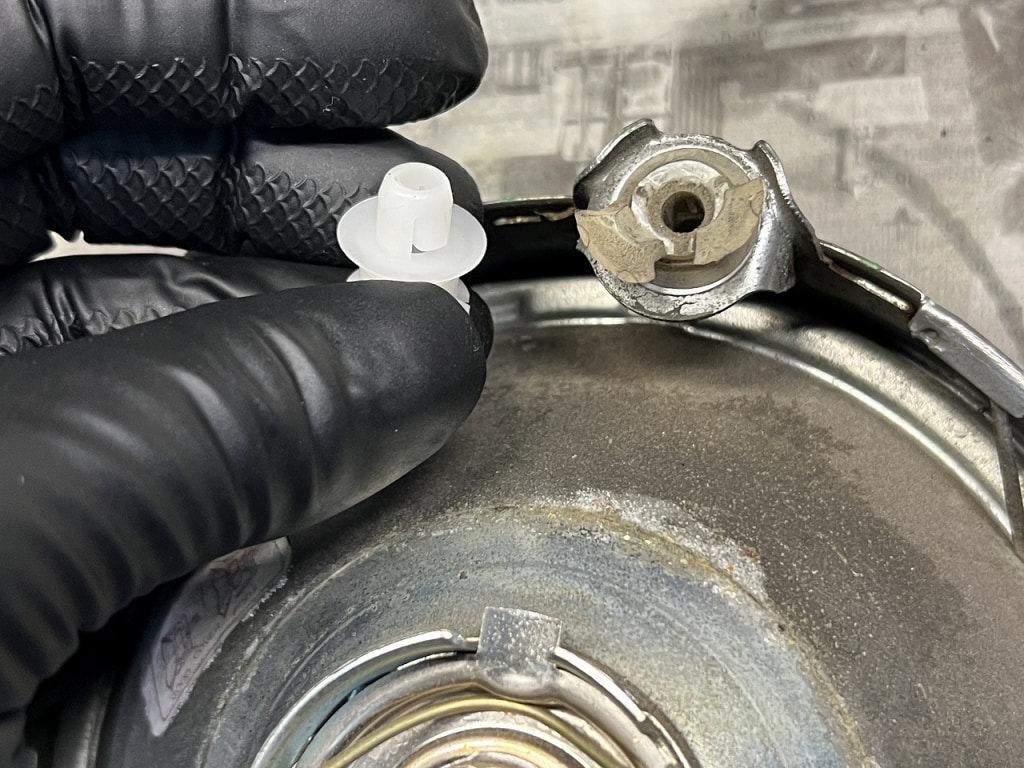
This is a very important part for headlight beam adjustment. This plastic part I’m pointing at with my index finger serves as the pivot point that allows the headlight to be adjusted up, down, left, and right.
If this part breaks, the up, down, left, and right movement becomes sloppy, which is really troublesome during inspection.
Of course, while driving it rattles around, so if you have a headlight screen installed, it’ll get scratched up. Parts like this are a bit special, so you should definitely grab them while they’re still available.


 ポチップ
ポチップ