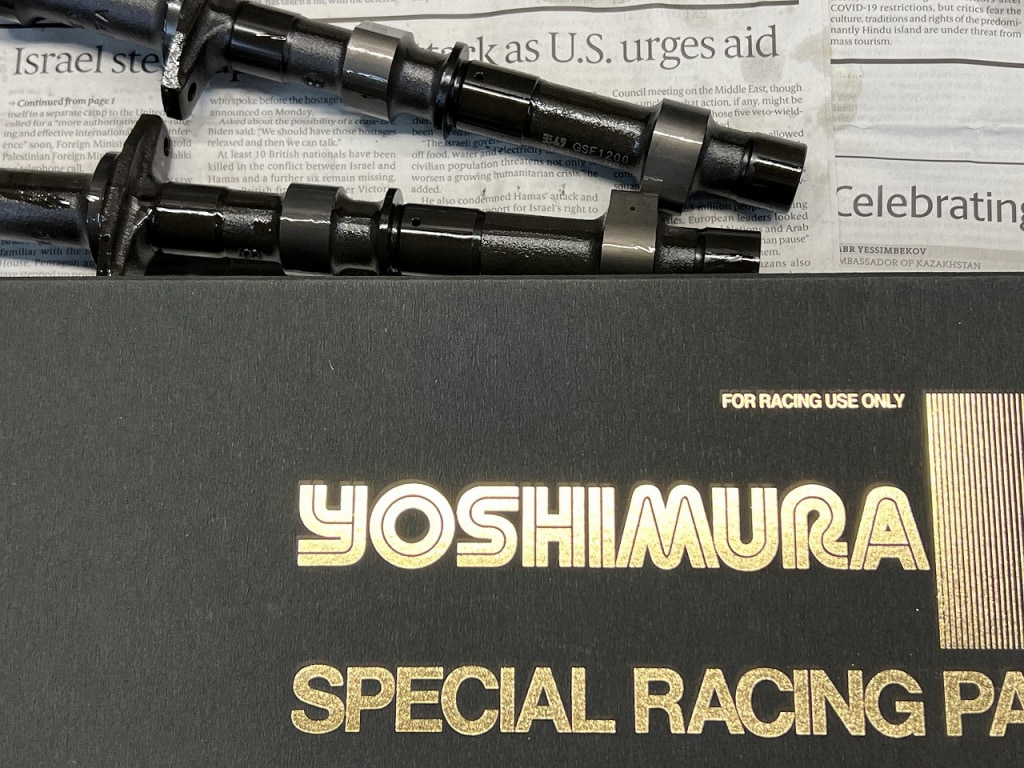
Bringing out the true performance with the Yoshimura ST-1 cam…
Still currently list price 81,000 yen + tax (‘Д’)
I’m pretty sure, actually definitely, this will also become a ground cam, so a price increase is inevitable. I won’t say it’ll double, but I’d guess the price will go up 30-40%…
Yoshimura’s inventory is mysteriously running low, so maybe… How many camshafts have been discontinued over the years… Don’t regret it later thinking “I should have bought it back then.” I think it’s safe to just buy one and keep it on hand.
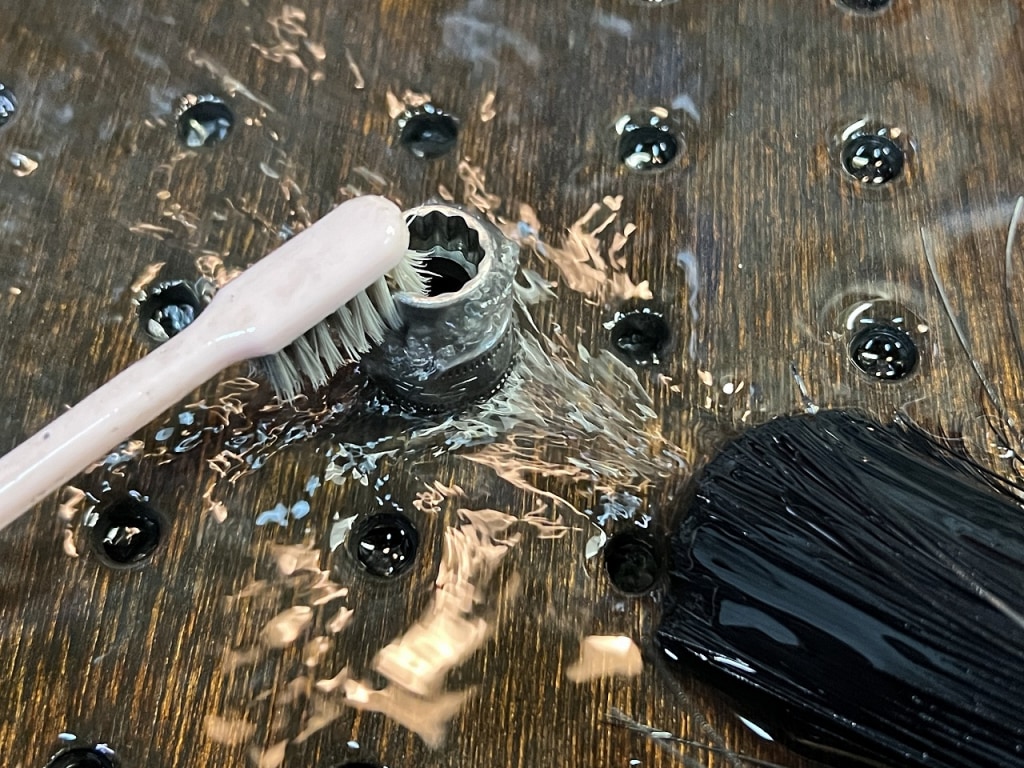
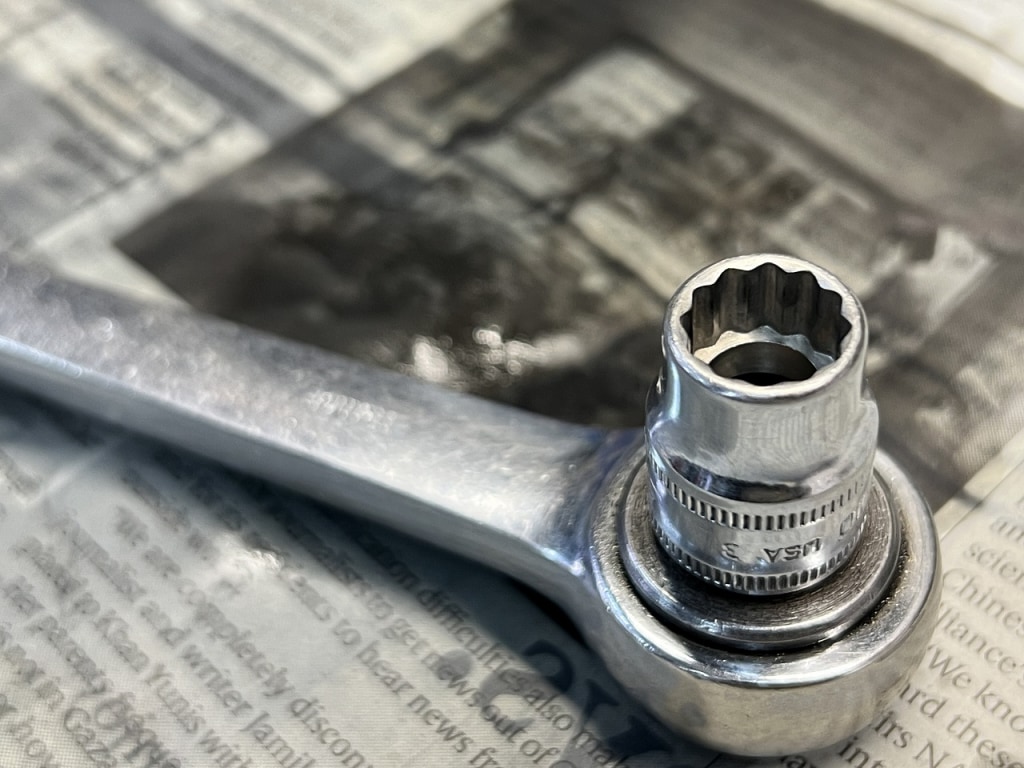
Back in the day, there was this incredibly scary person at a rented workshop, and they warned me not to mix frame tools with engine tools.
I was out on a job and ran short on tools, so I went to borrow some, and they said “those aren’t frame tools” kind of thing… “You better wash them properly and return them!” That’s how meticulously they assembled engines. It’s been a good lesson, thank you so much (*´ω`*)
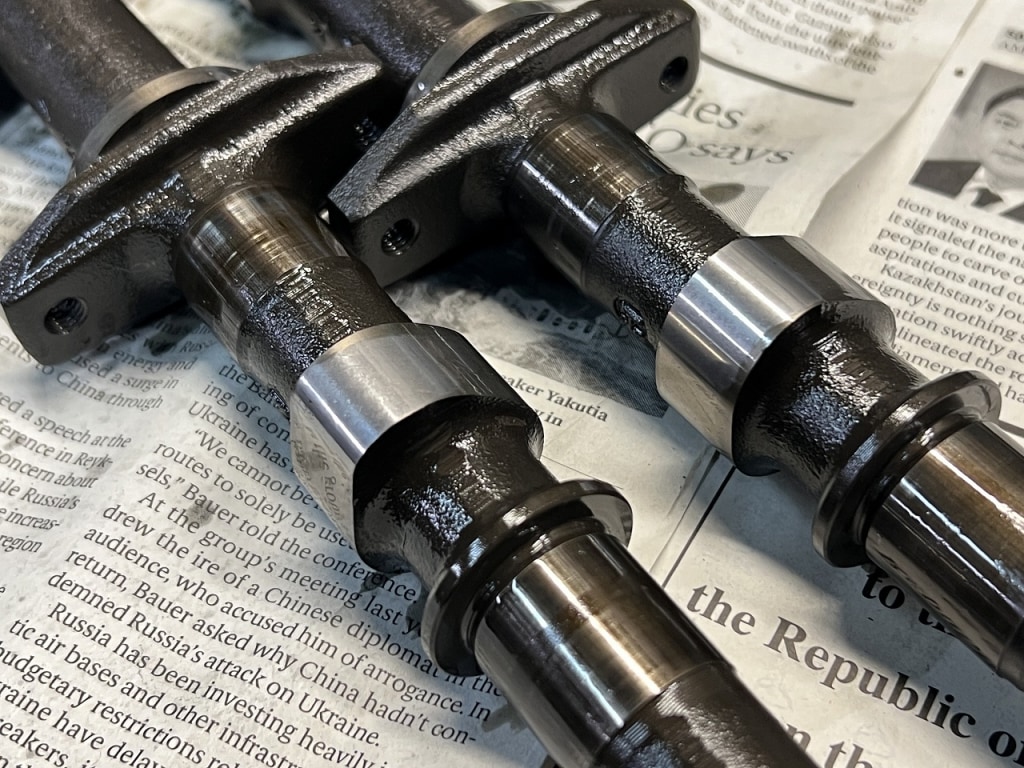
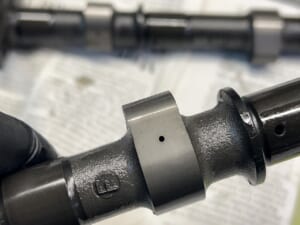
Here’s the original camshaft we removed. It’s in great condition with no scuffing, probably because it was used well.
Most people who seize cams tend to have “long idle times, low oil pressure, high oil temperature.” That’s the impression I get. It’s quite difficult in congested Tokyo traffic, but if you adjust and ride well, the oil temperature shouldn’t get too high. *Our comparison
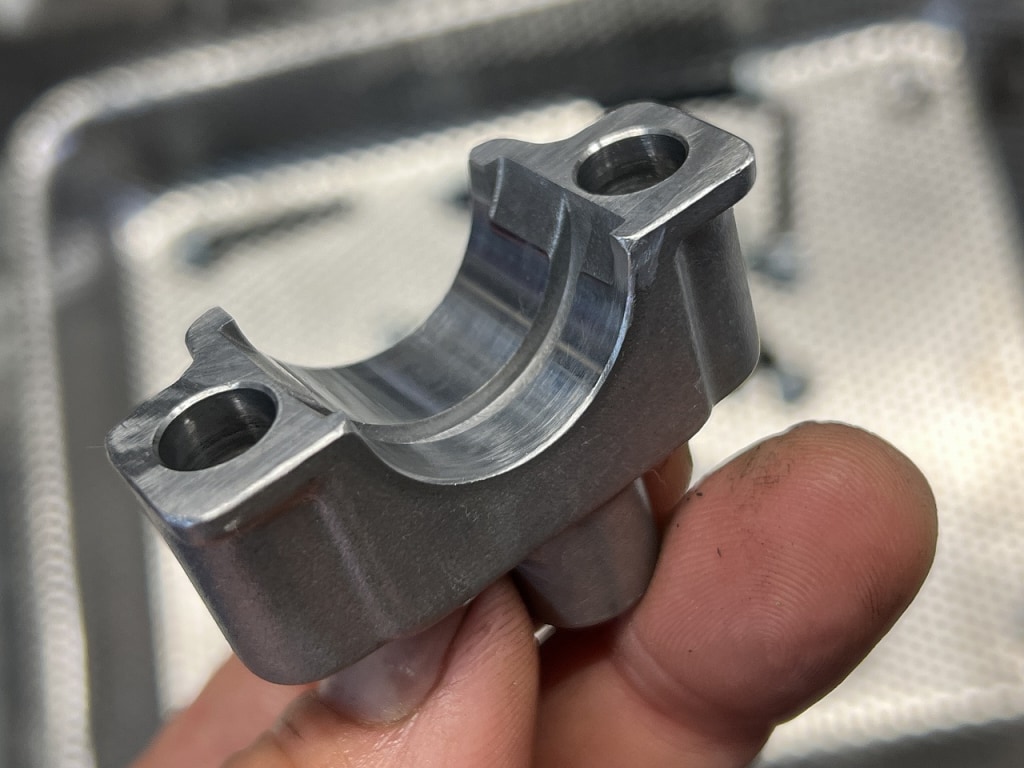
Steadily removing the burrs
Wearing safety goggles and steadily working with a rubber stone. It’s tedious work, but as long as you don’t cut your hands, it doesn’t affect performance.
When you’re working, it seems to go smoothly, but before you know it, a whole day has passed
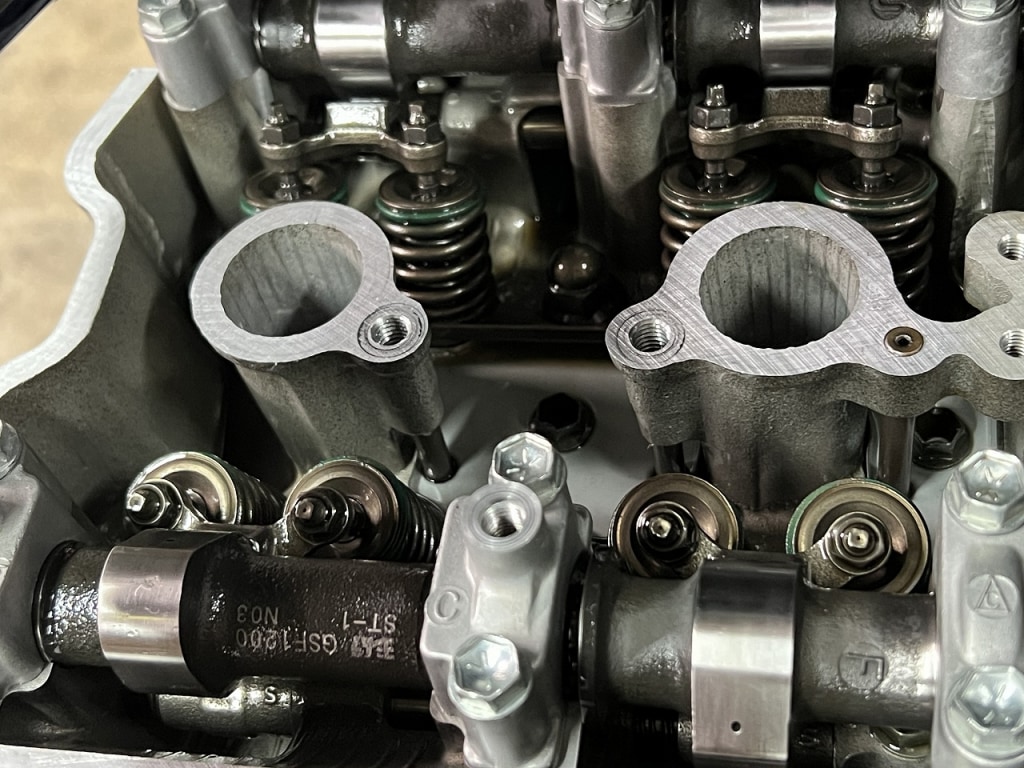
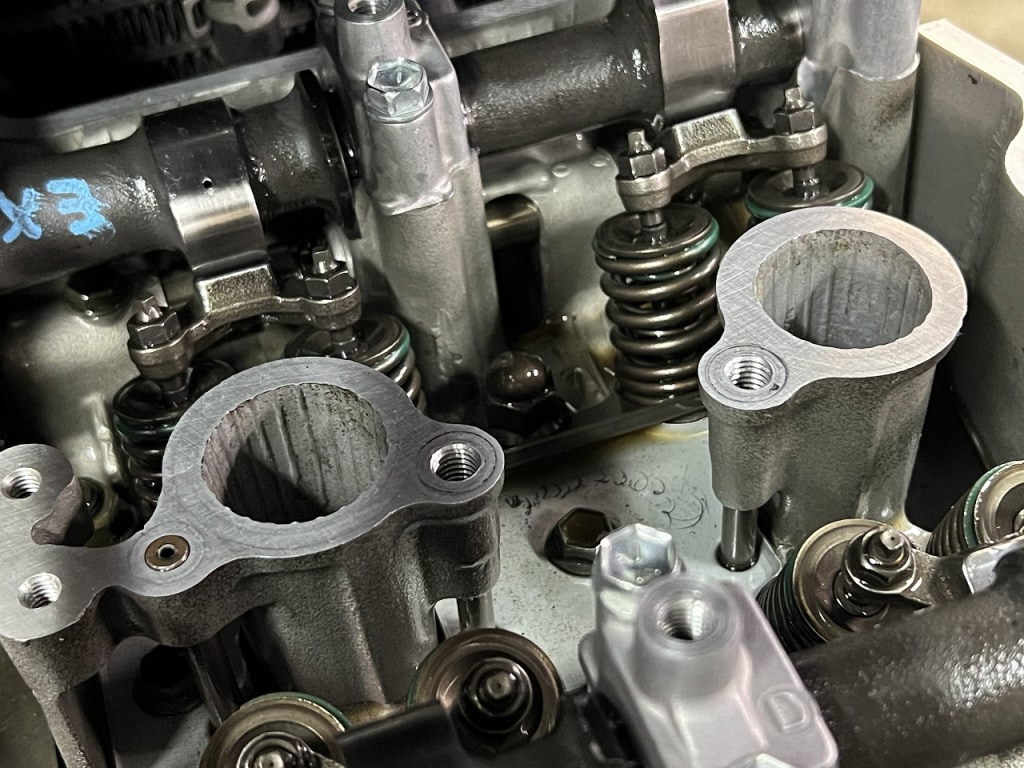
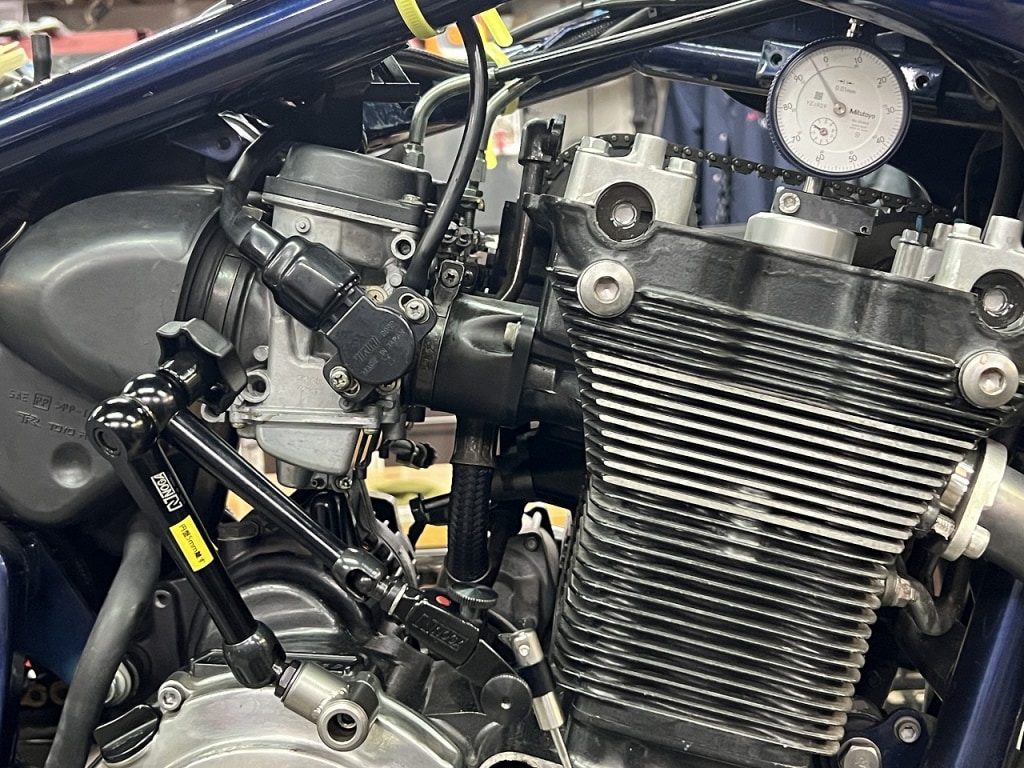
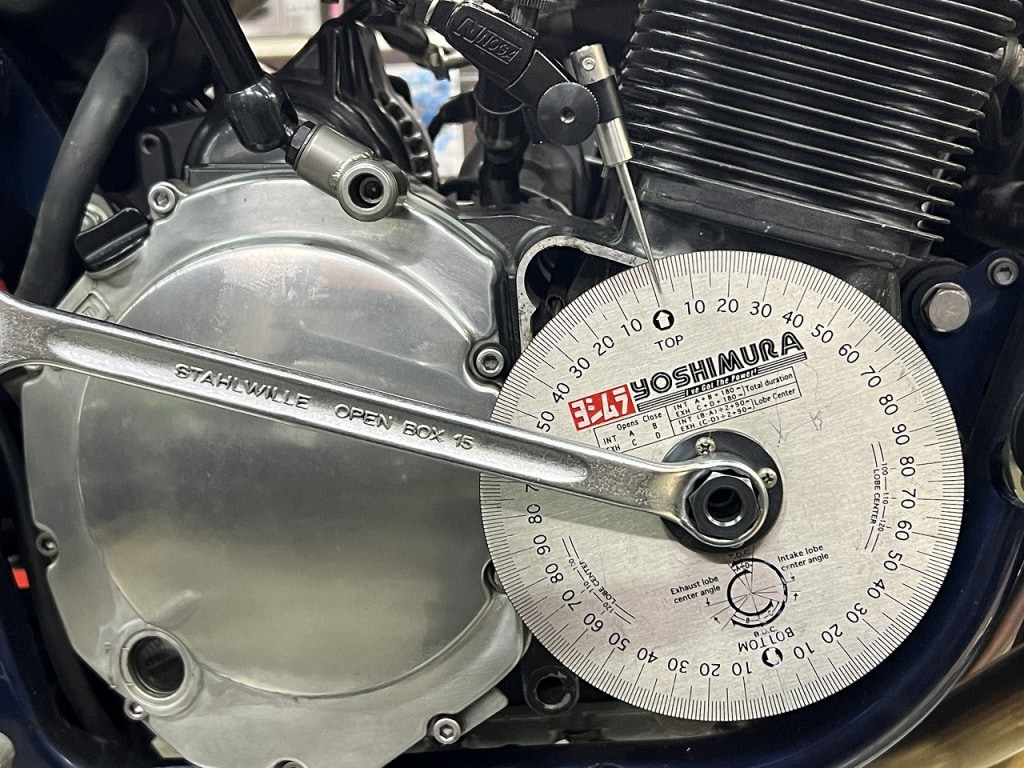
We set the valve timing according to Yoshimura specs. #4 Since there’s no end to it, I only check cylinder 4.
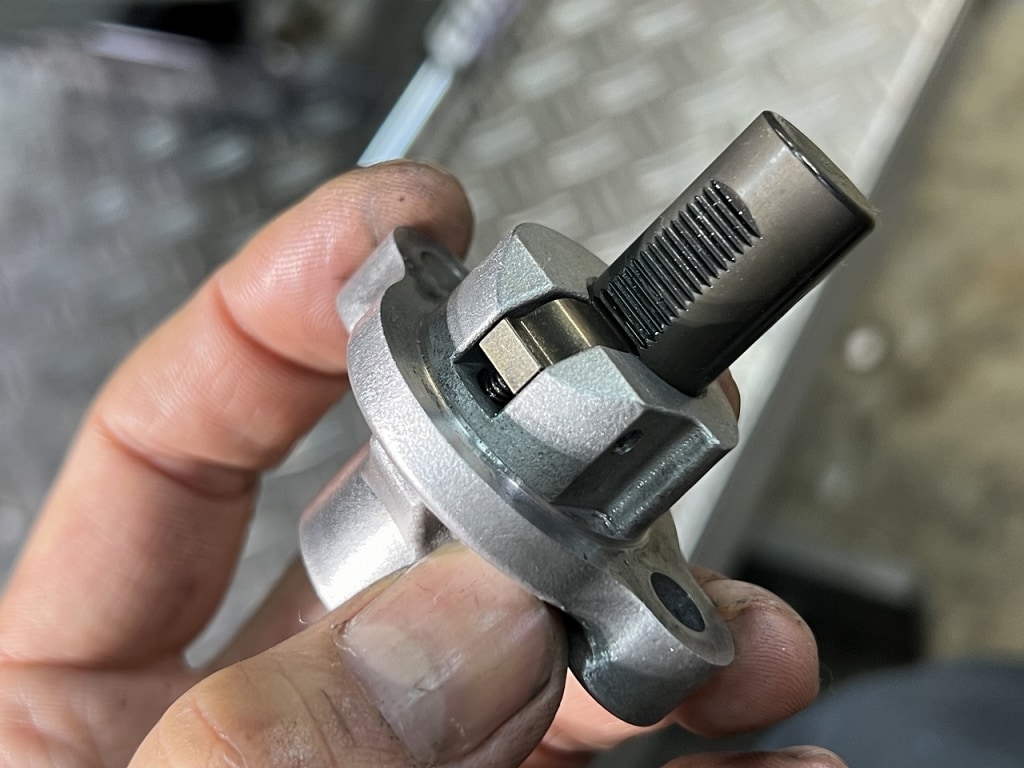
I love the serrated cam chain tensioner!
This type of cam chain tensioner became standard around the late 90s. I’d really like to see all those mysterious adjustment methods from before removed.
After replacing the camshaft, the last thing is to install this cam chain tensioner, and if the chain skips I’m sure there are people who’ve experienced that. It’s pretty heartbreaking. I skipped it once myself… but I learned my lesson so it won’t happen again.
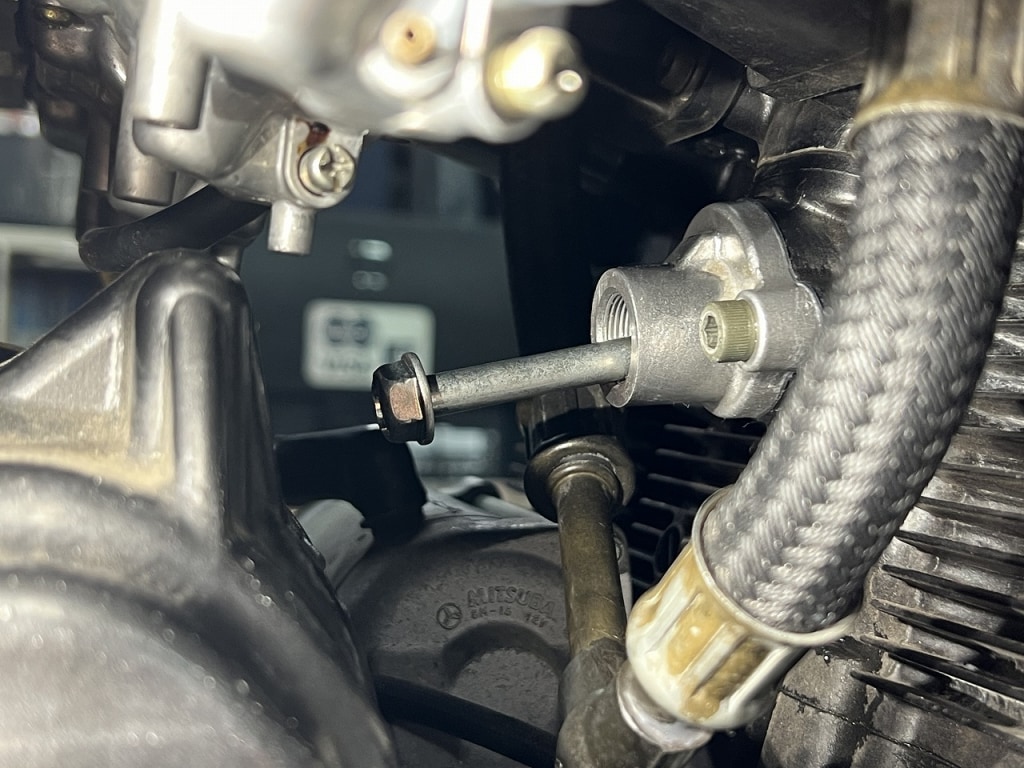
The spring tension can be too strong and push all at once, causing the chain to skip. Like in the image, push from the back with a bolt or something, and adjust while cranking back and forth and feeling the chain slack. I think that’s the way to do it. When checking valve timing too, the chain tension can throw it off by several degrees, so you want to be careful.
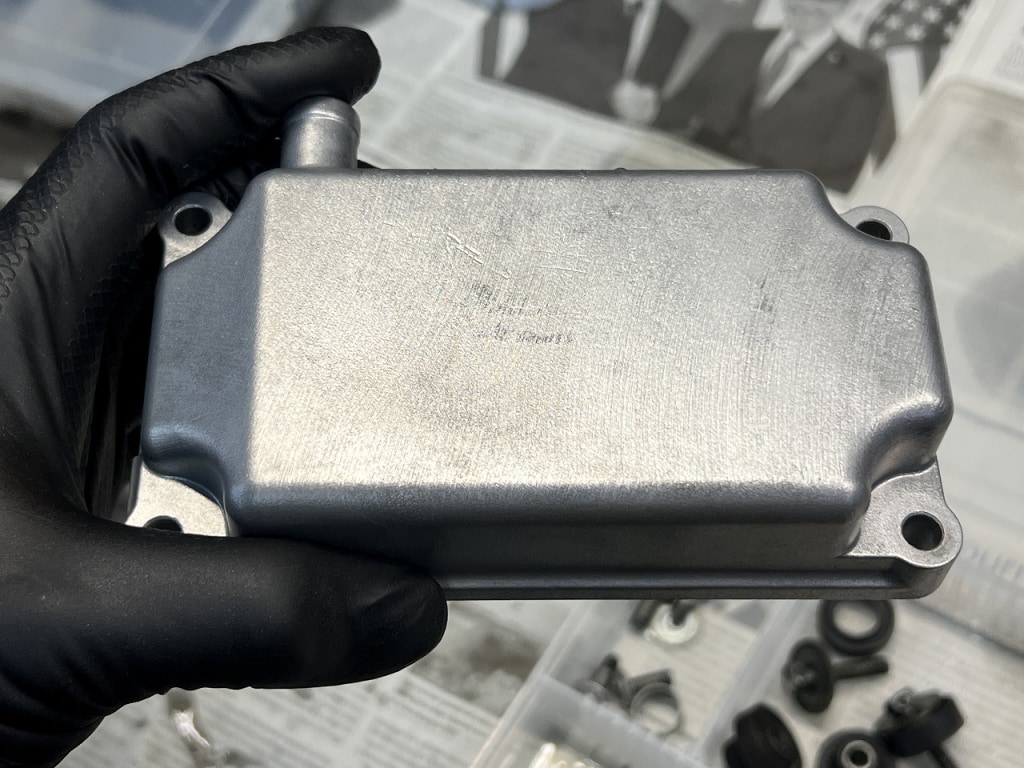
We also cleaned up the breather cover. I want the liquid gasket and Loctite to set properly, so we’ll start the engine tomorrow.
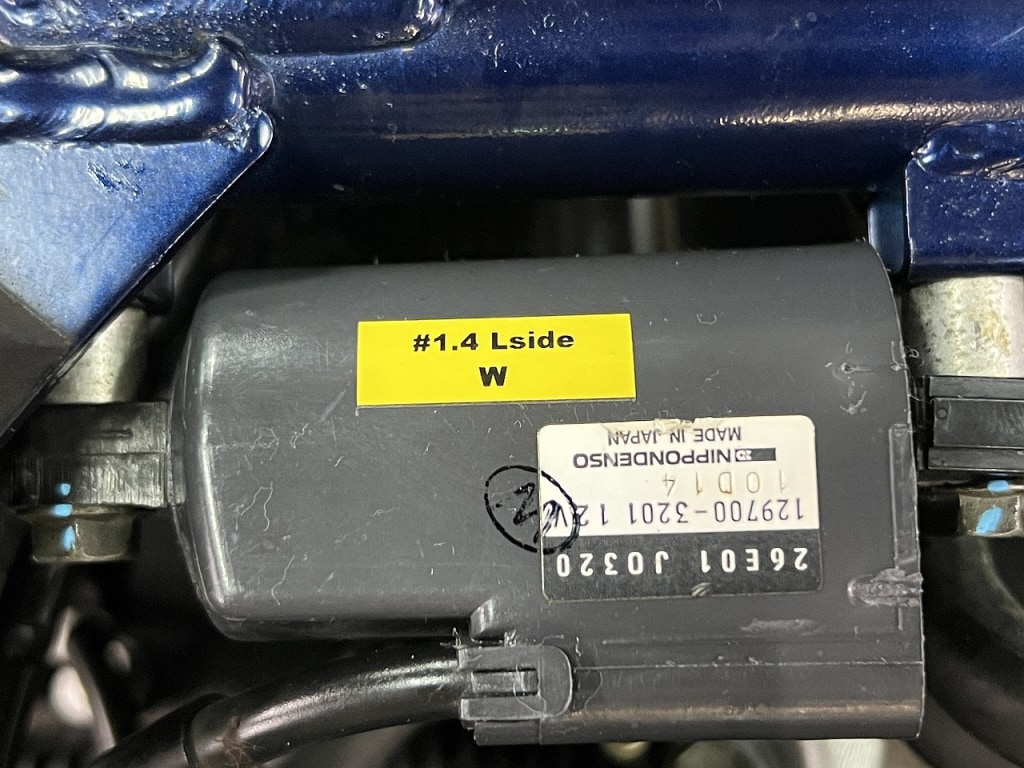
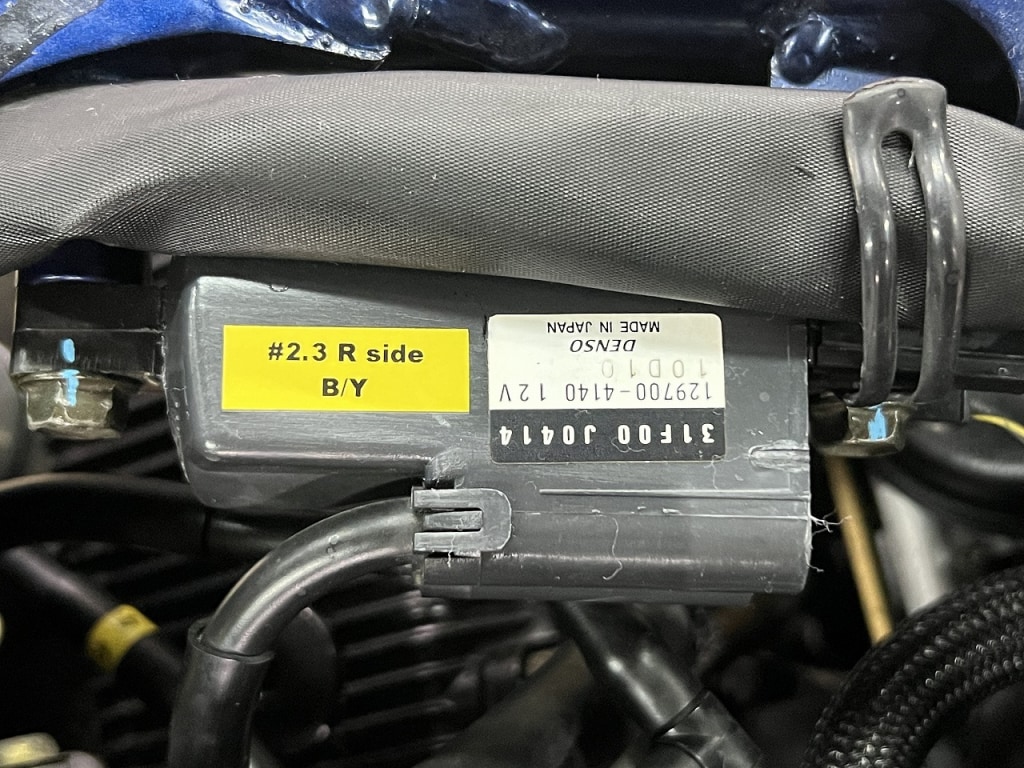
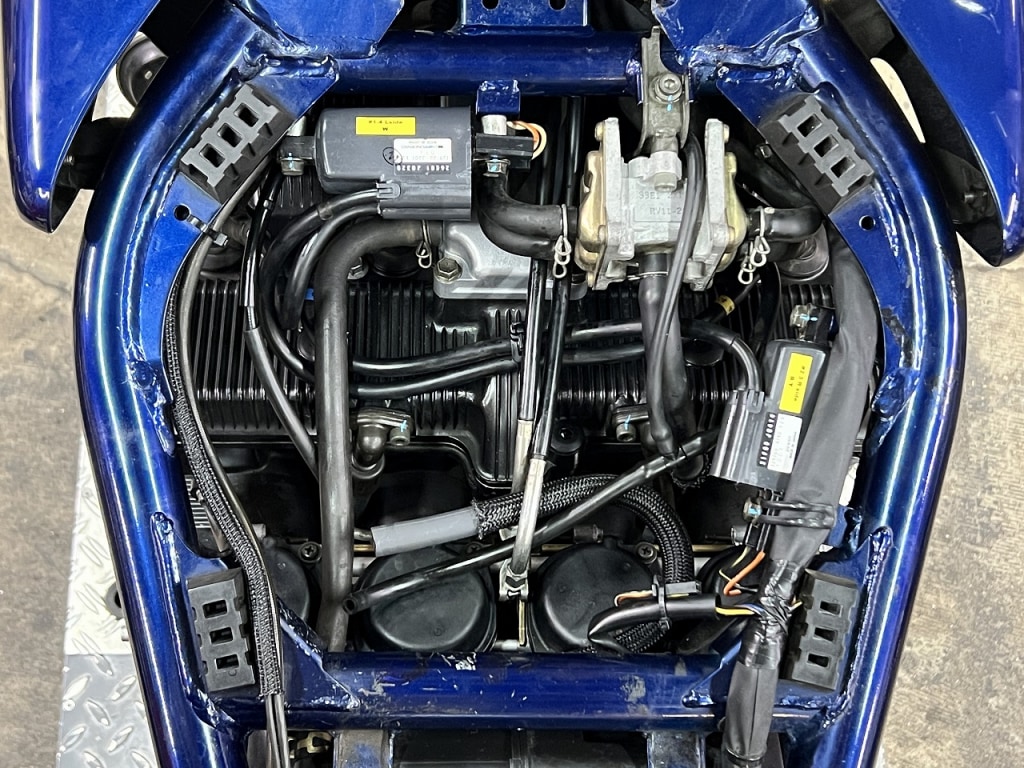
We’ll do a little touch-up labeling
By labeling ignition coils and such this way, the next time you work on it will be easier. Even if you’re not the one doing the next work, continuity in the work is important. I think so.
By labeling like this, you reduce mistakes and save time on marking. It improves accuracy and saves time too.



 ポチップ
ポチップ