The power acquisition item that once swept the nation “Daytona D-UNIT Series”
Most people have installed it.
Nowadays, motorcycles need so many electrical components.
“USB power, ETC, grip heaters, digital oil temperature gauges” and so on, there are really so many.
Previously, we had to tap power from the frame,
but thanks to this D-Unit Series, it’s now easy to tap multiple power sources.
Plus, since it’s a battery-direct relay, the voltage is stable,
and because you can tap both power and ground in parallel, the appearance is clean and neat.
If you ever need to tap power for anything, I recommend first installing the Daytona D-Unit Series.


 ポチップ
ポチップ


Time passes, and now I’ll explain the installation status right away
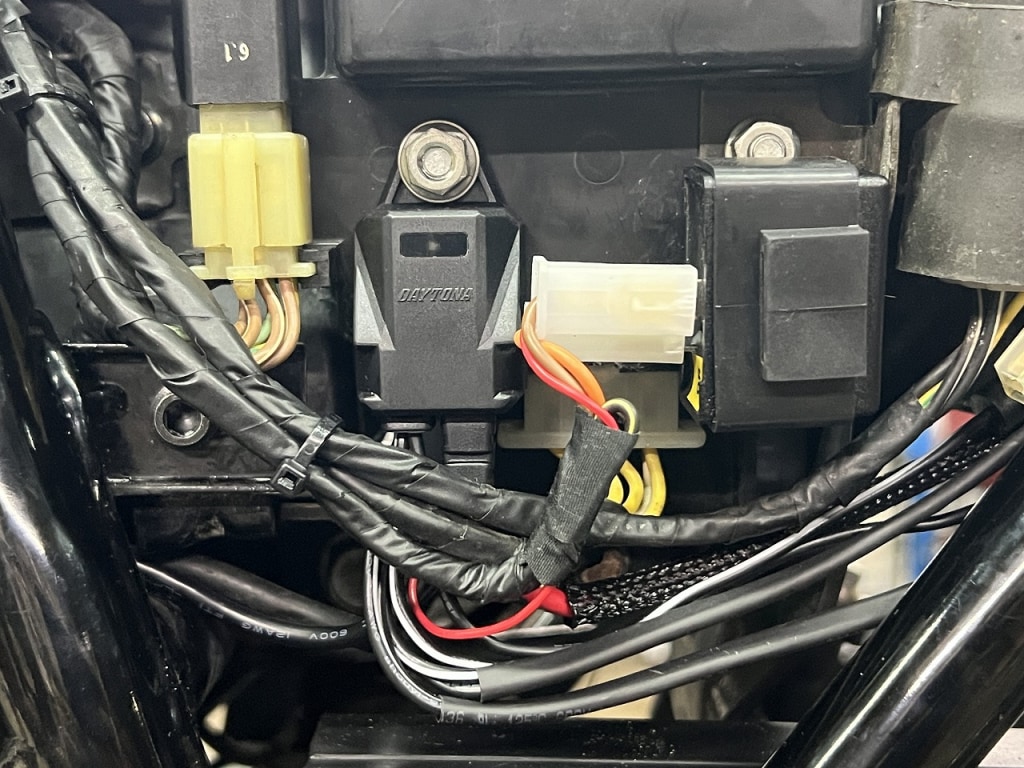
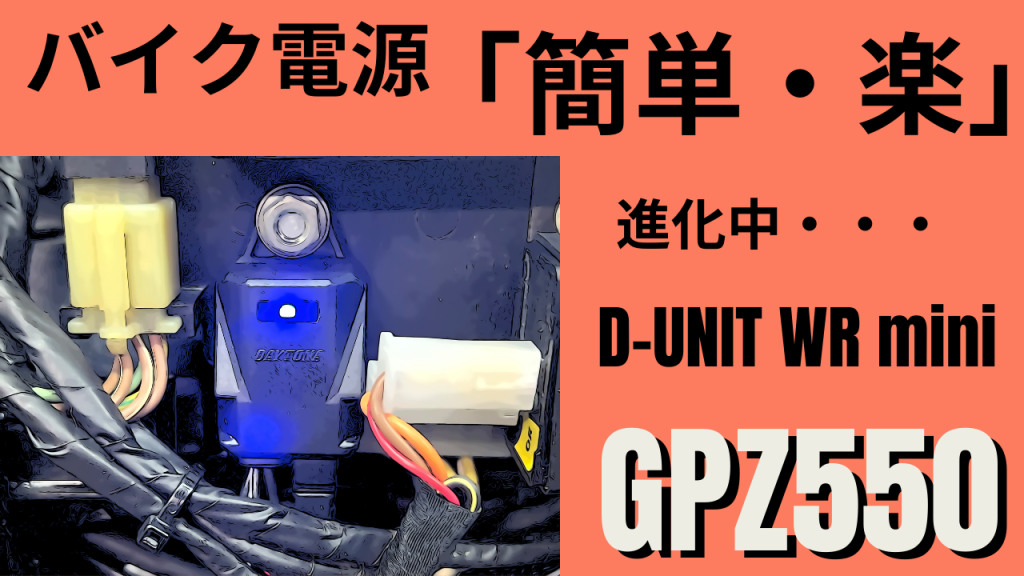
This time’s “Daytona D-UNIT WR MINI” has evolved considerably from the previous “Daytona D-UNIT WR”.
① Capacity management is now possible with a fuse.
② As shown in the image, bracket bosses are now provided on the main body and can be fixed with M6 bolts.
*Additionally, a convex collar is included, resulting in a nice finish that doesn’t directly tighten the resin.
③ The LED lights up blue when operating, so you can easily manage normal or abnormal status.
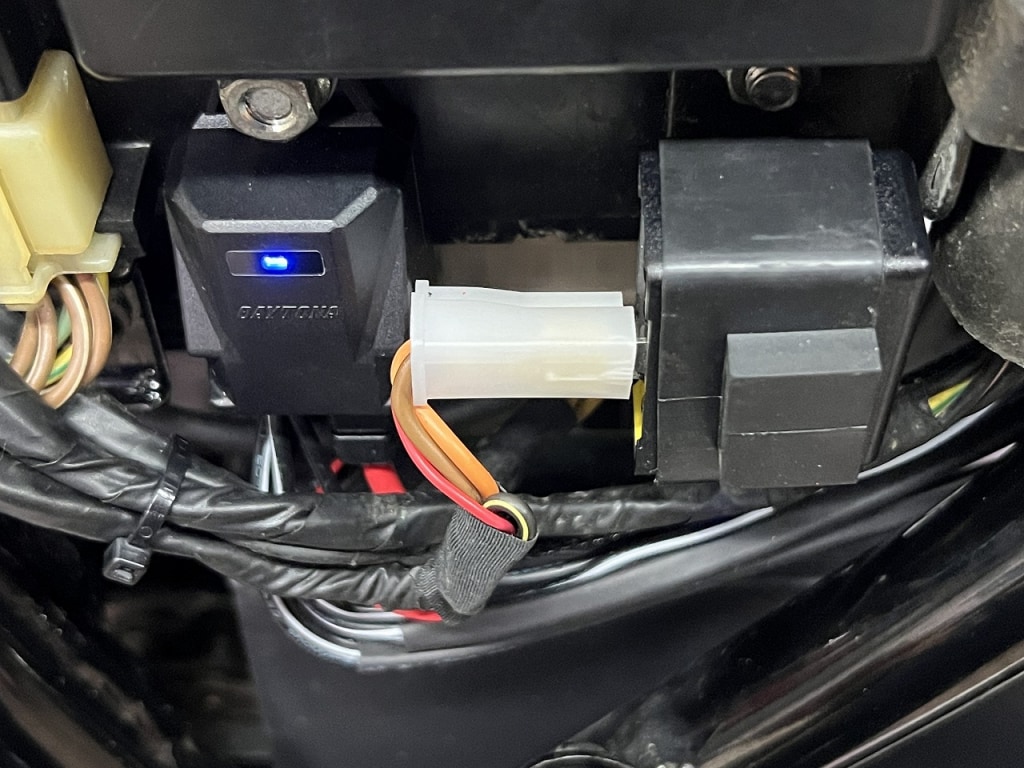
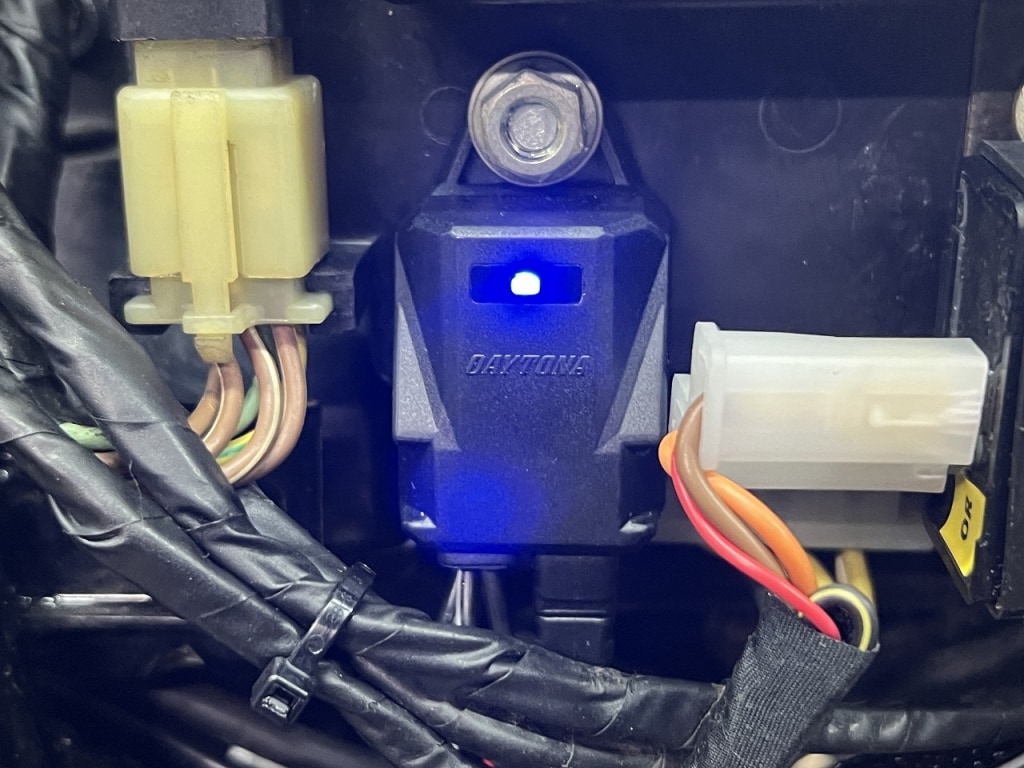
It was installed as cleanly as if it were factory original.
Even on this old bike there’s limited space, so I imagine it’s even tighter on the latest motorcycles.
If you want to install any electrical components later, first
purchase the “Daytona D-UNIT WR MINI” and you can install it with confidence and certainty.
For this type of electrical component, the later models are definitely the strongest.
Basically it only has three outlets,
but if the capacity is sufficient, you can even split one outlet into two without any problem.
Just a few years ago we struggled with installation,
“what was all that about?” I think it’s such an innovative item.
If you tap a voltmeter and such from the “Daytona D-UNIT WR MINI” you can also see a voltage close to the battery.
It’s not just about tapping power and ground for electrical components,
but if the capacity is sufficient, you could even use it for ignition coils and such, which would be fun.
The possibilities are endless, so I think you can use it in many ways.
ポチップ
ETC installation turned out to be quite a challenge (´∀`*) hehe
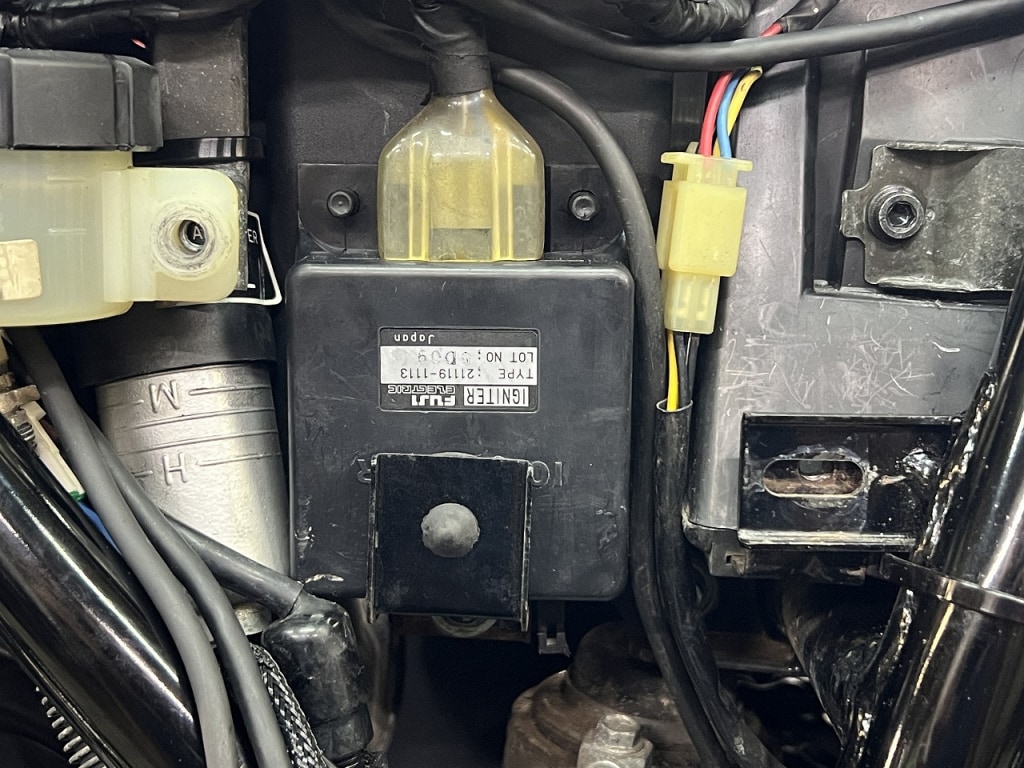
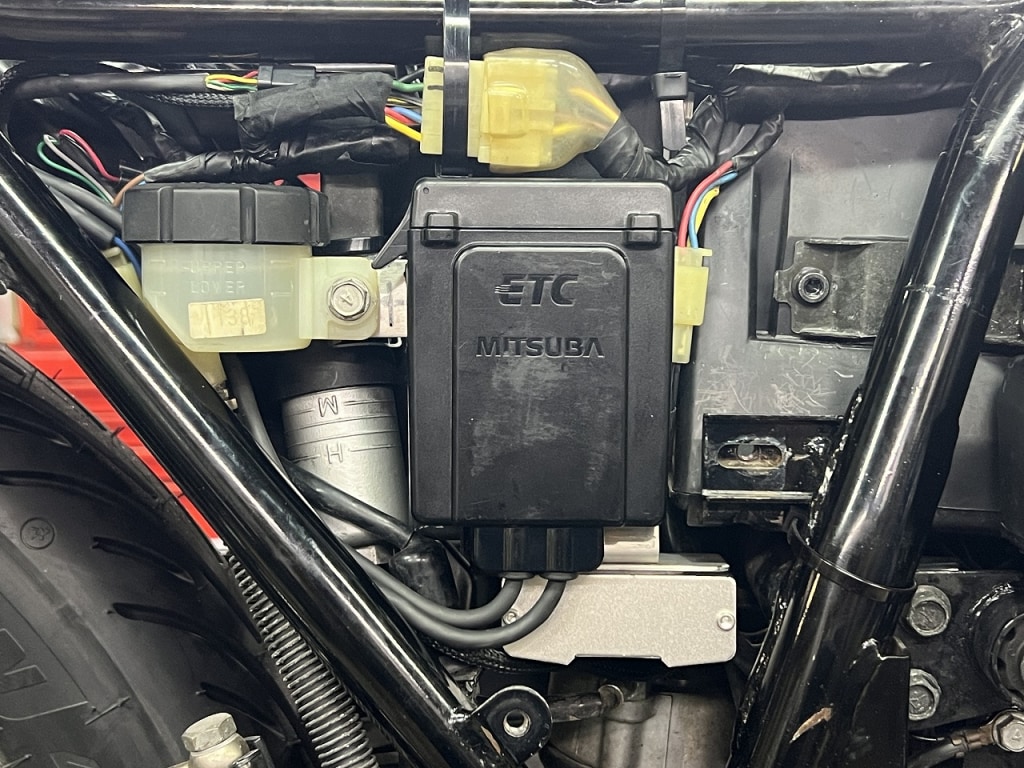
I prefer to avoid mounting it blatantly under the seat.
So the only place to install it was inside the side cover.
I relocated the annoying rear suspension preload remote control to create a bit of space and mounted it there.
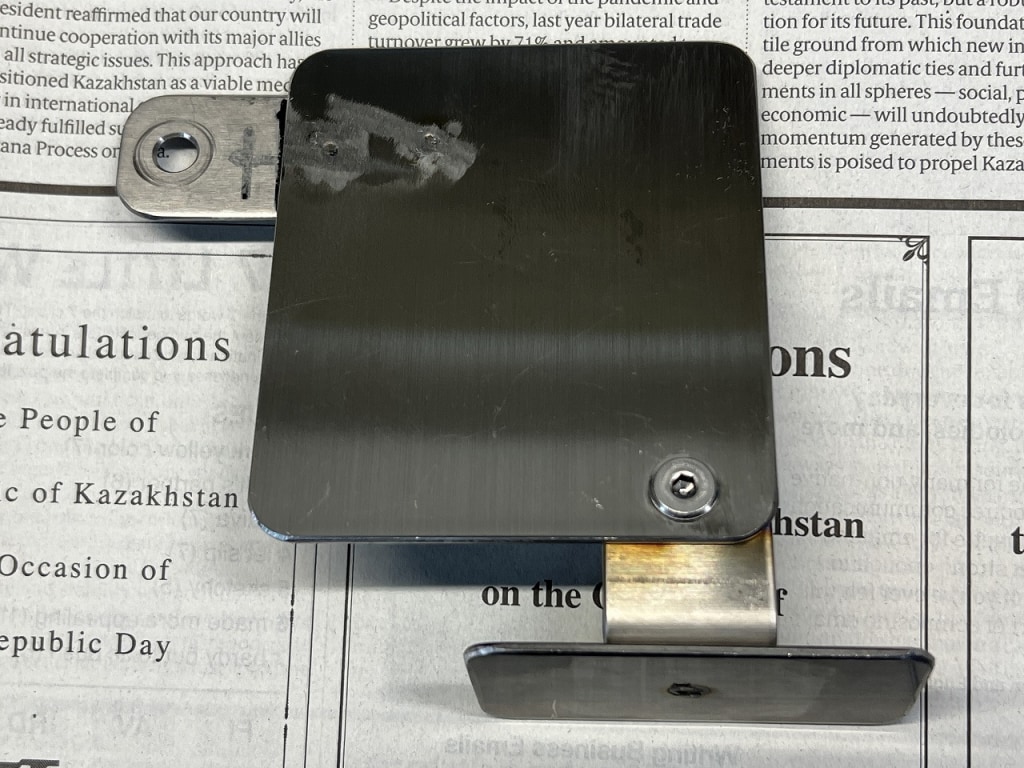
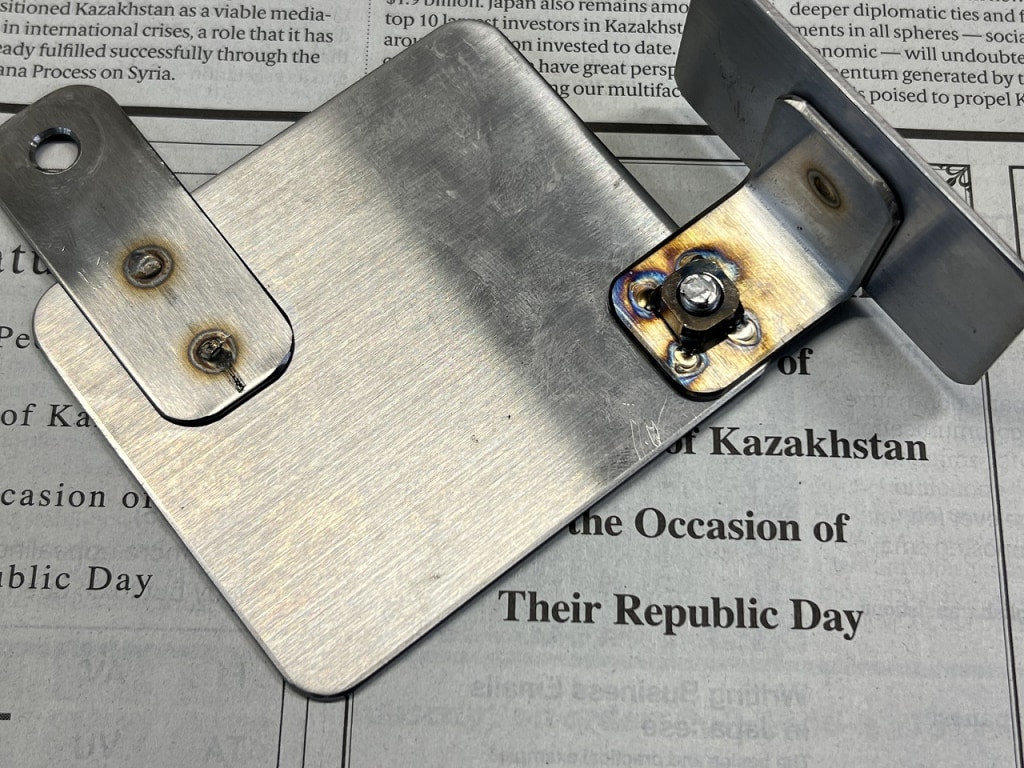
The layout is a bit complex, so I fabricated the bracket using my usual shearing and spot welding.
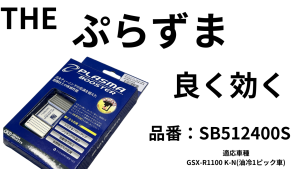
If you look closely under the ETC, I’ve also tucked in my favorite plasma booster.
A bike really does look great when the exterior is removed and everything is clean.
Even if it seems tedious, doing the wiring properly from the start makes a huge difference later.
 ポチップ
ポチップ
I install a plasma booster on all of my motorcycles.
I also do this installation a bit differently than the standard way.
I manage it with a connector so it can be easily removed and installed,
and basically I set it up so you can feel the effect with and without the plasma booster.
By experiencing it firsthand, you can understand that it’s not just a placebo effect.
You’ll be able to feel the improvement in starting and the smoothness of engine feel.
I basically love the setup of stock igniter plus plasma booster.
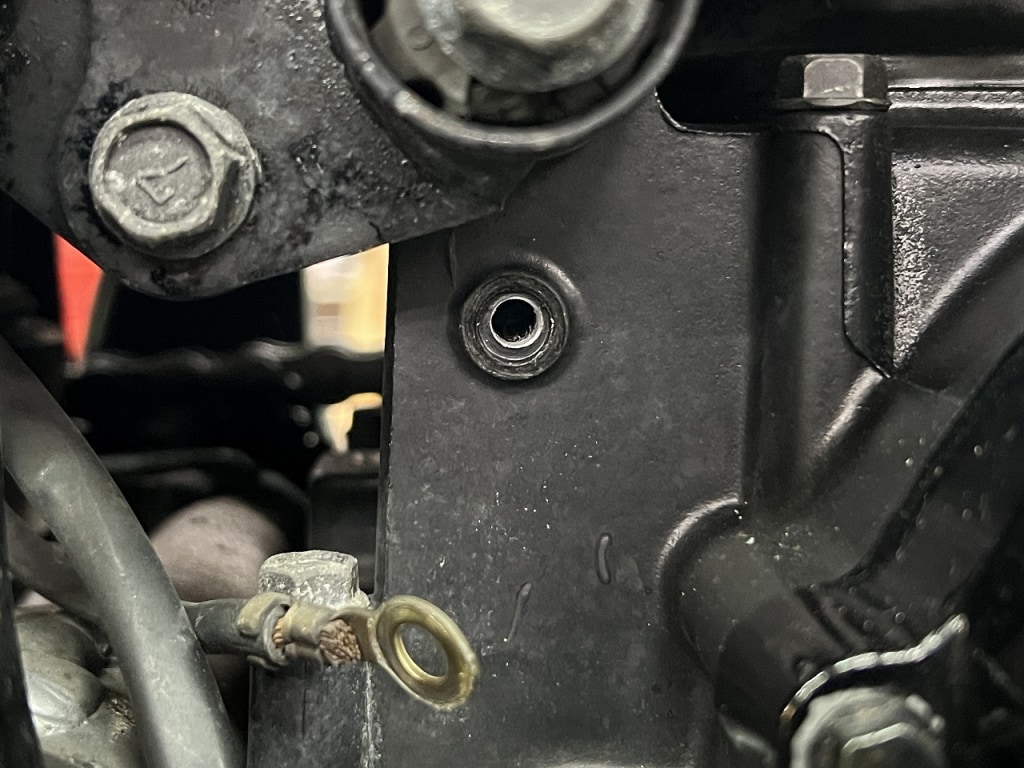
If you remove the main ground point once and scrape off the paint, the effect will be even better.
The older it gets, the worse the ground connection becomes, so it’s definitely something you want to check if you buy a used bike.
So please go ahead and purchase the “Daytona D-UNIT WR MINI” and clean up your electrical system properly this winter.
ポチップ
 ポチップ
ポチップ
The article was not found.