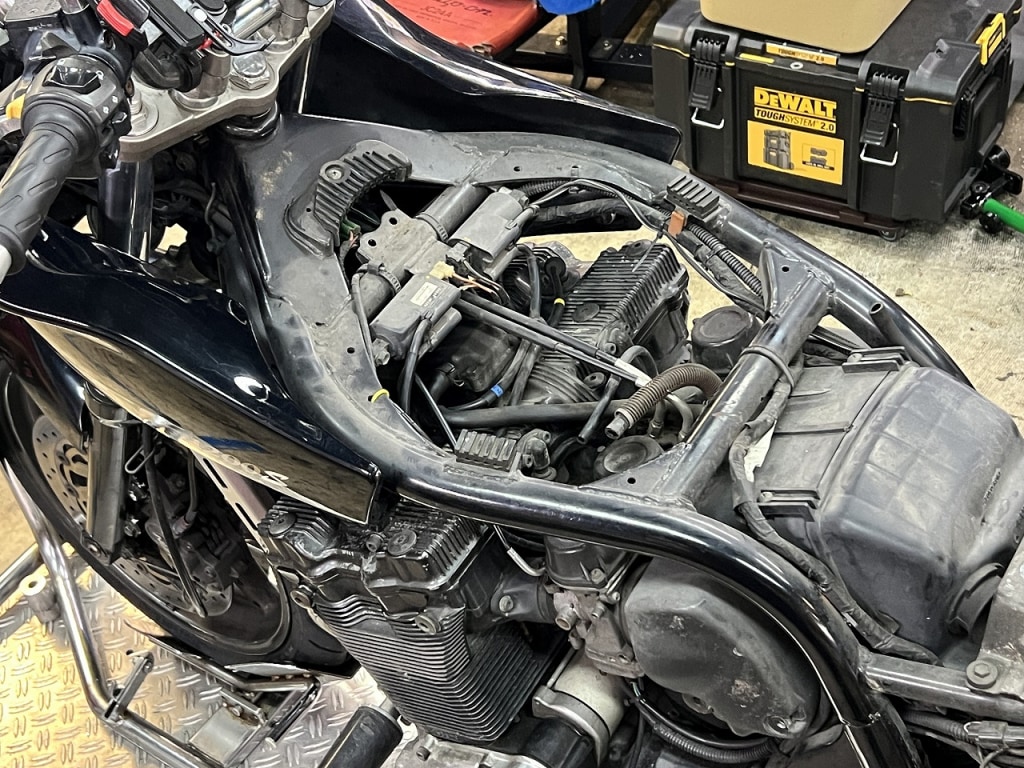
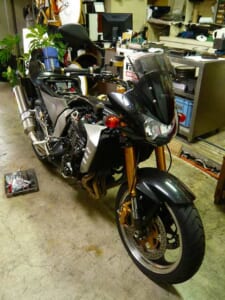
The nice thing about the GSF1200 and Bandit 1200 is “the fairing and frame colors match”
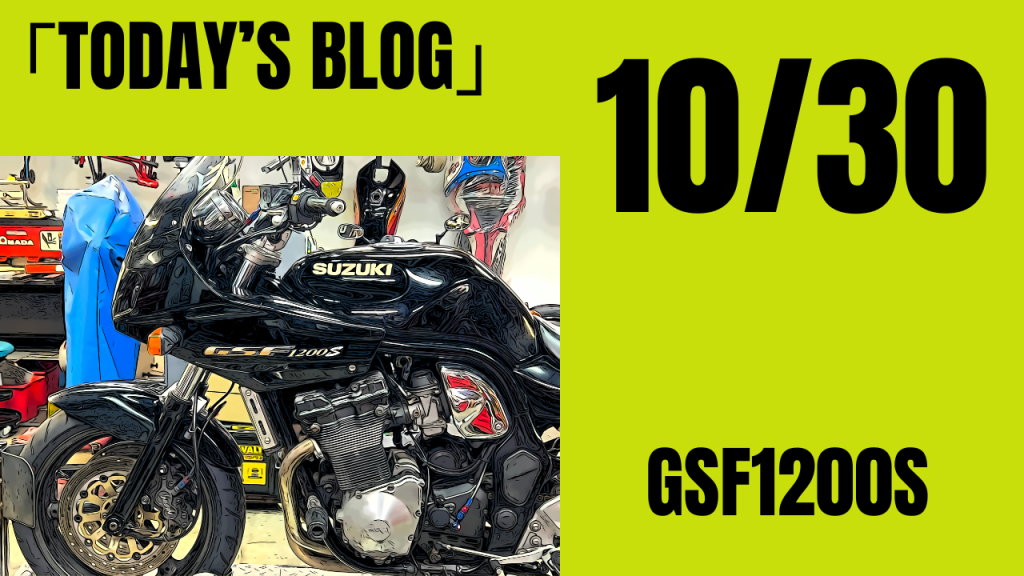
Among them, the black GSF1200 was popular, right? Or maybe not? And a black S is pretty niche and super cool. By the way “the S has SUZUKI lettering in gold”
The S that became a naked bike after an accident was spotted right away back then… With that said, we’re proceeding with work on a fully stock GSF 1200 S
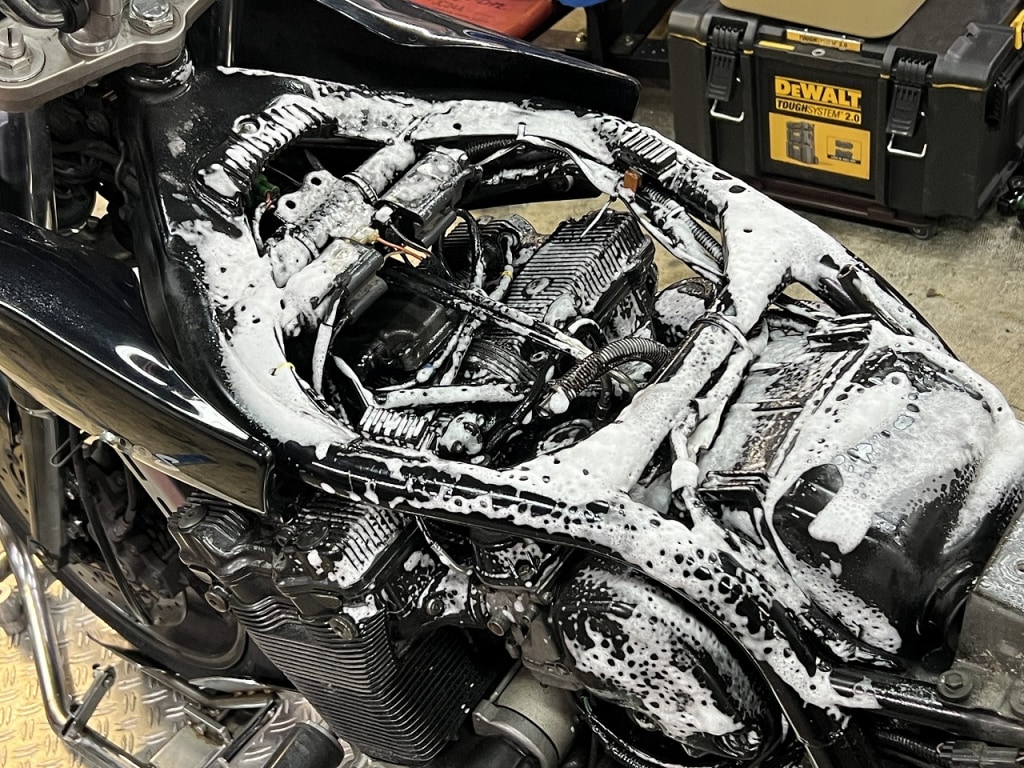
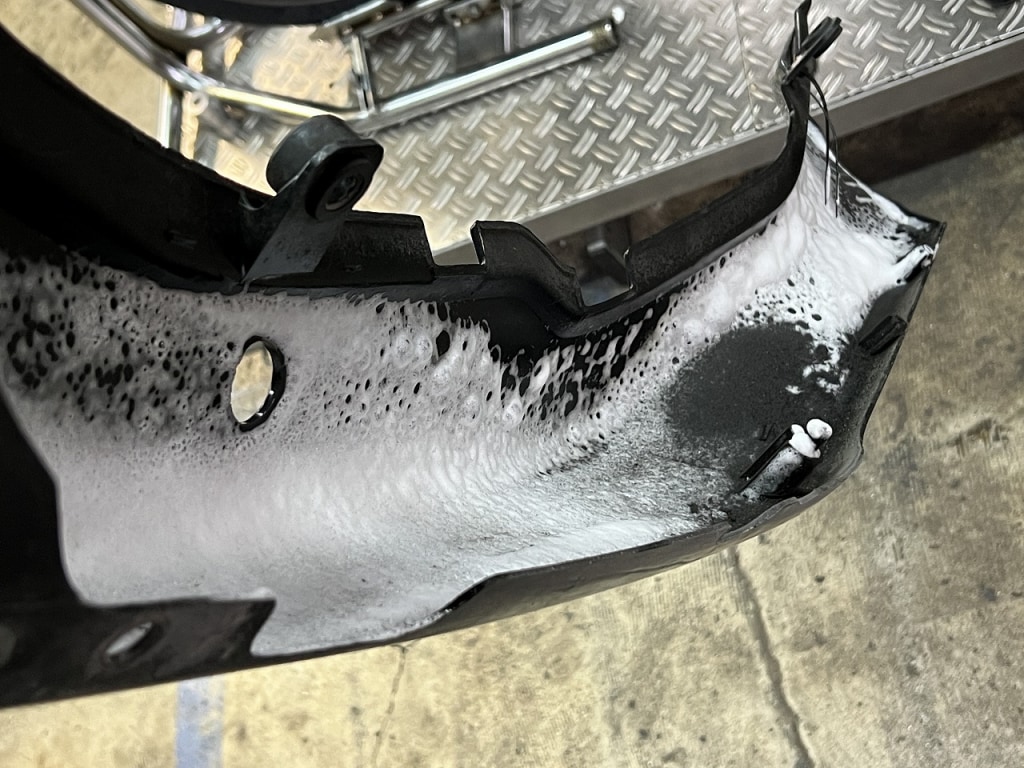
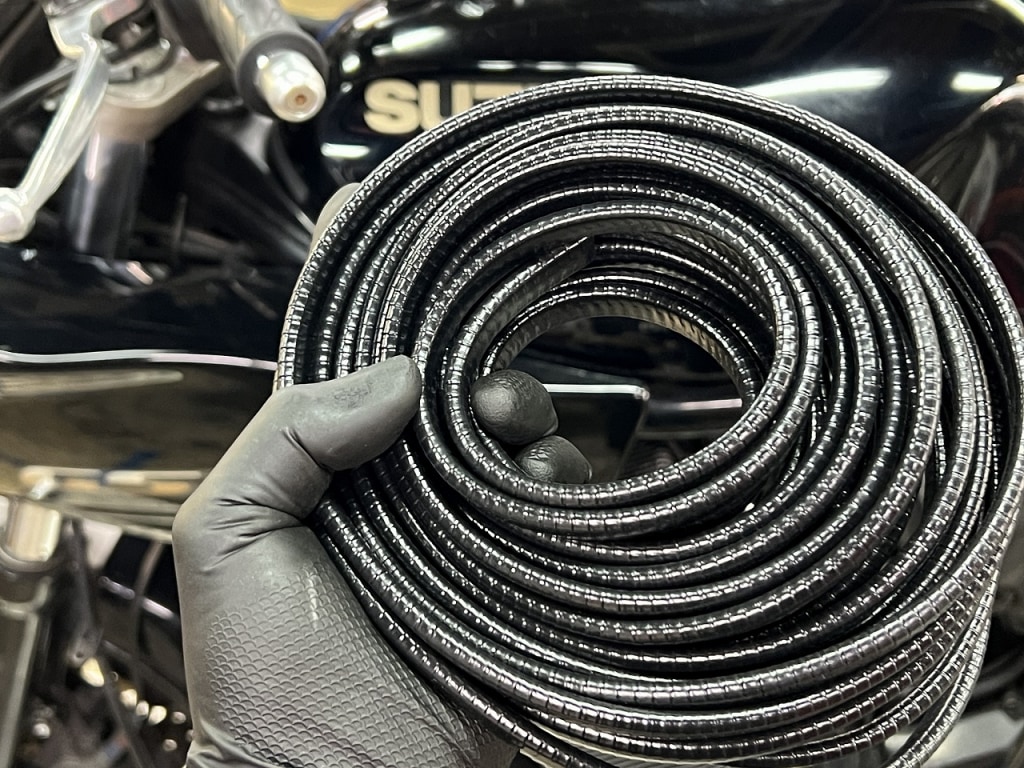
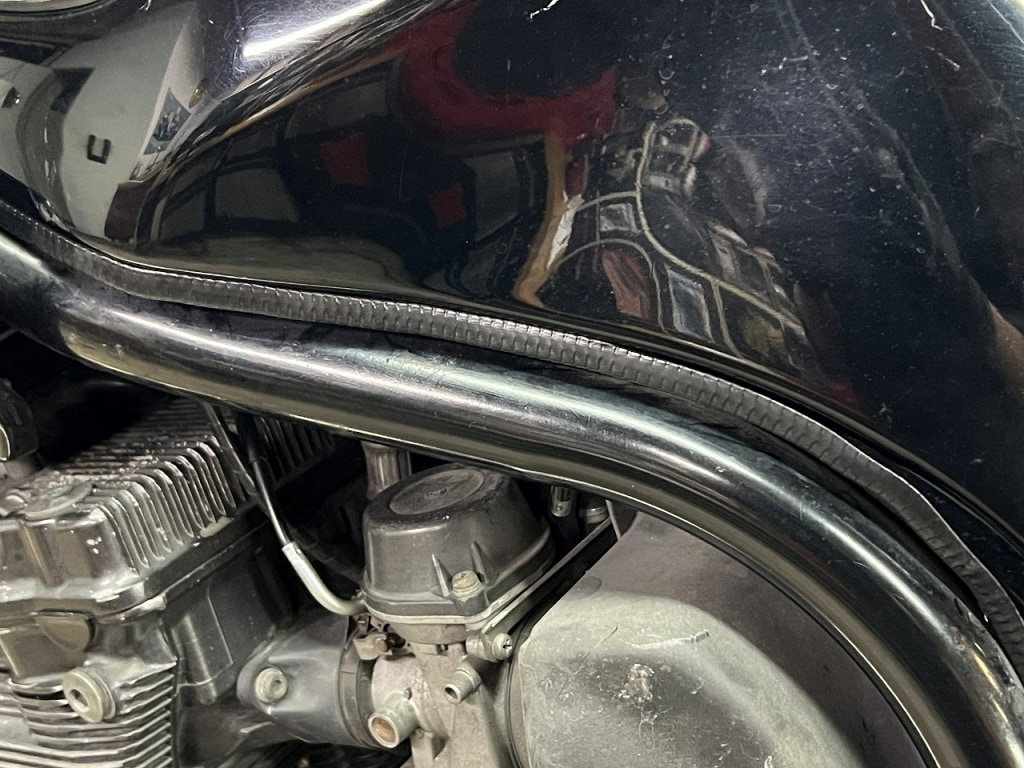
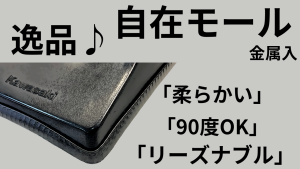
When removing and installing the tank, you can surprisingly scratch the frame. If you fit it into the edge of the fuel tank, you won’t damage the frame. Also, this molding has metal inside so removal and installation is easy.
We’re wrapping it around the whole thing this time for scratch protection.
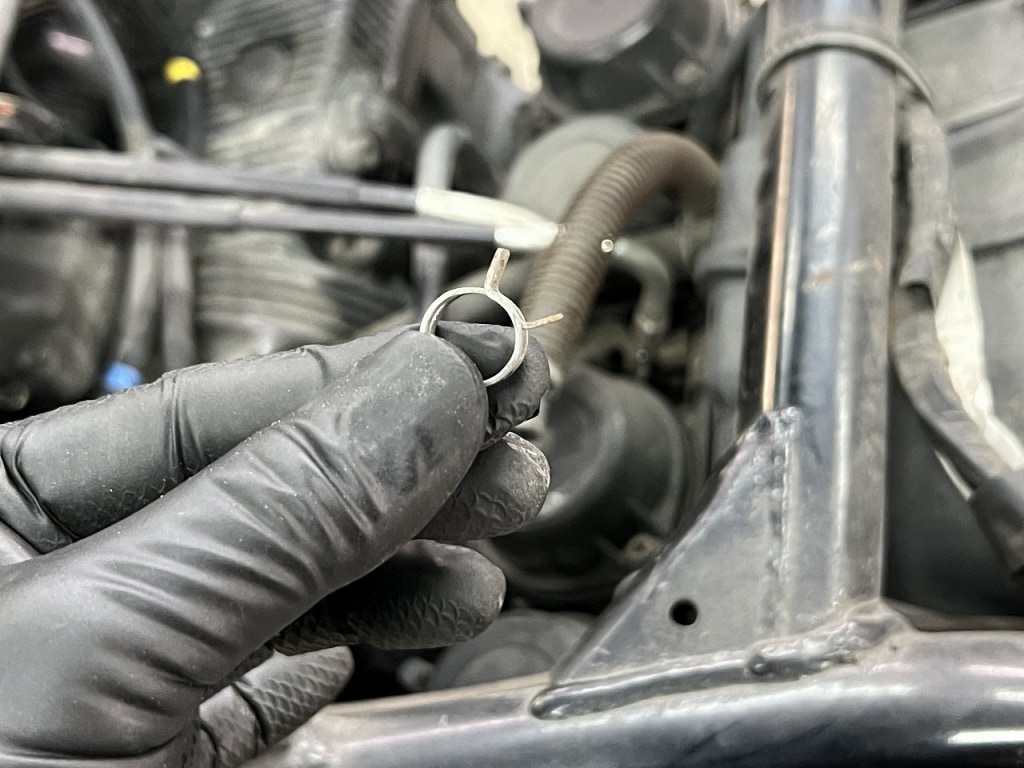
Always remove any loose hose clamps. If one accidentally gets inside the engine, that would be the worst.
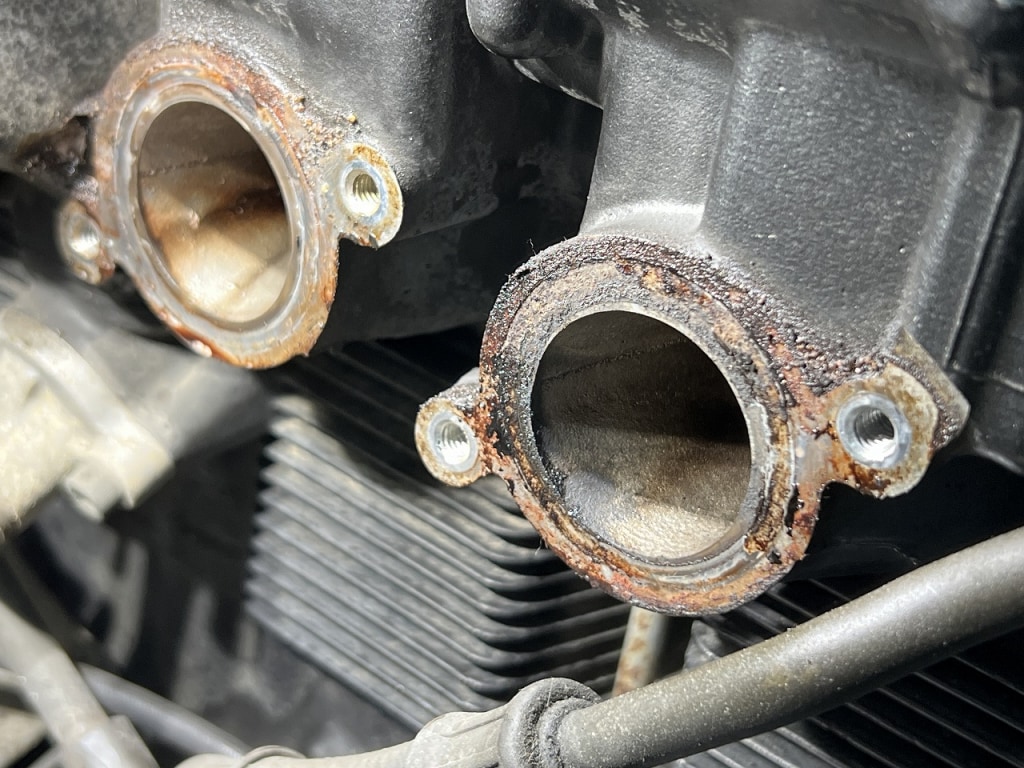
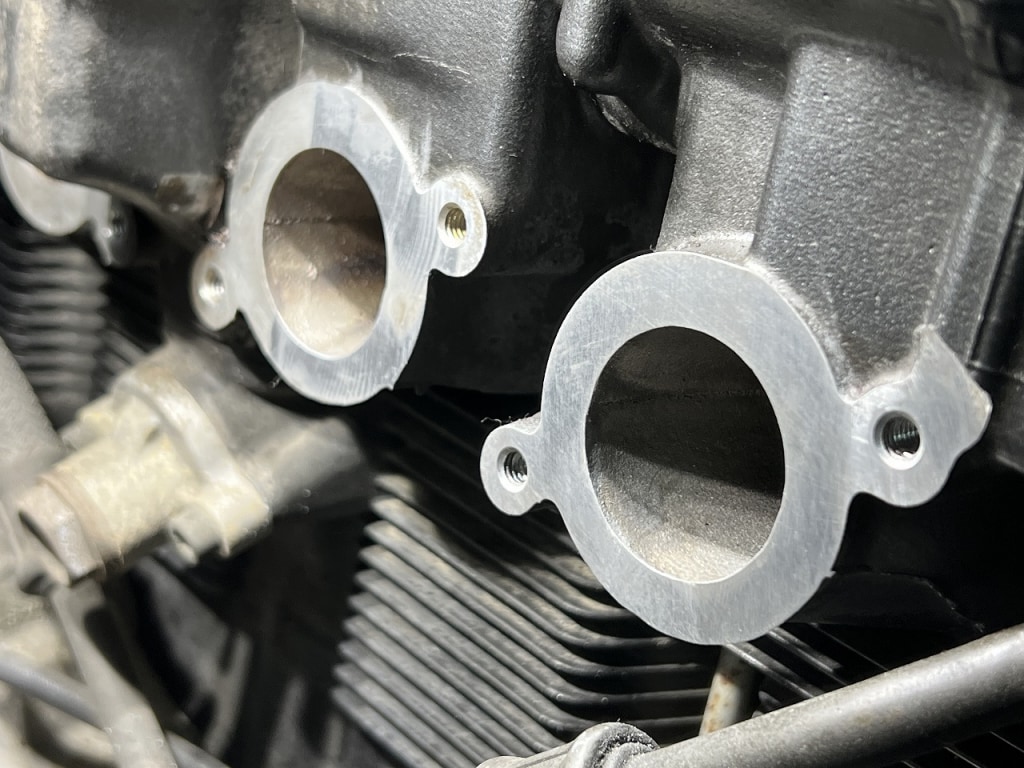
From what I can see, intake and exhaust are out! Good timing
It’s completely passed through the O-ring and there are traces of it being moist. And the tenacity of that buildup was no joke.
With proper cleaning and finishing with oil stone, it should be perfect
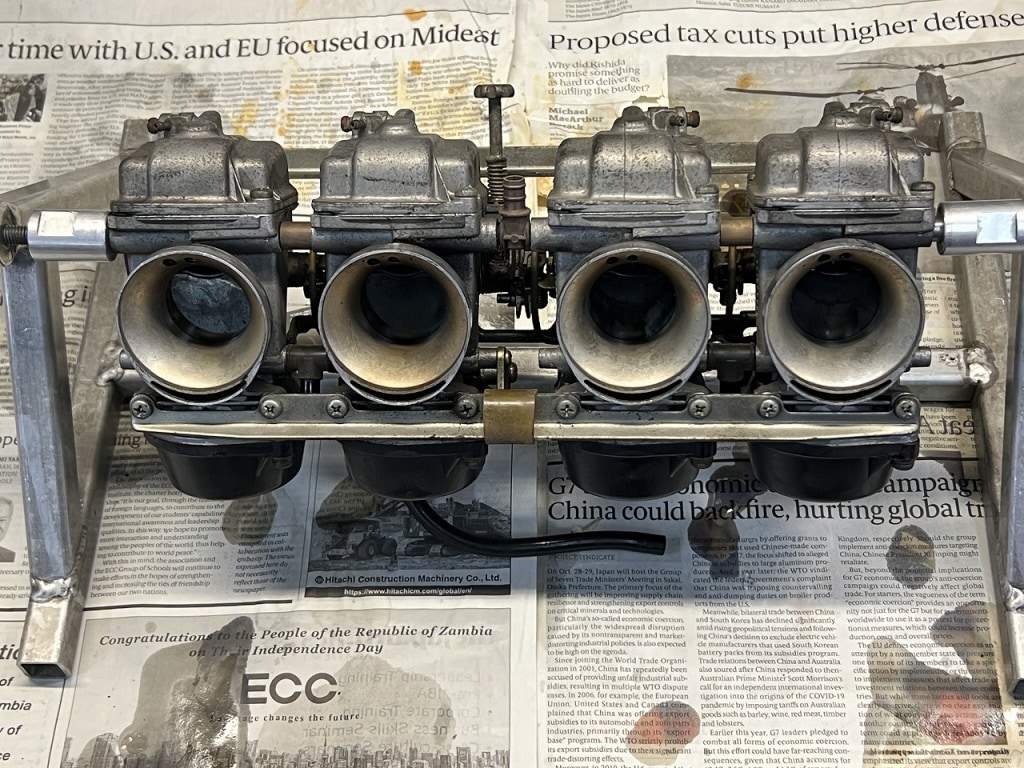
Time flows on~ The GSF1200 carb is very easy to remove and install
Overall it’s a sparse era so removing the carb is extremely easy. The air cleaner box also moves back quite a bit and the carburetor itself can be lifted up and removed—the benefits of the steel double-cradle frame are wonderful.
If all motorcycles had this level of serviceability, it would be appreciated.
The age really stands out.
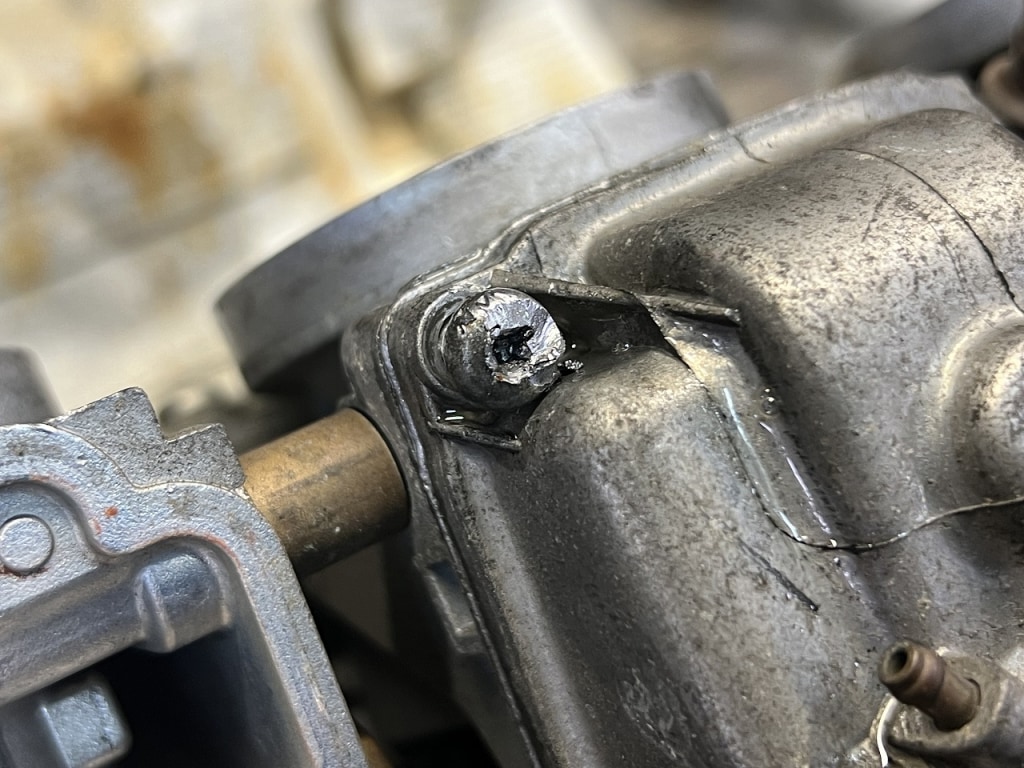
There was one bolt that wouldn’t budge at all and I got a bit nervous. I’m pretty good at using a chisel to remove things, but the head kept disappearing and it got dangerous.
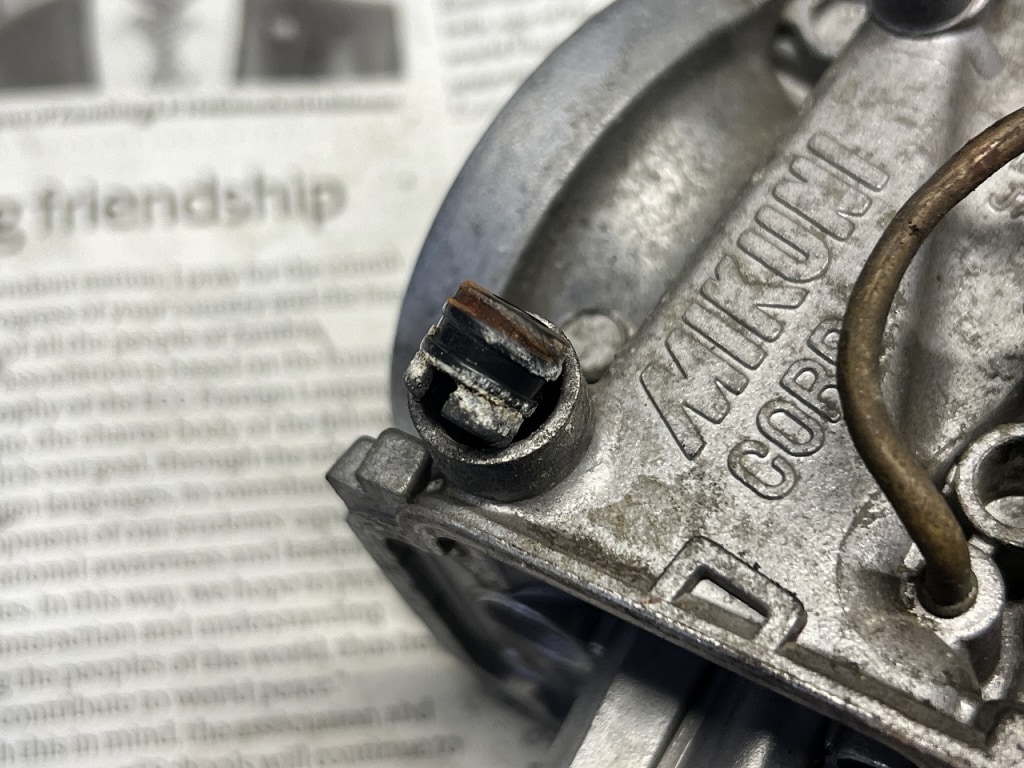
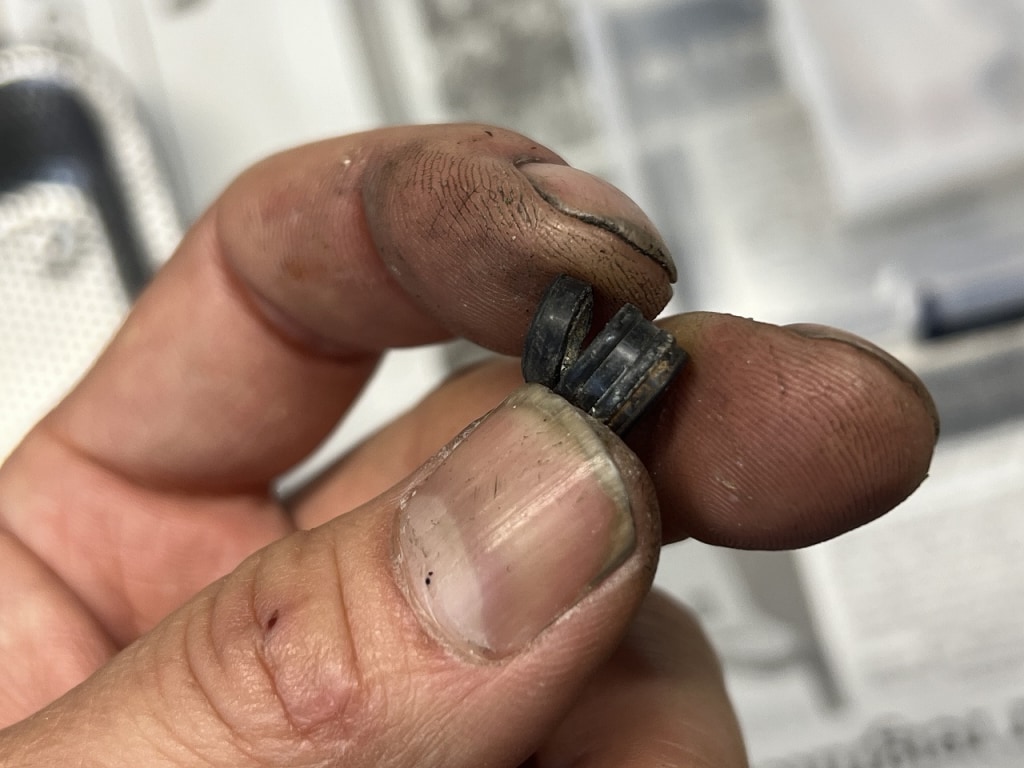
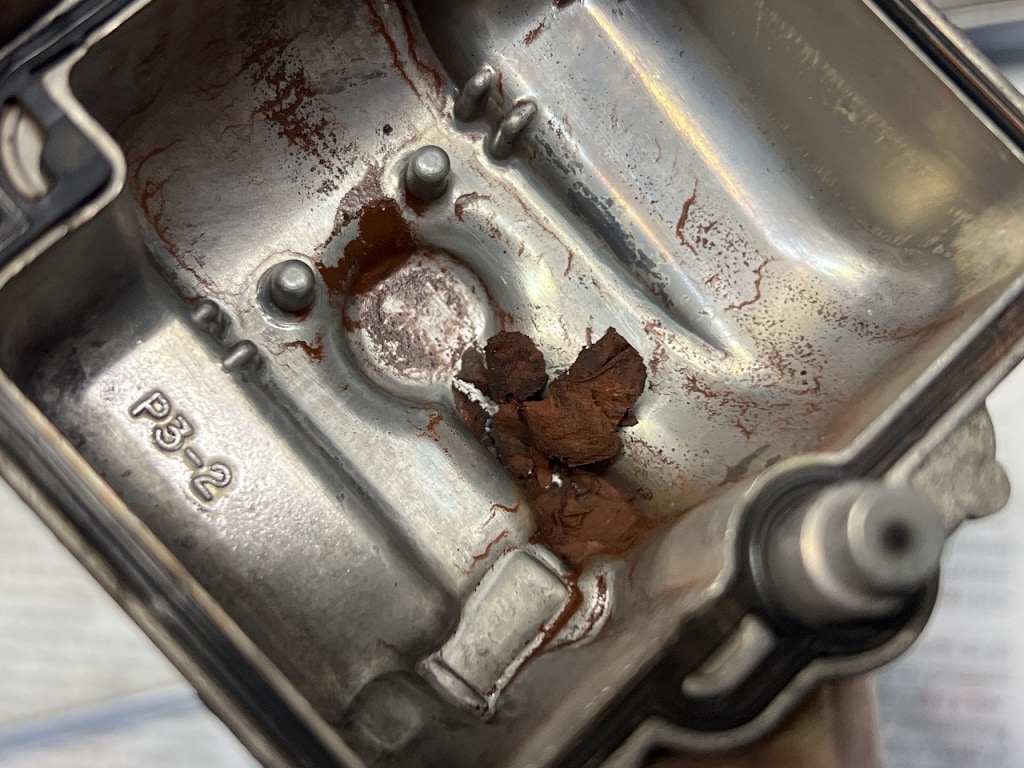
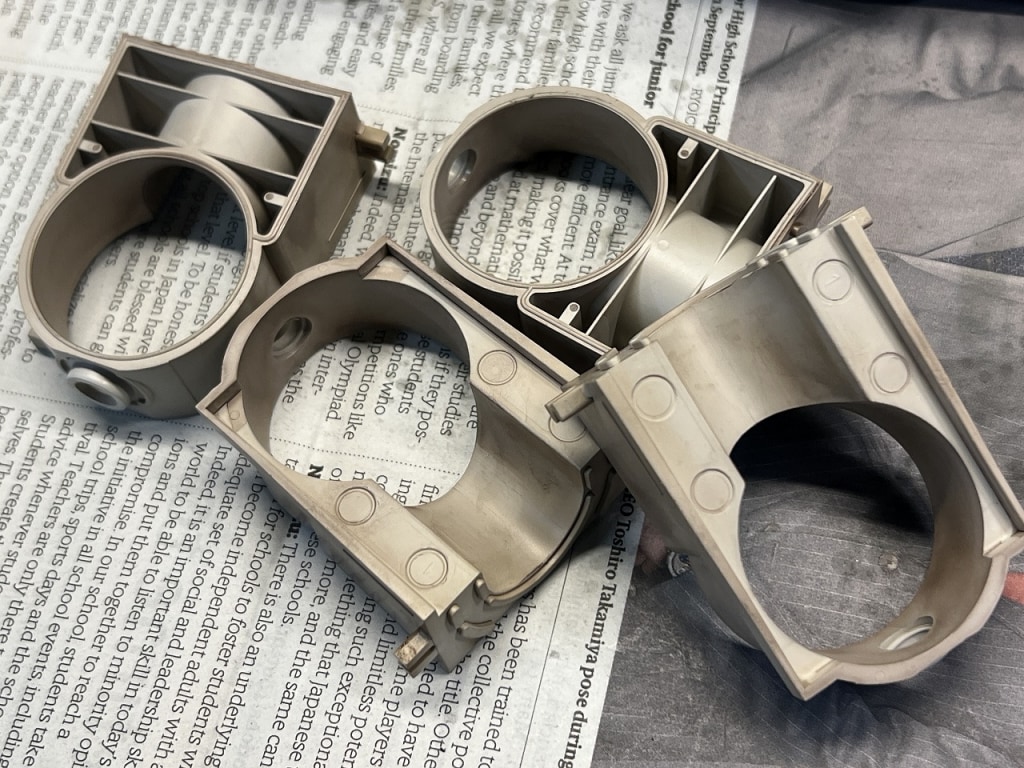
The fuel passage seal is already rock hard. Just pulling out the joint and it started crumbling apart.
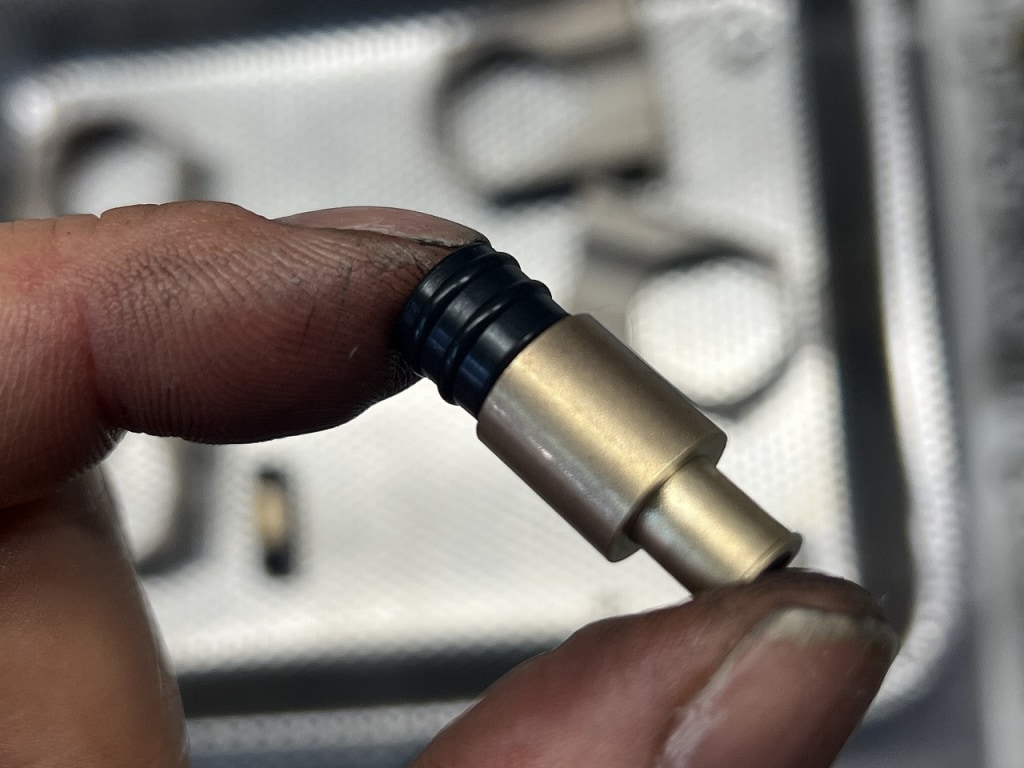
It’s an interesting design—was it more economical to make the seal than to machine the mating surface? I’m not sure, but anyway I think it’s a durable and good shape.
It’s tubular with O-ring-like sections in two places so it won’t leak easily. With the BS carb from one generation before, the joint becomes an integrated seal, and honestly I’d rather not deal with those since many are discontinued.
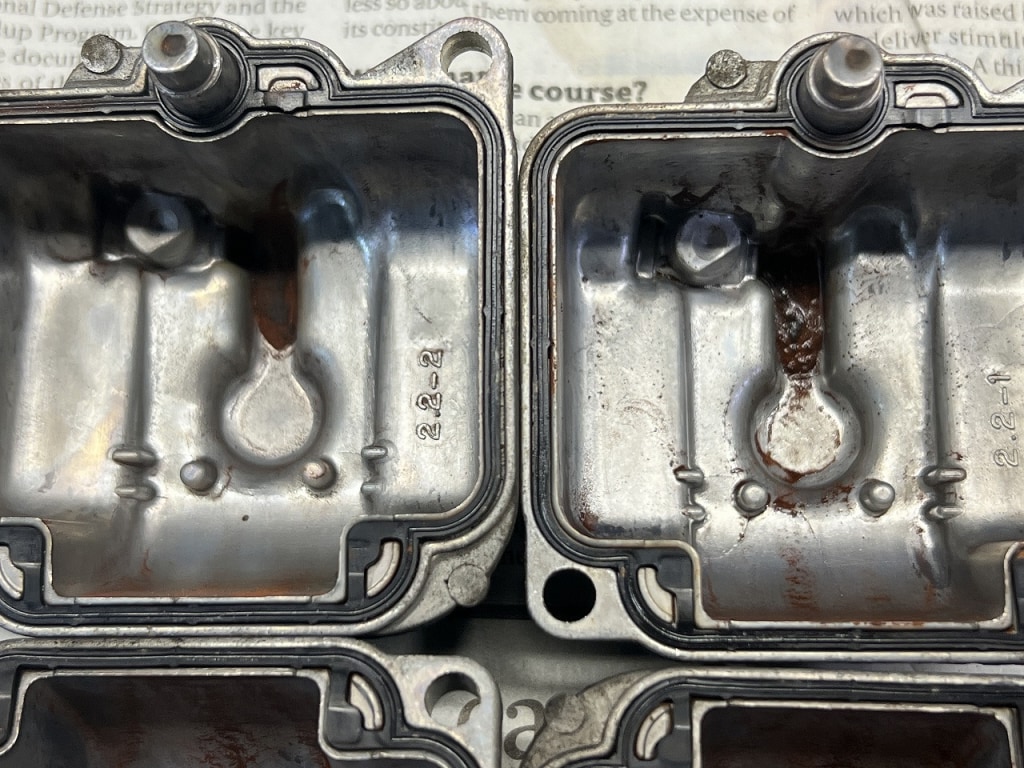
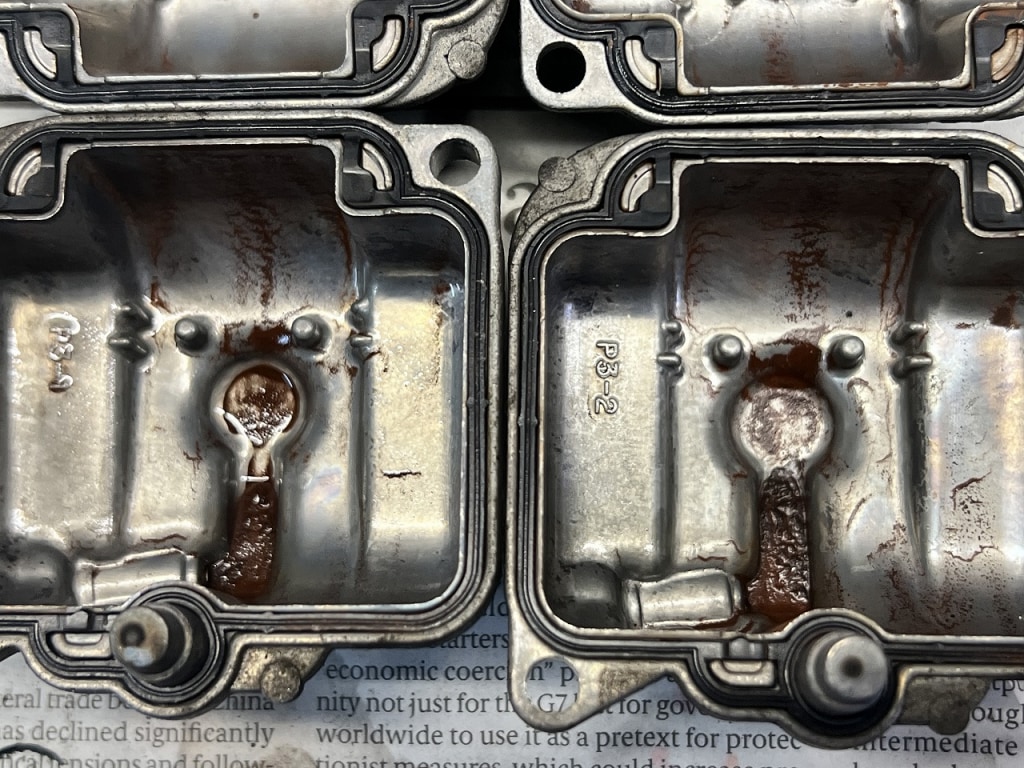
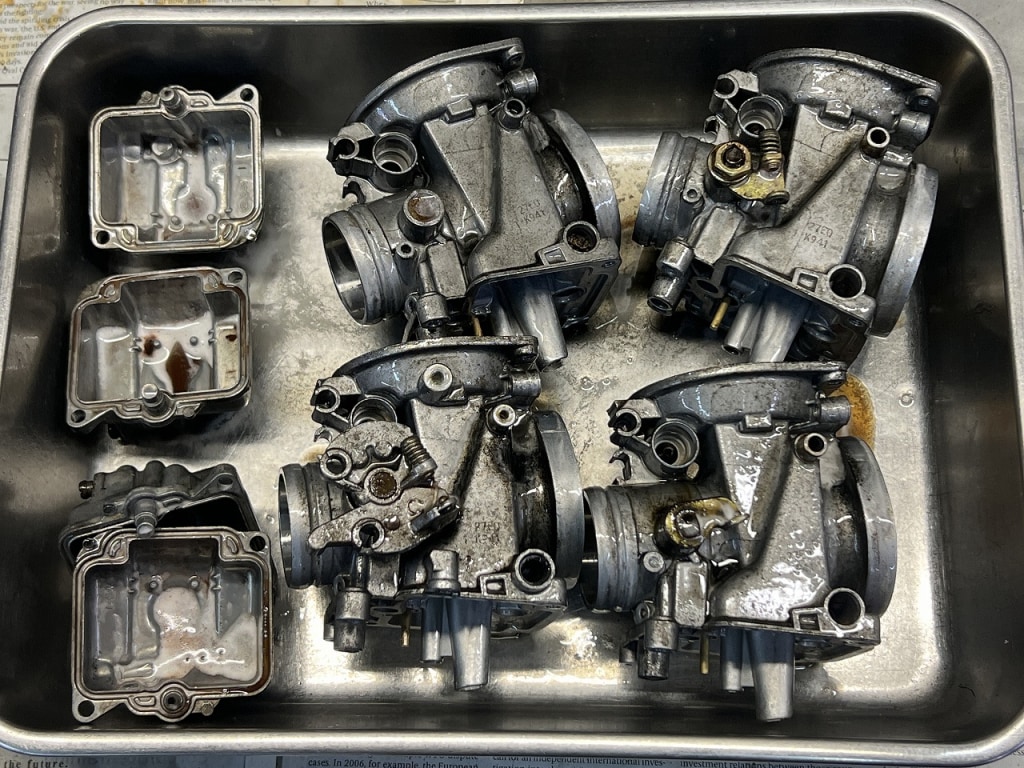
Wow, there’s quite a bit of rust buildup. But thinking positively? With 74,000 km over 30 years, that’s minimal?
This time we just did light cleaning with baking soda wet blasting.
We haven’t quoted the cleaning baking soda, but material costs are rising significantly. We need to be careful about cost-effectiveness when choosing materials. Unlike before when we could freely order materials in bulk, we’re entering increasingly tough times.
*Simply put, the customer burden is increasing.
This part is expensive and we can’t buy it! 13439-17C00 By the way, 1,100 yen (excluding tax)
Back then it didn’t cost much so we’d replace and discard them freely. Lately when I see the price I get a bit nervous and try to reuse what I can.
If something is broken or torn, we replace it. With old and low-compatibility special-shaped parts like this, prices are very likely to go up.
This isn’t something new and will continue to be the case. Continuing to ride old bikes requires some preparation and stockpiling (and resolve too).
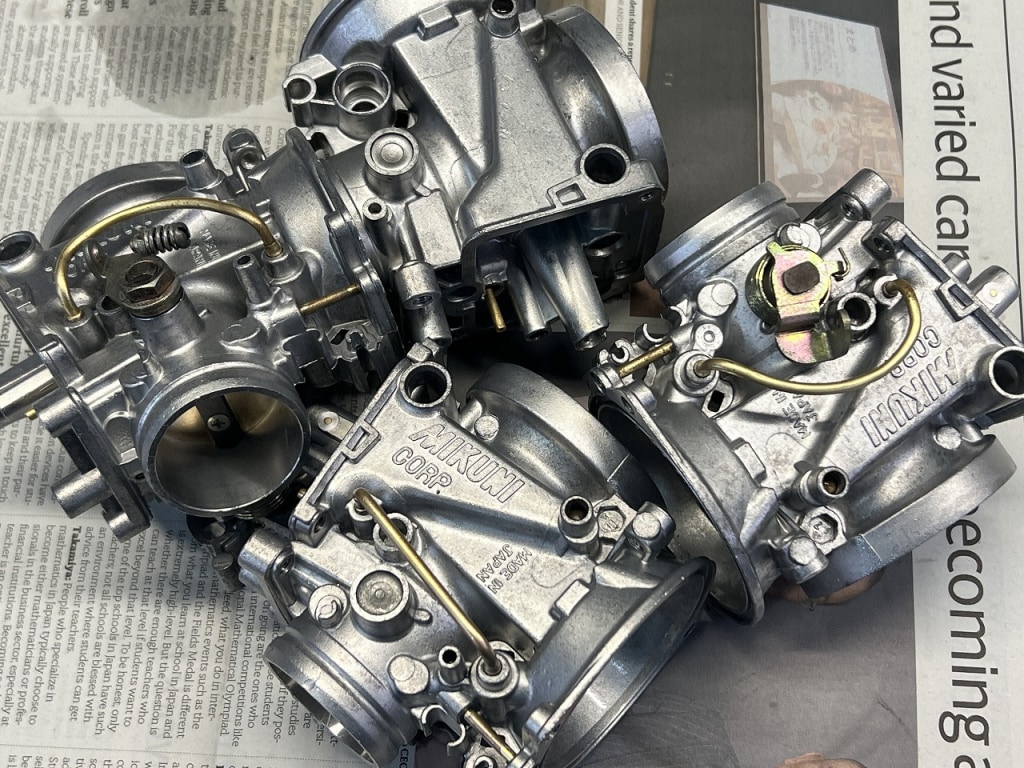
The white parts look so nice when they’re clean (*´ω`*)
Cleaning doesn’t necessarily improve performance.
But still, even if you can’t see it, it feels better to assemble clean parts, and somewhat superstition-wise, “keeping things clean seems to prevent problems.” “Mind over matter, health is in the mind” Let’s find good balance and live well.
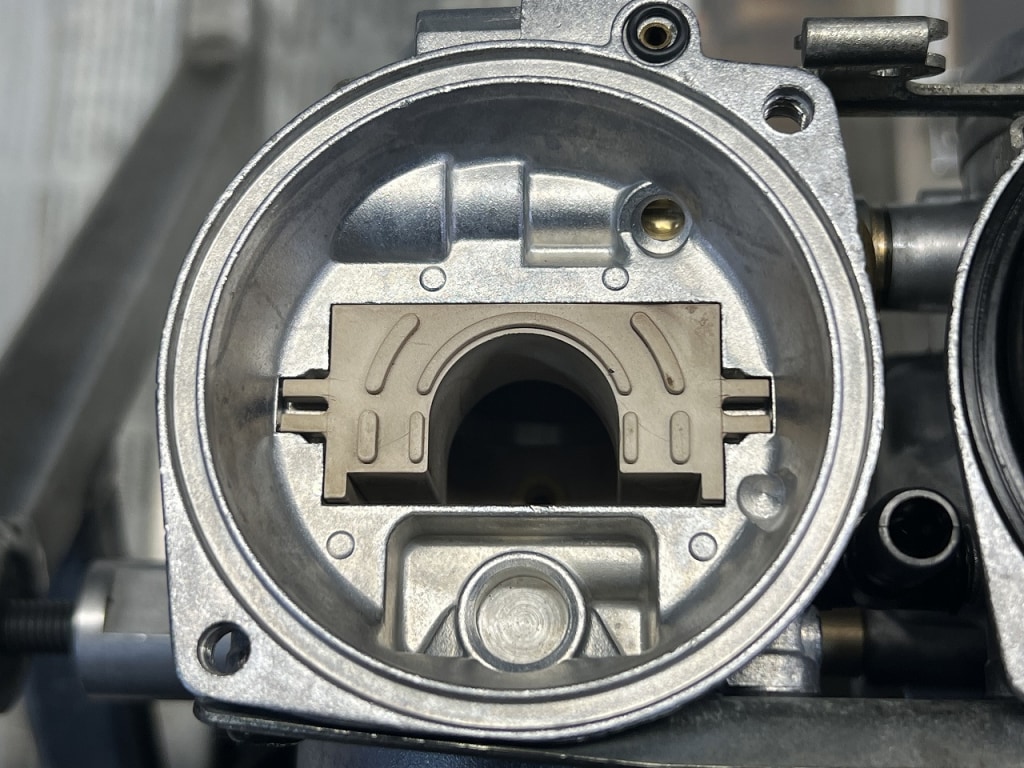
The carburetor body diaphragm chamber is clean and feels great~ ufufu
Cleaning, checking, and replacing, then assembling smoothly
We’re cleaning each part as much as possible before assembling. It feels good to think “oh!” about the finish, right?
I’d really appreciate if the results come through too.
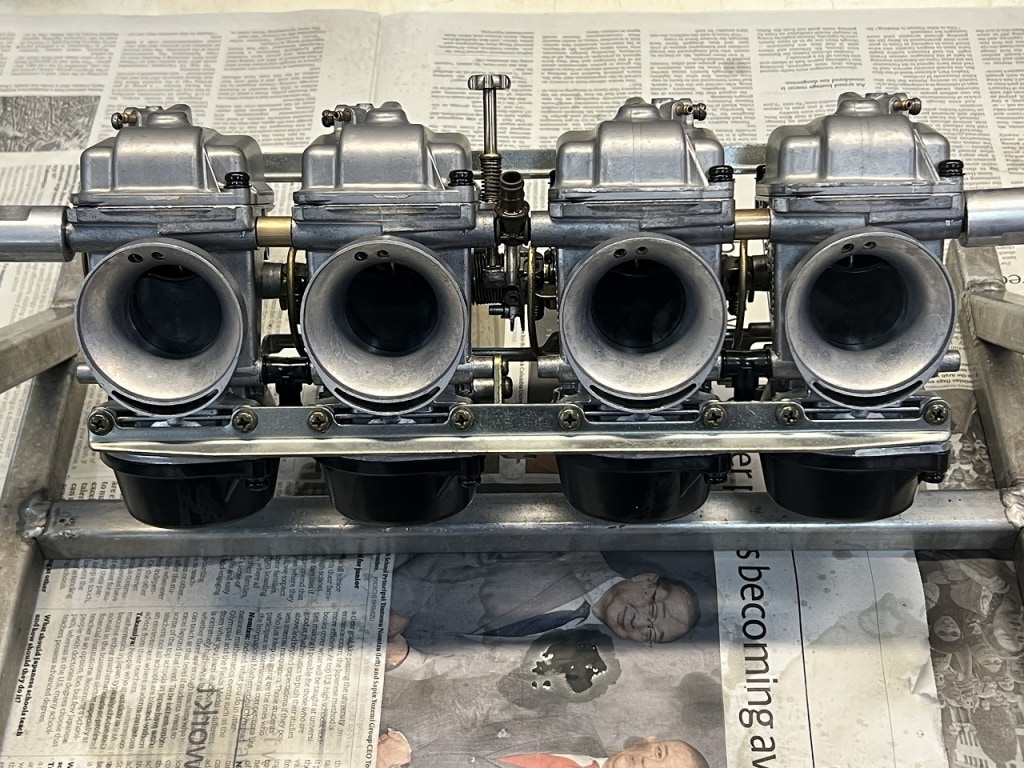
The carburetor overhaul is complete. We’ll continue with more work tomorrow and beyond!



 ポチップ
ポチップ