Wait! The title says 37φ, but…
it was actually 35φ… My apologies (*^-^*)
Things are progressing steadily. The clouds looked like it might snow…
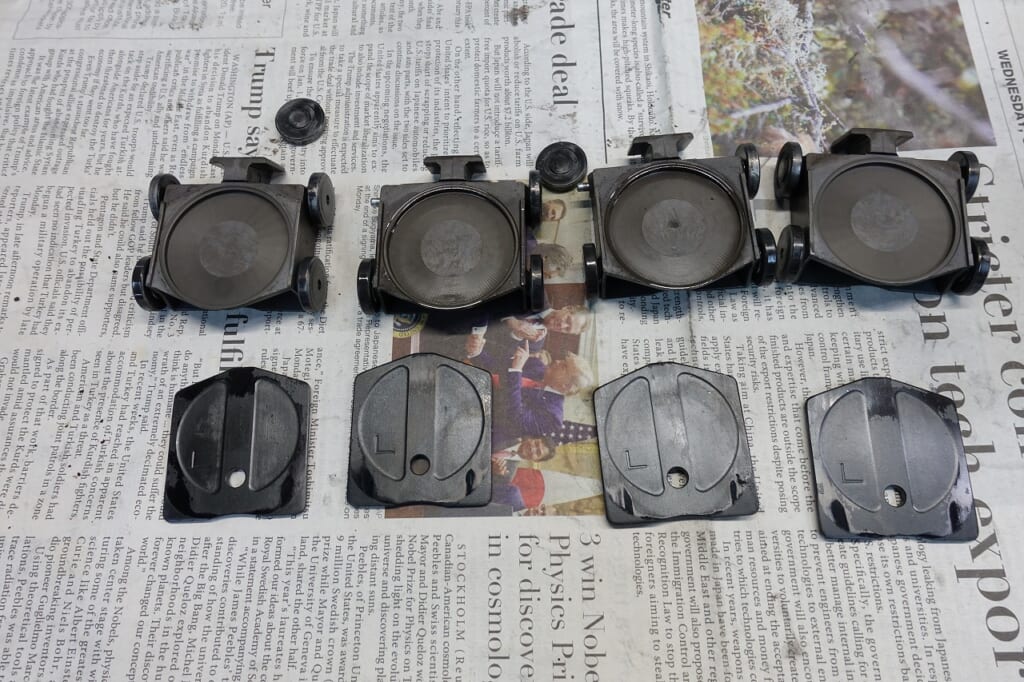
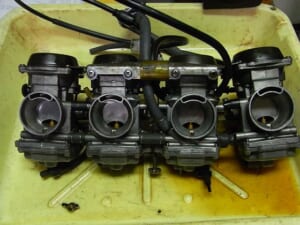
You can really feel the effect of the floating valve seal.
Forced-open flat valve carburetors are super important points.
I wish TMR’s V-seal was available for general sale too… ( ;∀;)


It’s all worn and rough, and some parts are already missing…
The umbrella is closed and the tension has dropped. If we’re not careful, it’ll reach its limit in a year or two.
The wall thickness is thin and flimsy.
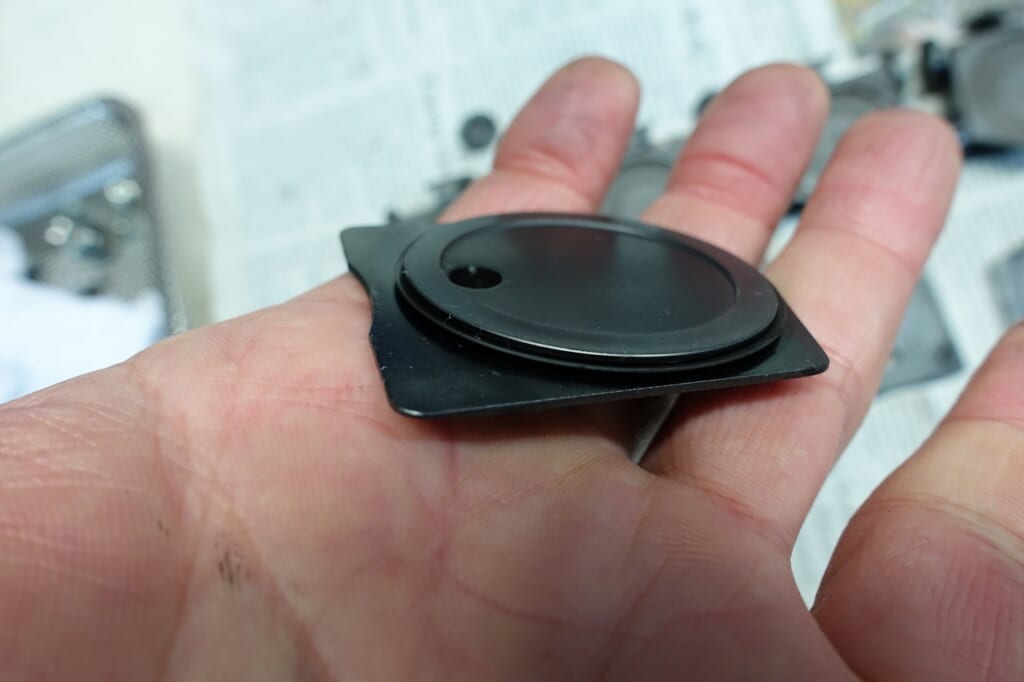
When the umbrella pops up “ping!” like this and gets solid tension, the idle should stabilize and the throttle should be light…
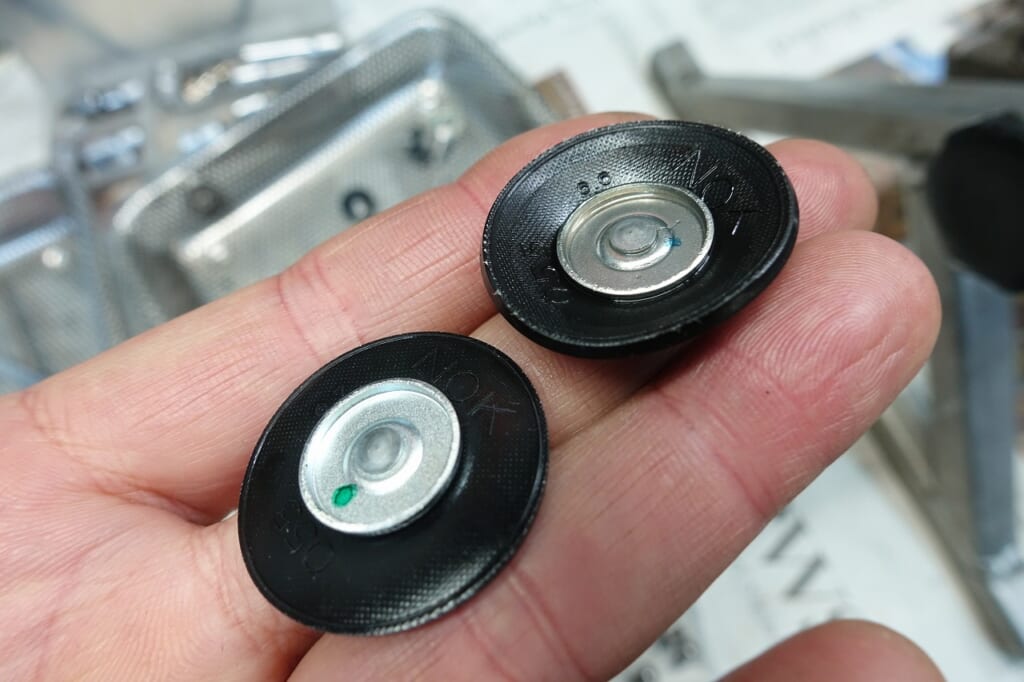
I also replaced the acceleration pump diaphragm.
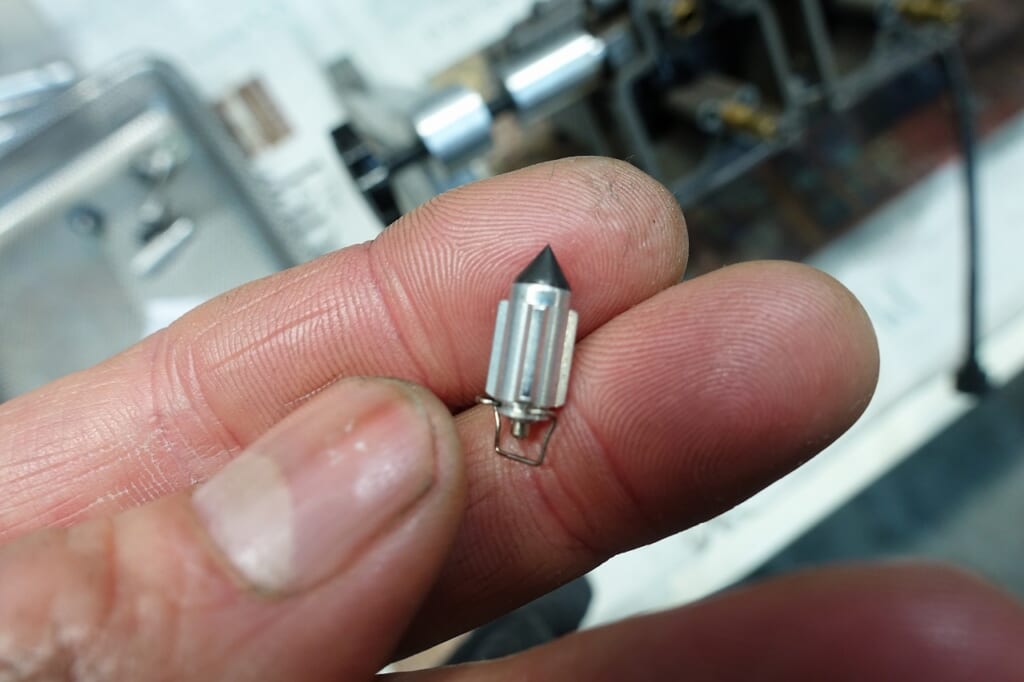
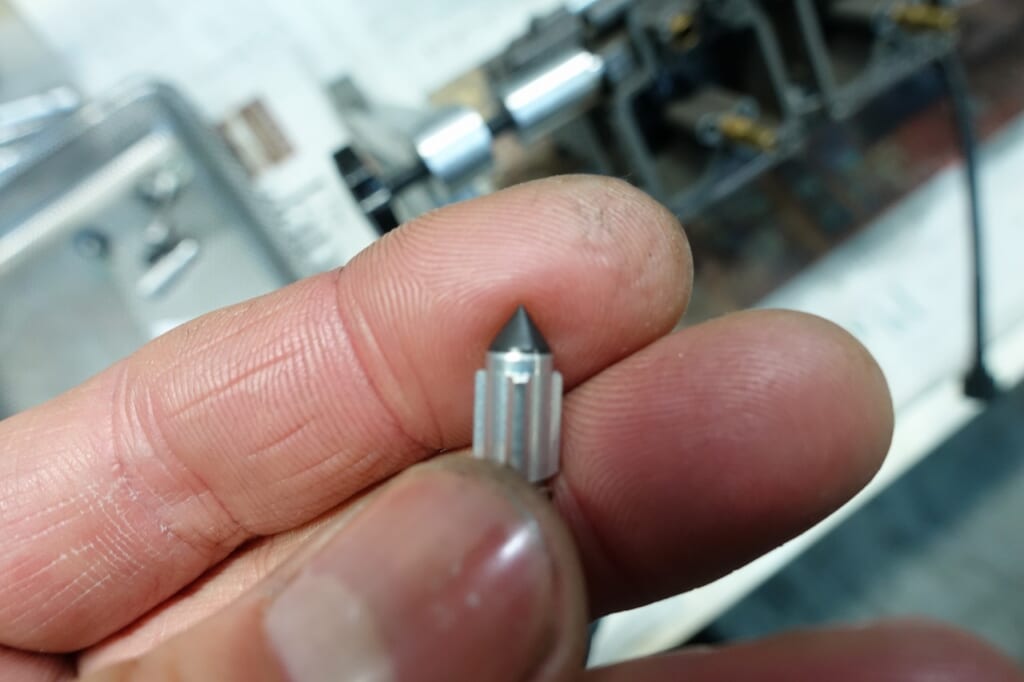
It’s rubber type, so it’s extremely long-lasting. The tip and body are both fine.
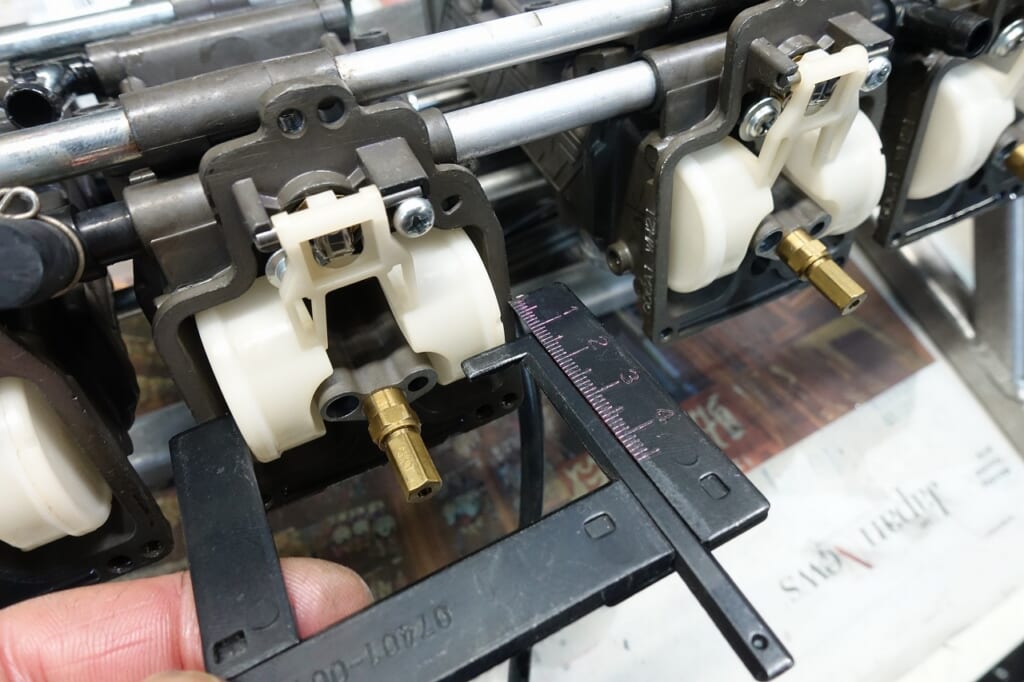
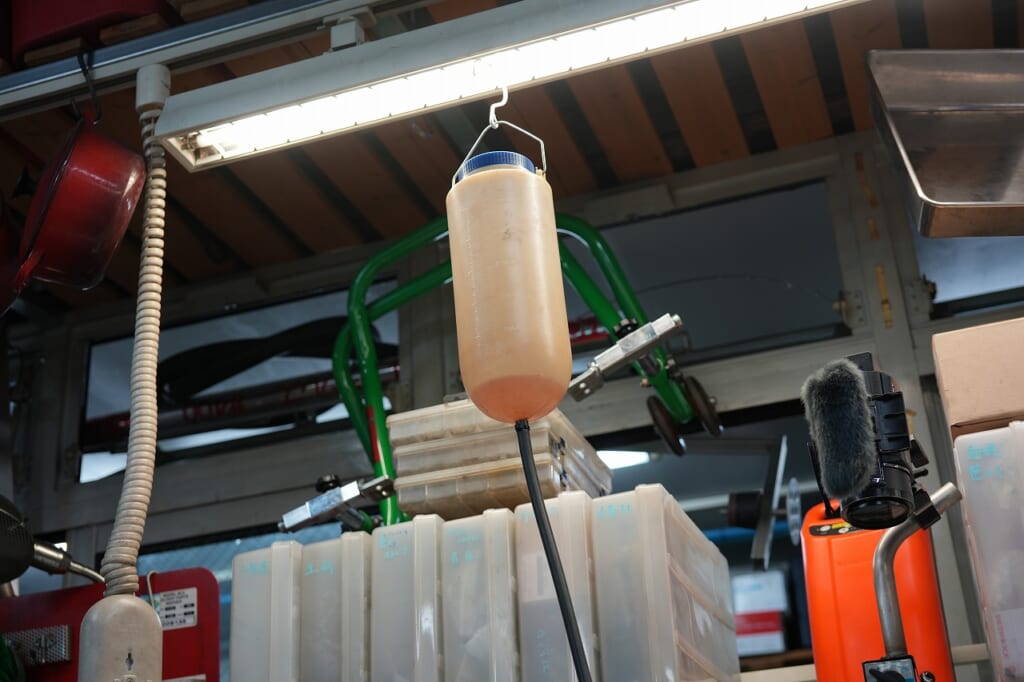
I checked the float level and ran gasoline through to verify.
Carburetors like this are built well enough that you don’t even need to see the actual fuel level.
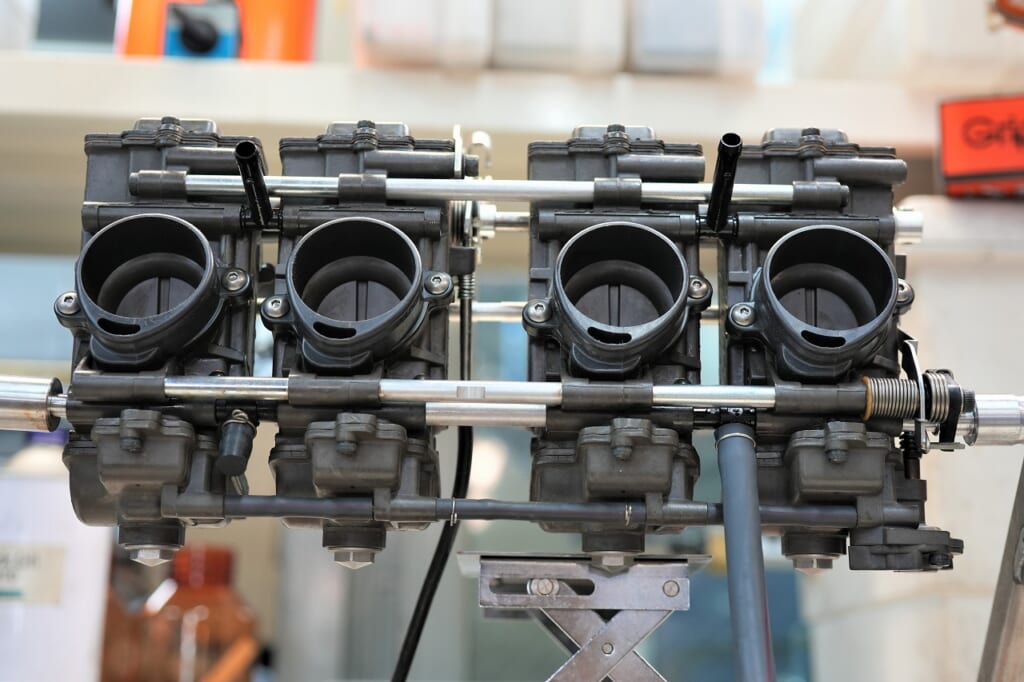
And that’s how it’s finished~
I just can’t warm up to forced-open carburetors…
There seem to be a lot of little tricks needed for smooth operation.
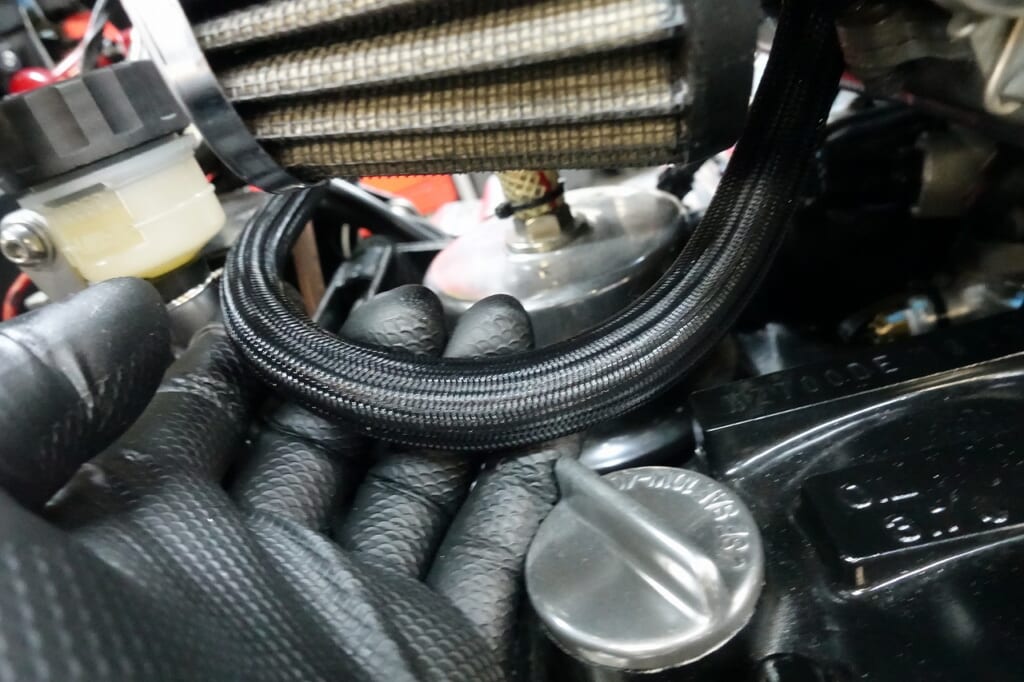
I sometimes slip a mesh tube over the fuel hose.
It’s very effective at preventing chafing.
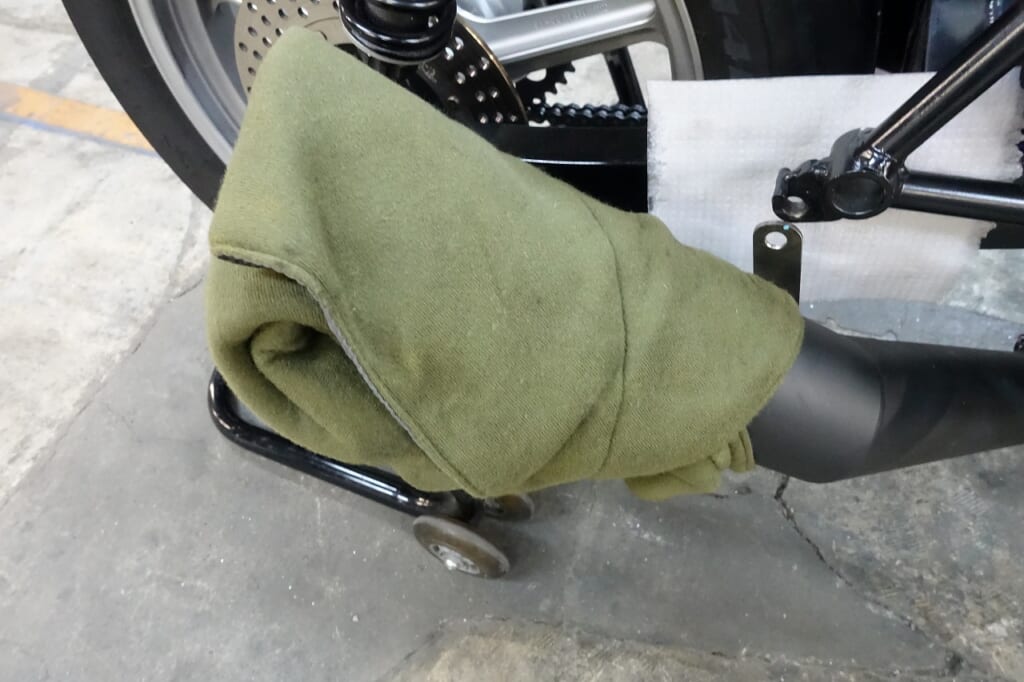
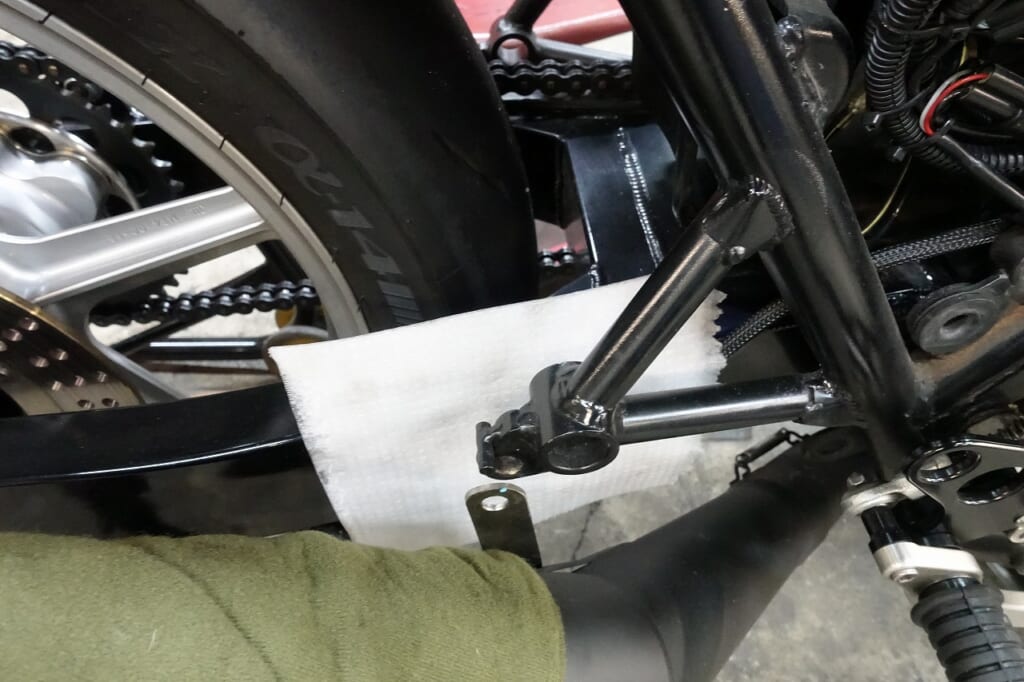
Since we’re doing an oil change, if you protect things as much as possible, there will be fewer “oops!” moments.
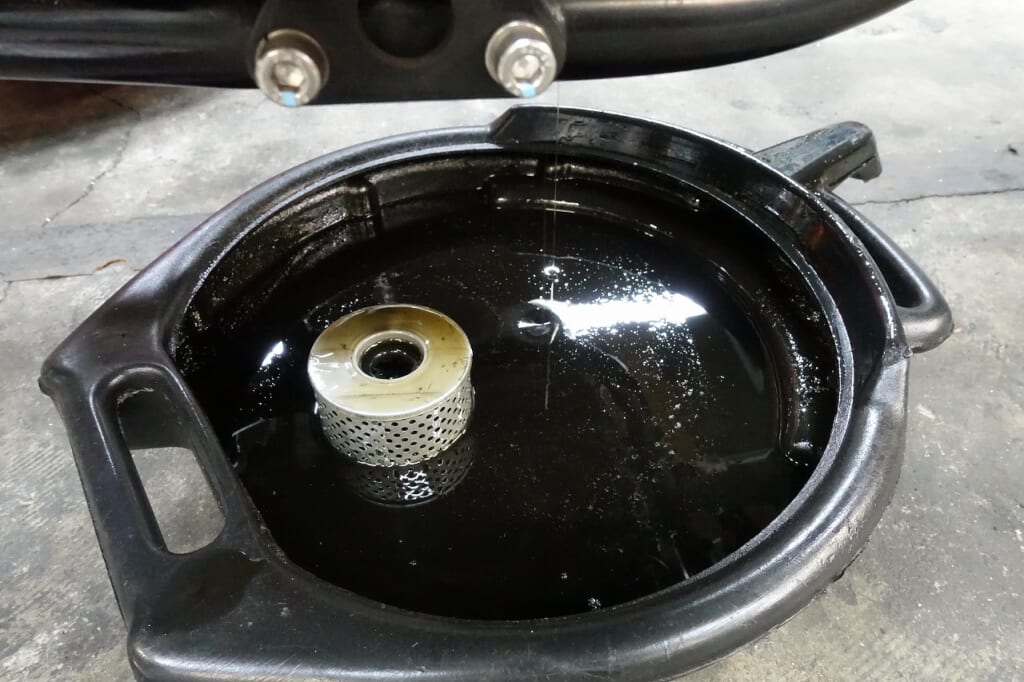
I chose Shell Advance Ultra 4T 15W-50 for the engine oil.
You can write a review from here and get a gift.
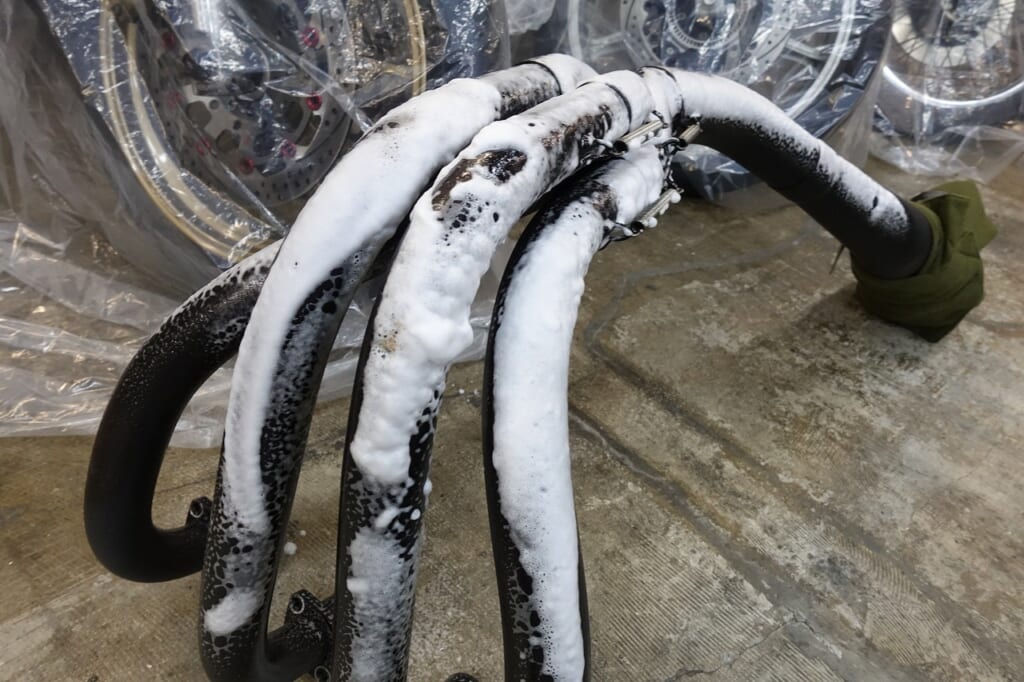
When you remove the muffler, just leave it alone without touching it—it’ll develop a nice shine.
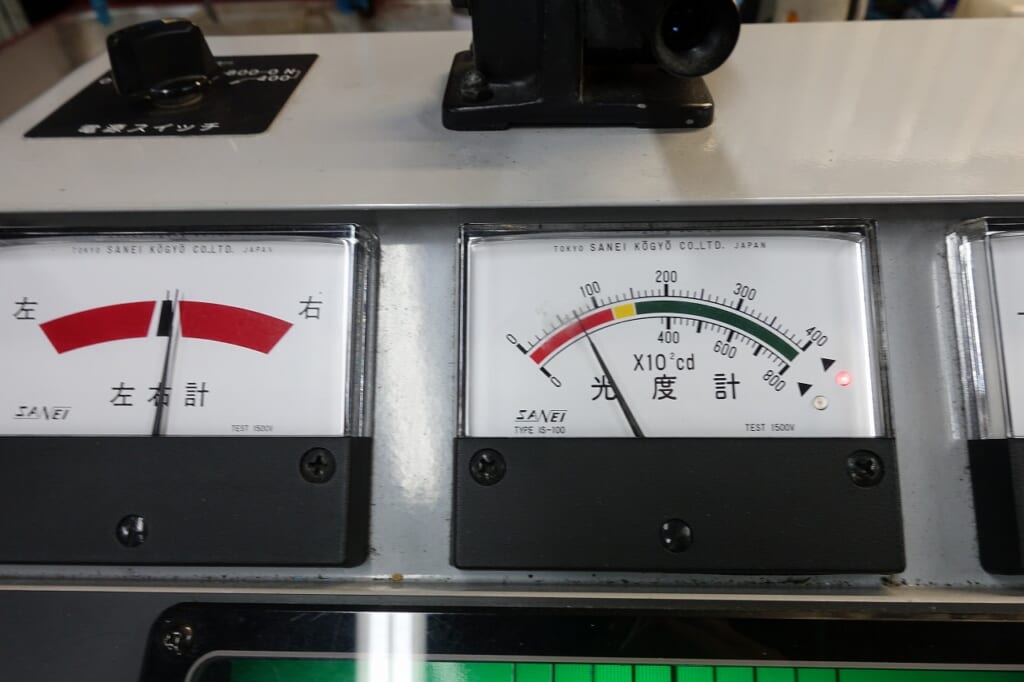
Old LED bulbs (PIAA)—even combining up and down, left and right, the result is disappointing…
Plus, with so little difference between up and down, after inspection I always have to drop the light axis way down to use them.
There’s too much hassle and no benefit anymore.
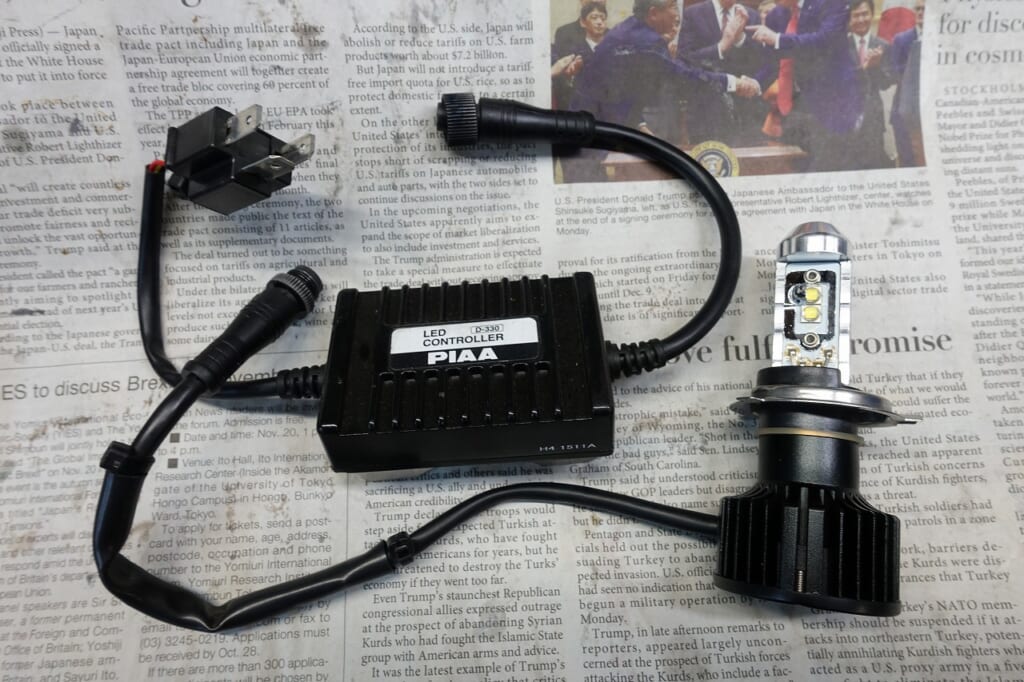
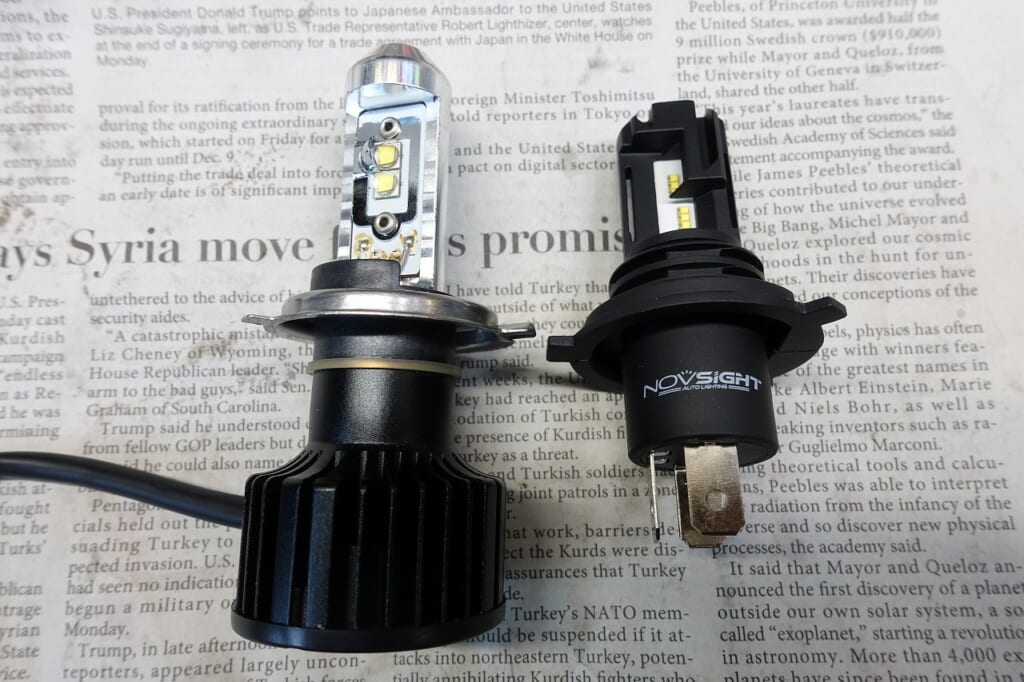
It’s become very simple and even lighter—nothing but good things.
Don’t think it’s a waste; in cases like this, modern LED bulbs are the only choice. *Mandatory replacement (*^-^*)
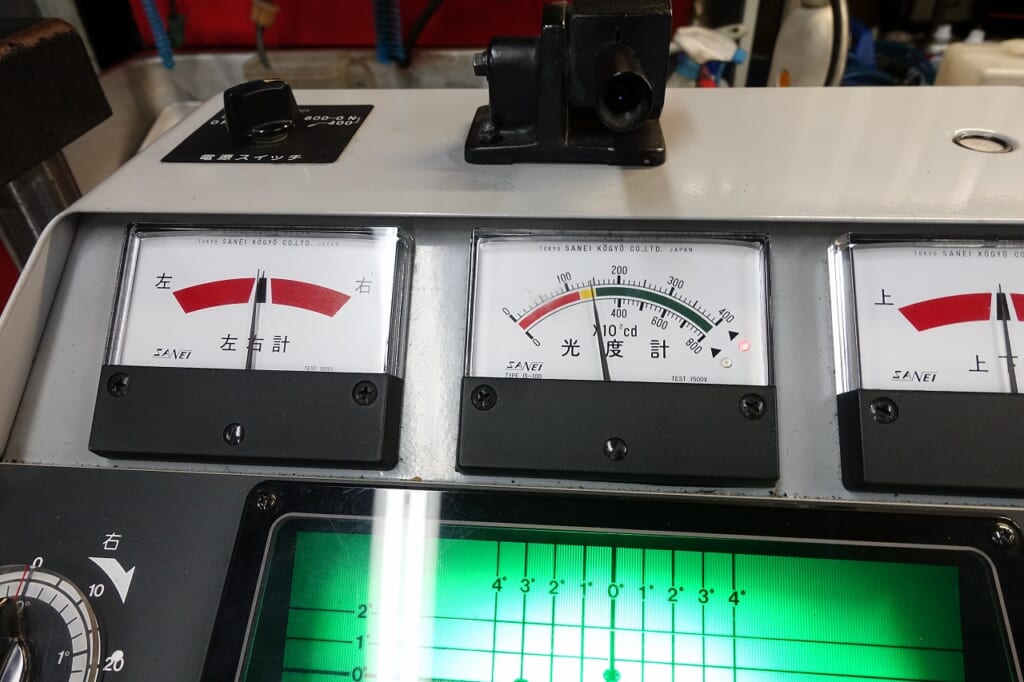
On the tester, we managed to improve it to inspection level.
This Z1R is losing electrical power to the light somewhere…
LED flickering is pretty serious.
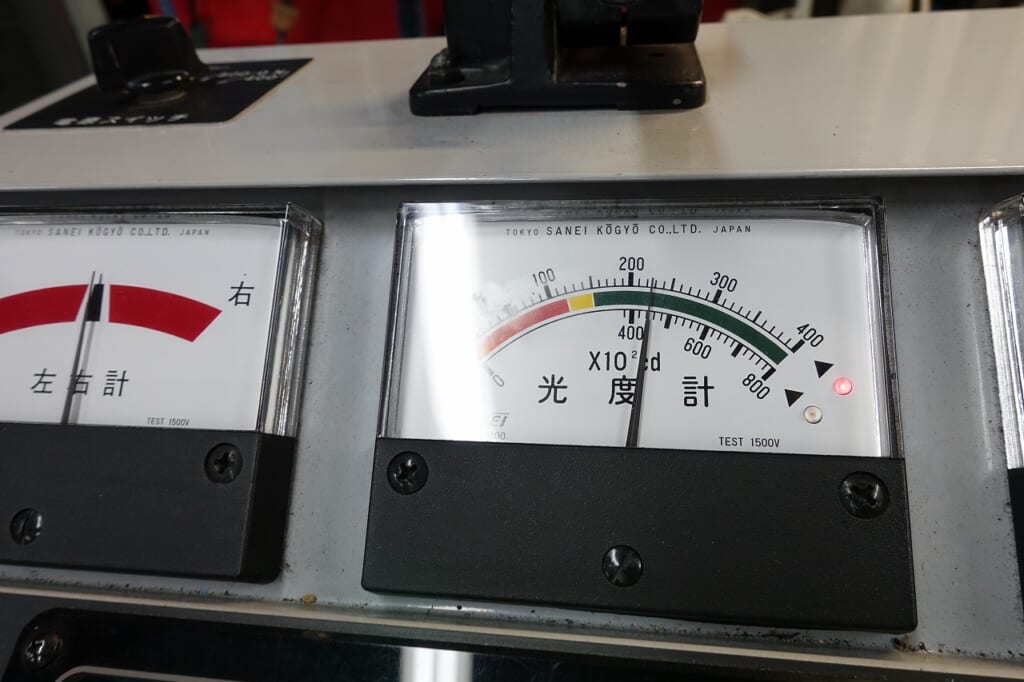
If we supply it separately using a PASS, this much is easy.
I’m not sure what it is… well, never mind.
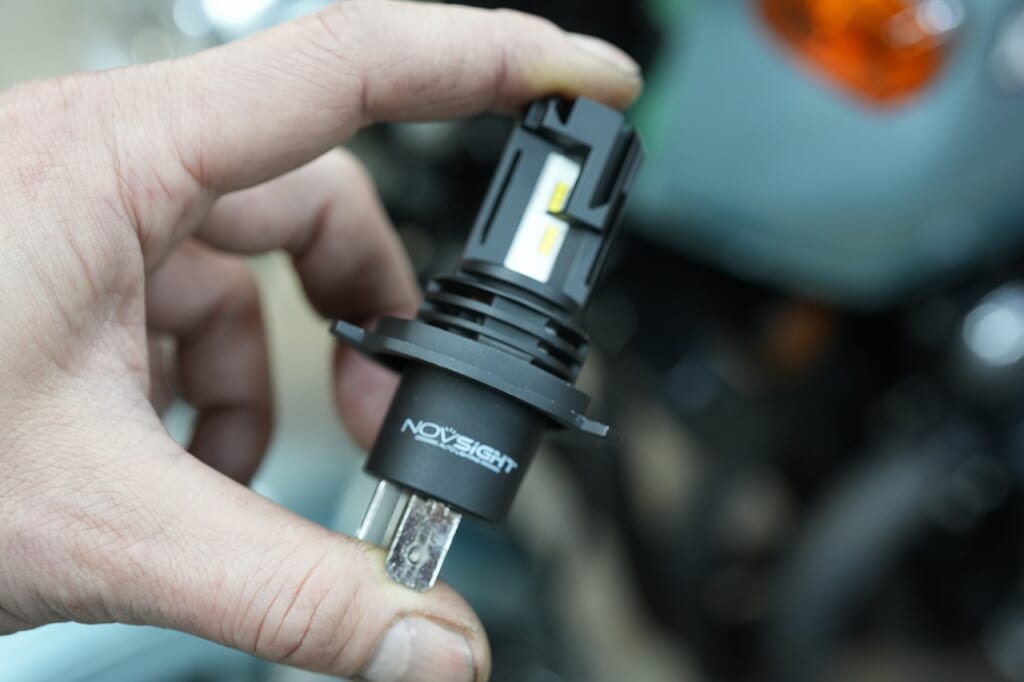
I’m becoming Amazon’s minion…
NOVSIGHT H4hi/lo—I’ve been fond of the black ones lately.
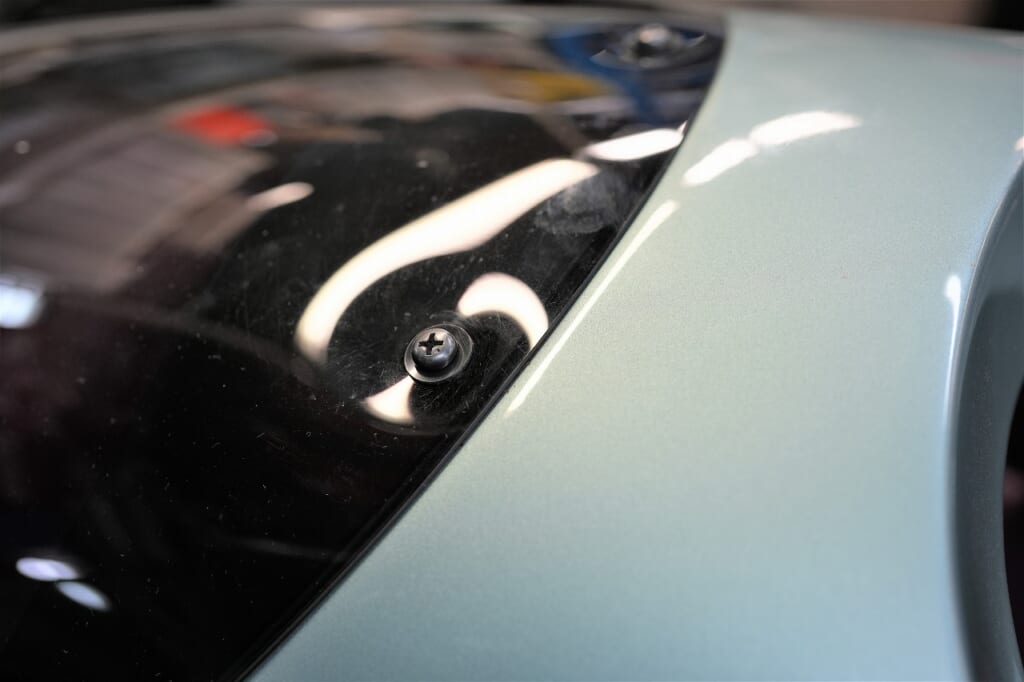
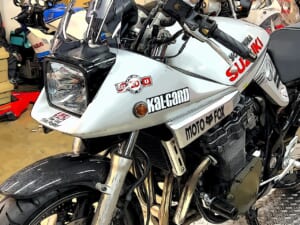
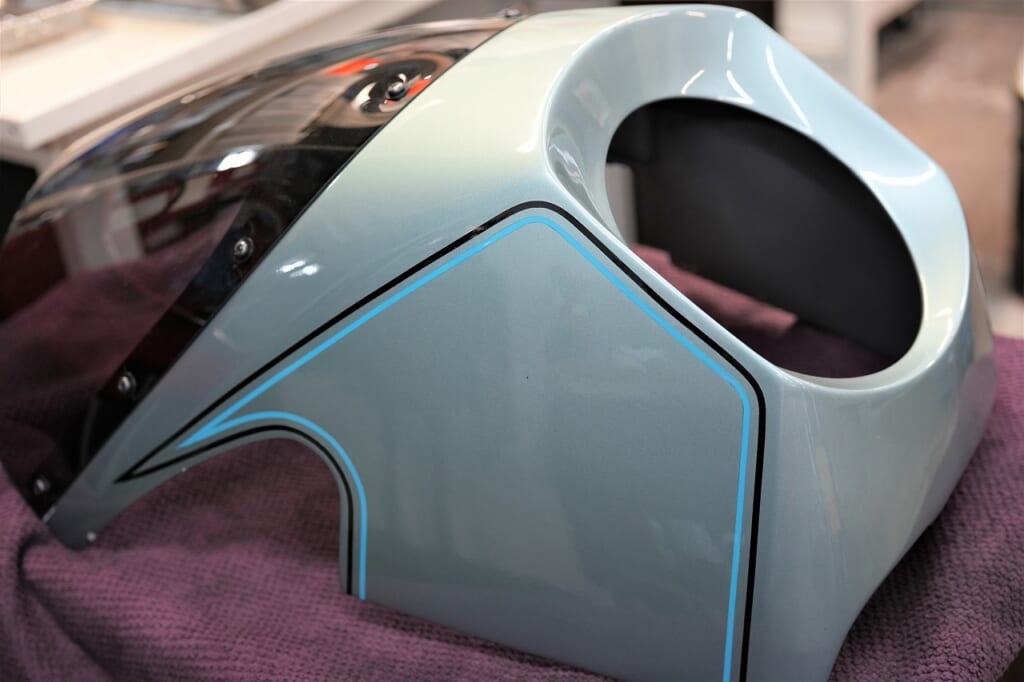
Is that dent in the screen okay???
Generally, the rule is to assemble it stock.
But if you think about how it was designed decades ago, you might find room for improvement.
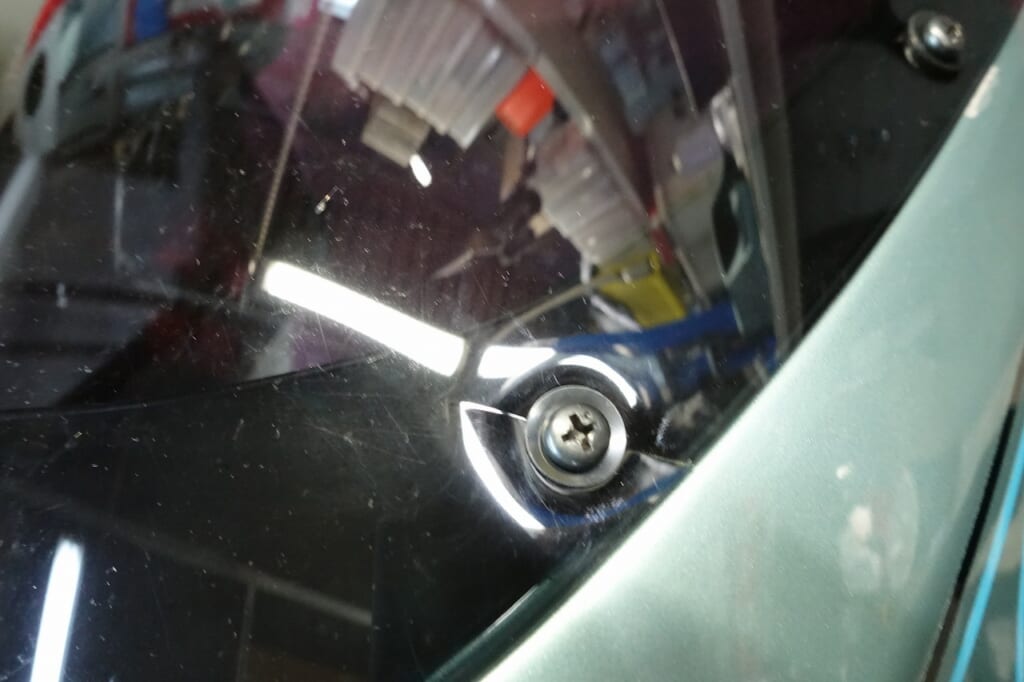
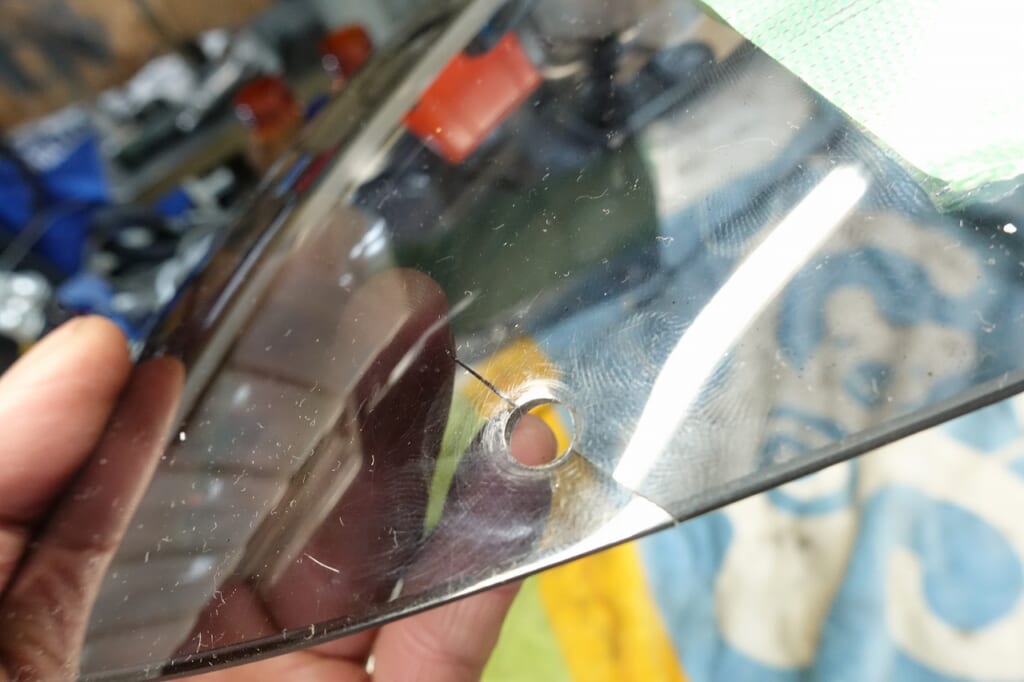
Loose and the bolt falls out.
Tighten it and it cracks.
The part design seems problematic.
It’s natural for it to fall out or crack, so some people don’t worry about it.
But if it were mine, I’d absolutely hate it.
To begin with, I can’t trust the screen holes or the fairing holes.
Even if it’s difficult to install, the standard practice is to install it as-is.
Personally, I’m most grateful for no holes.
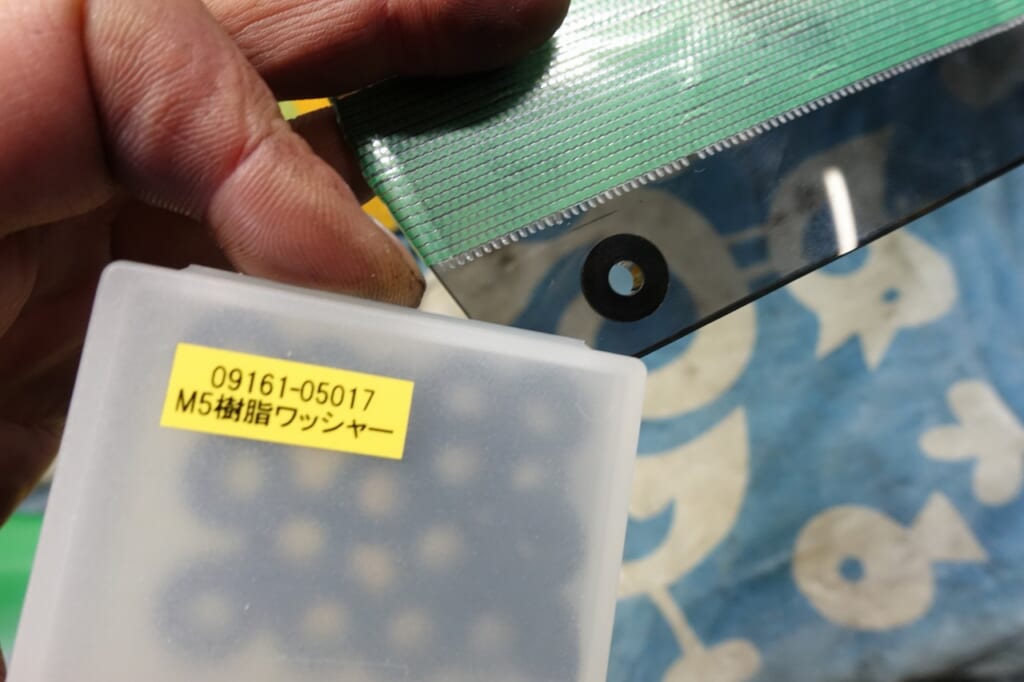
This time I want to use the Suzuki plastic washer I introduced on YouTube the other day.
If there were no holes,
• Push rivets
• Weld nuts
would have been options too.
Some people use rubber washers because they crack, but that basically results in under-tightening and very poor serviceability, so I’d recommend against it.
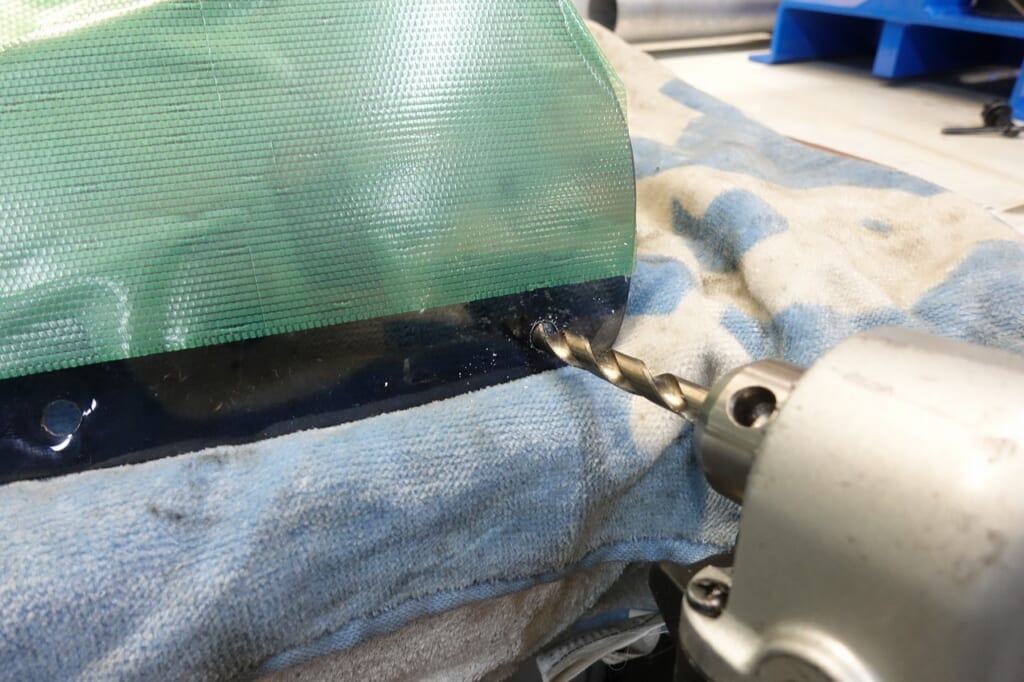
Screen work I don’t really want to do.
I use a regular drill to enlarge it.
I grind it in reverse.
If you go forward, it’ll crack instantly, so be careful… 0.5 mm at a time, gradually.
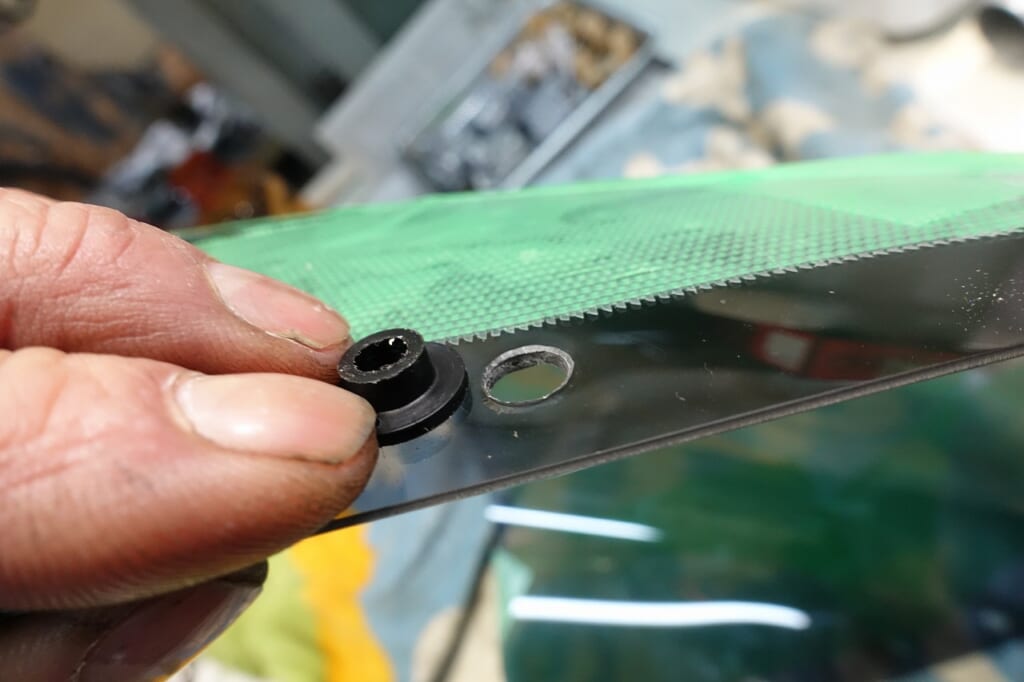
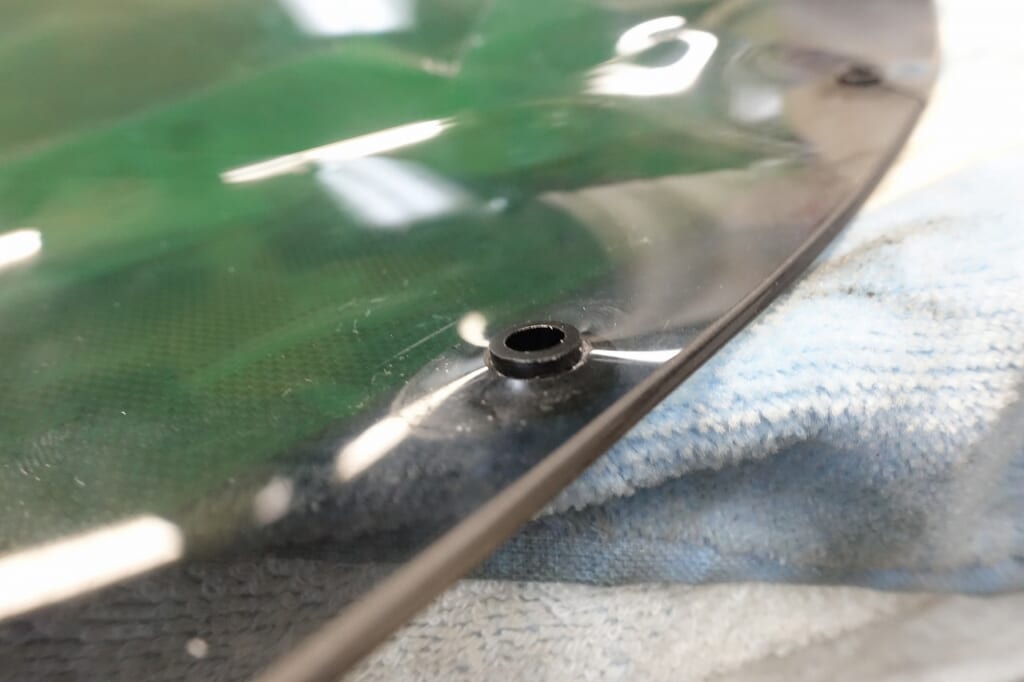
Like this, the convex goes in and it floats even when tightened firmly.
If there’s any play, you can slip a rubber washer in between and still tighten it properly.
This way you can even adjust the tightness, so it’s very effective.
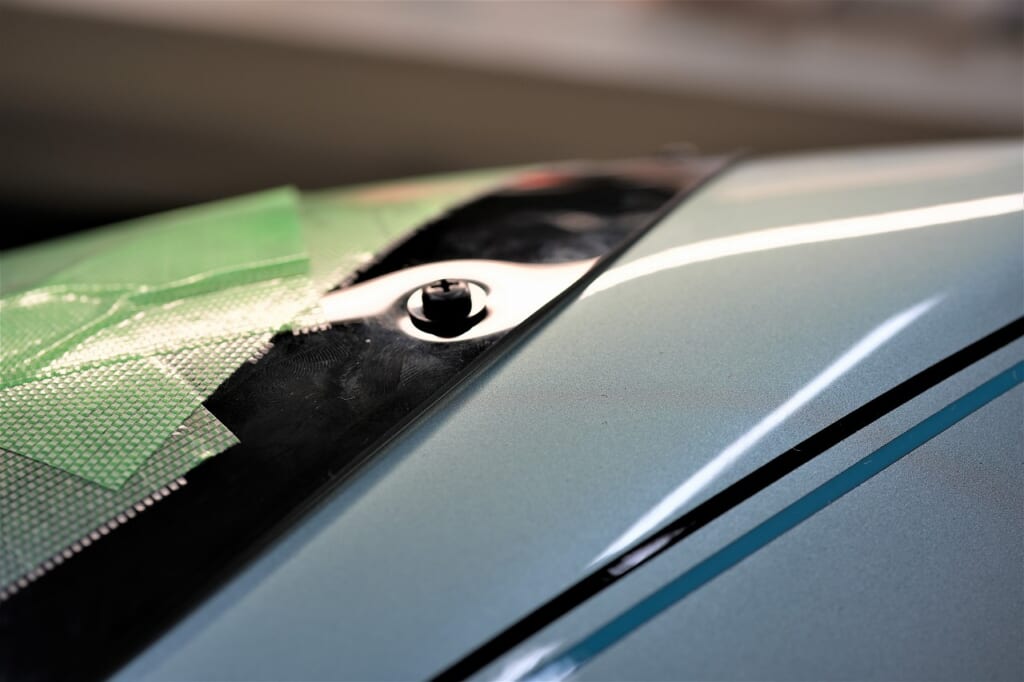
This time I inserted the convex spacer from the inside to adjust.
Even with full power tightening, the screen won’t crack.
Basically, if there’s a trick to installing something, that’s a problem in my book…
Oh, and don’t you think fixing the screen with bolts in the first place is…
Push rivets are the lightest, most solid, and gentlest fastening method I’ve found so far.
Fixed the seat cover and we’re done with the inspection!