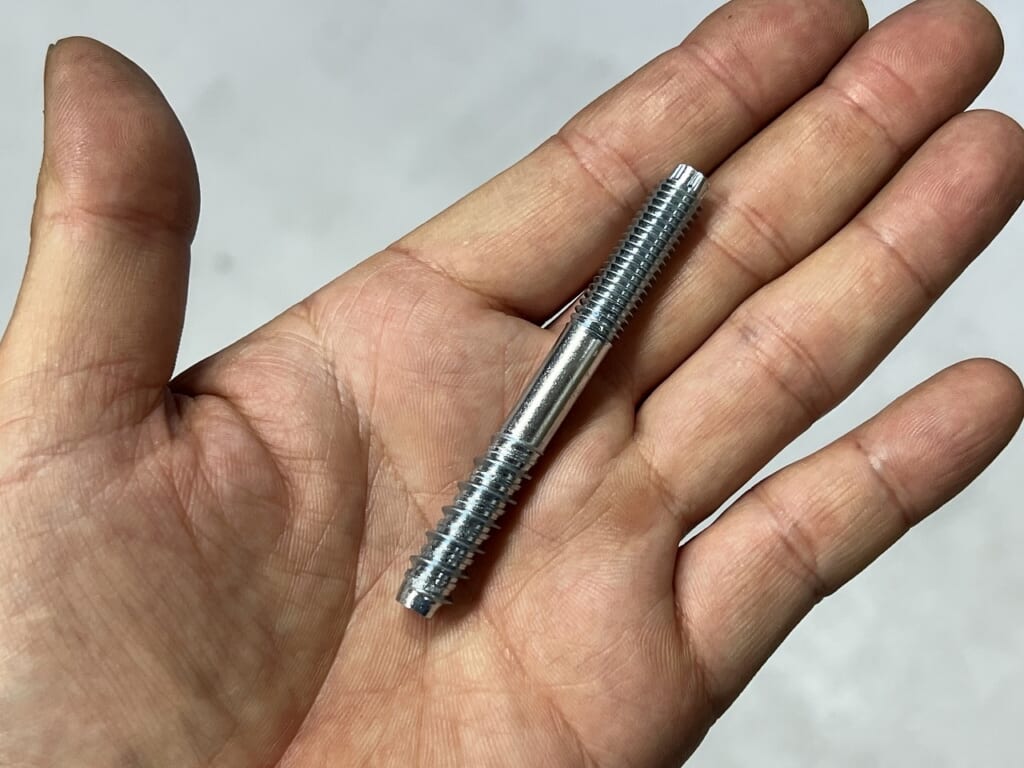
I’ve always had some doubts about the structure of existing concrete anchors. The process of “drilling, hammering, and expanding” creates the thread pattern.
Even with the hammering and expanding action, as long as it doesn’t “slip” in the location, there shouldn’t be a problem. However, when installed in poor-quality concrete or block-like materials, they can crack. If it fails, it’s impossible to remove. . . . I used to hate it, thinking what unreliable, crappy material this is. . .
But this time, with earthquake preparedness, I absolutely had to anchor into concrete. I researched and researched, and finally found it. It finishes with surprising ease and “can even be removed.” *You can unscrew it by turning it in the loosening direction. If you want to anchor into concrete, give this a try.
Today’s Handy Tips & Garage Build Log
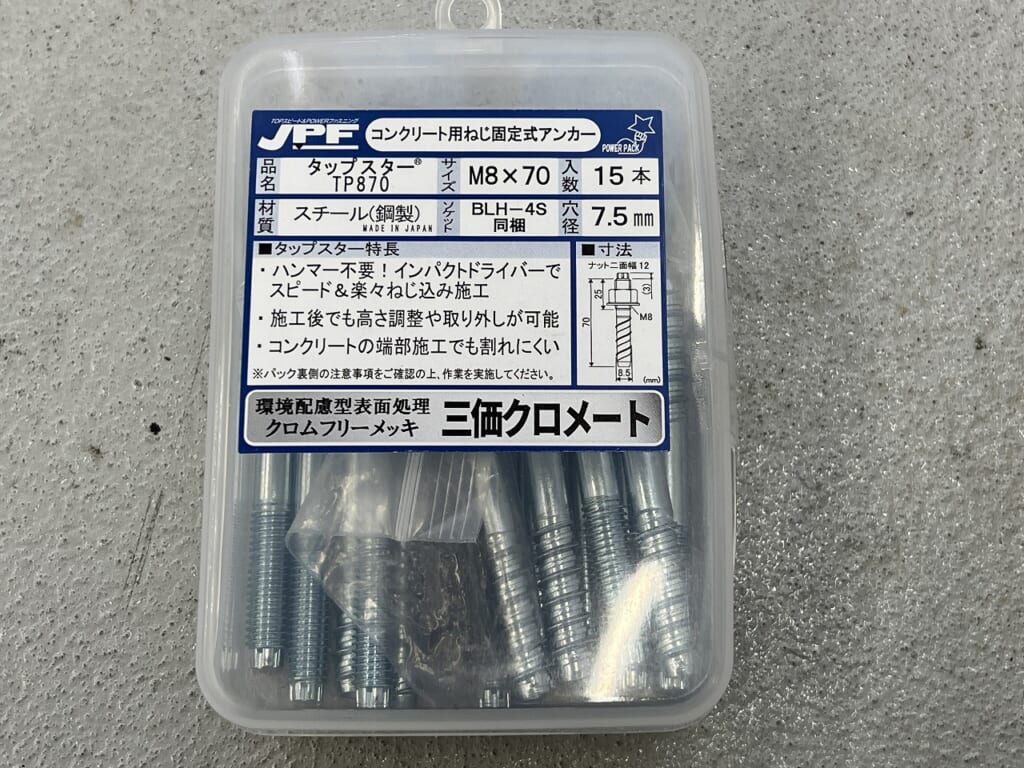
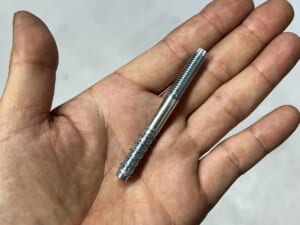
Today’s Star: Concrete screw anchor **”TAPSTAR”**
Mission: Securely and beautifully anchor the base of a large tool rack and heavy equipment to the concrete hole drilled with a hammer drill the day before.
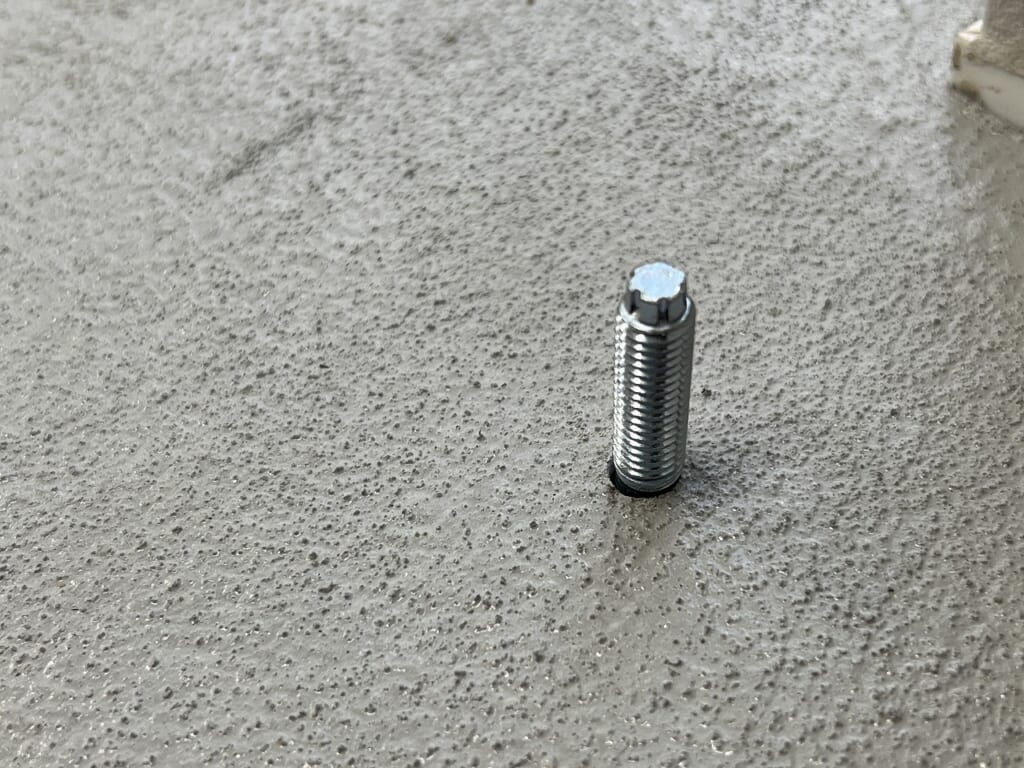
Reason for Choice: Unlike traditional hammered-in anchors, it cuts strong “female threads” directly into the concrete while tightening intensely, making the concrete less likely to crack and providing exceptional pull-out strength. Plus, the head finishes cleanly and beautifully.
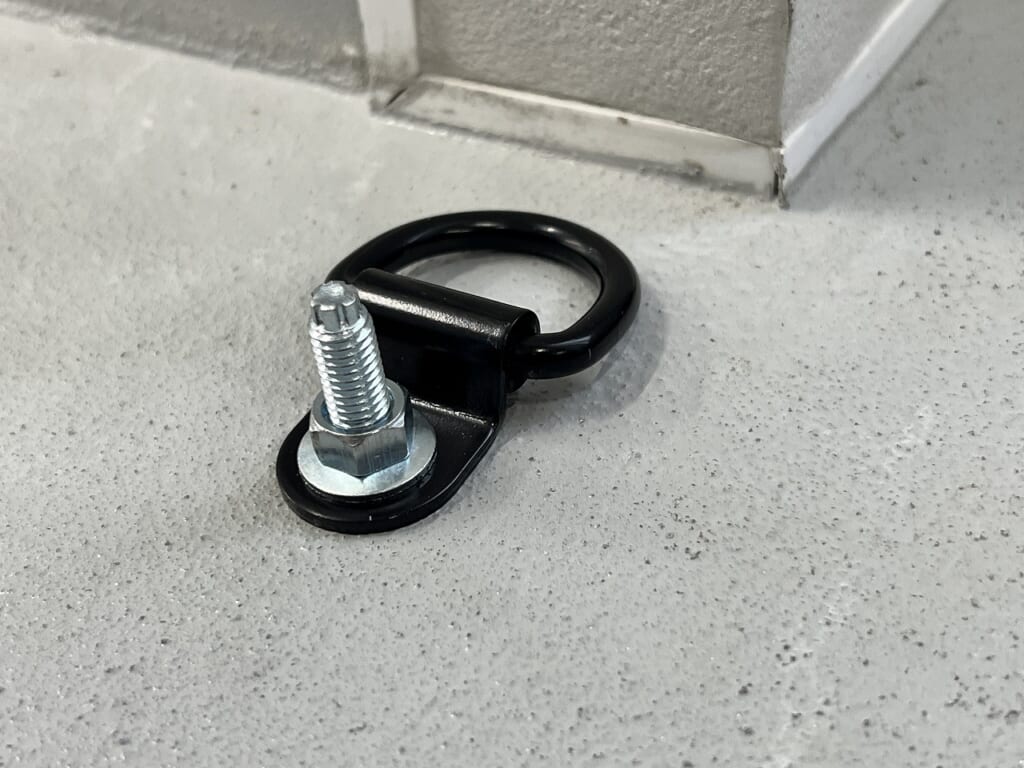
Result: Zero wobble, perfect appearance. A truly “ultra-perfect” earthquake-proof foundation is complete!
My other blog, Decoboco. “RURAL GARAGE ”
A secret room beyond motorcycles. I share everyday convenient items, relocation, delicious food, life philosophy and more. ←click
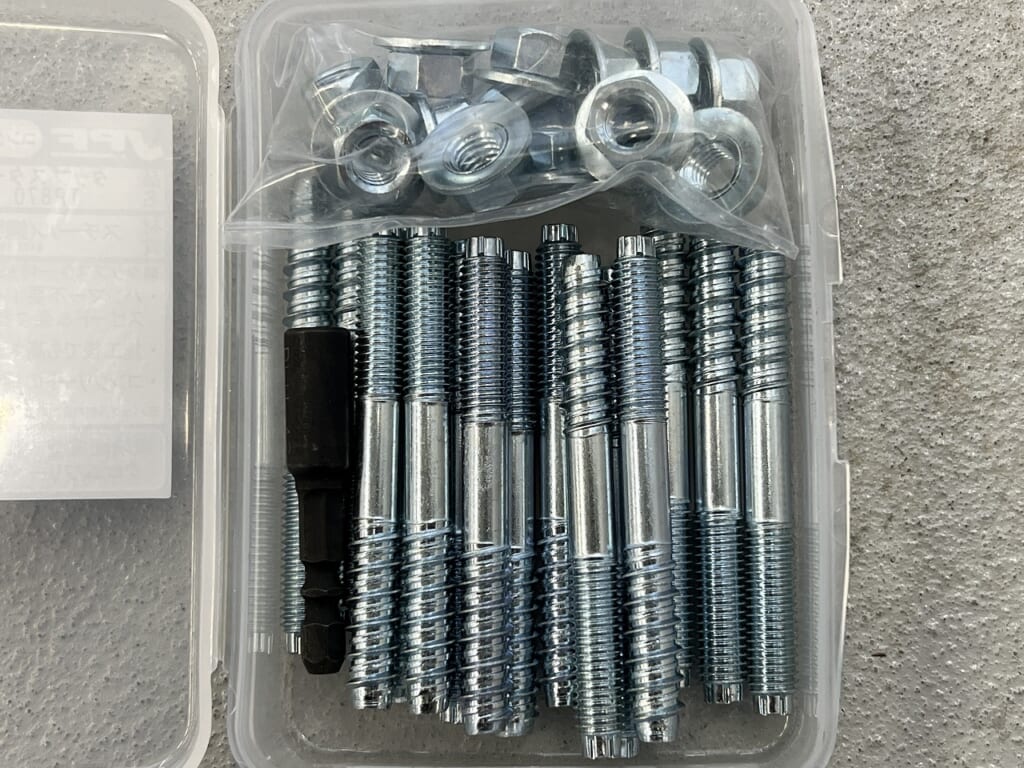
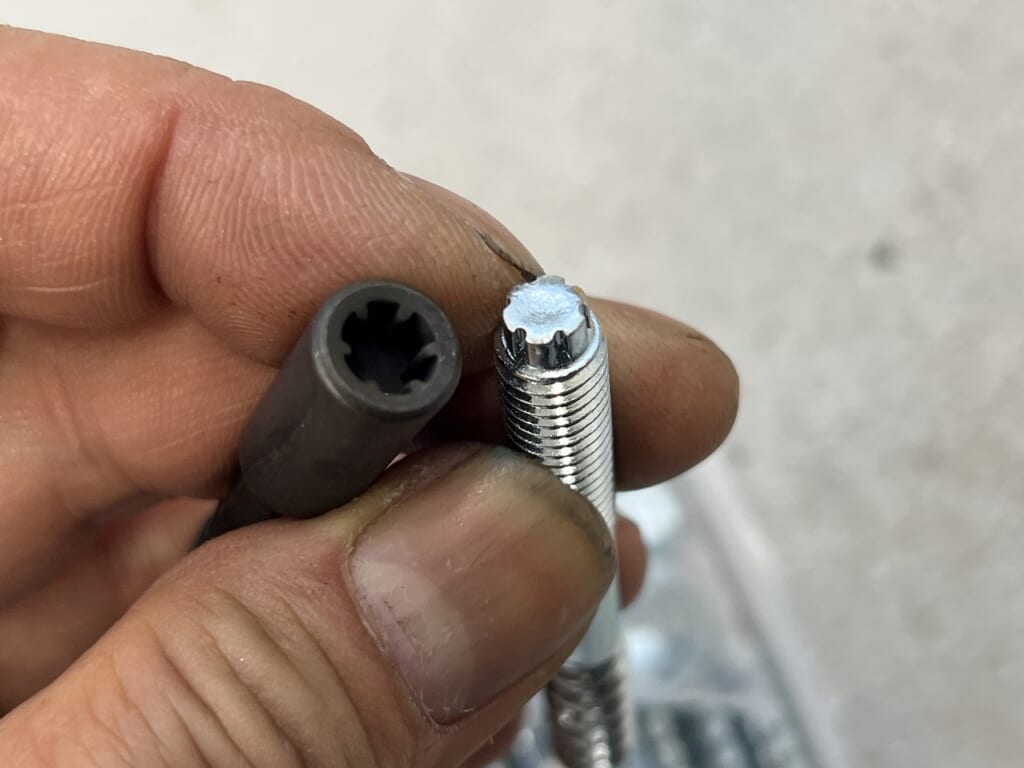
Attention! The TAPSTAR insertion tool is included.
You might be tempted to buy it separately, but “it’s included,” so just buy the anchor in the length you need.
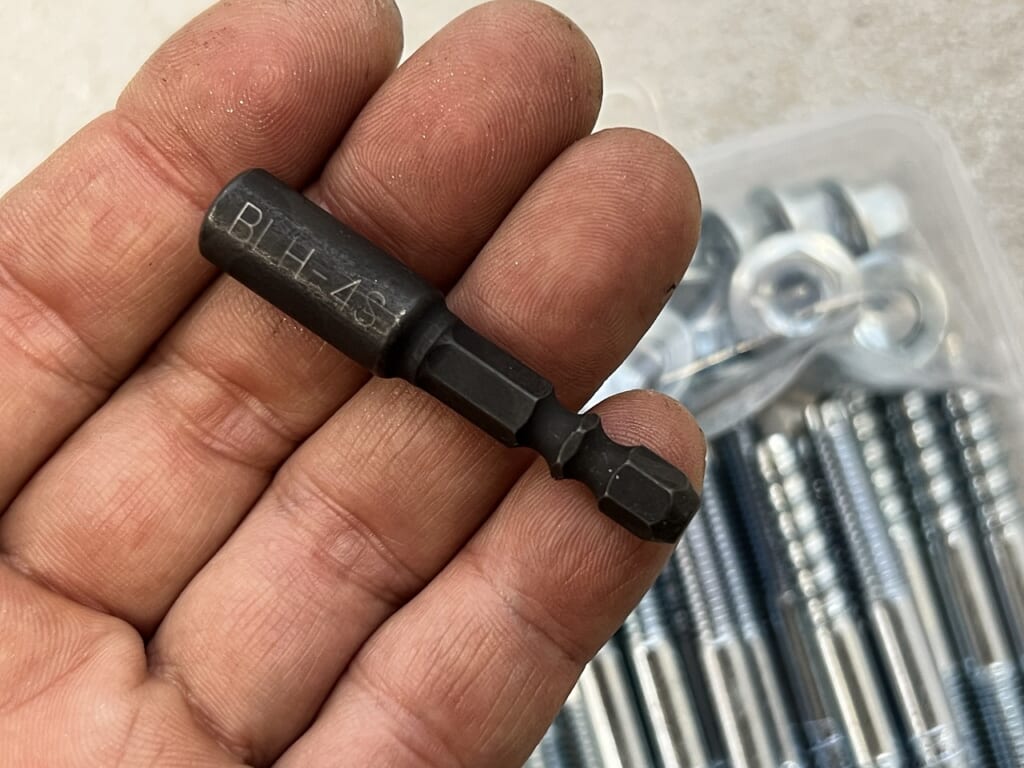
You drive it into the ground with this specialized bit.
It has a somewhat unique head shape. Just screw it in with an impact driver and you get a perfect finish 100% of the time.
Removal is also easy.
Installation is simple, but don’t cut corners
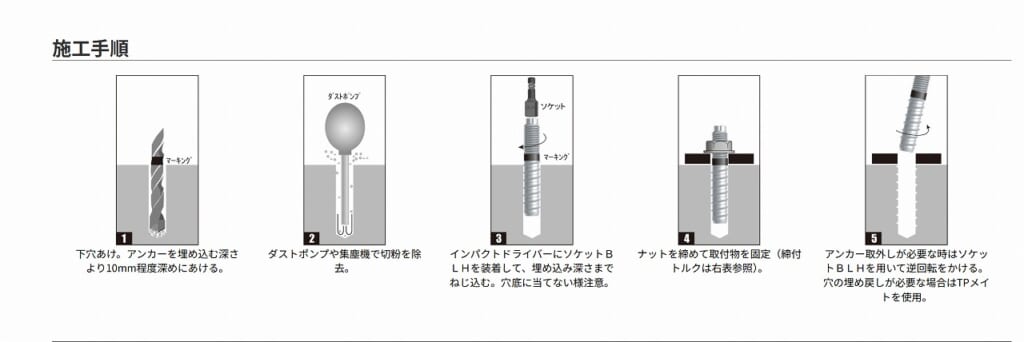
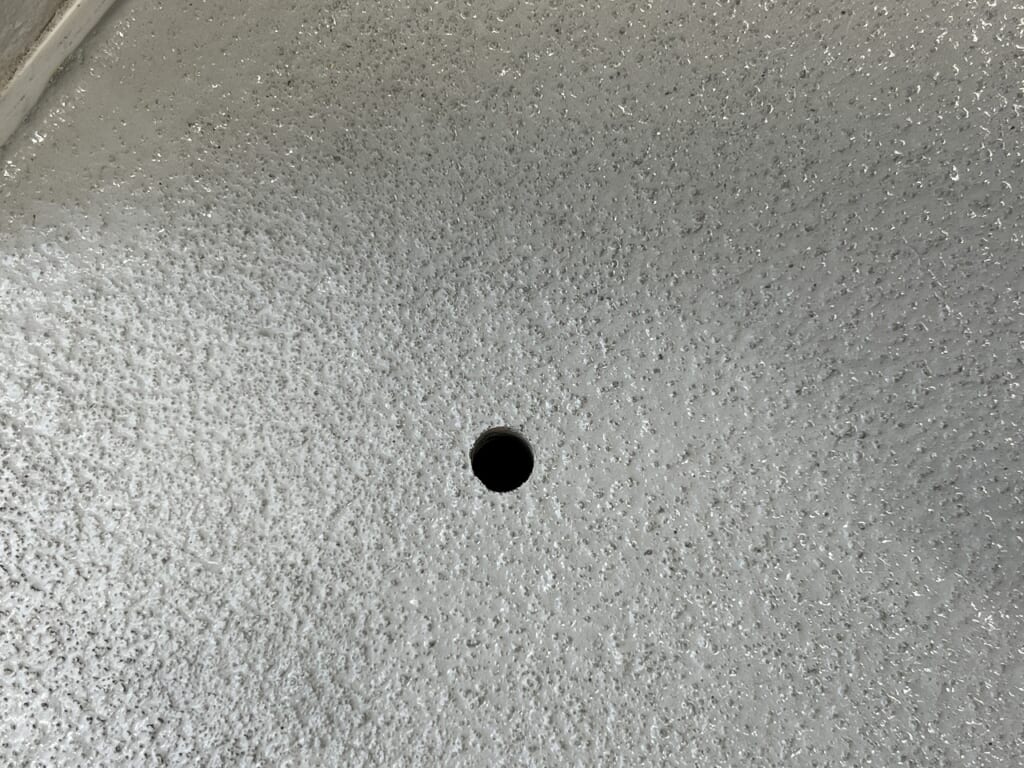
① Drill the pilot hole specified for TAPSTAR with a hammer drill. *For anchors, the first drilling is the pilot hole diameter. Don’t gradually increase the size.
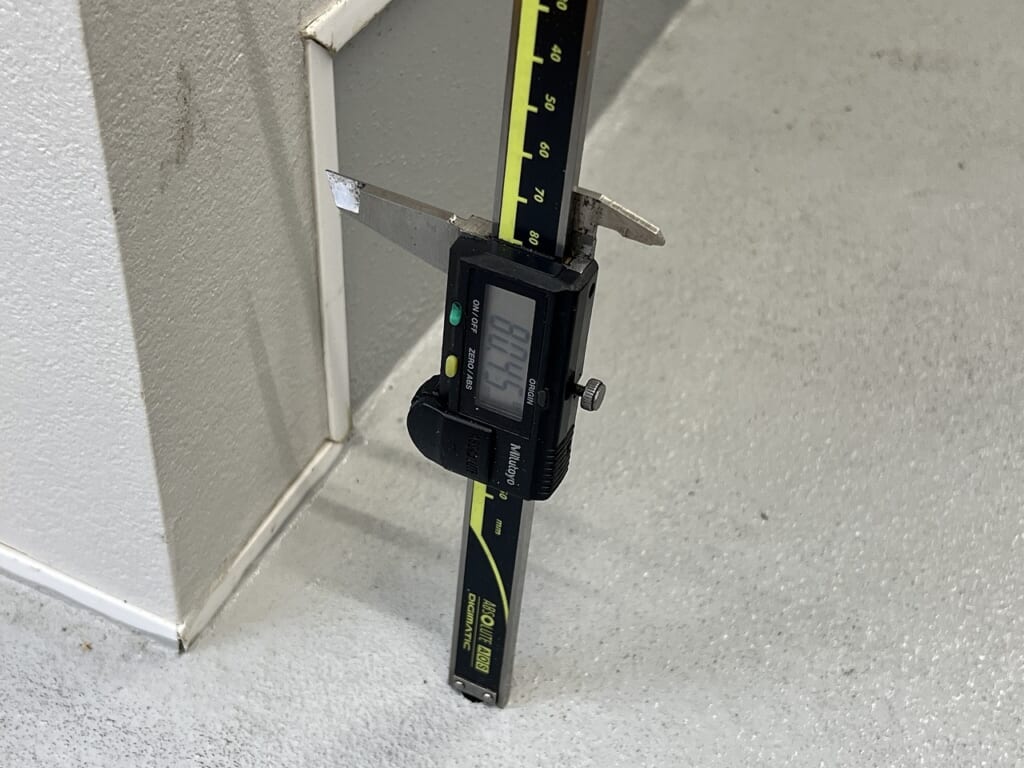
② Thoroughly clean out the dust. ③ Measure depth at approximately +10mm ④ Screw it in and installation is complete.
You can install it with hyper-simplicity and certainty. This is what materials should be like. . It gave me a feeling close to the emotion I had when using tangless helicoils.
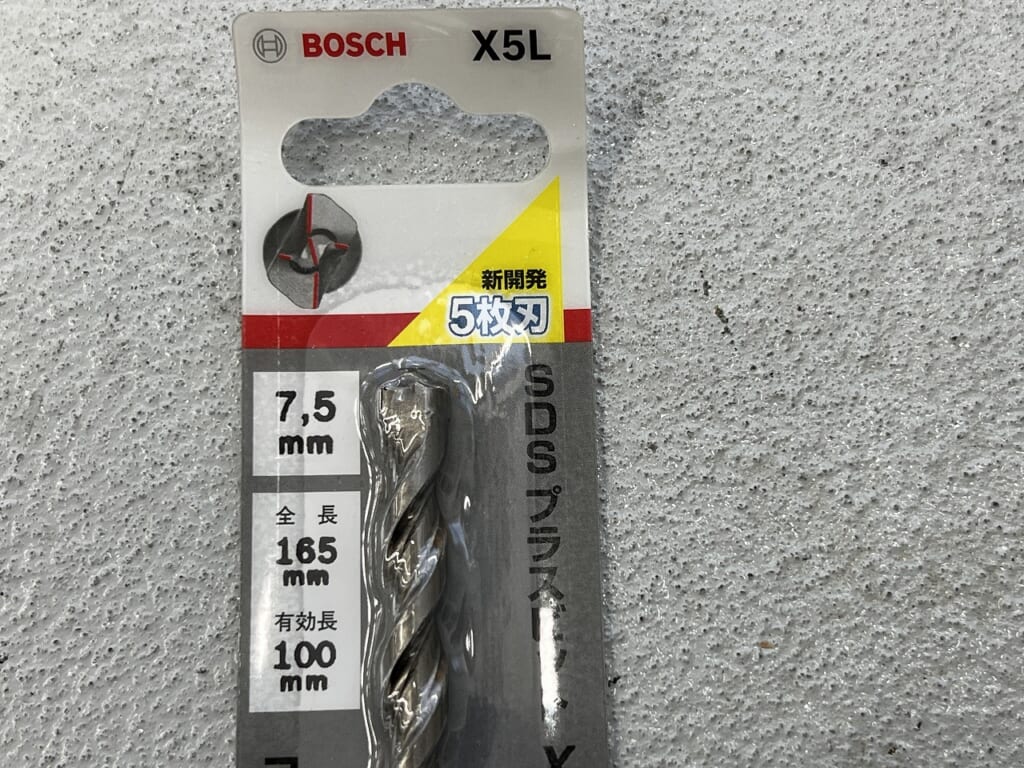
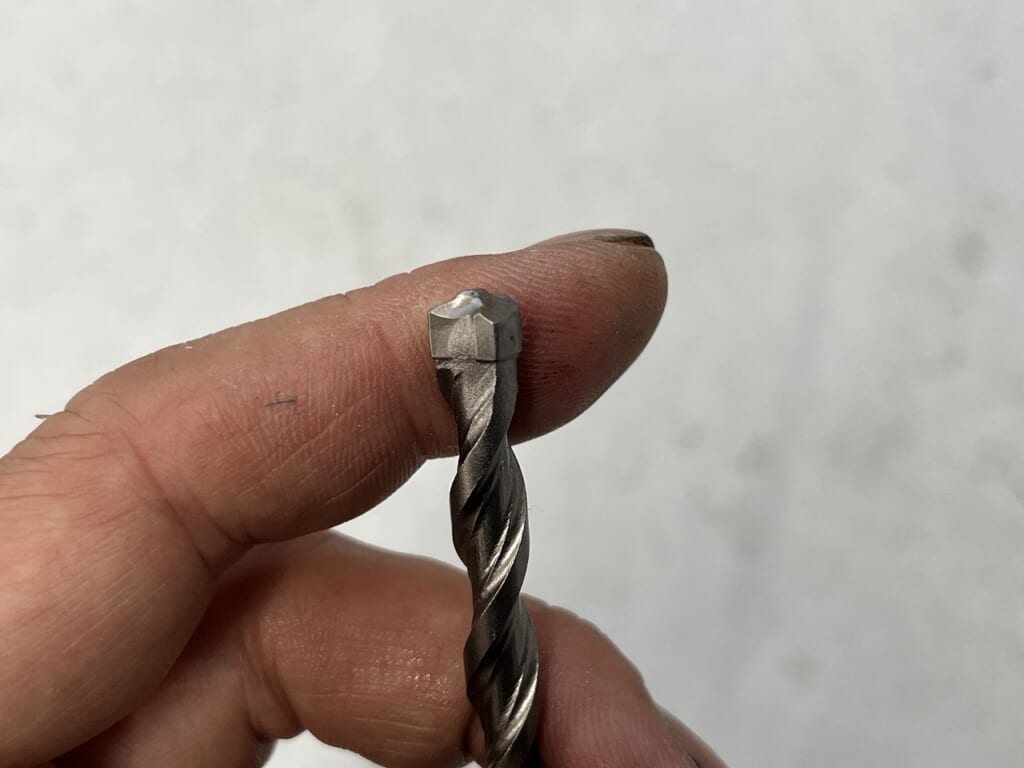
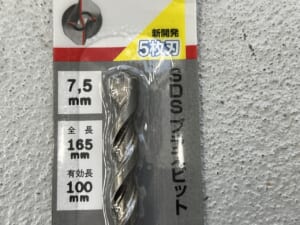
The drill bit also has 5 flutes! It’s evolved dramatically
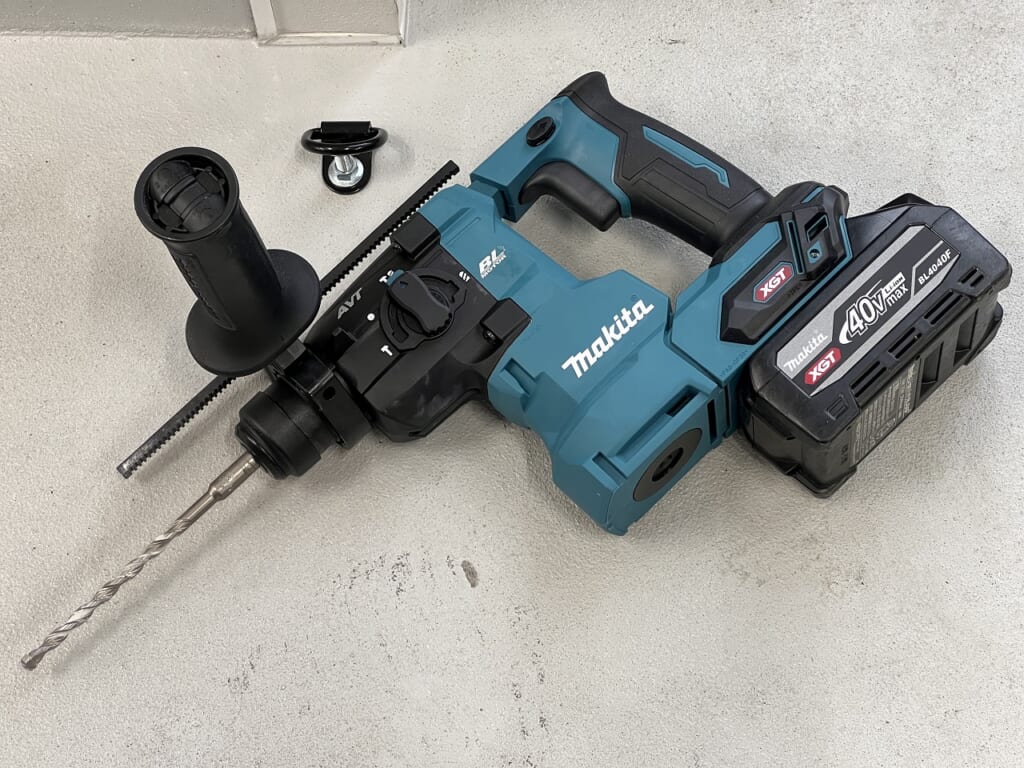
Honestly, I won’t use any other concrete drill from now on. . . It’s amazing. It cuts really well and “the holes are clean.” Buy a longer concrete drill bit.
The holes drill clean and straight. If you can’t drill clean holes, it becomes “loose and sloppy,” so be careful. For M8 TAPSTAR, the pilot hole is 7.5φ.
Honestly. . . . It just drills so smoothly. The holes just open up so smoothly. After doing it again after a long time, wow. . . . Was it really this easy?
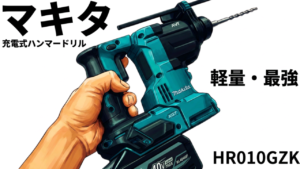
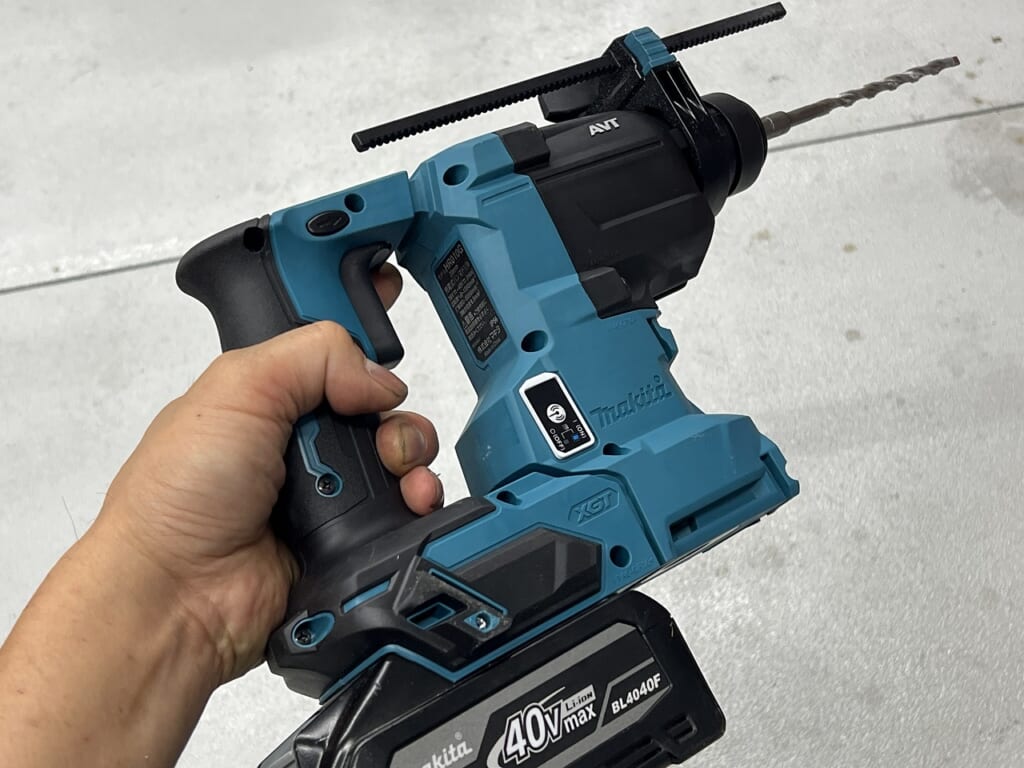
The hammer drill and drill bit are really excellent. With sharp blades and efficient tools, you can work reliably—I really felt that.
It’s seriously done in an instant. TAPSTAR is truly wonderful! There’s nothing else like it.
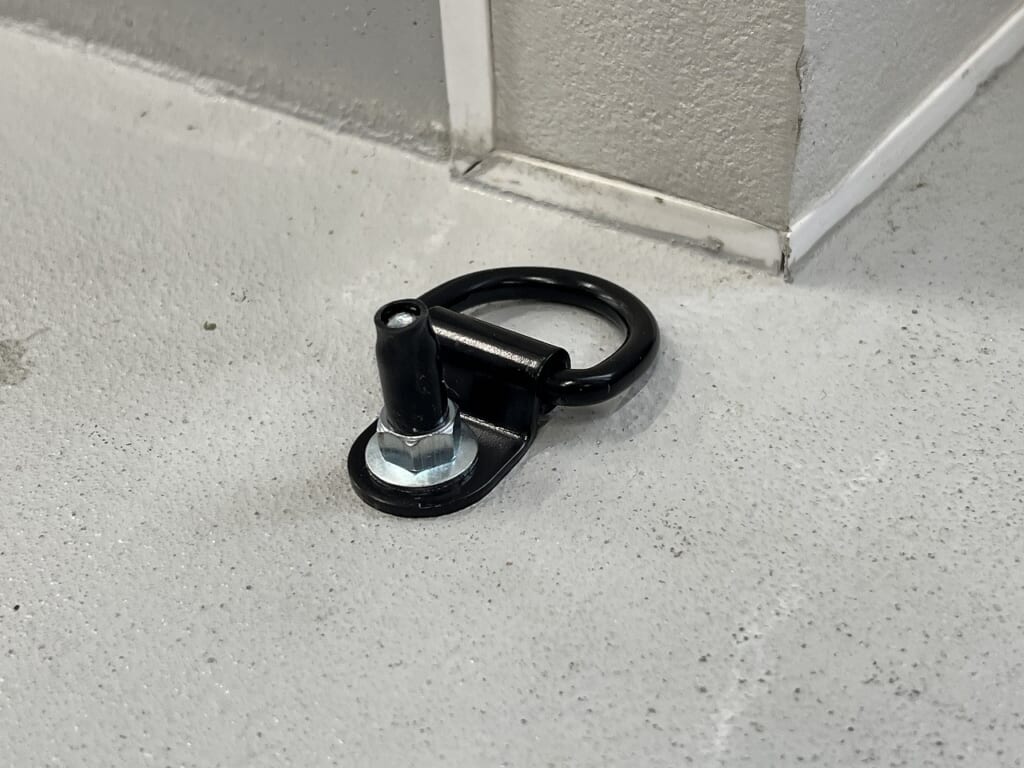
One thing that bothers me a bit is “only male threads,” the protruding part is a bit concerning. I’m also worried about bending it or damaging the threads and socket. I inserted a silicone hose to protect the threads and socket.
Seriously easy! Absolutely perfect.
With this hammer drill, Bosch drill, and TAPSTAR, concrete installation is not scary at all. You’ll almost never fail.
If you want to drill holes at a perfect 90°, making a drilling jig will be perfect (*´ω`*)
It’s really about tools and materials. . . . In installation, tricks and intuition are needed at the very end. I deeply realized that if tricks and intuition are needed from the start, the material itself was still in development.
Earthquake Prep Finale: Achieving a Flawless Finish with “TAPSTAR” Concrete Screws!
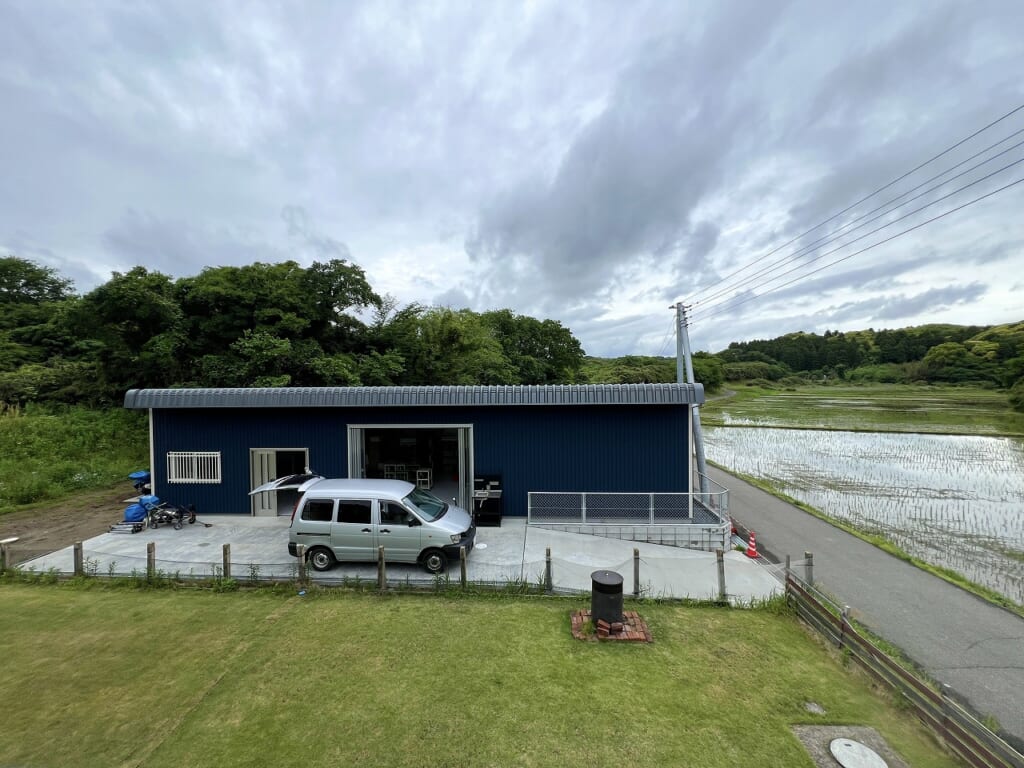
Topic: The ultimate anchoring method for heavy-duty garage setups. Details: To conclude our intense week of earthquake-proofing the Mutsuzawa factory, we completed the final step of anchoring our heavy tool racks. Instead of using traditional hammered expansion anchors, which can crack the concrete or leave ugly protruding bolts, I used premium TAPSTAR concrete screw anchors. These advanced fasteners cut their own threads directly into the concrete hole, providing insane pull-out strength without excessive outward pressure. Verdict: The installation was a complete success—yielding what I can only describe as a “flawless, ultra-perfect finish.” The racks are now entirely integrated with the foundation and won’t budge a single millimeter. With our infrastructure completely secured, I can return to wrenching on client vintage motorcycles with absolute peace of mind!



 ポチップ
ポチップ