Basically, doing anything extra tends to go wrong—about 96.35% of the time.
It was supposed to be done yesterday, but I ran into about three “Huh?!” moments and ended up taking the manual home with me. Kawasaki’s wiring is so unique that honestly it’s a bit tricky.
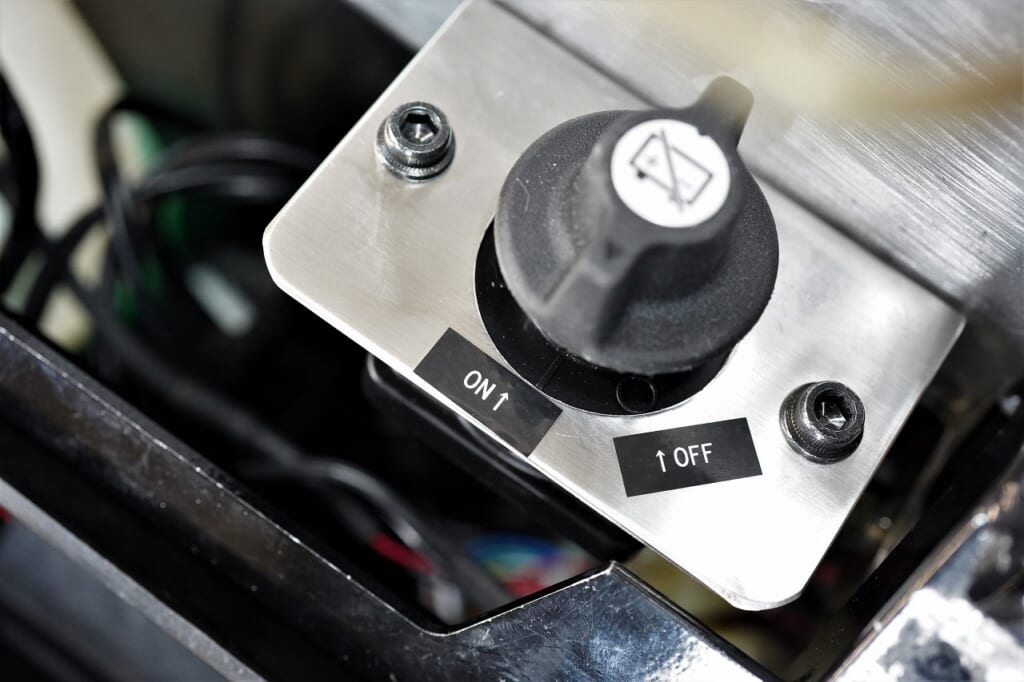
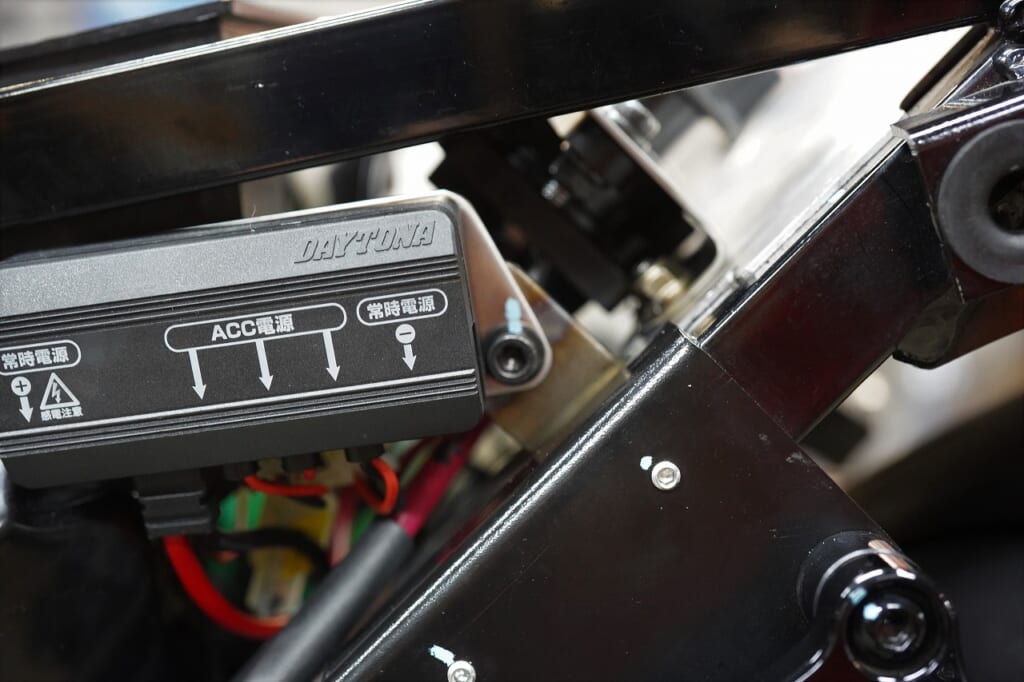
I installed that Yamaha ON/OFF switch the other day, but something about it feels scary? Battery positive
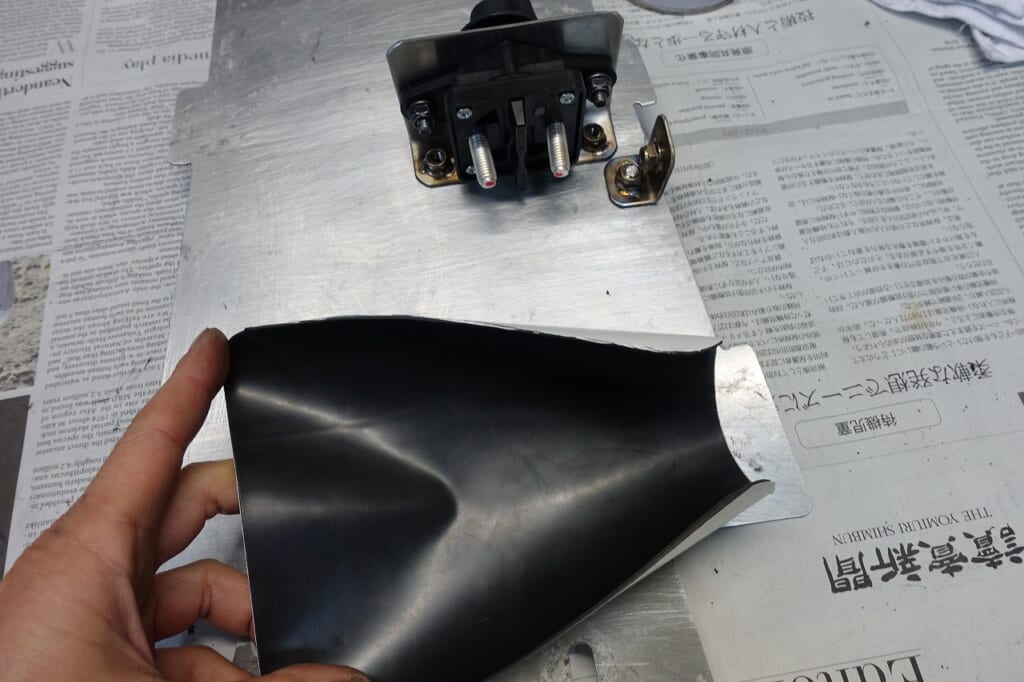
Just in case—or in case of a million-to-one shot—I’m sticking on a rubber pad (double-sided adhesive) to be safe.
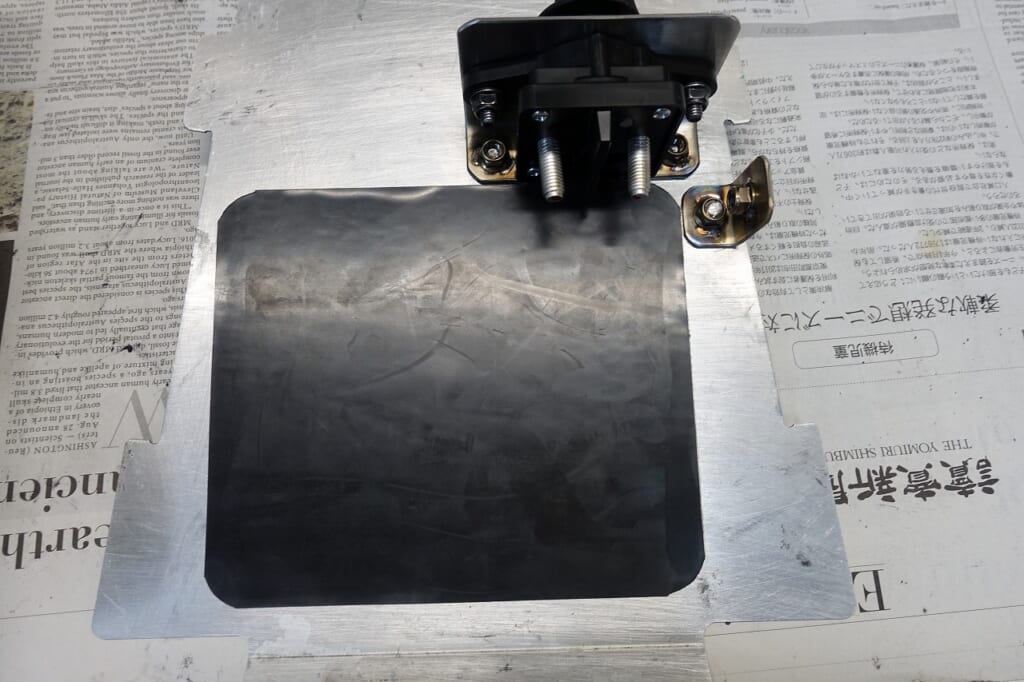
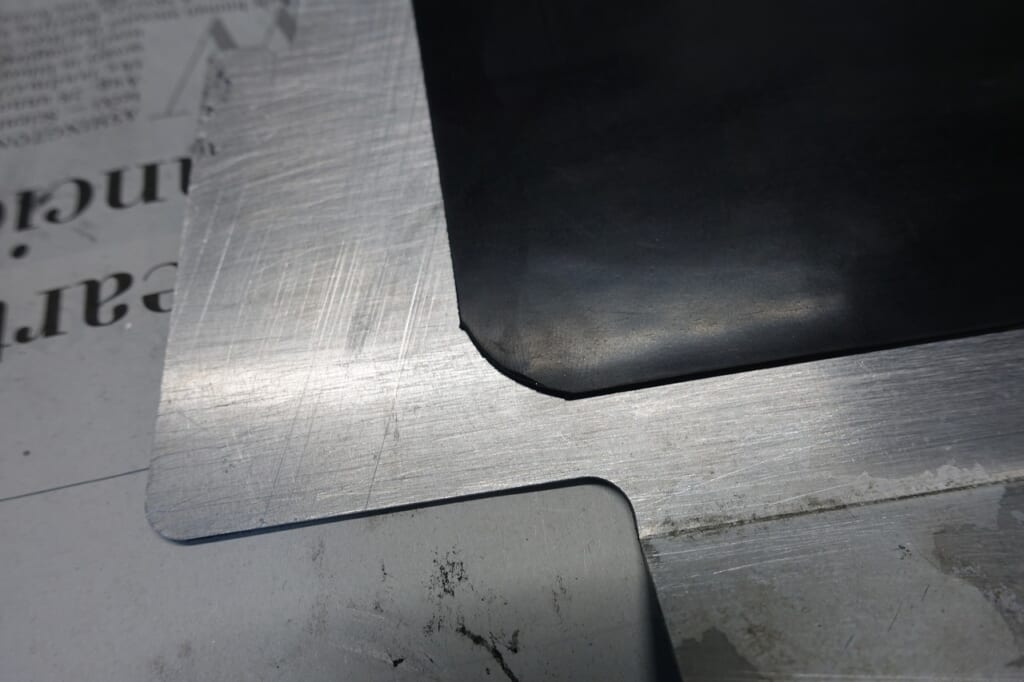
If I get too elaborate, I’ll mess it up, so I kept it simple—just a rectangle with rounded corners. (Die mold.)
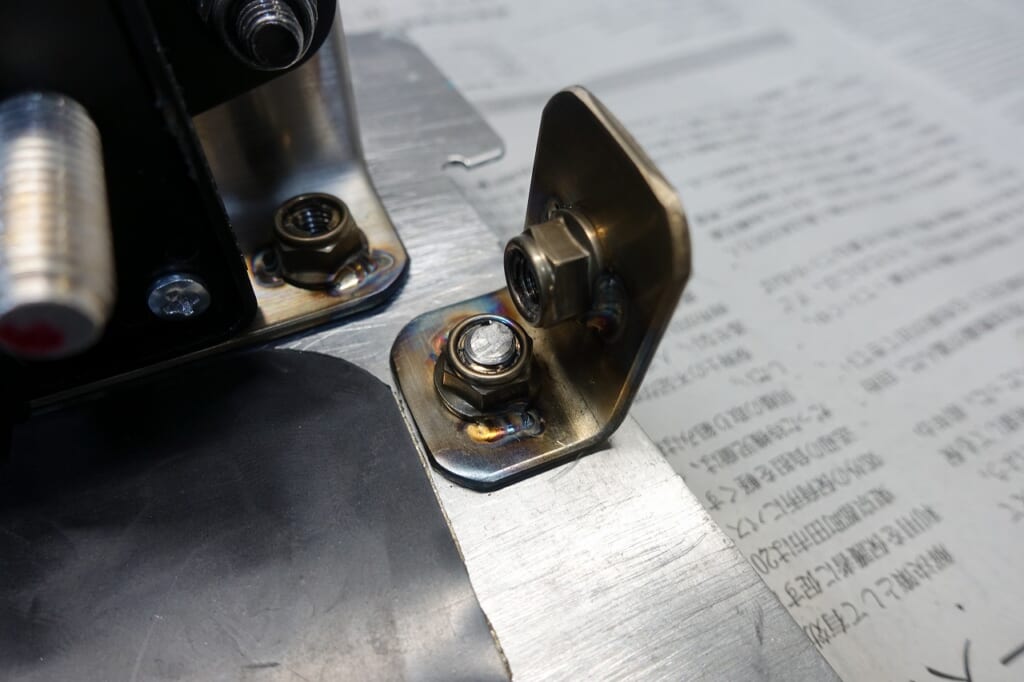
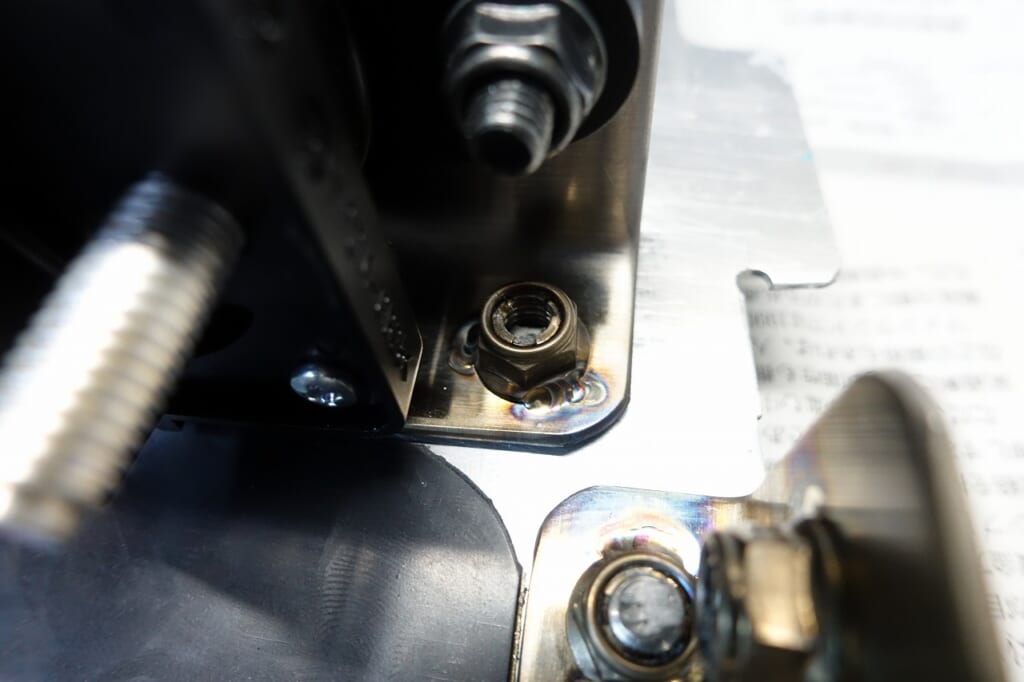
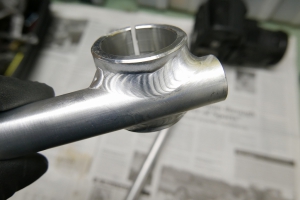
All the nuts are flange lock nuts, and I’m TIG welding them.
Good maintainability means less work for me.
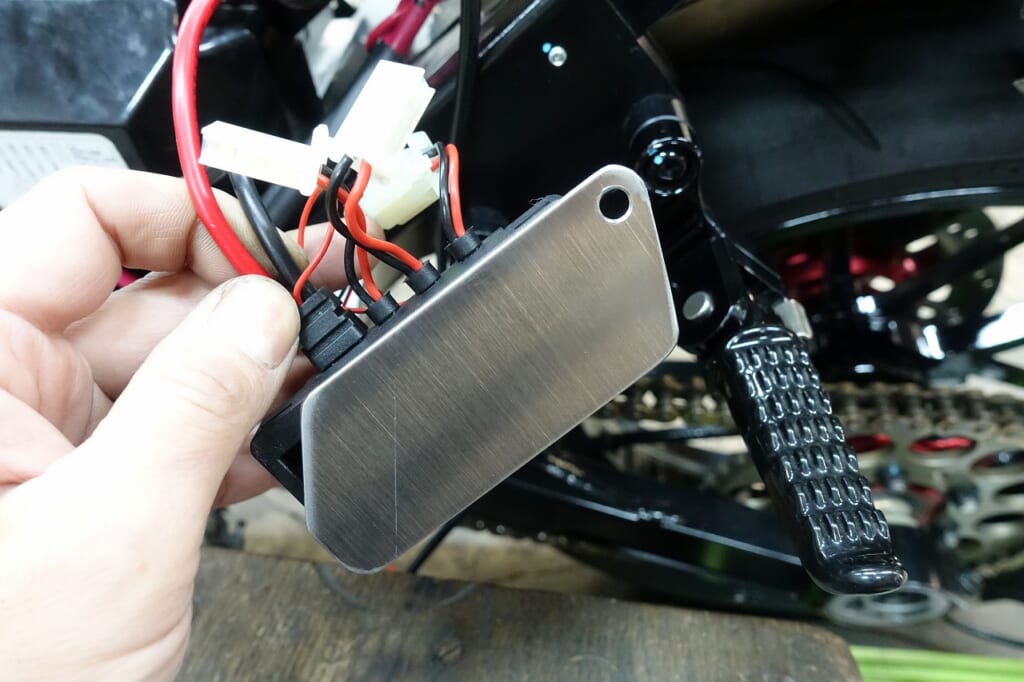
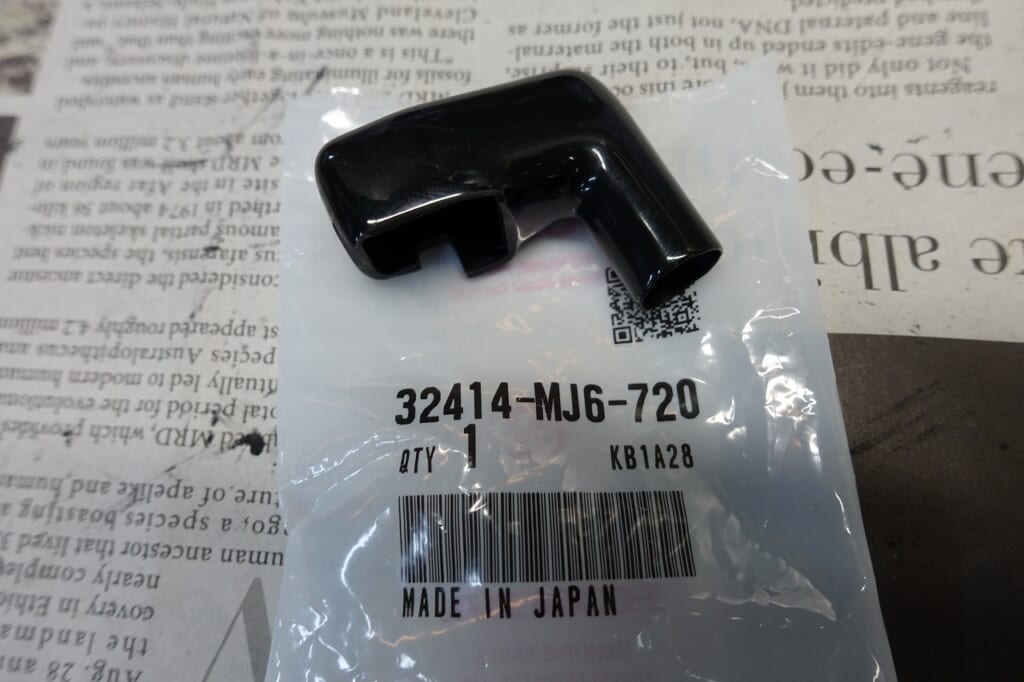
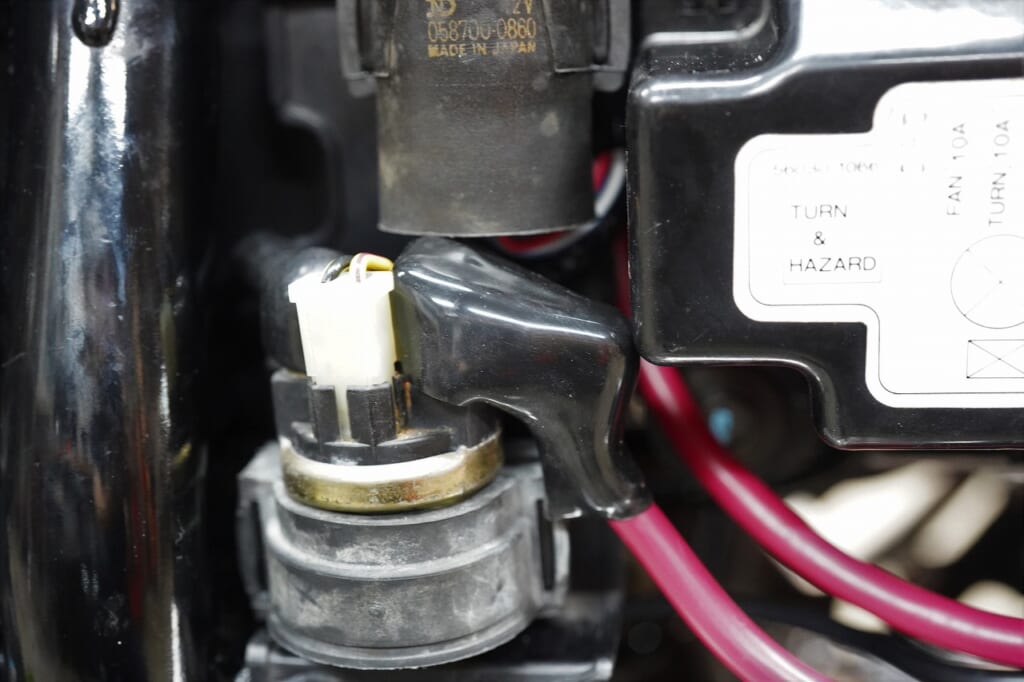
Everyone, I finally found the black terminal cover (black) you’ve been waiting for! (Though it took me about two hours to track it down…)
Honda 32414-MJ6-720 starter relay—how does it look angled like this?
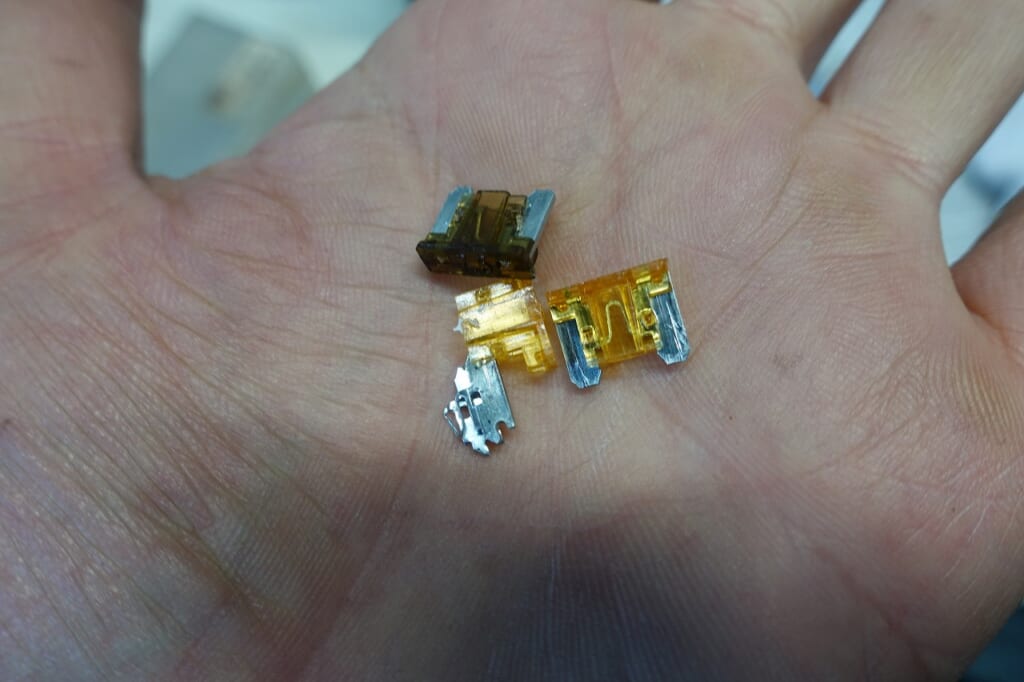
When you try to change the capacity and pull a fuse out of the D-UNIT+, almost 100% of the time one will break off.
You’re better off throwing away the included fuses.
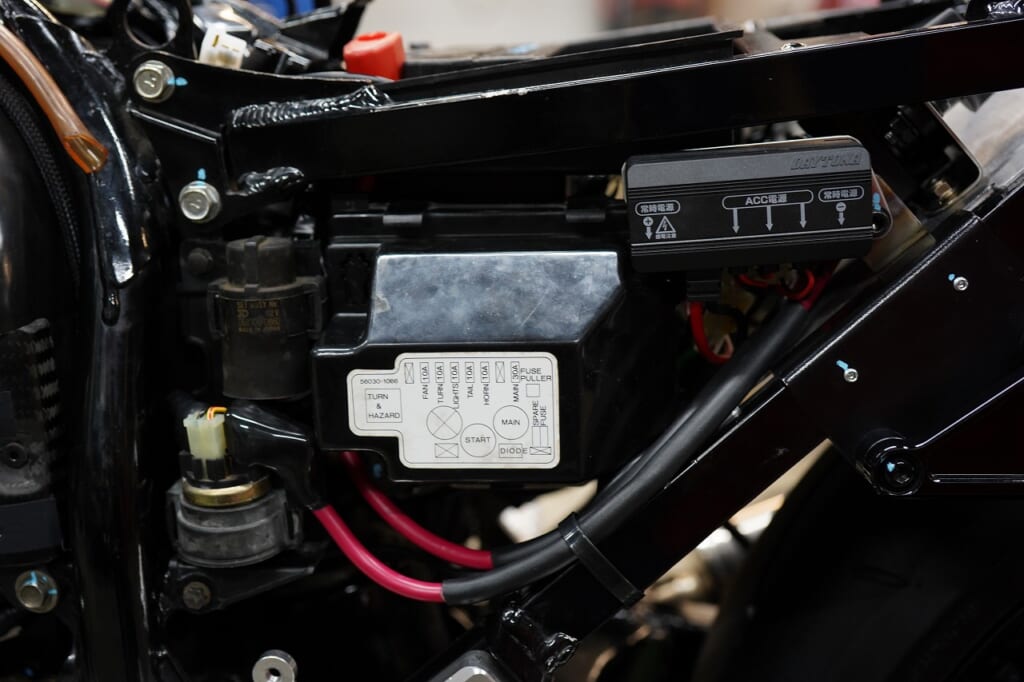
I’ve tucked everything inside the side cover like this.
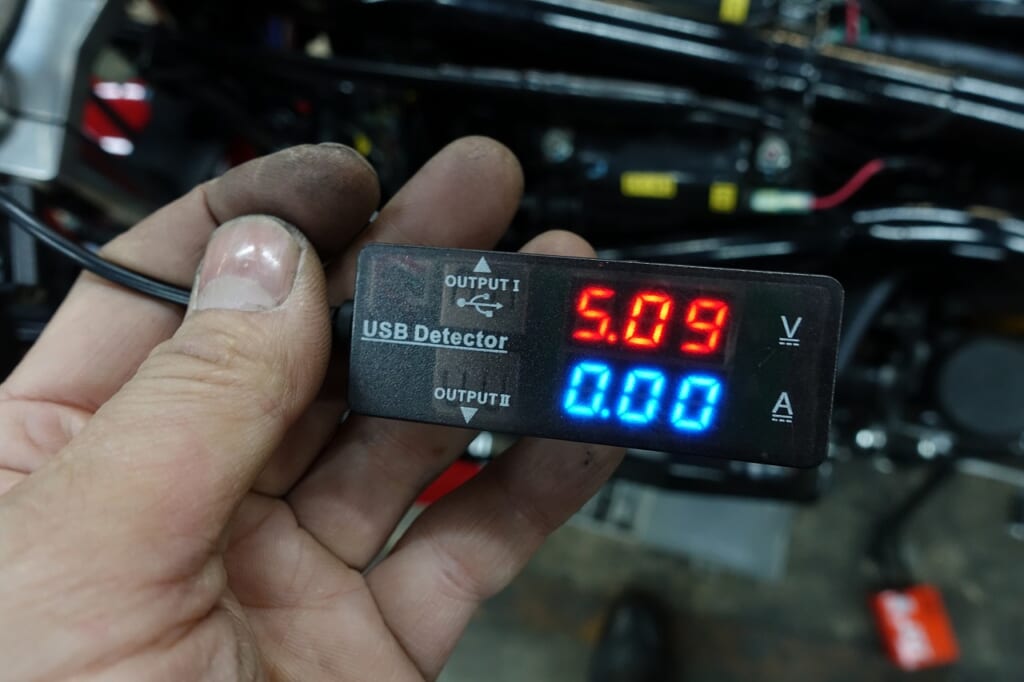
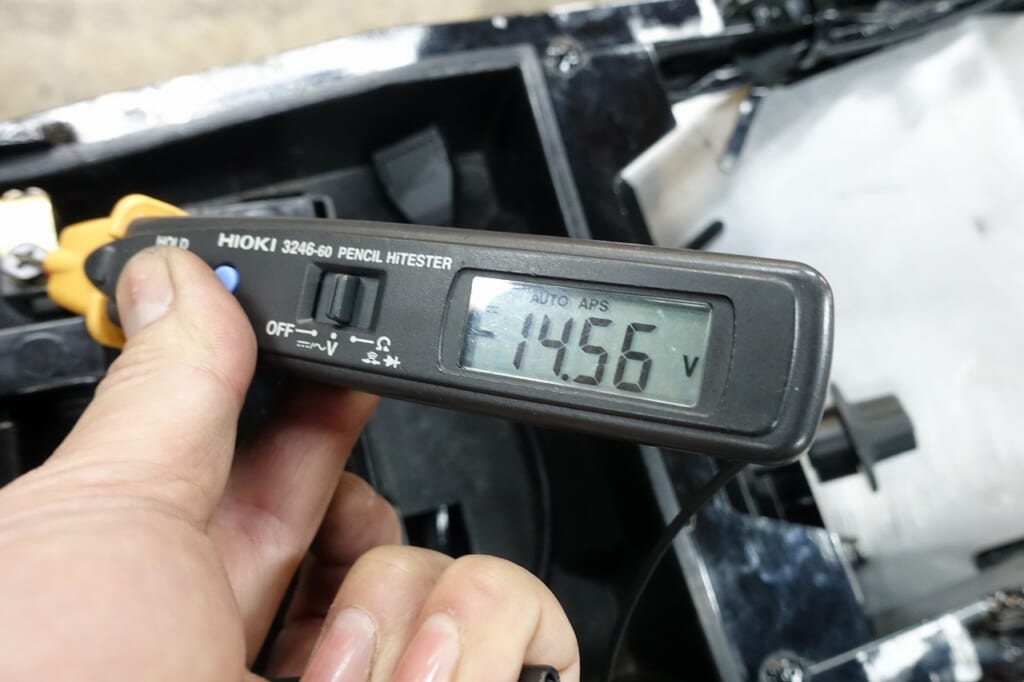
Check once, check twice. The only things you can trust are machines and numbers.
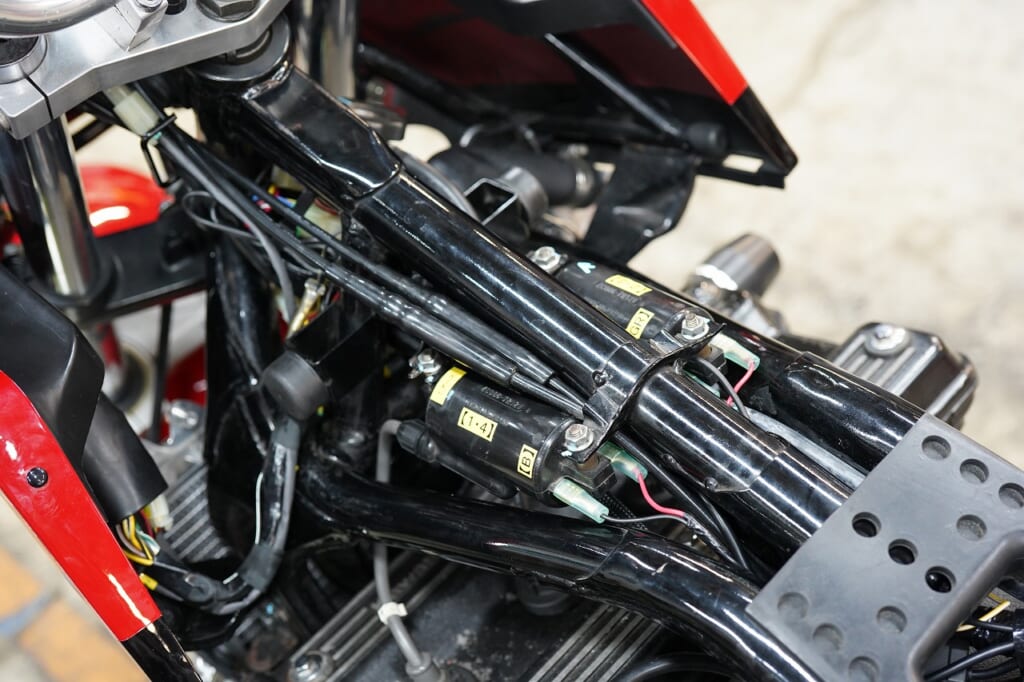
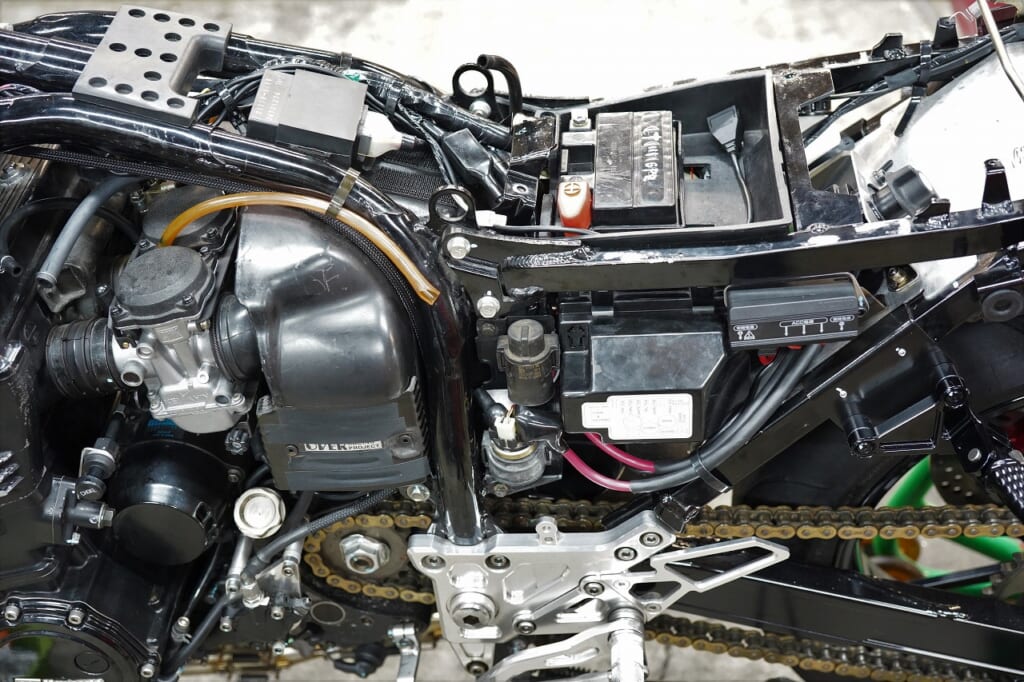
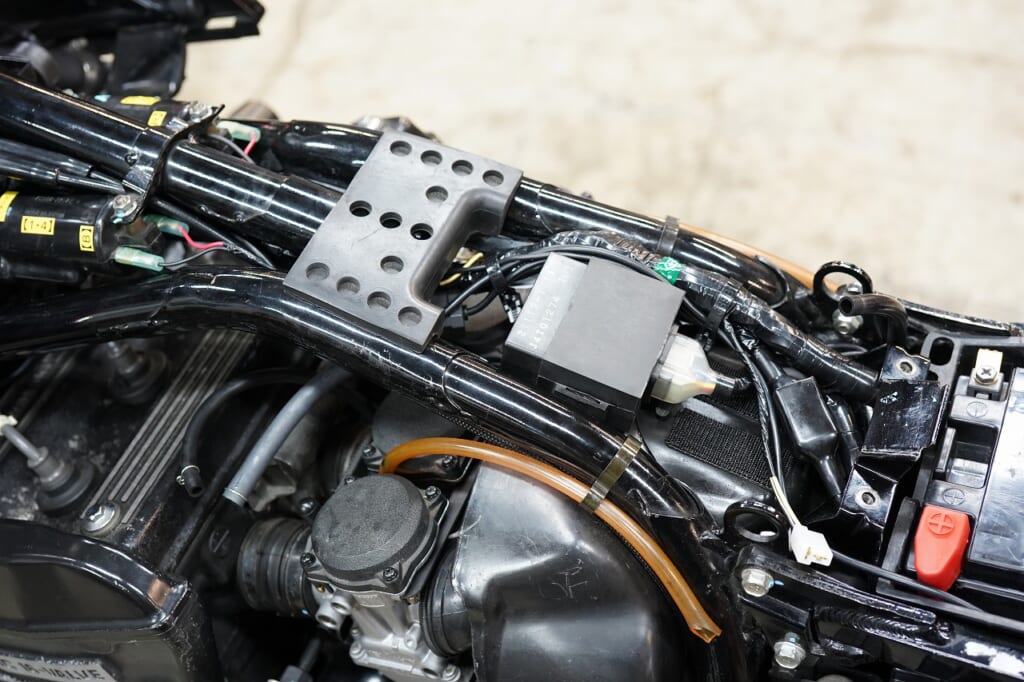
So that’s it—the layout is all done.
The forced fan switch lamp and clutch switch are both working without any issues.
Kawasaki from this era is obsessed with relay switching for absolutely everything, which makes the wiring diagram hard to read and even harder to trace.
Yesterday I was stumped for a moment by the starter lockup switch, but once I figured out it was just grounding to activate the relay, it was easy to solve.
All good!
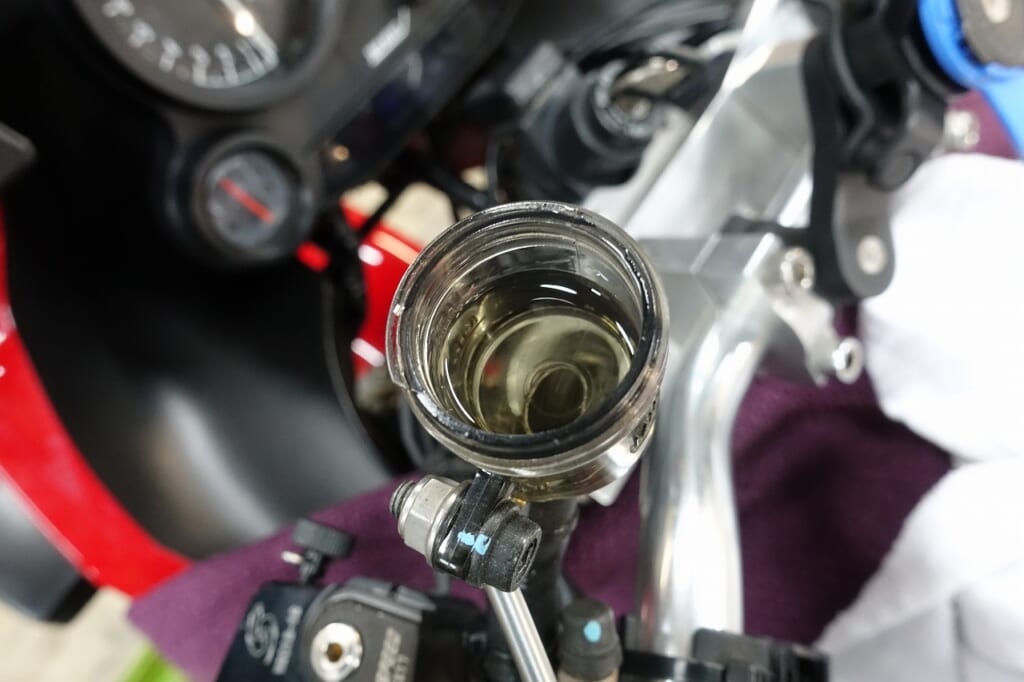
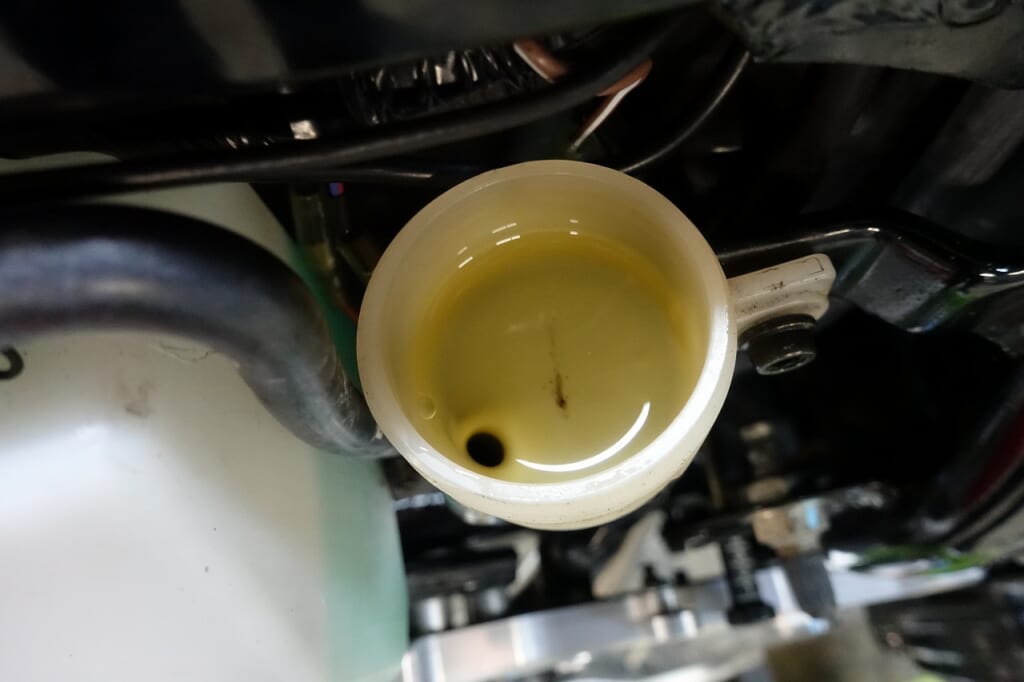
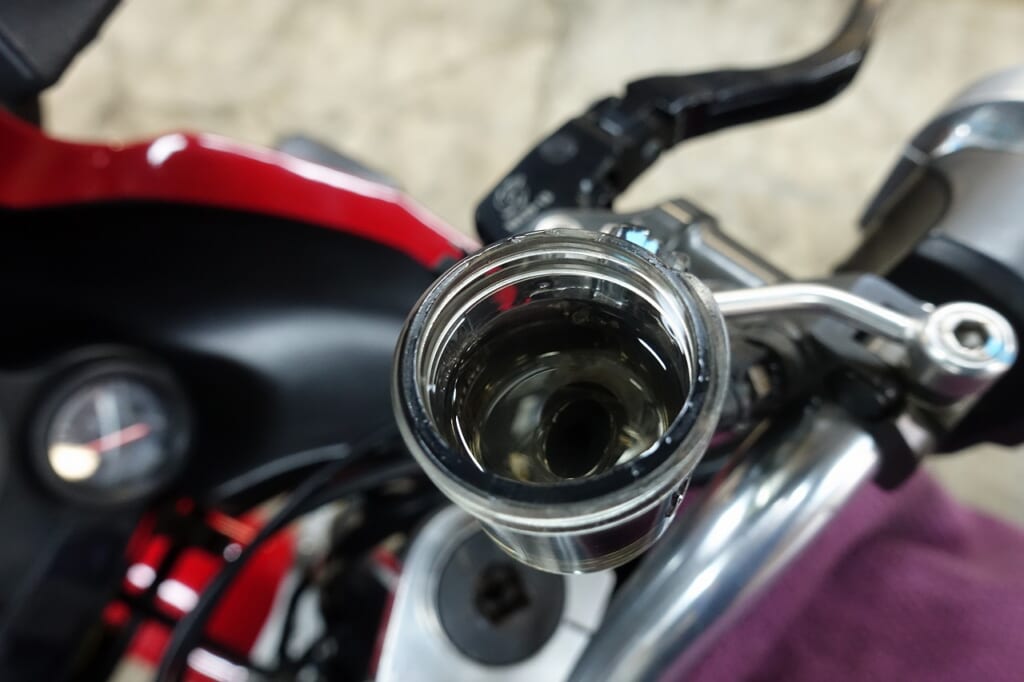
Swap out all the fluid and we’re done!
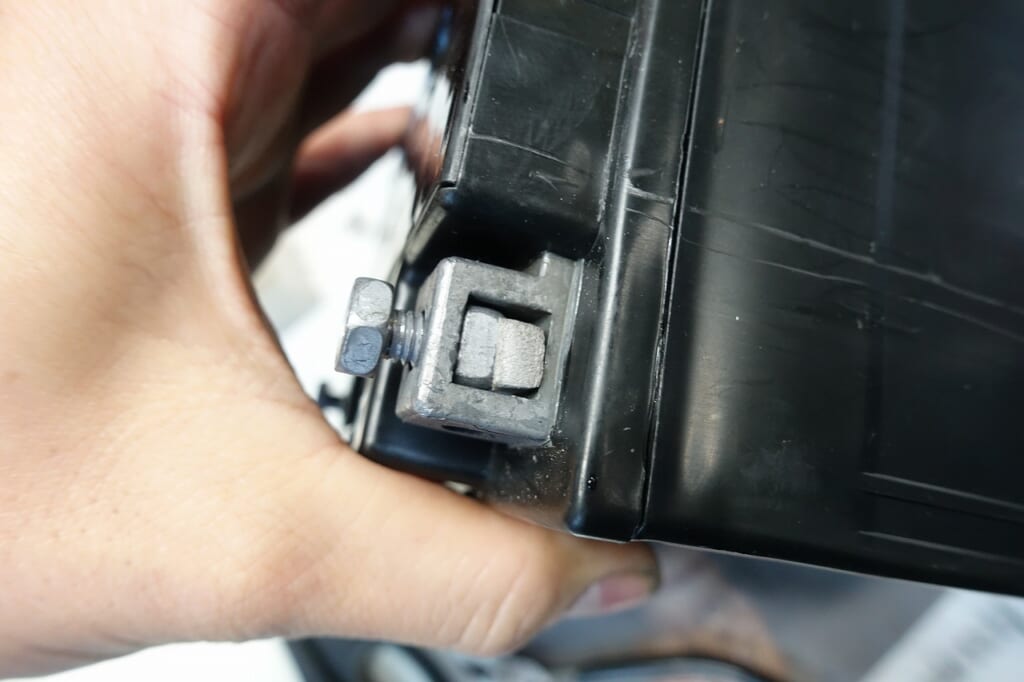
Pro tip: put a sponge under the battery nut and the work becomes a lot easier.