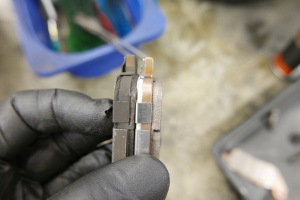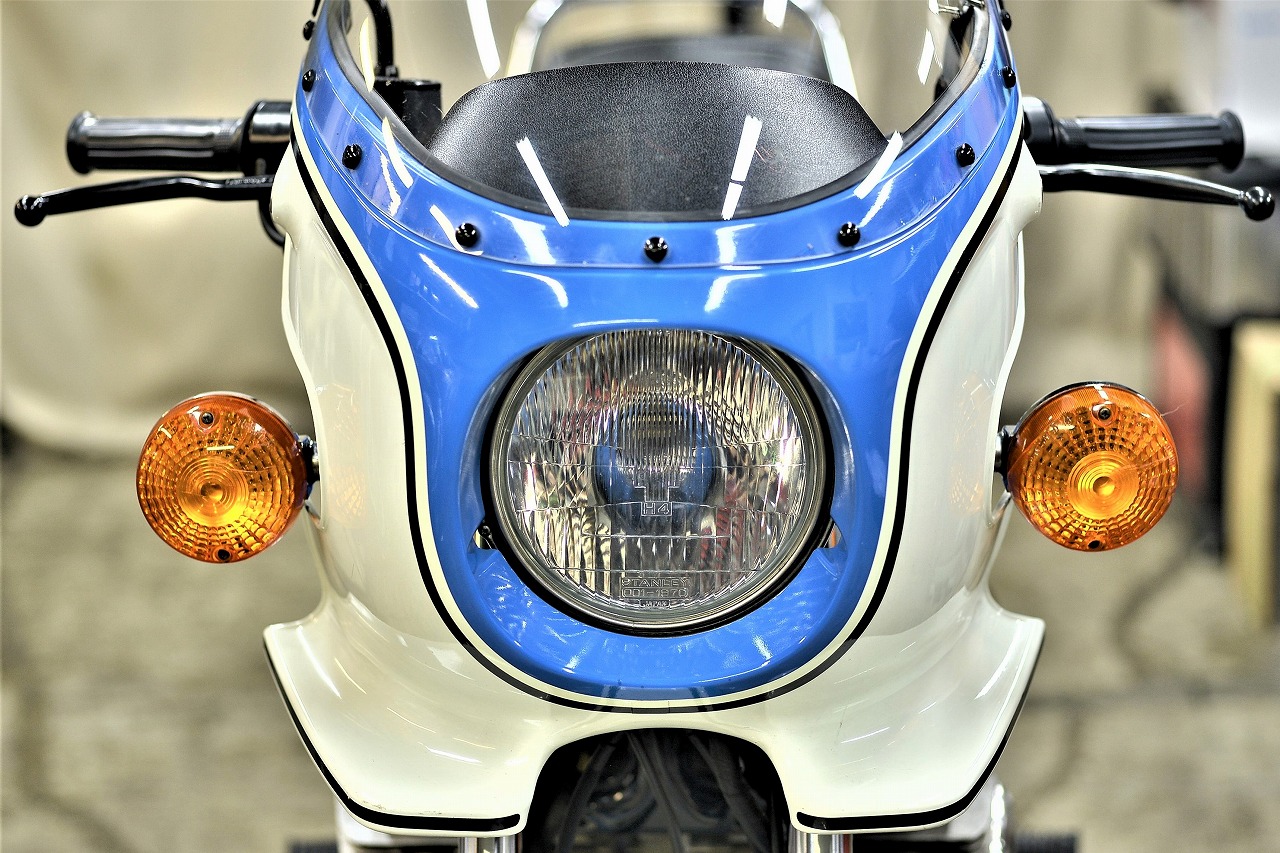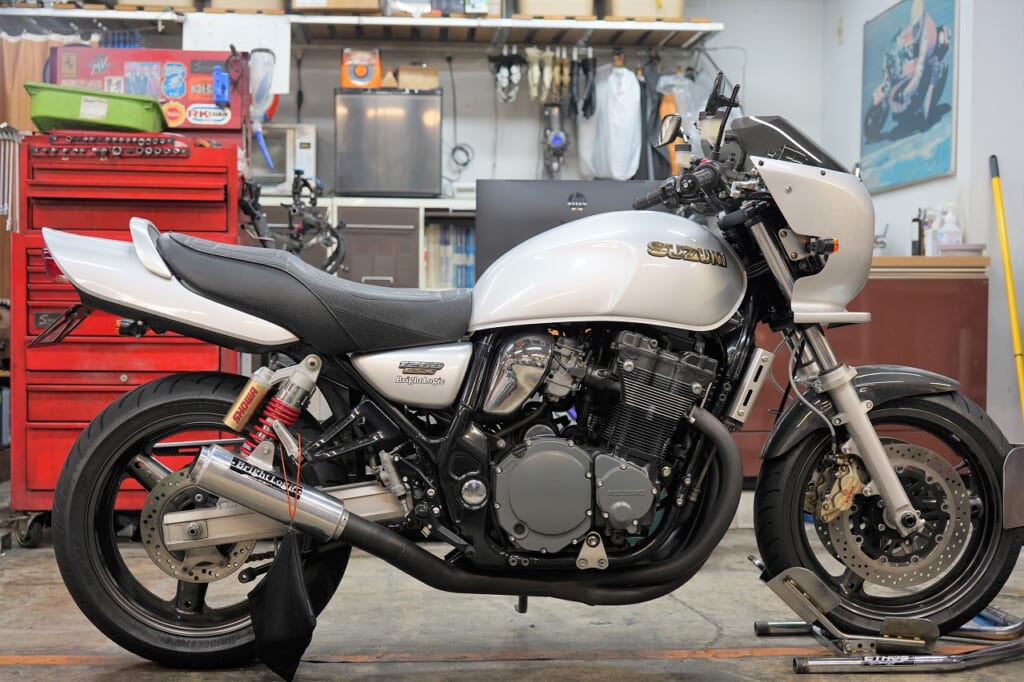
The Inazuma 1200 is already a 20-year-old bike too. . . . (a classic).
In the year 2000, riding a 1980 GS1000 (Type 2) feels about the same time-wise?
But thanks to improved part quality in recent years, problems have decreased, haven’t they? (*^-^*)
As expected! A veteran rider wants to get the brakes overhauled.
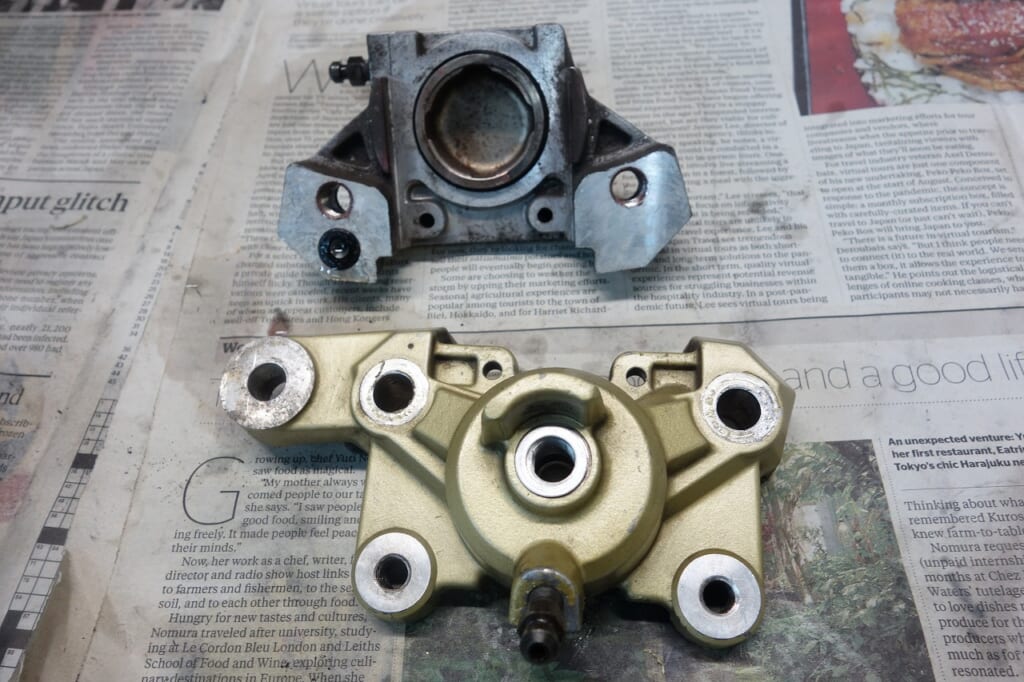
It’s the familiar Tokico caliper.
As expected from Tokico. Naturally, there’s no anodizing, so I’m sure the inside is nicely corroded.
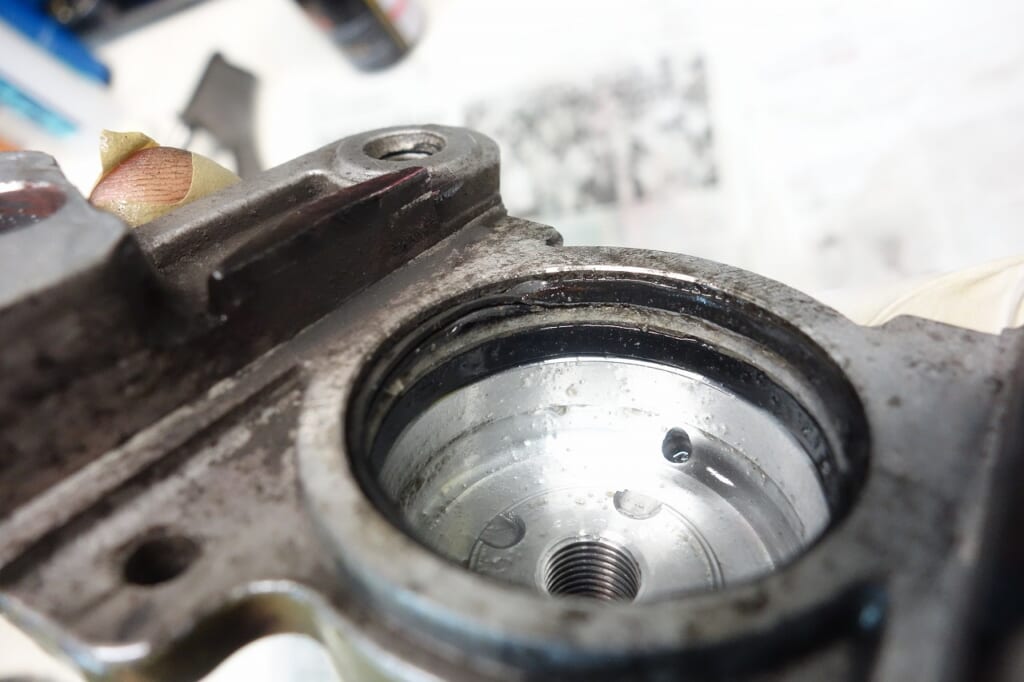
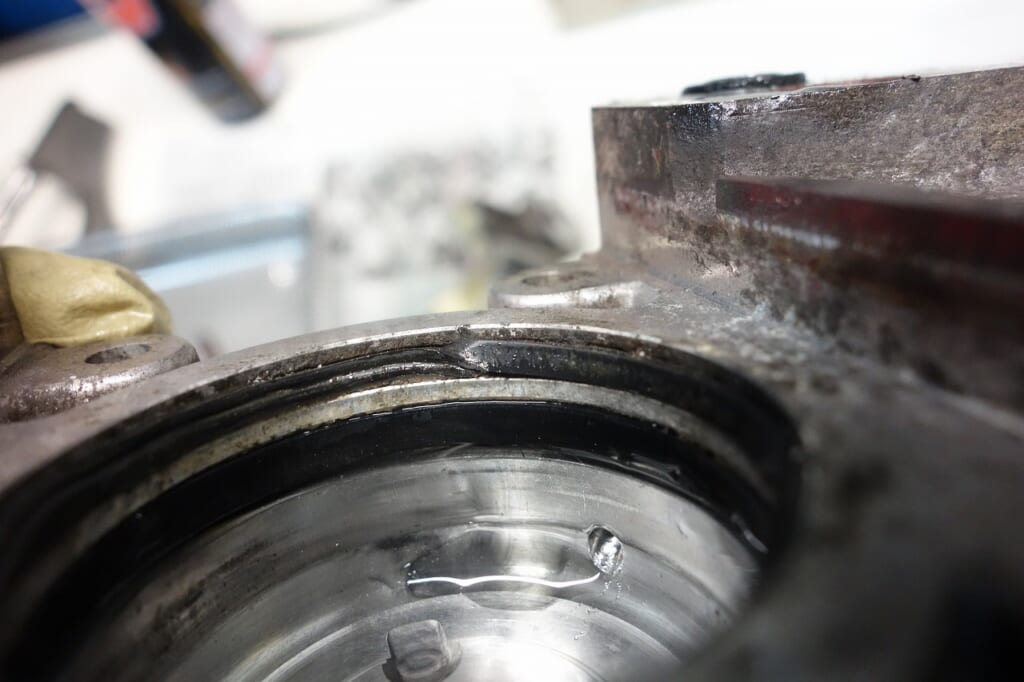
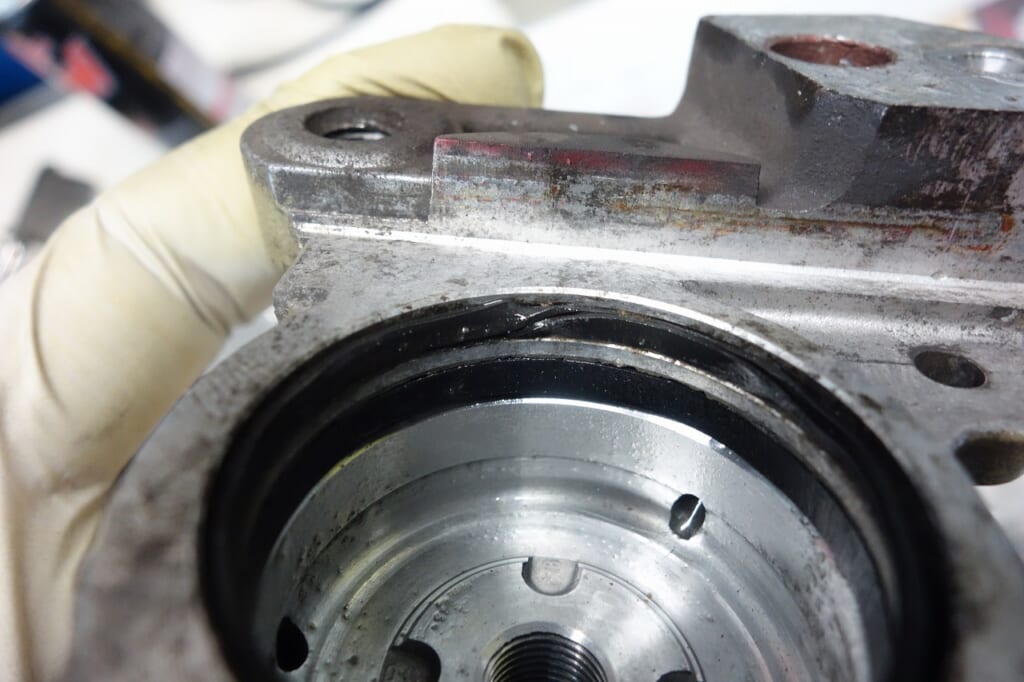
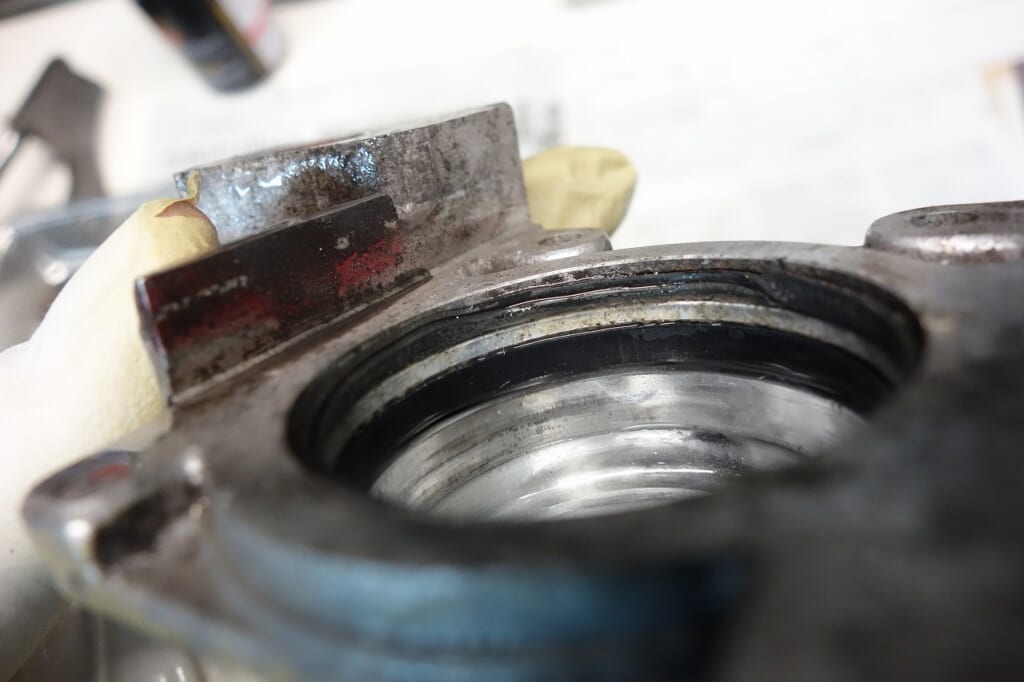
A common caliper issue: the dust seal gets twisted.
Everyone says the caliper piston movement is stiff! and spends time kneading the piston. . . endlessly kneading, kneading, kneading. . . Wow, I must have spent an hour on it.
But that twisted, hardened seal is far from its original state.
Disassembly and cleaning with an overhaul would be faster, and the effect and performance are incomparable.
After all, it’s just rubber, so it deteriorates over time. I recommend getting an overhaul done soon.
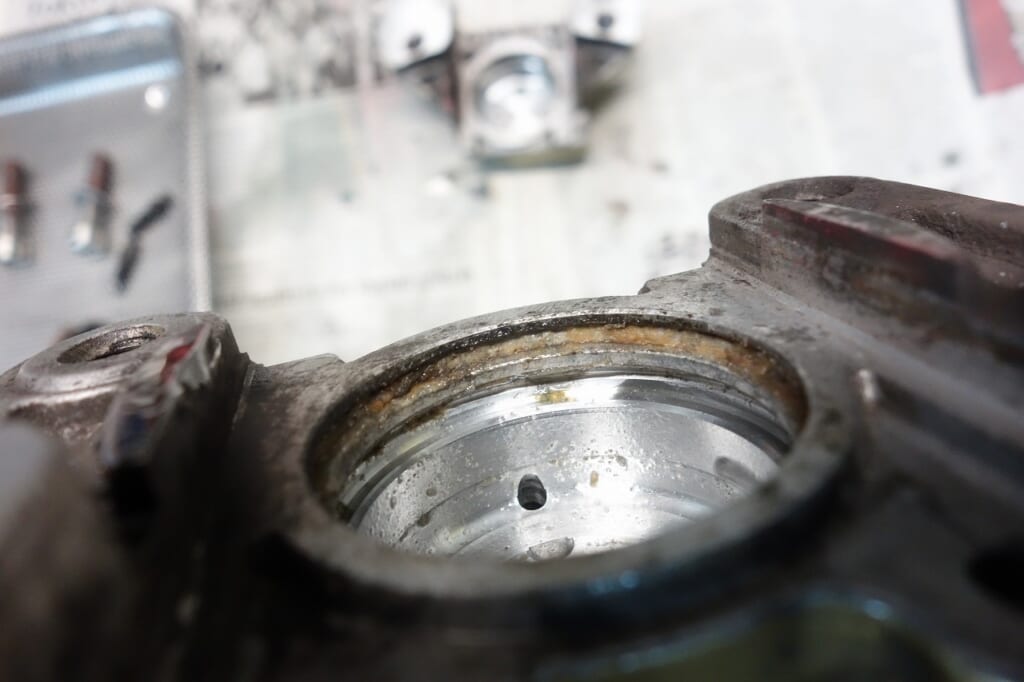
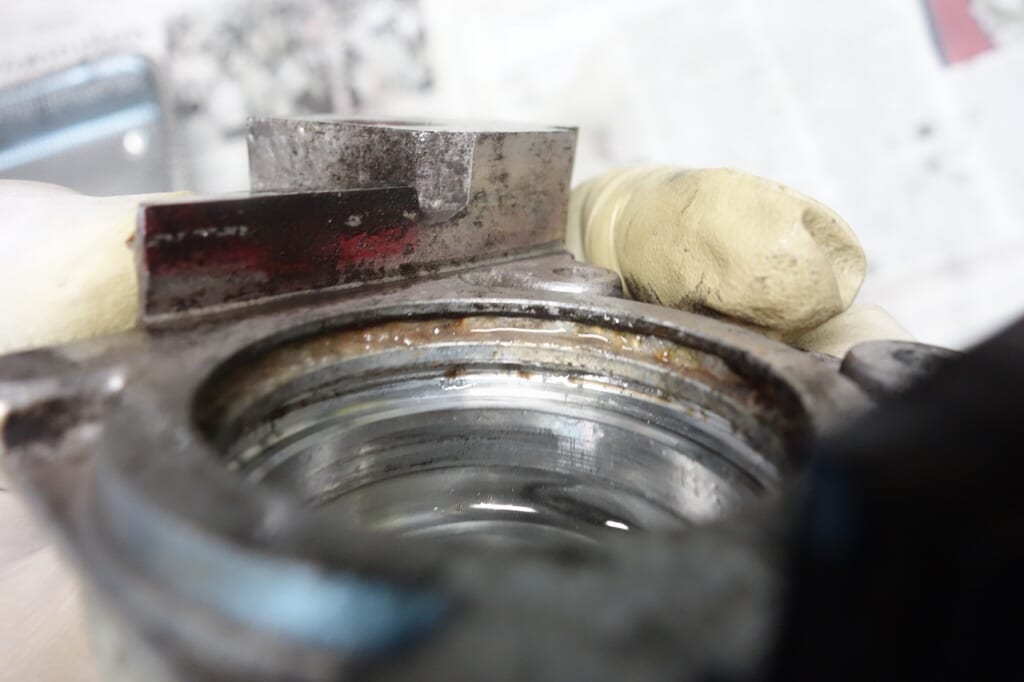
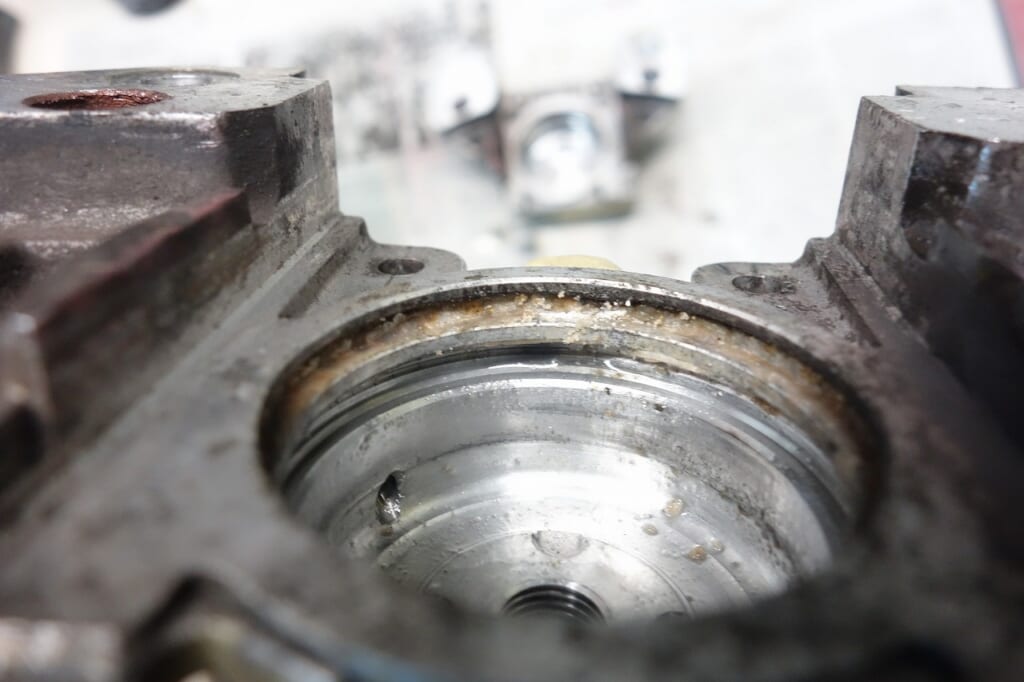
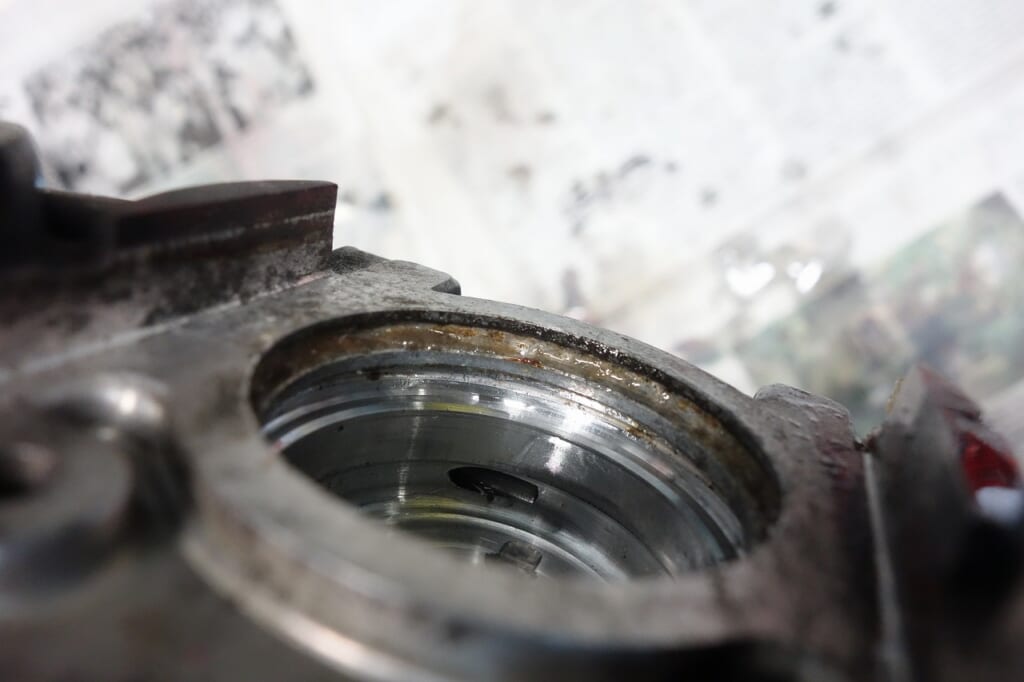
As shown in the image, without a seal groove, corrosion starts and rough spots bubble up, pushing the piston inward, making the seal stiff and twisted.
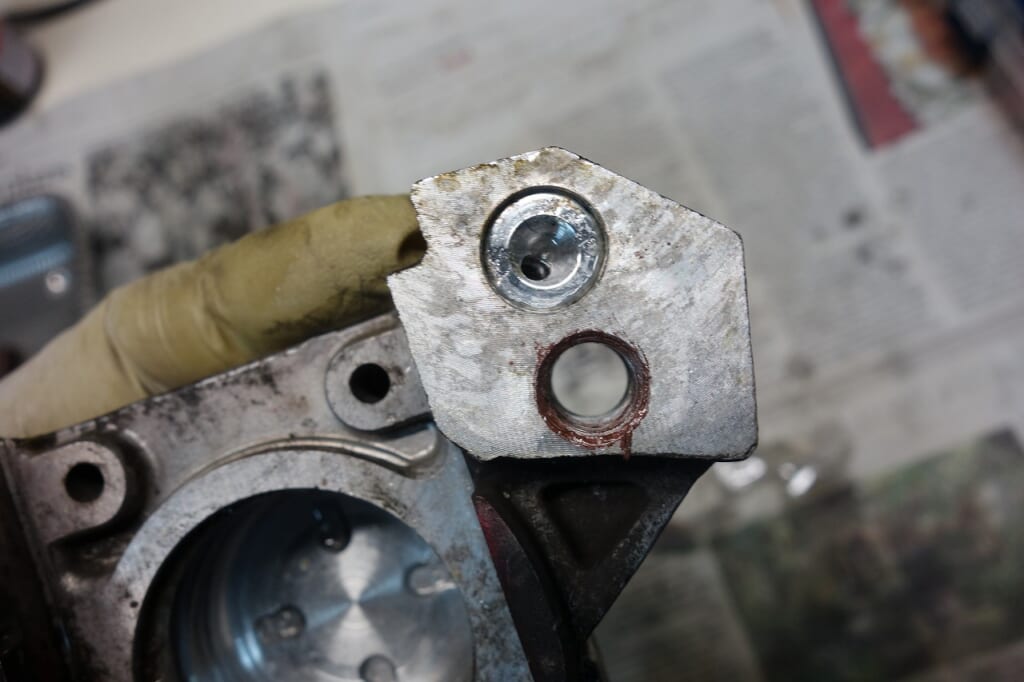
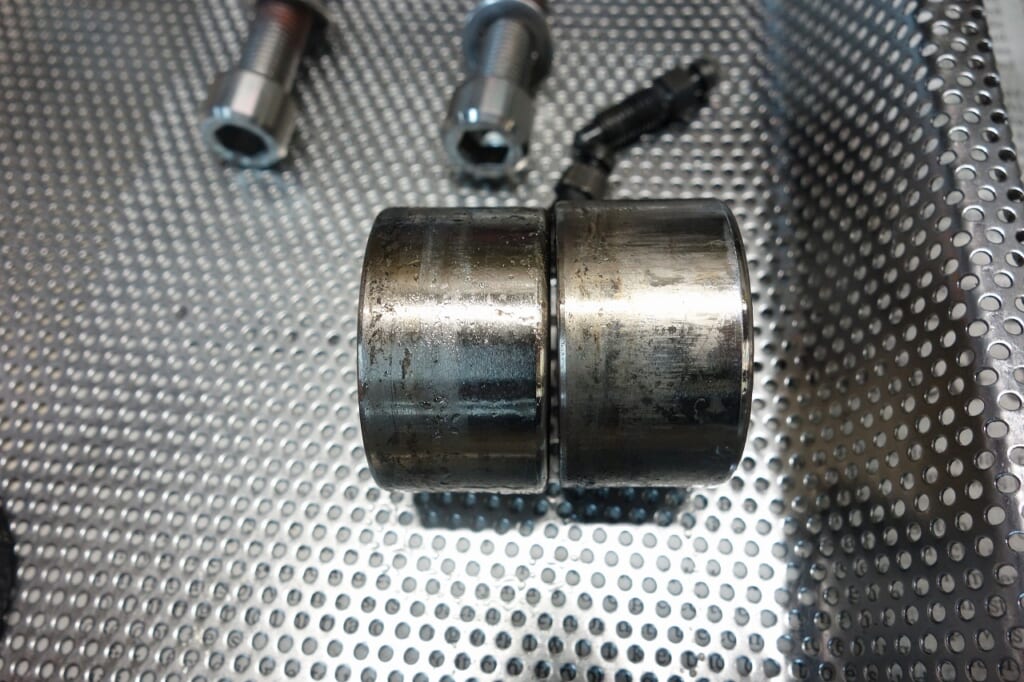
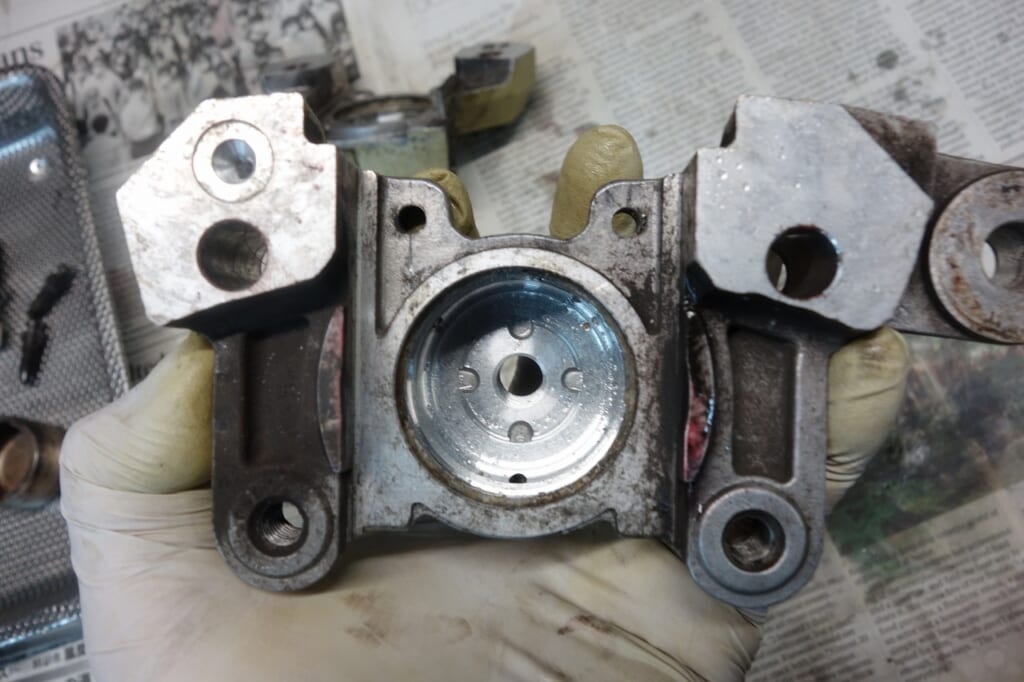
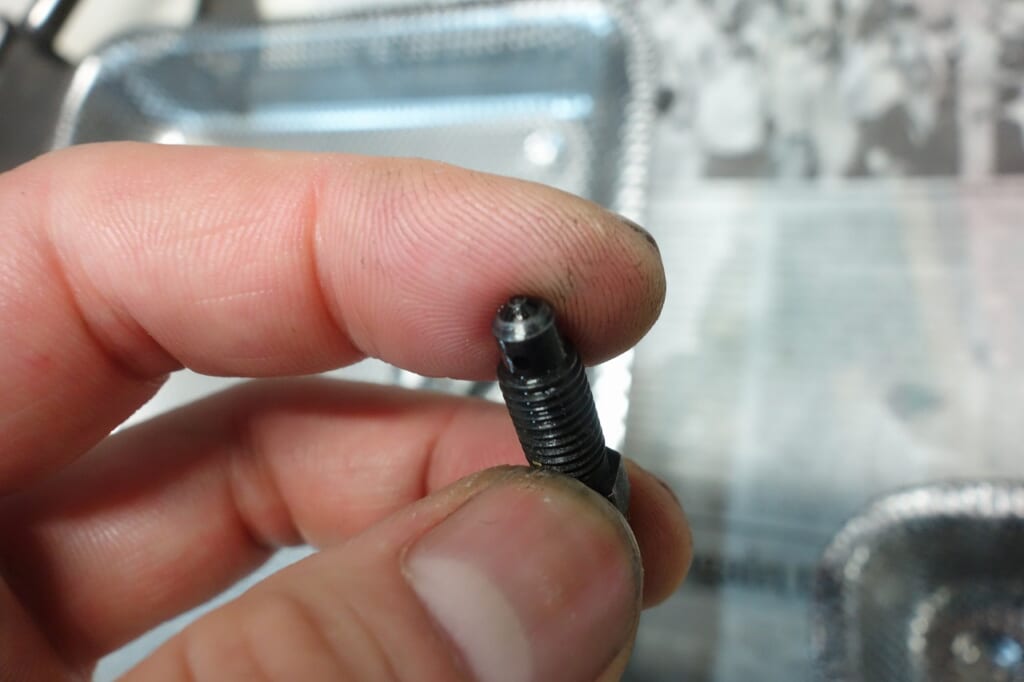
Let’s clean up the body too.
We replace the piston every time. The nipple is also a wear item, so replacing it gives you a big boost in peace of mind. (‘ω’)ノ
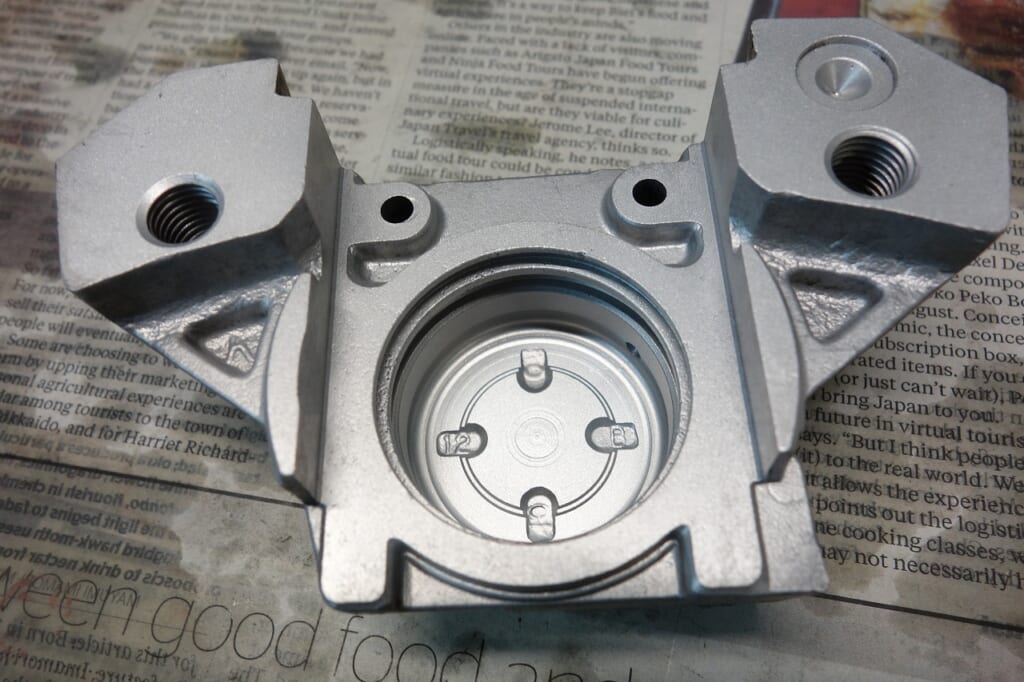
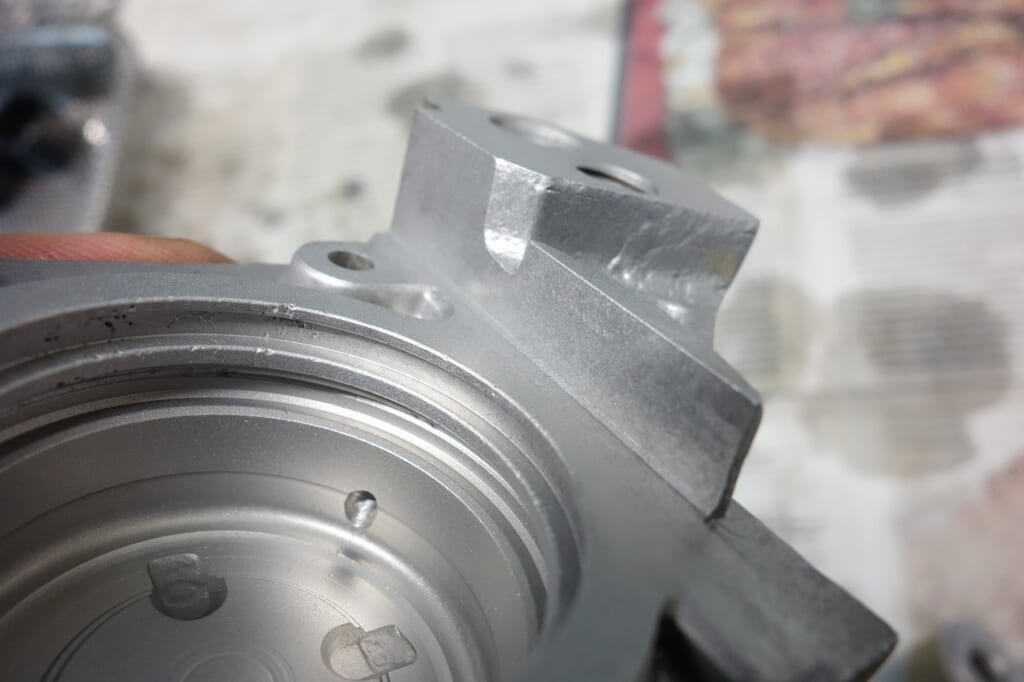
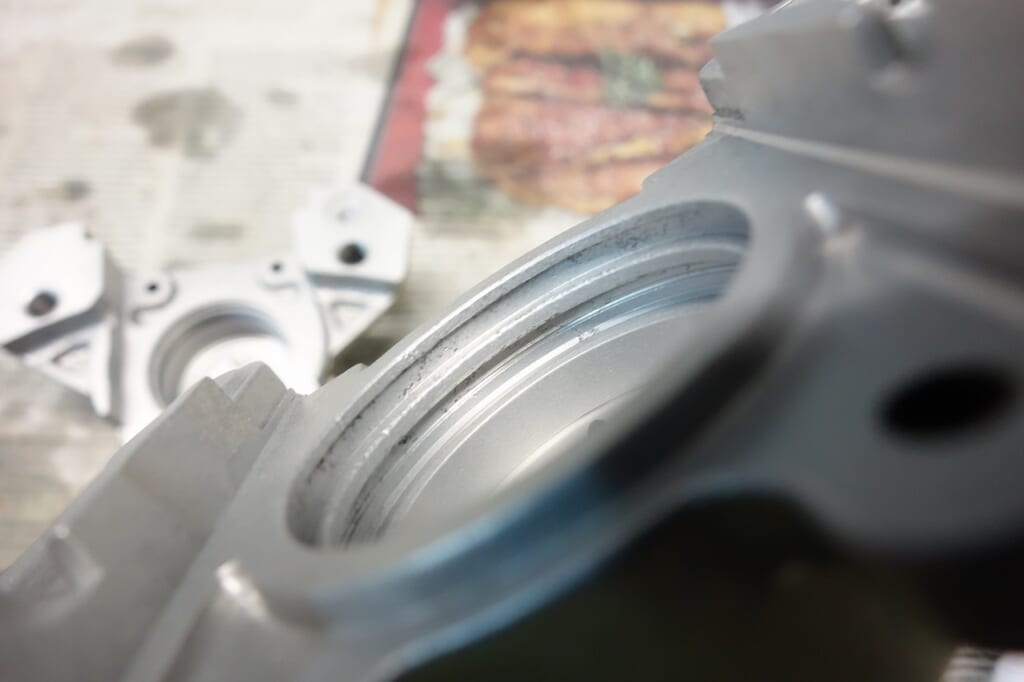
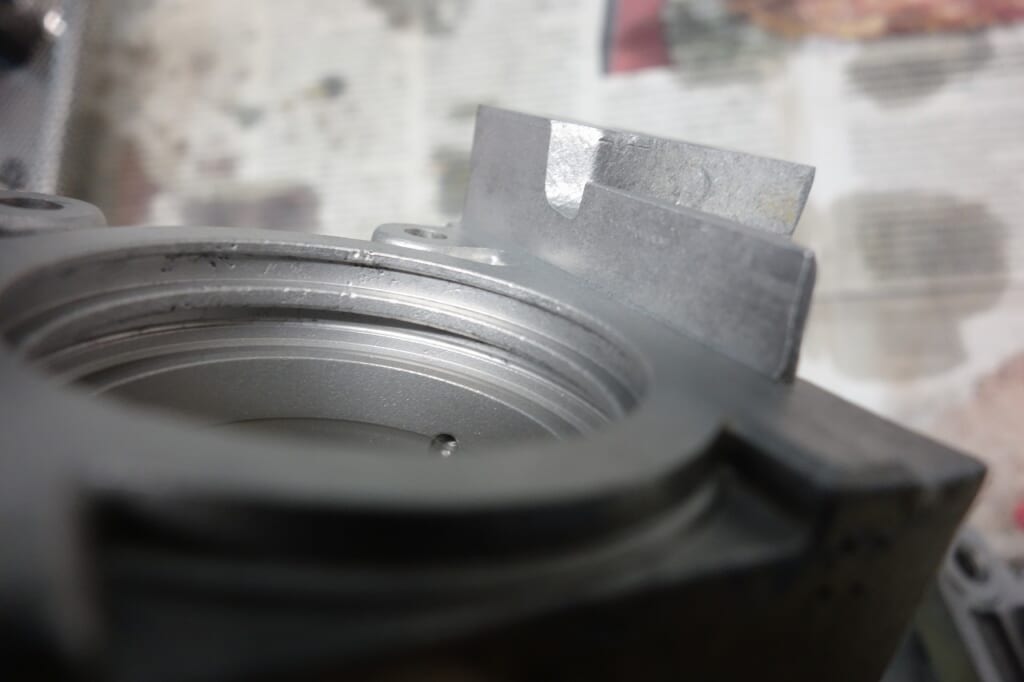
We polish it smooth with wet blasting. From experience, it resists corrosion better and the finish looks uniform and beautiful.
Depending on the equipment, the finish performance, speed, durability, and appearance all get a big boost.
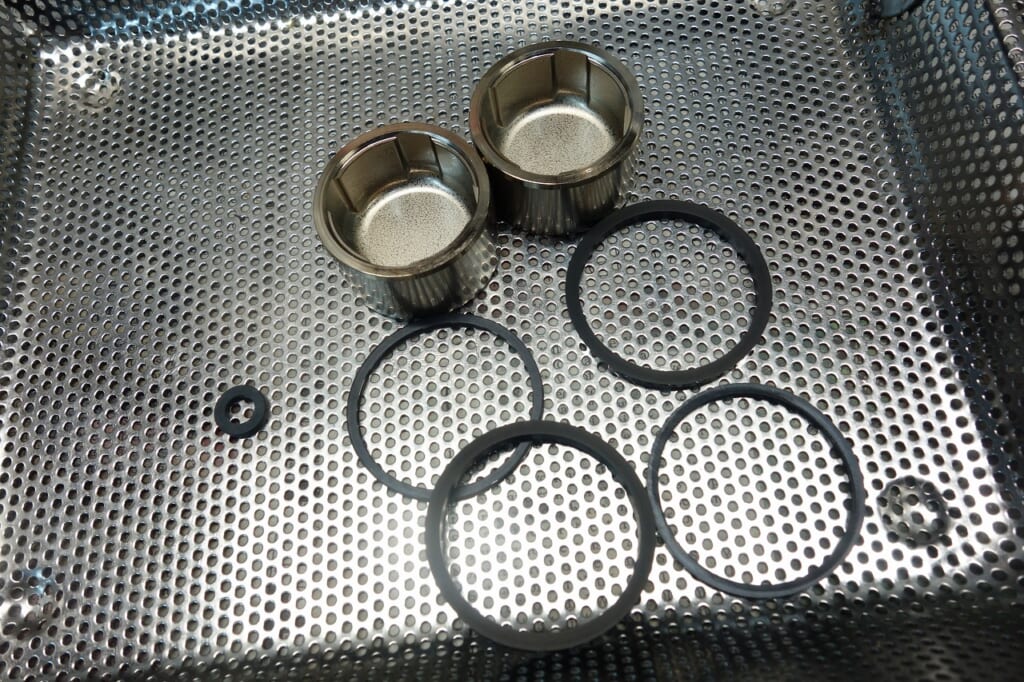
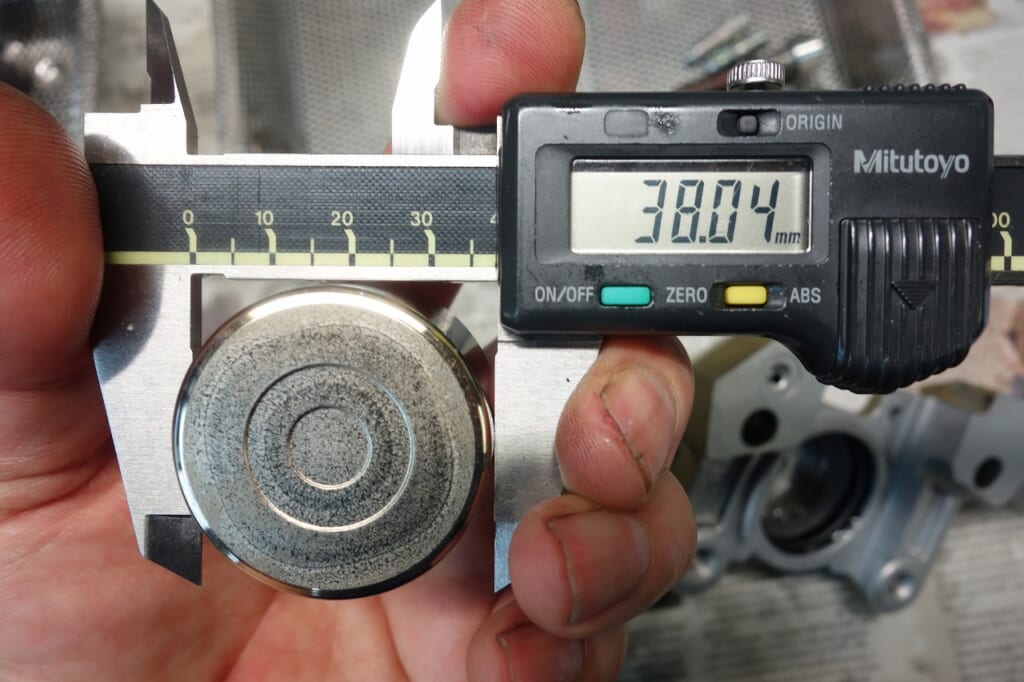
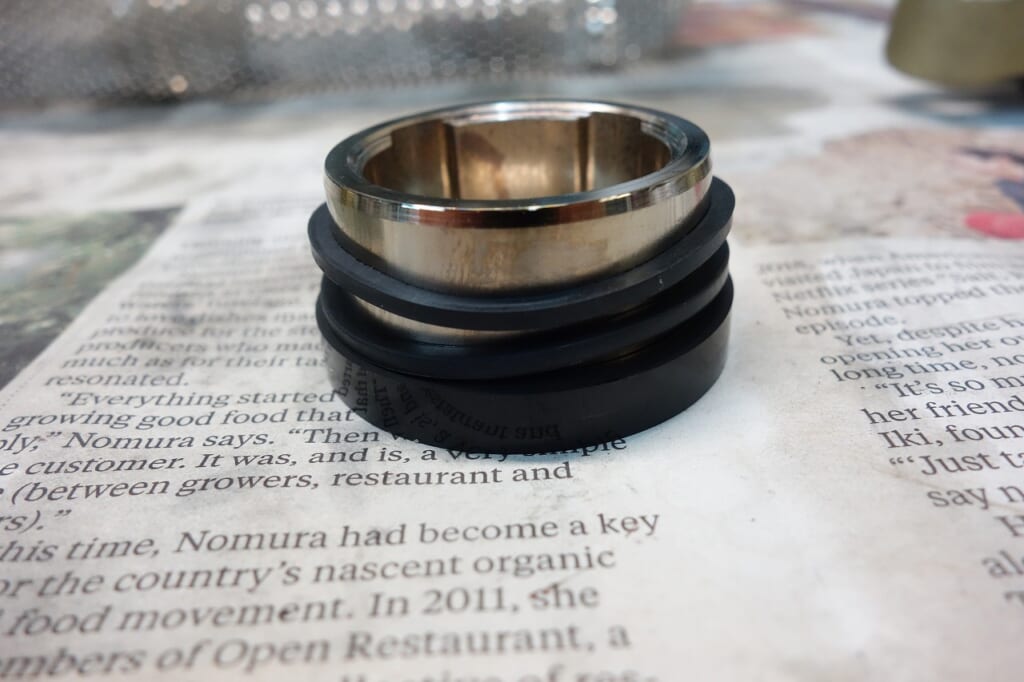
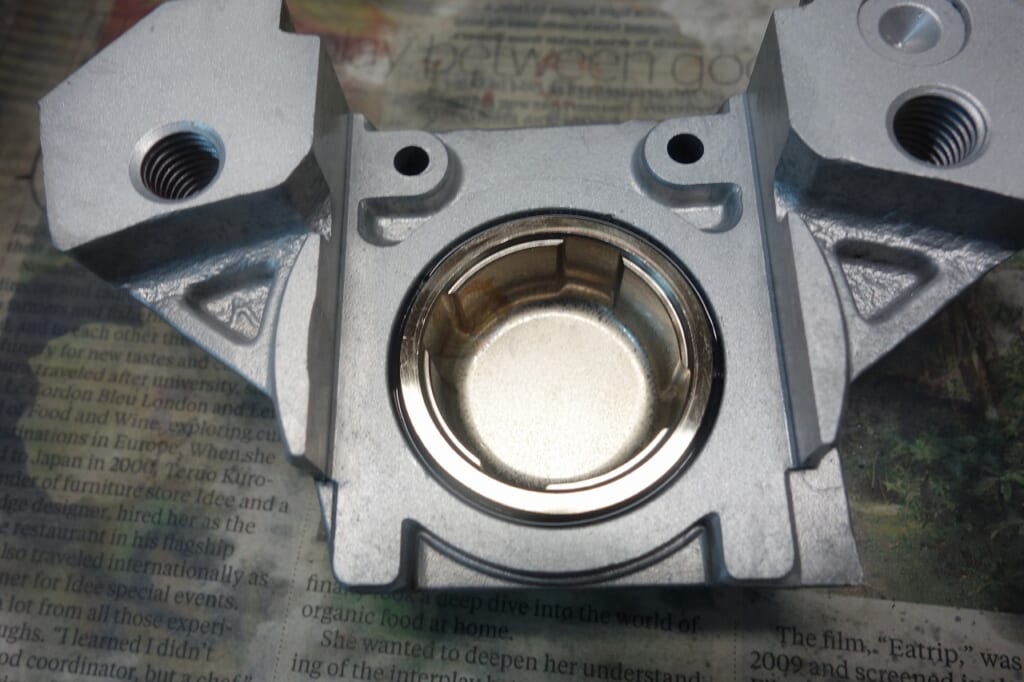
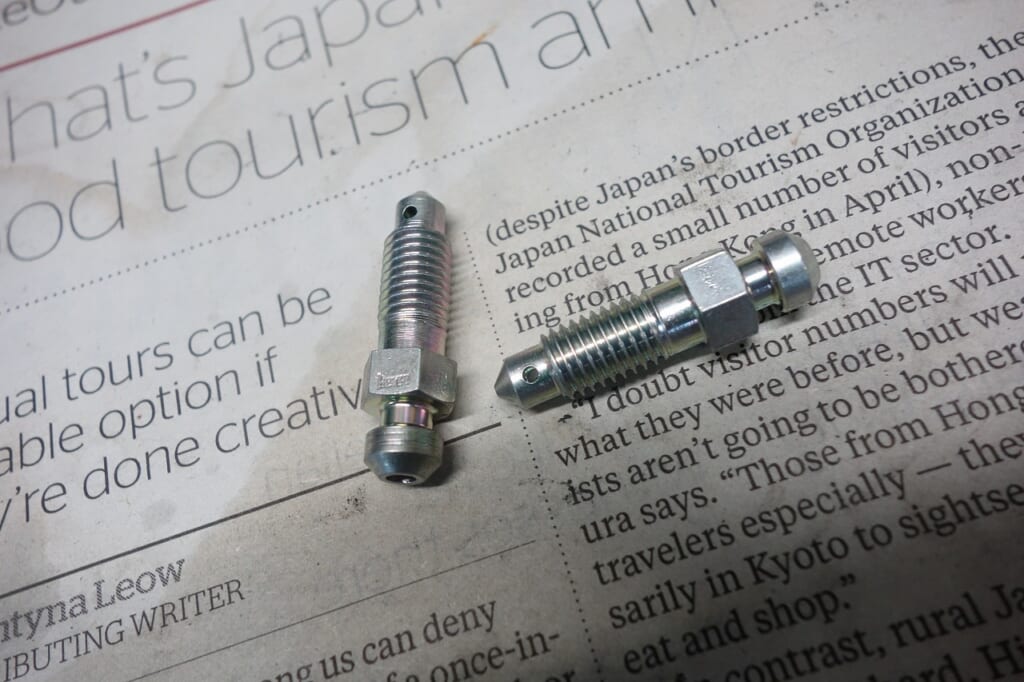
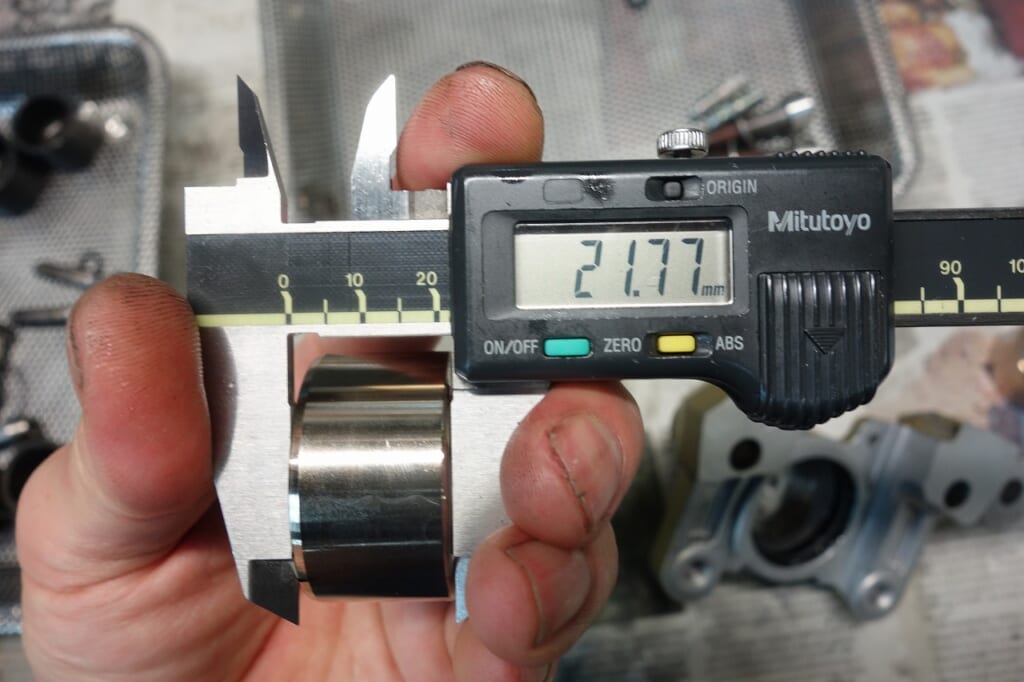
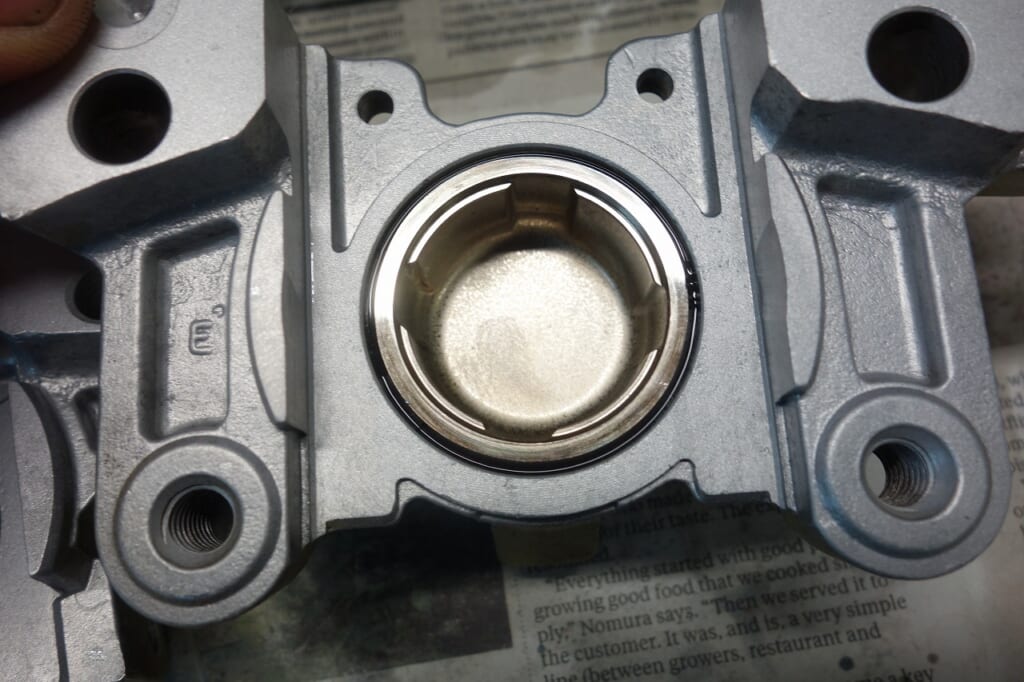
After air blowing, we completely dry it in an oven, cool it, and then assemble it.
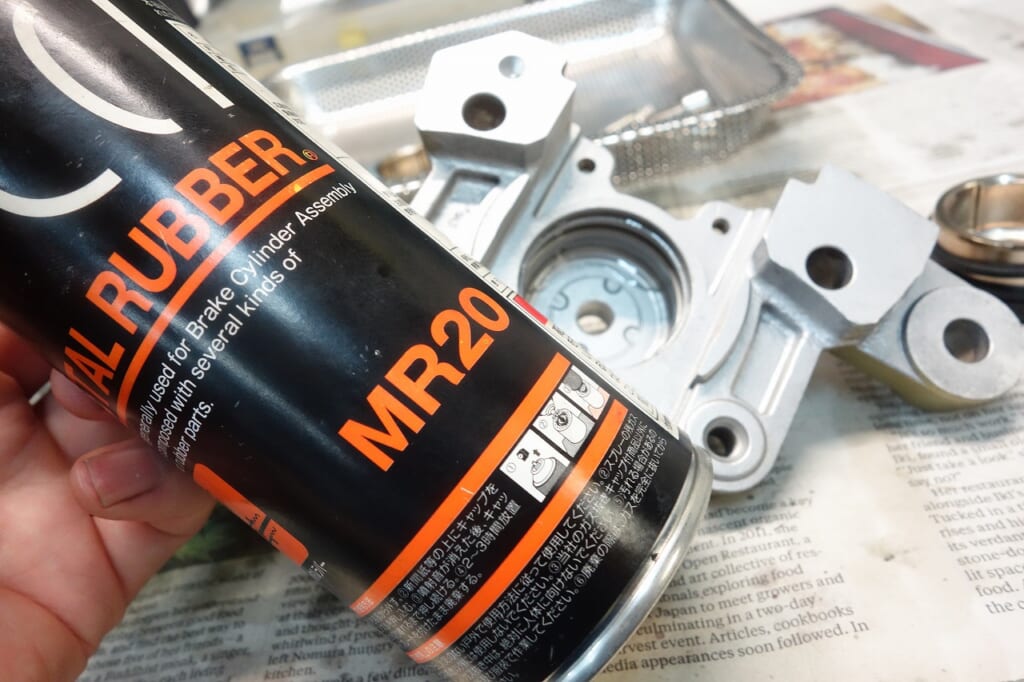
The lubricant we use is CCI Metal Rubber MR20 for assembly. For those using caliper overhaul grease, I’d like you to try this gem once.
It’s not an exaggeration to say Tokico becomes Brembo, but it works that well.
Using this, you might wonder what the benefit of grease is.
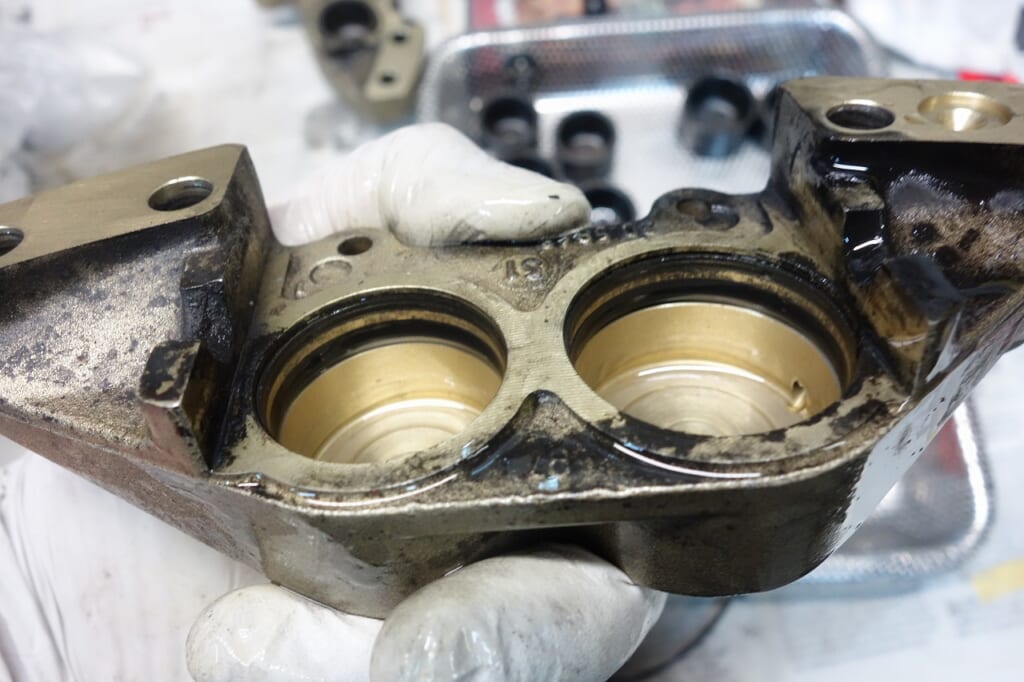
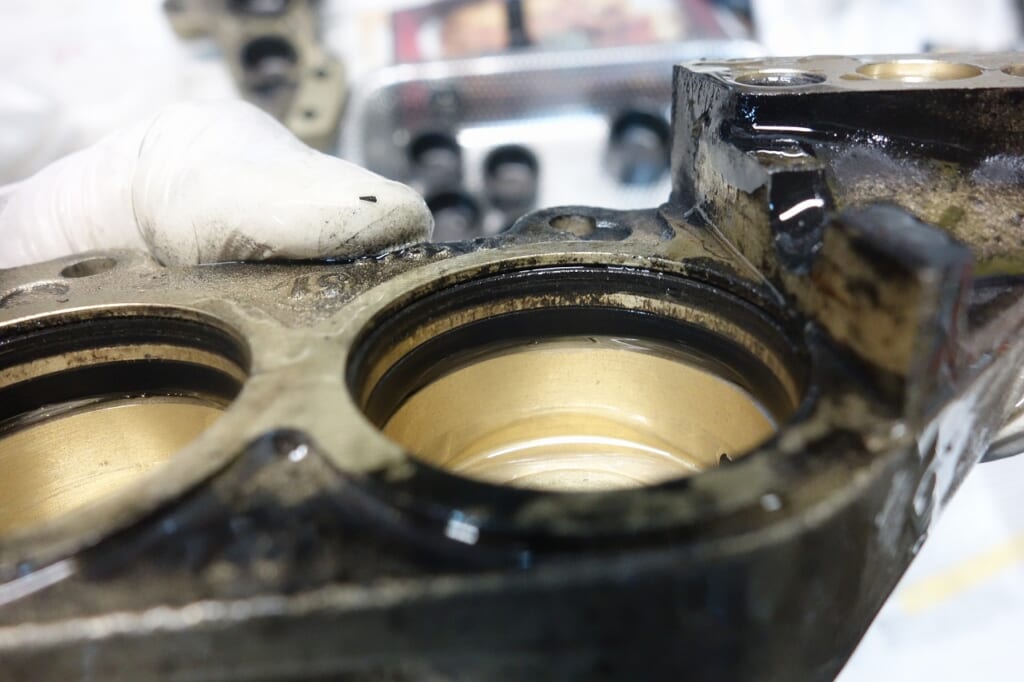
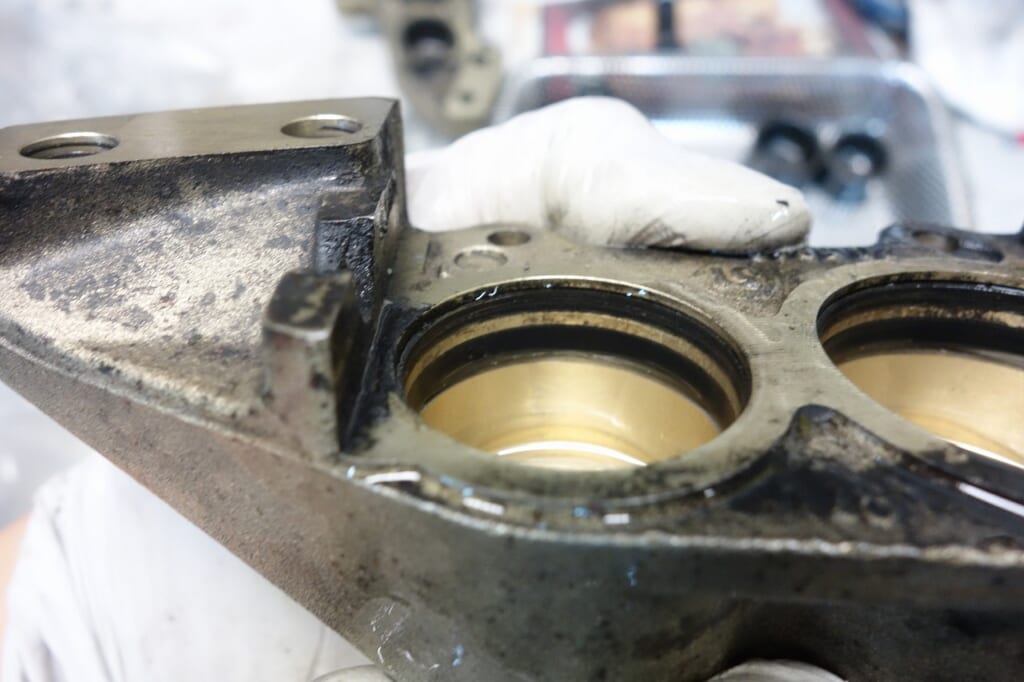
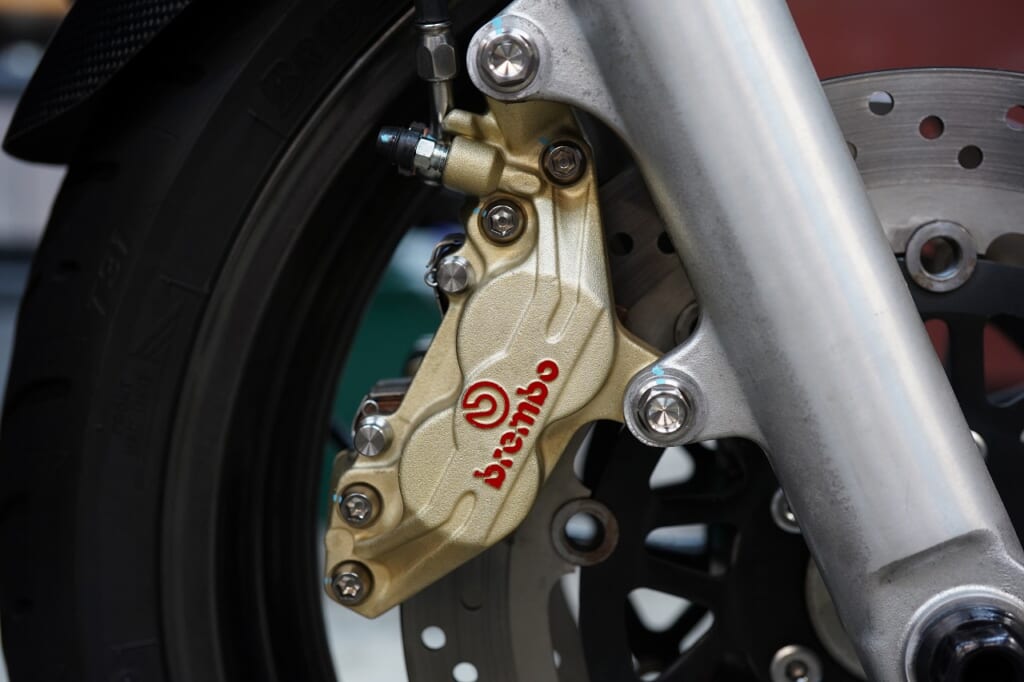
Moving to the front 100 MM pitch OEM Brembo.
The gold color and this cast finish are extremely troublesome. . . . It’s one of the hardest calipers to clean.
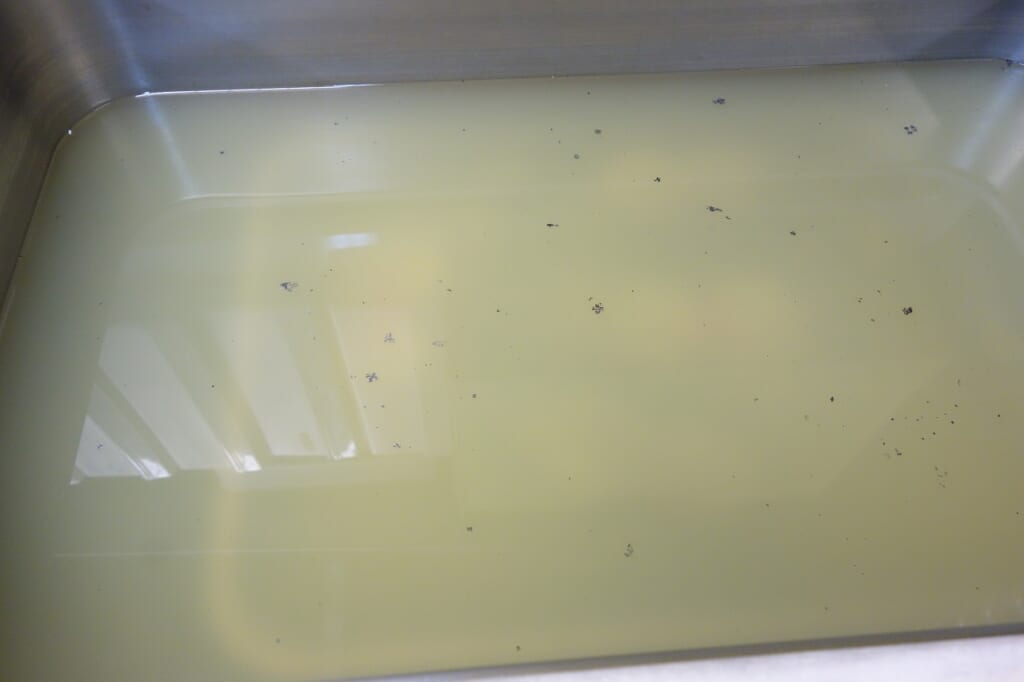
Not many people know this, but we have a fairly large ultrasonic cleaner.
It gets really hot water.
With faint hope, I ran it for about an hour going “zzzzz,” but it had almost no effect. ( ;∀;)
Well, there’s only one option left. . . . that one. That one.
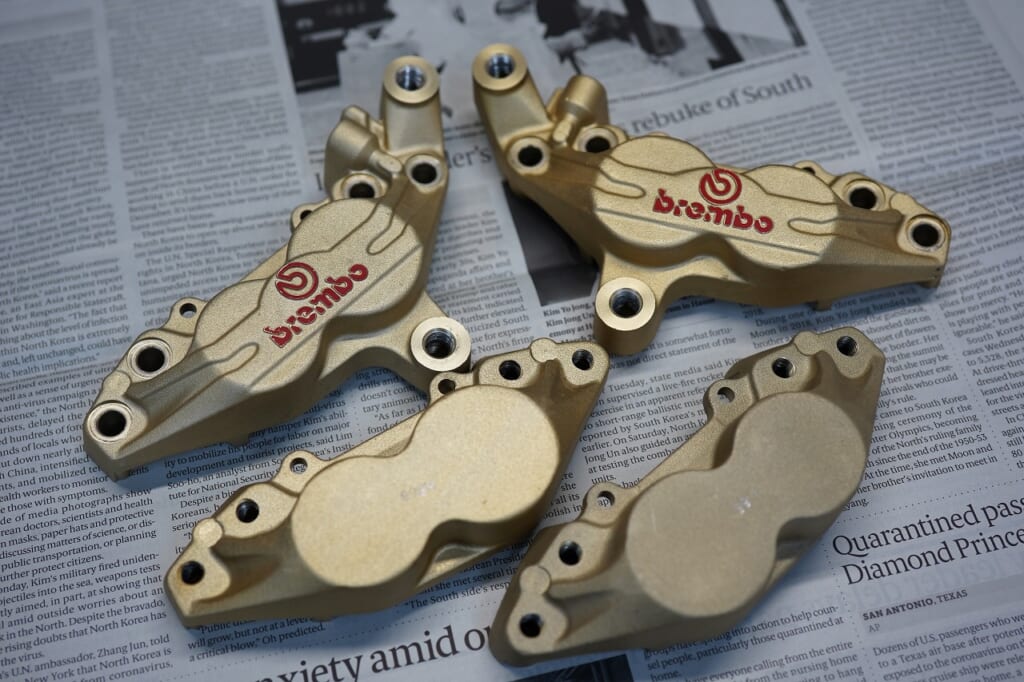
How’s that? Truly a p-e-r-f-e-c-t finish.
I learned something new today too. (‘ω’)ノ
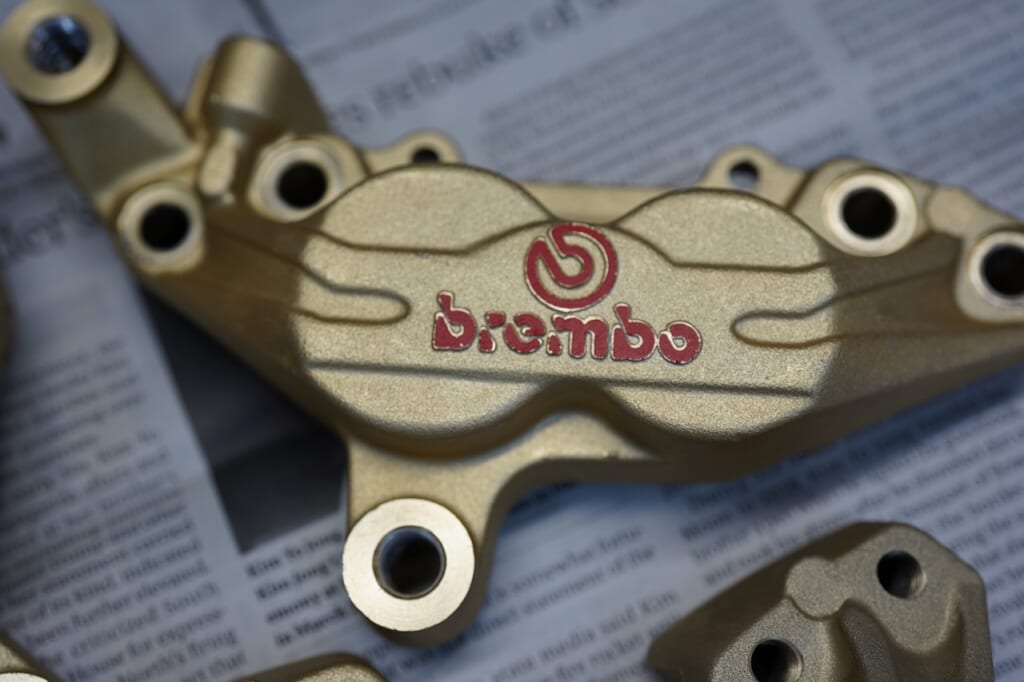
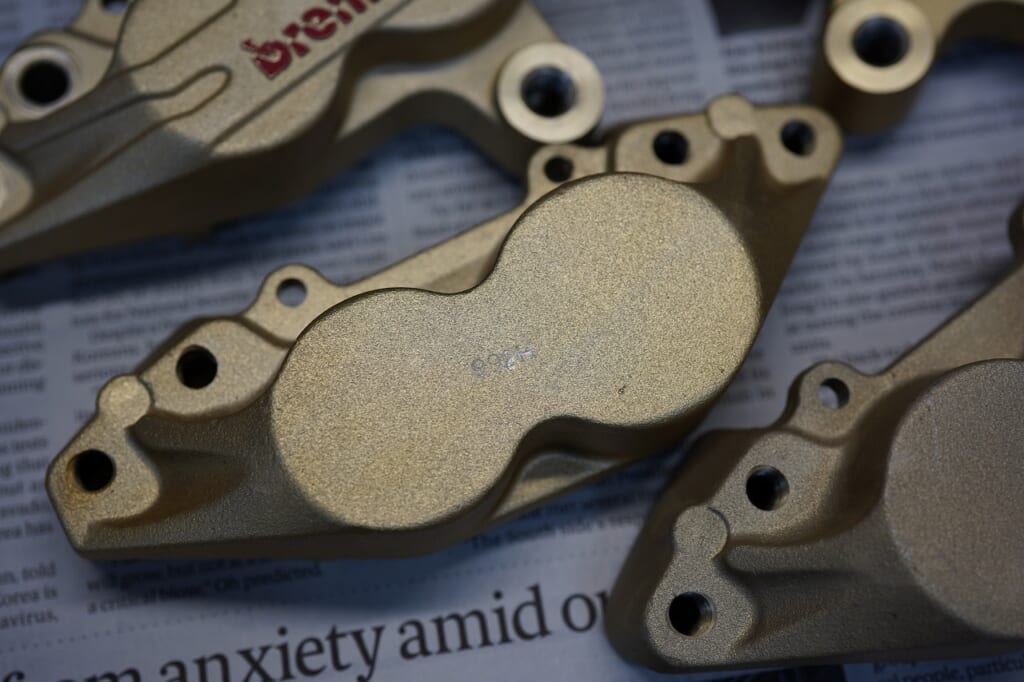
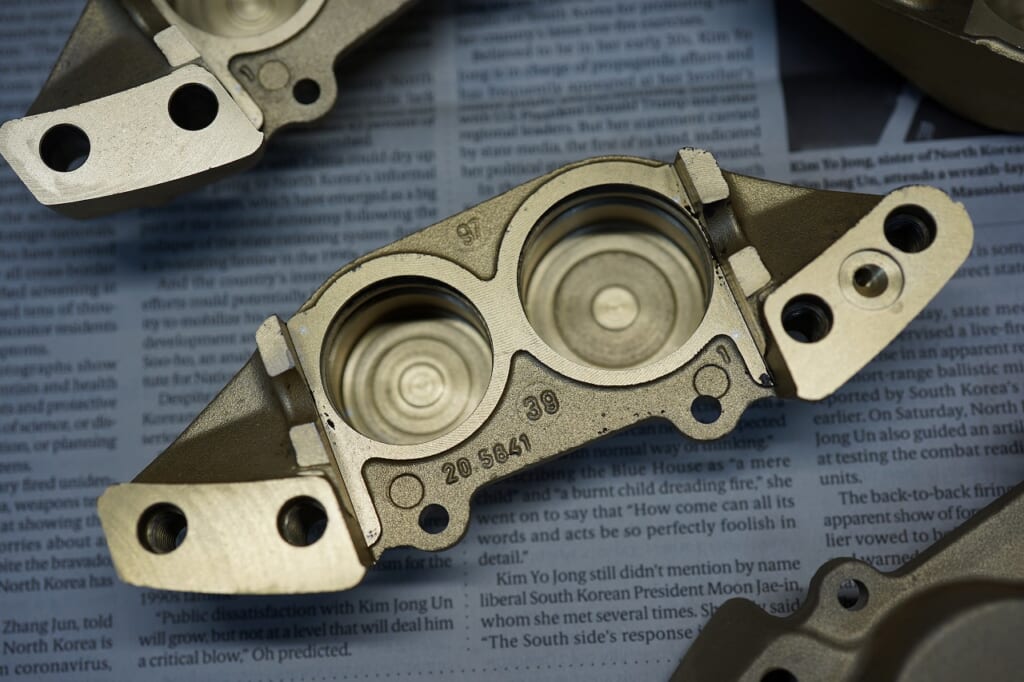
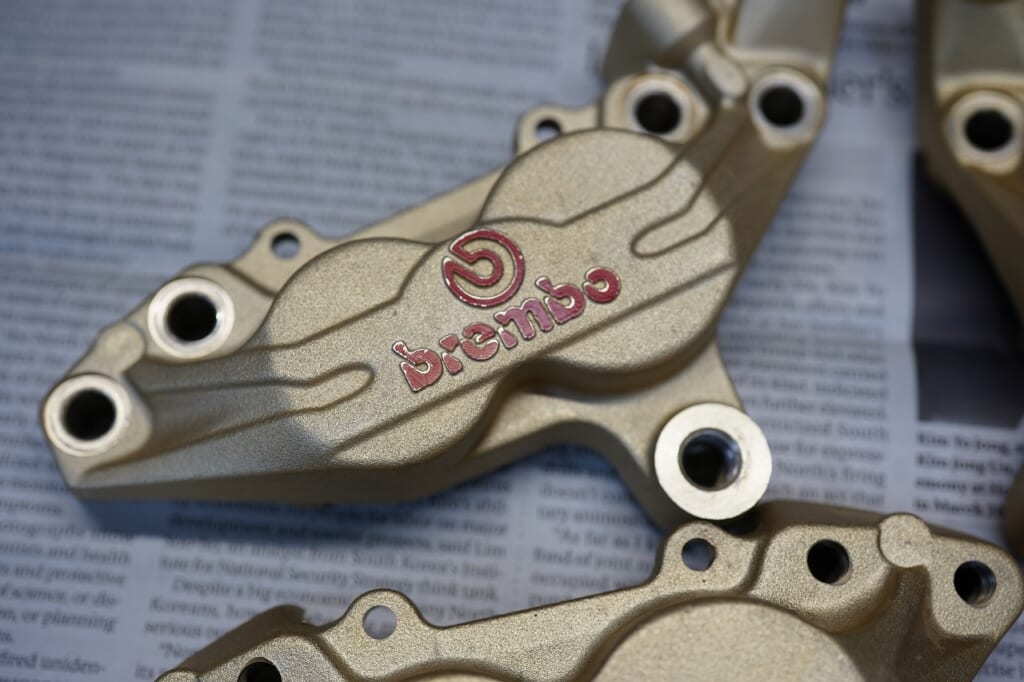
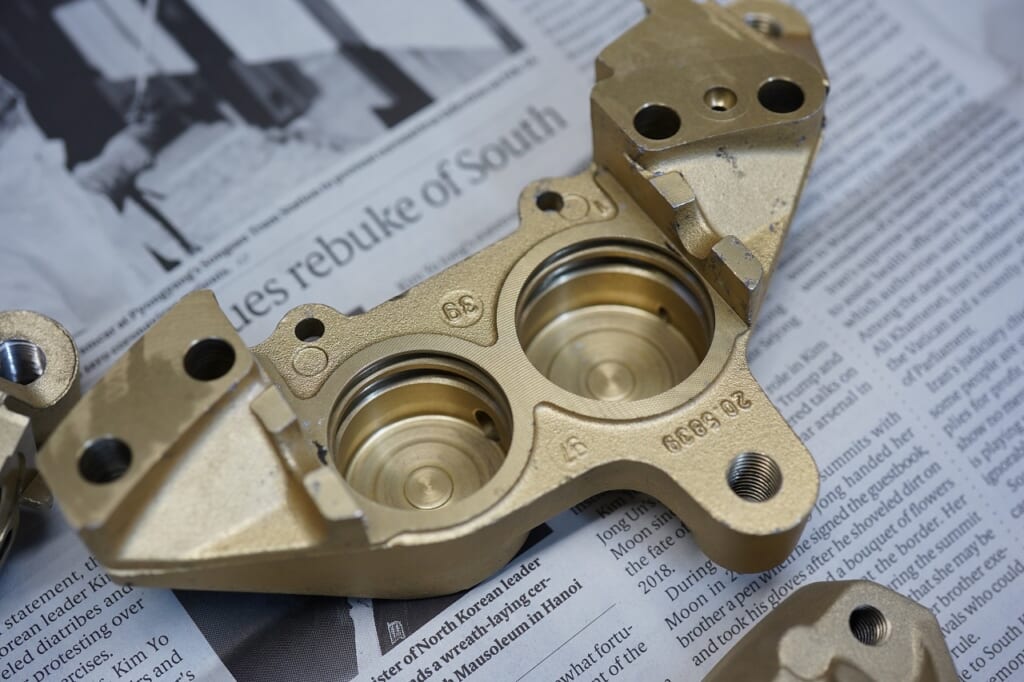
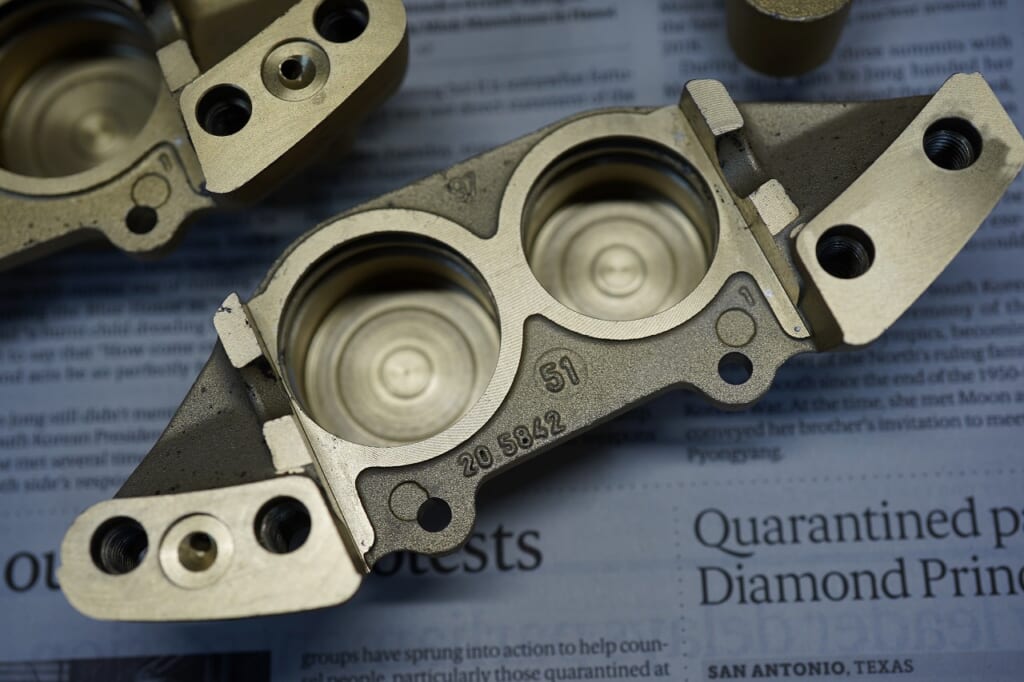
It’s a shame there’s no before picture, but with a satisfying finish, we can assemble it smoothly. (‘ω’)ノ
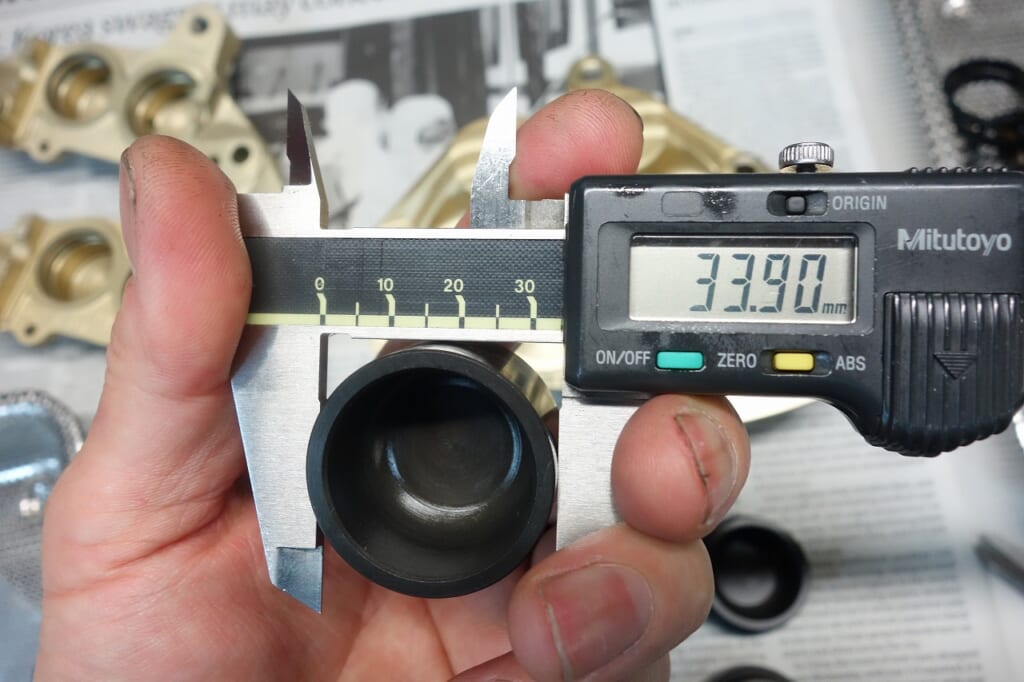
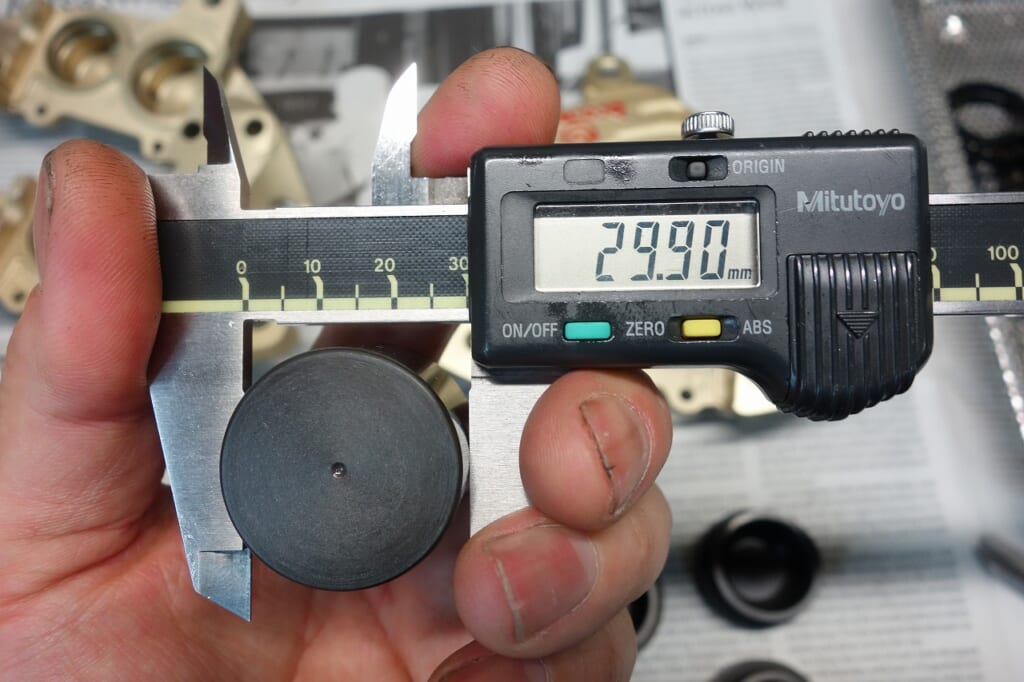
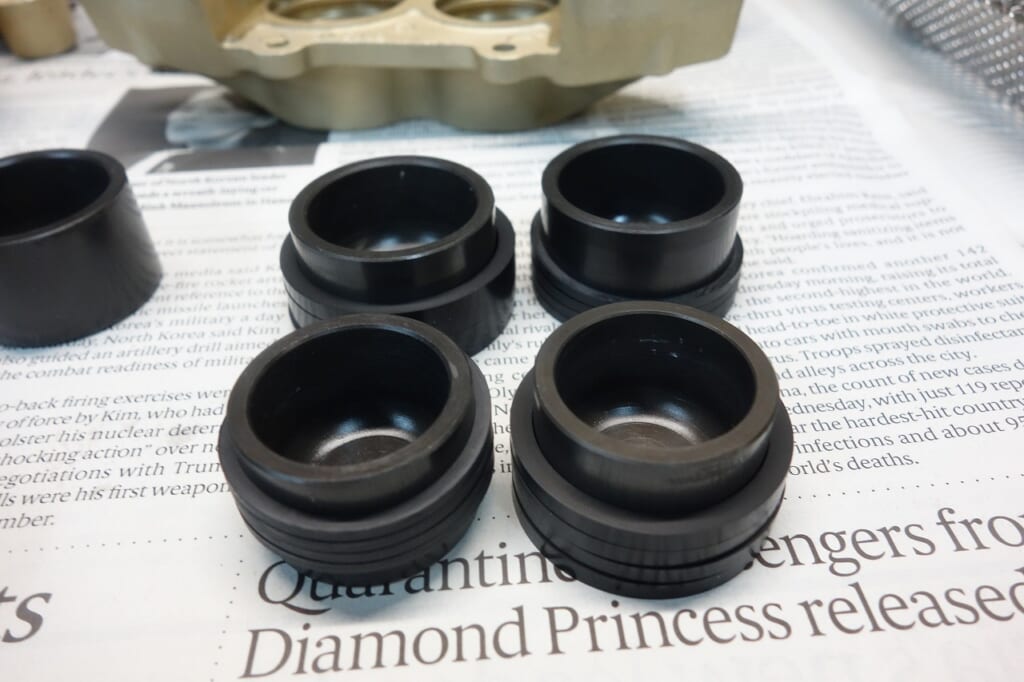
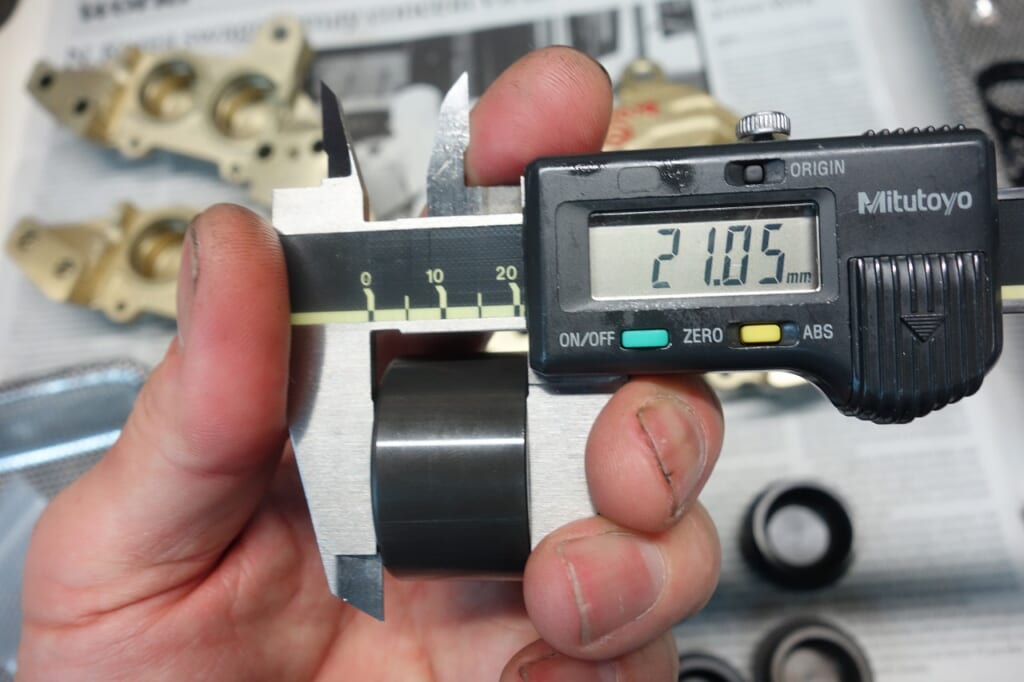
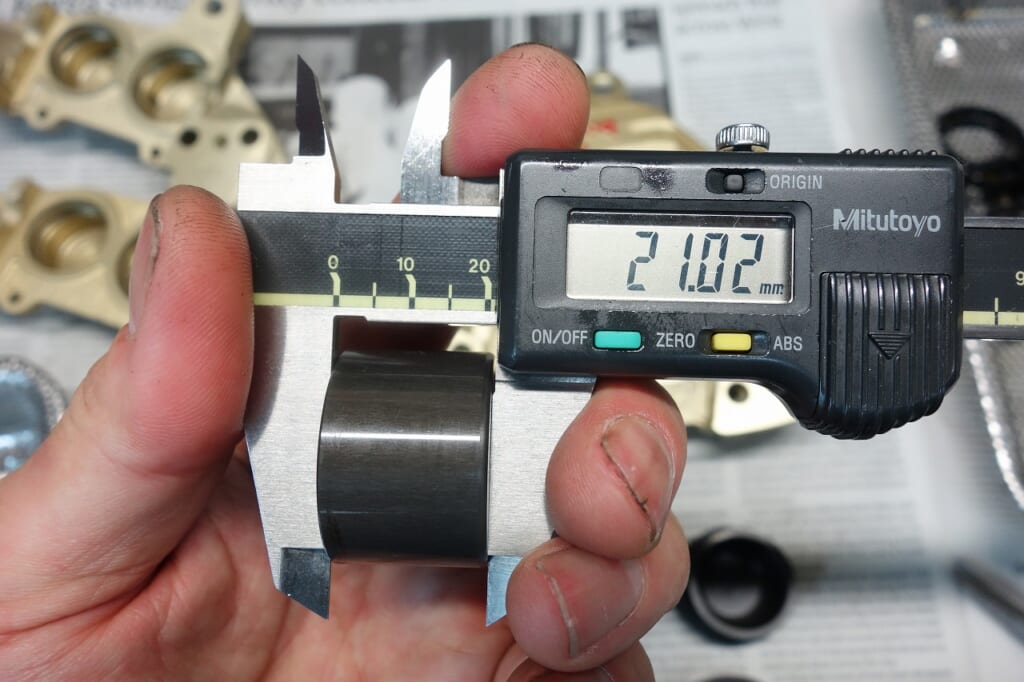
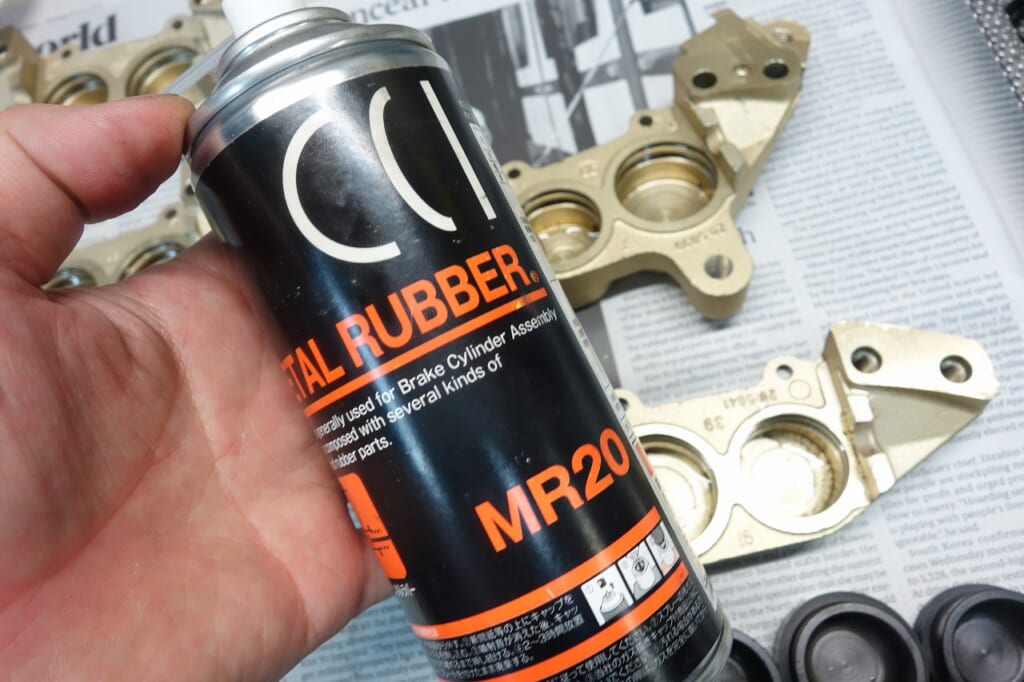
The caliper is completely dried in an oven, then the overhaul parts are inspected and assembled.
Check first, check second. (‘ω’)ノ
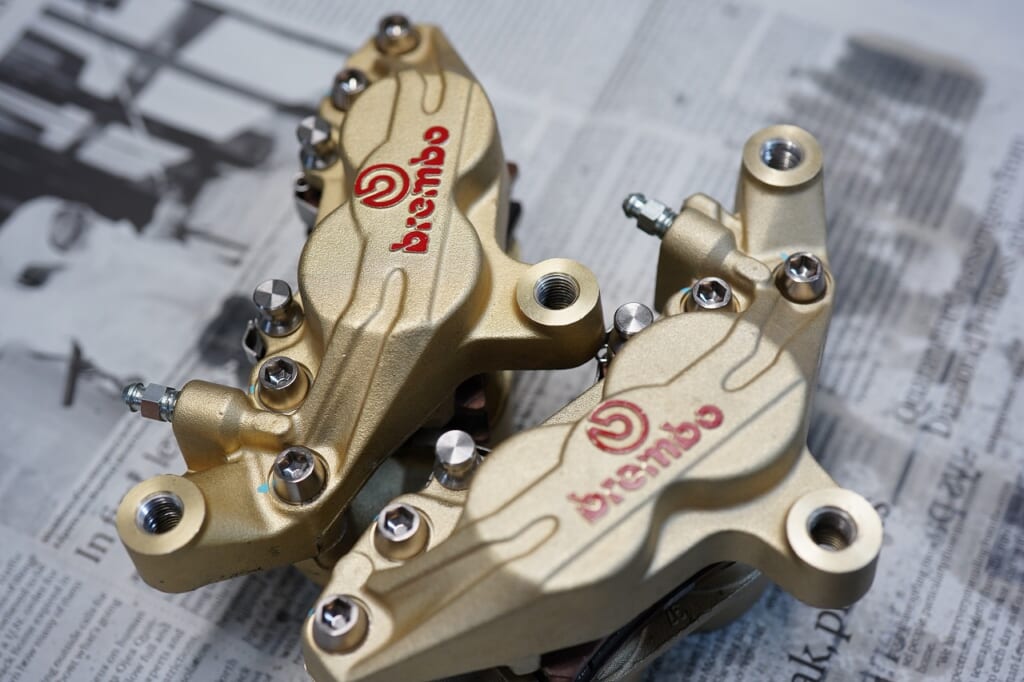
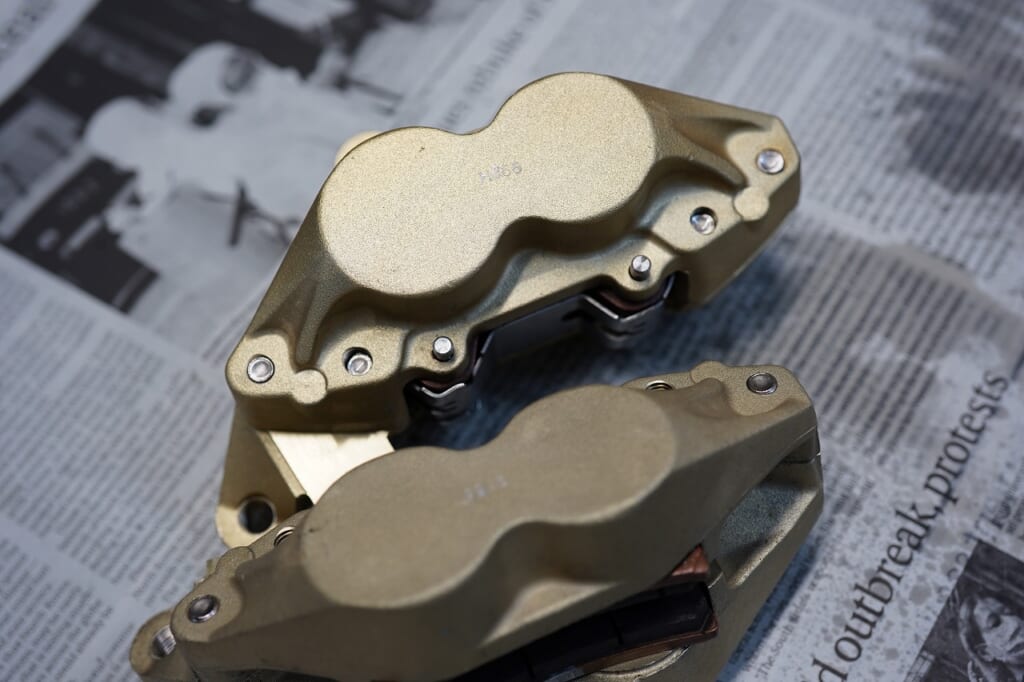
And that’s how the overhaul is complete.
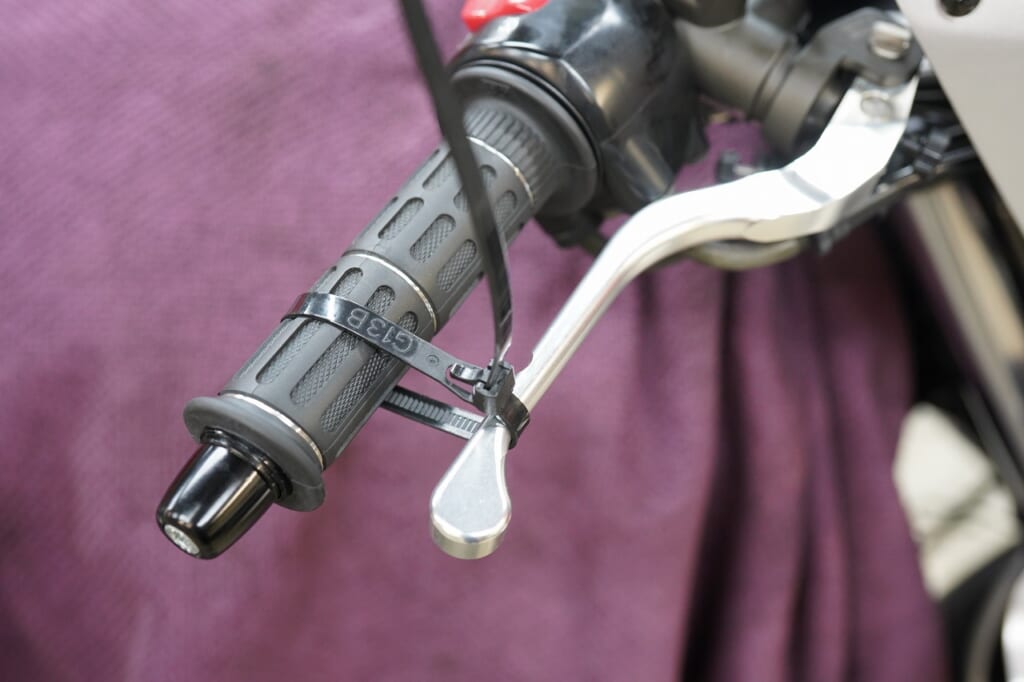
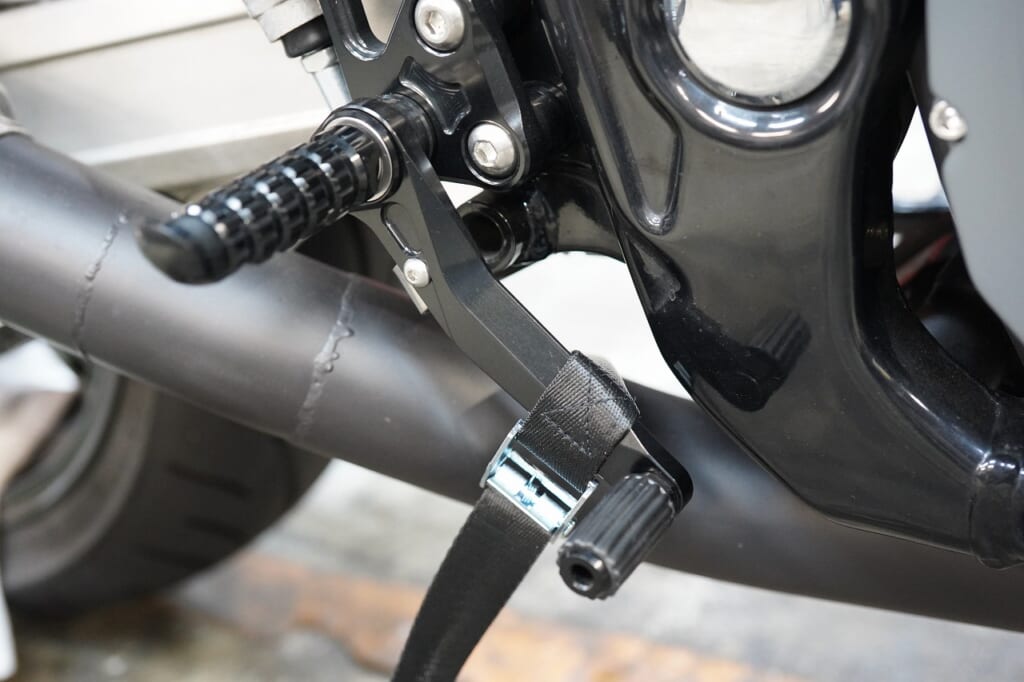
To avoid any leaks, we do a pressure test (with the brake applied) to check for seeping and other issues, which boosts your peace of mind.
We also took it for a test ride and it’s complete. (‘ω’)ノ