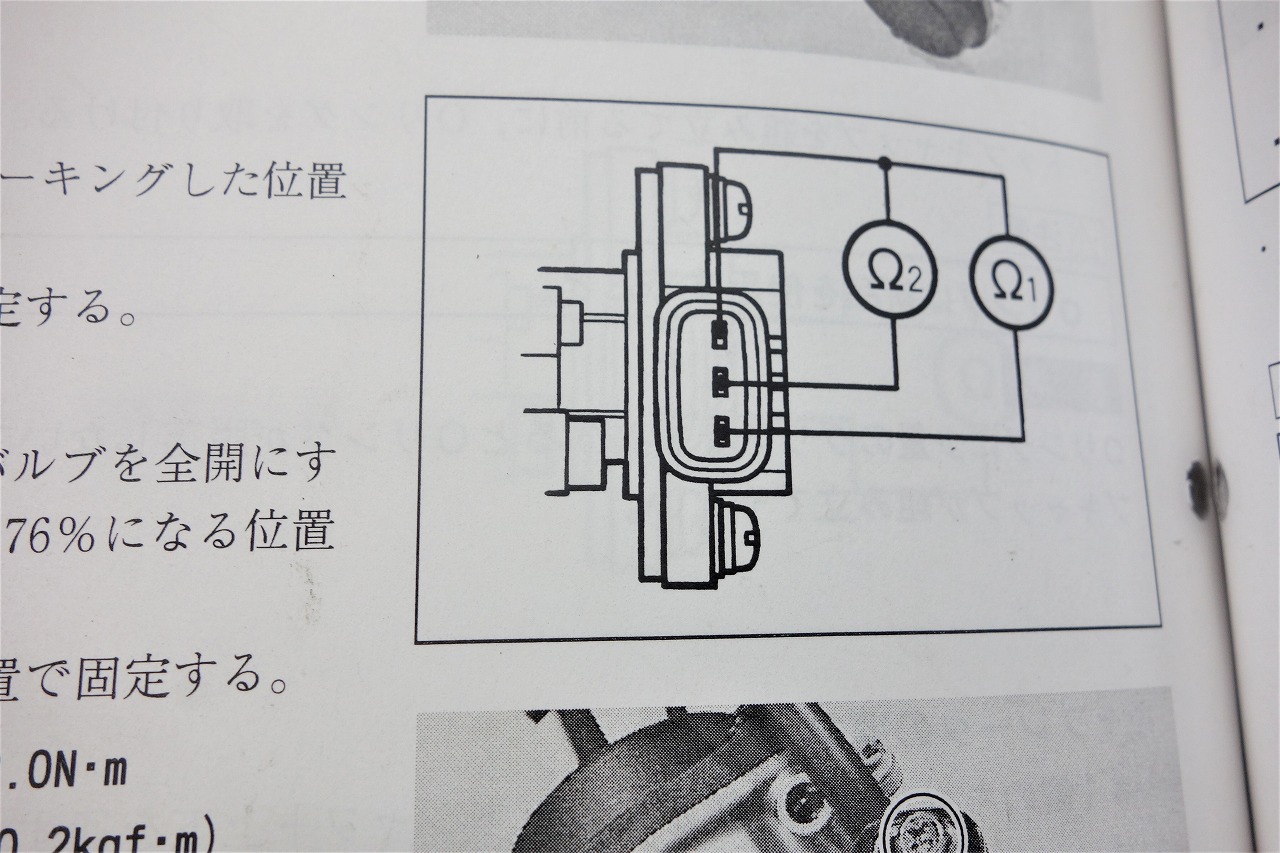
Once removed, the TPS will need adjustment. Since it’s a delicate value, we adjust it gradually and carefully.
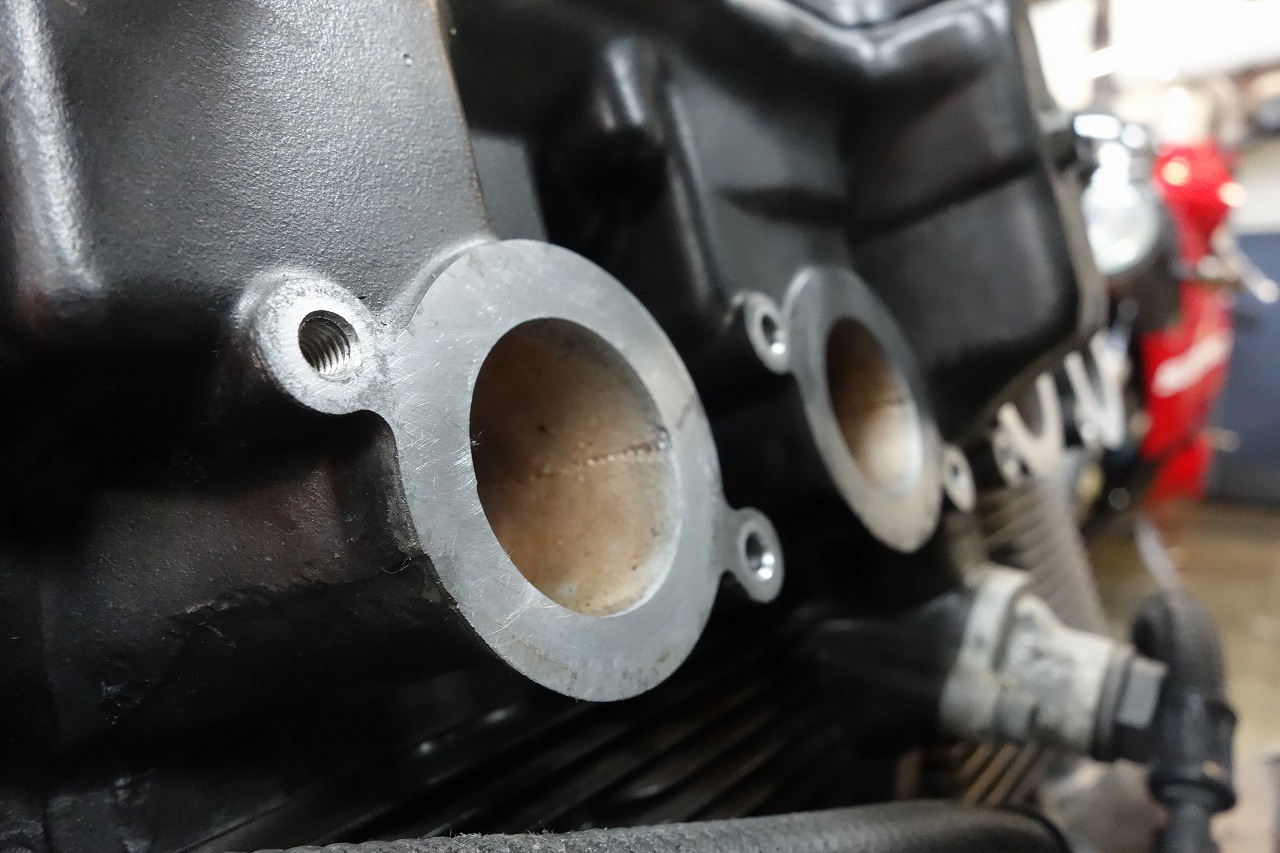
The intake manifold has arrived, so we’ll clean the mounting surface and install it.
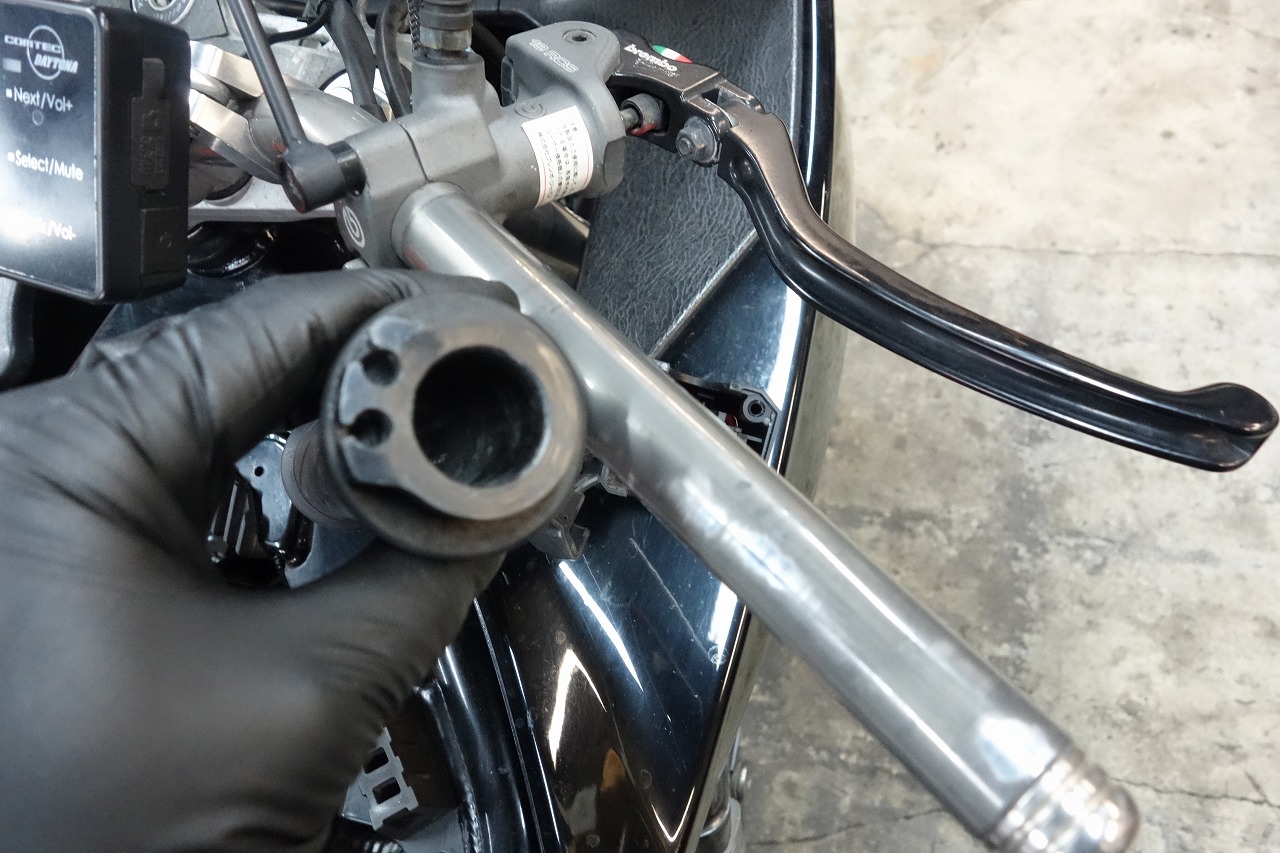
We’ll replace the throttle cable with a new one, so we’ll clean the sleeves and apply a light rust-preventive oil.
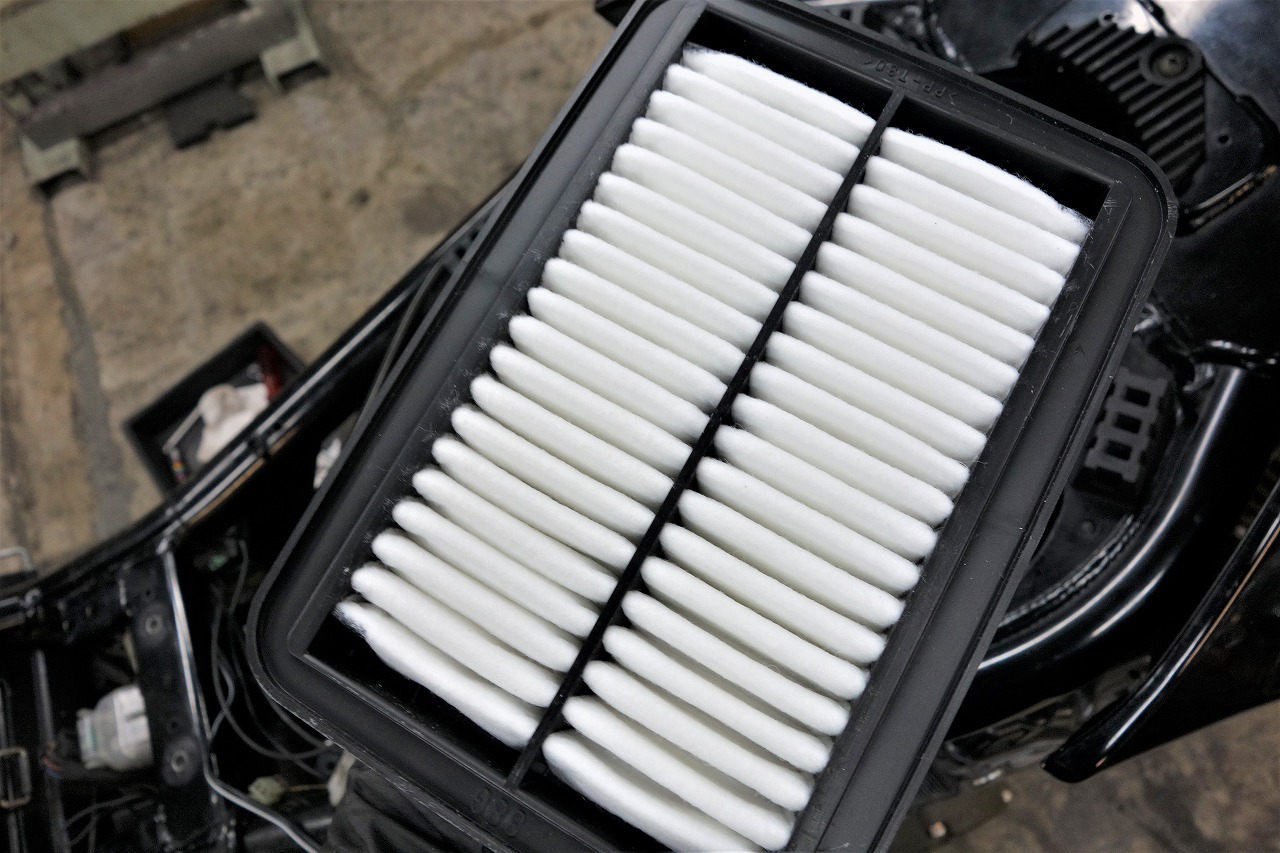
We’ve replaced the air filter with a new one. Fresh air intake!
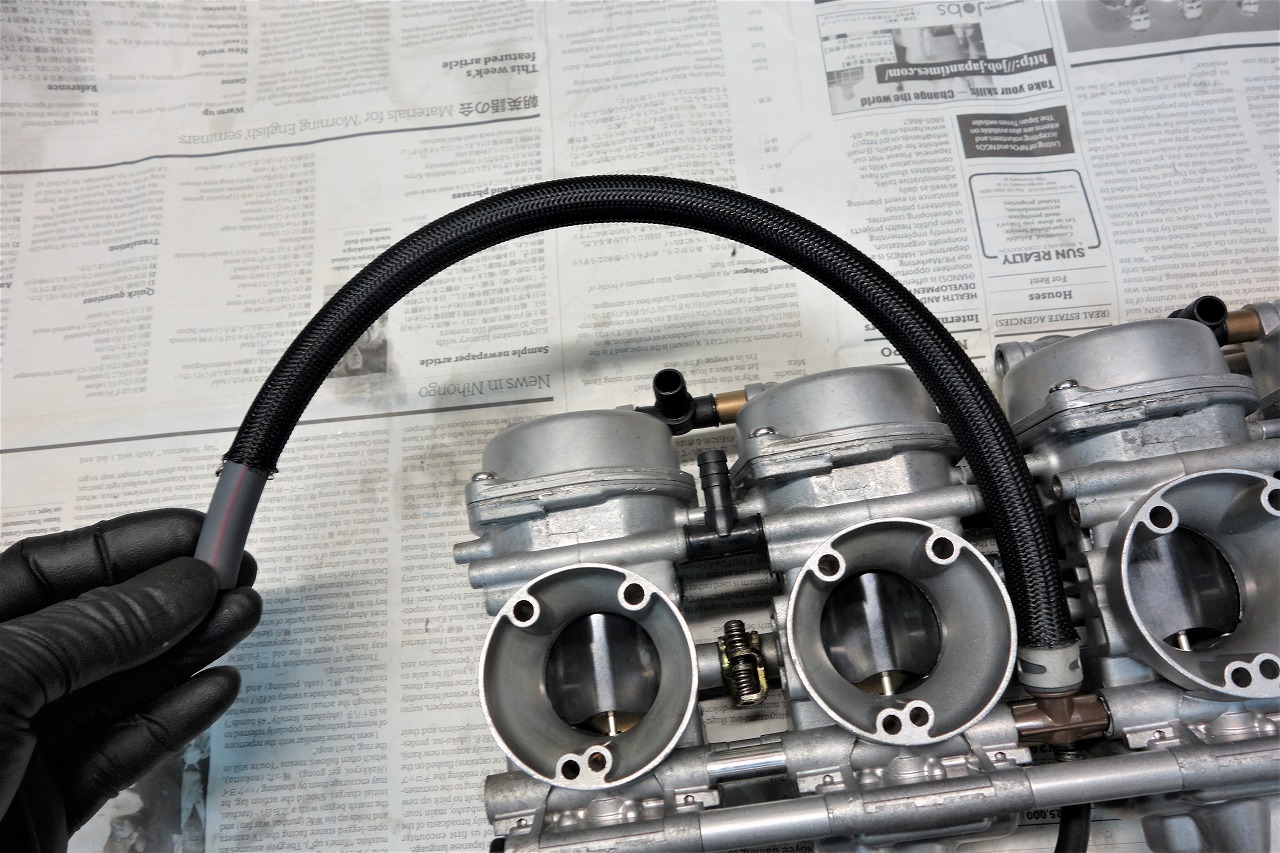
Adding a mesh cover to prevent rubbing gives it an OEM look.
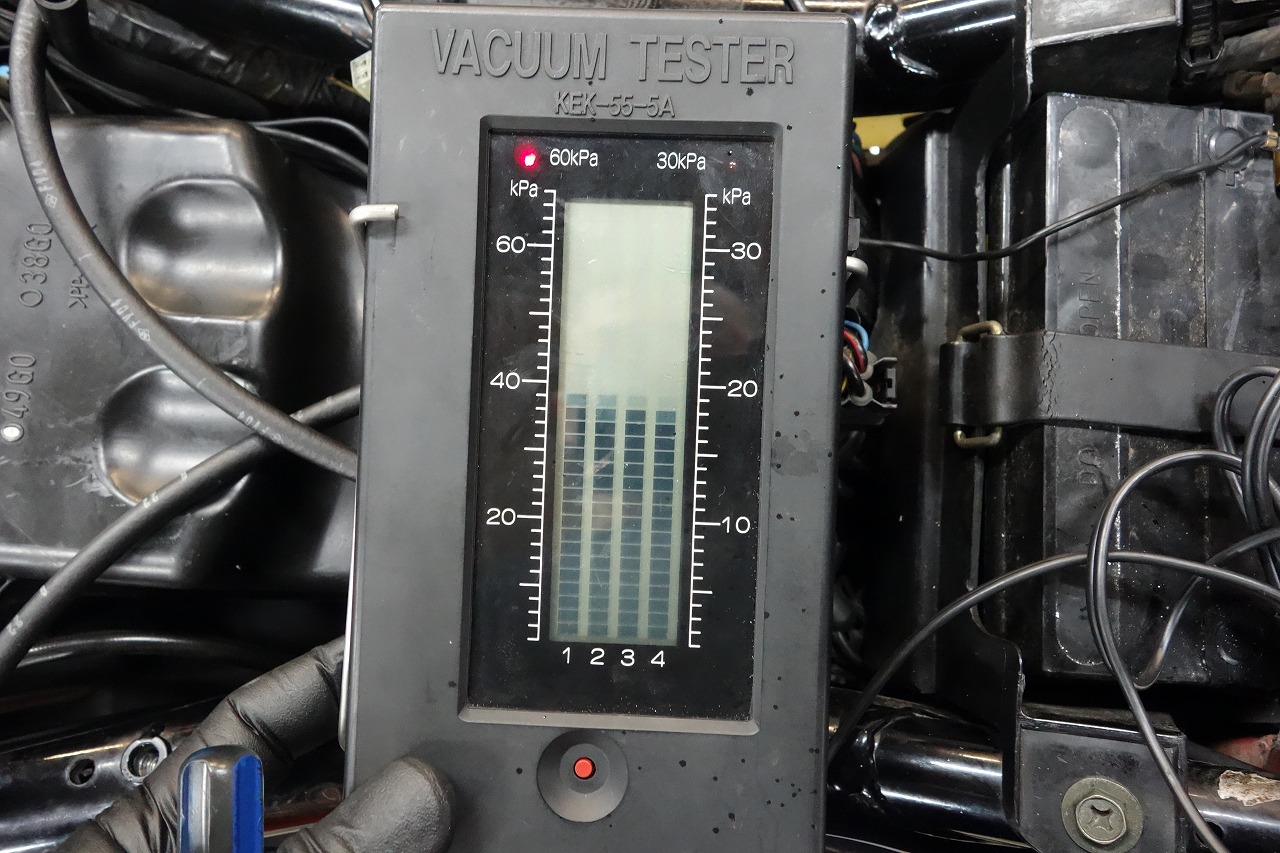
We’ve adjusted the synchronization, and the exhaust note now has a stable “vroom” sound.
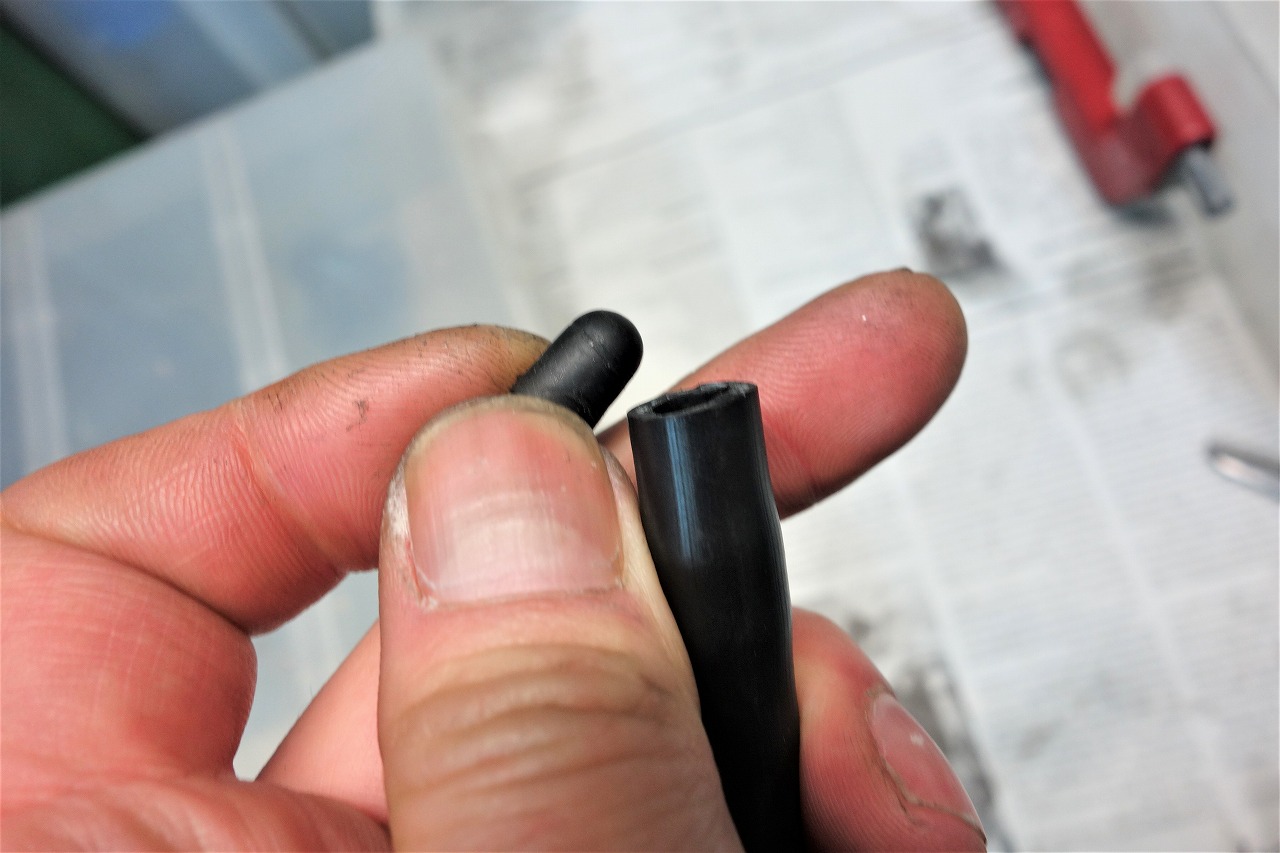
If you’ve ever done BSR synchronization on a Bandit 1200, you know…
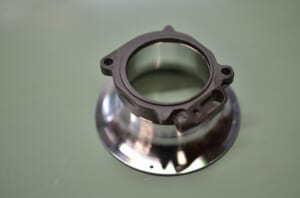
Installing this cap is incredibly tedious. You can’t get it in without removing the carbs from the intake manifold, and sometimes it just pops right off. Oh no!
Finding it takes about 30 minutes…
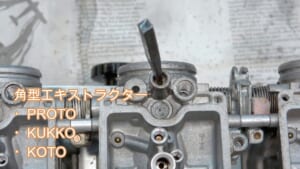
So that’s why we finally made a handy little tool.
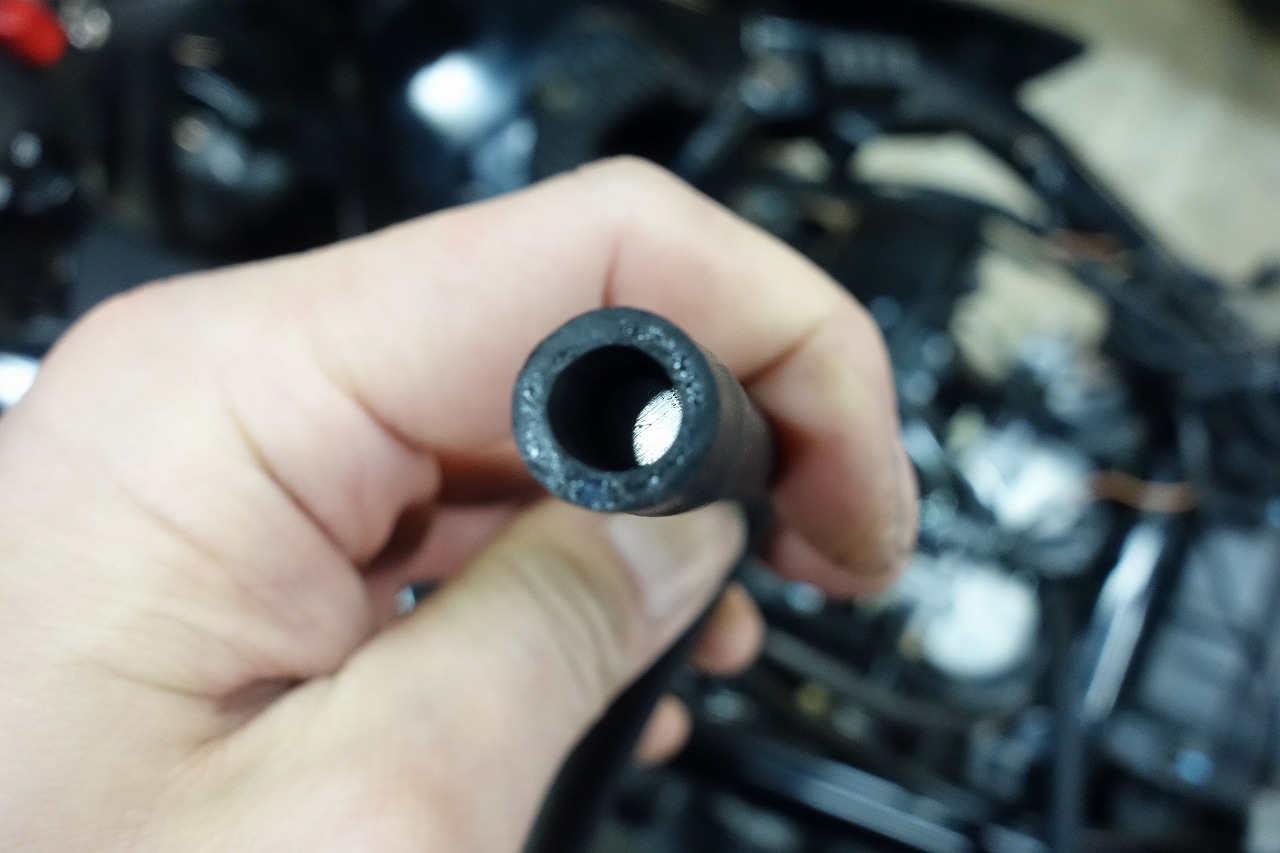
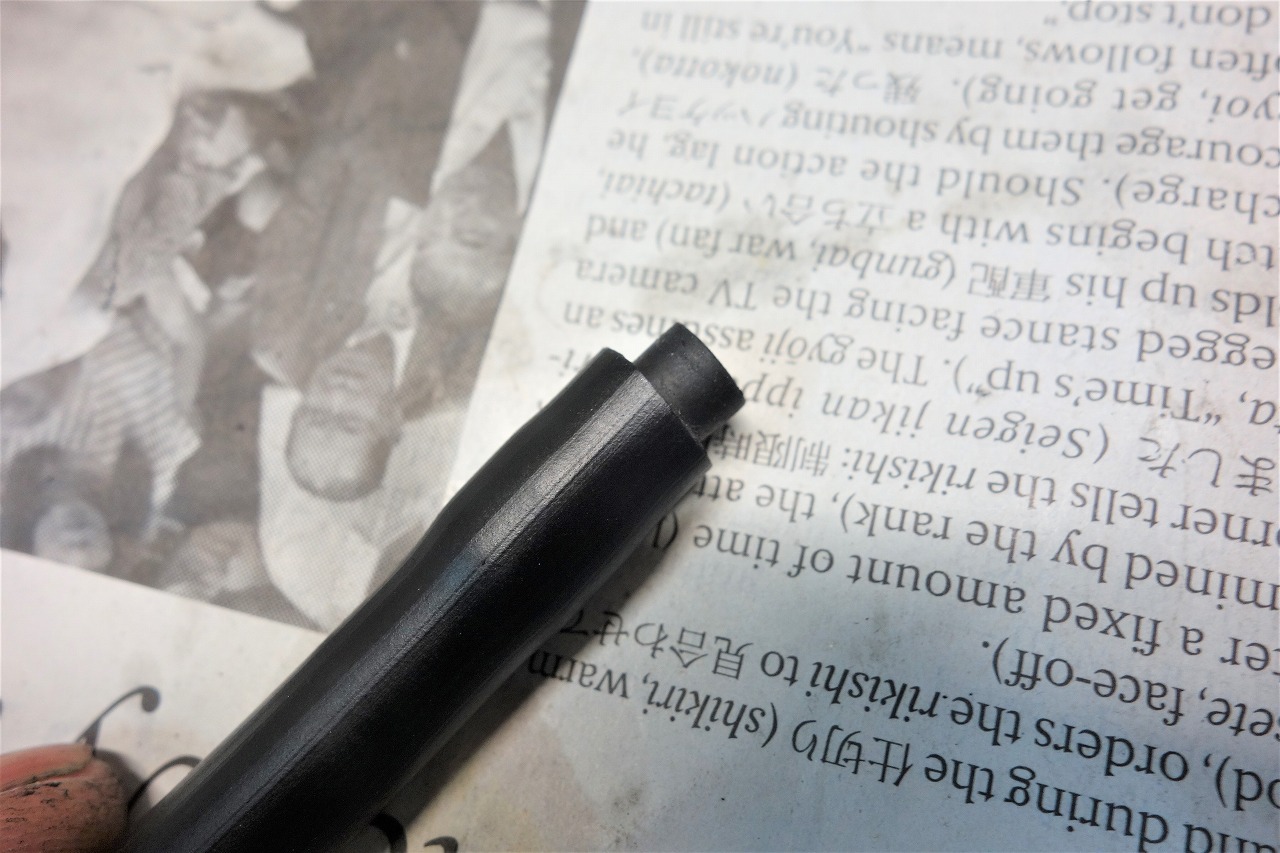
We insert a round rod of appropriate length into the hose to adjust the depth.
If you install it like in the image, you can do it without removing the carbs.
I wish I’d made this earlier—it would have saved so much work.
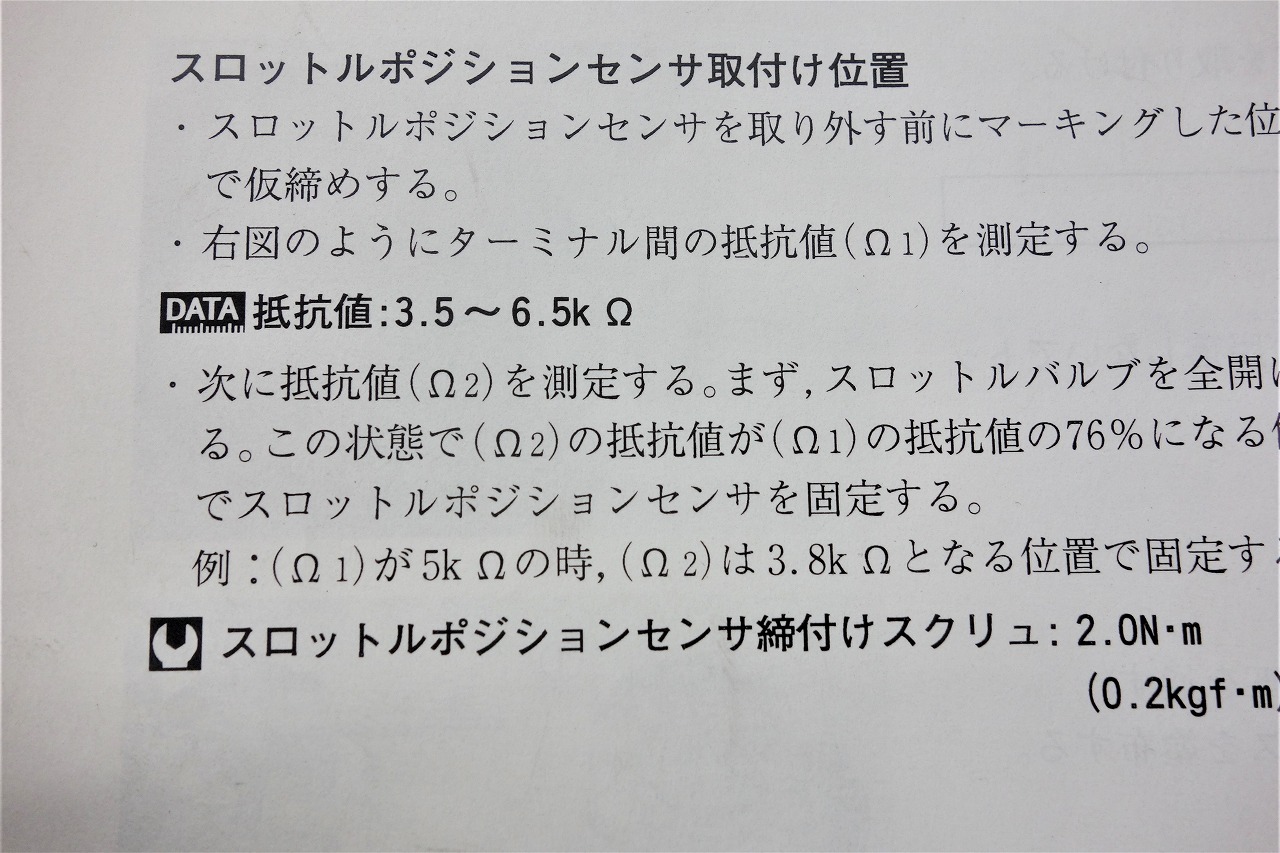
We adjust the TPS resistance value according to the manual.
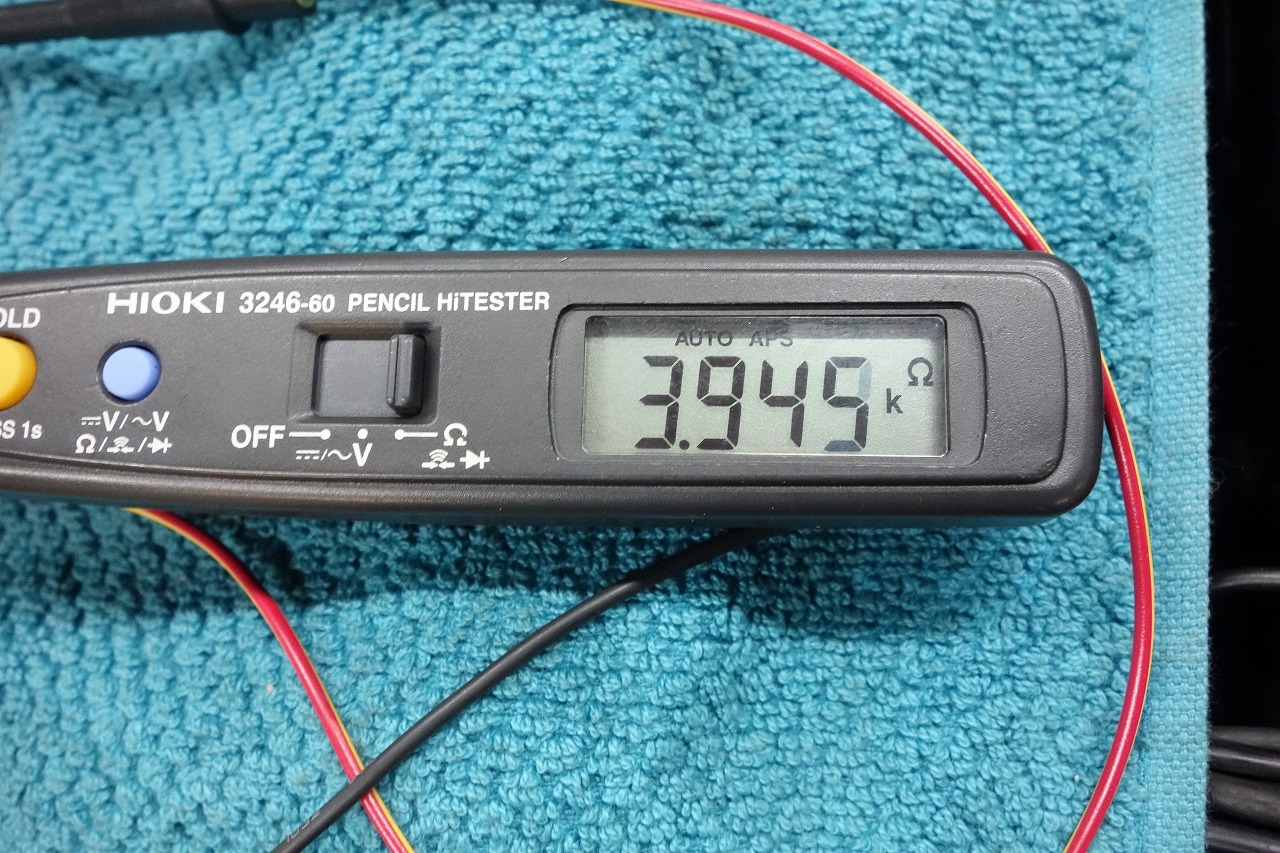
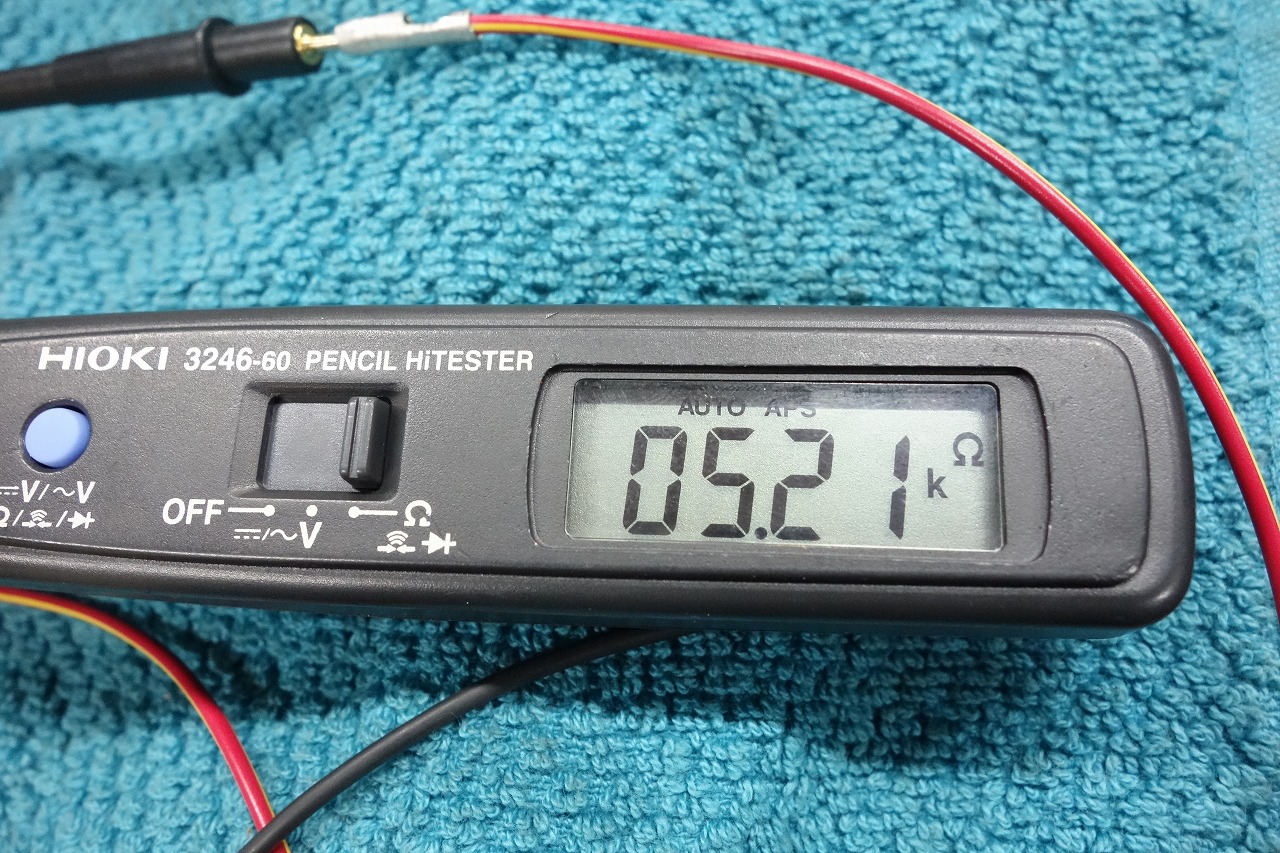
We adjust it to 76% of the value in ①.
At full throttle it’s about 4kΩ, so we adjusted it slightly to get the value shown in the image.
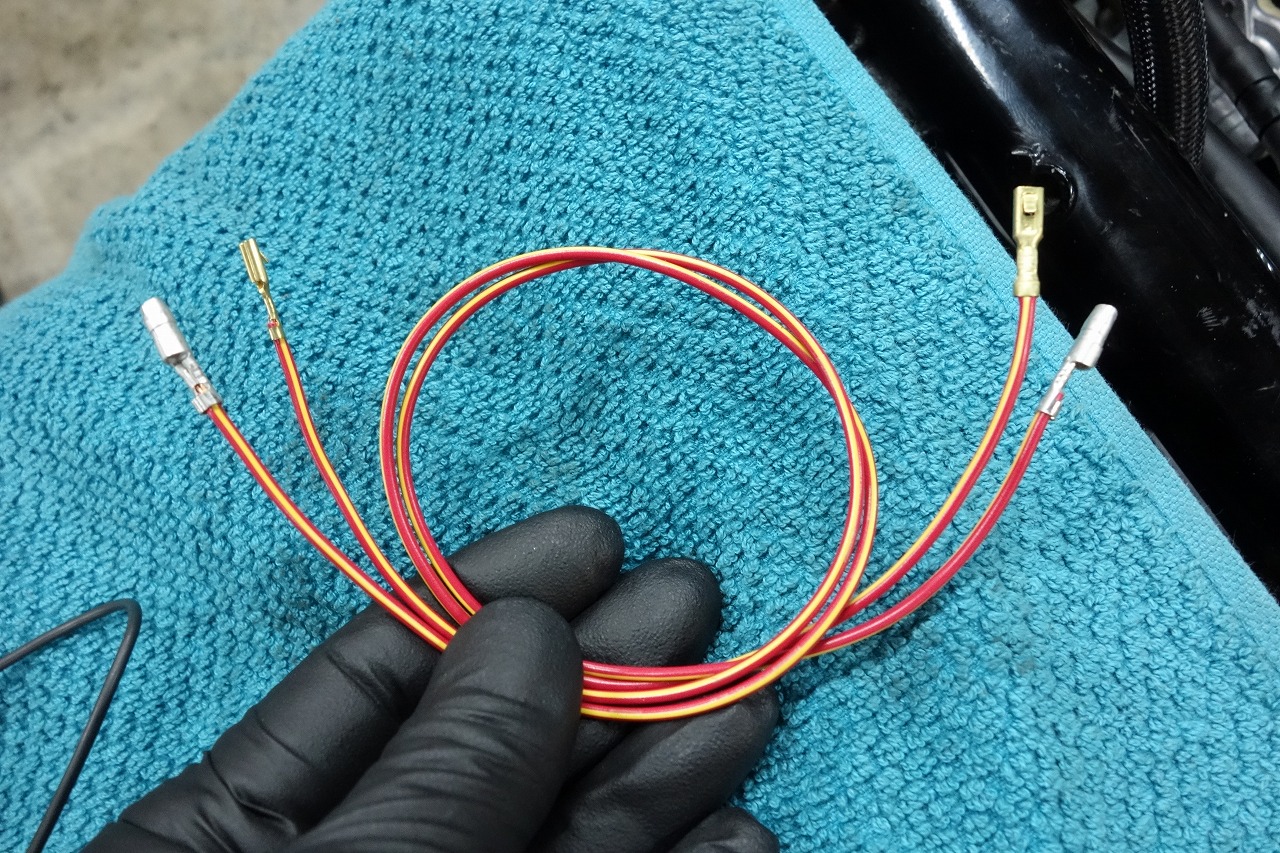
Preparing temporary wiring like this makes the work easier.
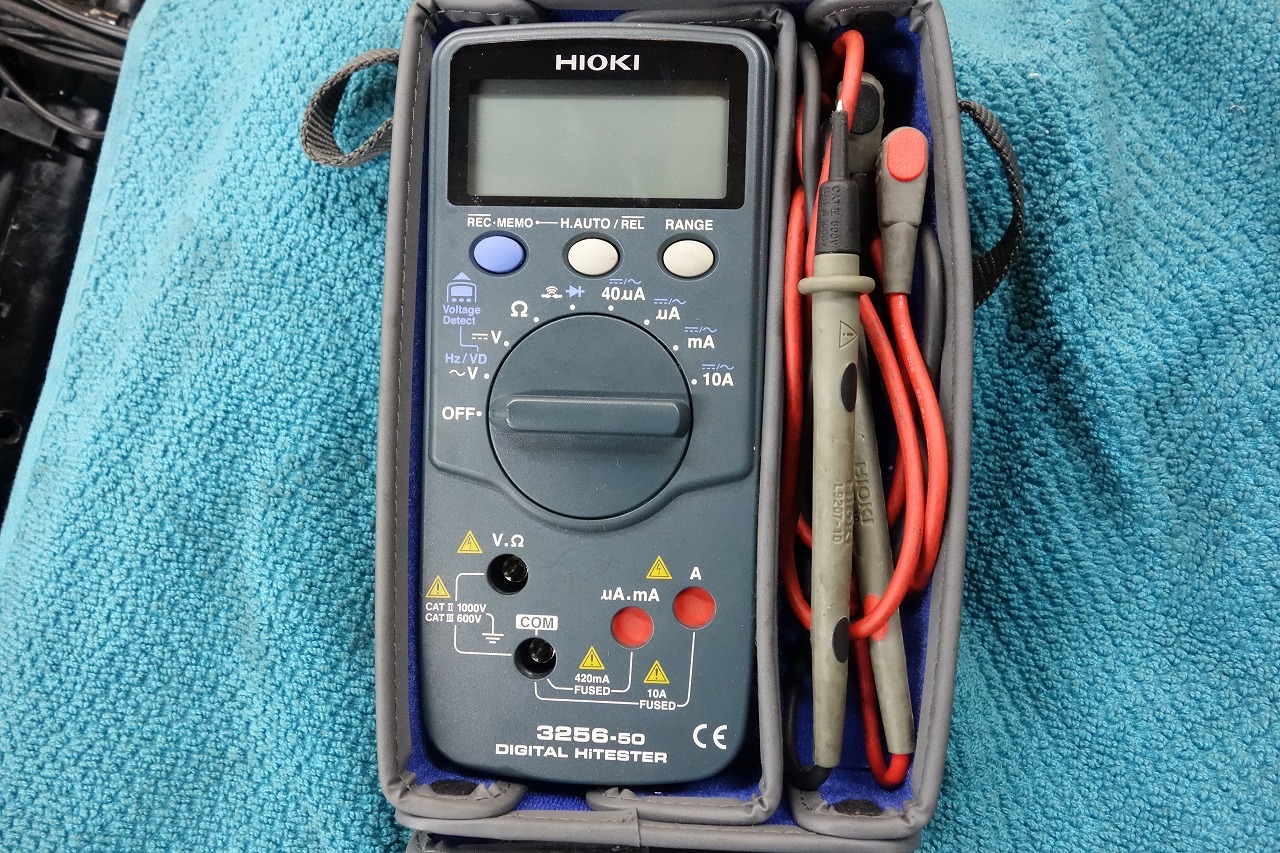
We prefer to use HIOKI testers.
The 3256-50 over here would work too, but it’s a hassle to pull out and doesn’t get used much.
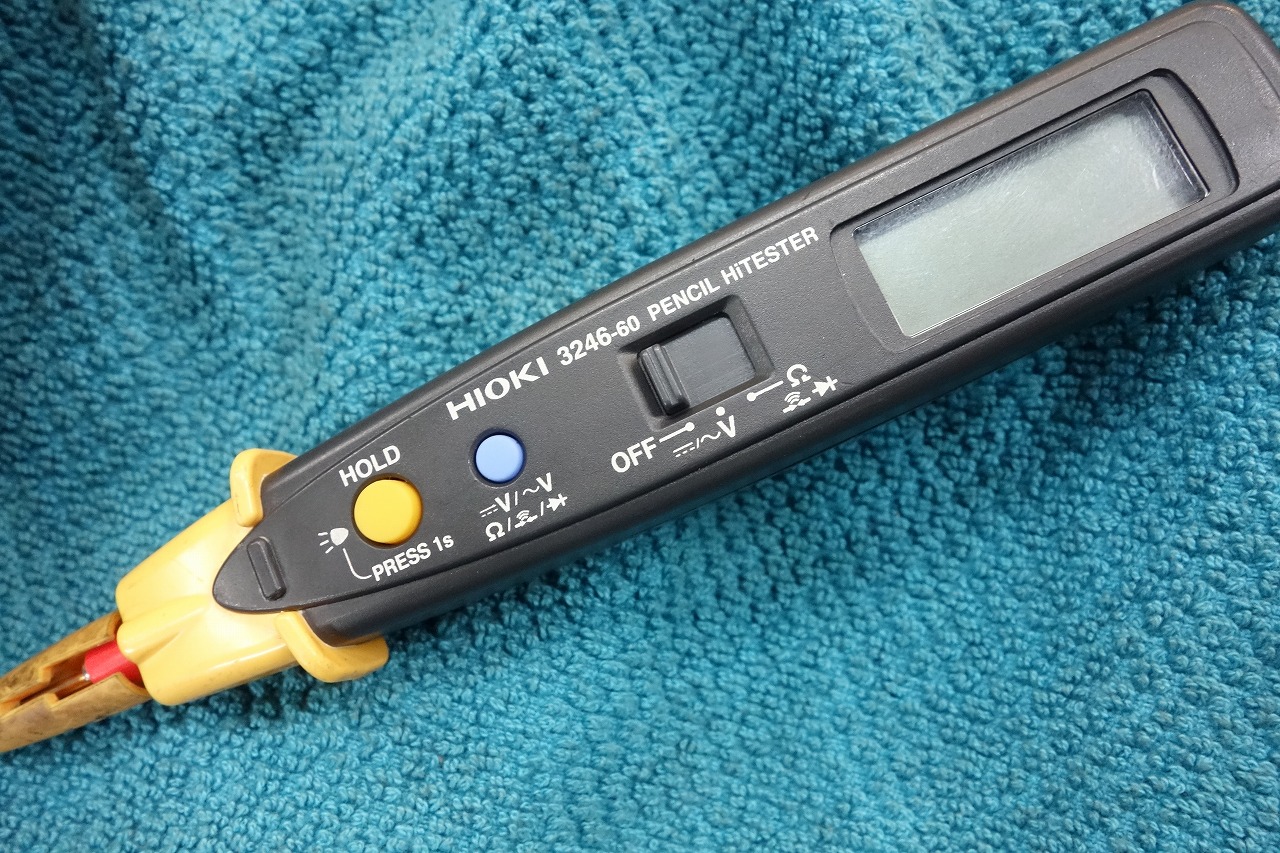
HIOKI (Hioki E.E. Corporation) 3246-60 Digital Multimeter
This type is more than sufficient. We use this one far more often.
Having a proper one on hand gives you peace of mind.
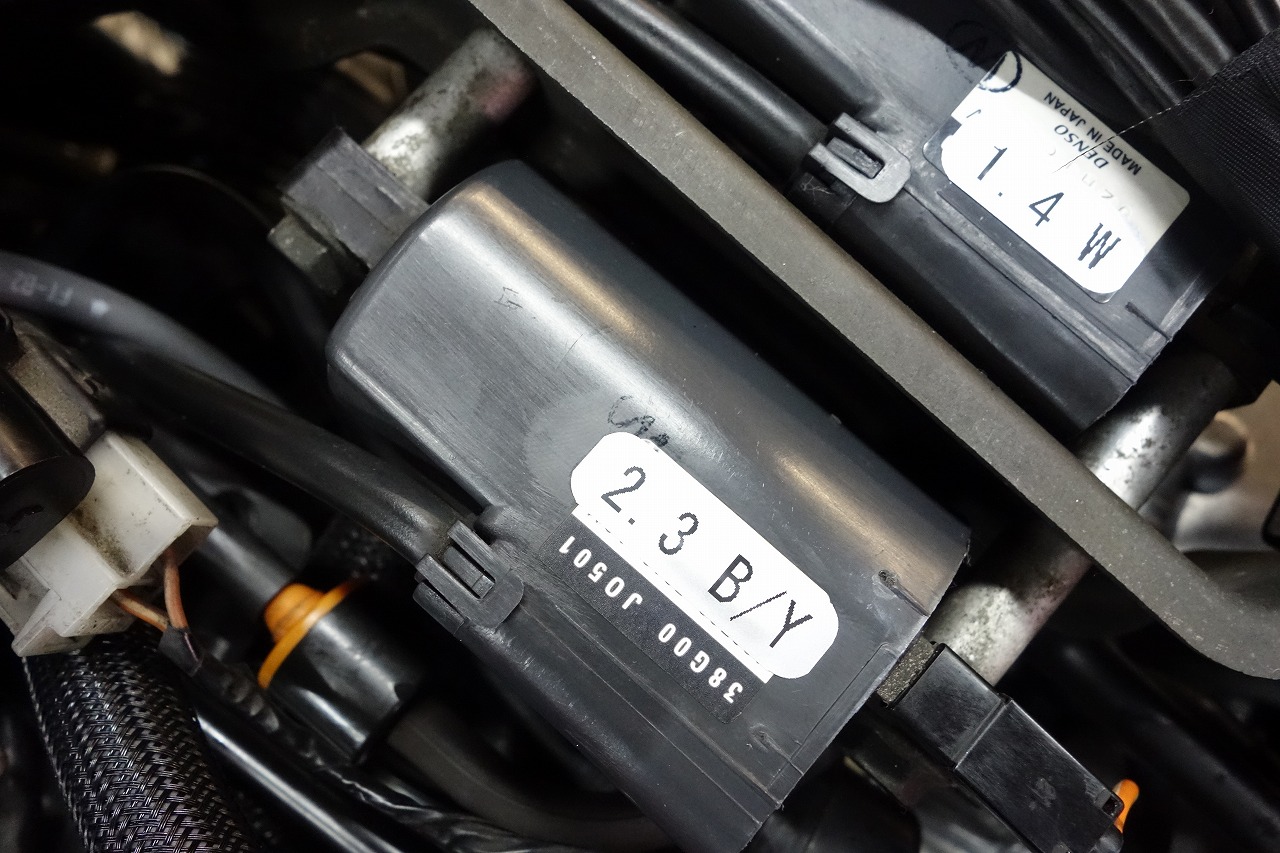
We taped everything we removed so we wouldn’t get confused.
And we’re done! ( ´ー`)フゥー…