Tokyo is supposed to be coldest in January and February, but…?
At this rate, the outside temperature is so warm that cherry blossoms might bloom—it’s abnormal.
The world is in turmoil over the new pneumonia outbreak, so I’m doing my best to avoid crowded places and keep a low profile.
For a sole proprietor, catching an infection could be fatal to the business itself.
Since this is an unfamiliar virus, I can’t be too optimistic about it.
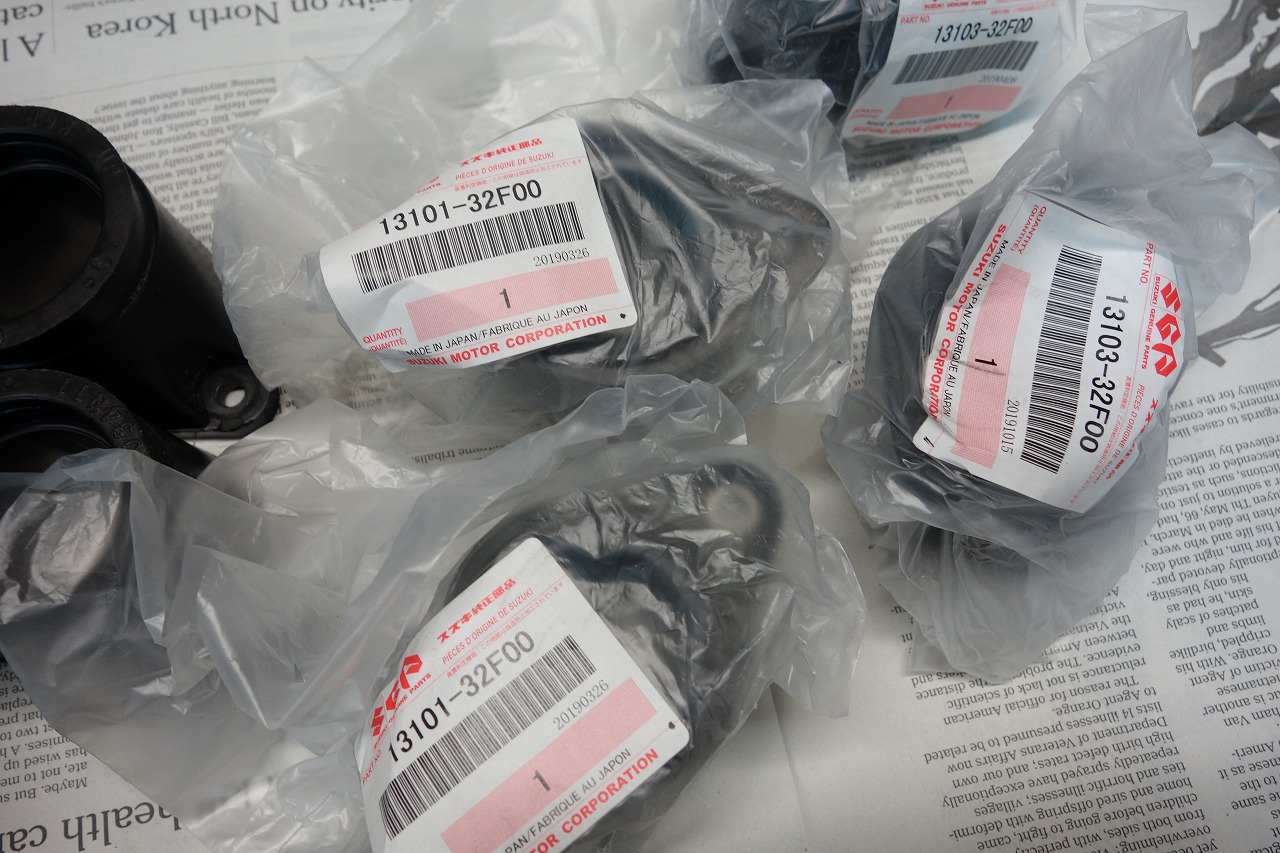
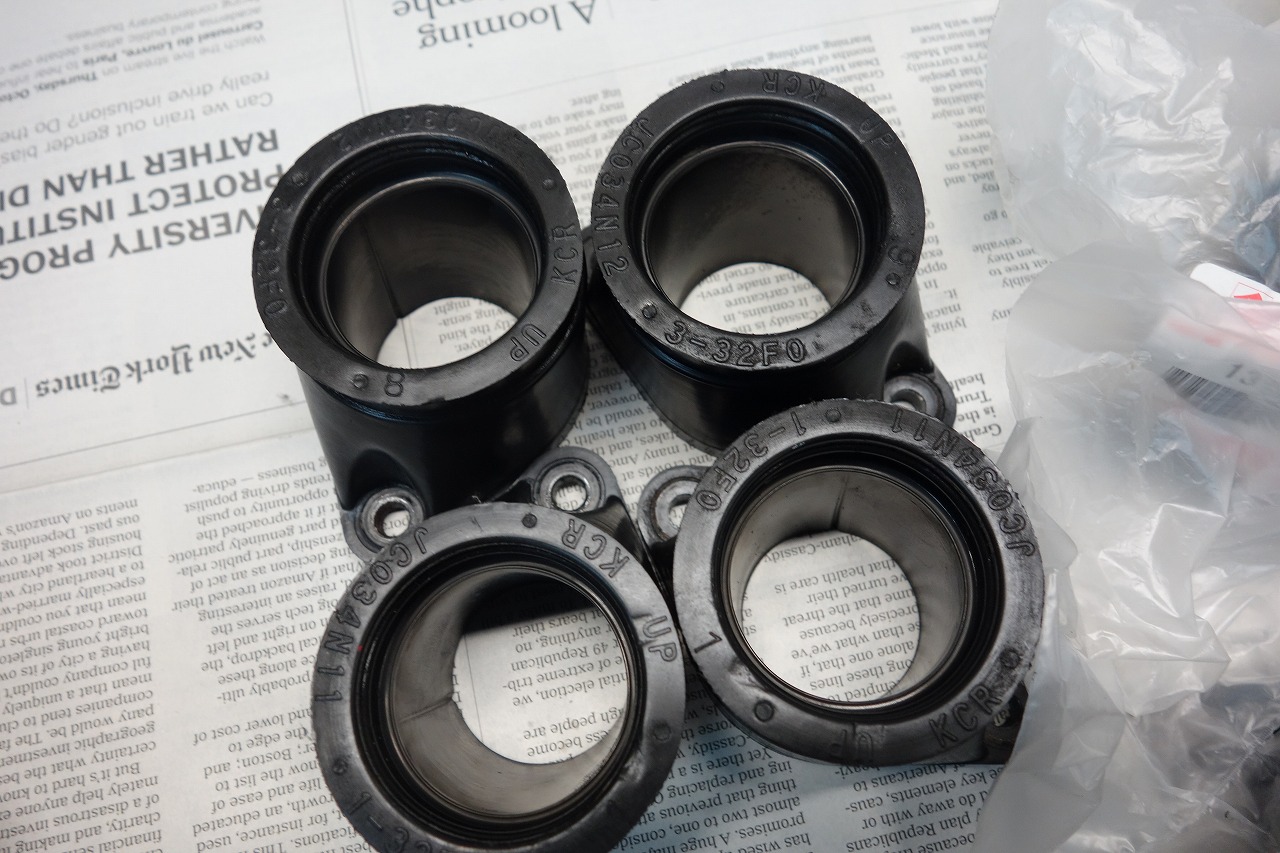
Items that go together when disassembling the carburettor:
• Throttle cable replacement
• Intake manifold replacement
*The choke is usually left as-is since it can be swapped out later (it doesn’t wear out that much anyway).
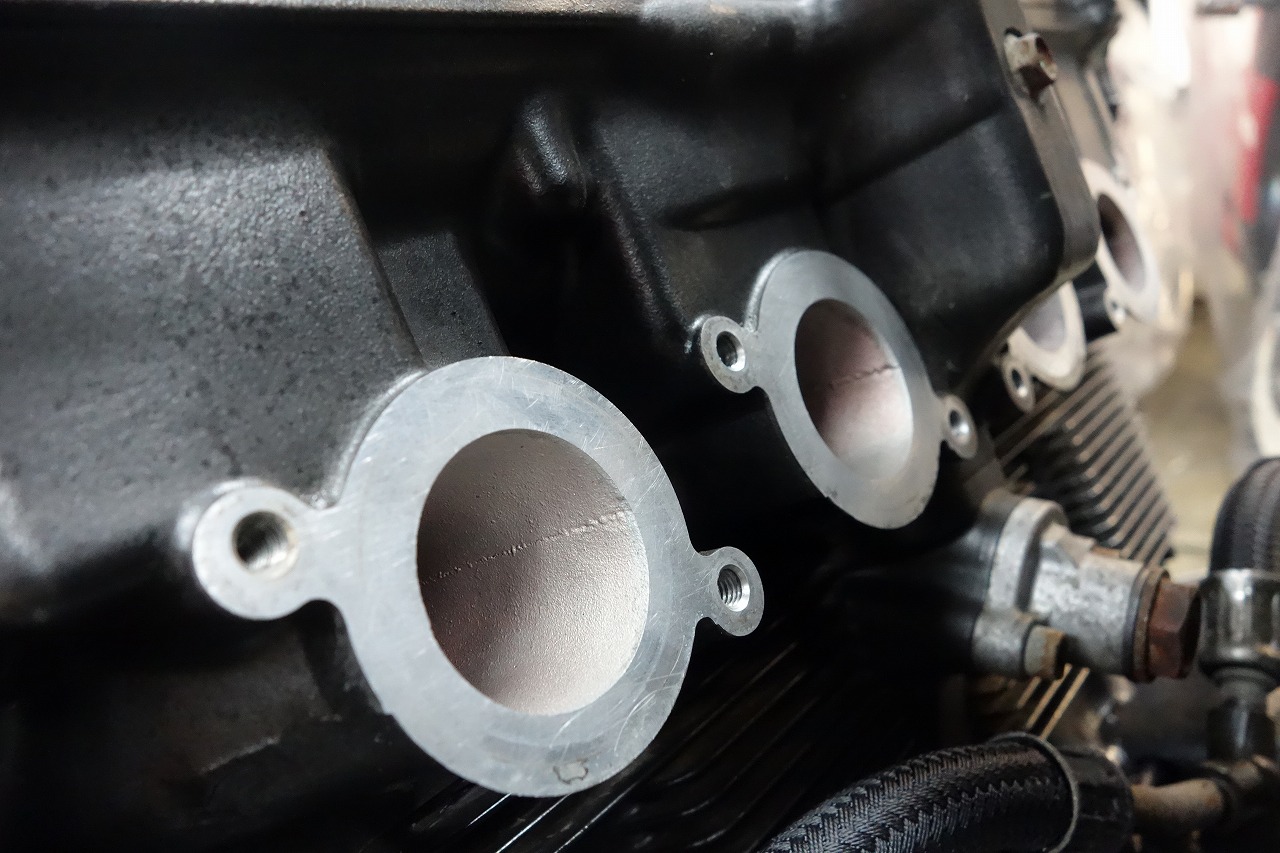
I always assemble with the spirit of once-in-a-lifetime encounters.
*Meaning, will there be a next time?
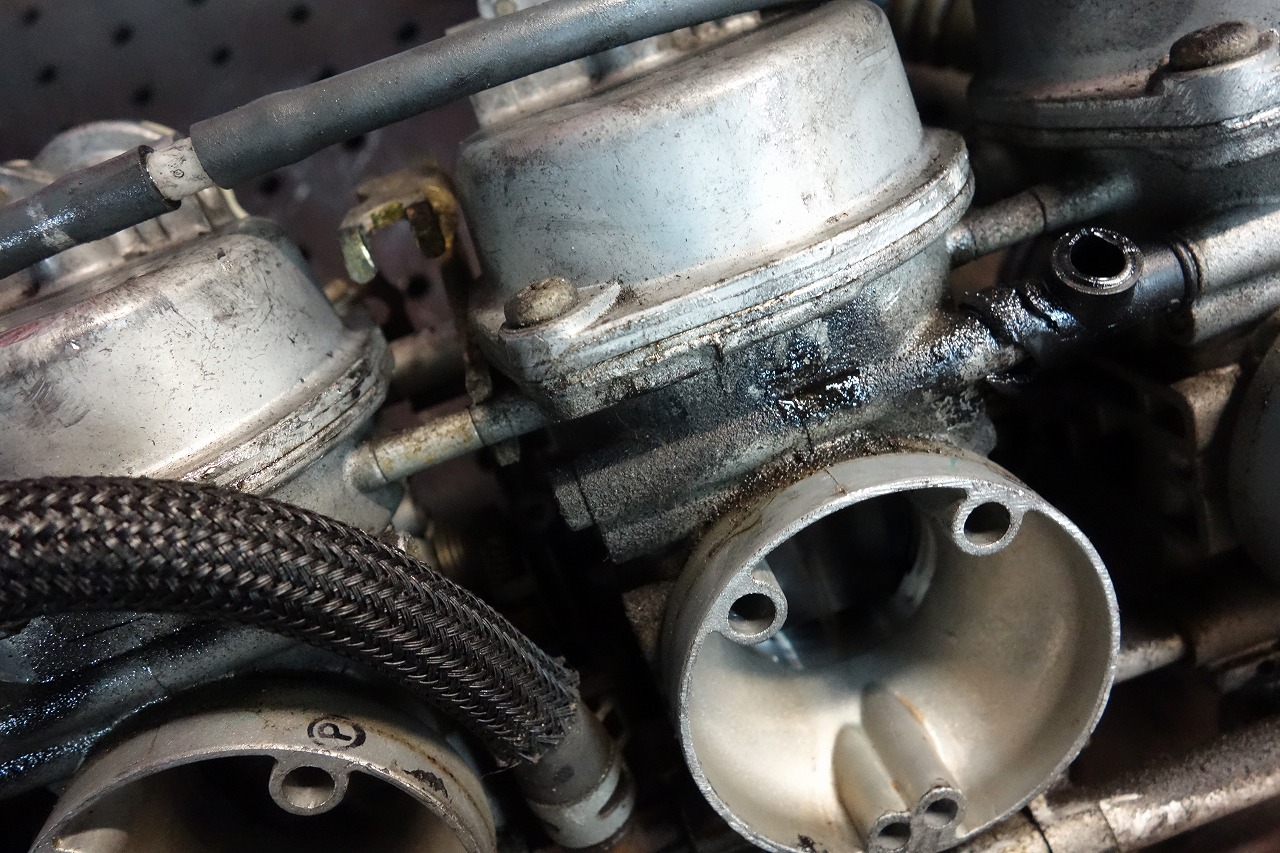
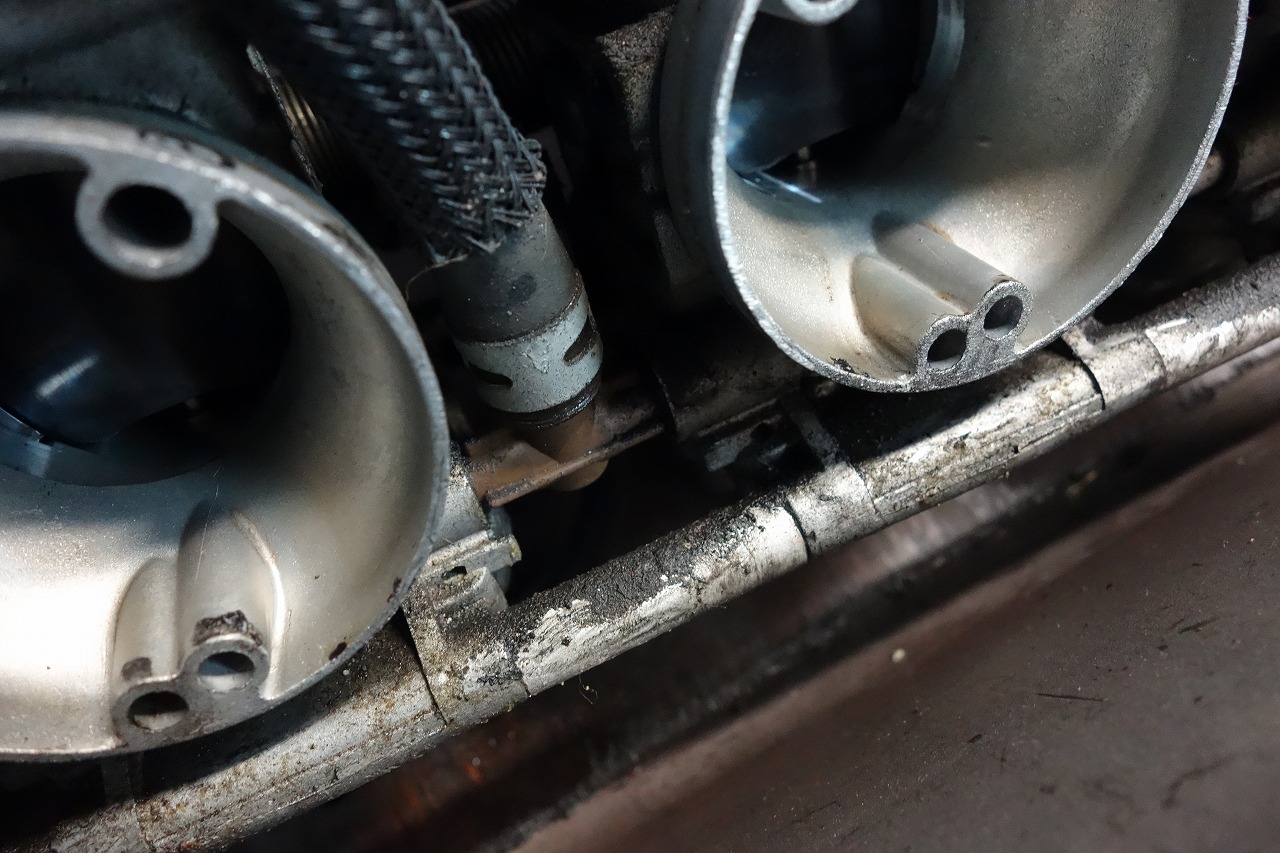
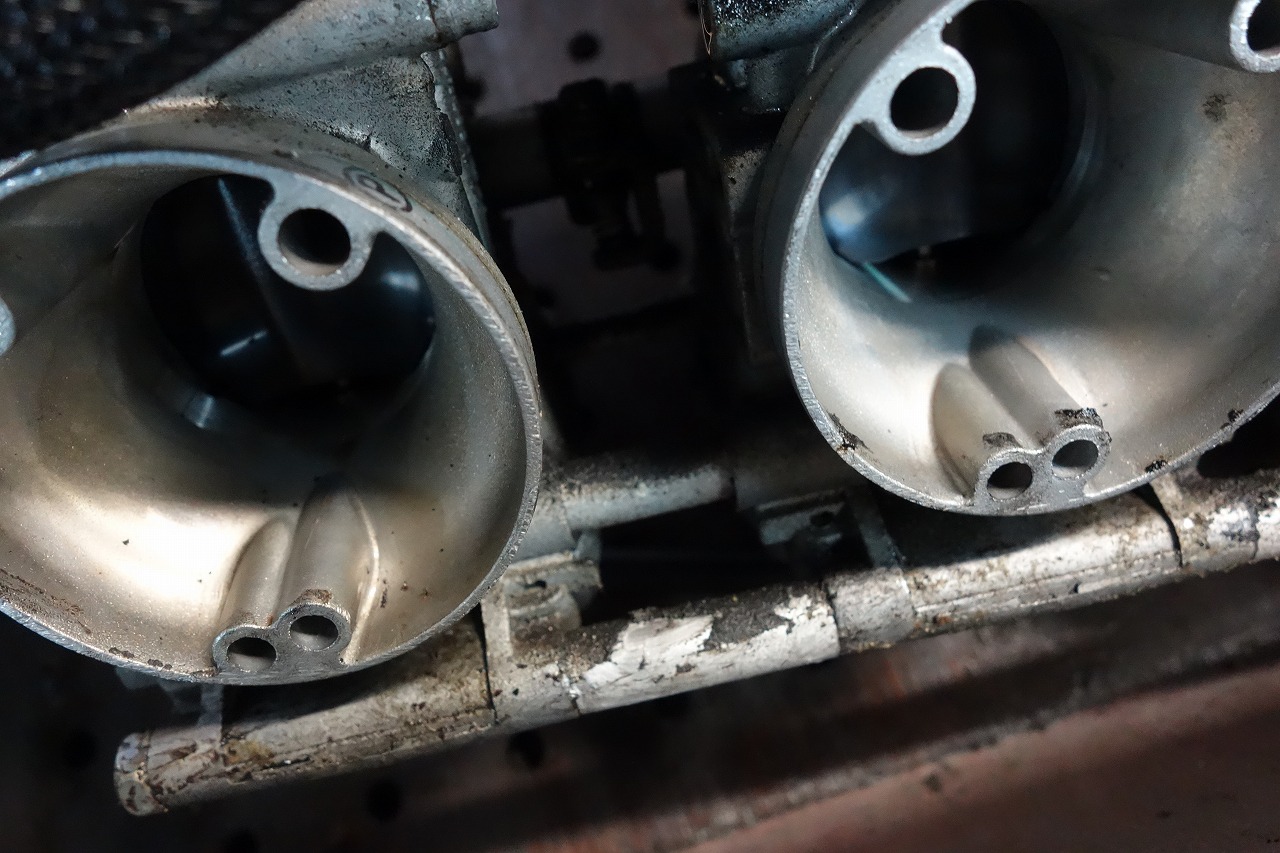
It’s sticky overall. I wonder if something is really coated on it?
Even though it looks dirty, the sticky condition actually means the inside is cleaner. (It’s harder to corrode that way.)
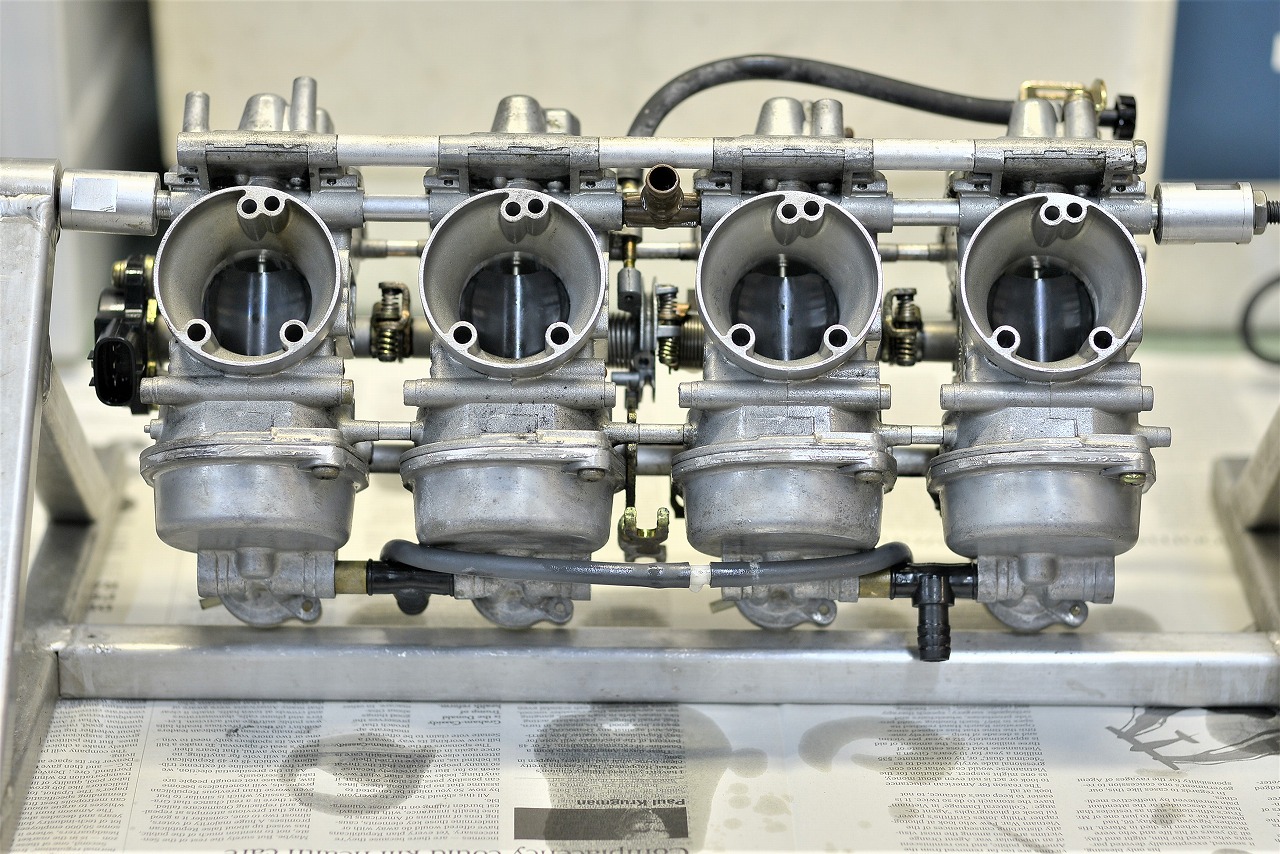
I mount it on a carburettor stand and start disassembling.
This stand is incredibly convenient, and actually, there’s an origin story.
Long ago, there was an issue in a certain magazine where an expert was disassembling a carburettor.
I thought, what in the world is this stand for holding it in place?
I stared hard at the magazine,
but the photo was too small to make out clearly.
Since I have almost no connections in this industry, I had a customer ask around indirectly for me.
Carburetors always have fuel passage machining holes (usually around 8 mm diameter), so it can hold any carburettor.
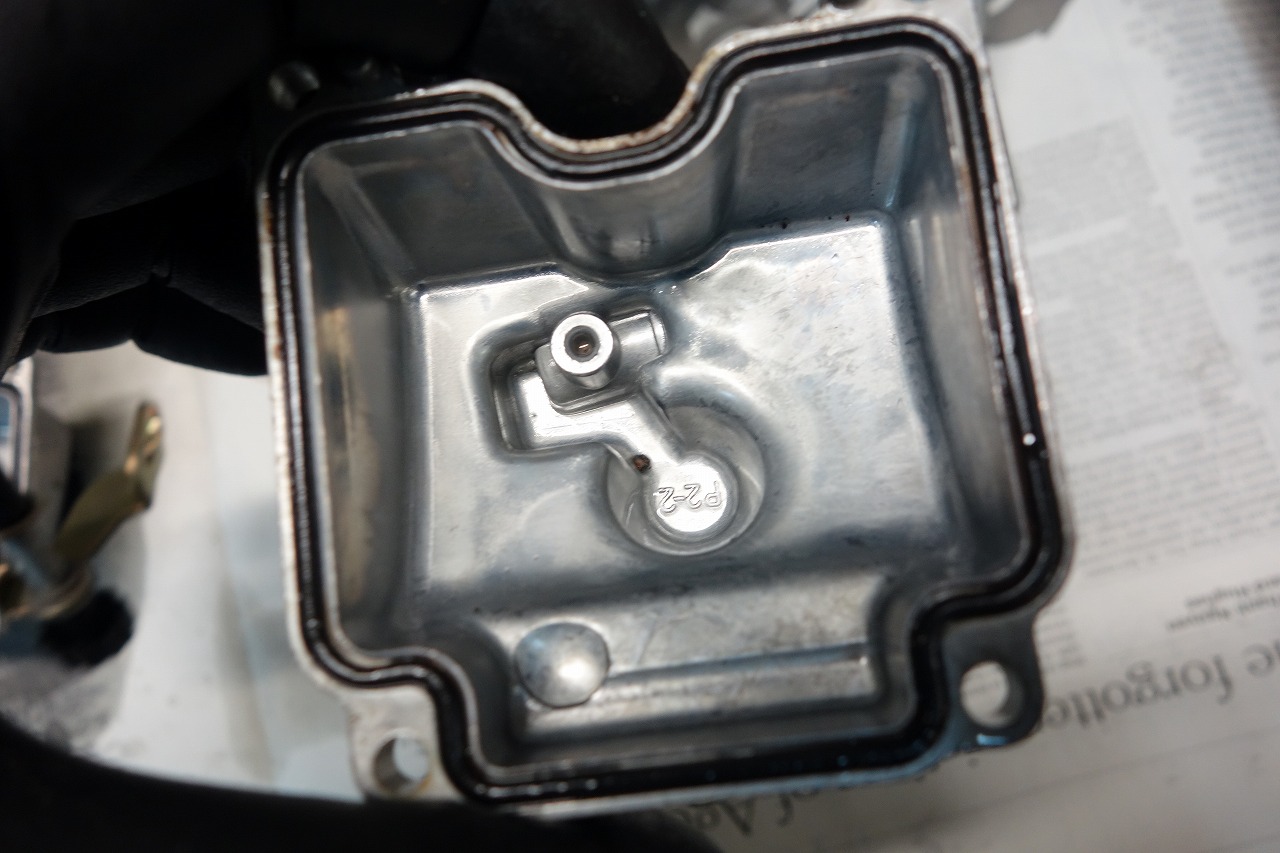
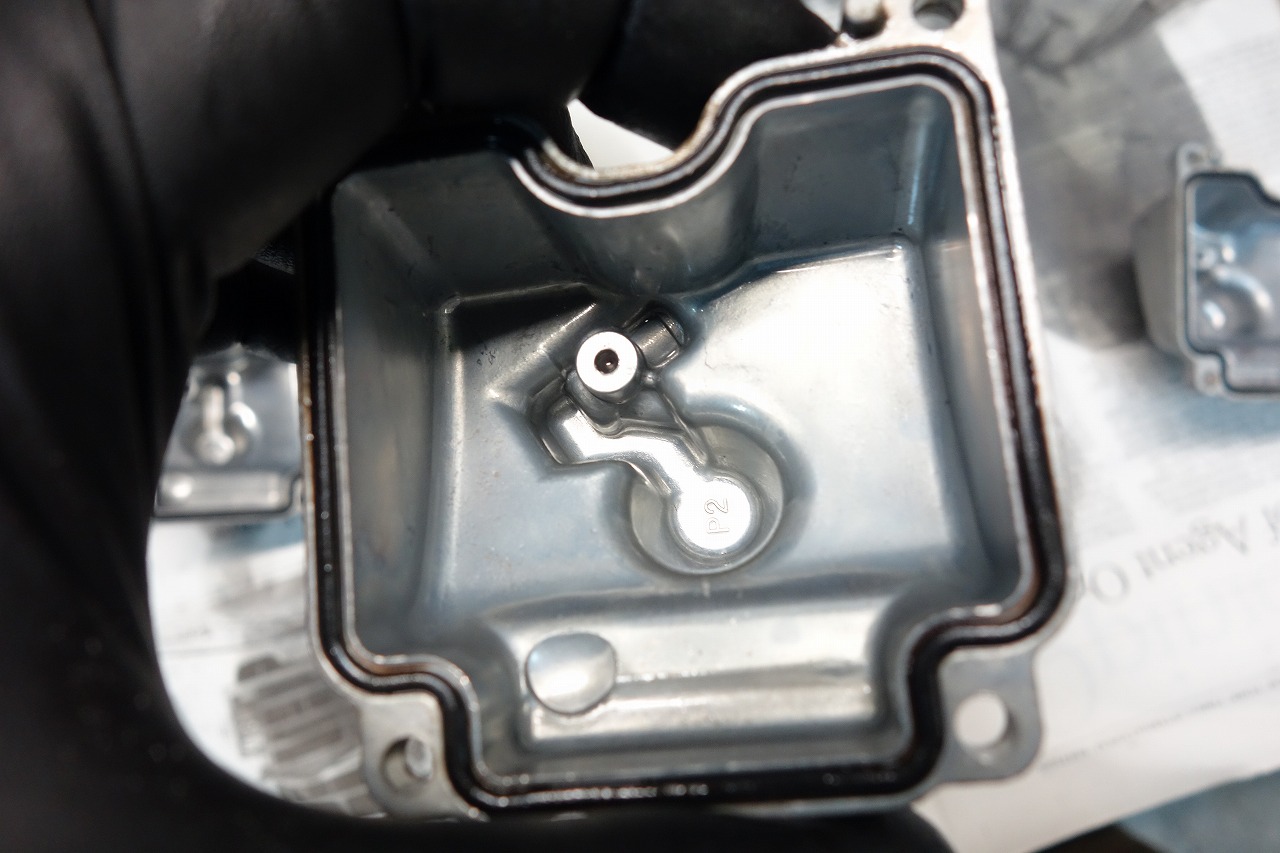
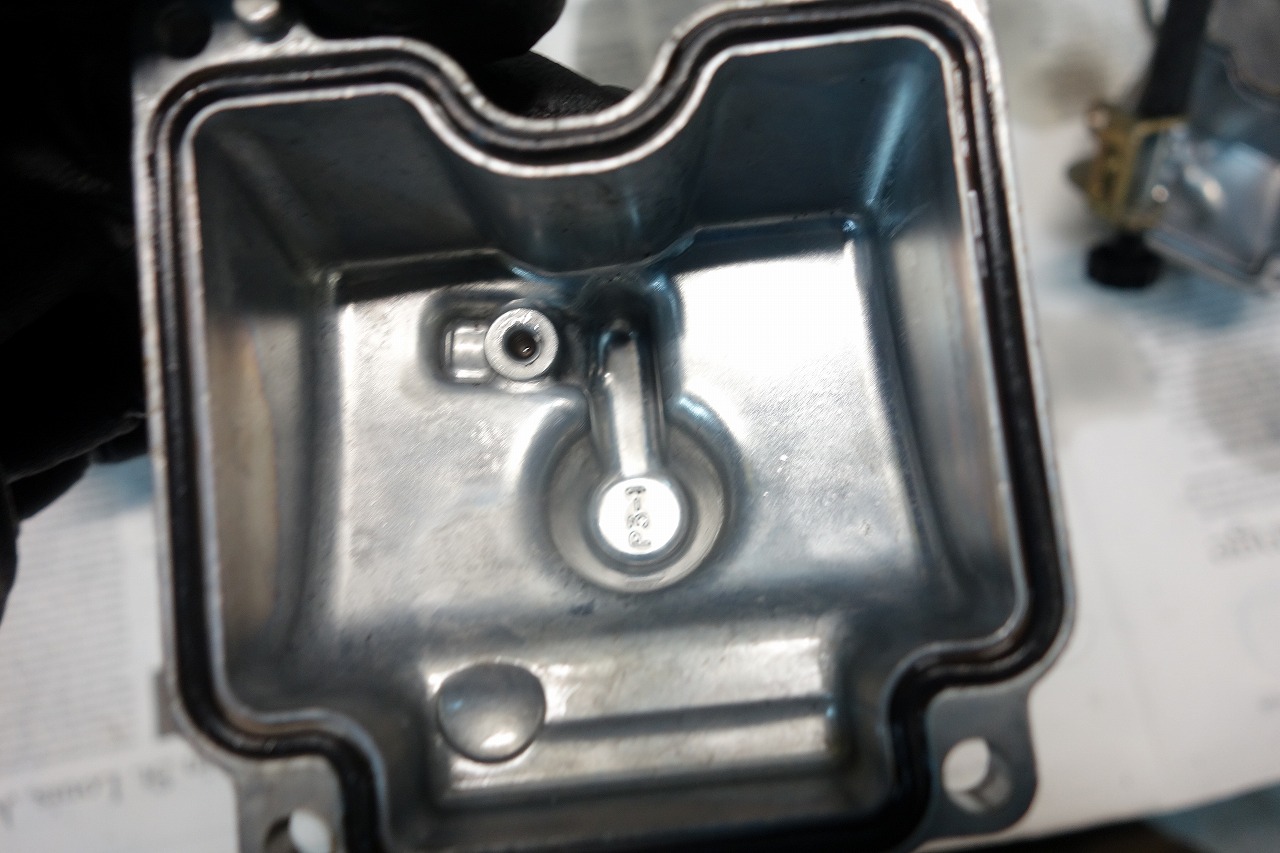
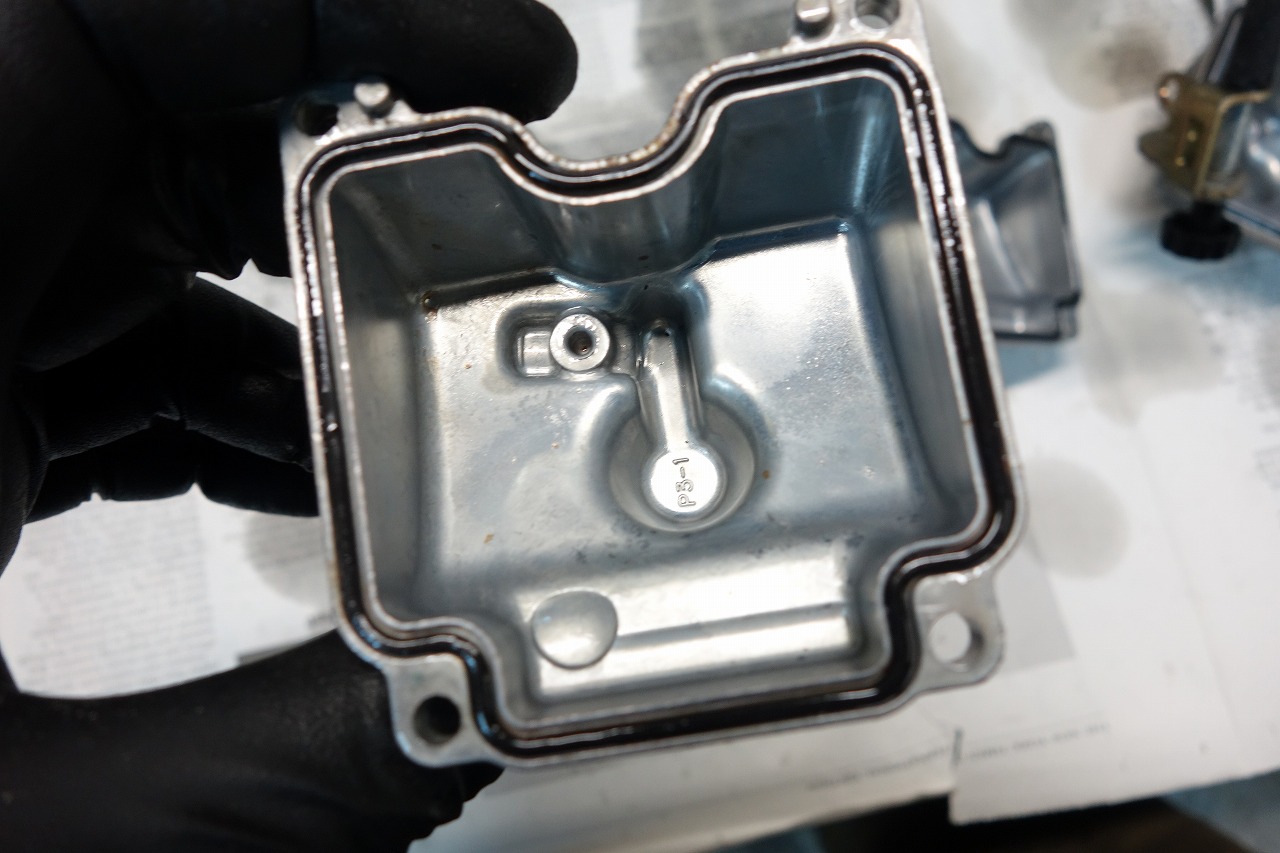
Now back to it.
Hmm, no rust and it’s clean.
Much appreciated—much appreciated—this is going smoothly.
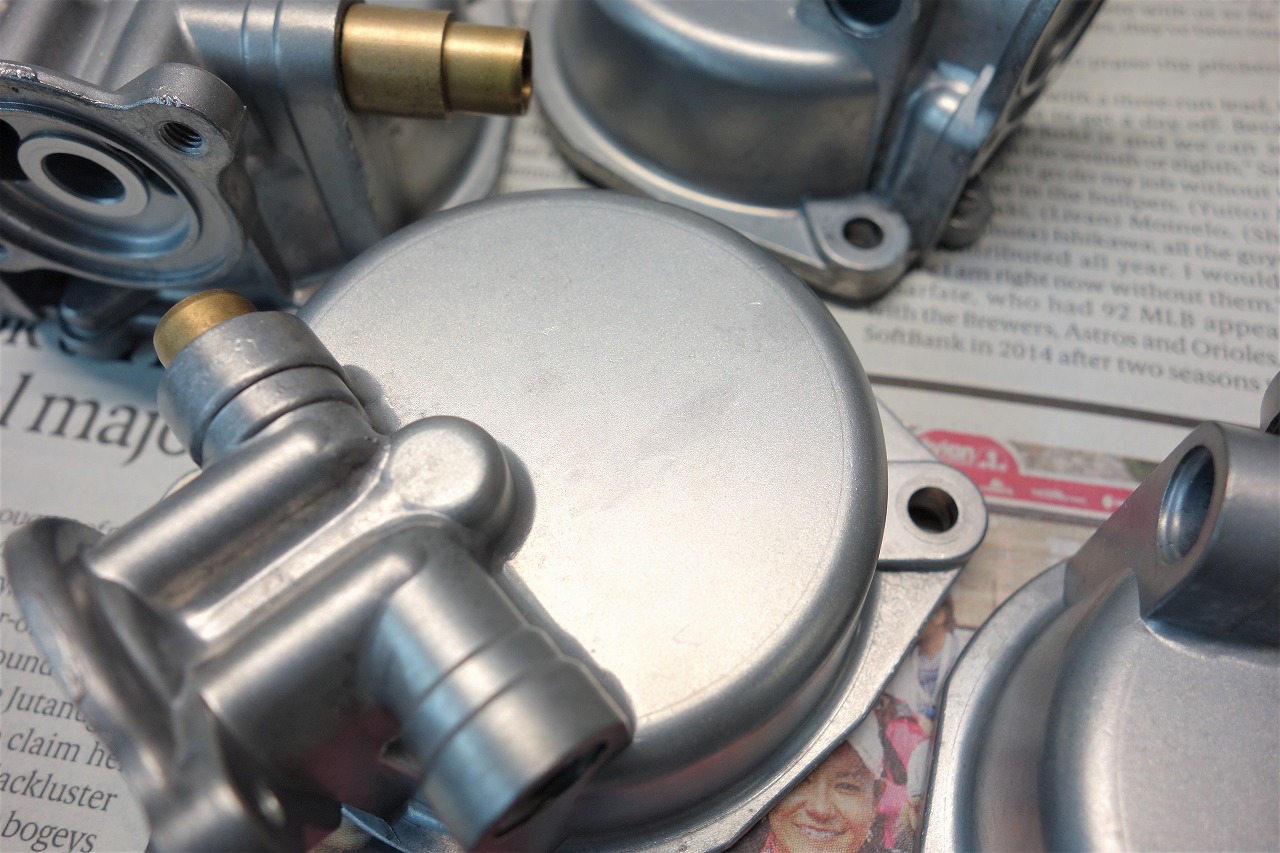
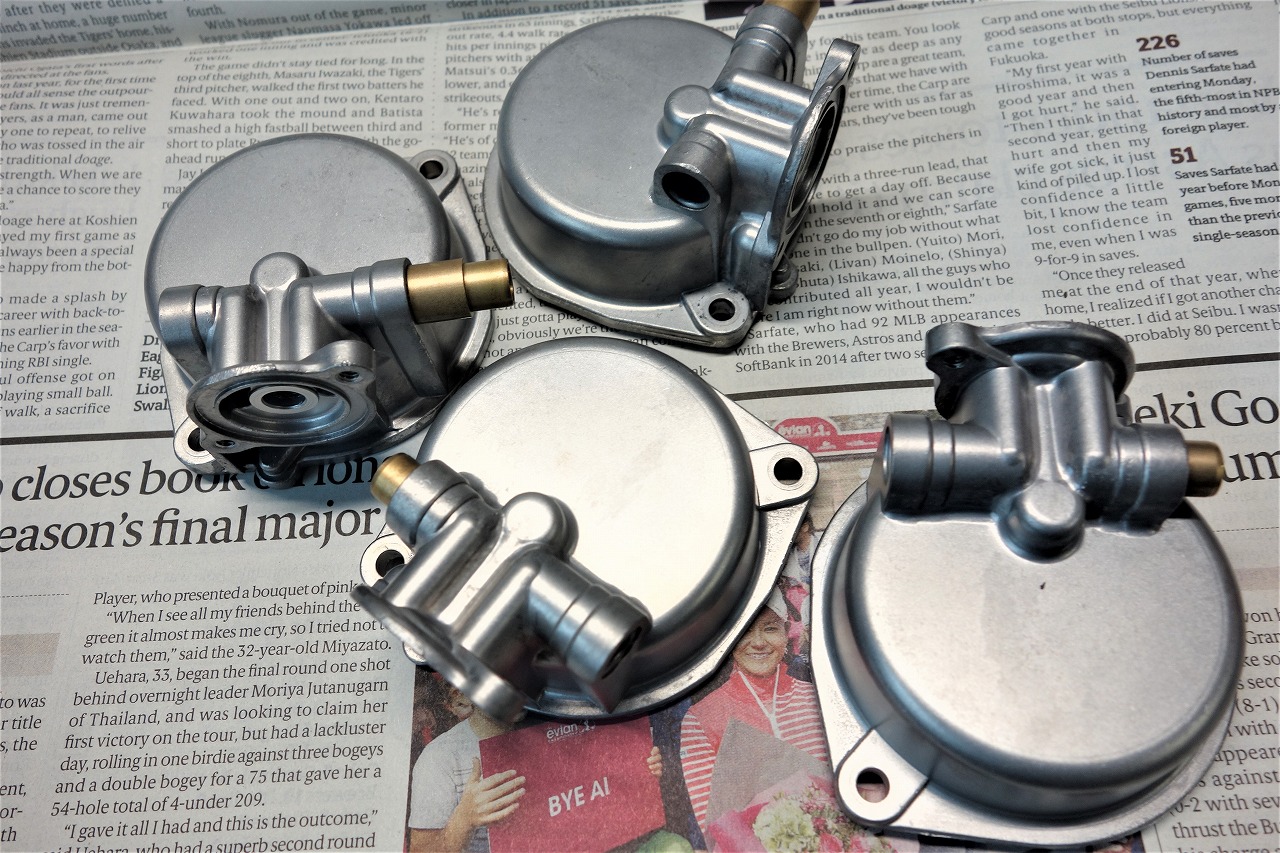
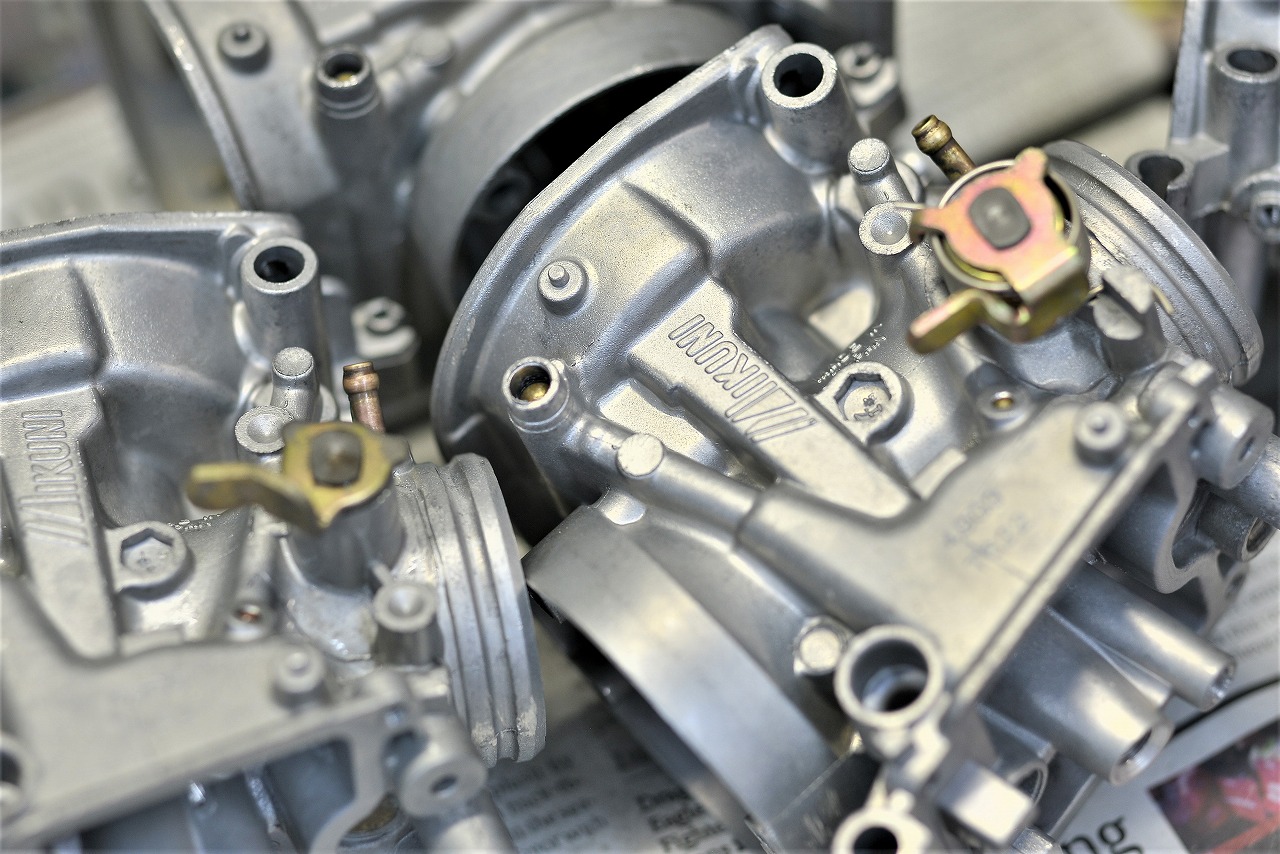
This time there’s no need for heavy polishing, so I did a light polish.
*It was already clean to begin with.
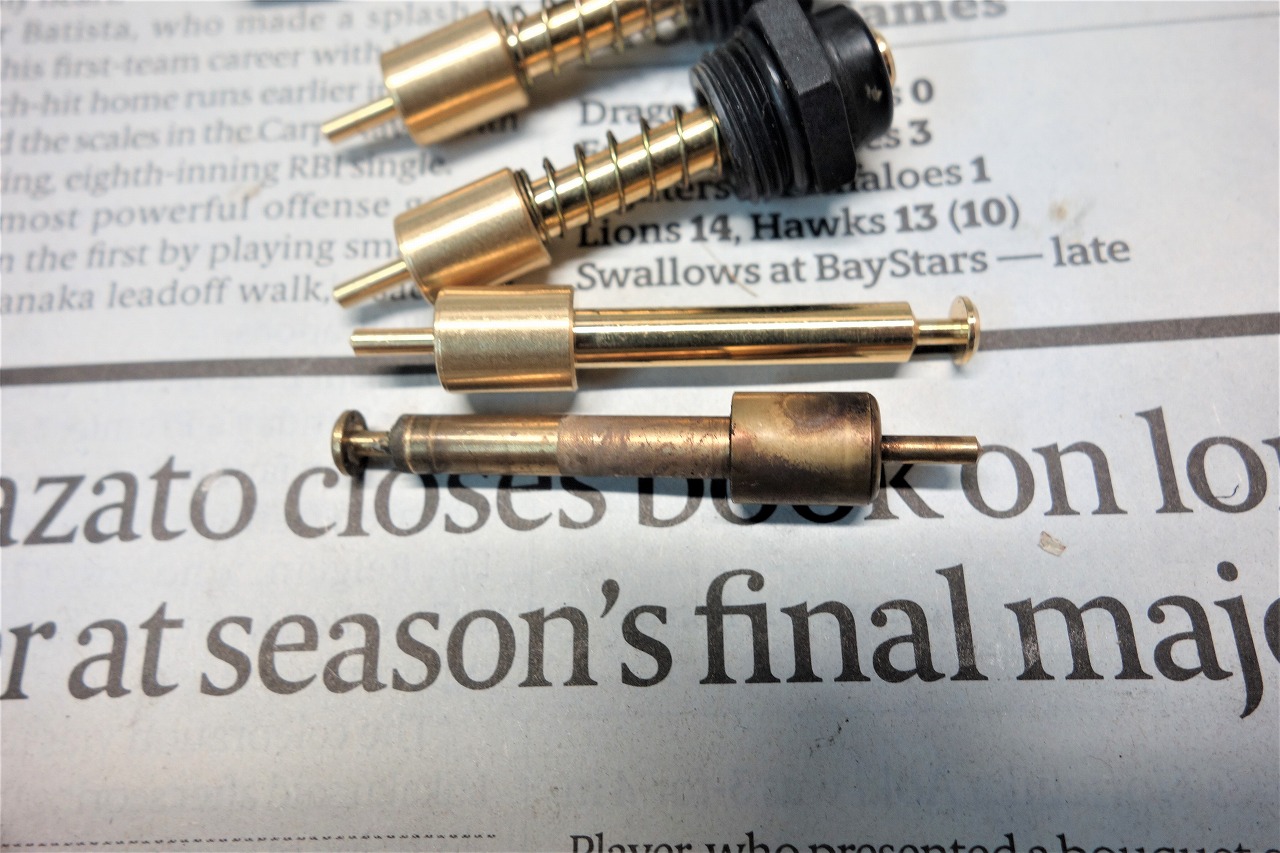
It’s a good idea to replace the starter valve while it’s out.
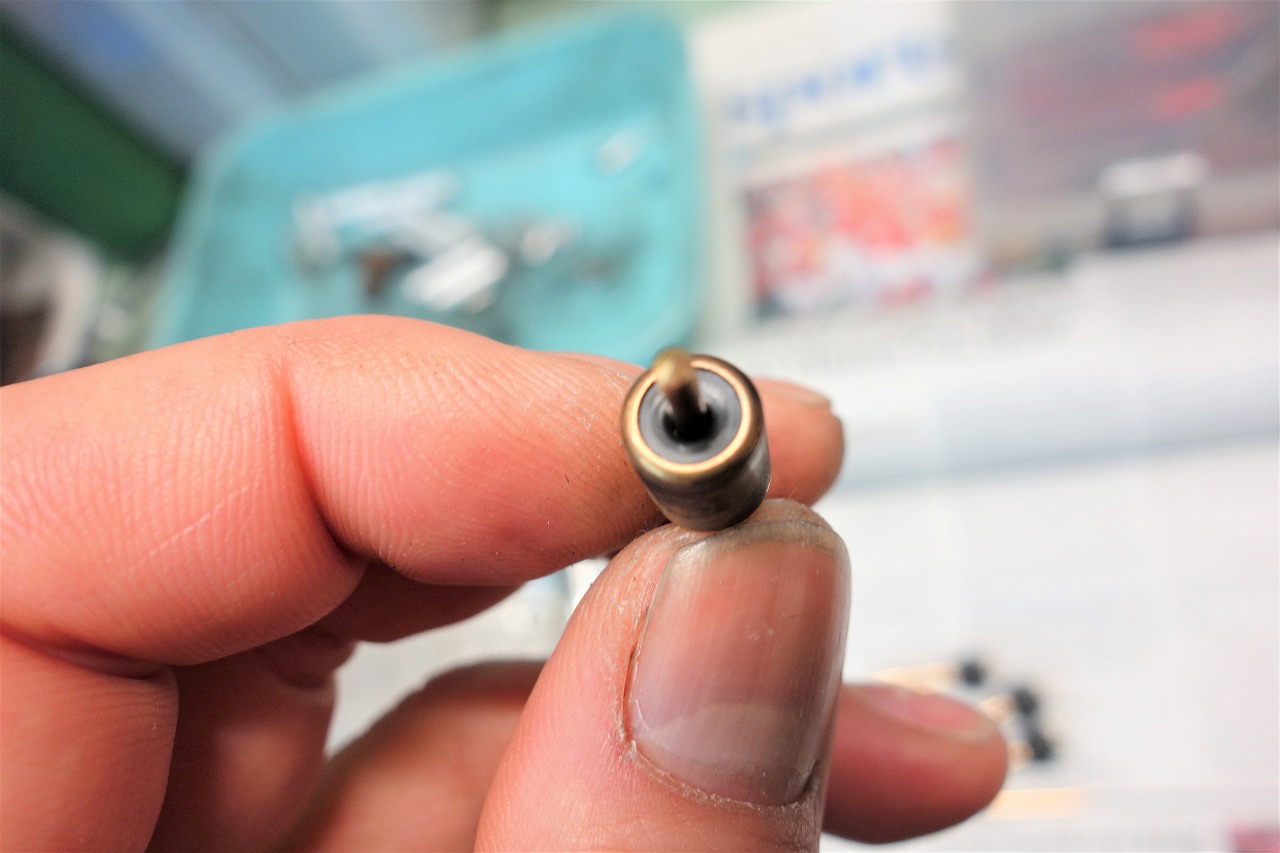
The important part is this seal here.
I’ve rarely seen it go bad.
But if it’s not fitting snugly and perfectly, everything becomes sloppy.
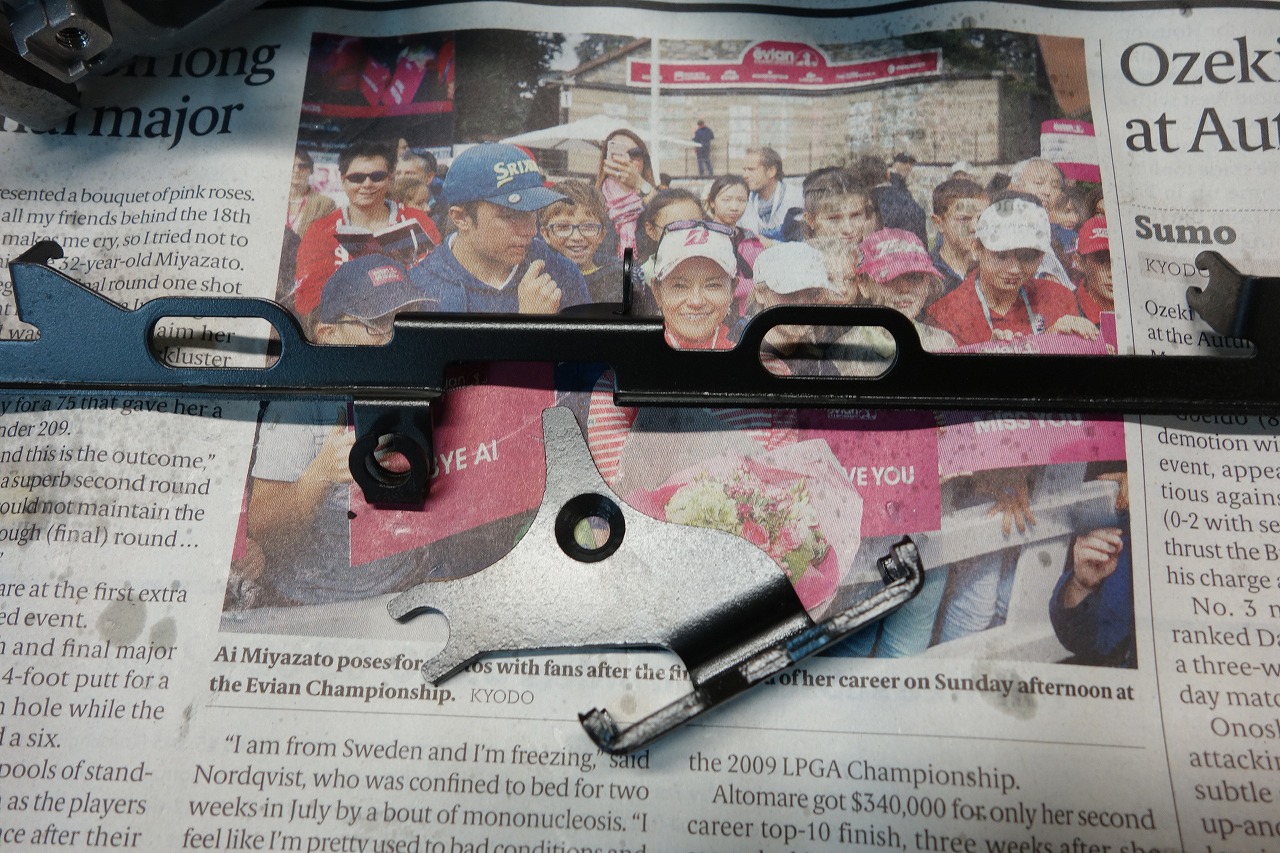
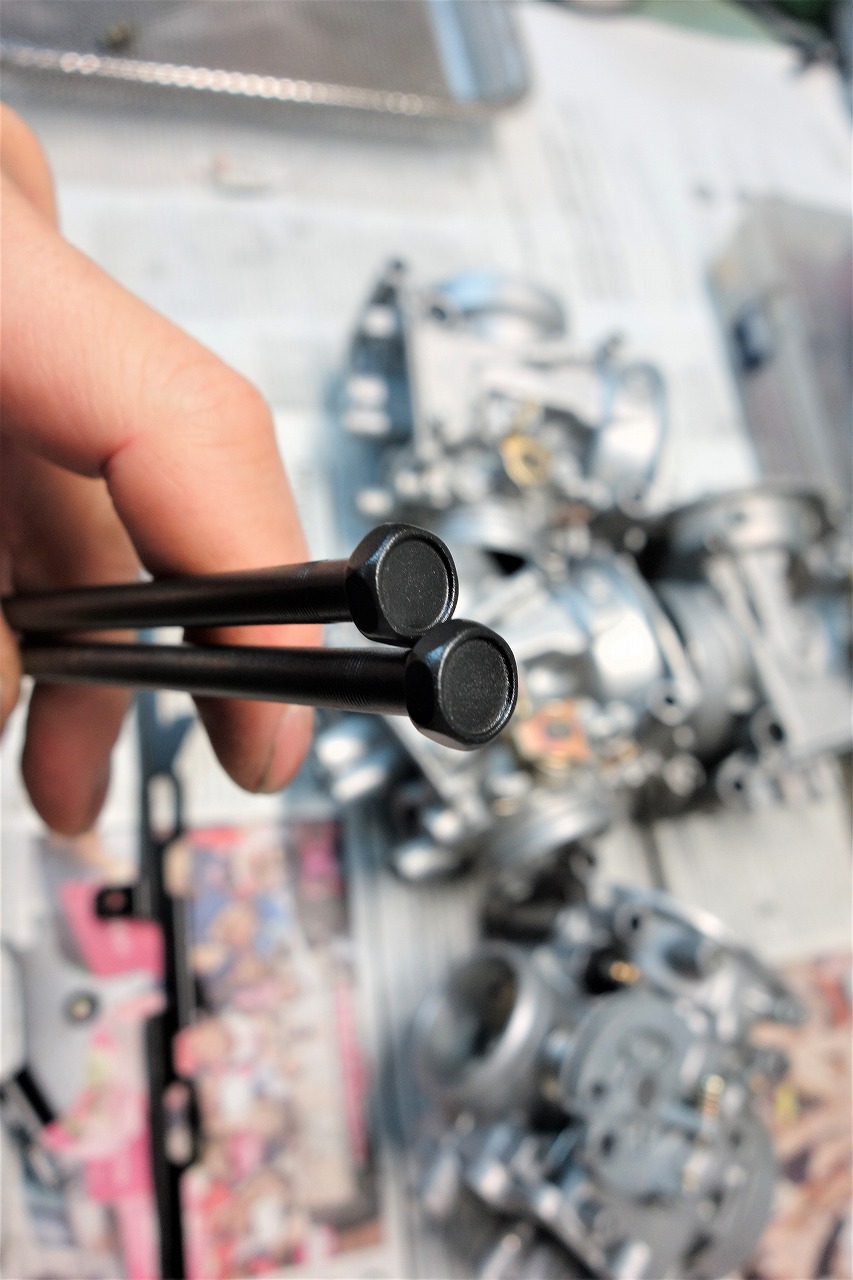
I coat the reusable parts with Gunk Coat. It’s safe even if gasoline drips on it.
The pilot screw won’t move—seriously?
When you get older, you don’t really worry about it.
If it’s just once or twice, you might get away with eyeballing it, but if you’re doing it ten thousand or a hundred thousand times, you should increase the odds way up to avoid mistakes.
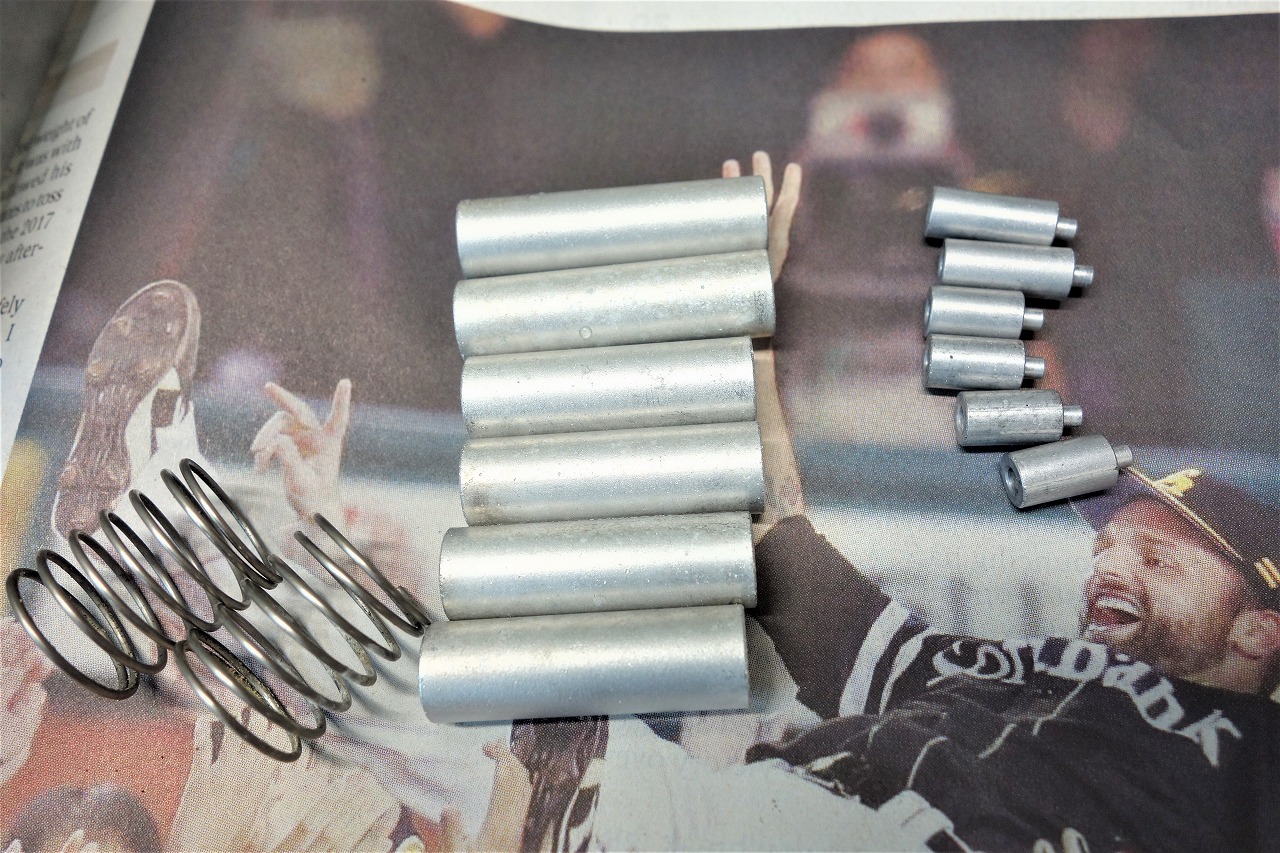
The BSR, a vacuum carburettor, is super difficult to assemble.
It’s like a positioning spacer or something.
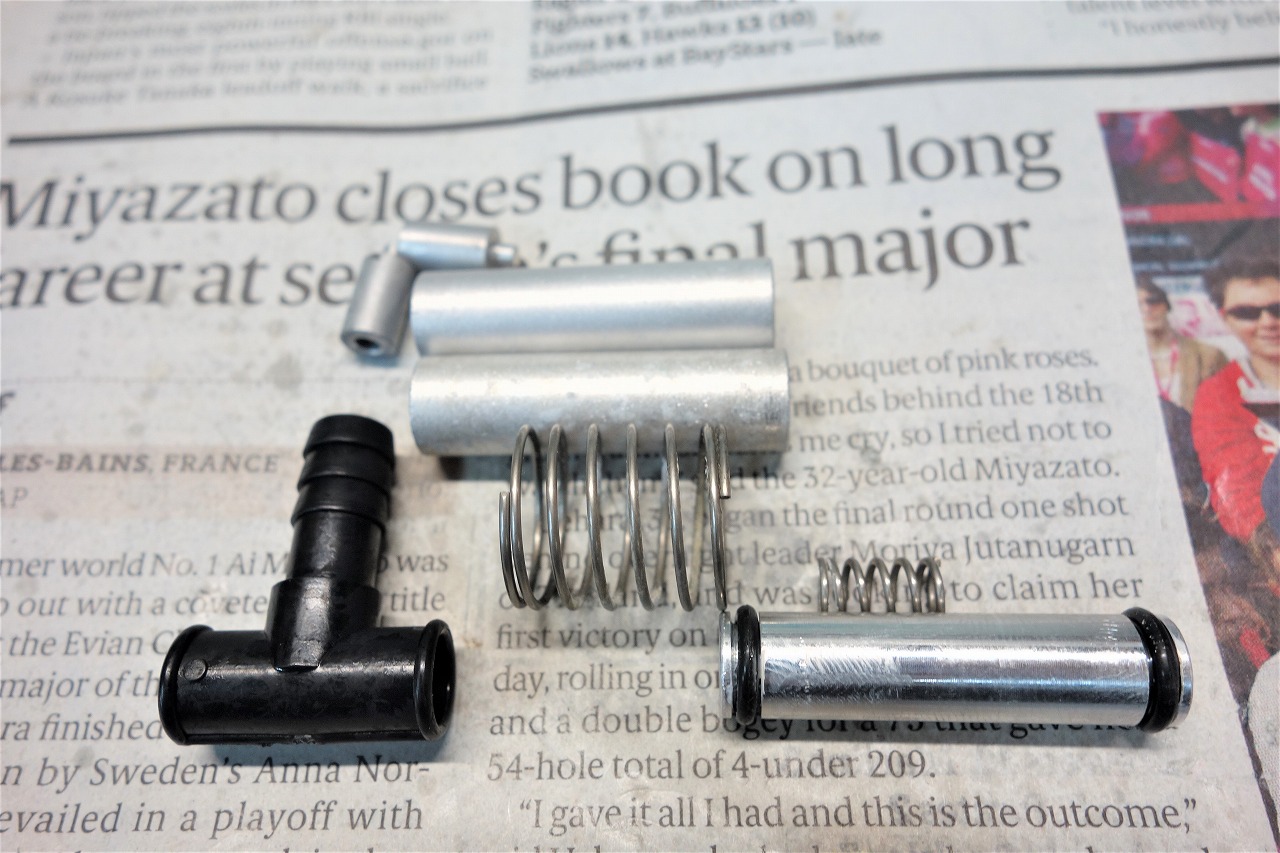
By the way, the photo shows one set. Between positions 1–2 and 2–3, this much fits in.
Stuff popping out is the norm.
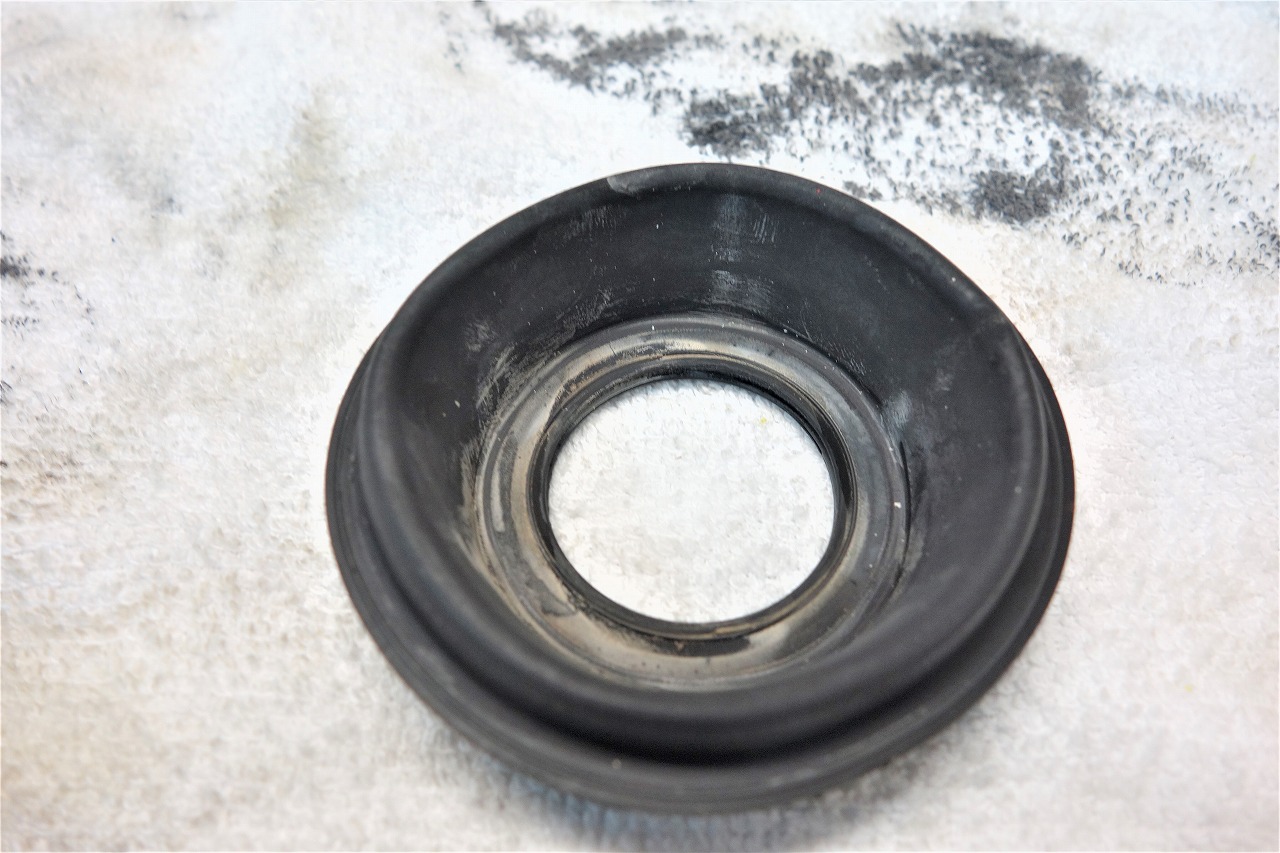
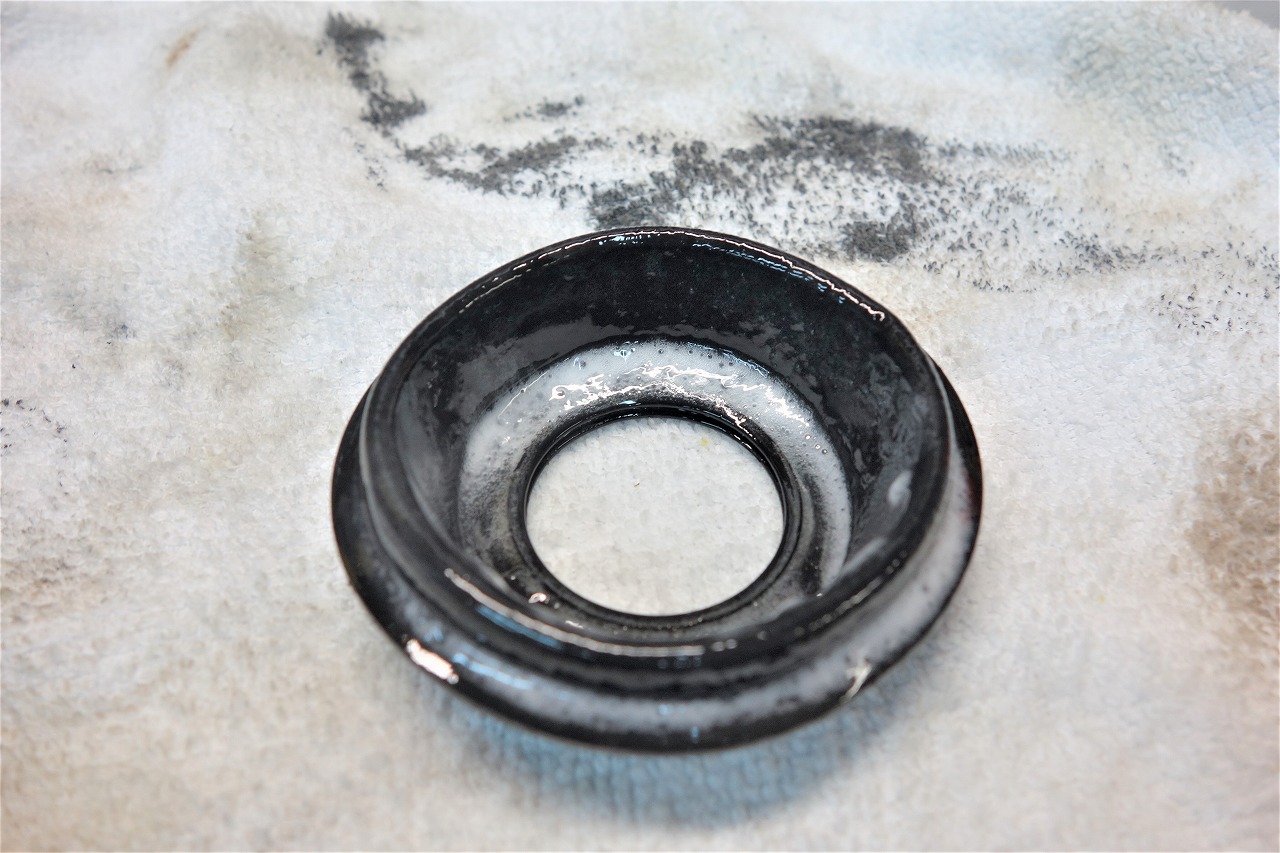
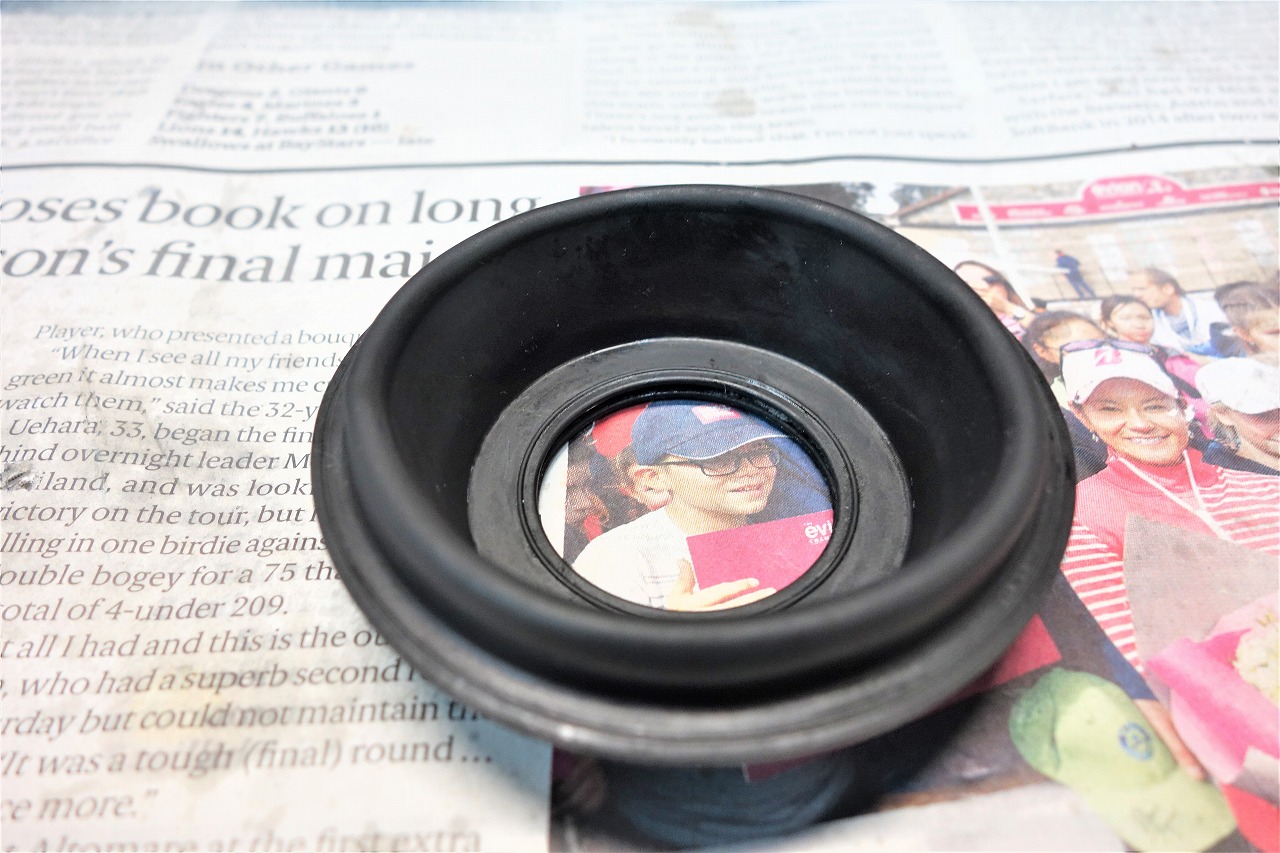
I used to wash it with neutral detergent, but…
When I switched to no-touch hand washing and wiping,
it got a nice shine to it.
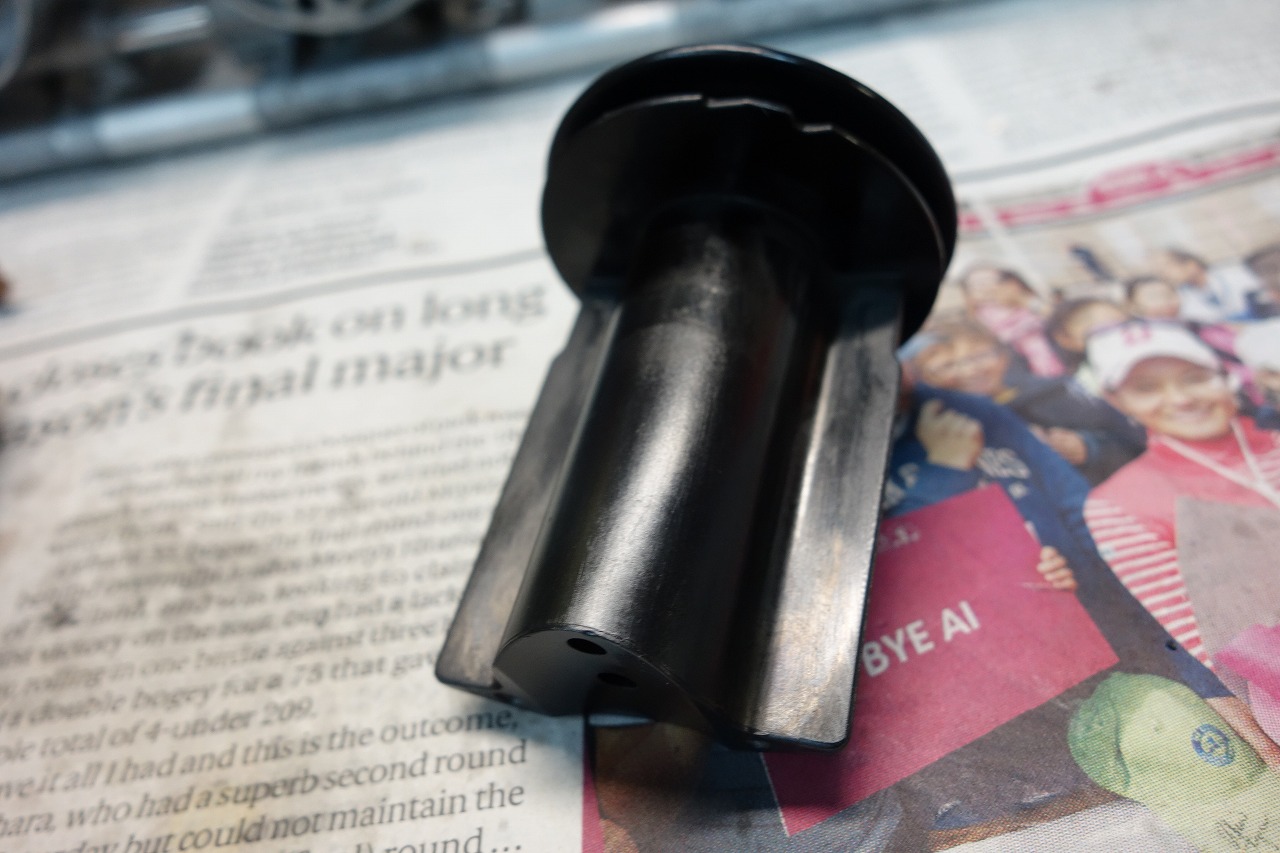
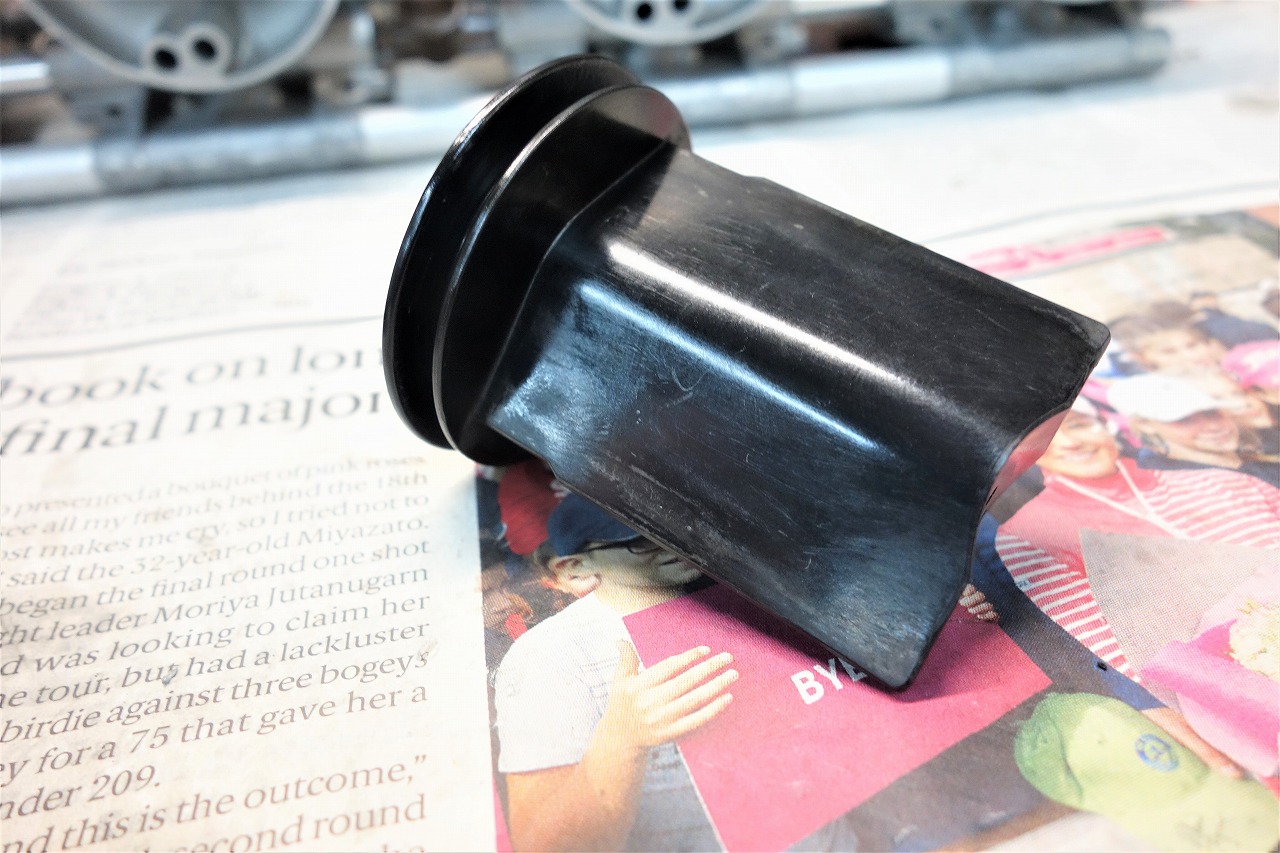
The slide valve condition is very good.
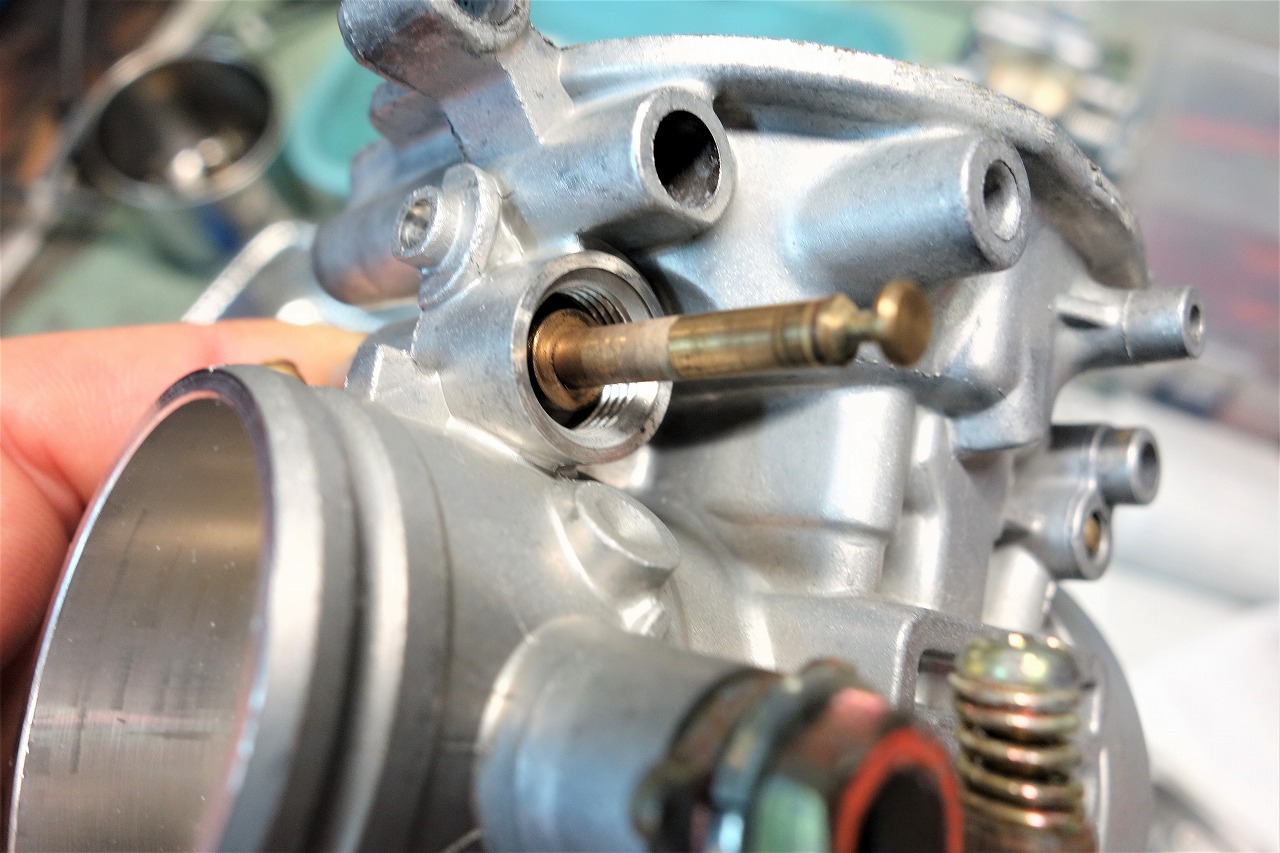
Oh, that’s right.
Always check the old starter valve carefully to be safe.
Occasionally you’ll find one where the inside has corroded and the return is sluggish with a ‘click!’ sound.
With the return spring pulling it firmly OFF, that’s what gives peace of mind.
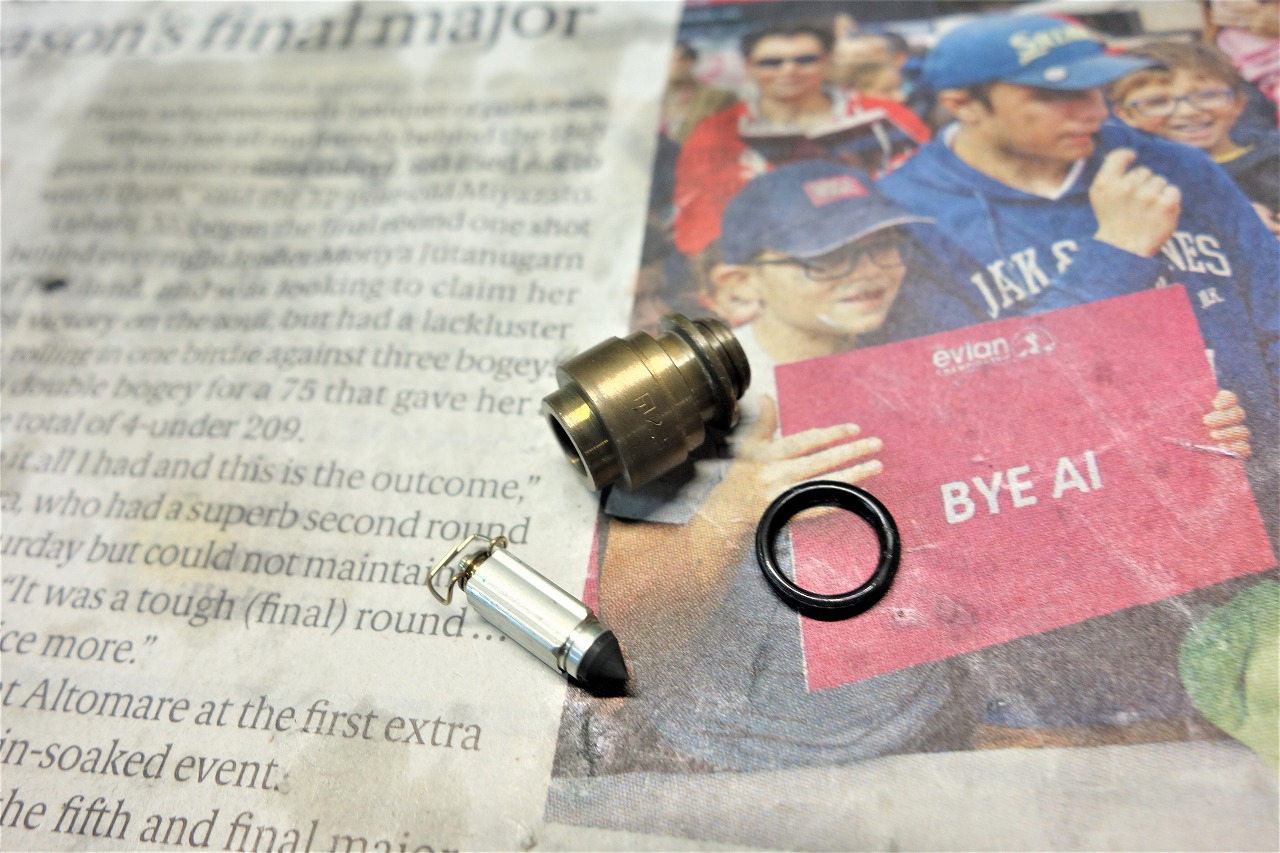
Float valves (needle valves) with rubber won’t wear out quickly.
But if you’re not confident in your inspection, I recommend replacing it.
Since there’s no O-ring specification for this, it gets tricky, but here’s how to figure it out.
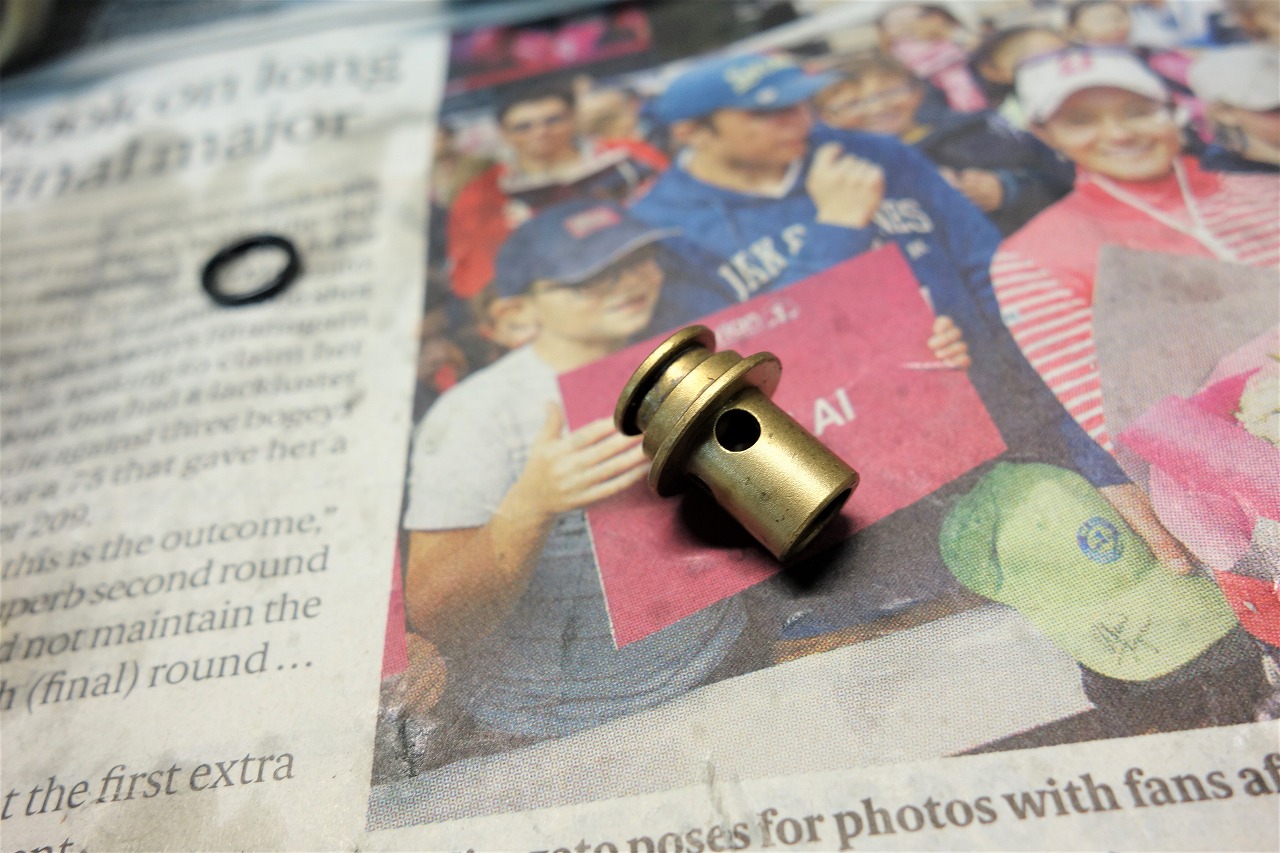
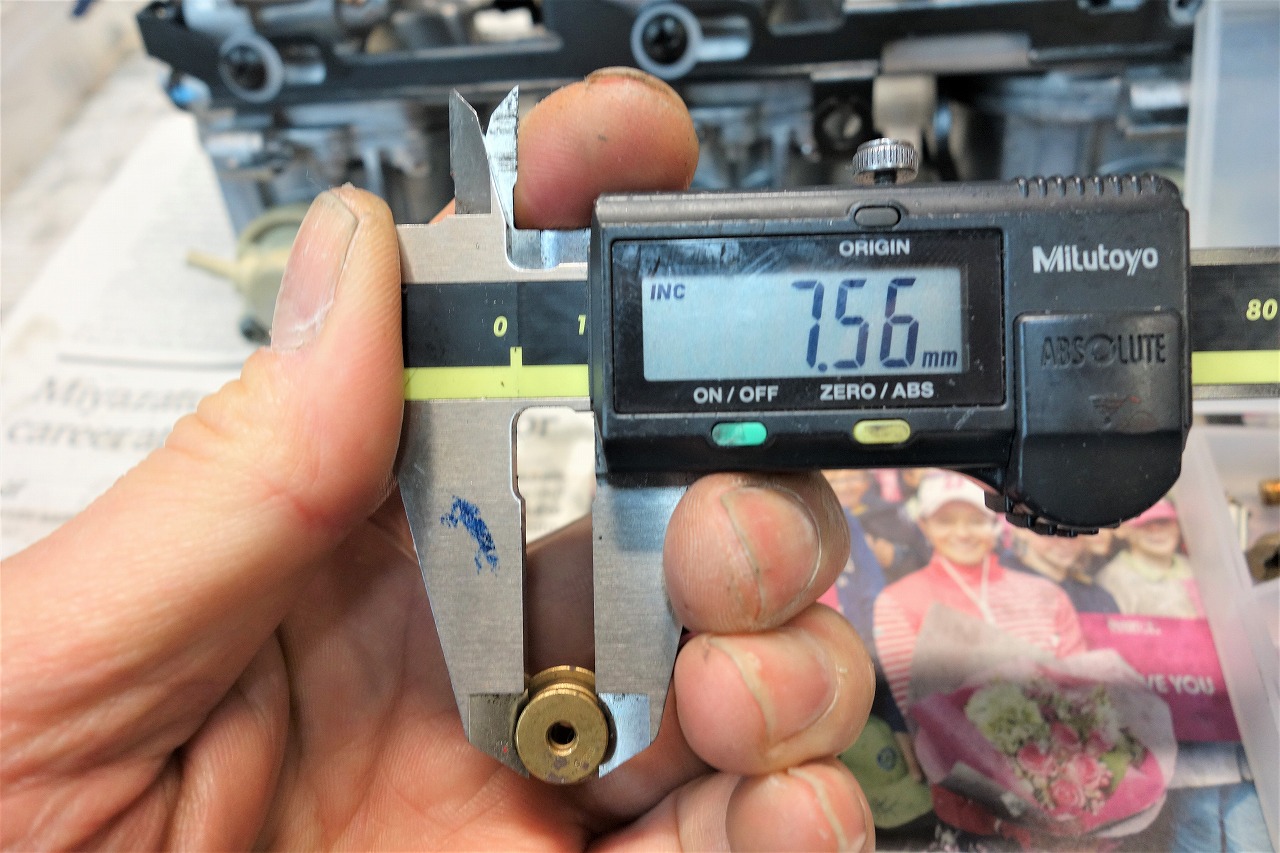
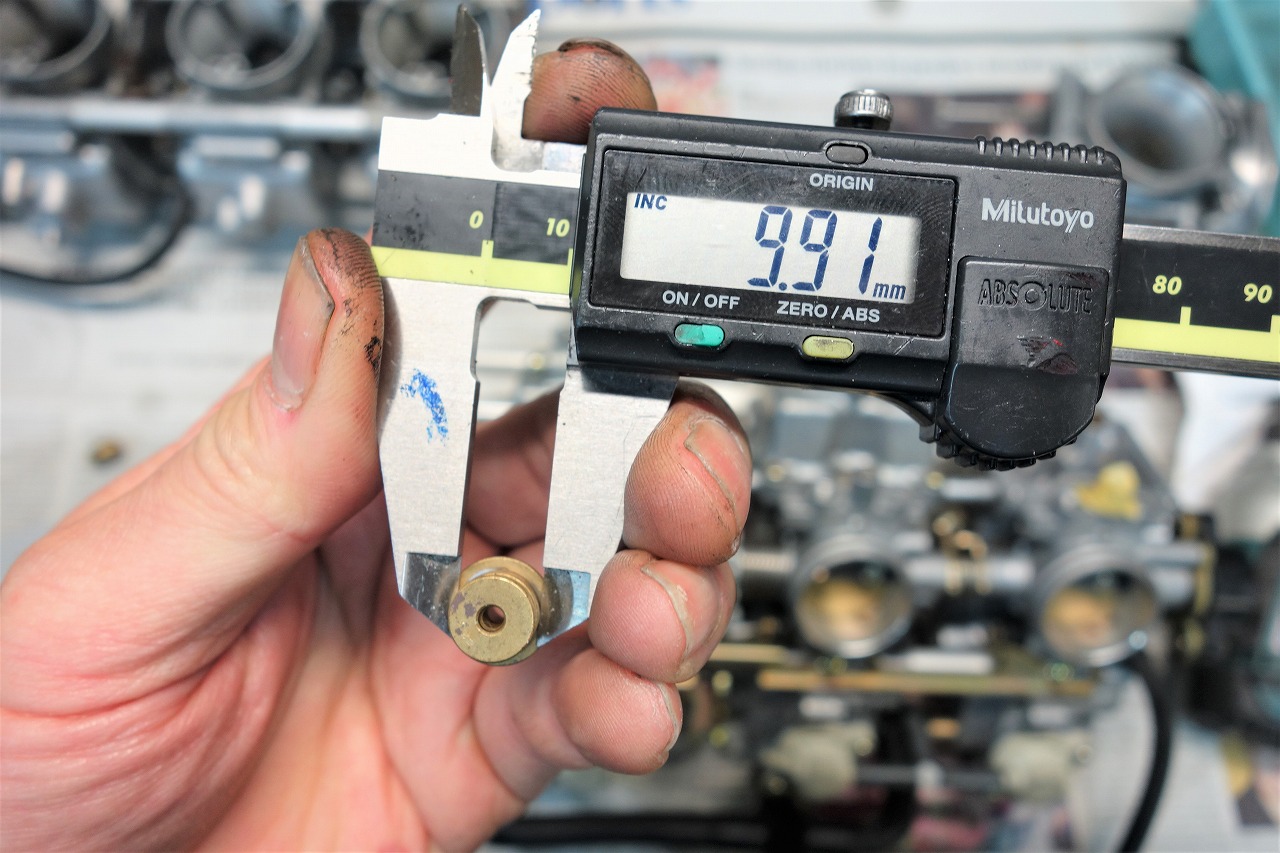
O-rings are pretty tedious to measure, and the tolerances are quite wide.
Plus, even if they’re worn or deformed, it’s hard to tell.
In those cases, measuring the mating metal part is foolproof.
The image shows the float valve from a Mikuni BST-series vacuum carburettor used on GSF1200 and similar bikes.
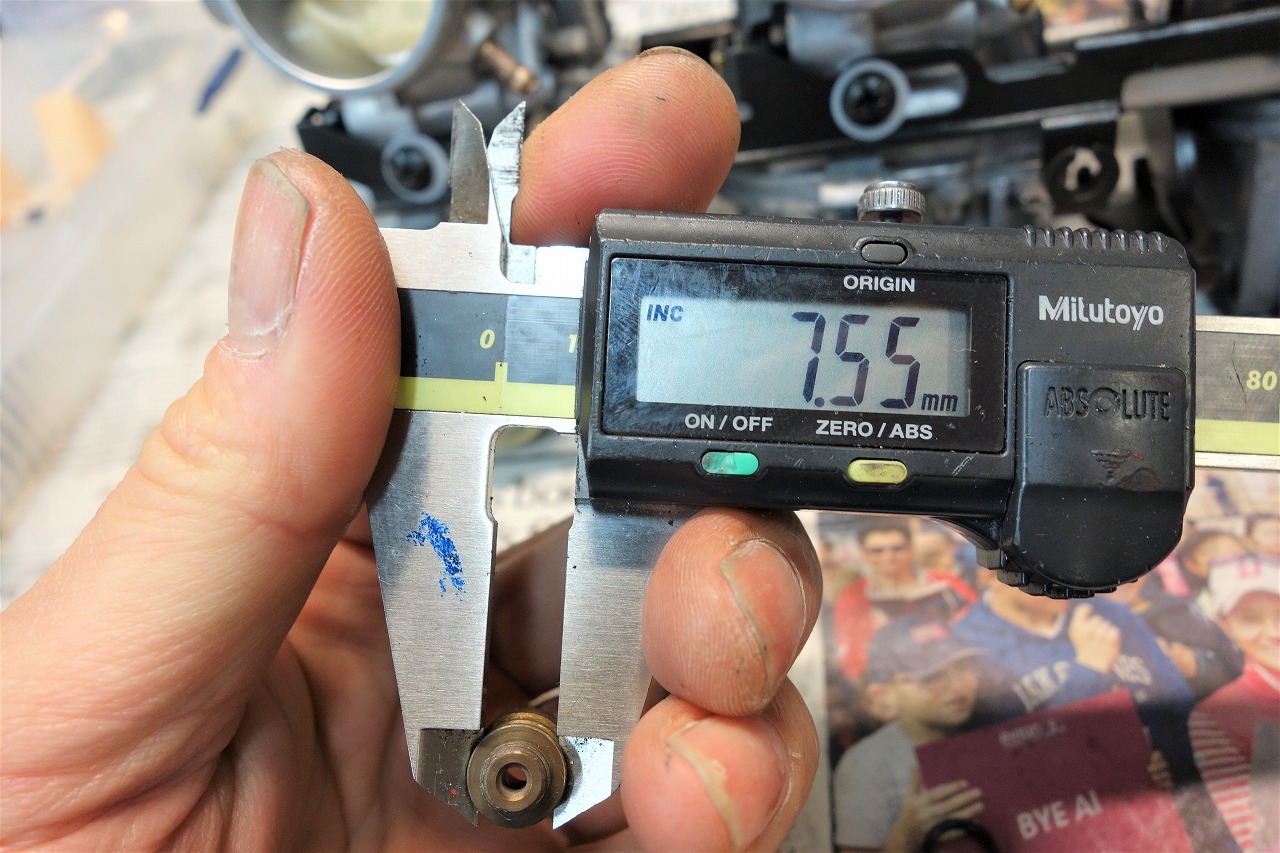
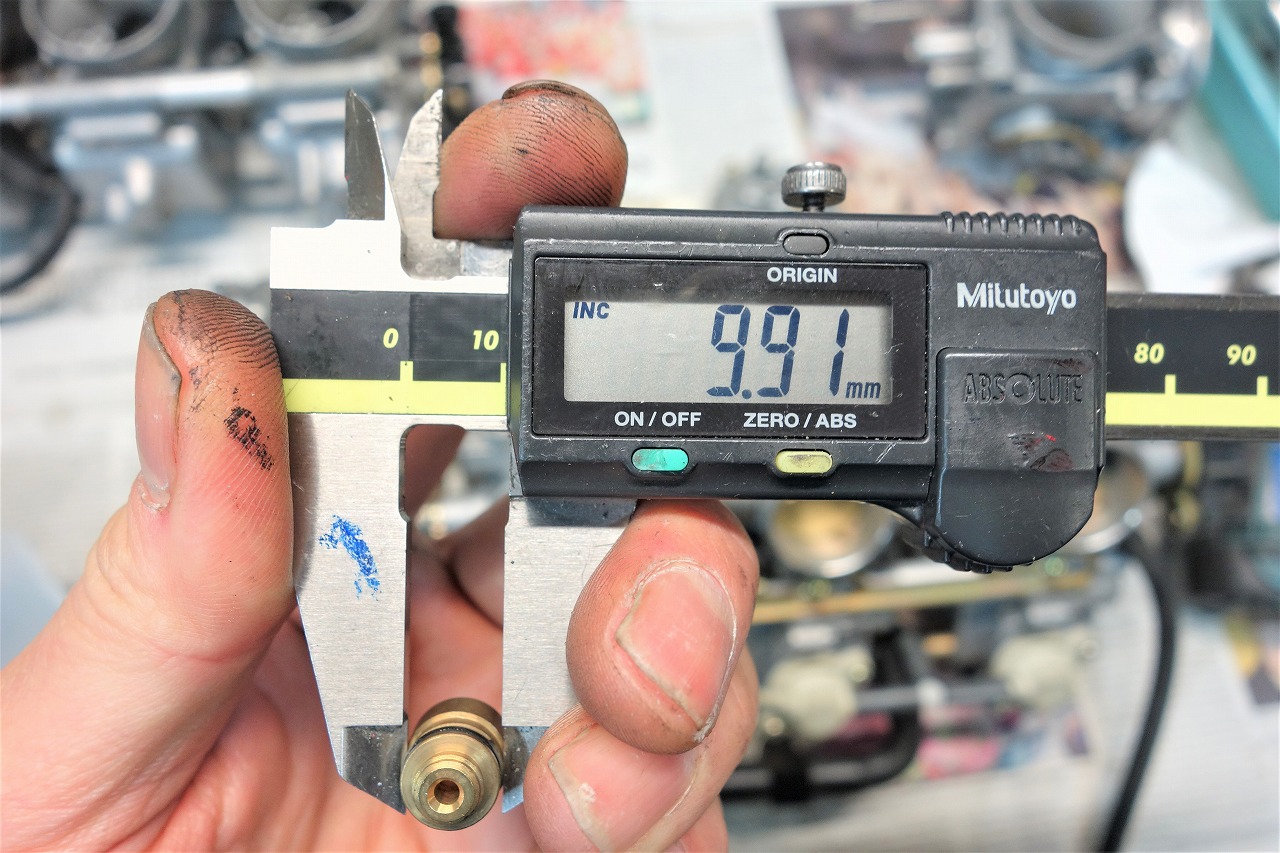
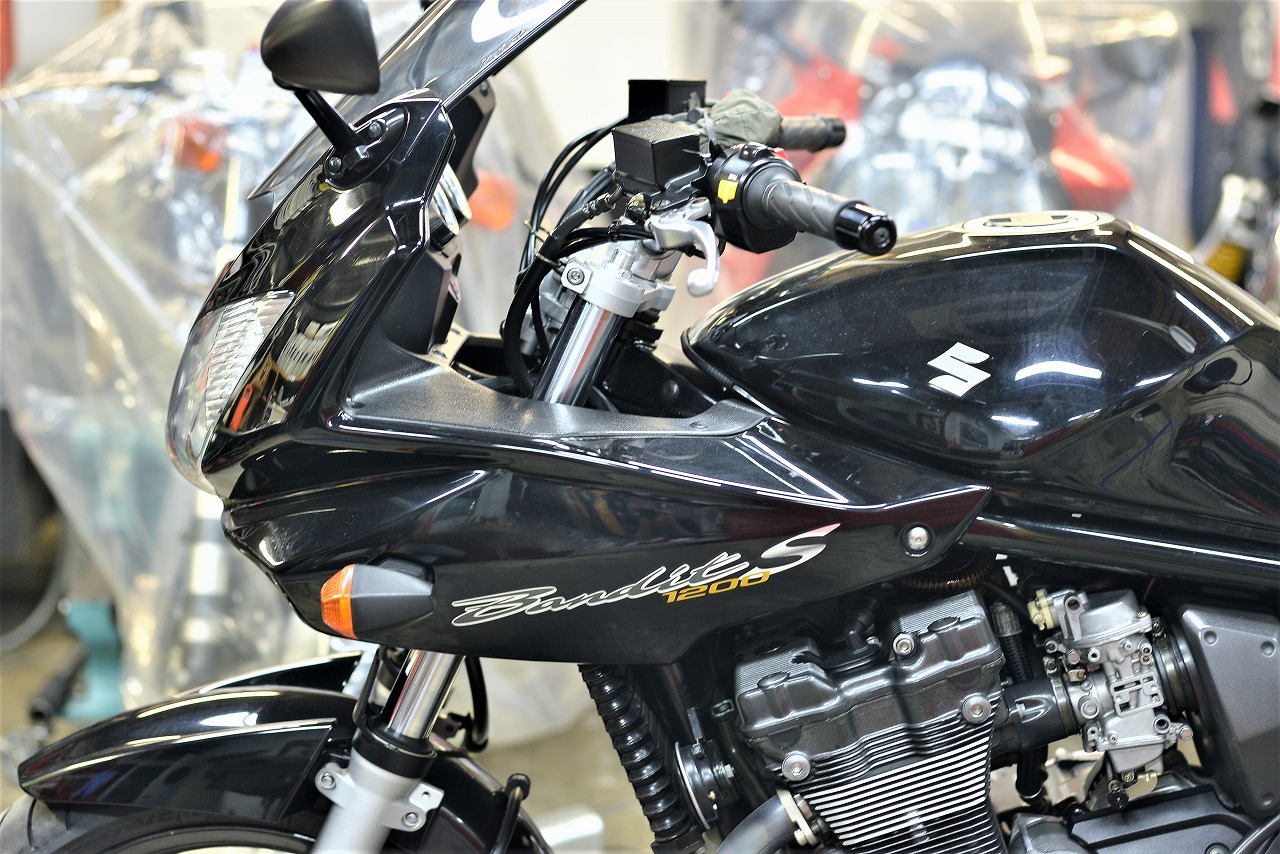
This is the Bandit 1200 K6 Mikuni BSR.
• The inner diameter where the O-ring sits
• The outer diameter that goes into the carburettor body
are the same = so the wire diameter should be the same too.
When the manufacturer is the same, it’s usually the same—that’s the norm.
*It’s a cost thing.
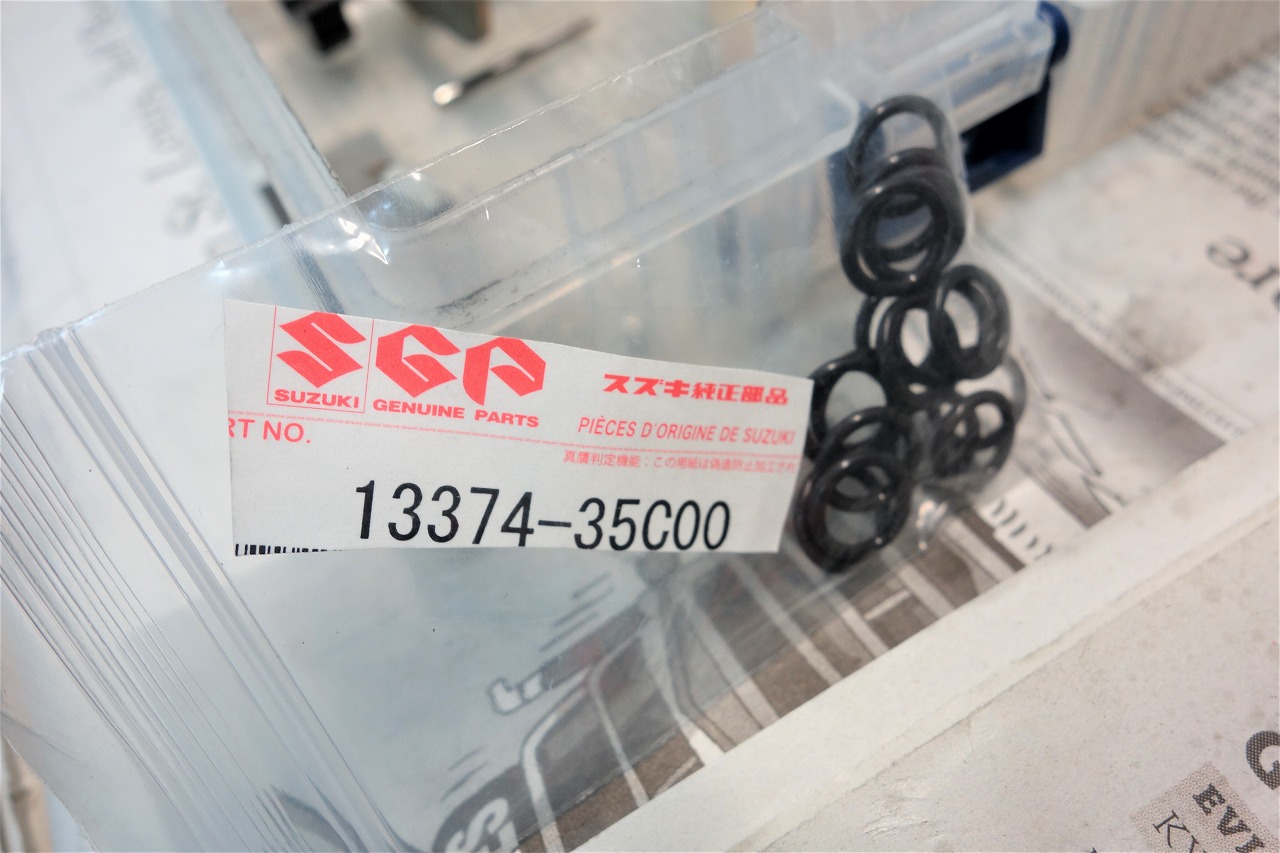
13374-35C00 We always have it in stock.
We use this as a substitute. Or rather, I wish they’d list it as a part.
The parts cost at the shop doing the work can vary quite a bit.
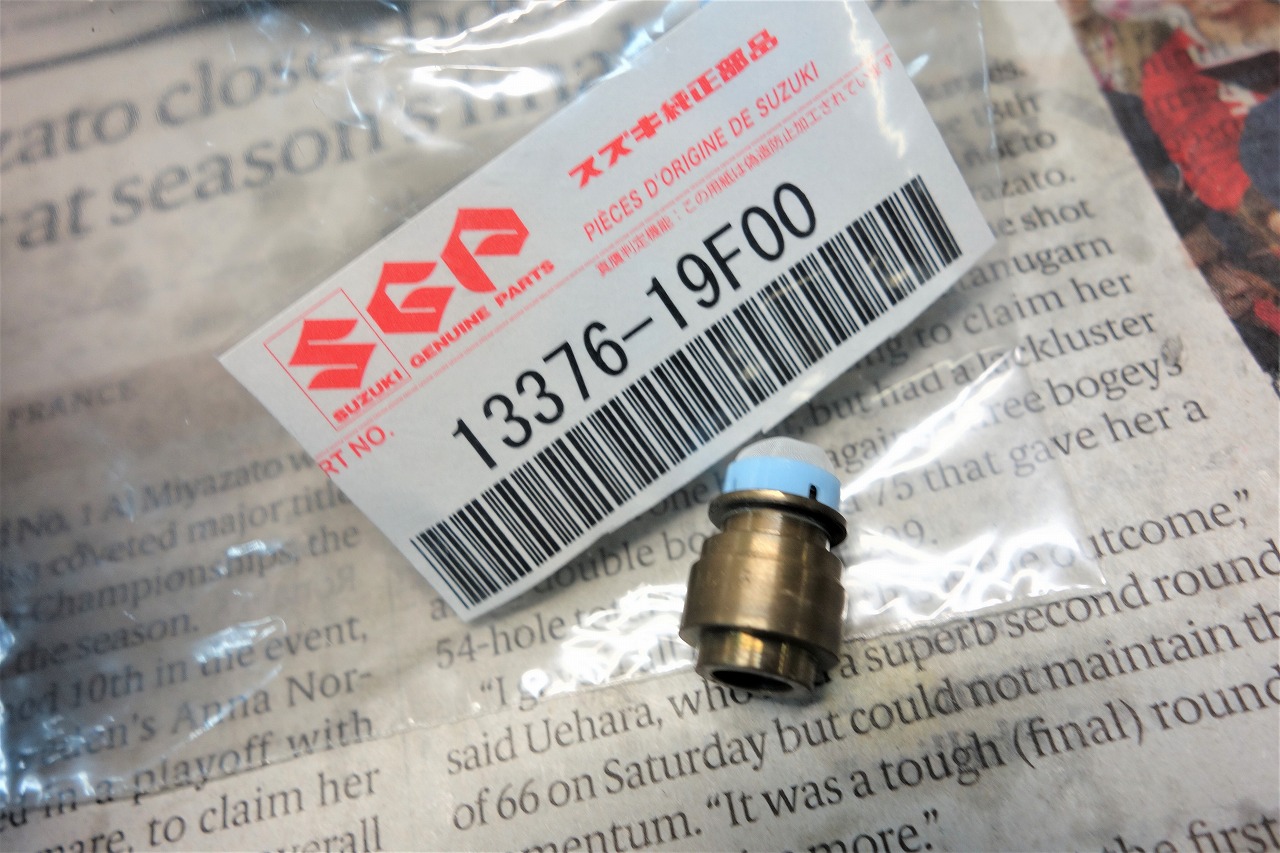
Somewhat fun cross-reference info: 13376-19F00
By the way, this filter can also be installed, but…
Unless there’s a good reason, you probably shouldn’t.
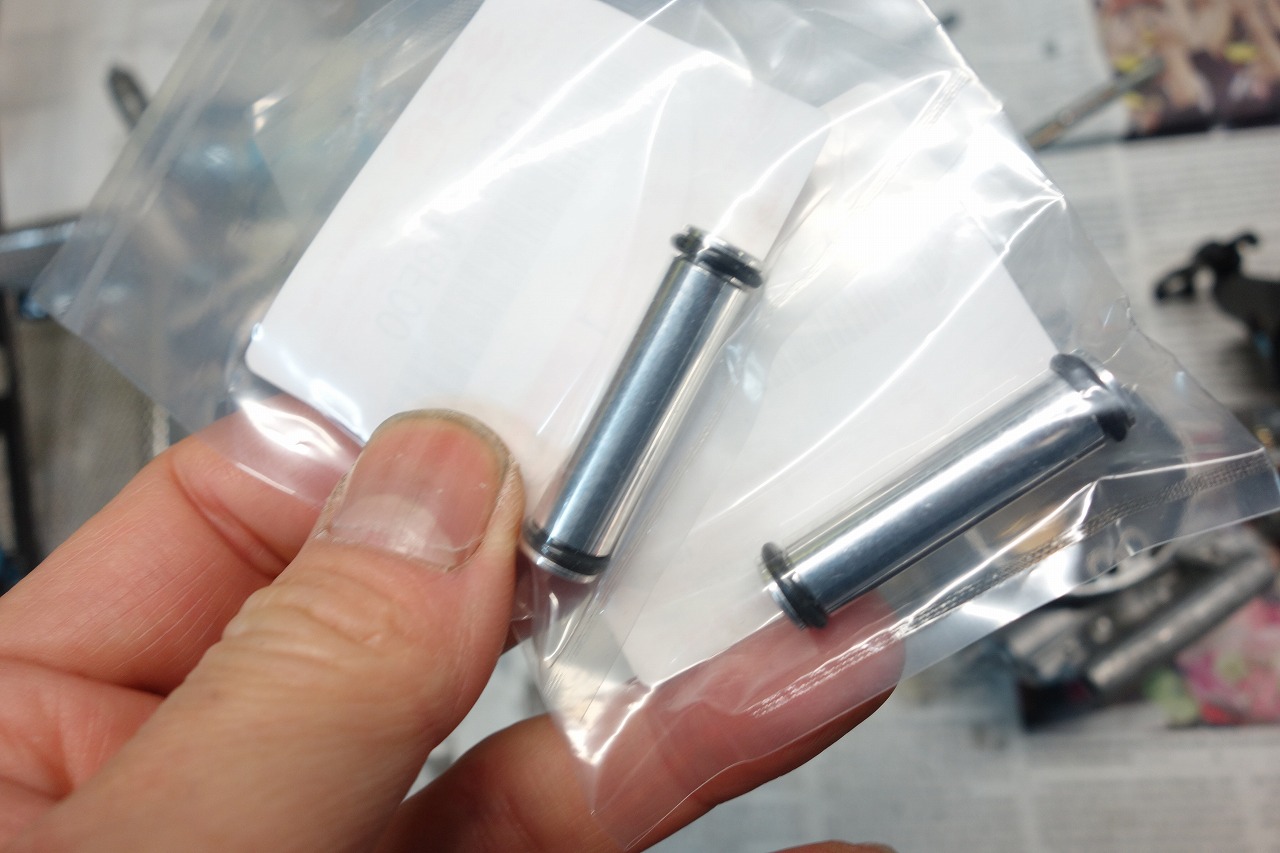
I need to hunt down the O-ring for this pipe too.
What could it be? I have a hunch it might be a Yamaha part…
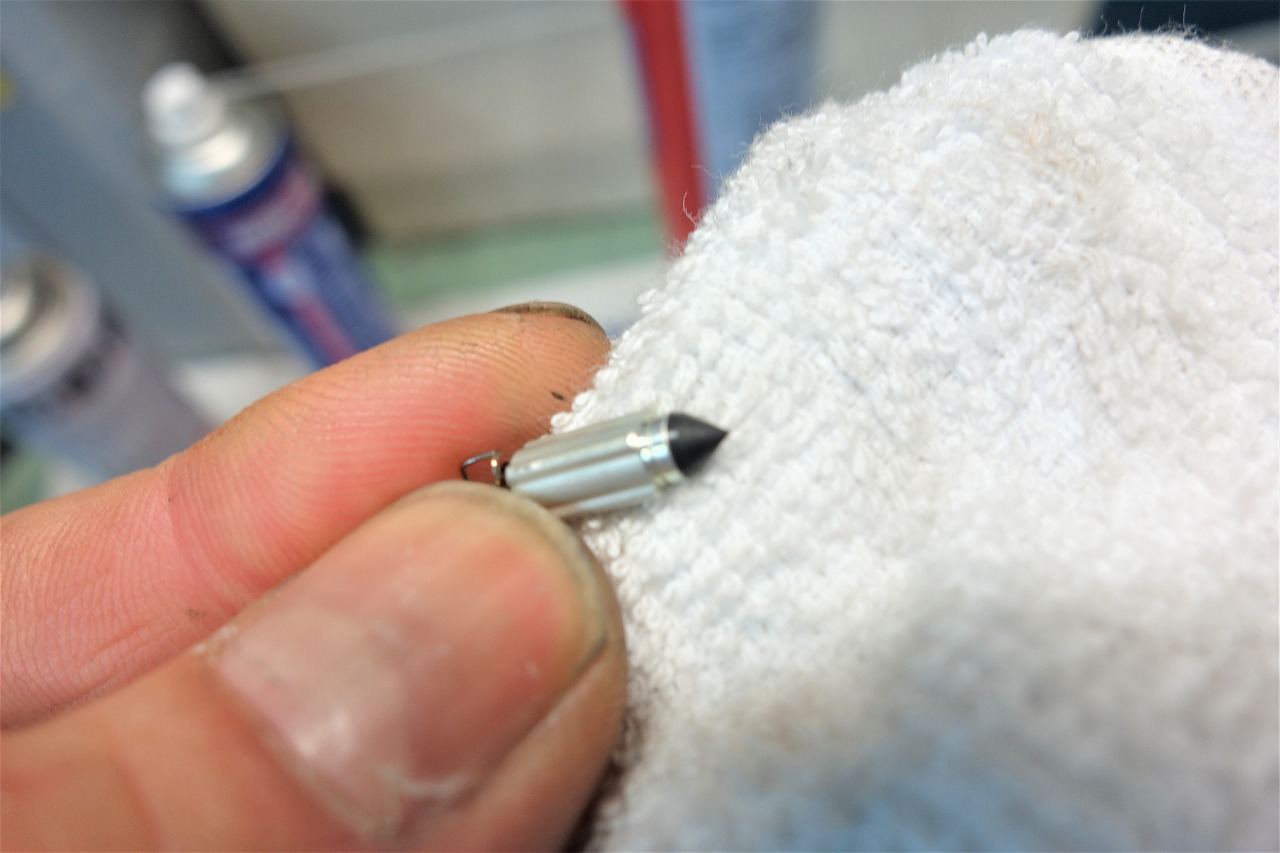
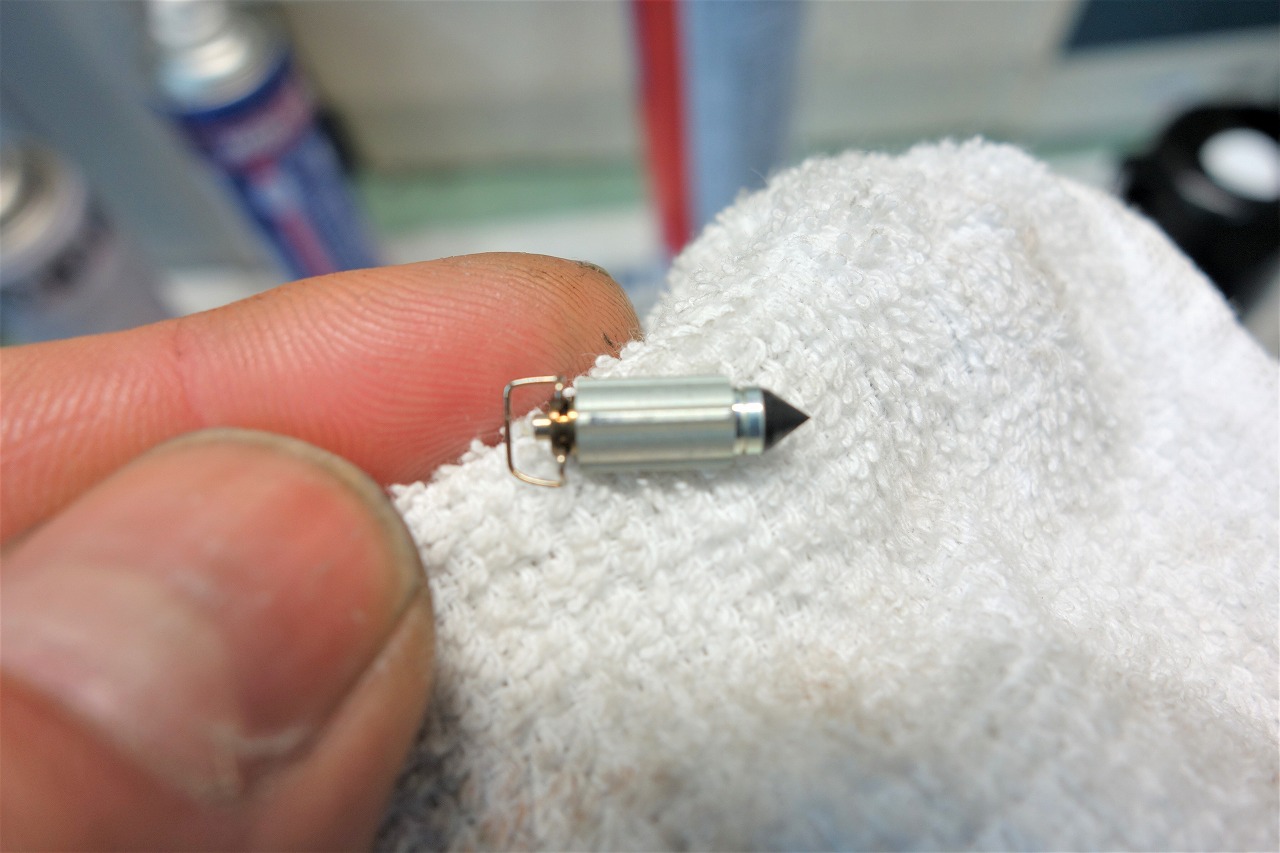
• The condition of the rubber tip. Is it hard? Any step wear? (←That’s pretty rare.)
• The condition of the shaft. Is there excessive wear and shine?
• Is the pin spring on the other end still working?
Delicate yet bold. I think that’s what bikes are all about.
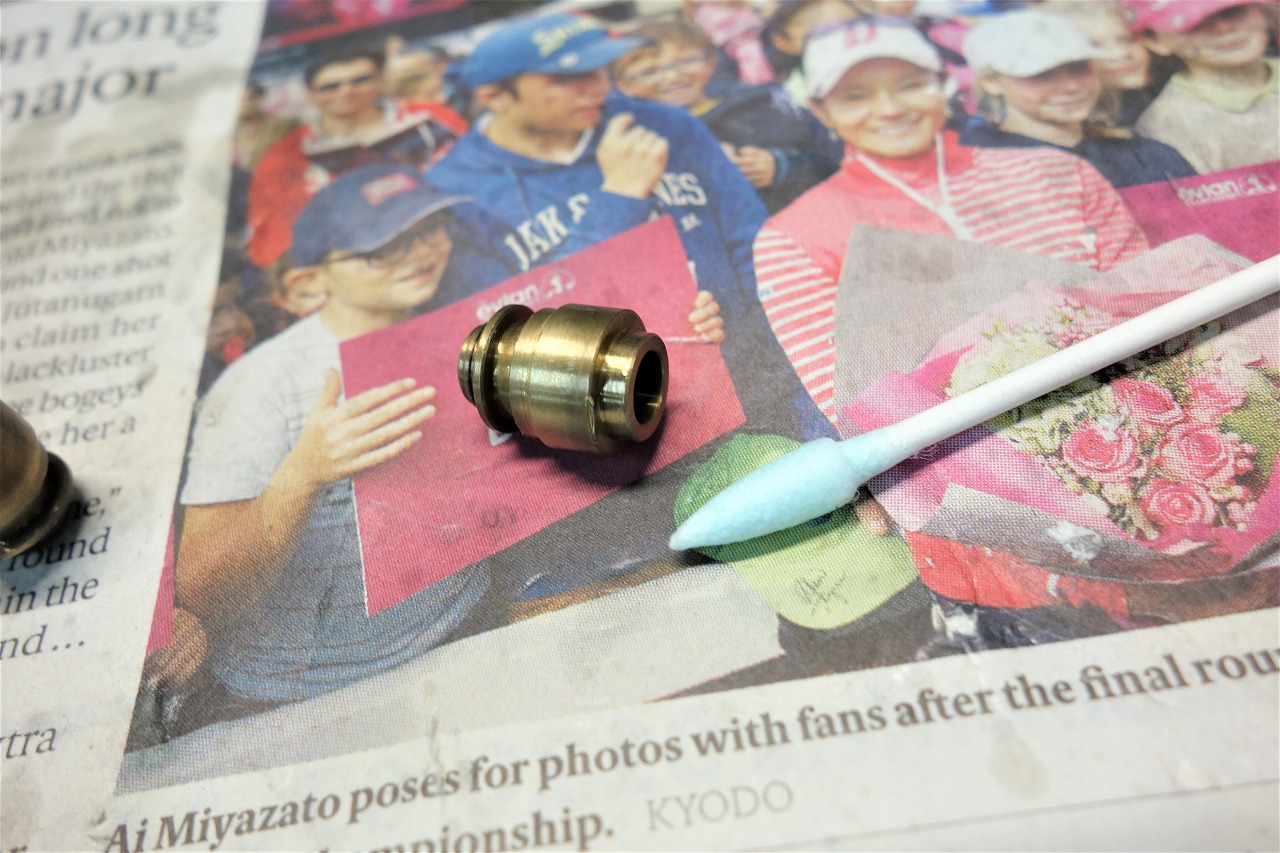
I use a soft compound to rub the tip together and clean it up.
I think it feels better when it fits snugly.
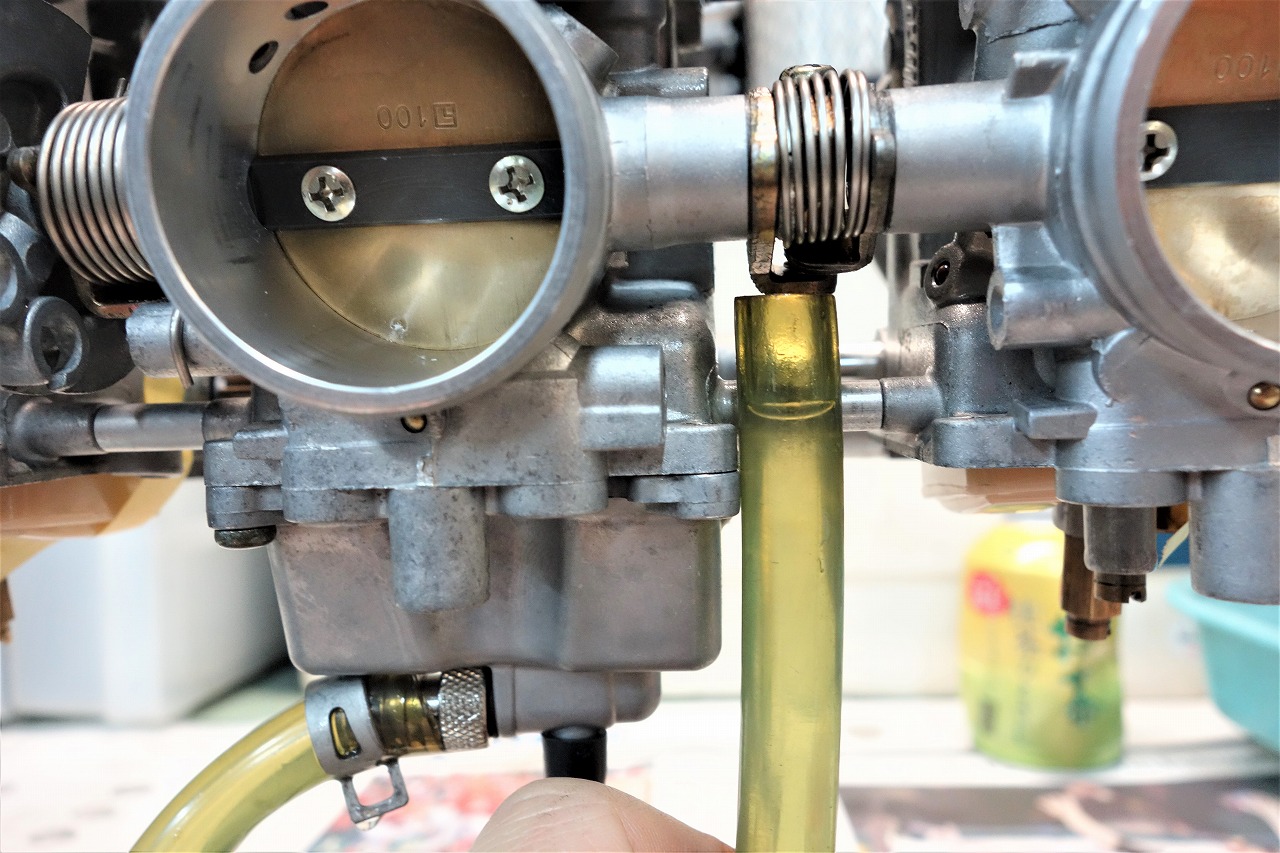
After that, check the fuel level and adjust it.
Carburetors are interesting, aren’t they? Even with the same carb, it can be plus or minus, and you realize the manufacturers set things up pretty carefully.
We’re 89% done. Just waiting on some parts.