Taking too many photos… and too much video… that’s not great either.
Could I become a YouTuber and retire?
No way… absolutely not. To be continued.
Is this another obscure choice? Not Yoshimura…?
Well, I’ve never installed one before, so I’m somewhat looking forward to it.
I think being the same as everyone else is no good…
In modern terms, it’s “same, no good, absolutely.”

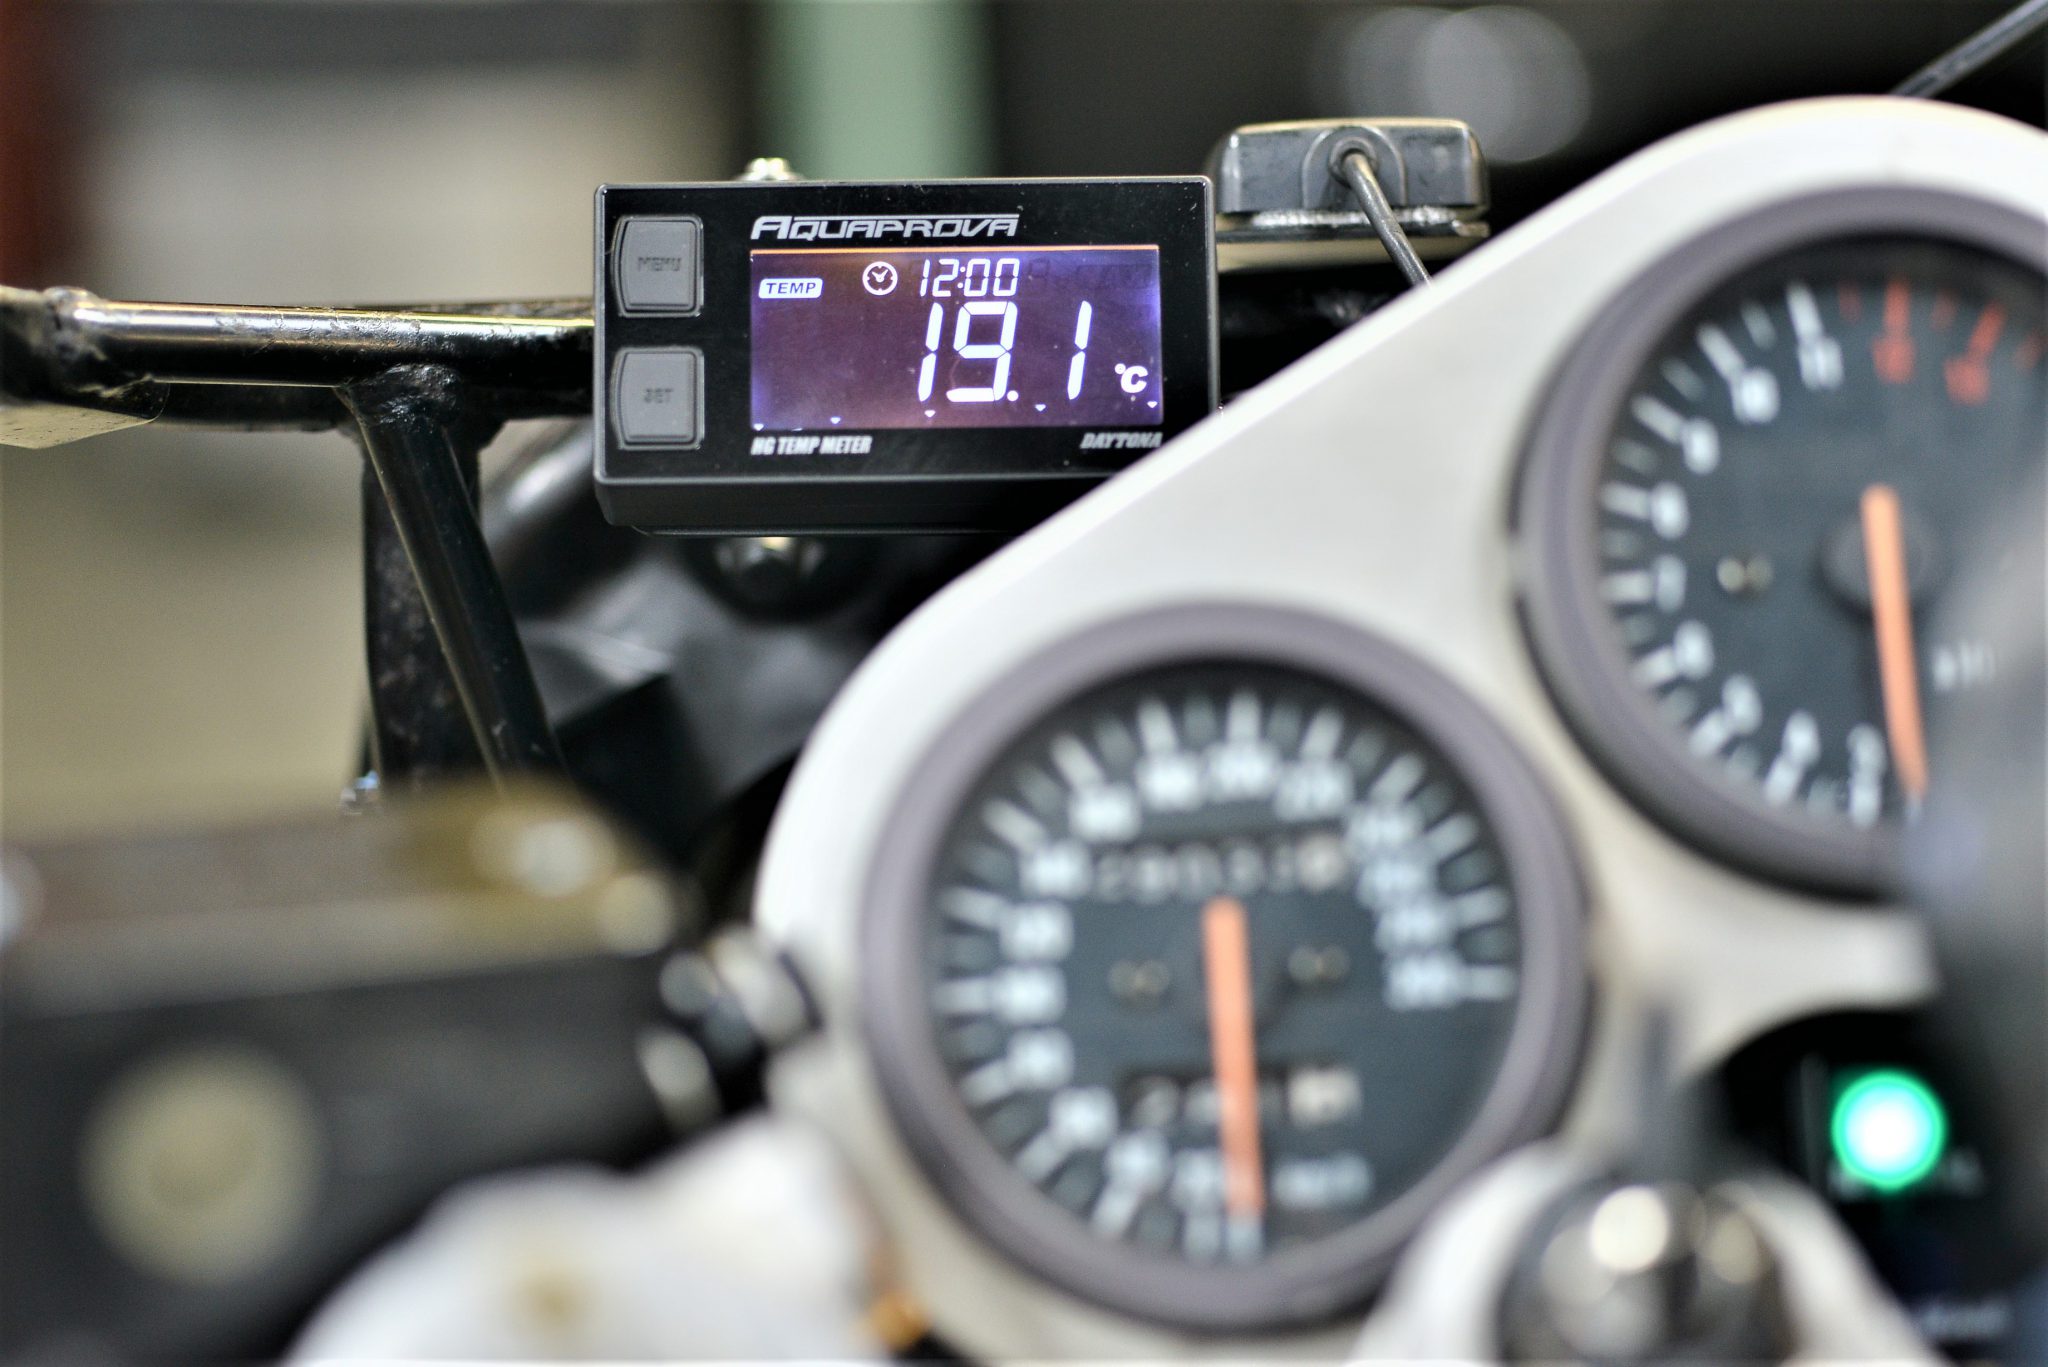
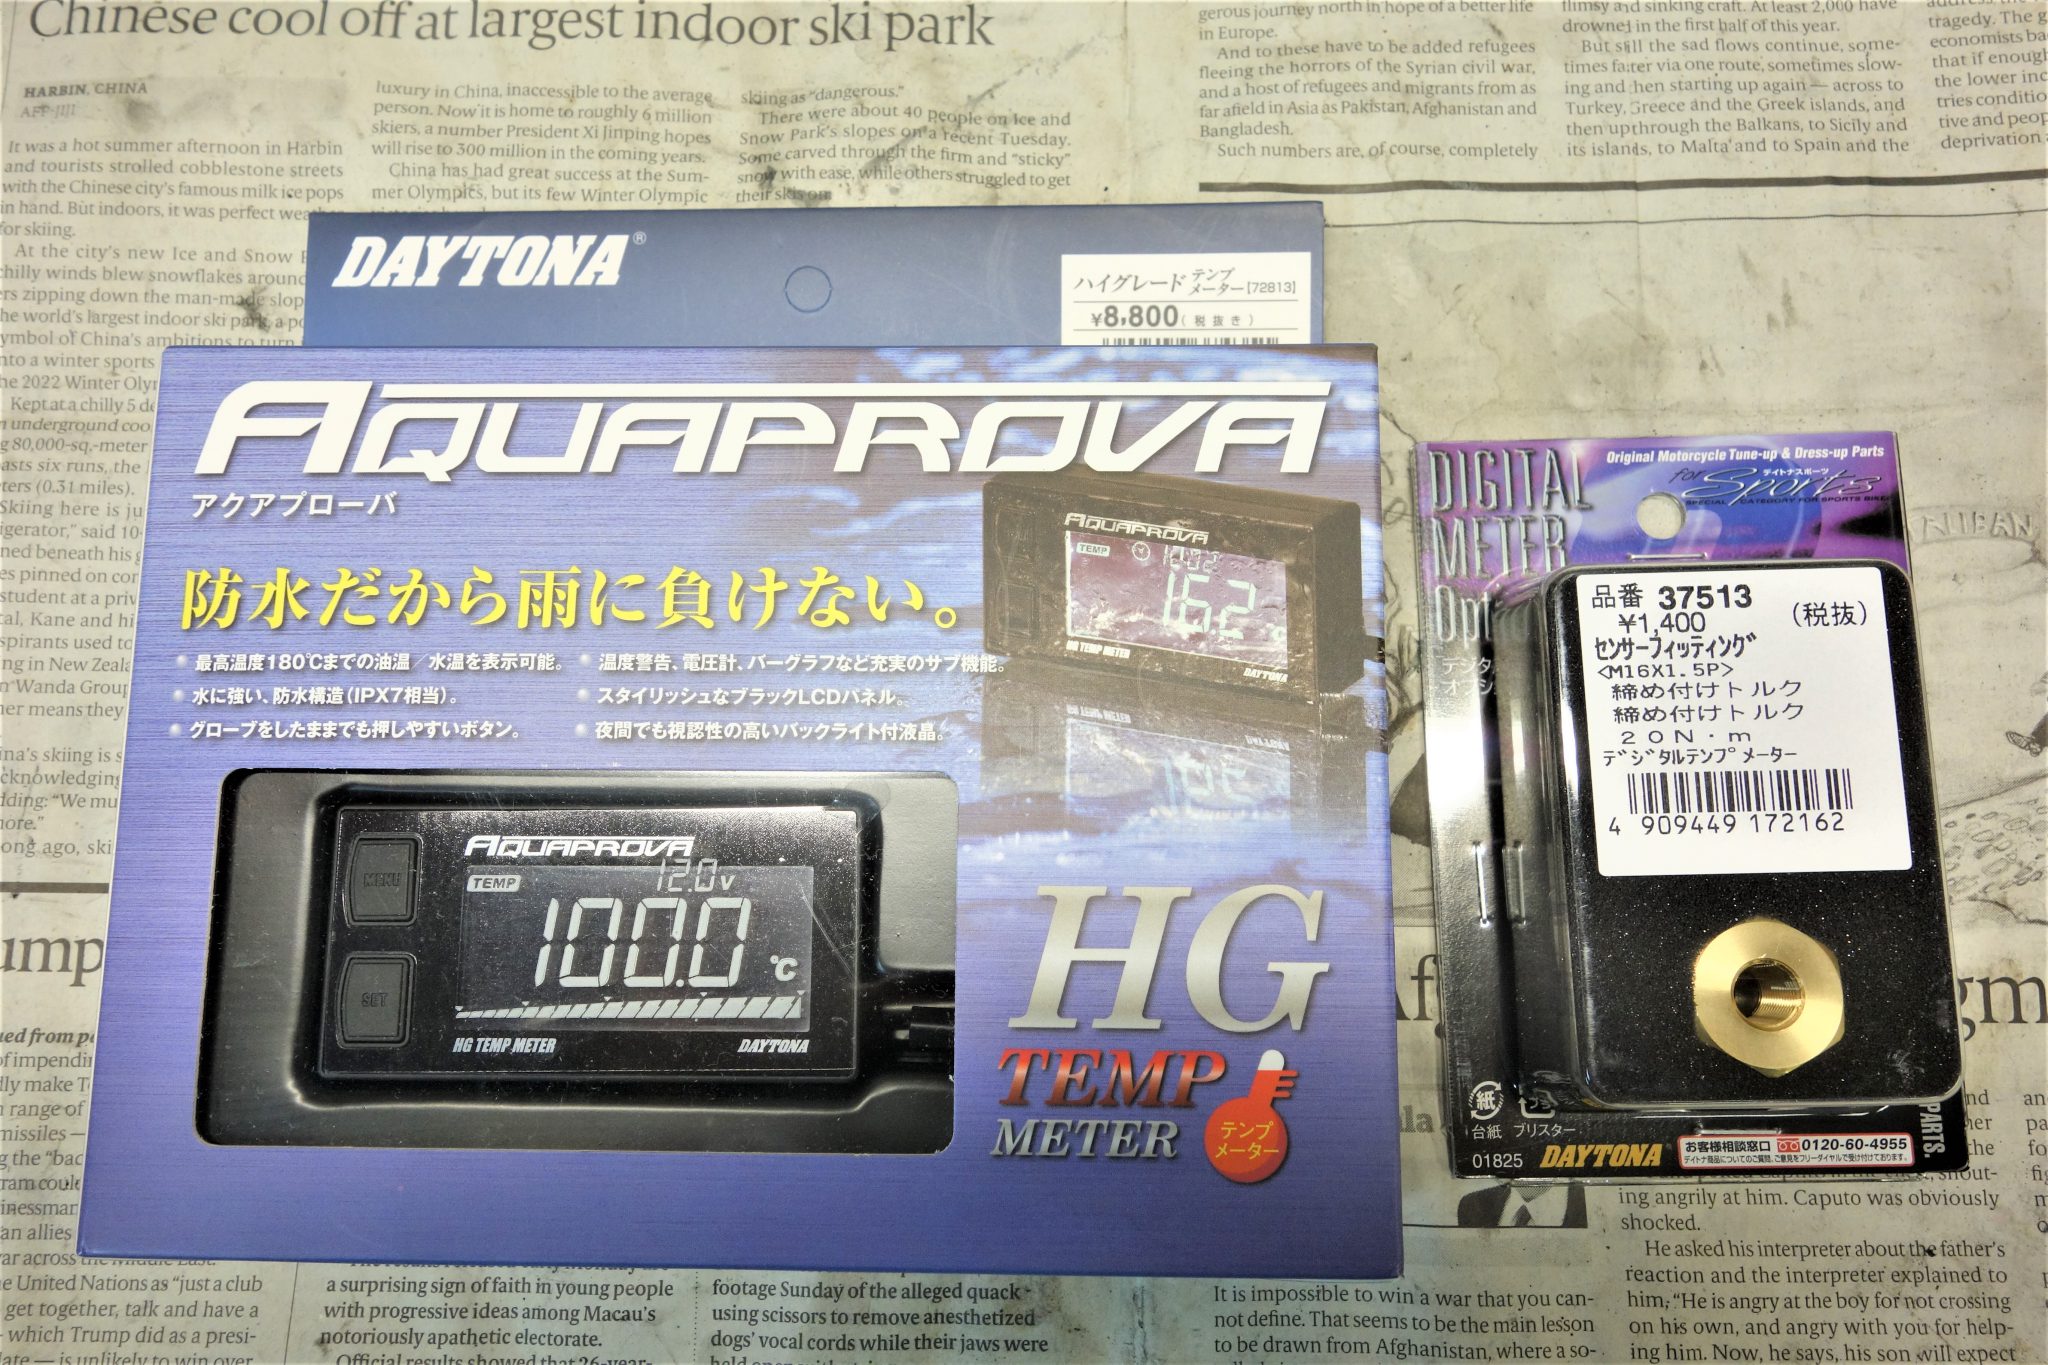
Daytona/AQUAPROVA HG Temp Meter Universal
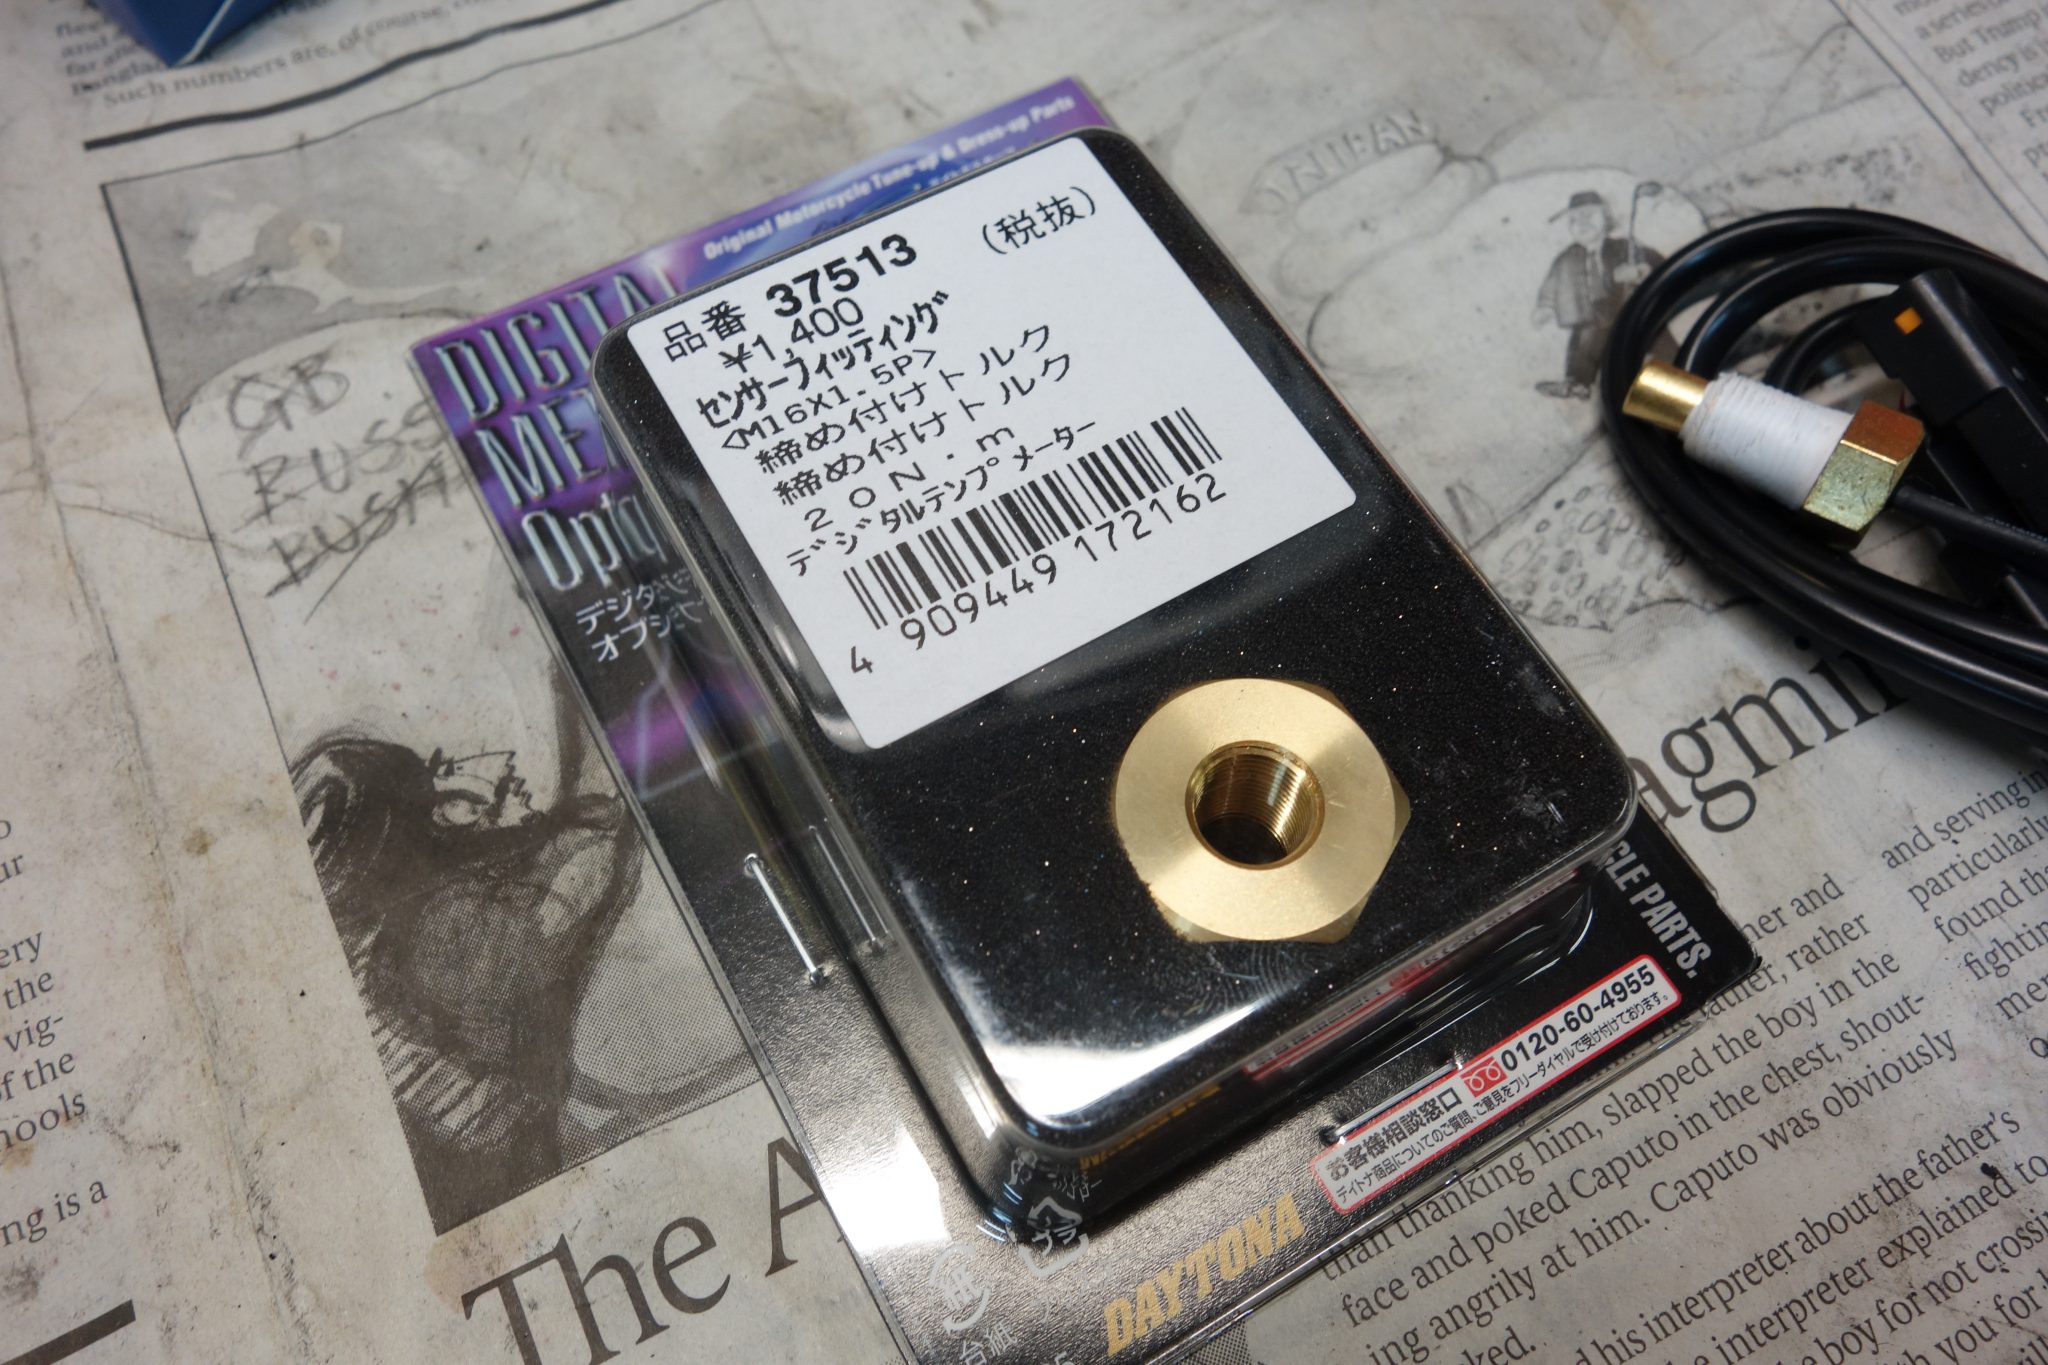
Adapter to sensor mounting.
The overall length gets longer—that’s the rule. The seller definitely wants it this way.
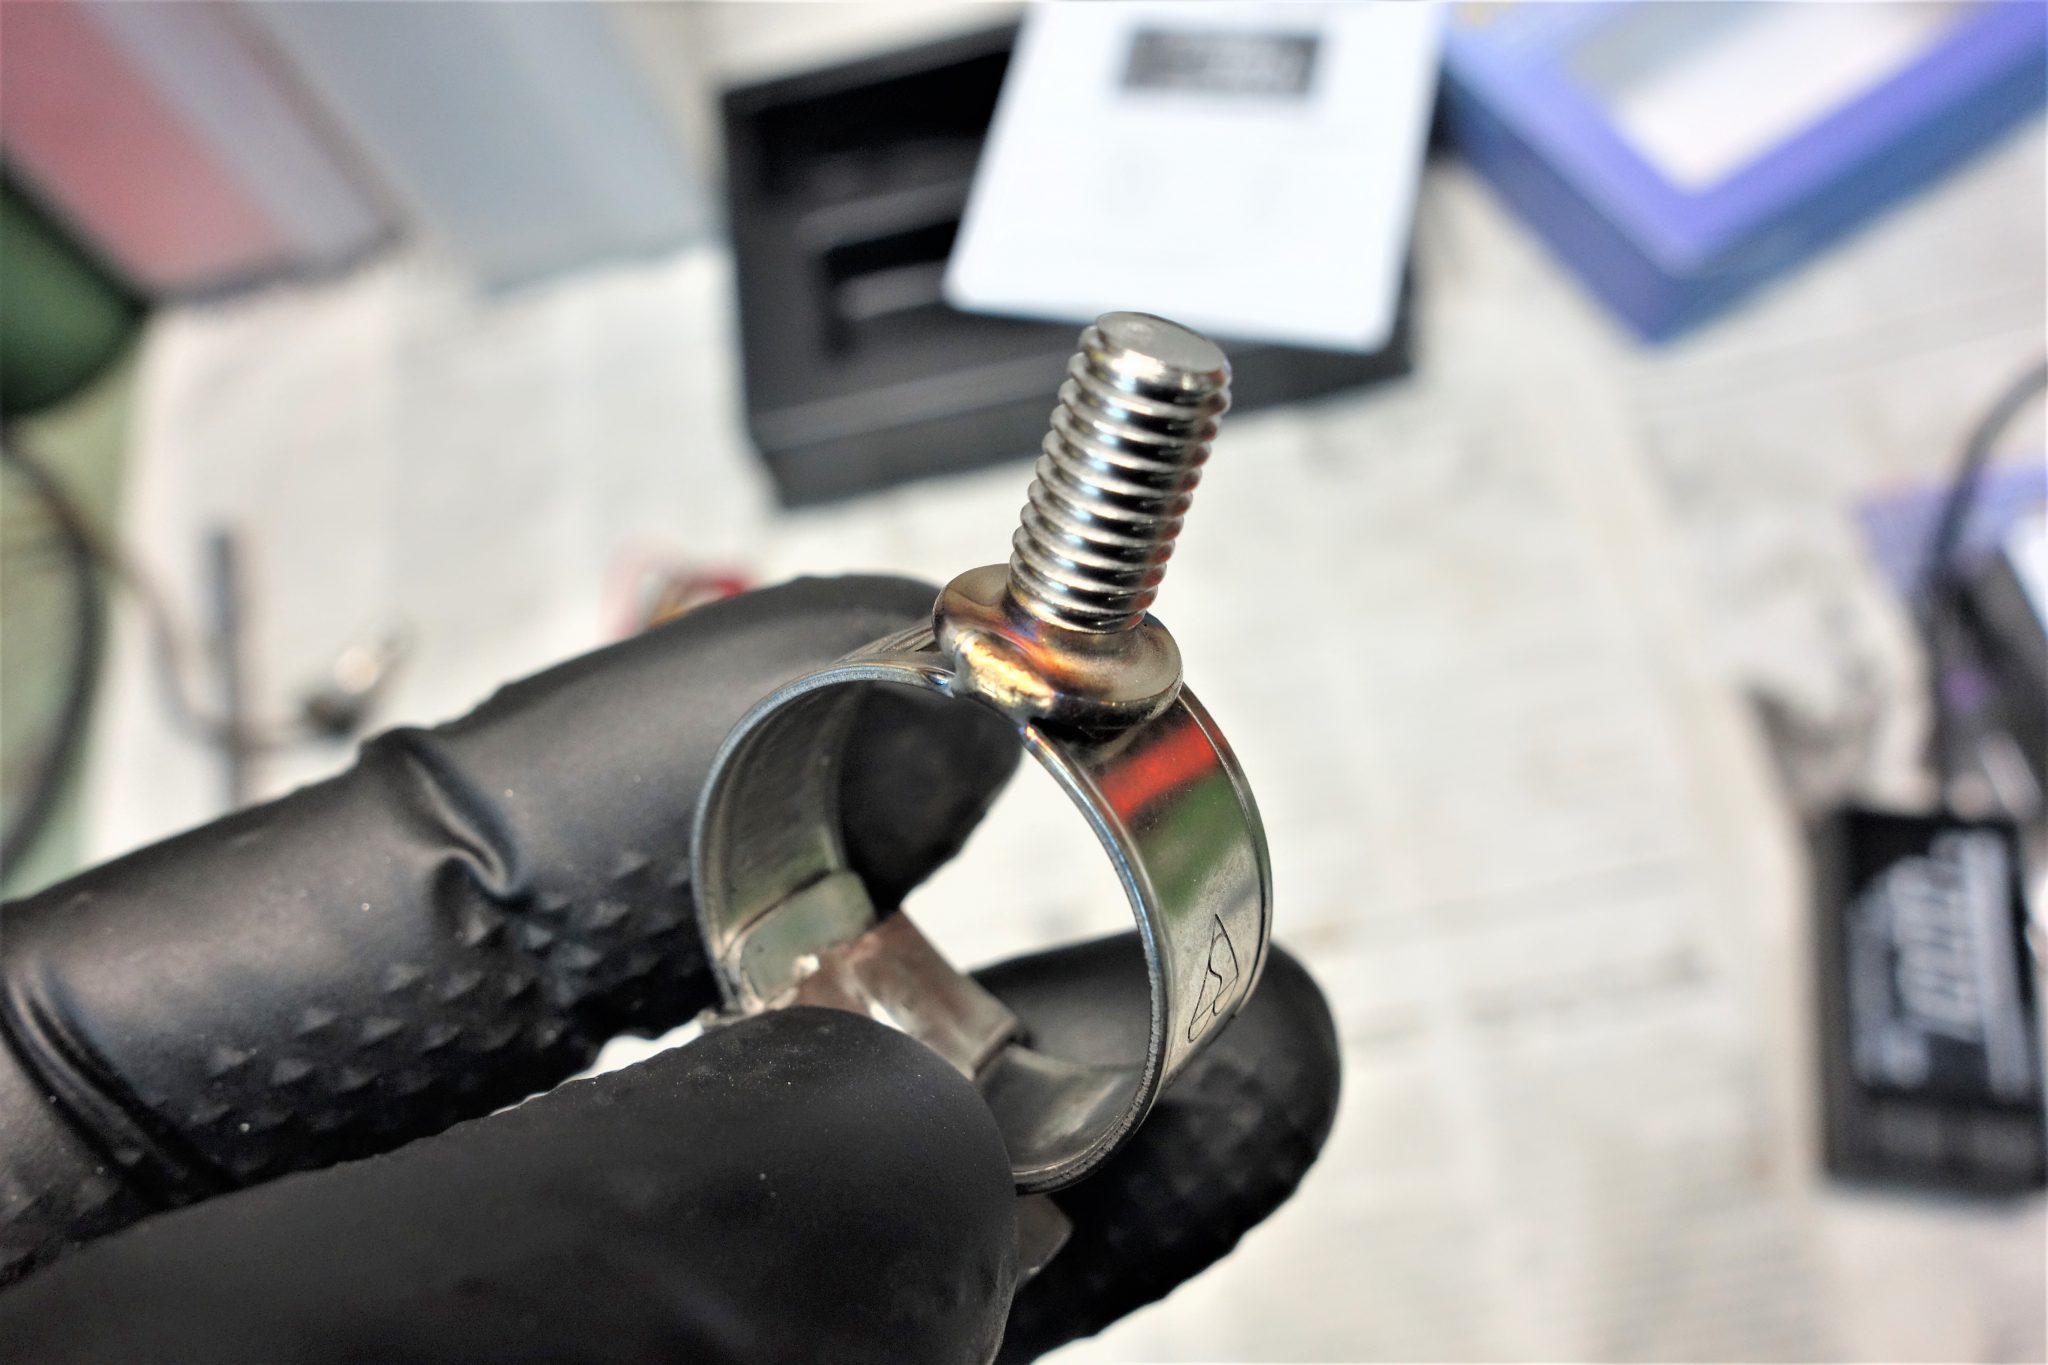
The usual shortcut work. Norma + ultra-low head and tighten it down.
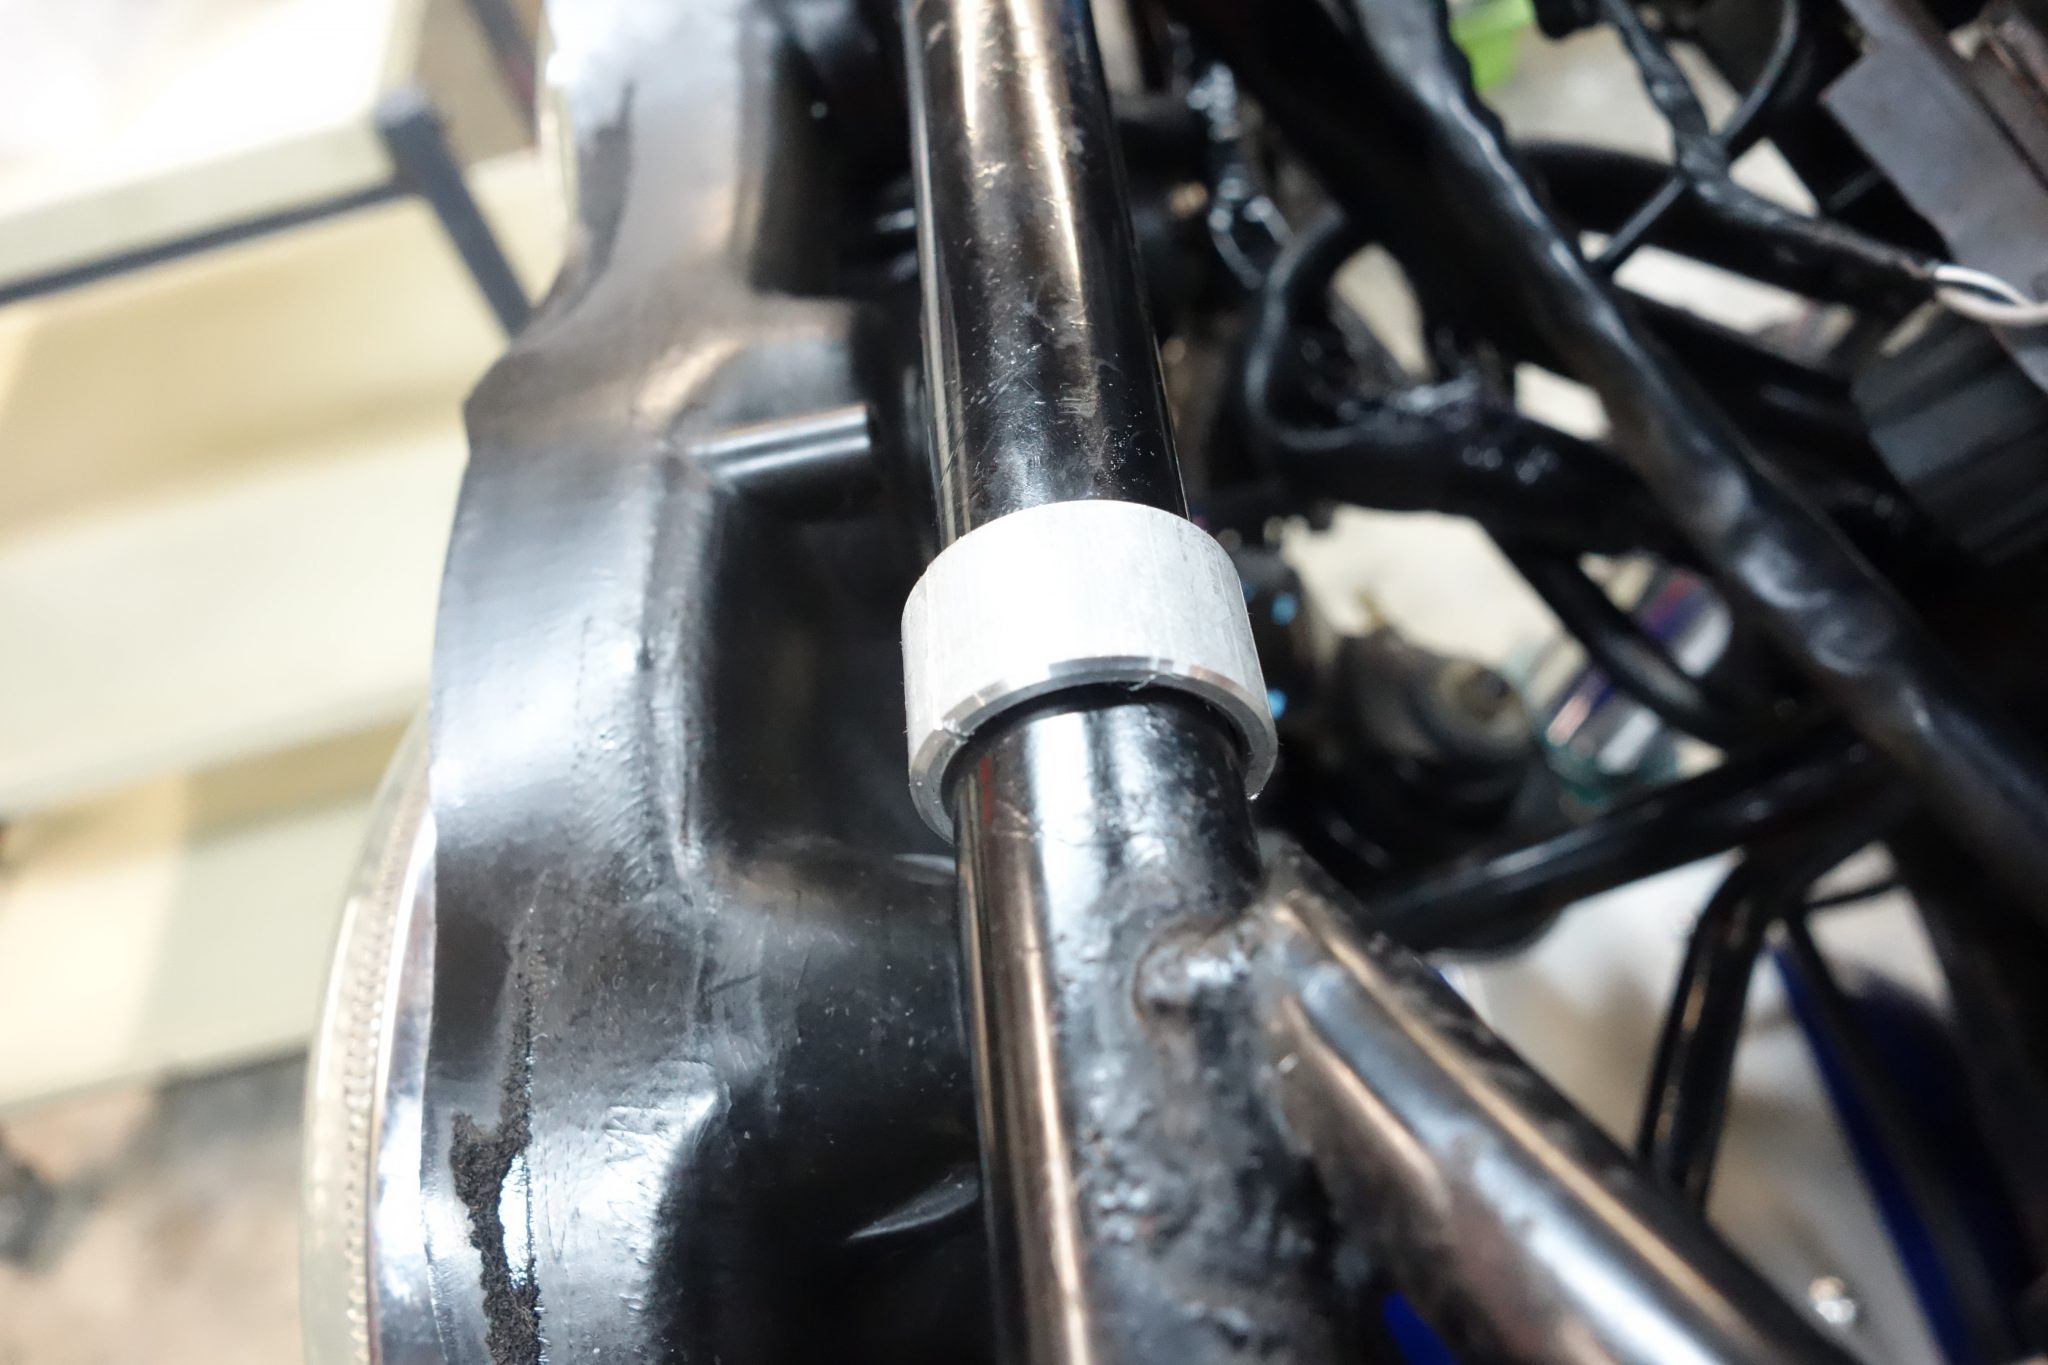
The frame side is 16 mm outer diameter, so I split a 16 mm piece with a slightly smaller inner diameter and snap it in to gain outer diameter—this way the hose clamp strap doesn’t stick out—looks cool?
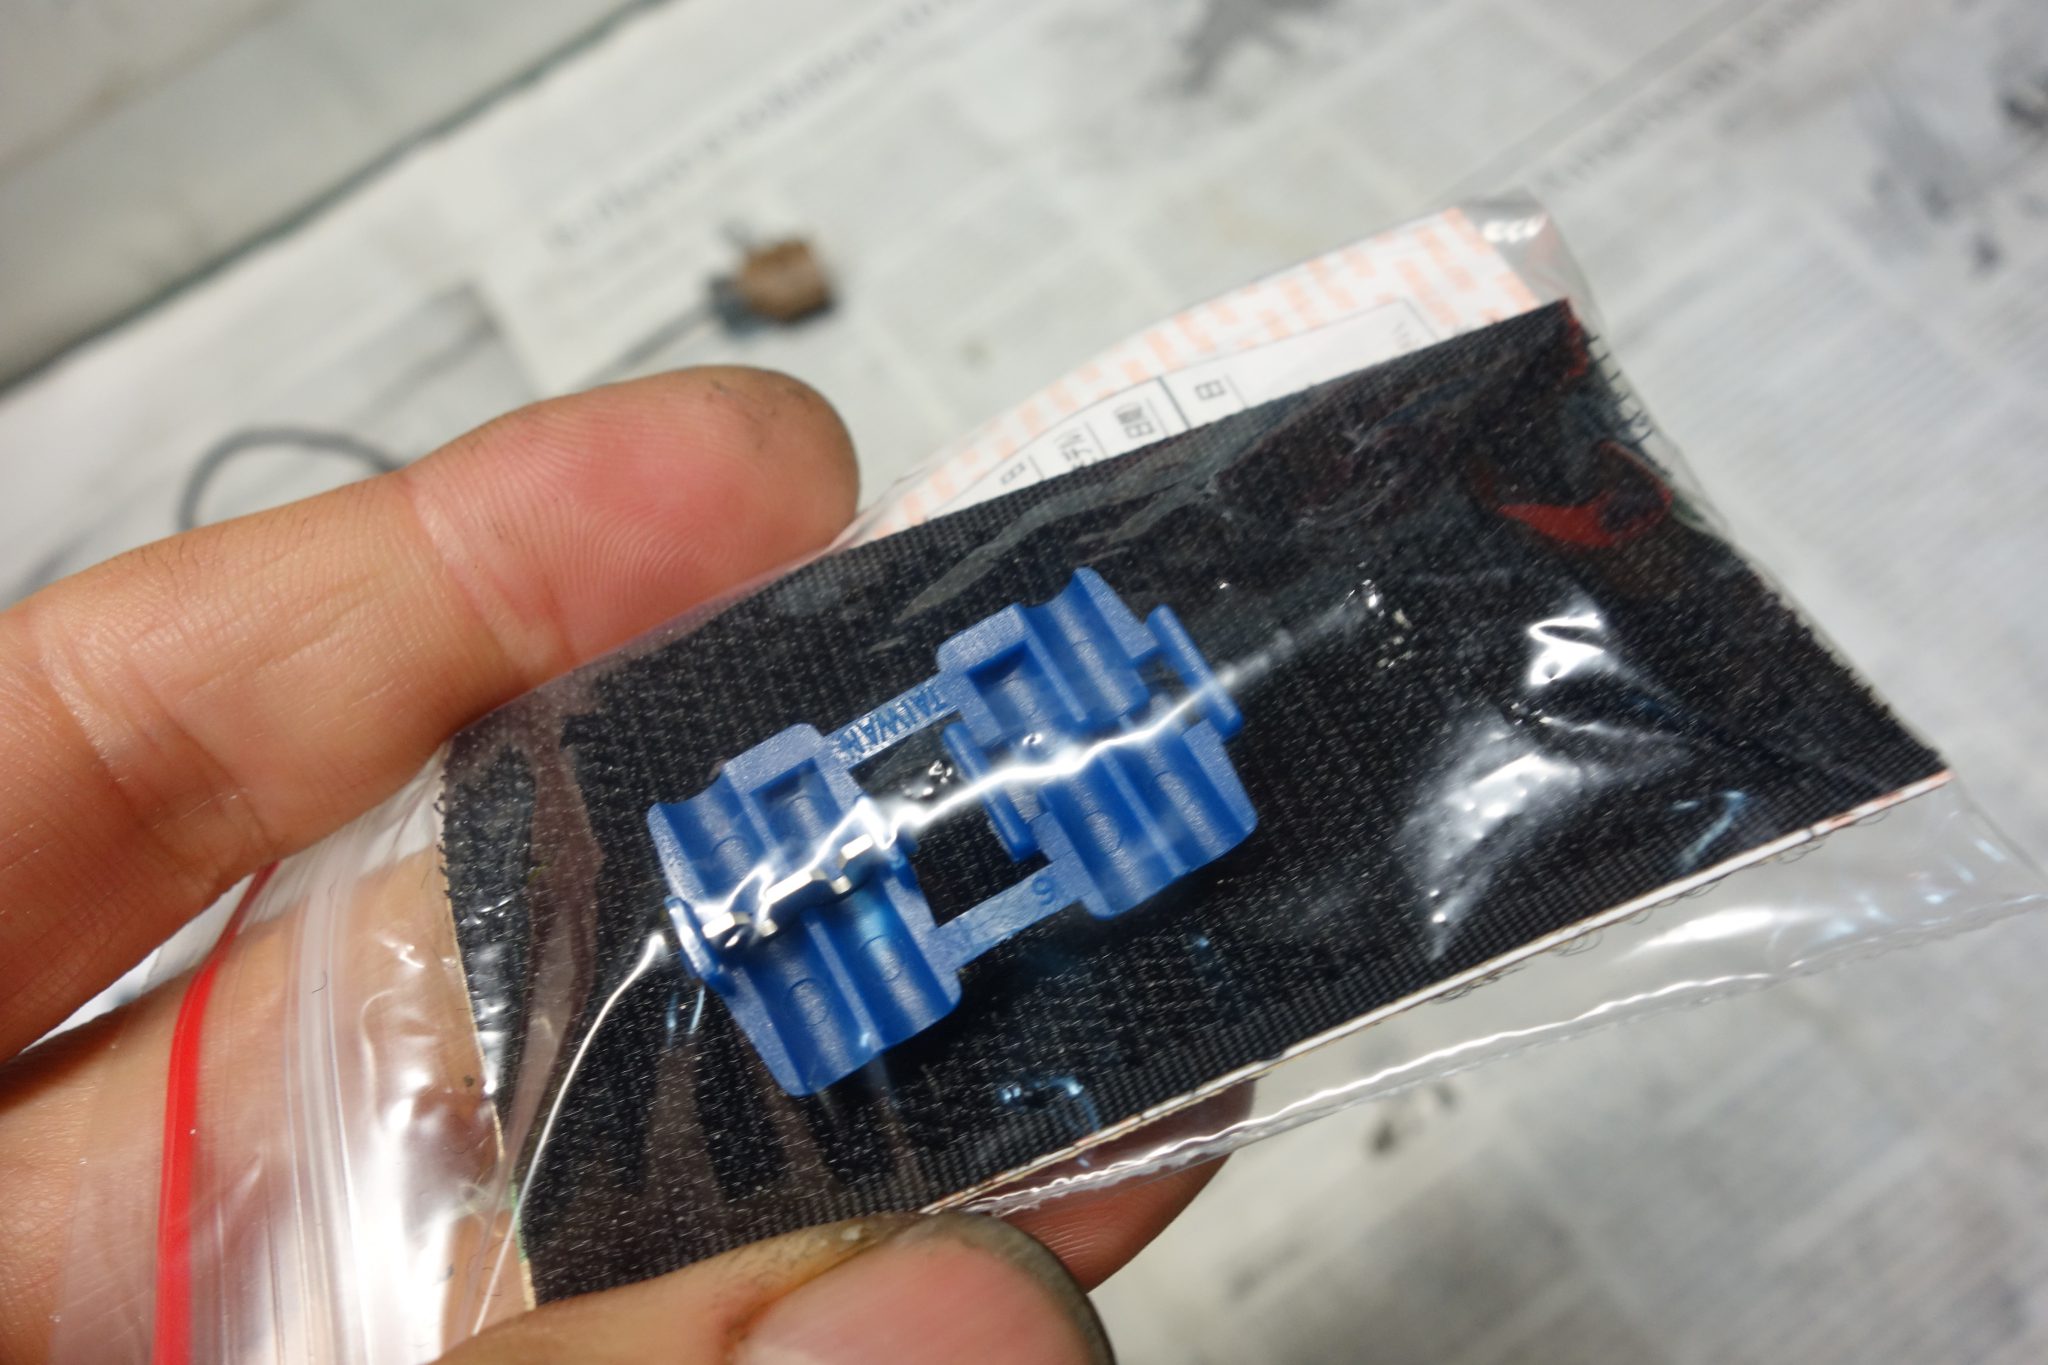
I won’t use all of it… what a waste.
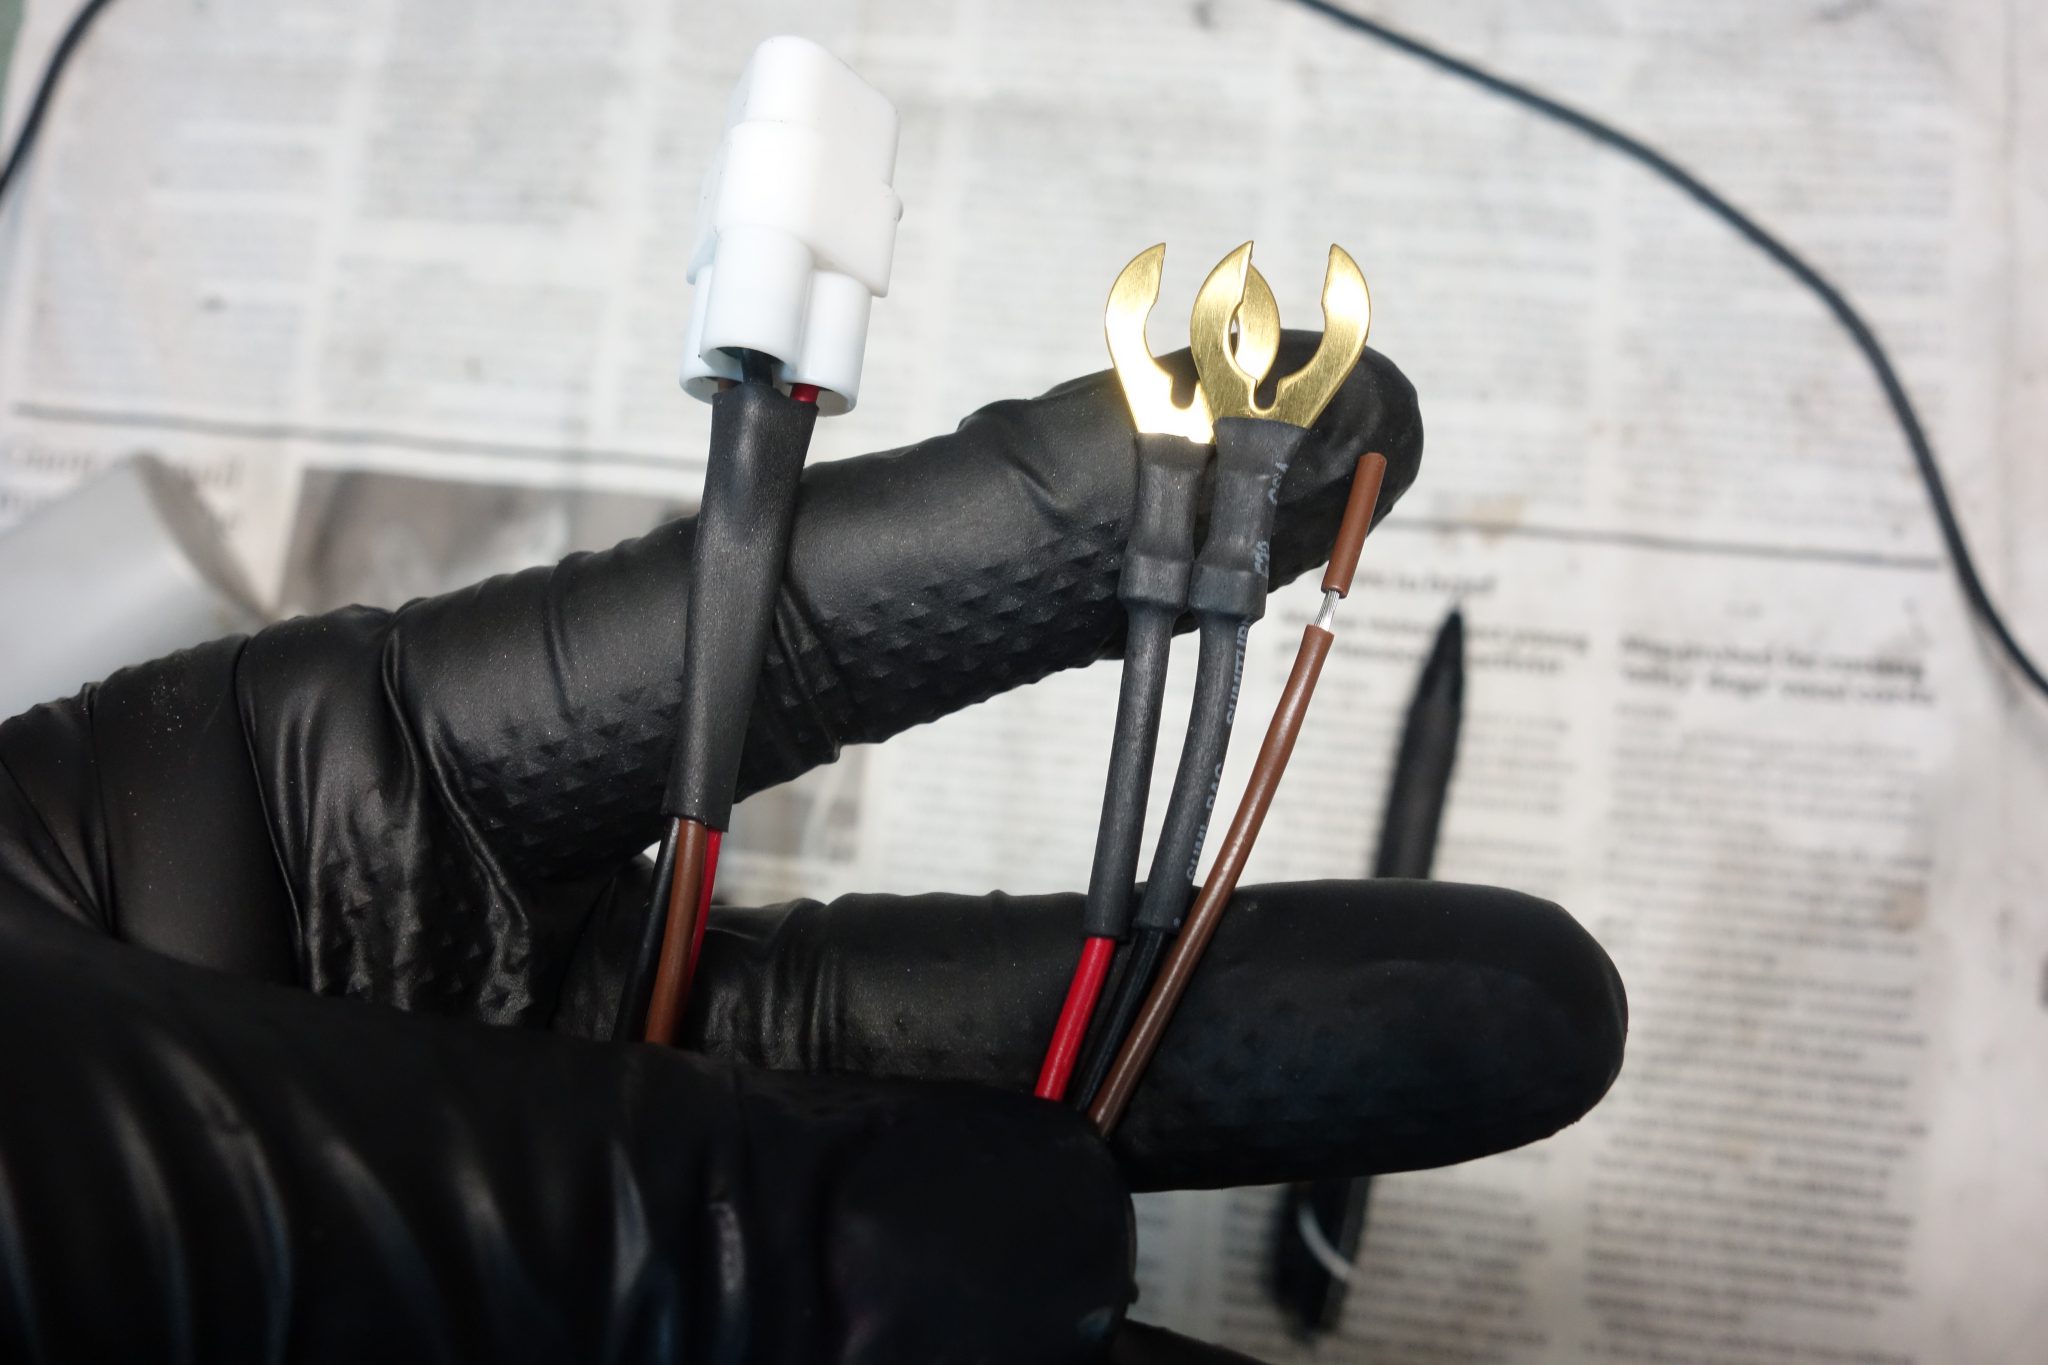
I’ll use the connector but cut the crimp terminals too.
Doesn’t really need to be done… but it’s a kindness for DIY folks.
*You could connect it as is, but it would be too long.
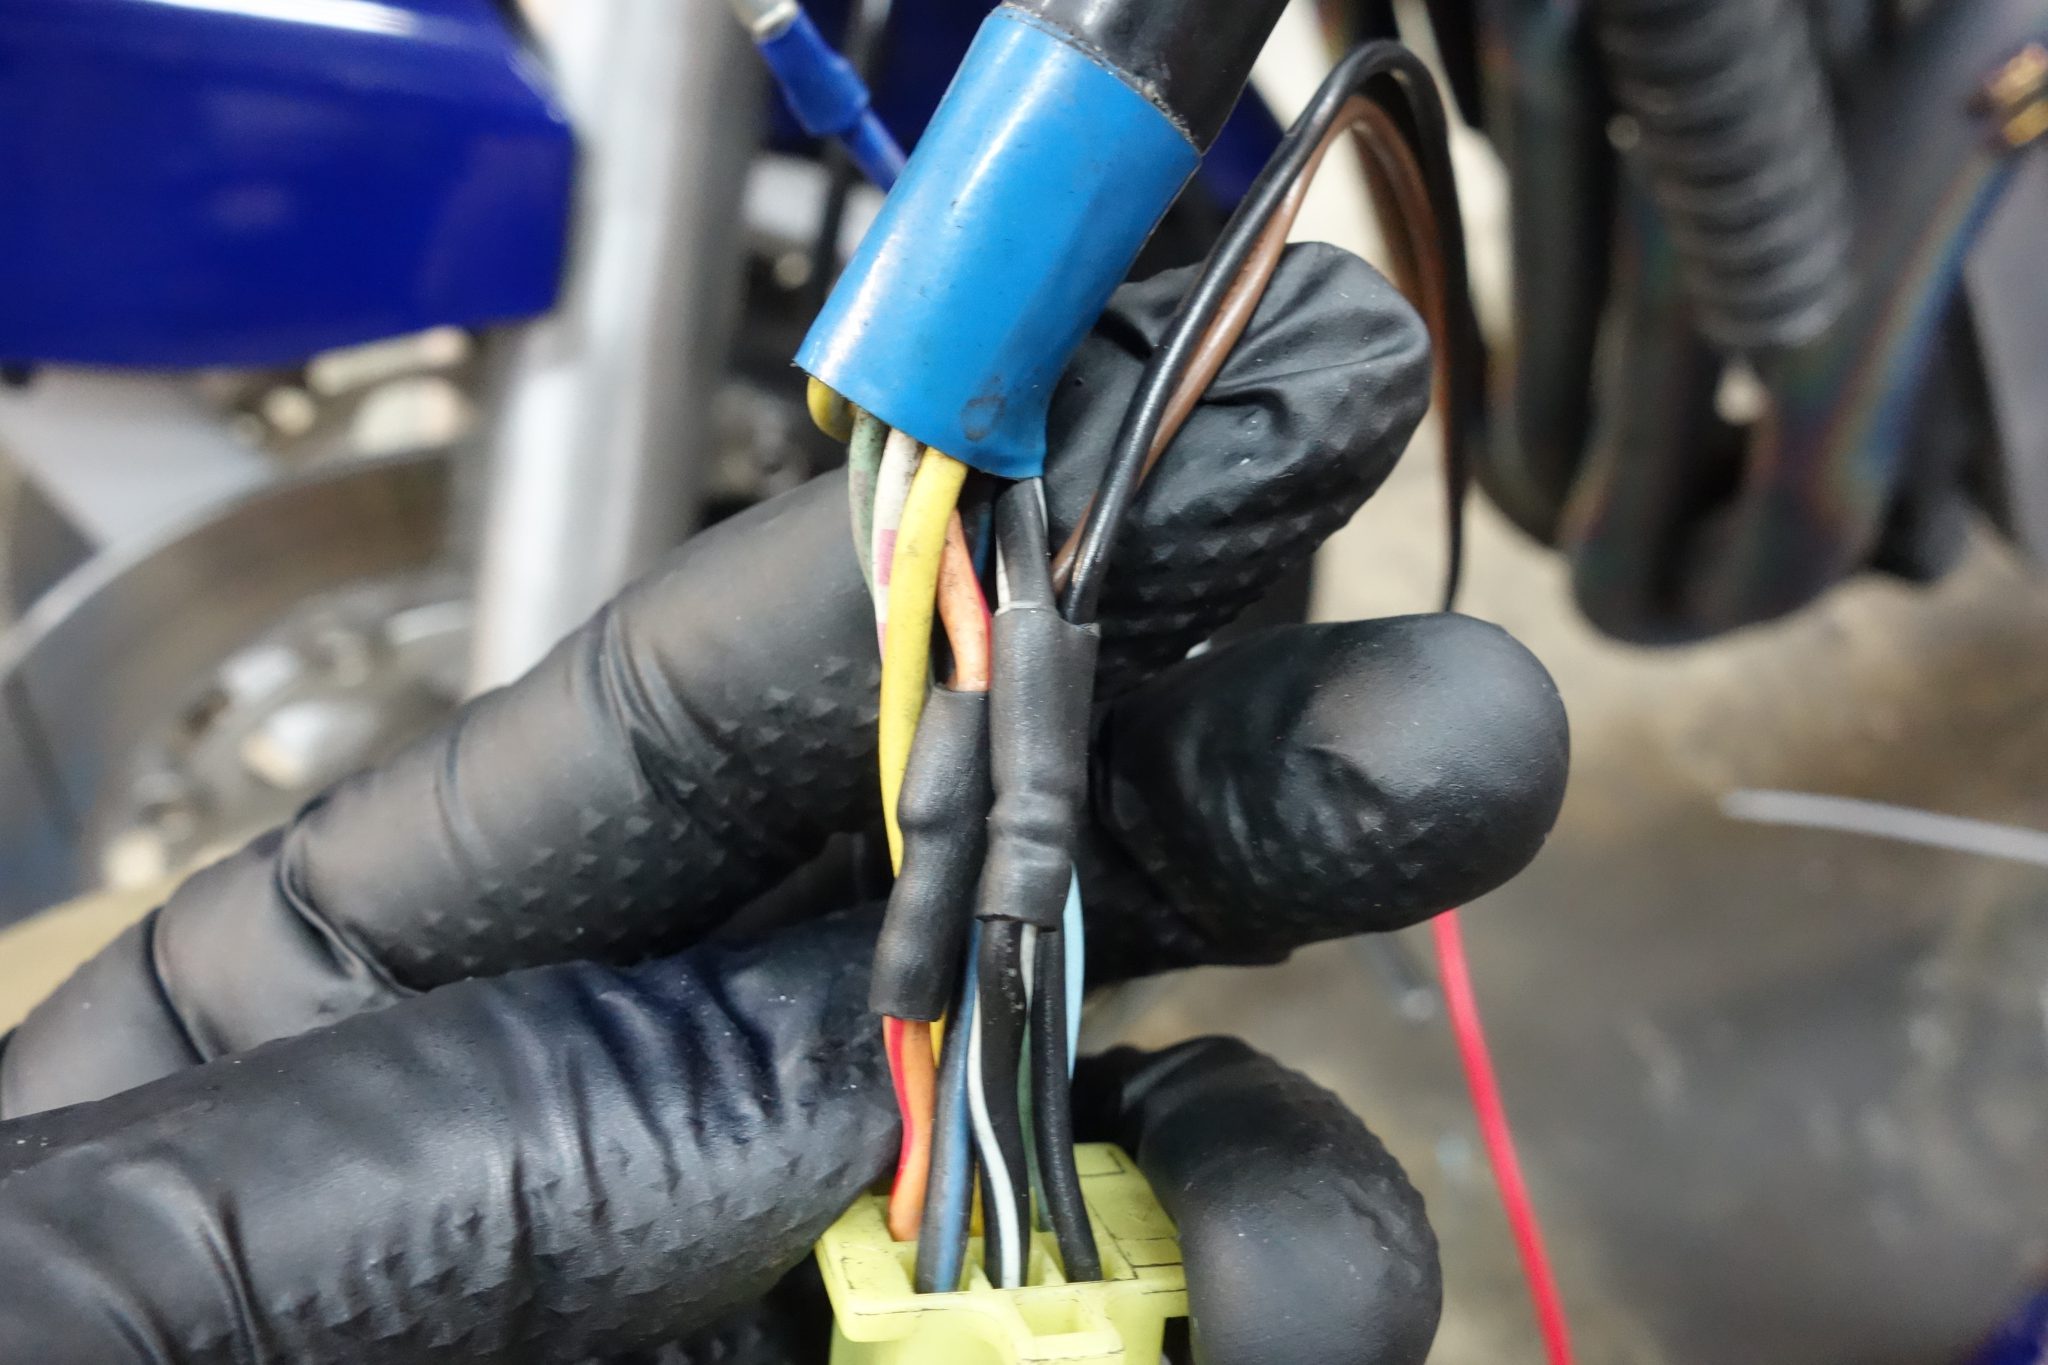
When modifying wiring, it’s best to work on the accessory side rather than the harness side.
·Work on the accessory side, not the harness side
·Where main 12V and ground can be obtained side by side
·Suzuki left switches typically have orange/red (12V) and black/white (ground), so you can usually get optional power from the left switch.
What customers imagine is probably “subtle, like the factory original.”
When you remove the fairings, you might think “oh…”—could go either way.
Gently simple is better, I think.
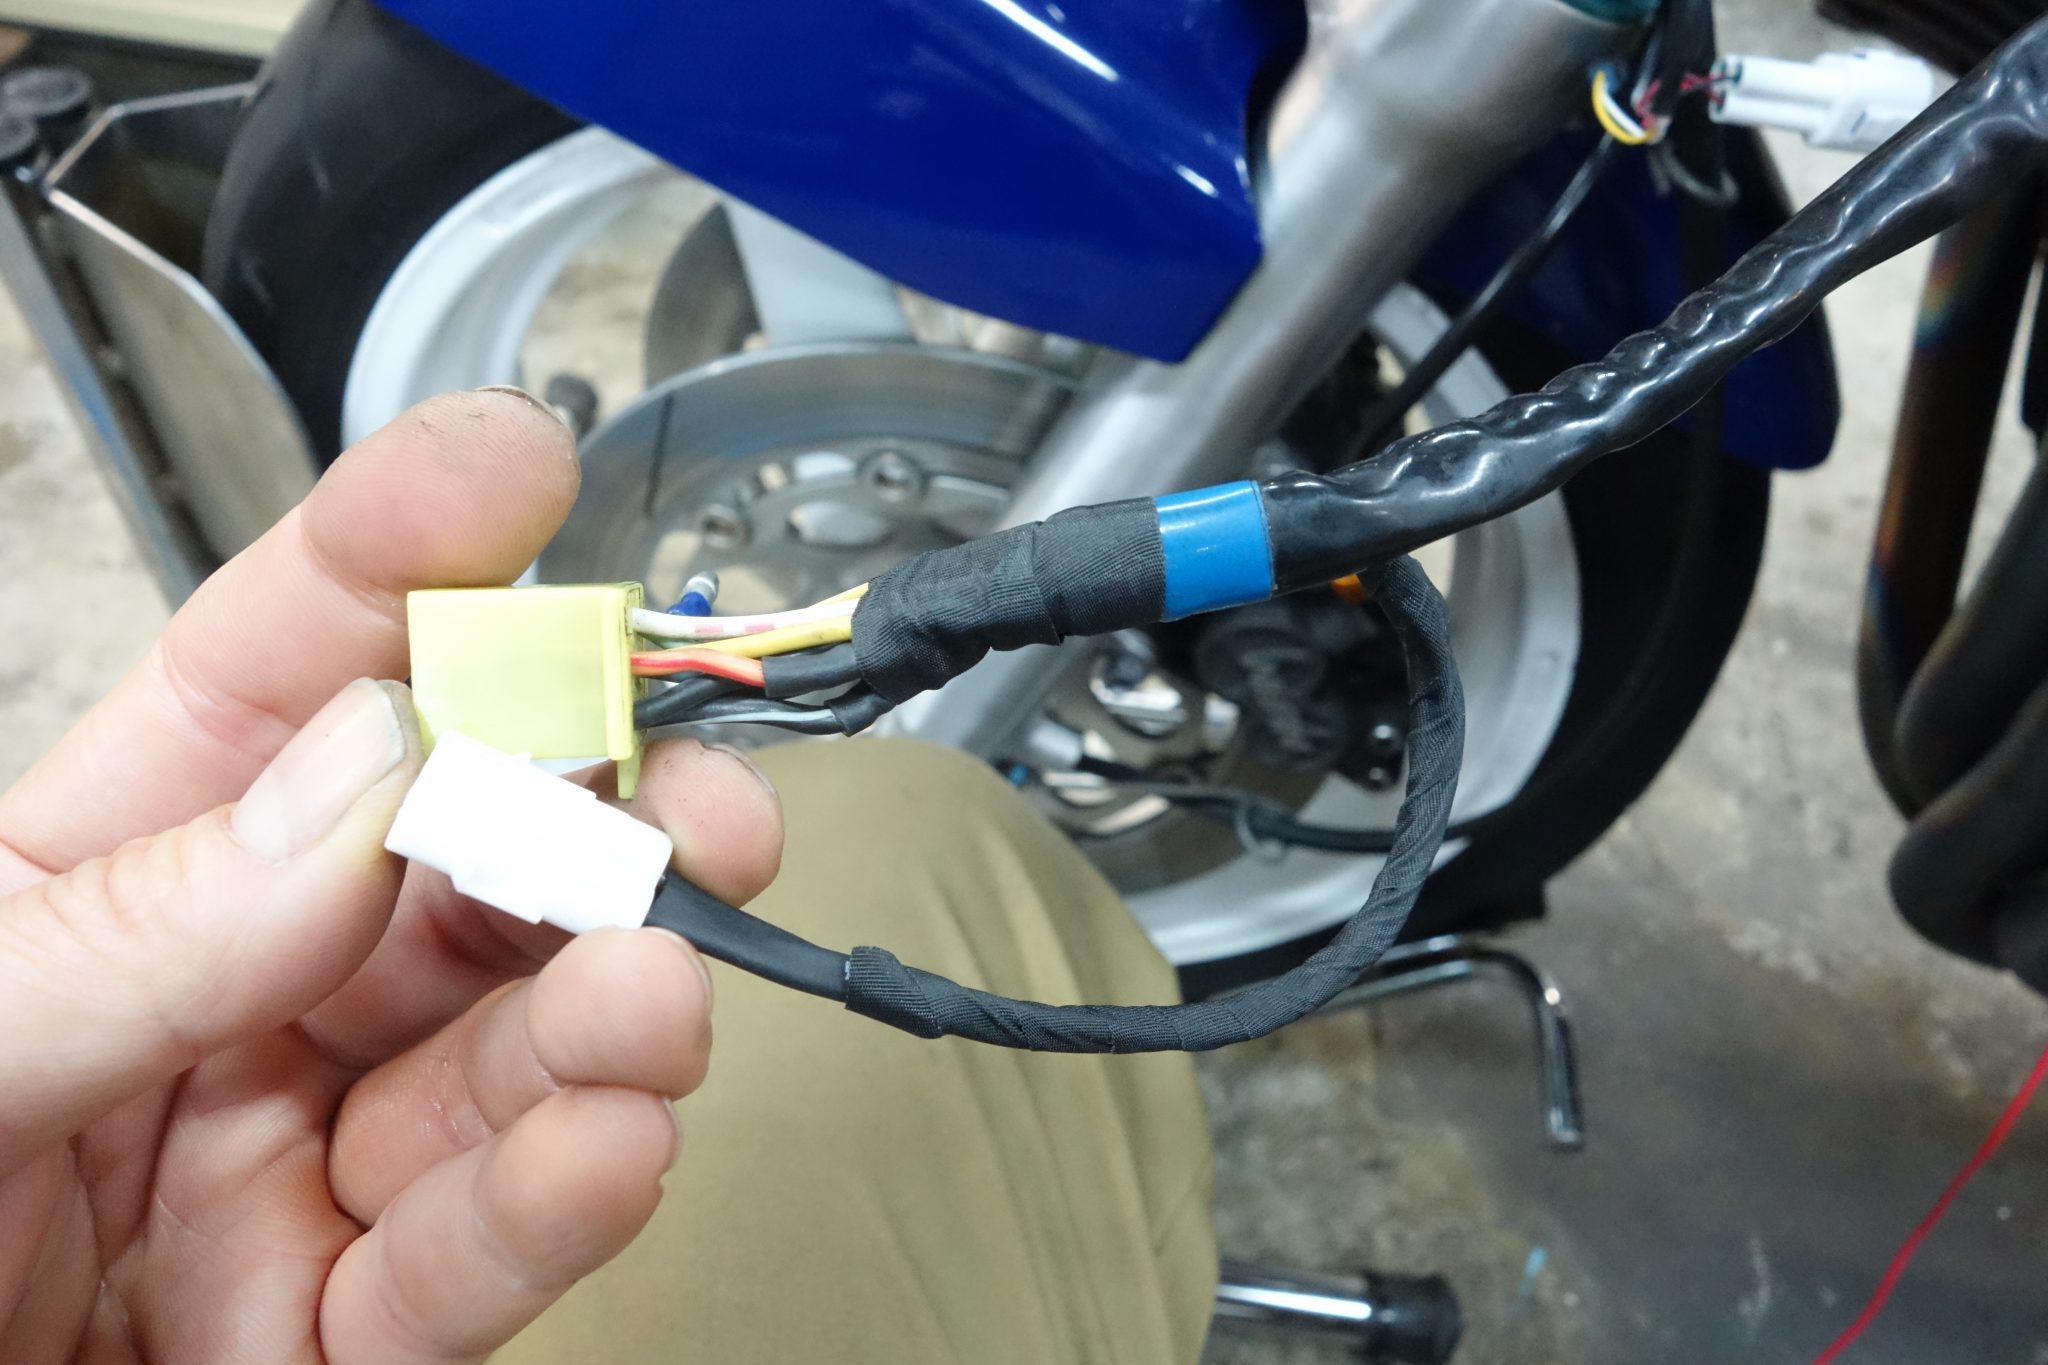
So the AQUAPROVA HG Temp Meter connector sprouted from the left switch.
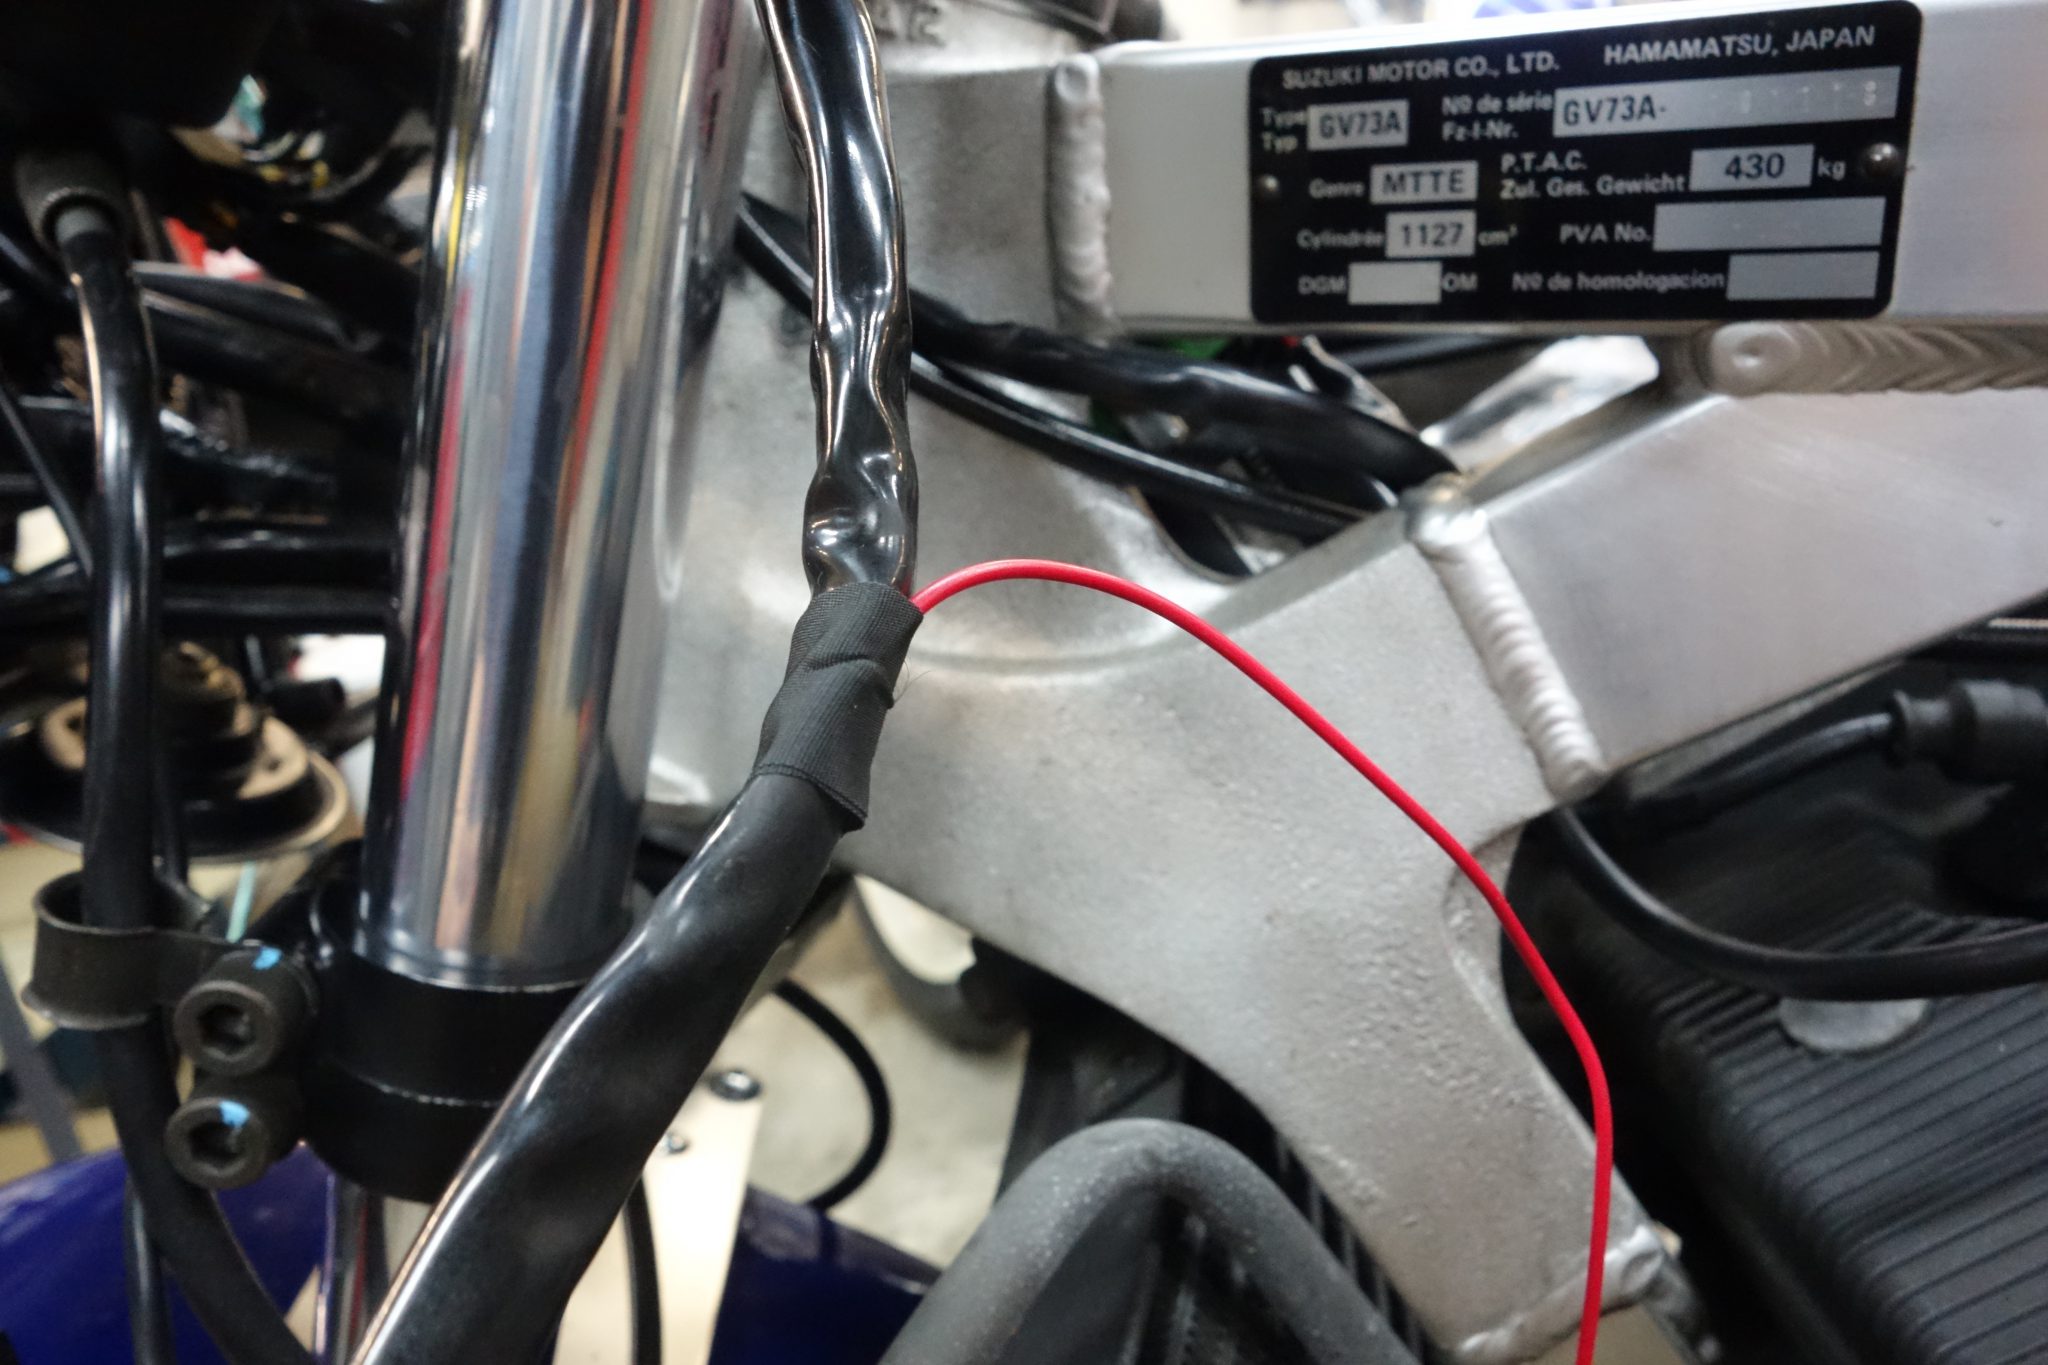
I also need to get power from the constant 12V, so I ran a red wire partway into the left switch. (It looks simpler this way.)
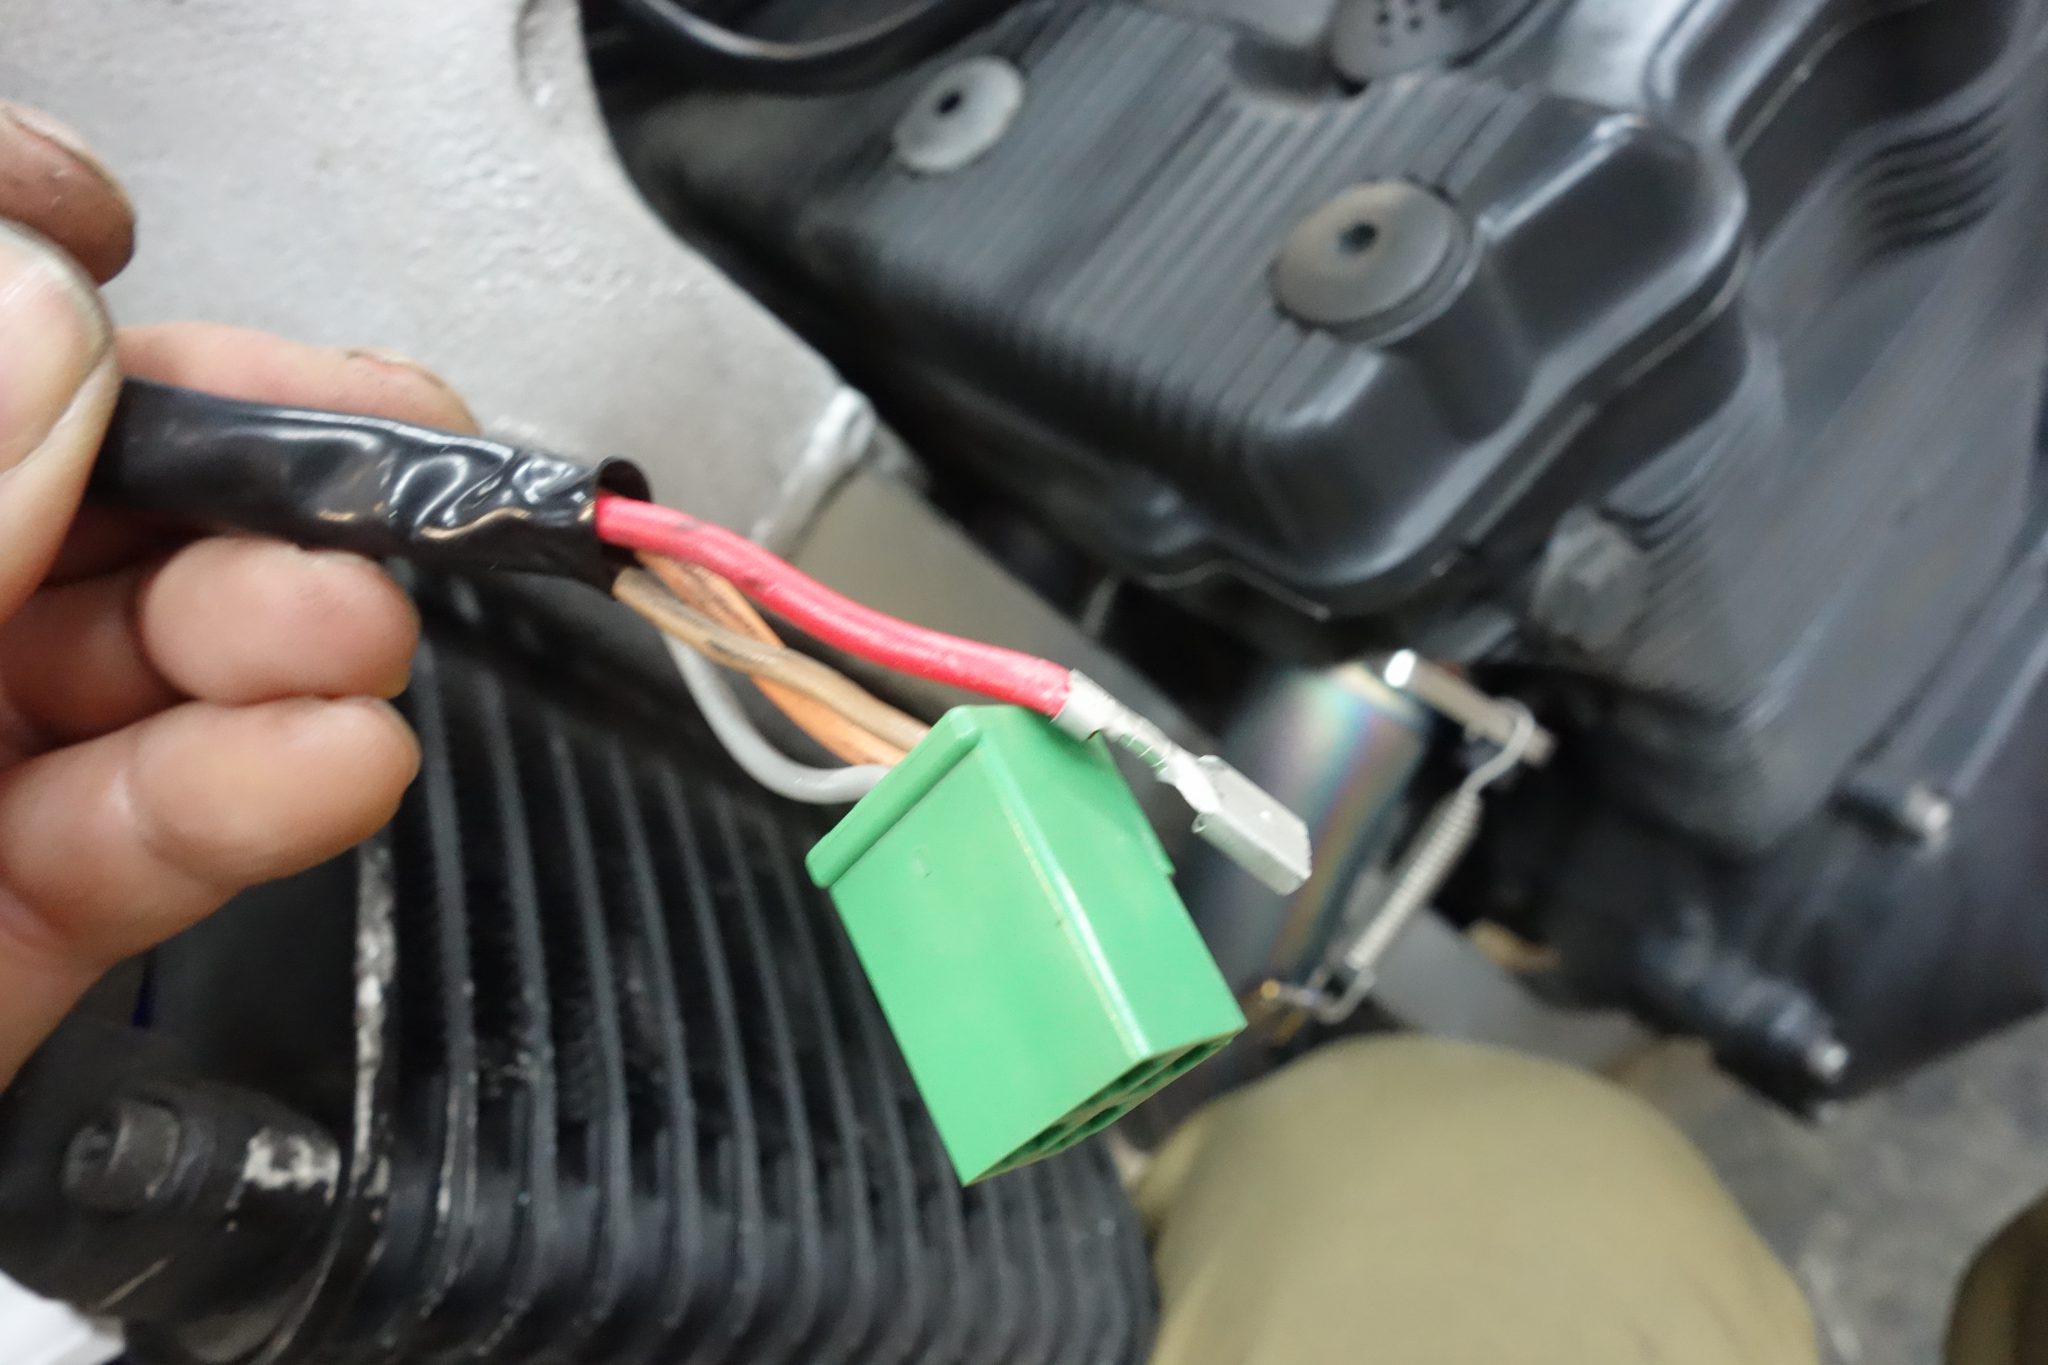
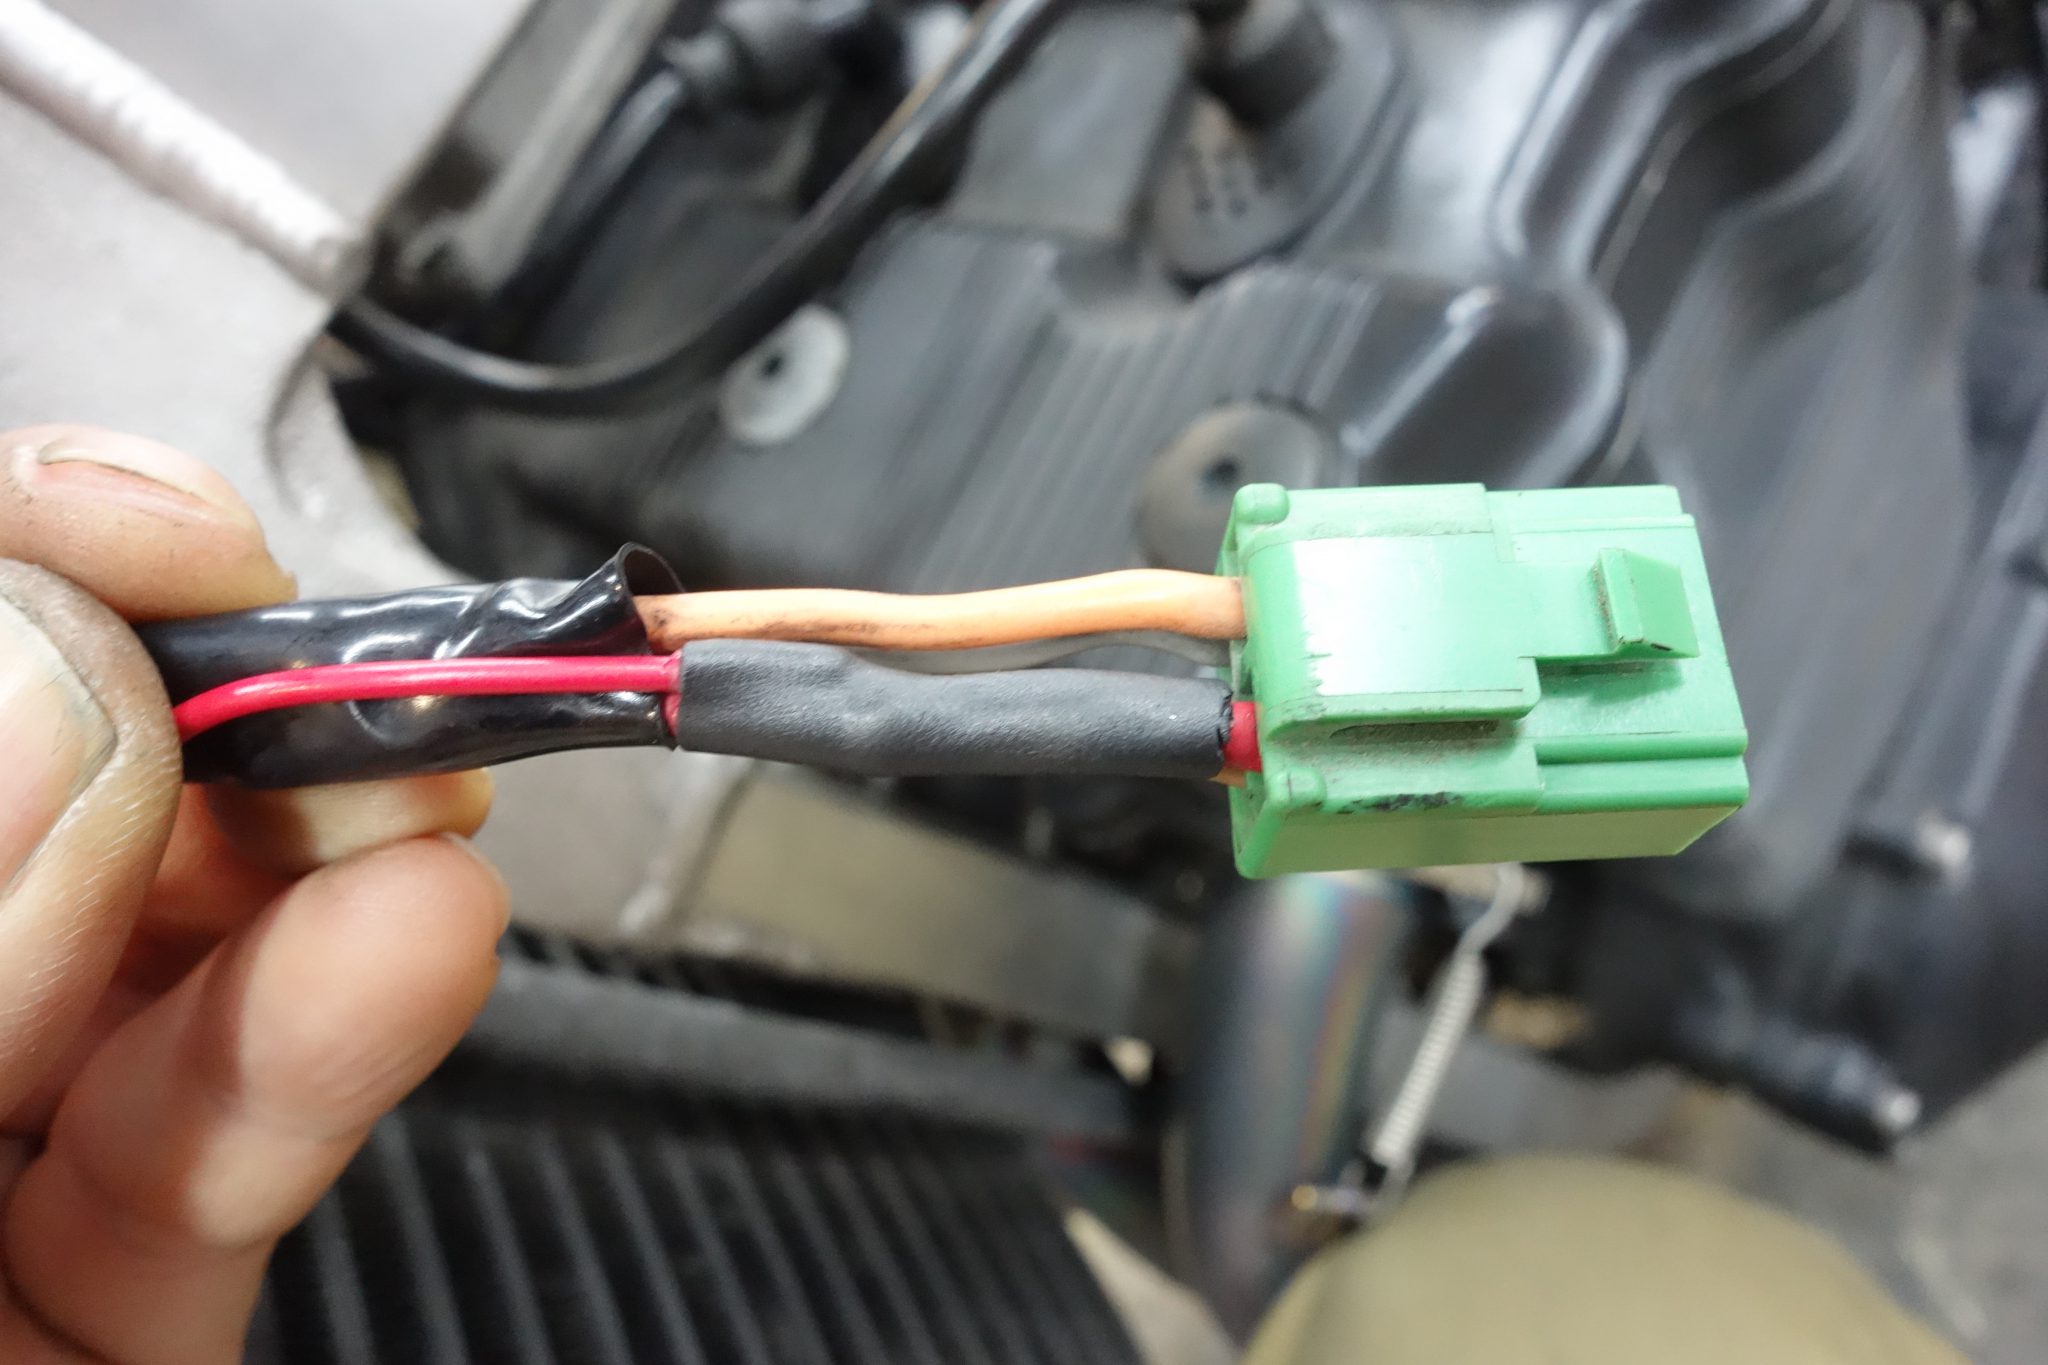
It’s better not to add a co-terminal to the battery if possible.
Serviceability suffers greatly.
Since I need constant 12V (for the clock and backup), I got it from the main key side. This makes the installation wiring the shortest with no harness modification.
I think aftermarket wiring should be kept simple rather than just bundled and hidden.
To use a home analogy… lots of stuff → hide it in a storage shed.
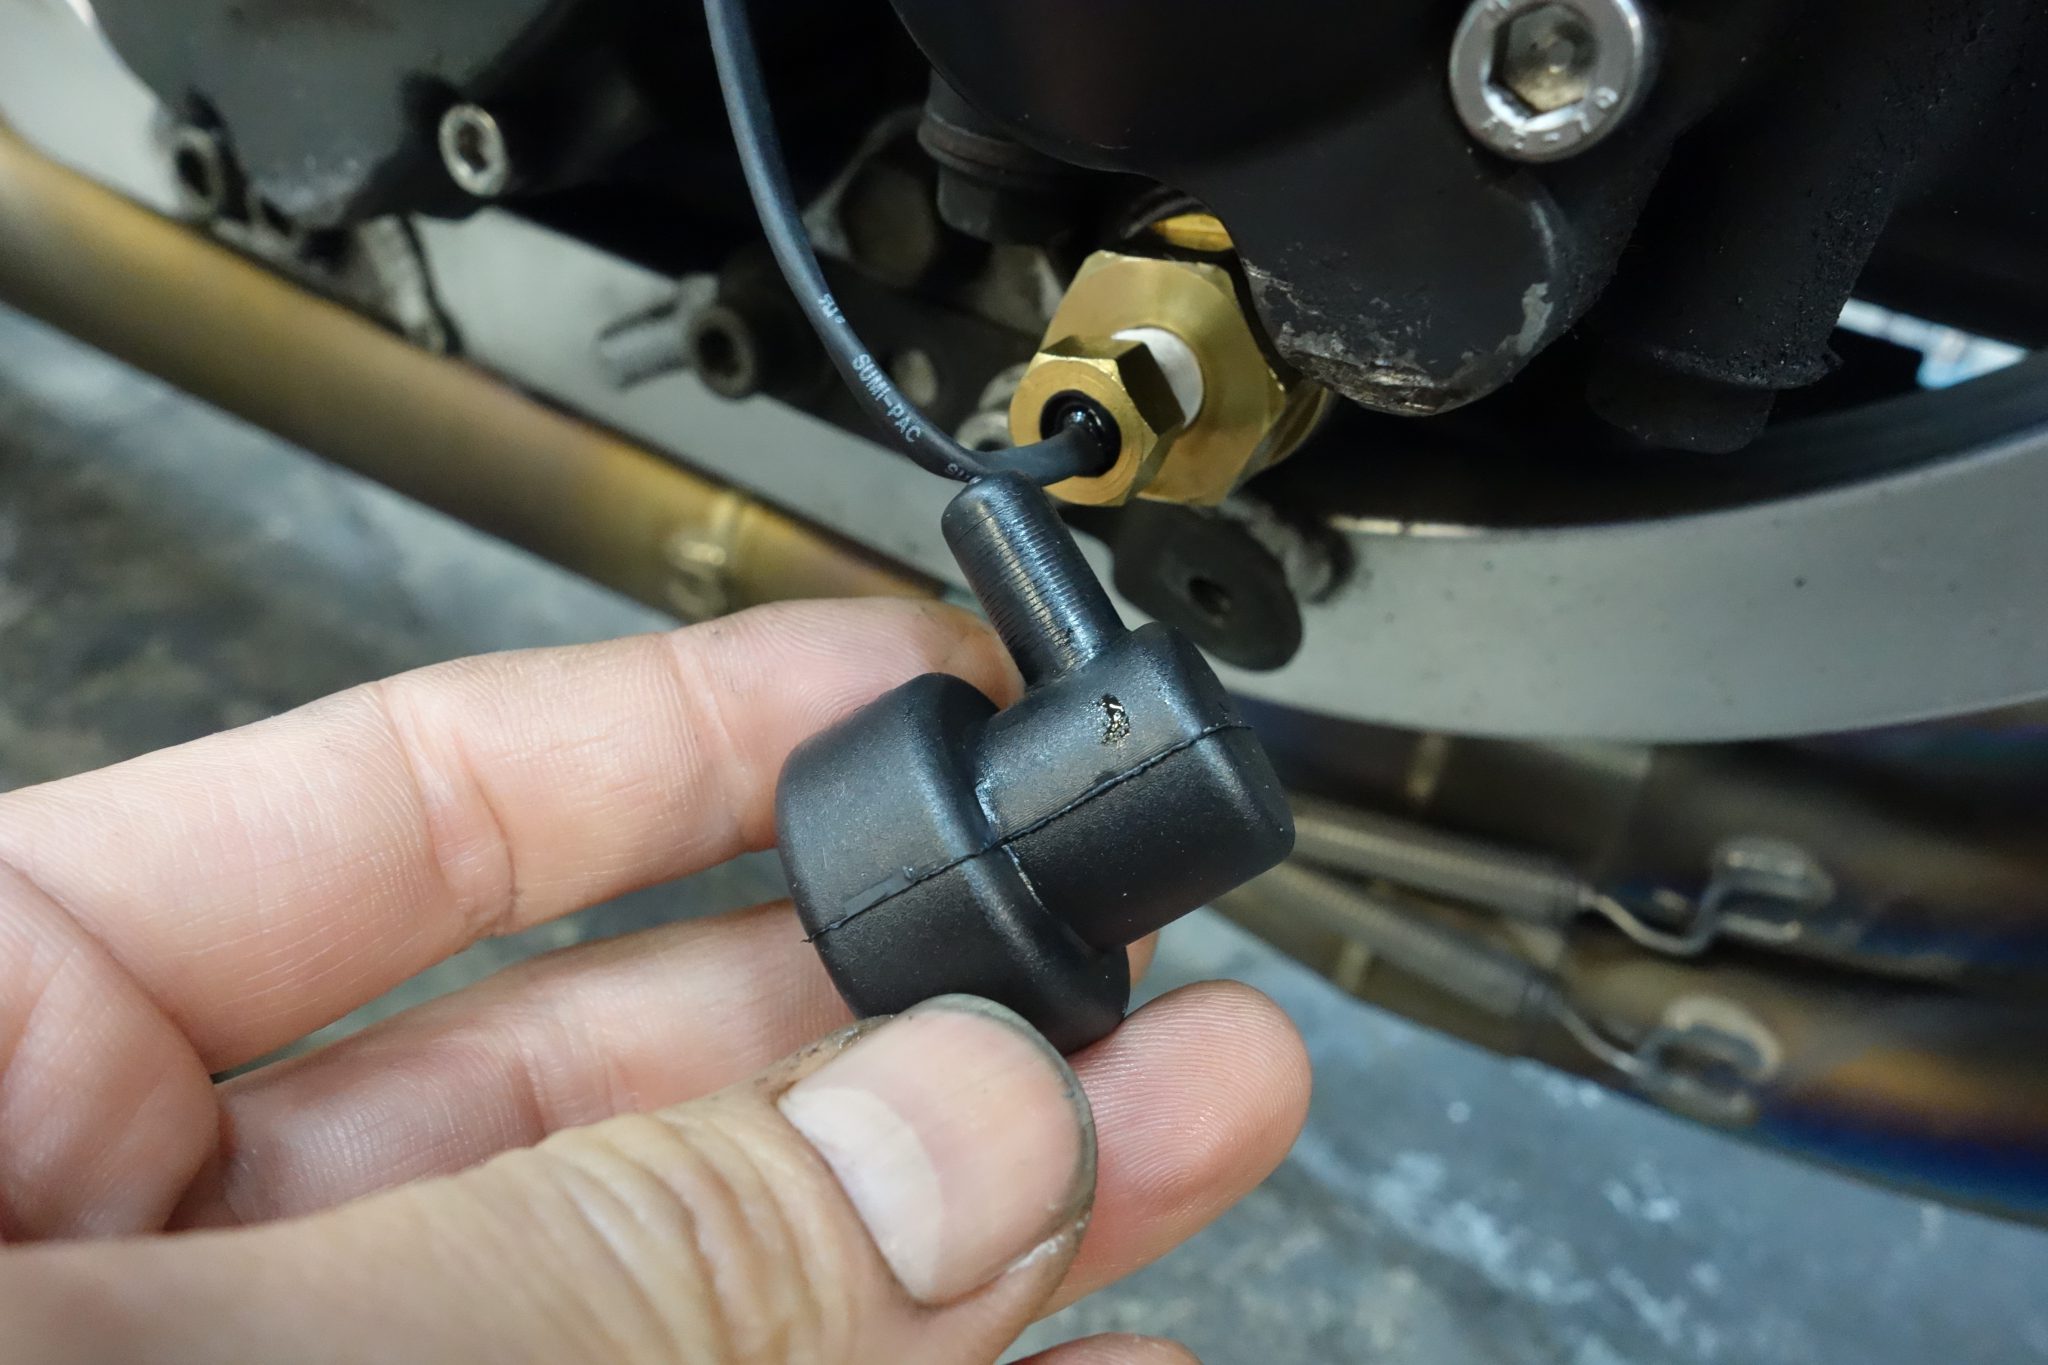
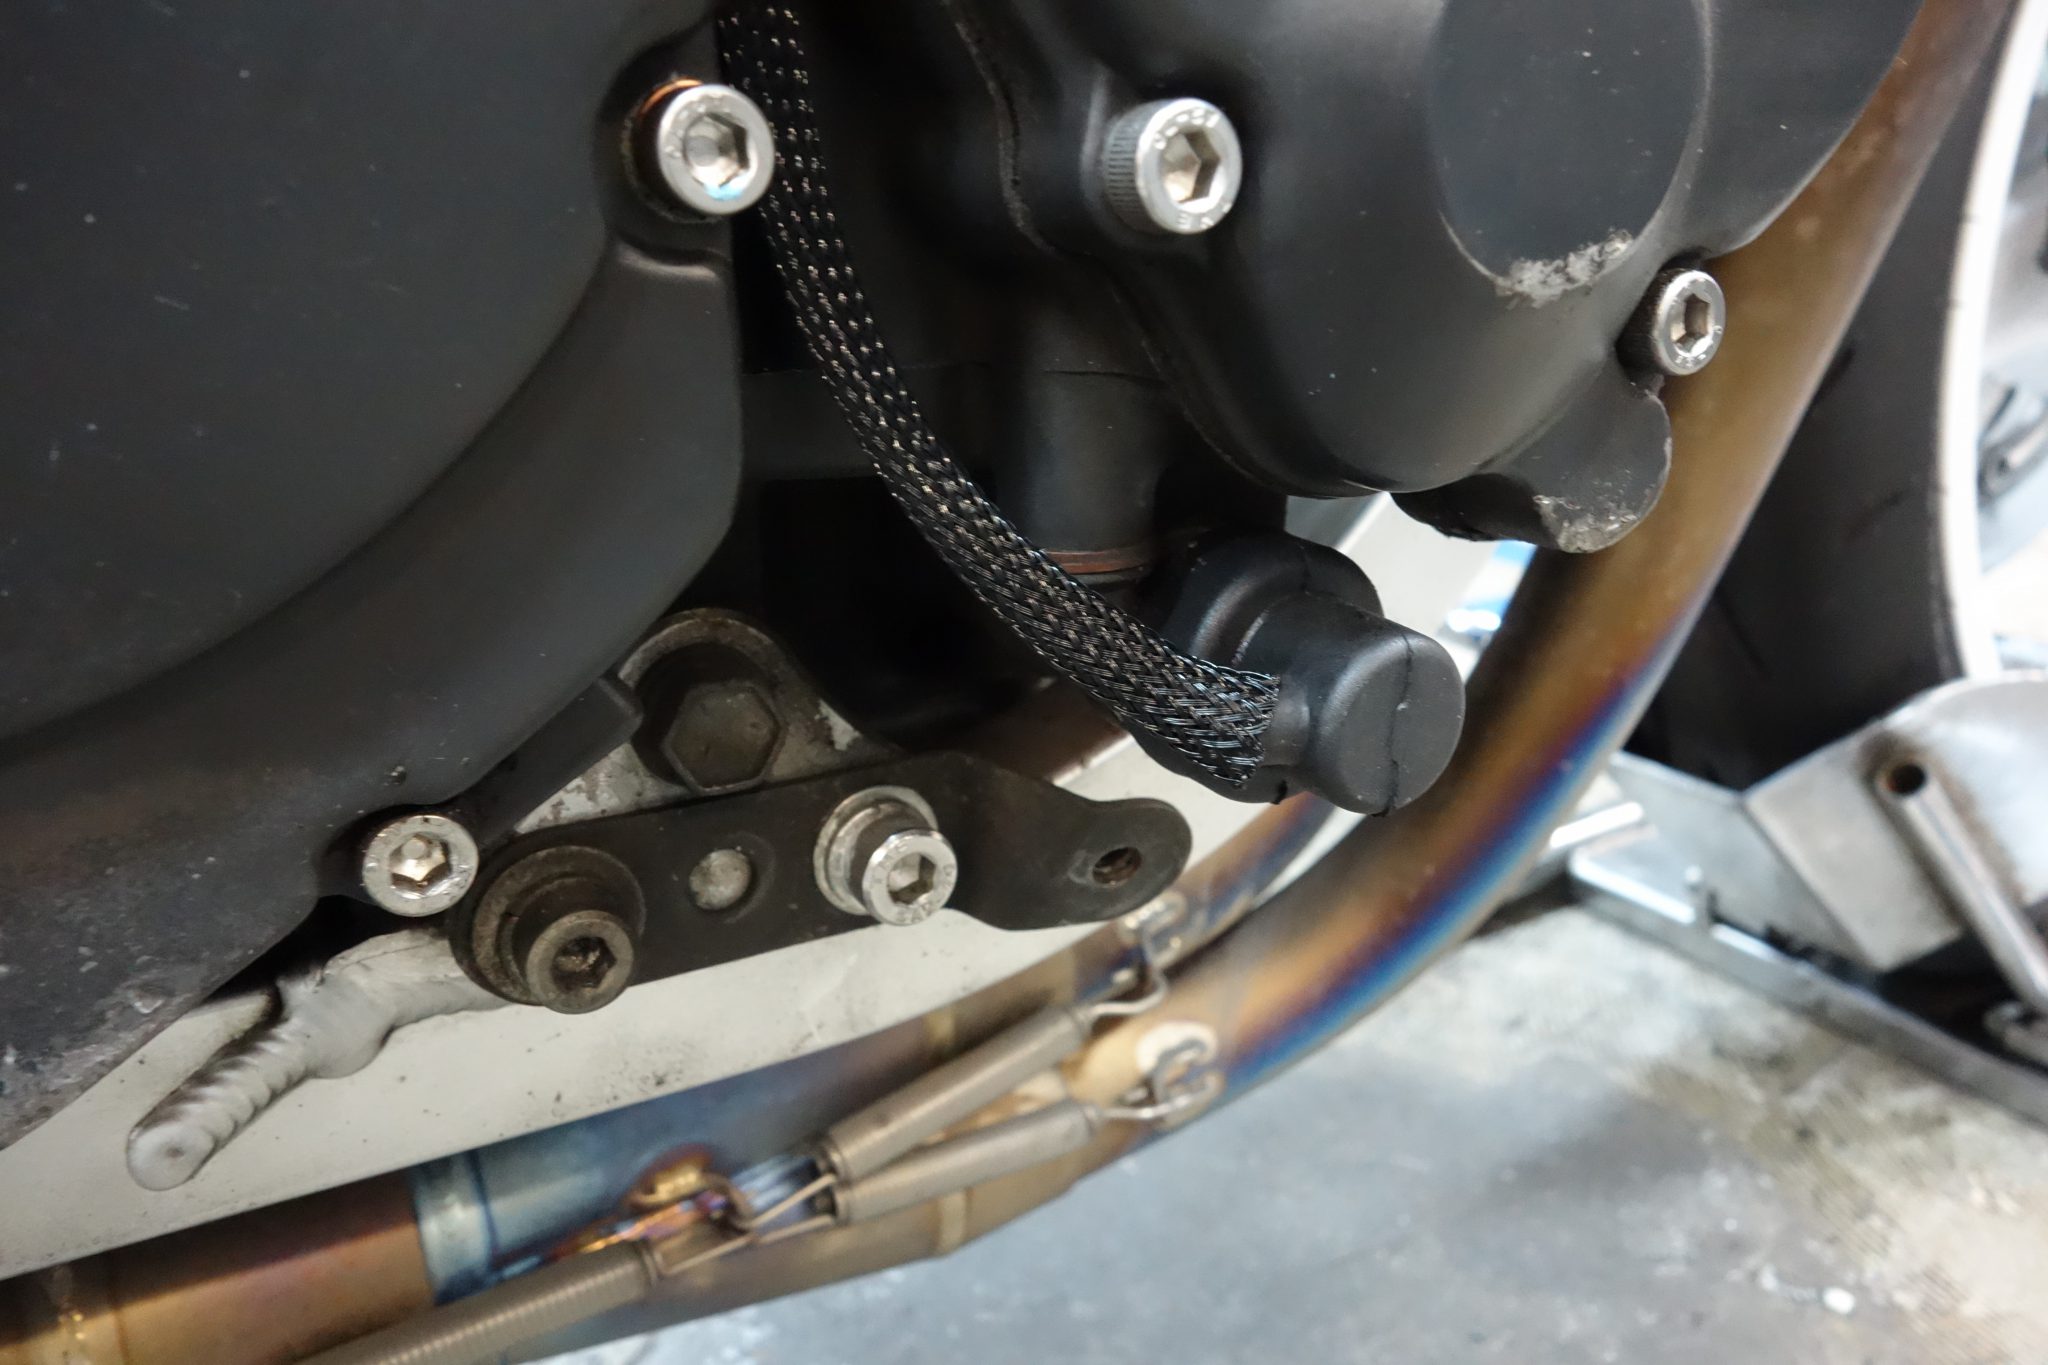
I’ll install the sensor cover to keep it looking factory.
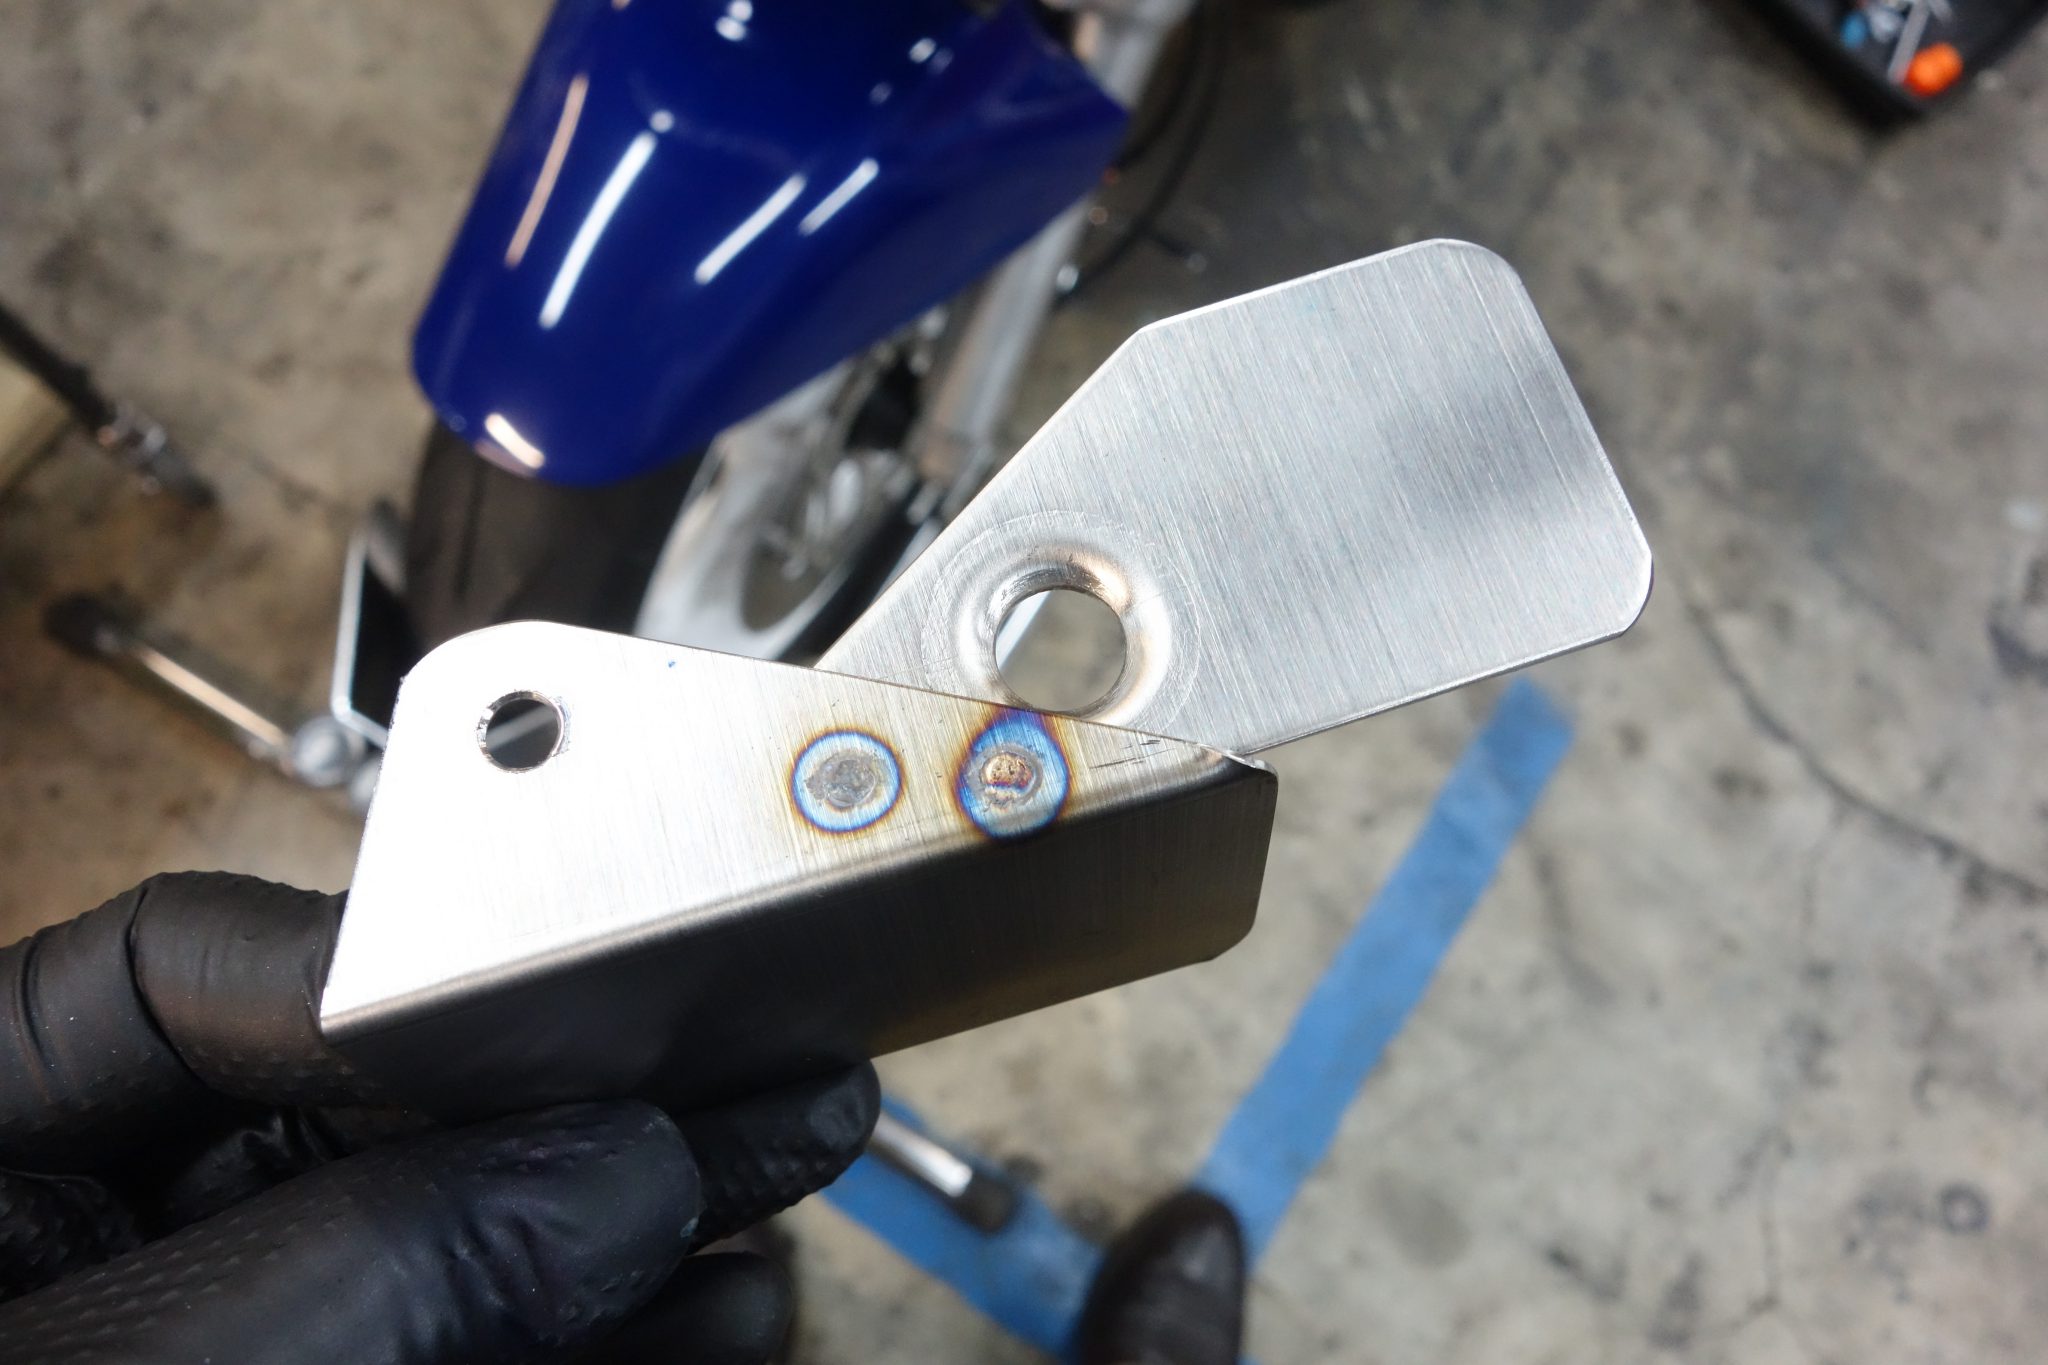
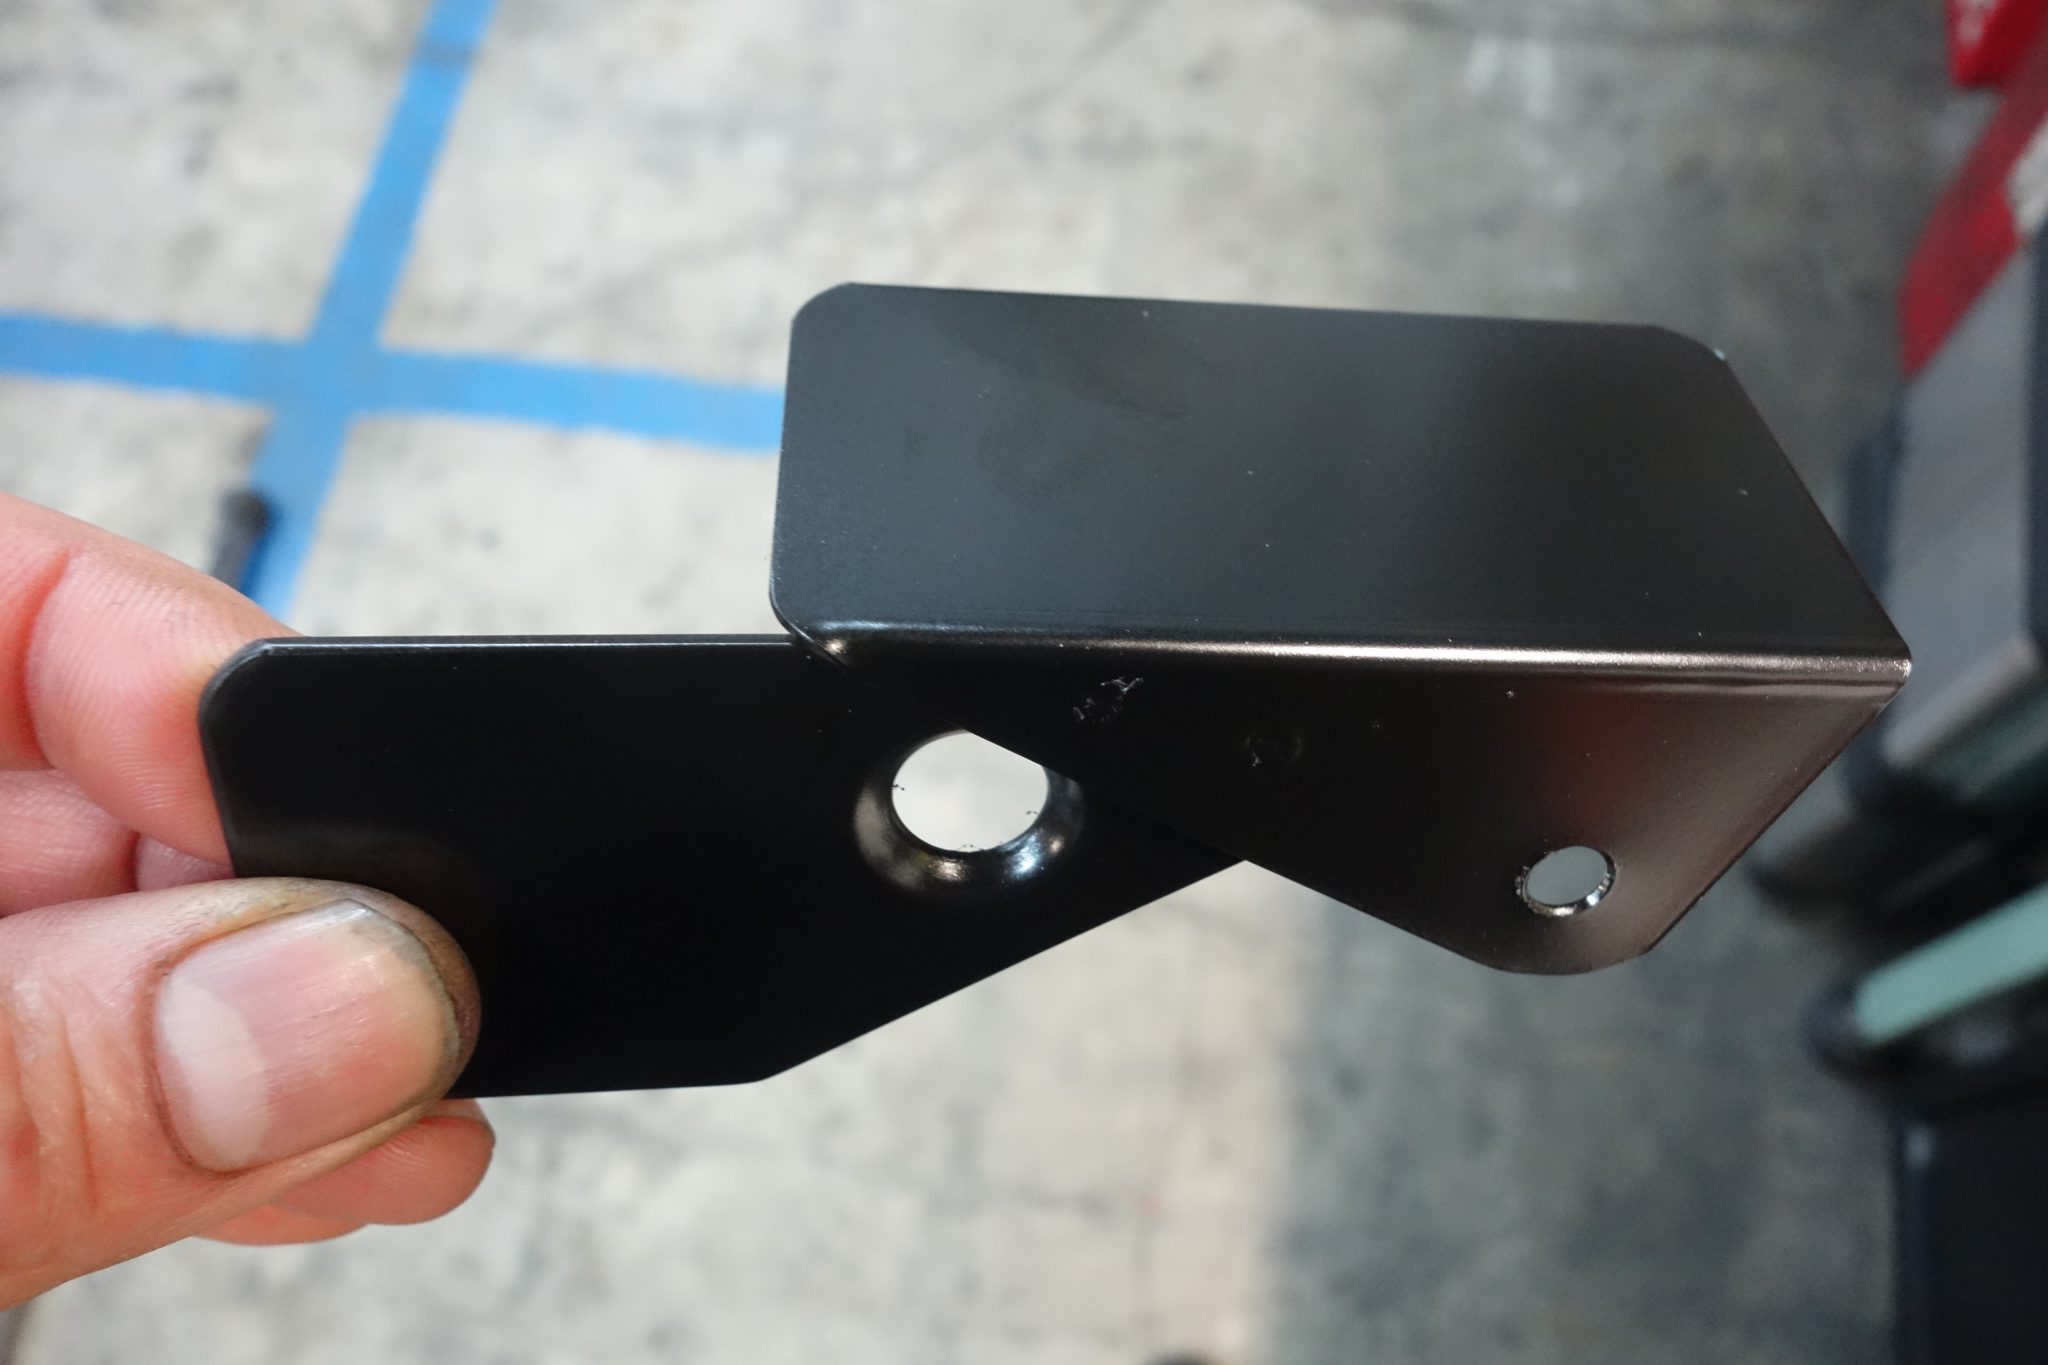
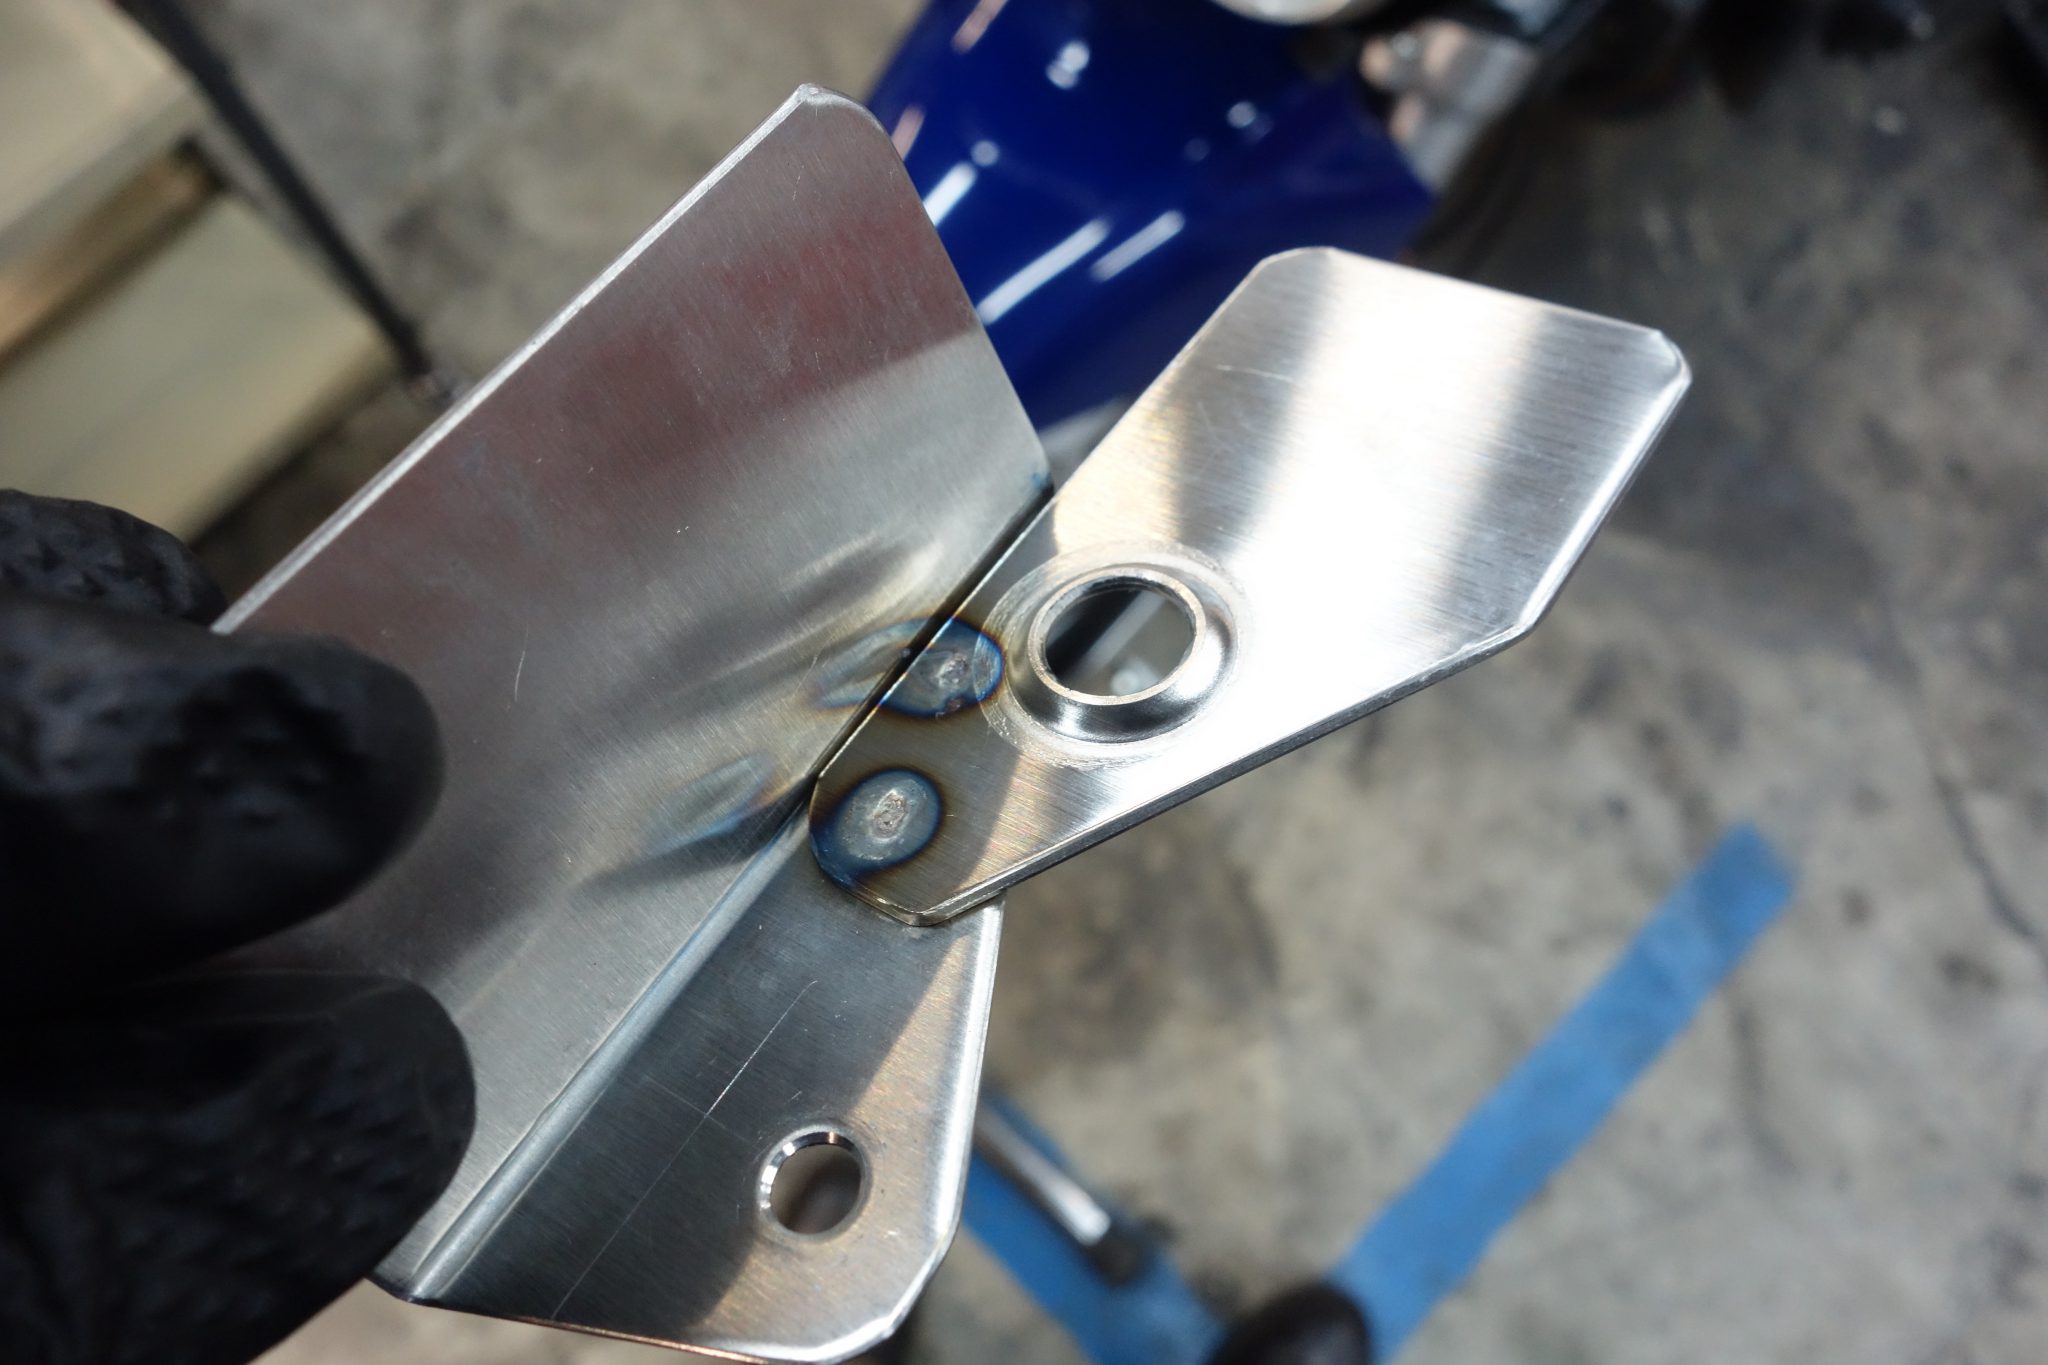
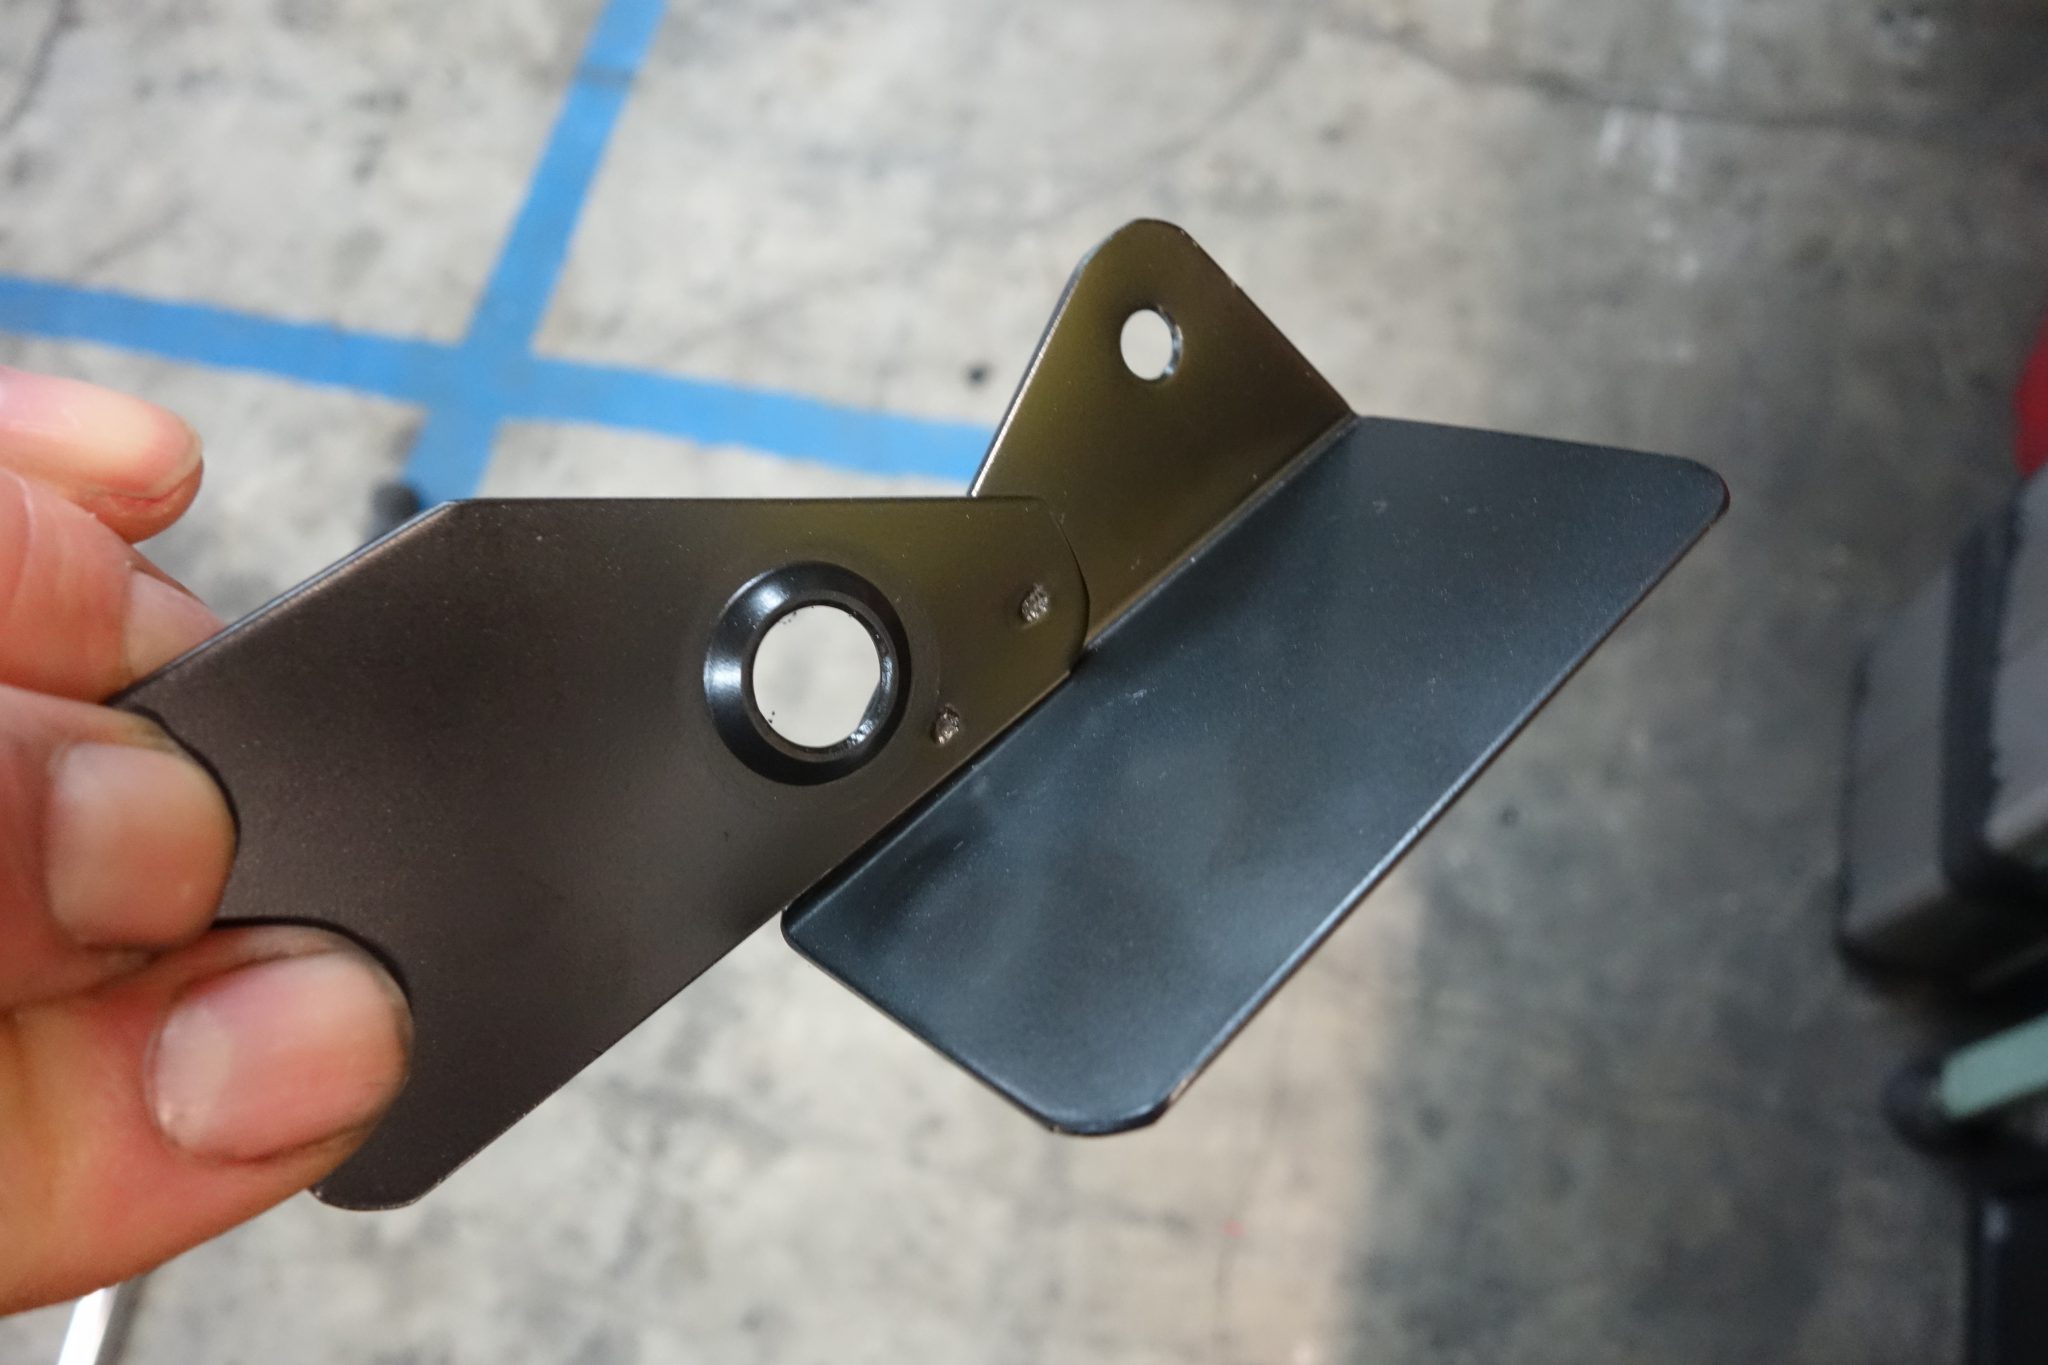
I forgot to install the ETC antenna, so I hurriedly spot-welded it together. Then I gave it a coat of matte black spray.
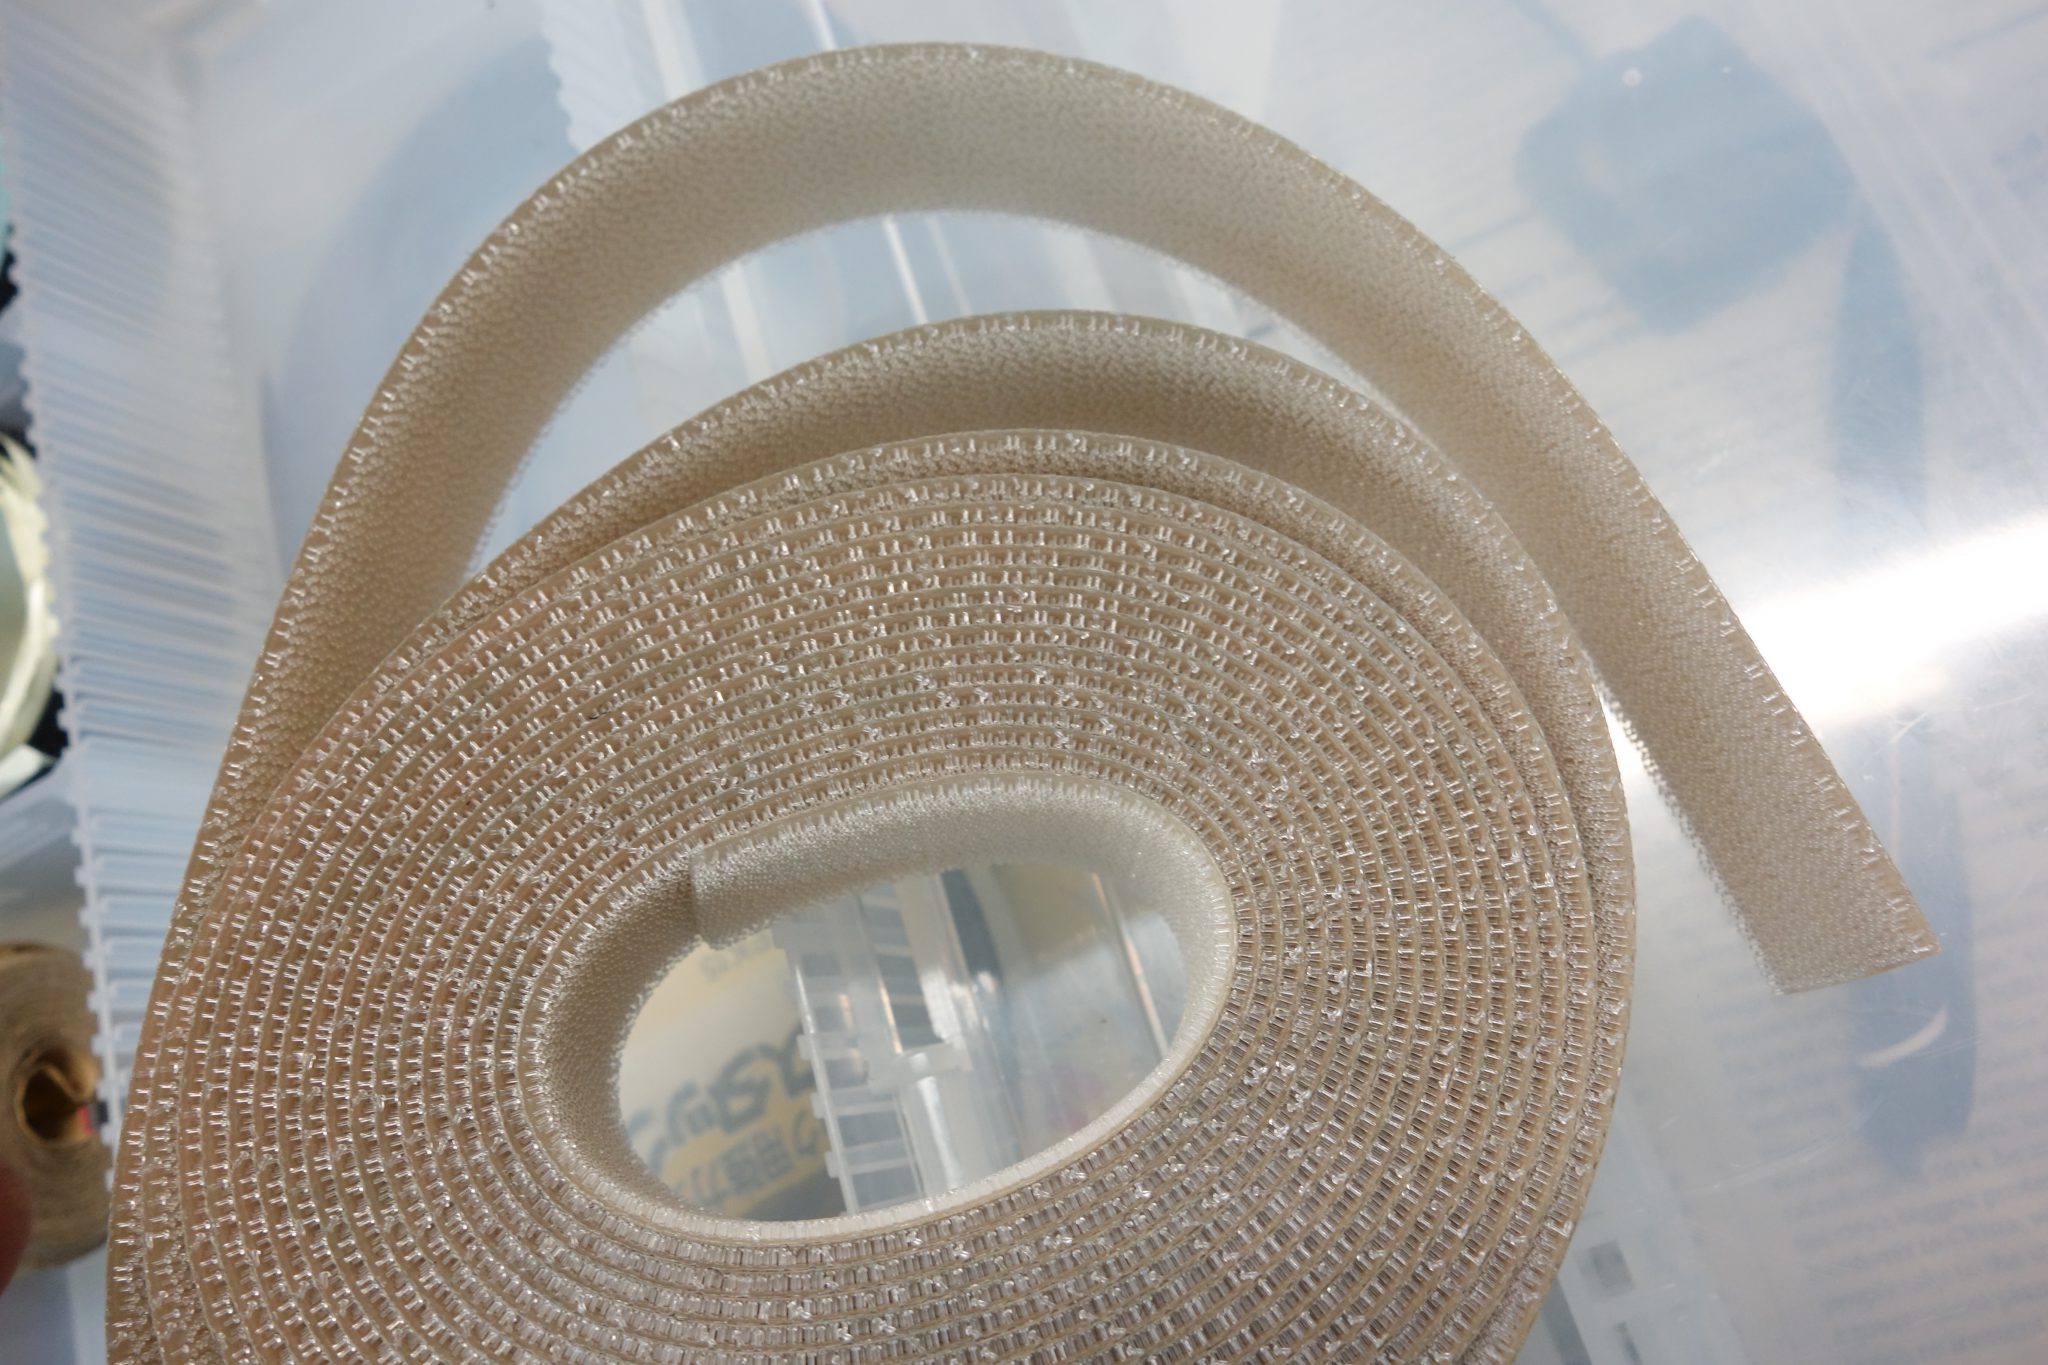
For the Daytona AQUAPROVA HG Temp Meter body, I’m not using the included Velcro; instead I’m using 3M Scotch SJ4570 Dual Lock.
·Thin—even two layers are only 2.36 mm!
·Residual adhesive is minimal when peeled off
It’s definitely an item worth keeping in your toolbox for various uses.
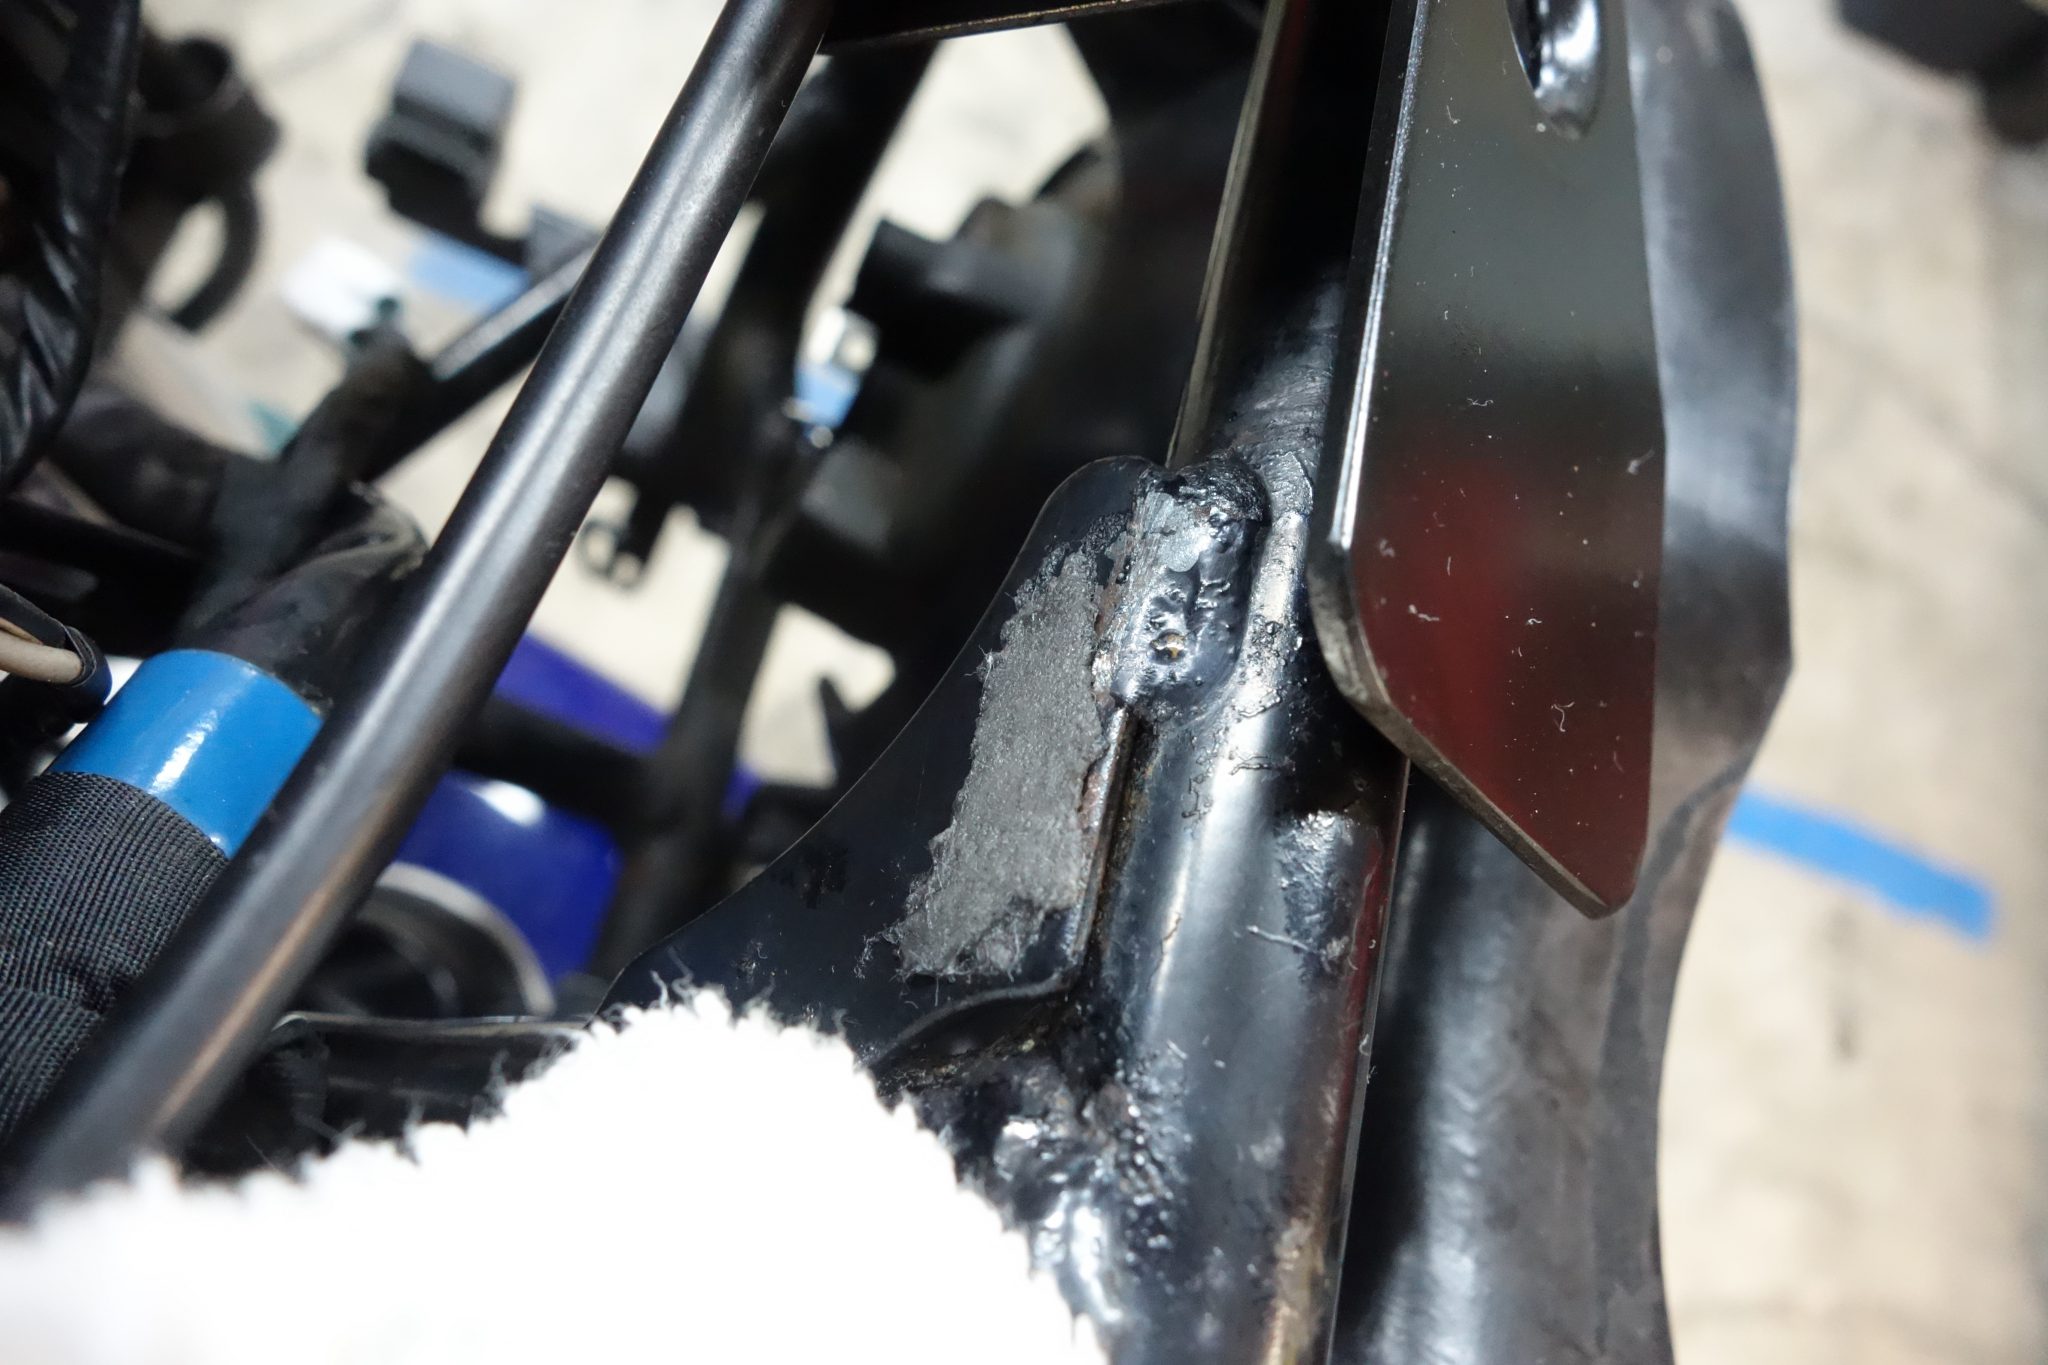
You don’t want this to happen…
Have you experienced it? The struggle of peeling off double-sided adhesive over time…
Muttering “who did this…” while scrubbing away
Making a small bracket eliminates all that hassle.
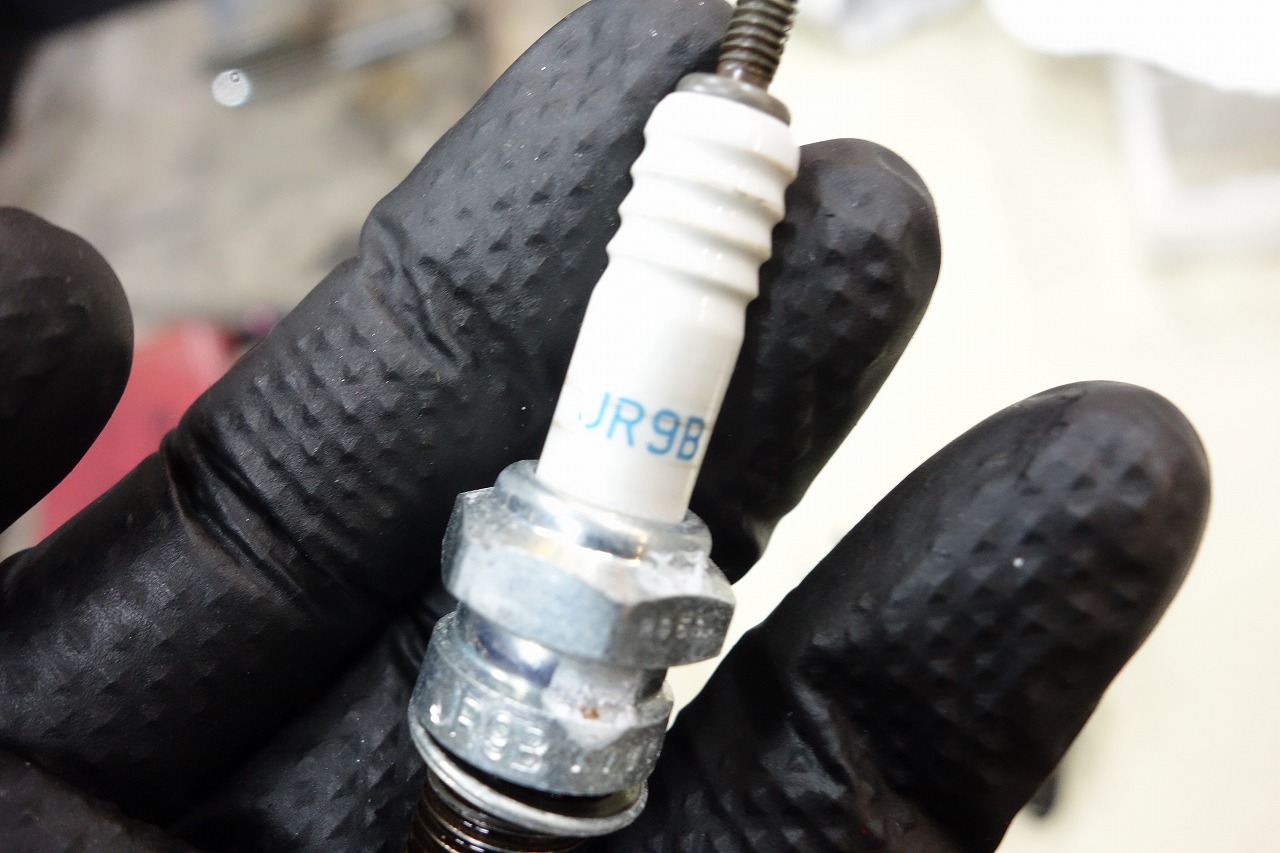
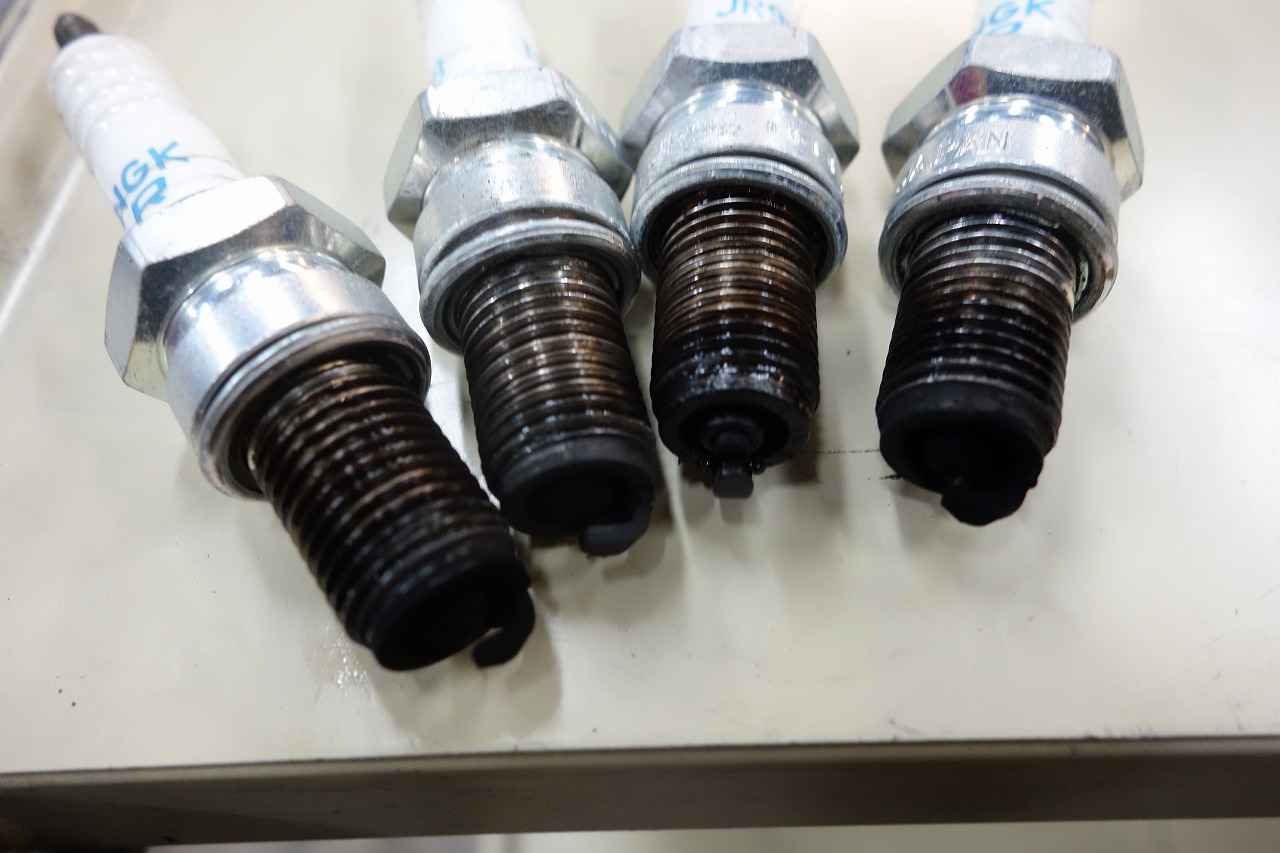
The common number 9. You can change the heat range depending on your needs.
A cheap number 9 is… hmm.
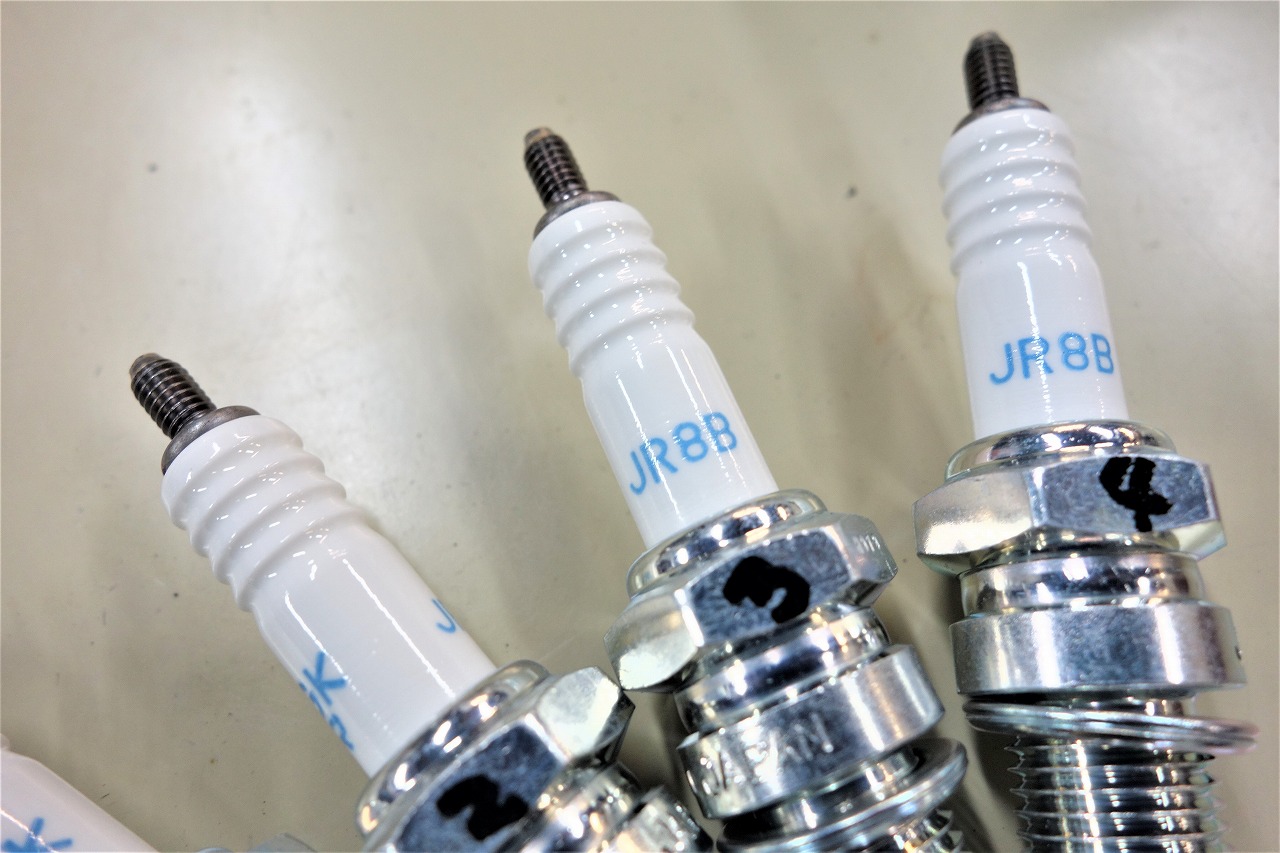
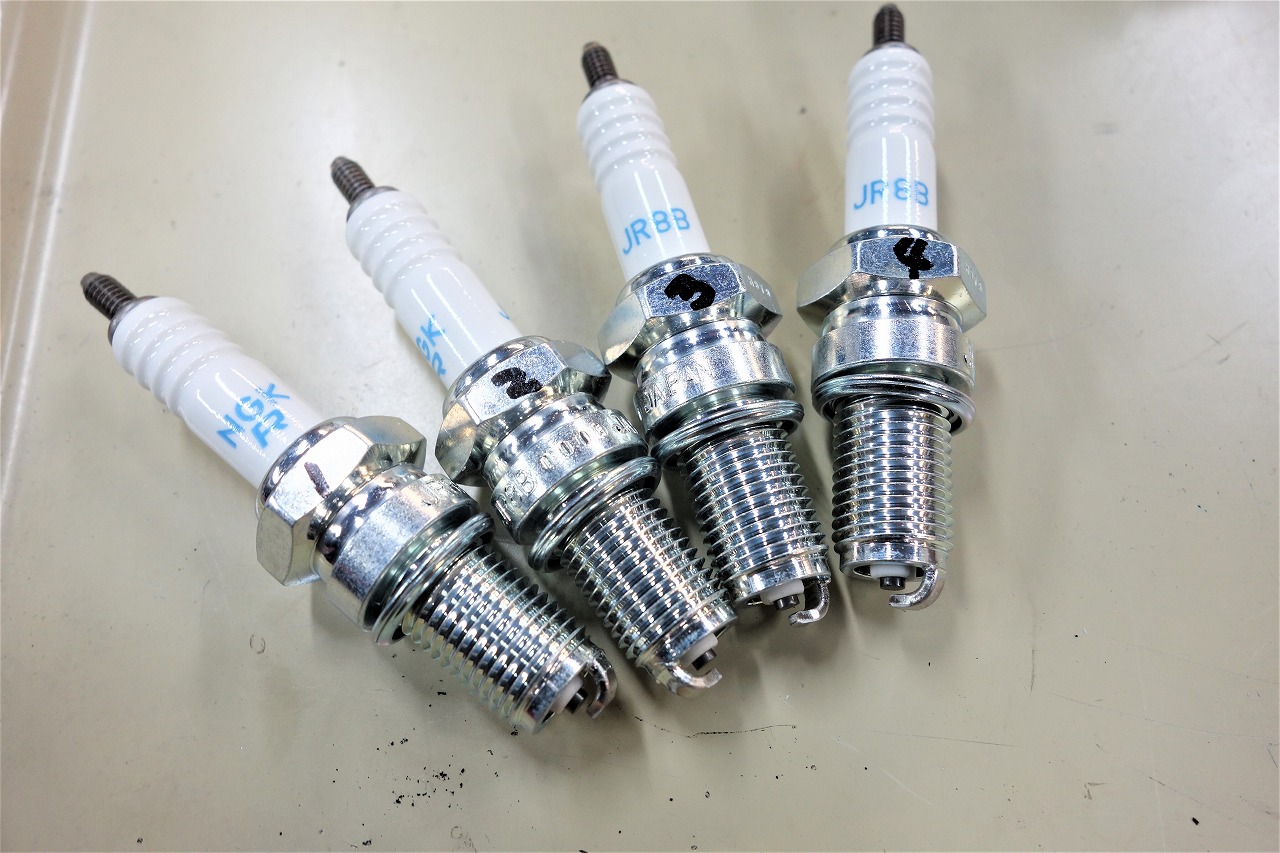
For street riding, usually number 8.
After that, choose based on your needs and how the plugs look.
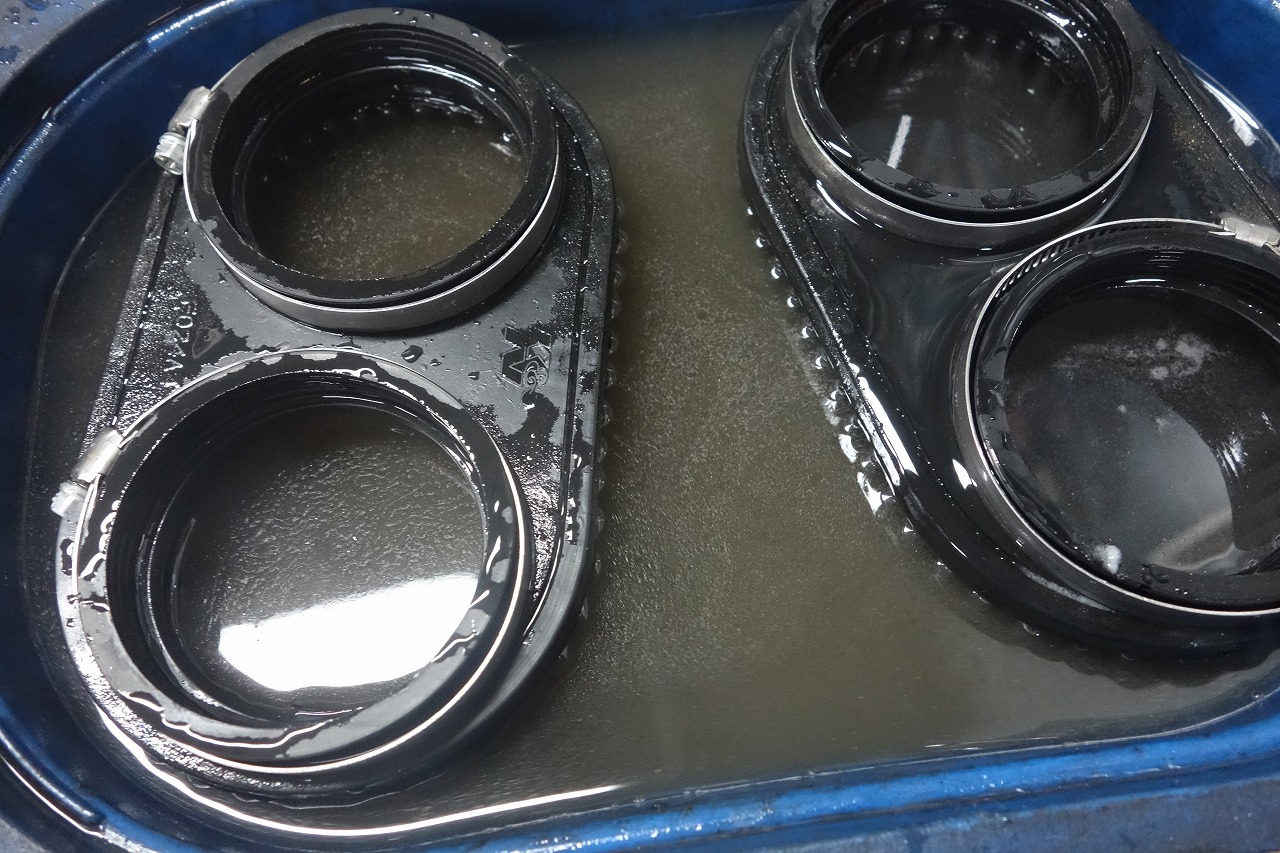
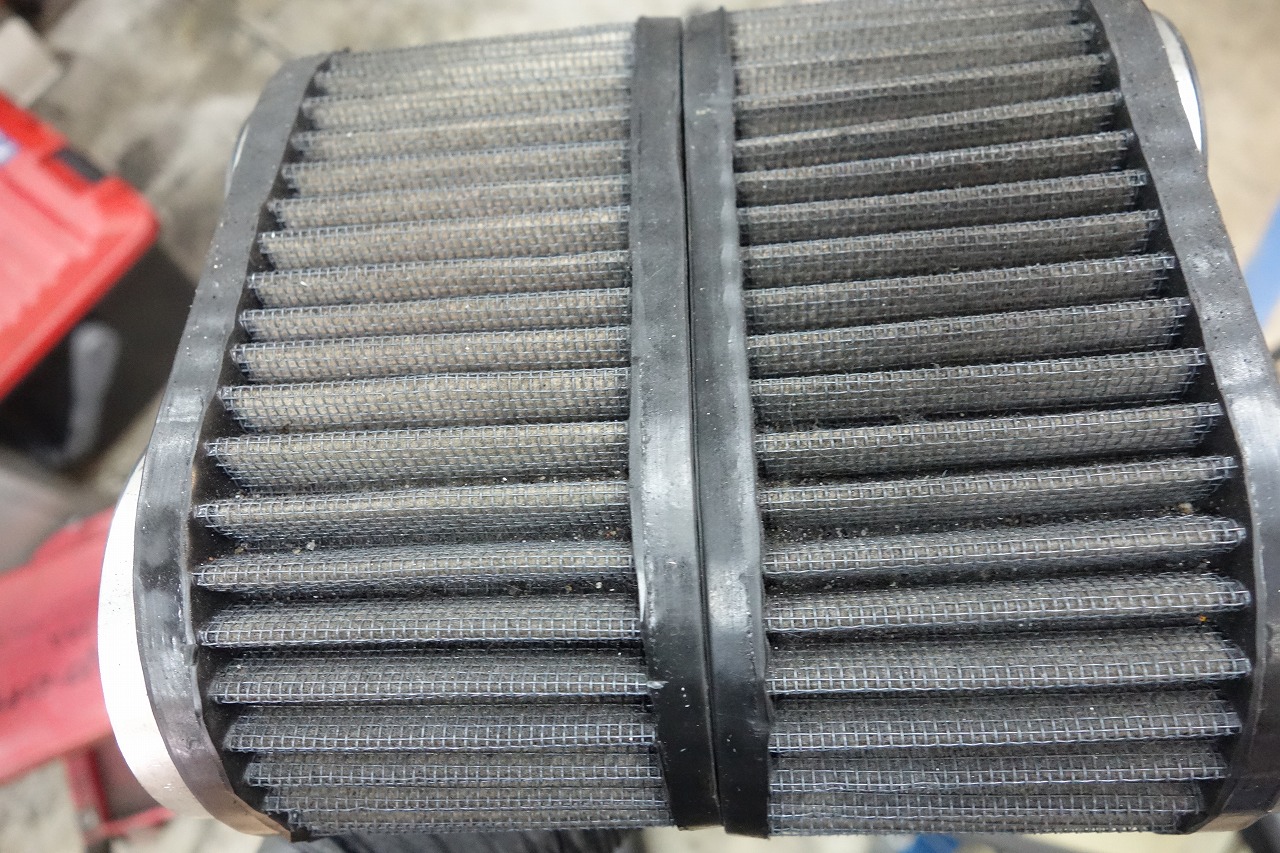
The air filter was in pretty rough shape, so I cleaned it.
*The photos show both before cleaning.
Due to parts availability, completion will be next week.