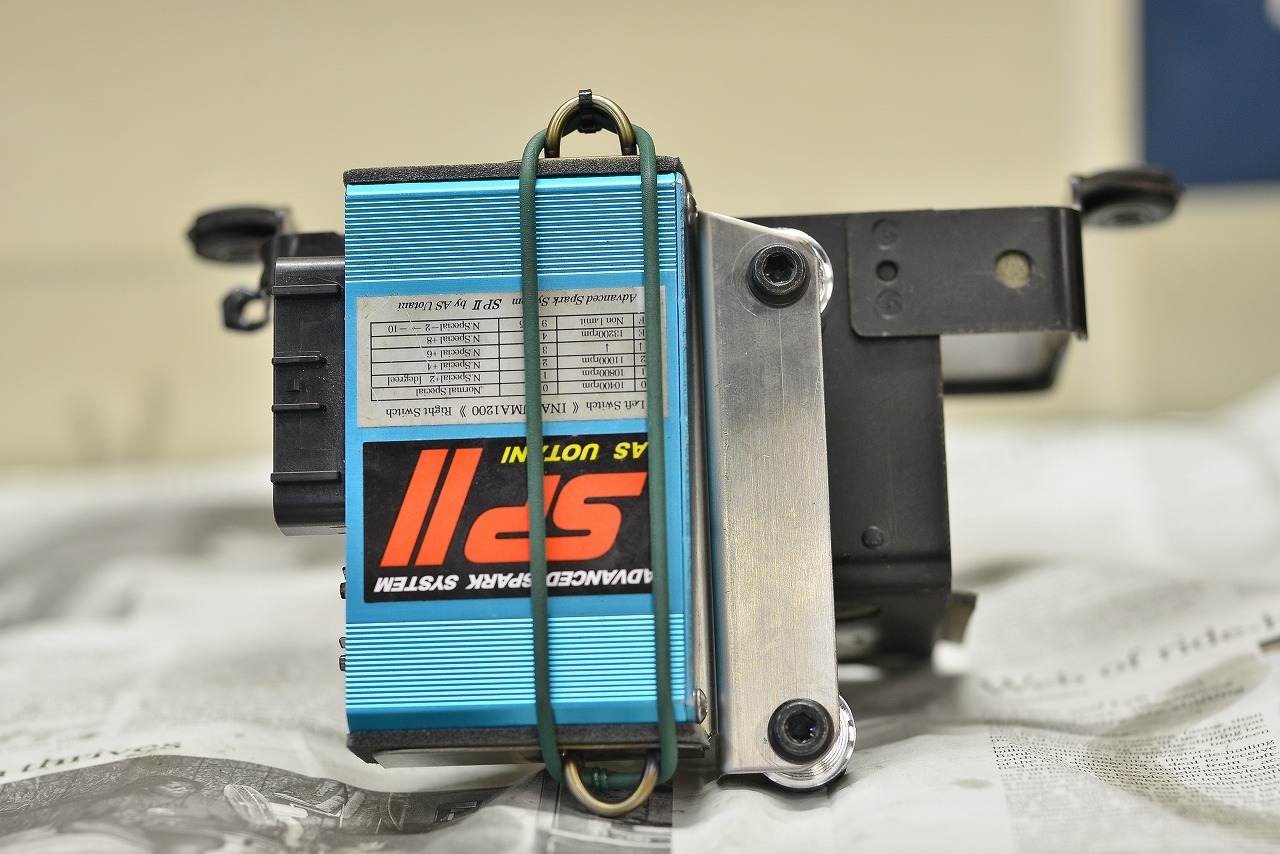
Let’s do some custom fabrication work.
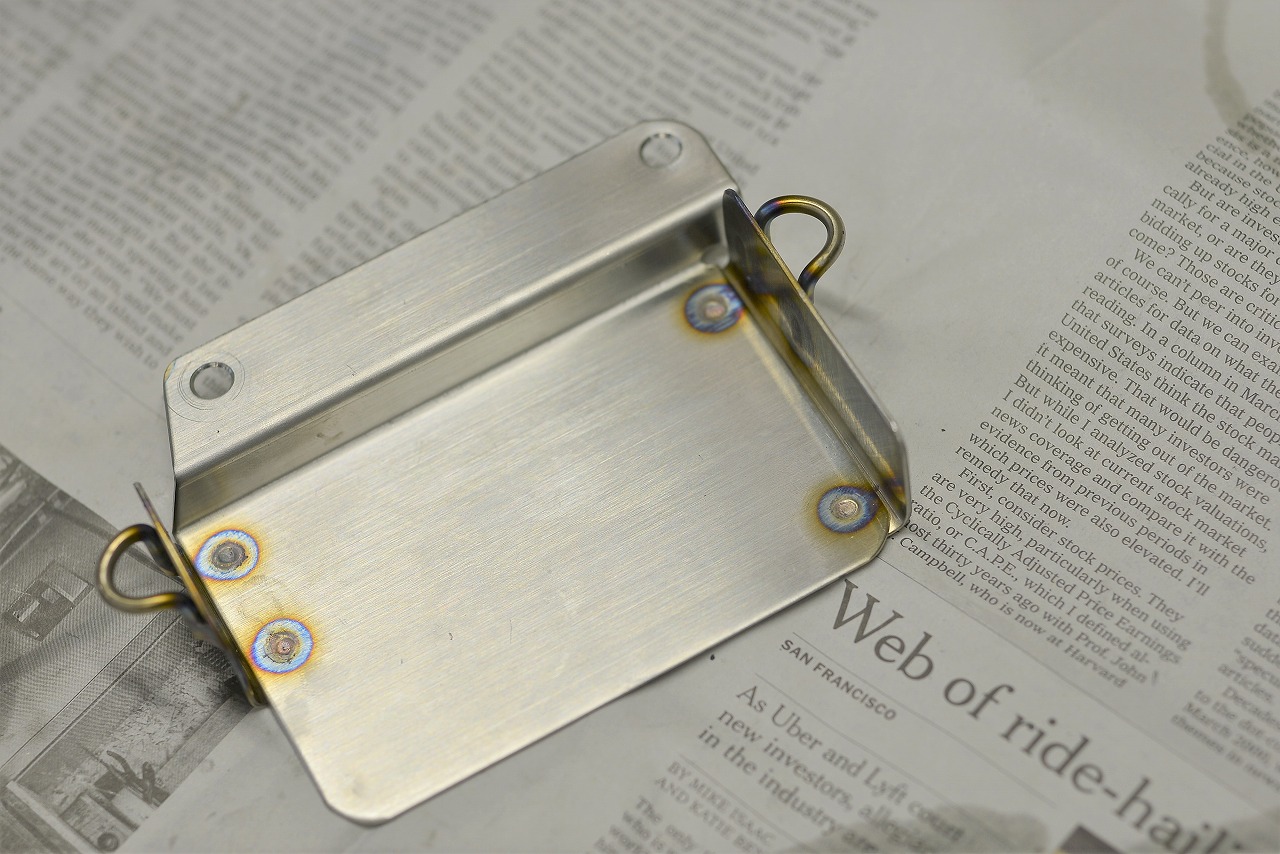
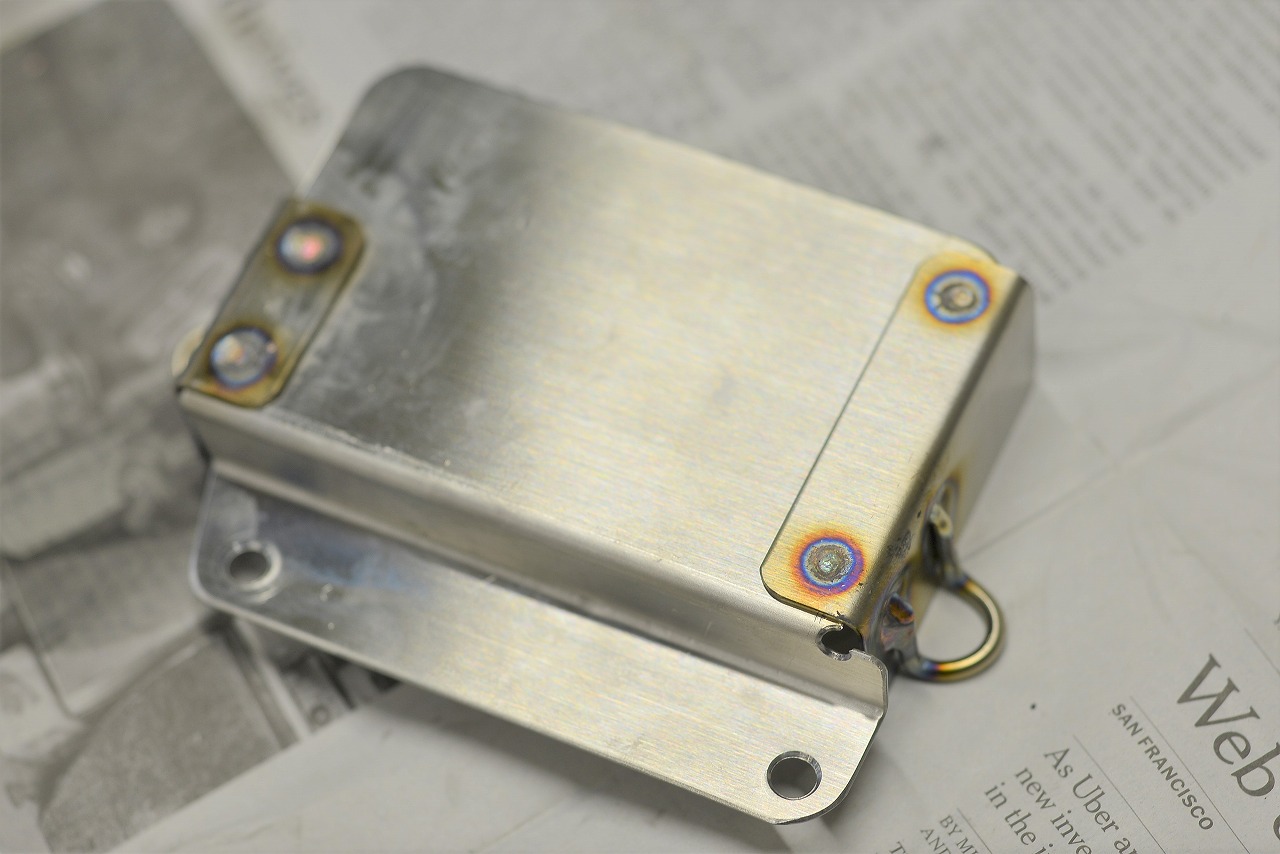
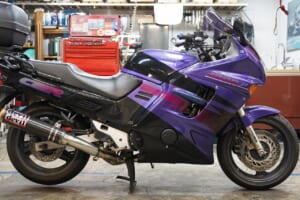
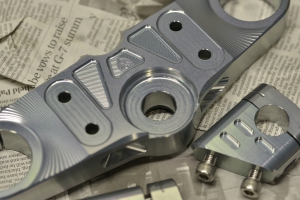
The owner wanted to make better use of the storage box, so we’re relocating it from where it was previously mounted. We fabricated a bracket like this with precision.
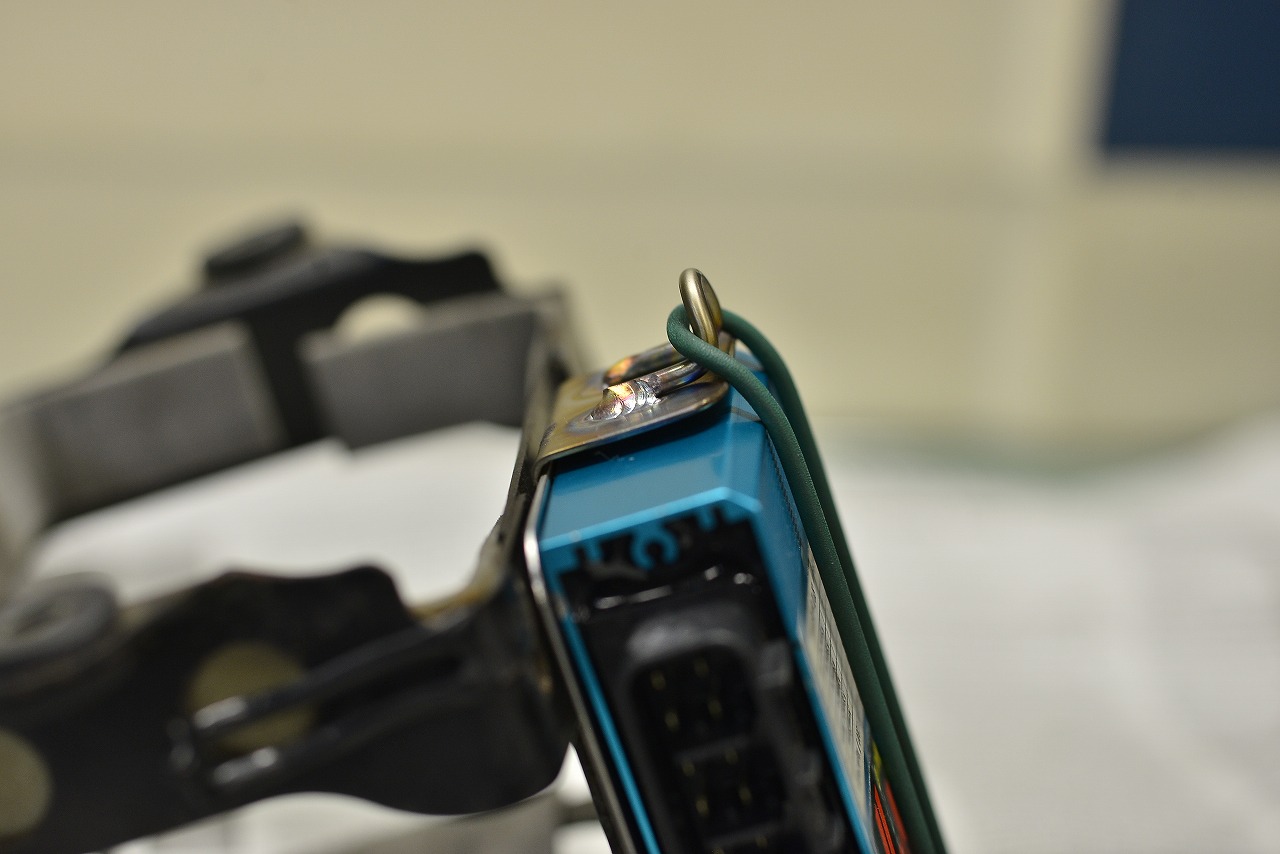
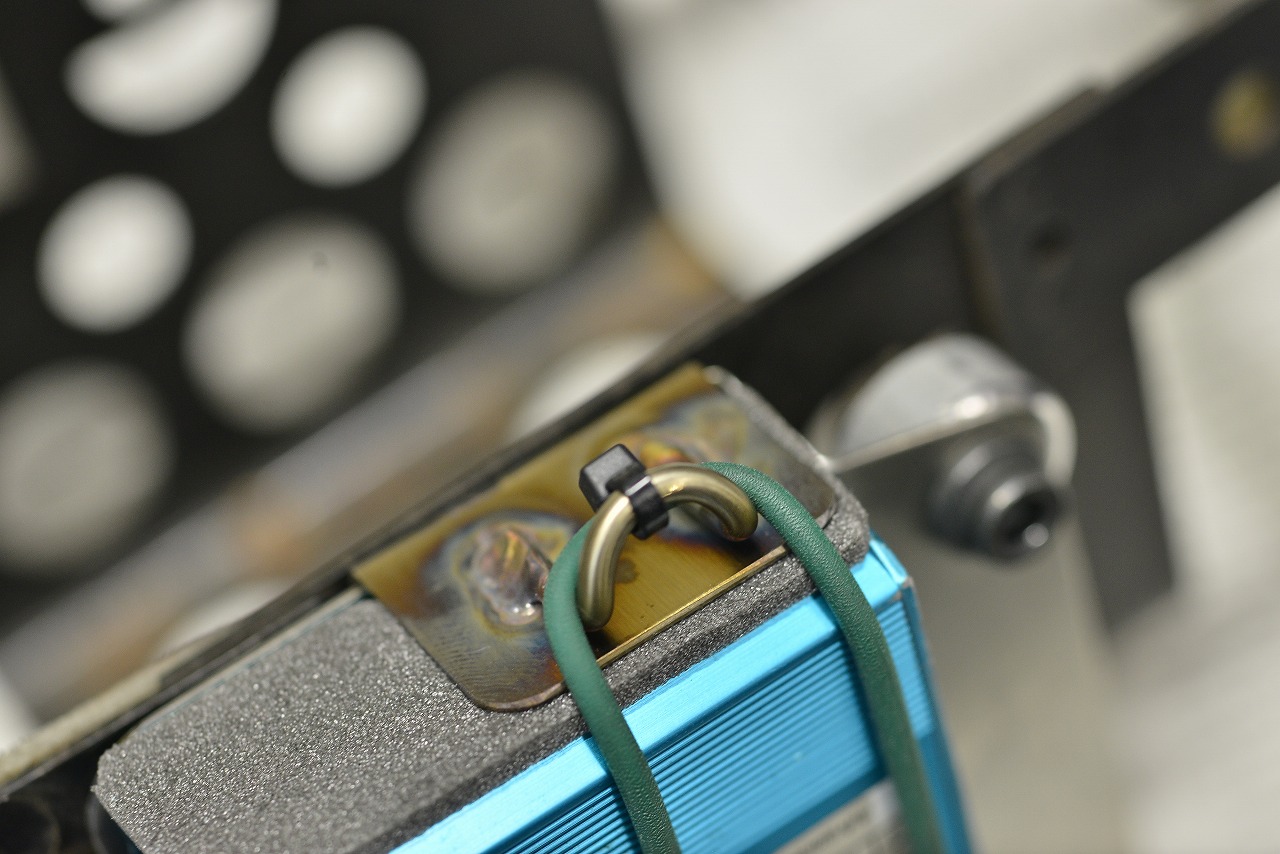
We secured it with a band and locked the top side with cable ties. We figured that if we ever need to remove the Watanabe unit, leaving the band in place would make the work easier.
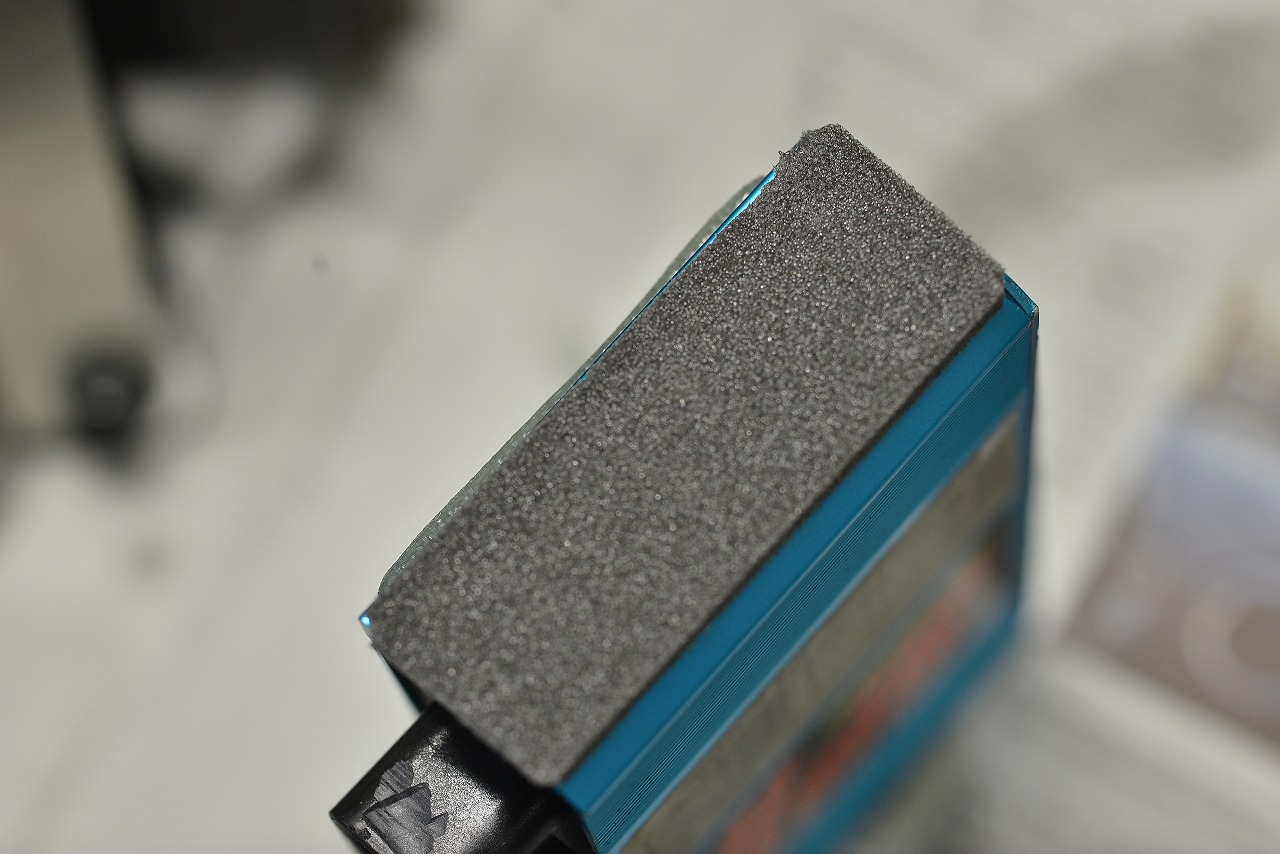
Considering future attachment and detachment as well as the paint on the mating surface, it’s better to glue the sponge to the unit itself.
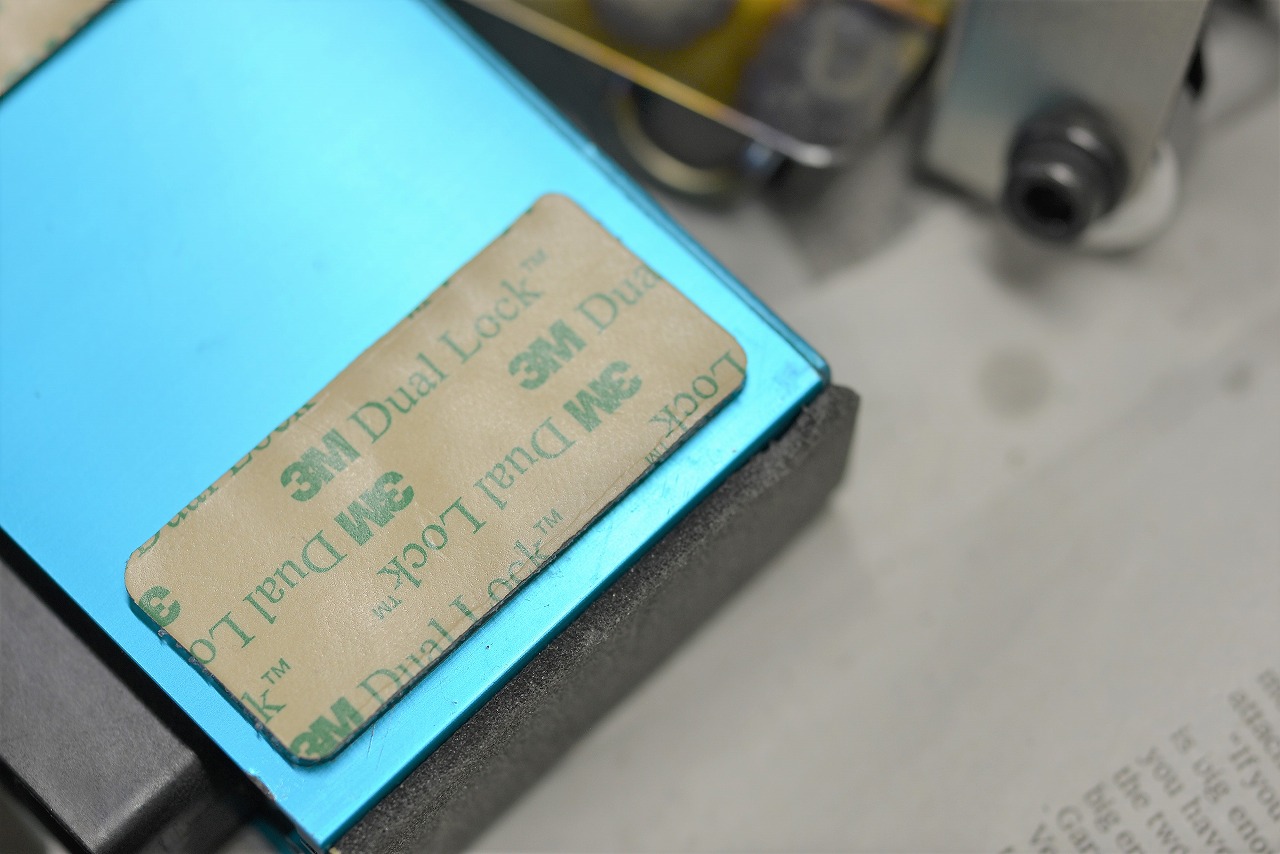
As insurance in case the band breaks or comes loose, we secured it with a thin dual-lock fastener for a perfect result!
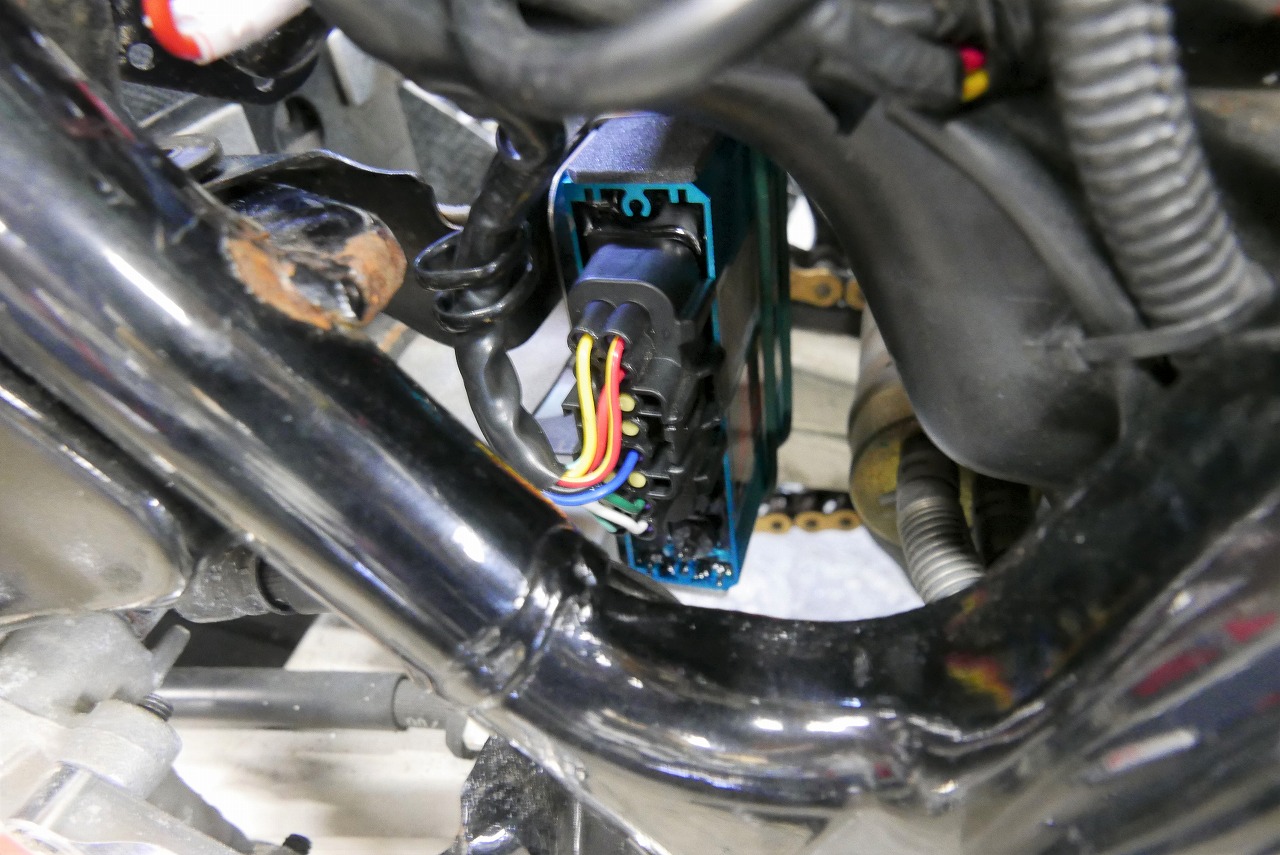
We were able to mount it almost exactly where the stock igniter was located.
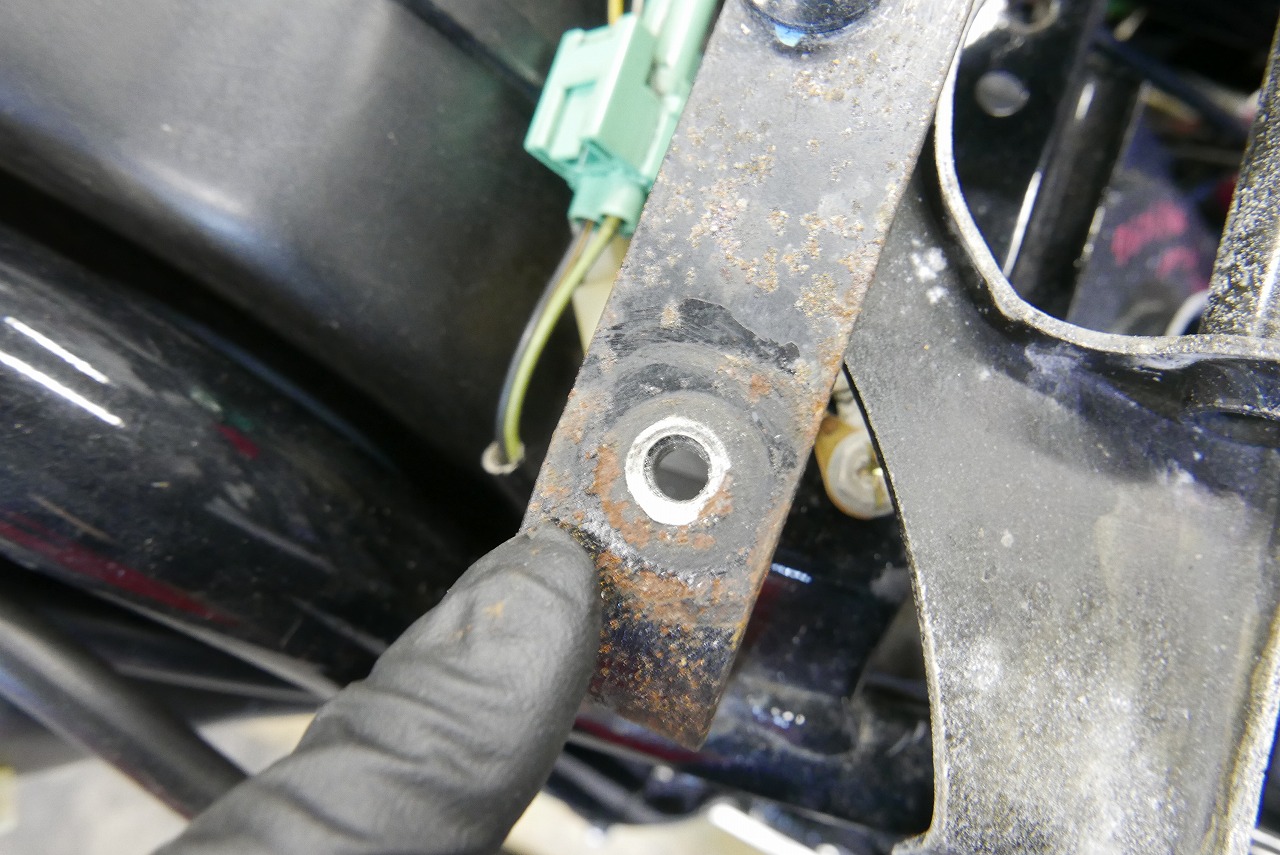
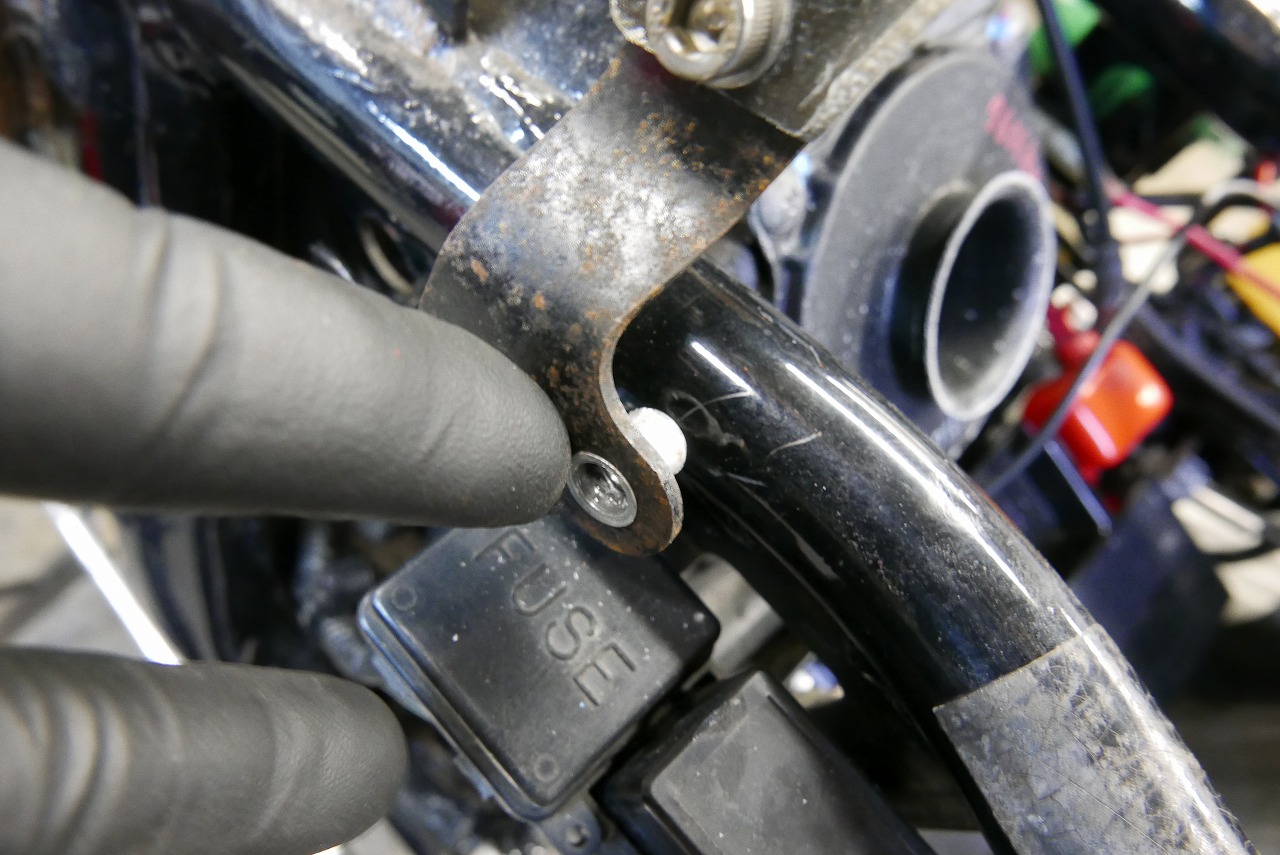
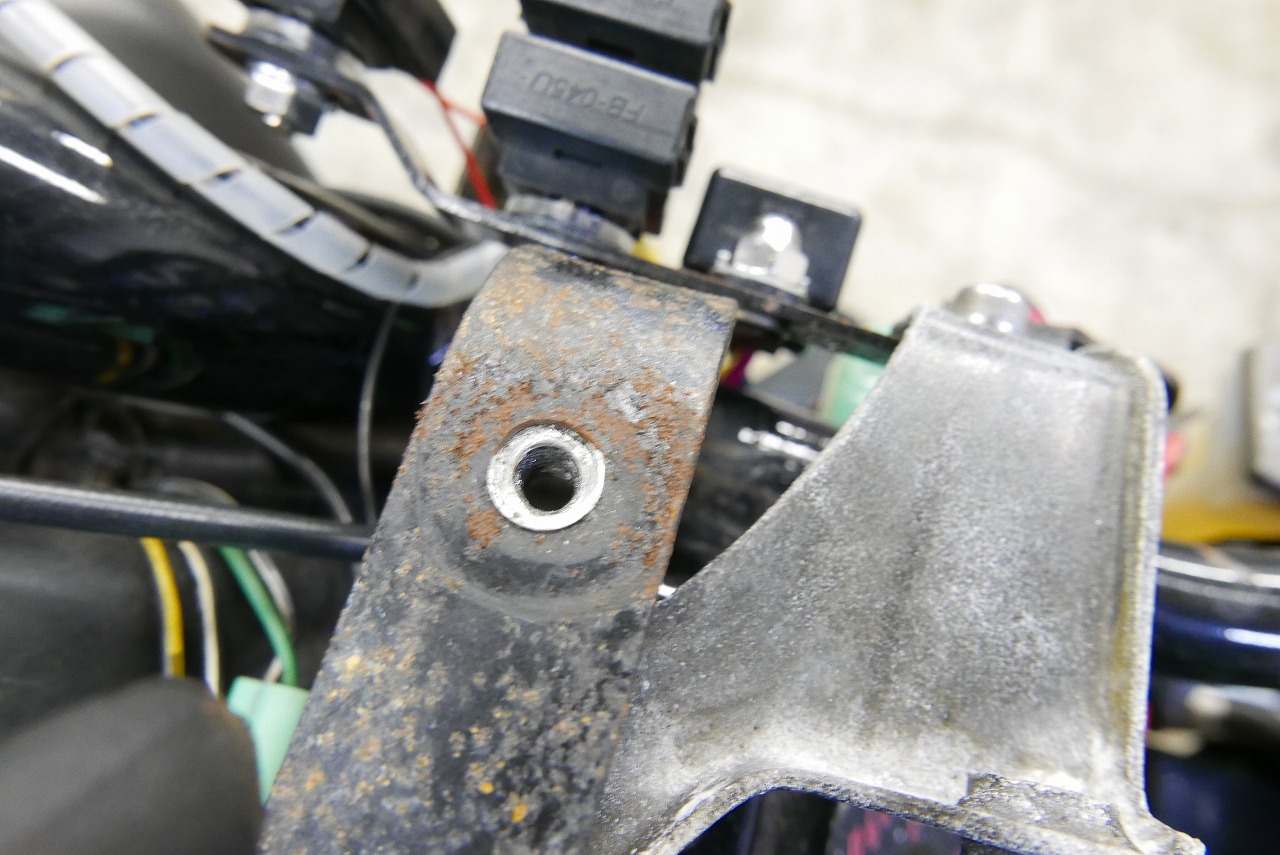
This is a common issue with this variant: all the pop rivets end up coming loose.
That’s because we’re using aluminum rivets on steel.
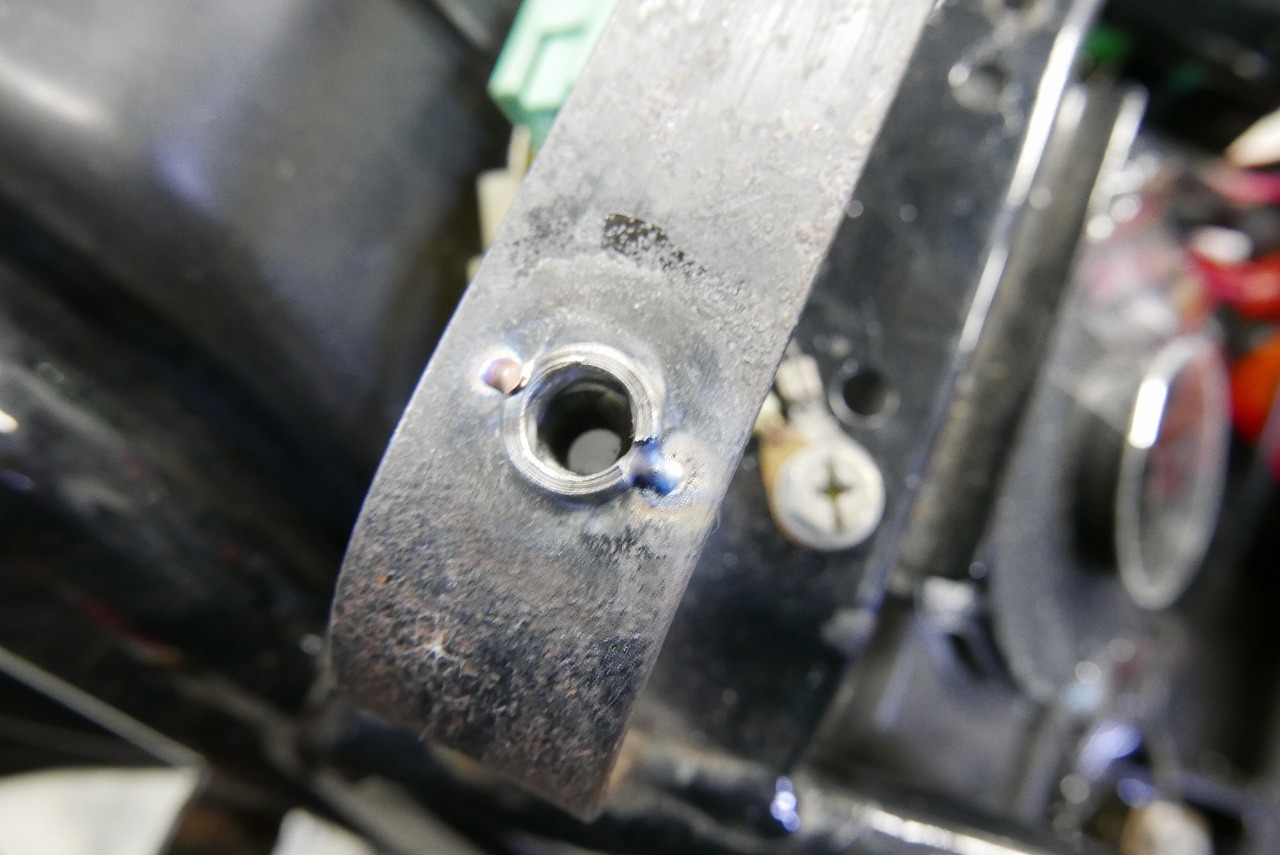
Rather than go through the hassle of grinding down the boss, we used steel pop rivets and spot-welded them for a solid fix. This way we can still install a helicoil if needed, and removal is easy too.
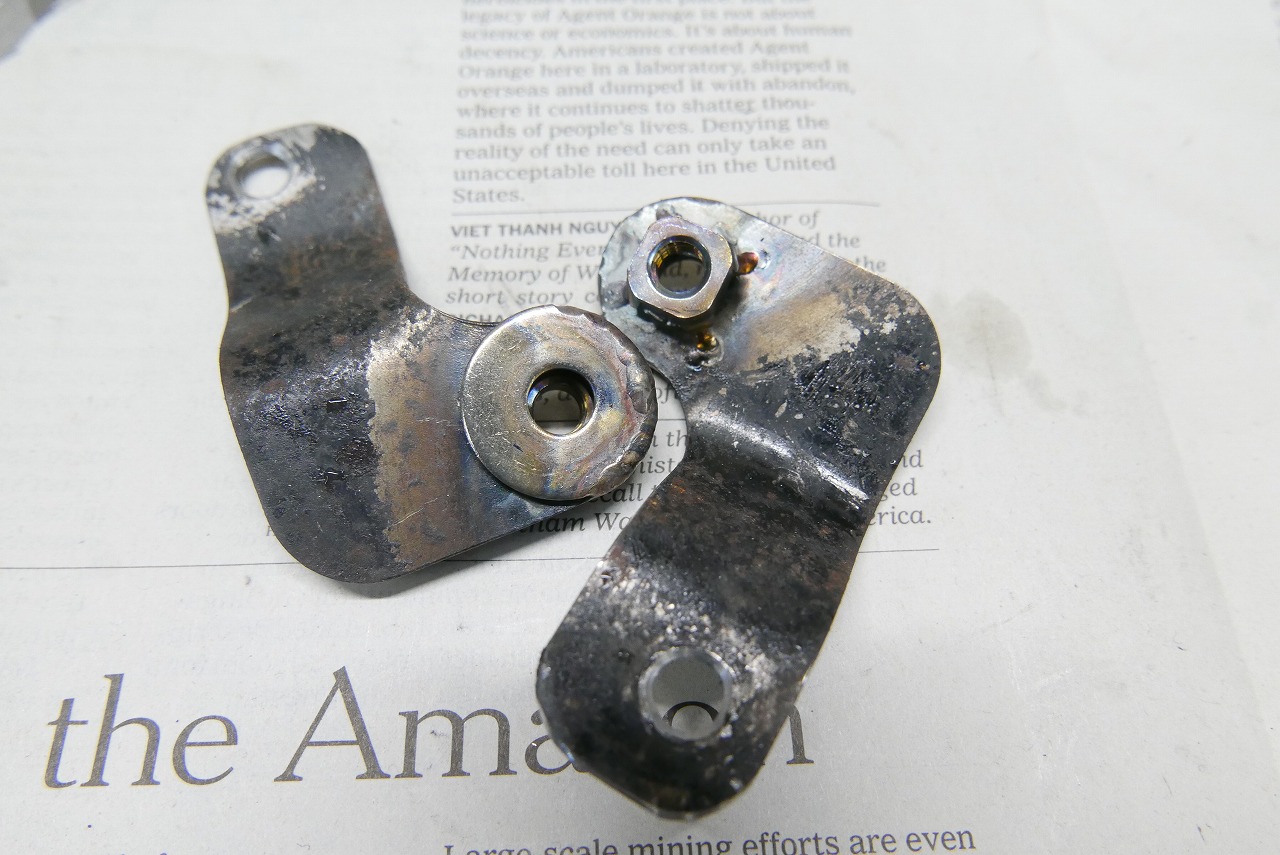
On this side we set up a new nut a different way. (The back uses a weld nut, and the front uses a washer to cover the large hole.)
*It might be faster and cleaner to just remake it, but considering the other components involved… well, this works.
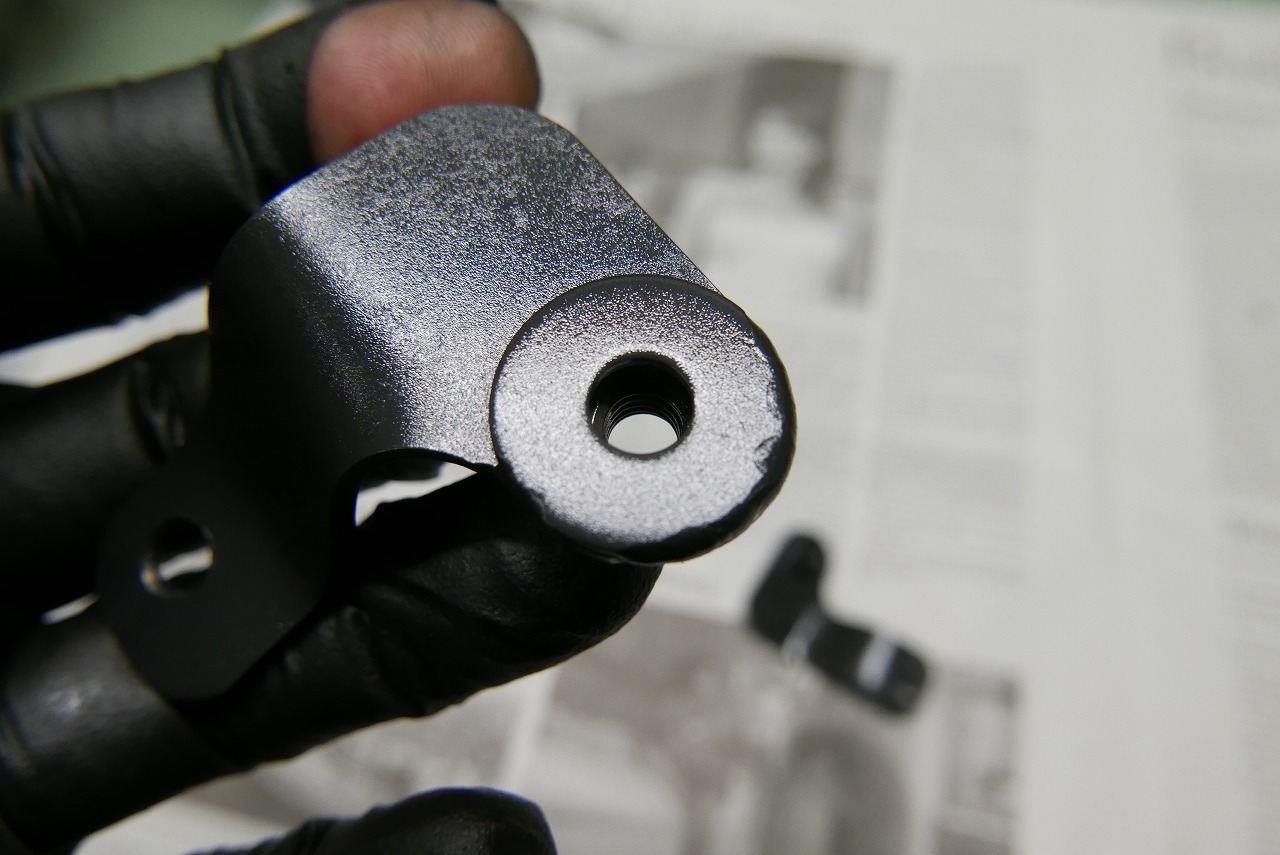
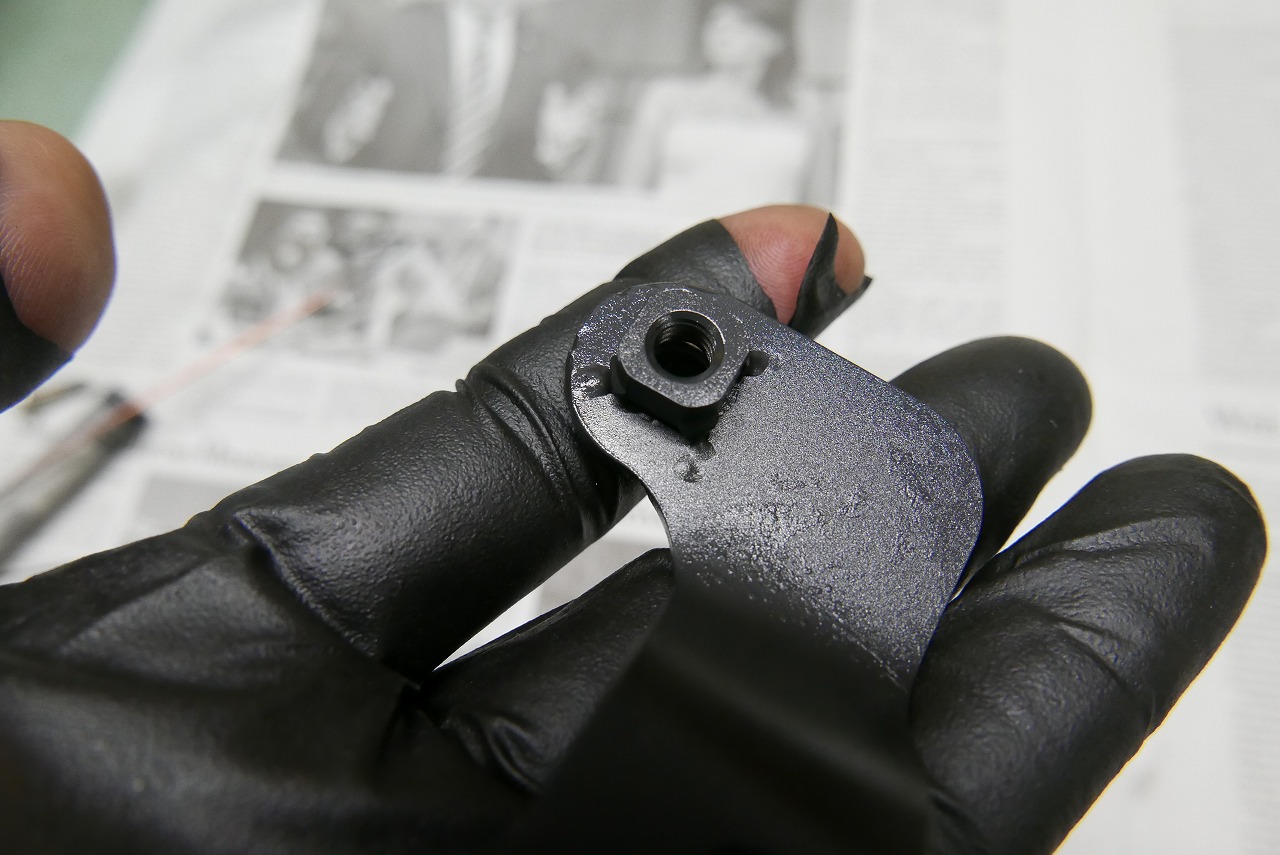
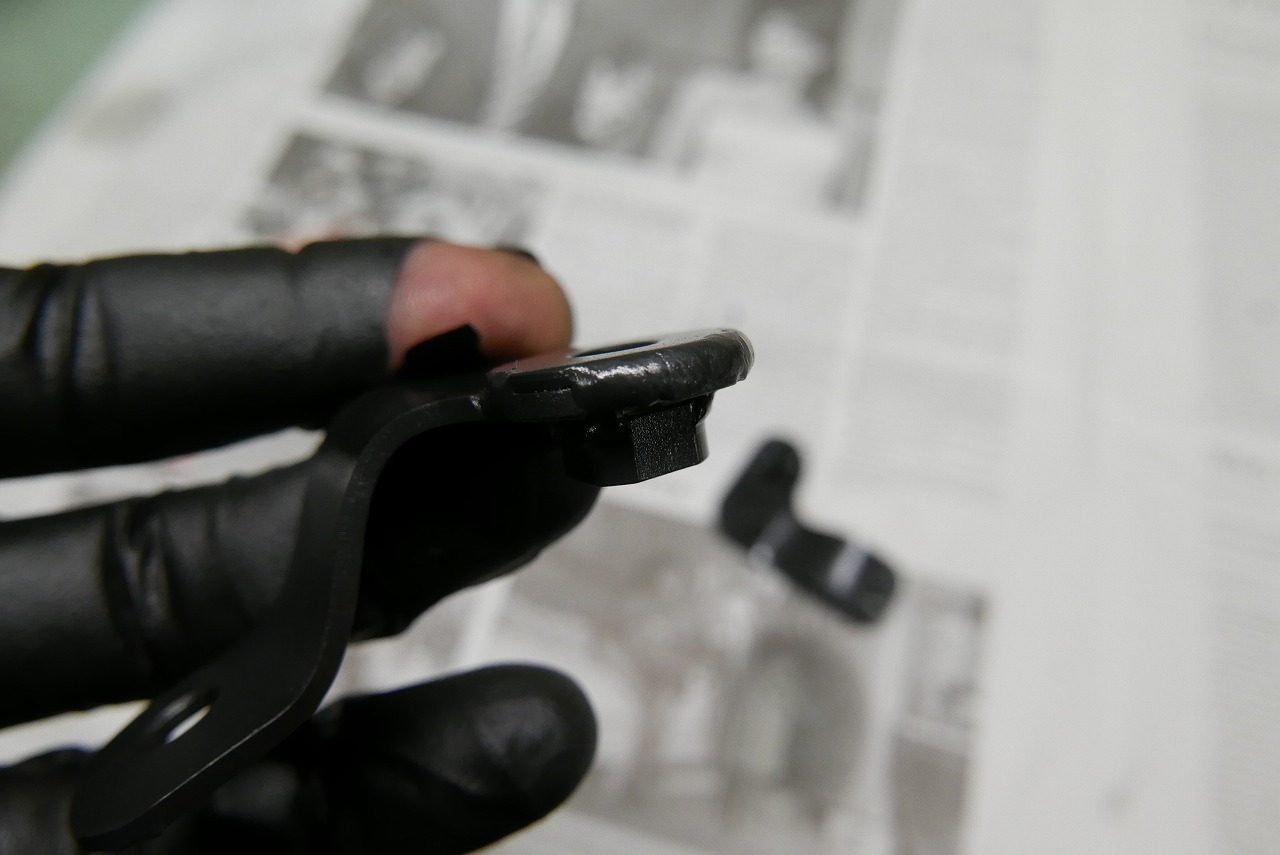
We painted it black for now.
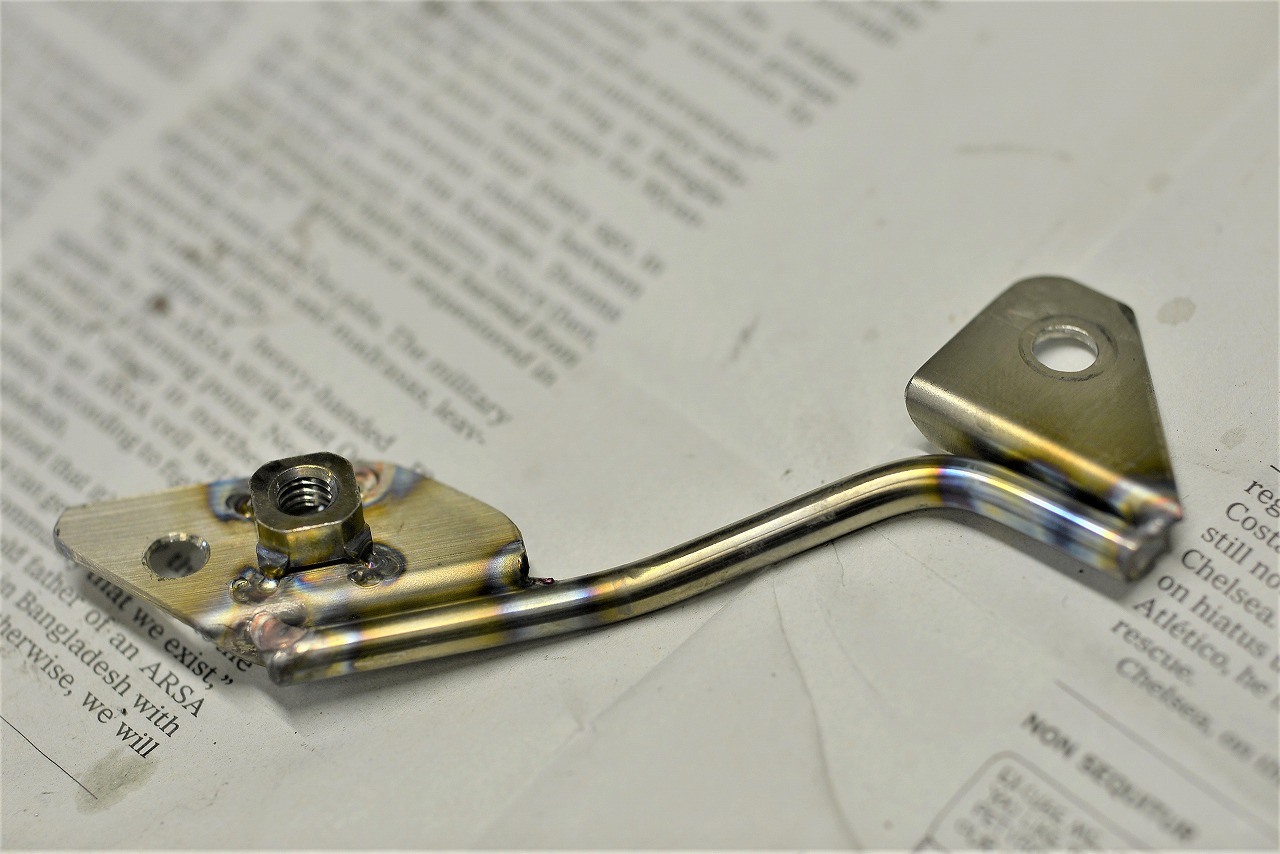
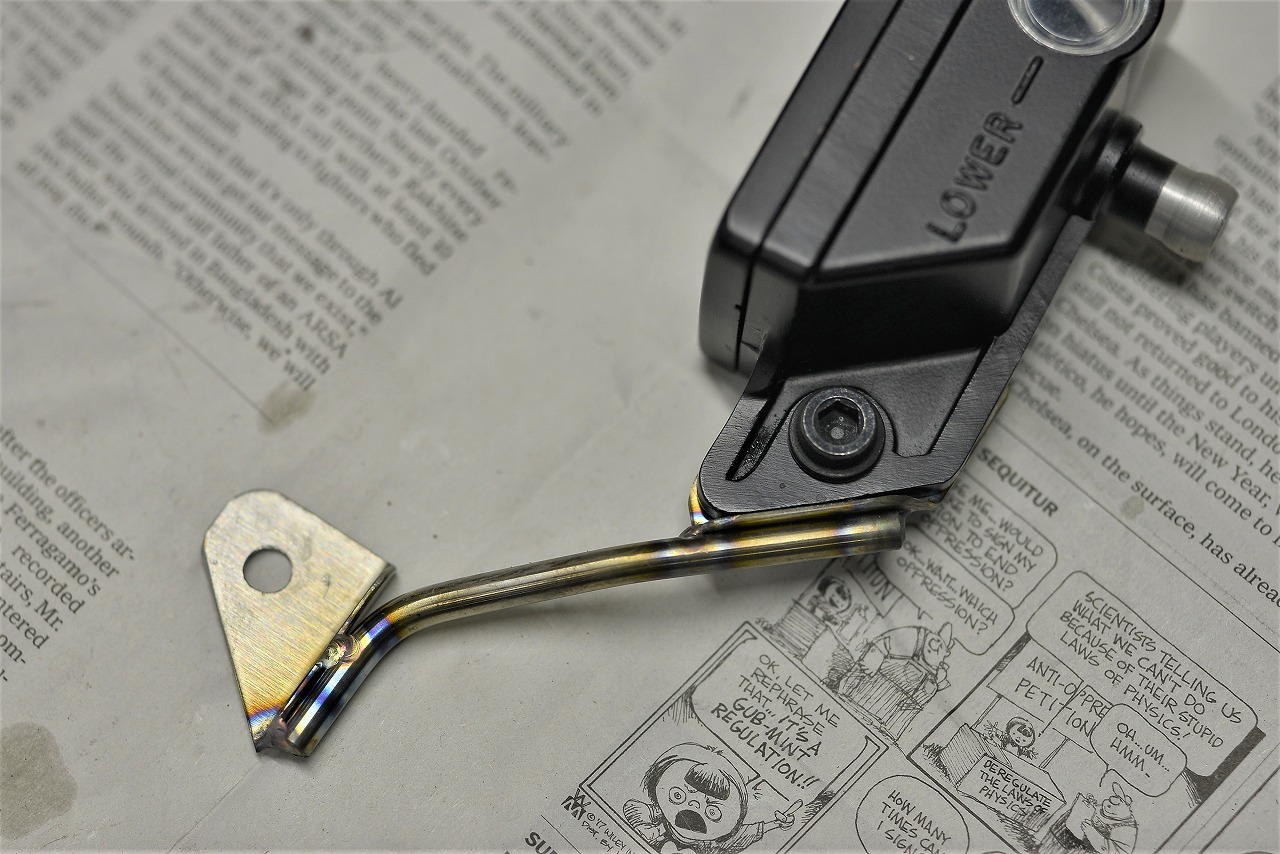
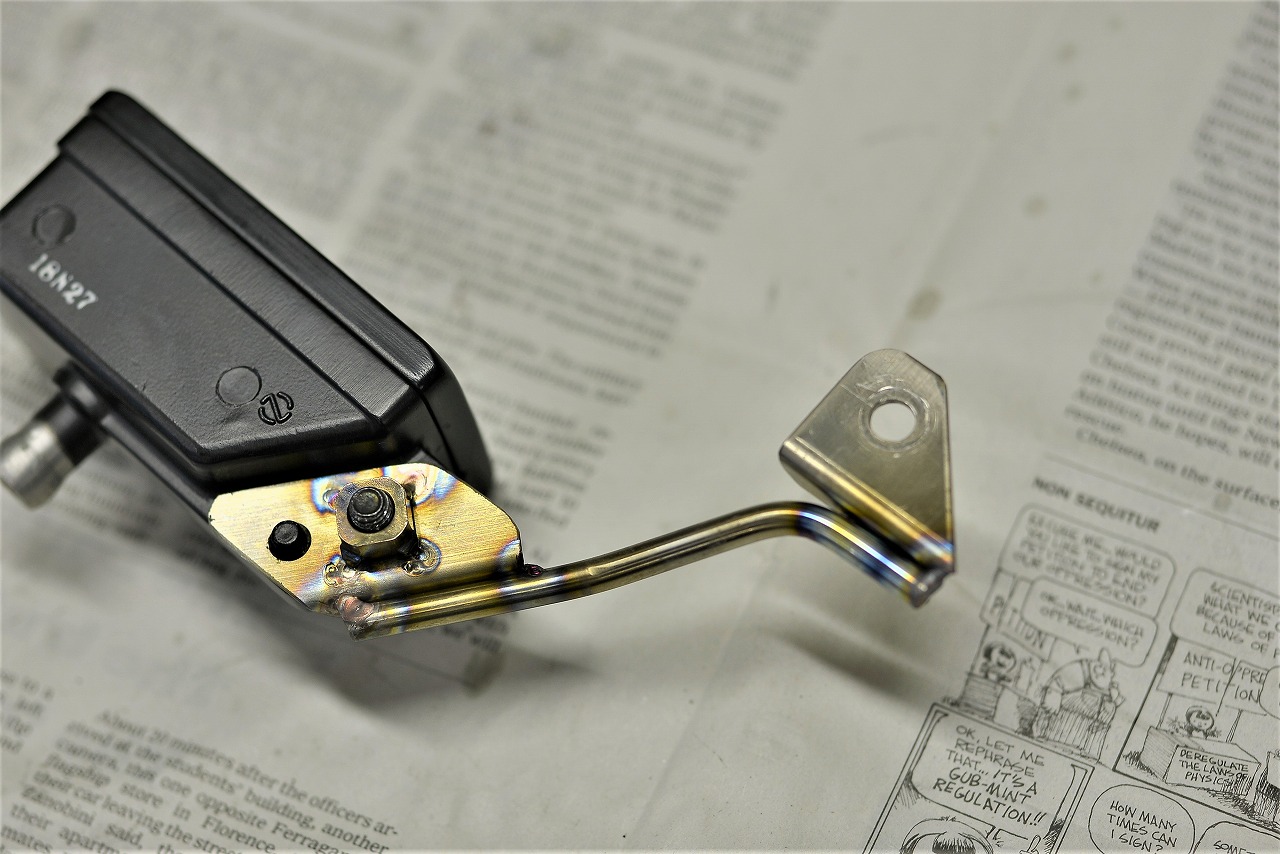
The owner thought an aluminum reservoir tank would give it more of that Katana look, so we fabricated this bracket. By bending the frame-mounting side into an L-shape so it hooks on, installation becomes much easier.
The best fit is direct mounting to the frame, but that has the downside of slightly scratching the frame’s paint, so we use a bracket to address that.
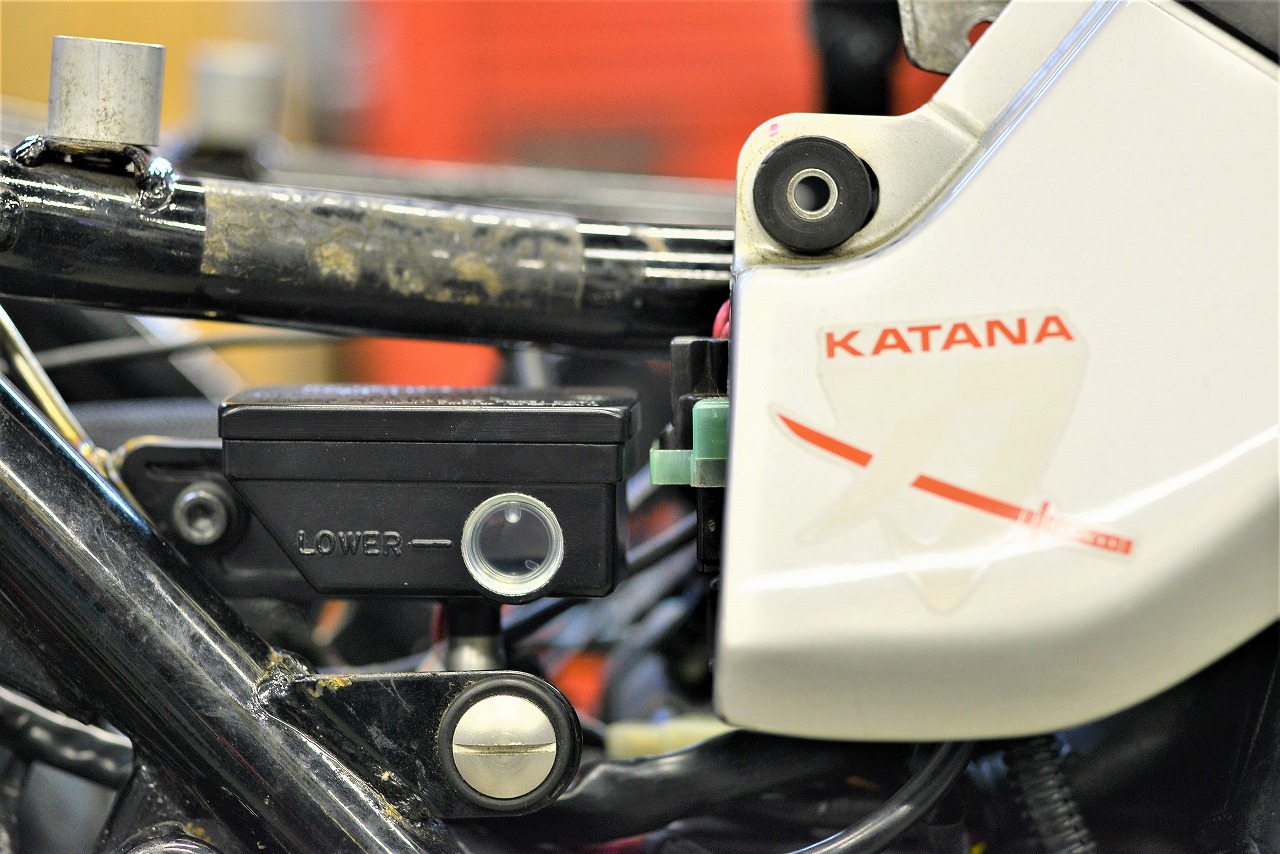
That’s how it turned out.
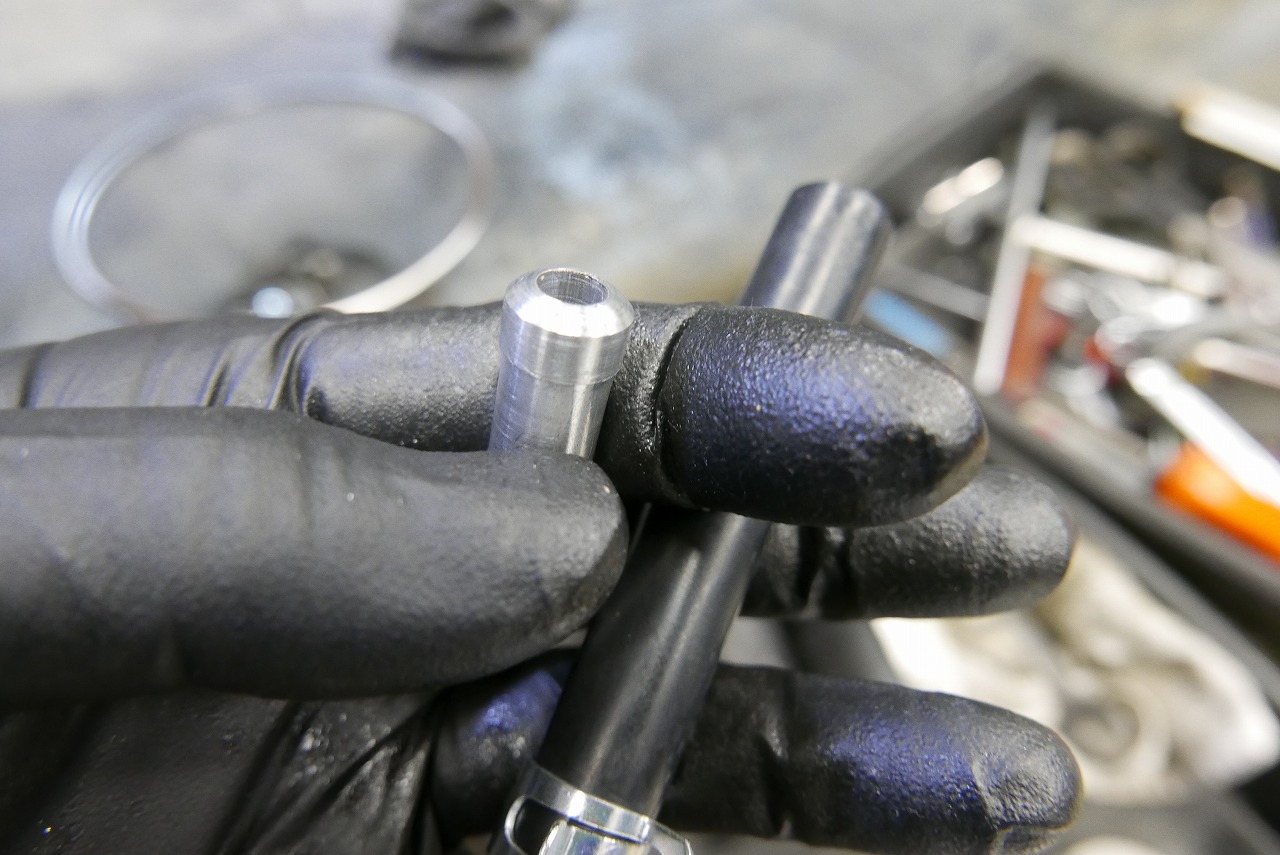
Since the hose diameters are different, we’re making an adapter.