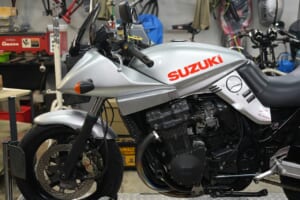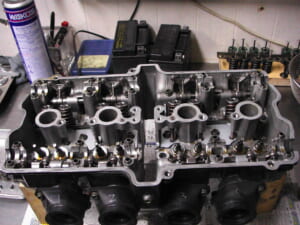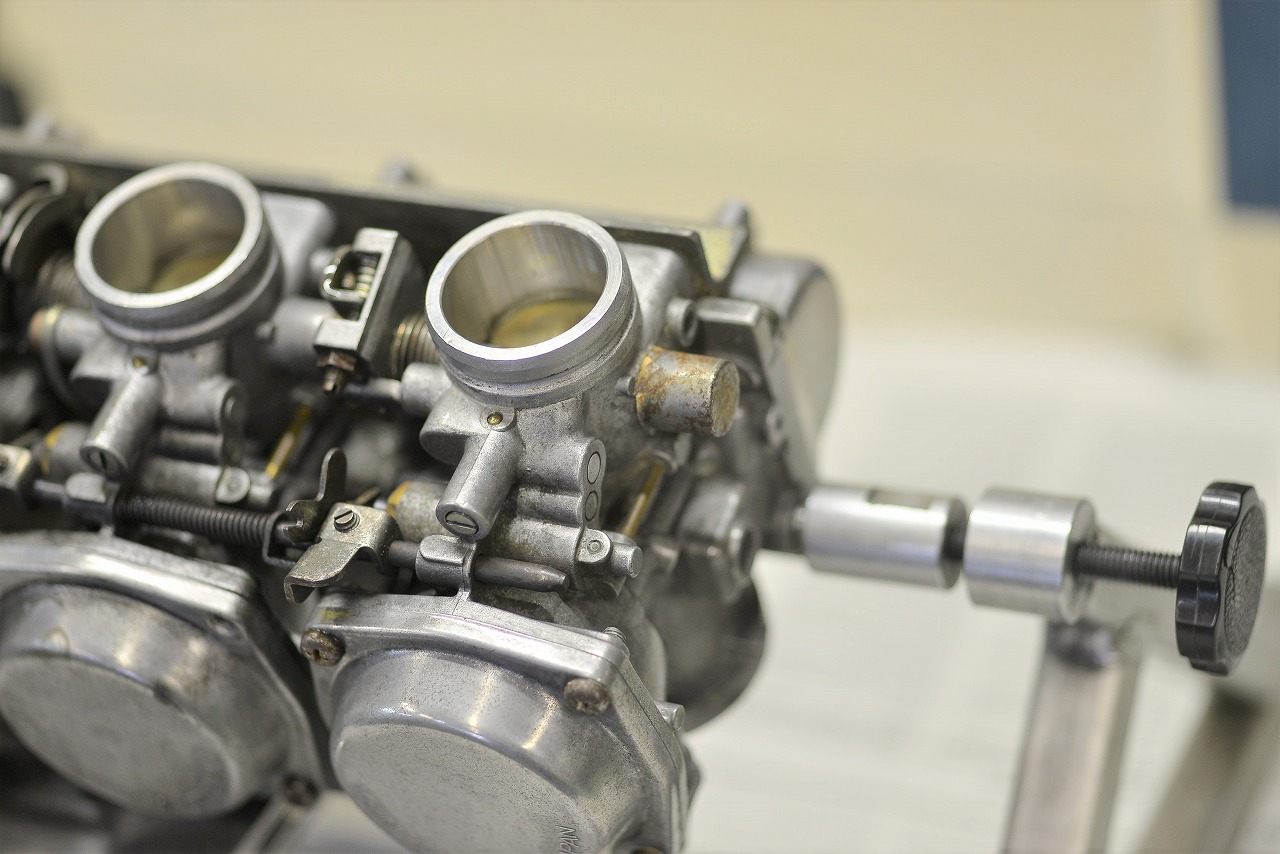
Parallel engines really are nice—they’re so much easier to work on…
V-engines take nearly twice the effort… (too many linkages!)
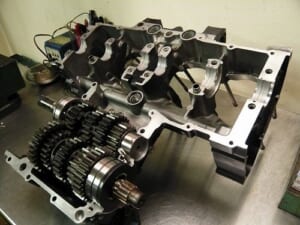
Time to disassemble.
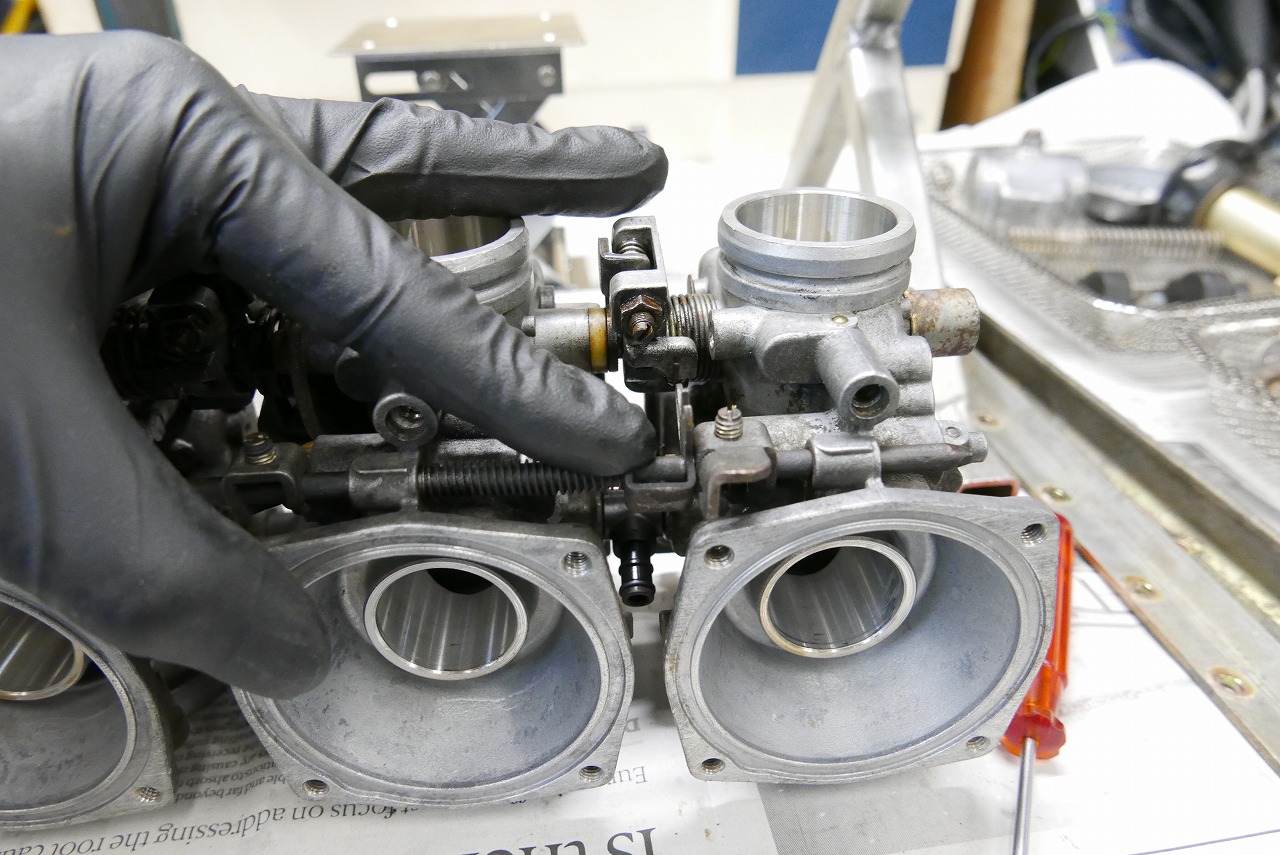
Being old, there are some unfamiliar mechanisms that make me raise an eyebrow.
You can really feel the solid engineering—nothing’s going to fall off or come loose while riding.
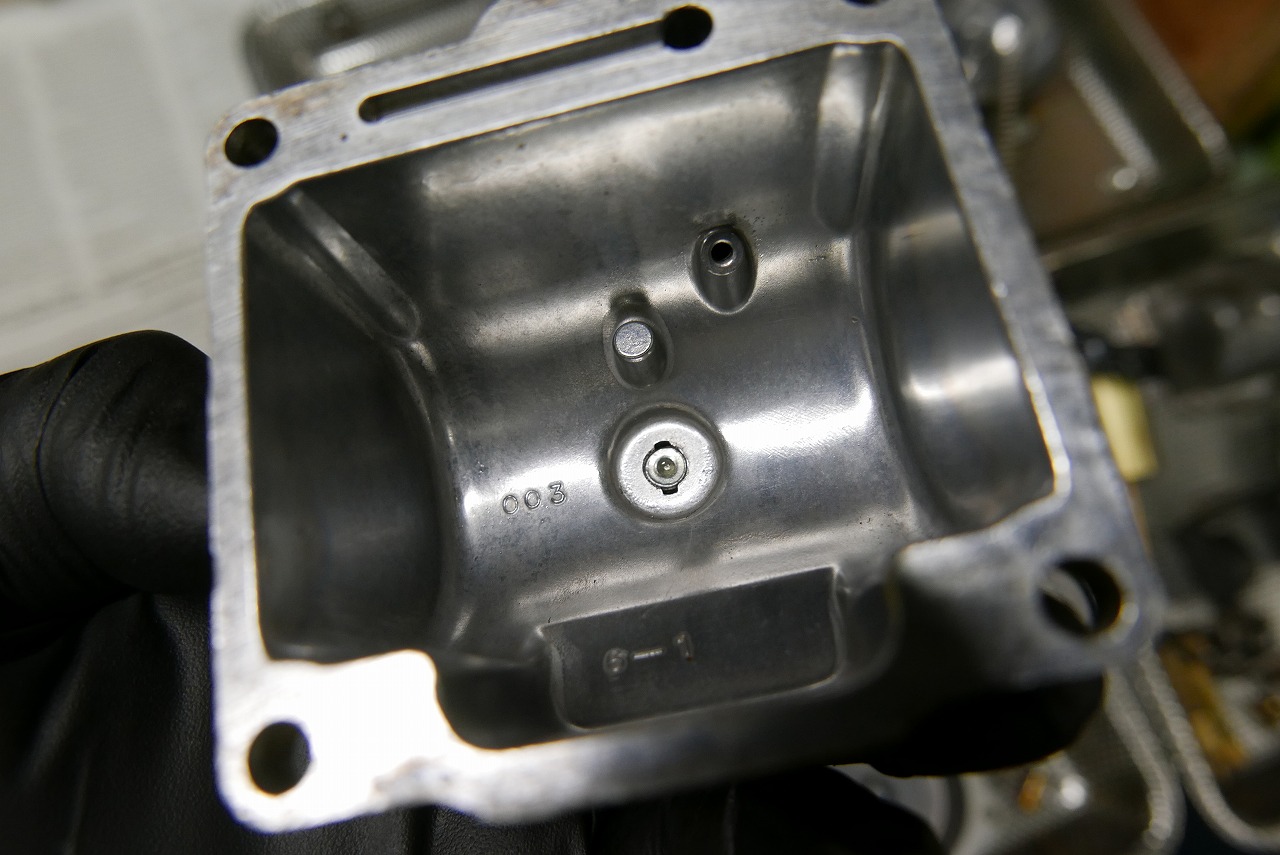
No rust*4, so we’re in good shape.
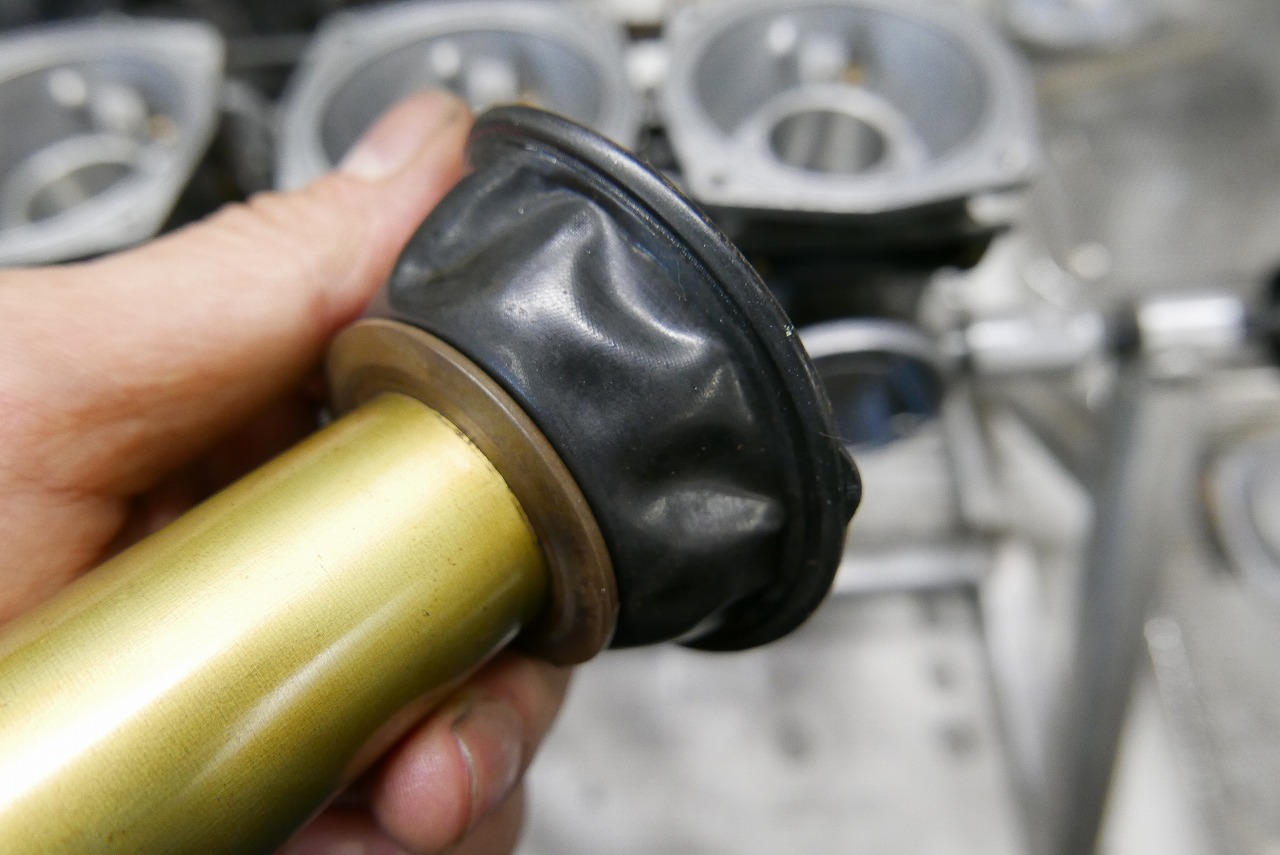
The diaphragm is pretty dried out. But it’s still usable, so let’s reuse it as is.
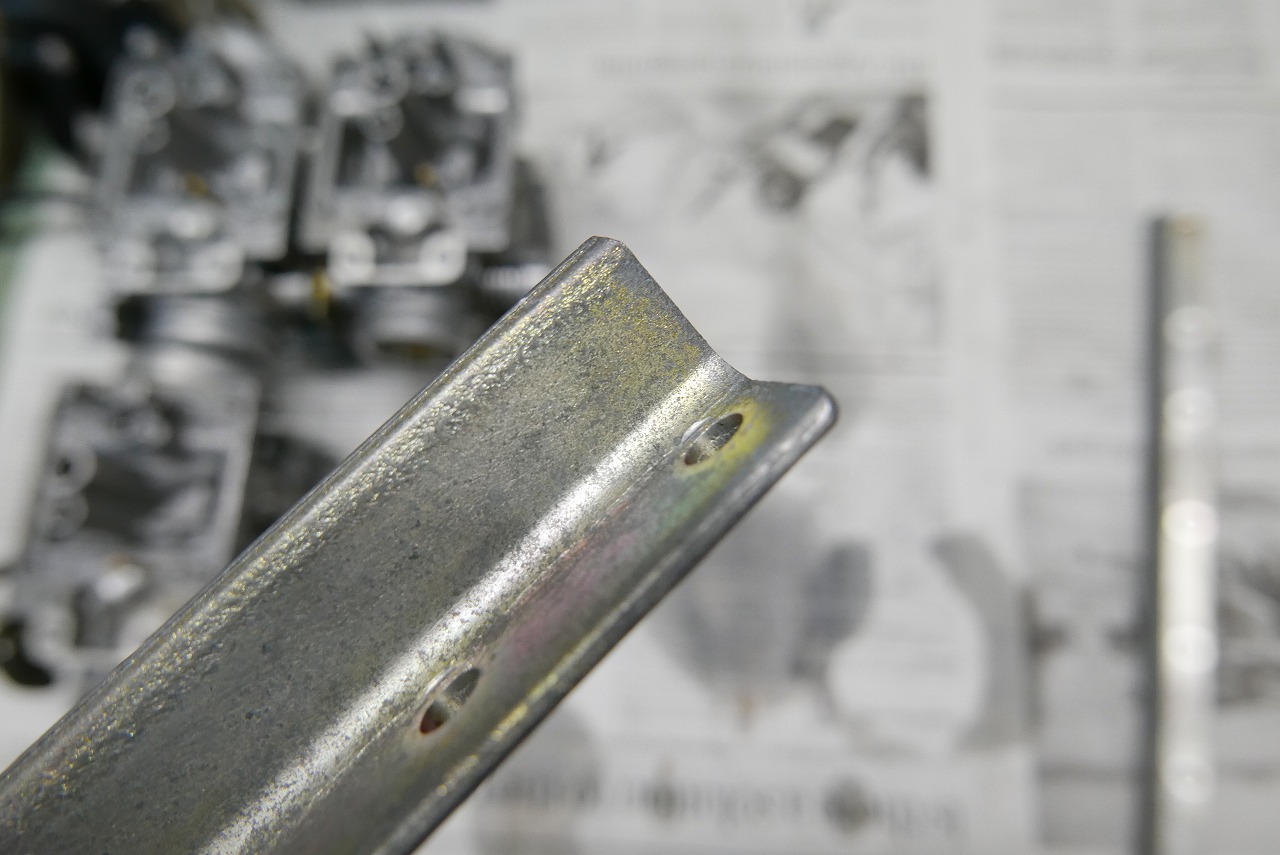
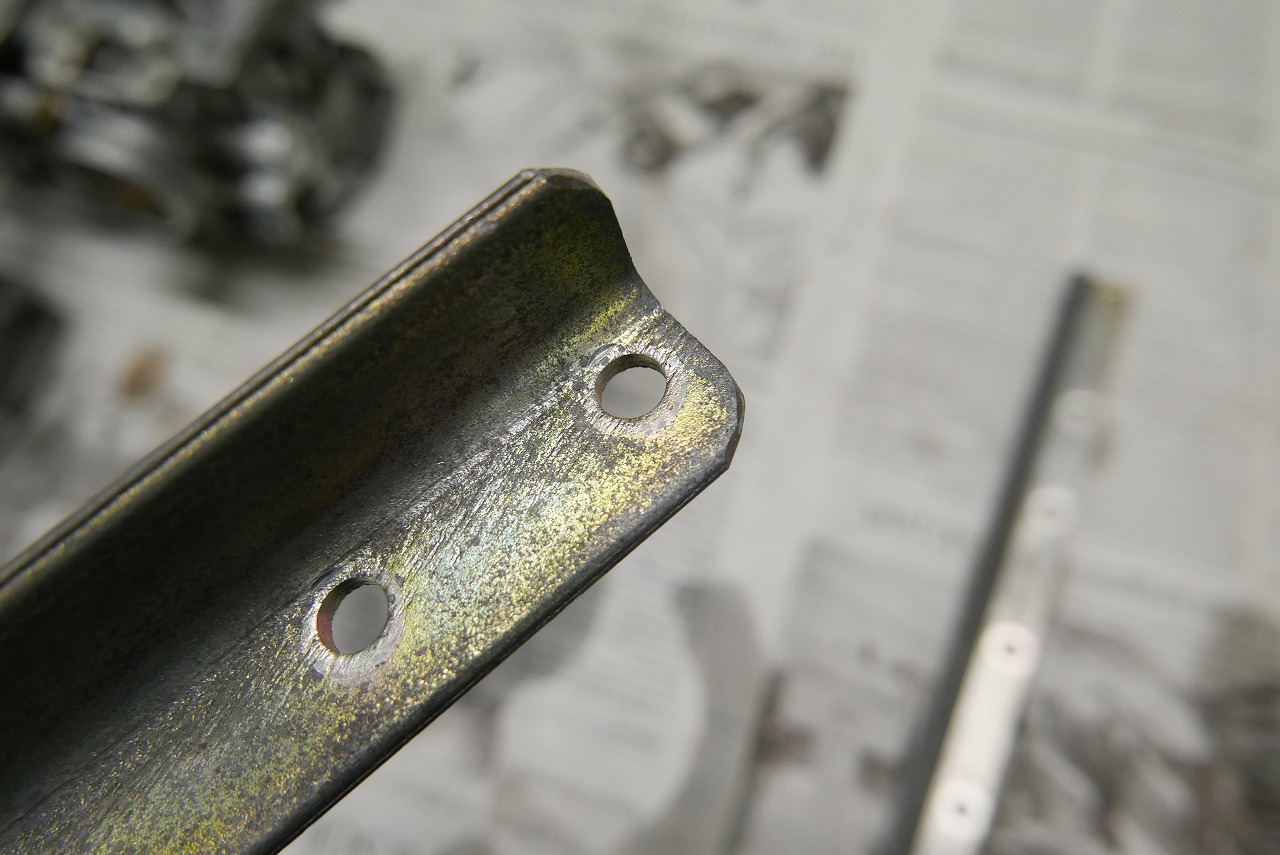
The edges were pretty sharp, so I rounded them off a bit. Might be a small improvement?
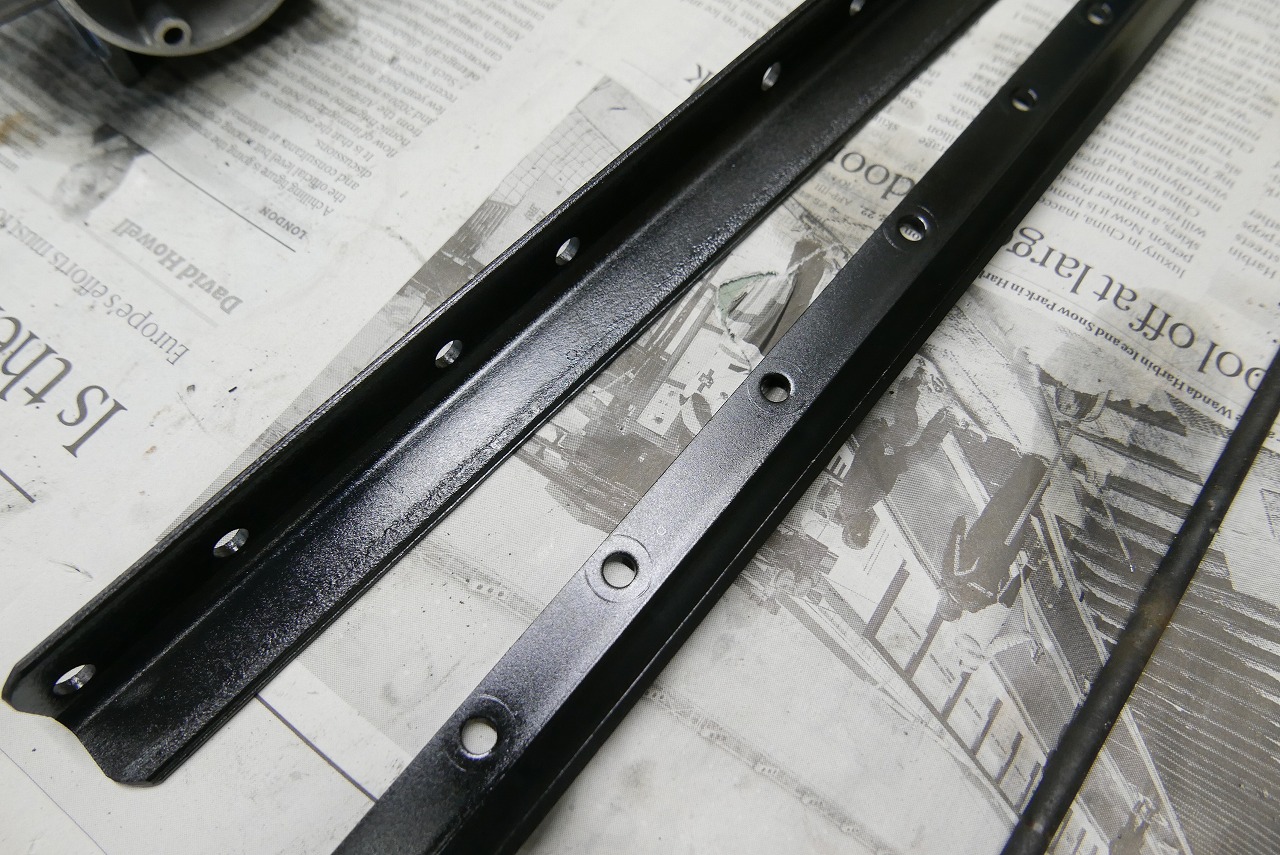
These days it’s nice—you can get a gun coat applied in-house. Safe even when soaked in gasoline.
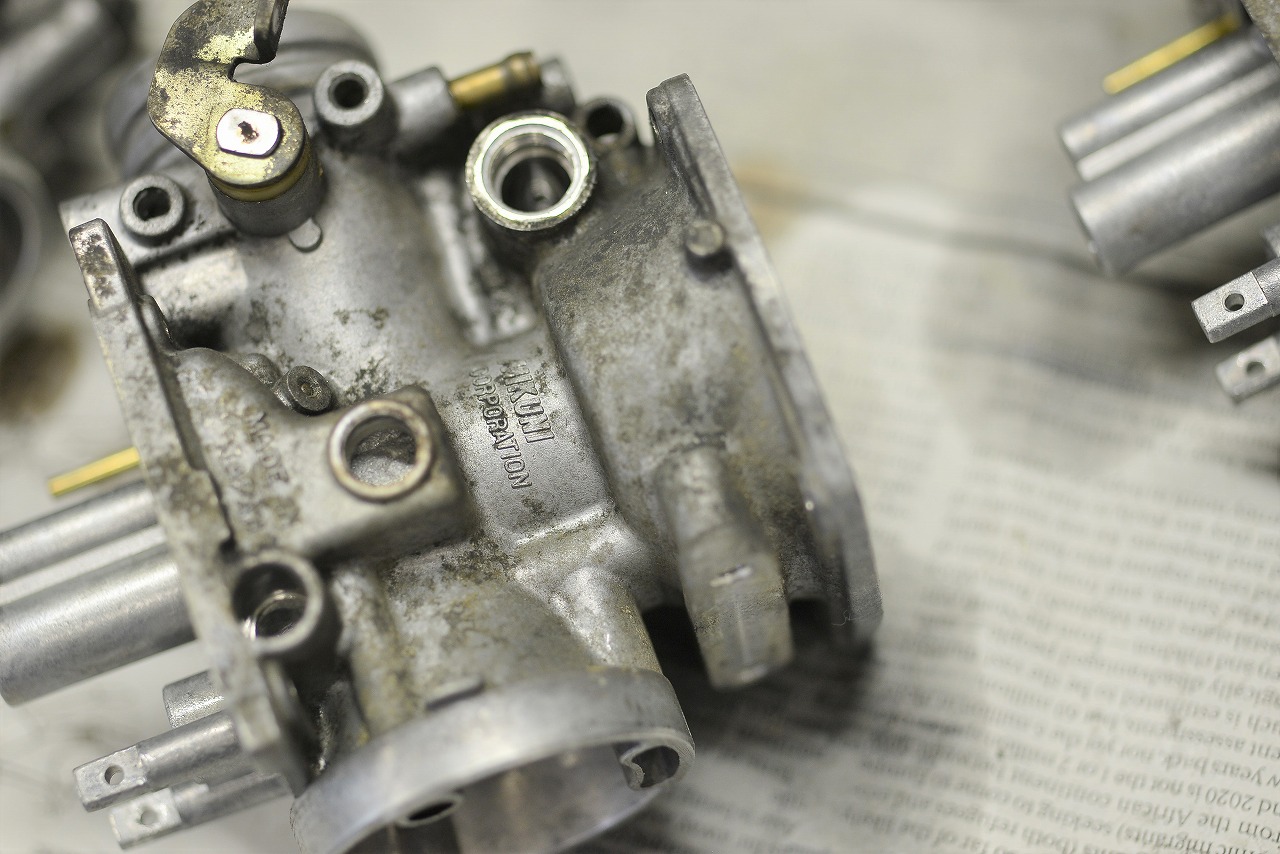
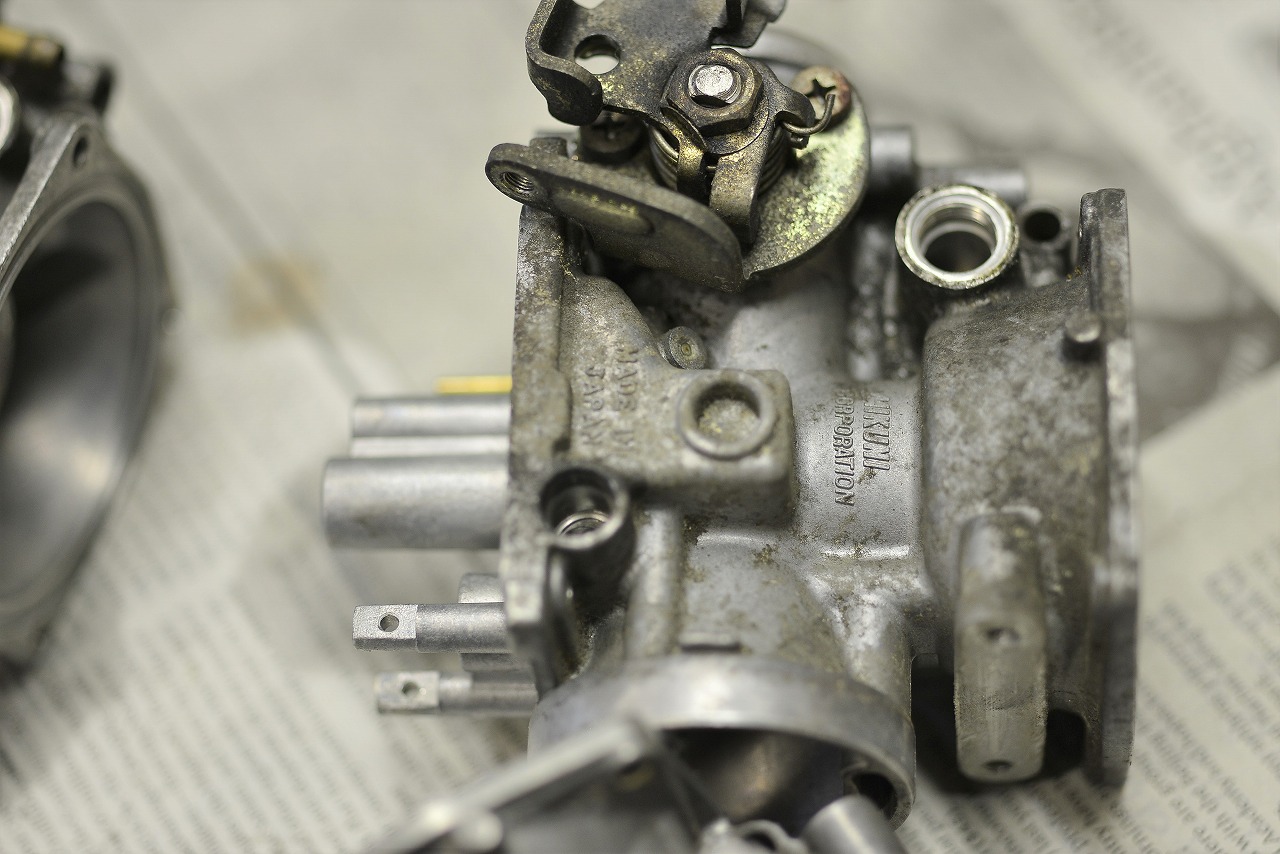
This time we skipped polishing… but that might have actually been the right call. I thought the corrosion was too deep for us to handle.
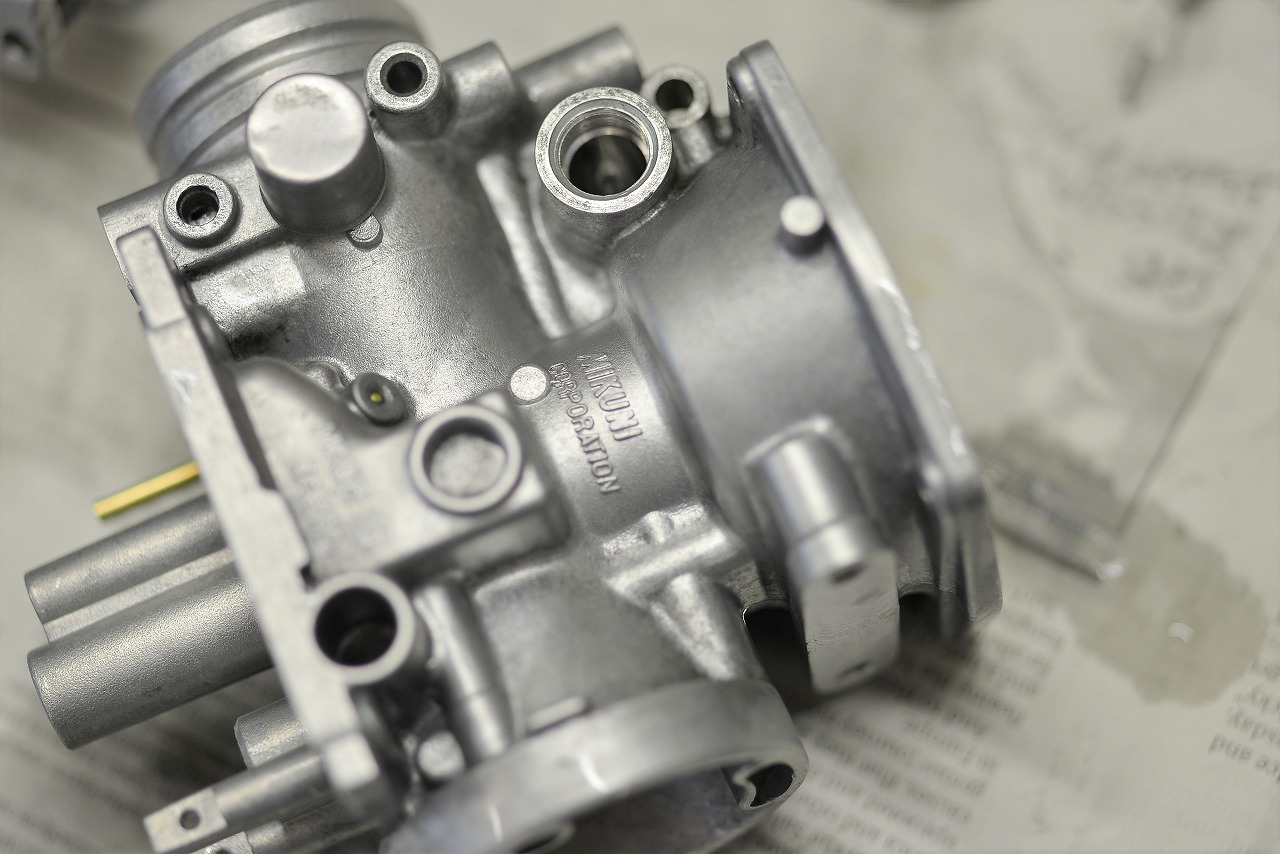
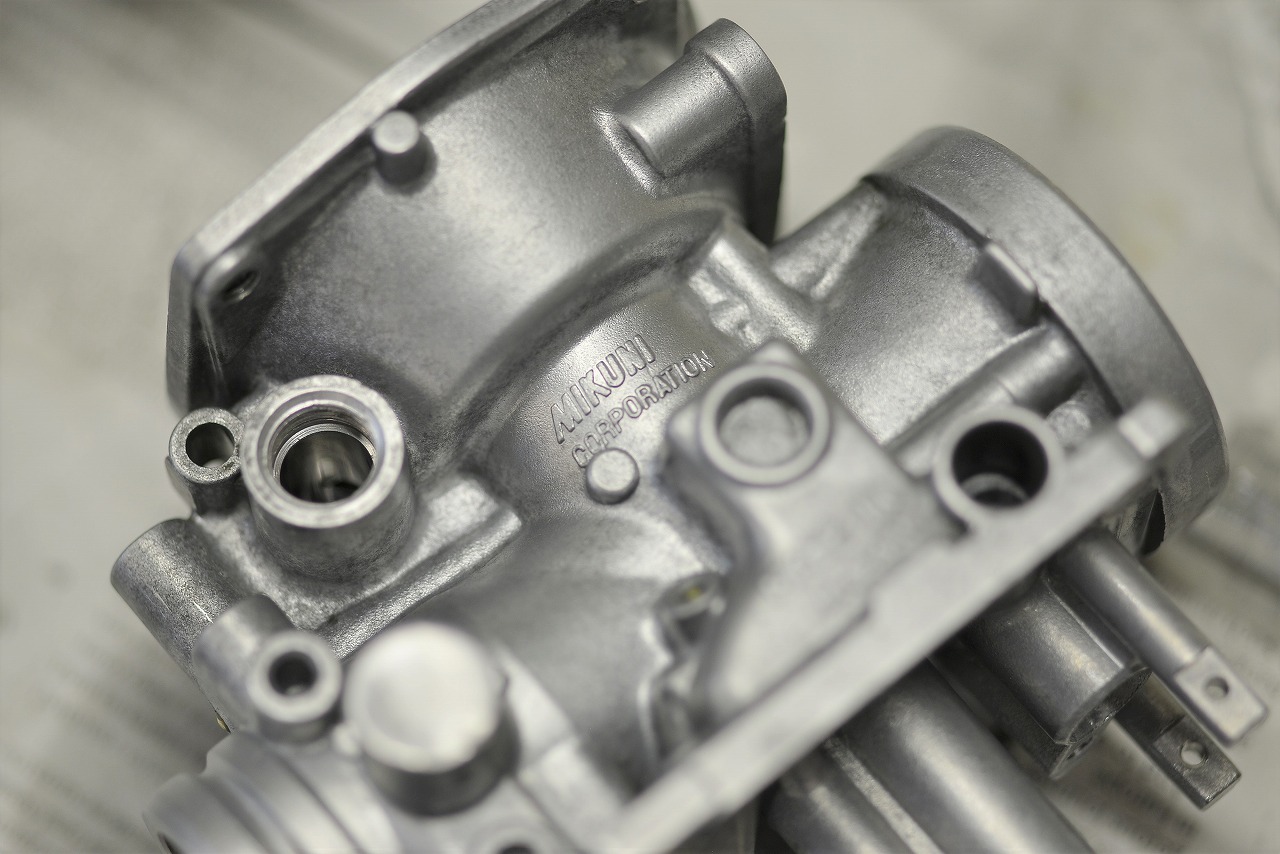
Just a light cleaning, then reassemble. A nicer finish is always better ◎.
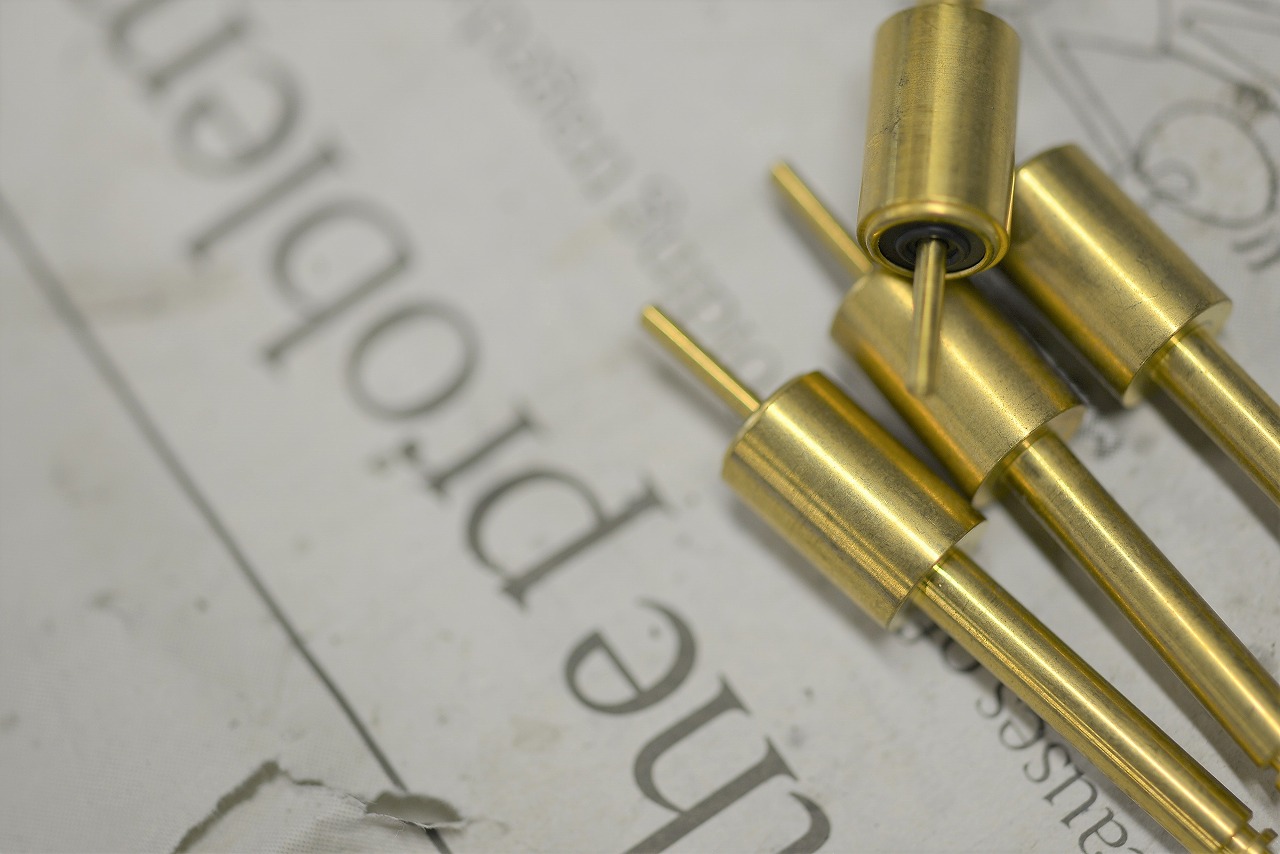
Suzuki doesn’t have a starter valve setting, so we sourced a new one from another maker.
The carburettor body is basically universal, so you can find the same part from other manufacturers if you look.
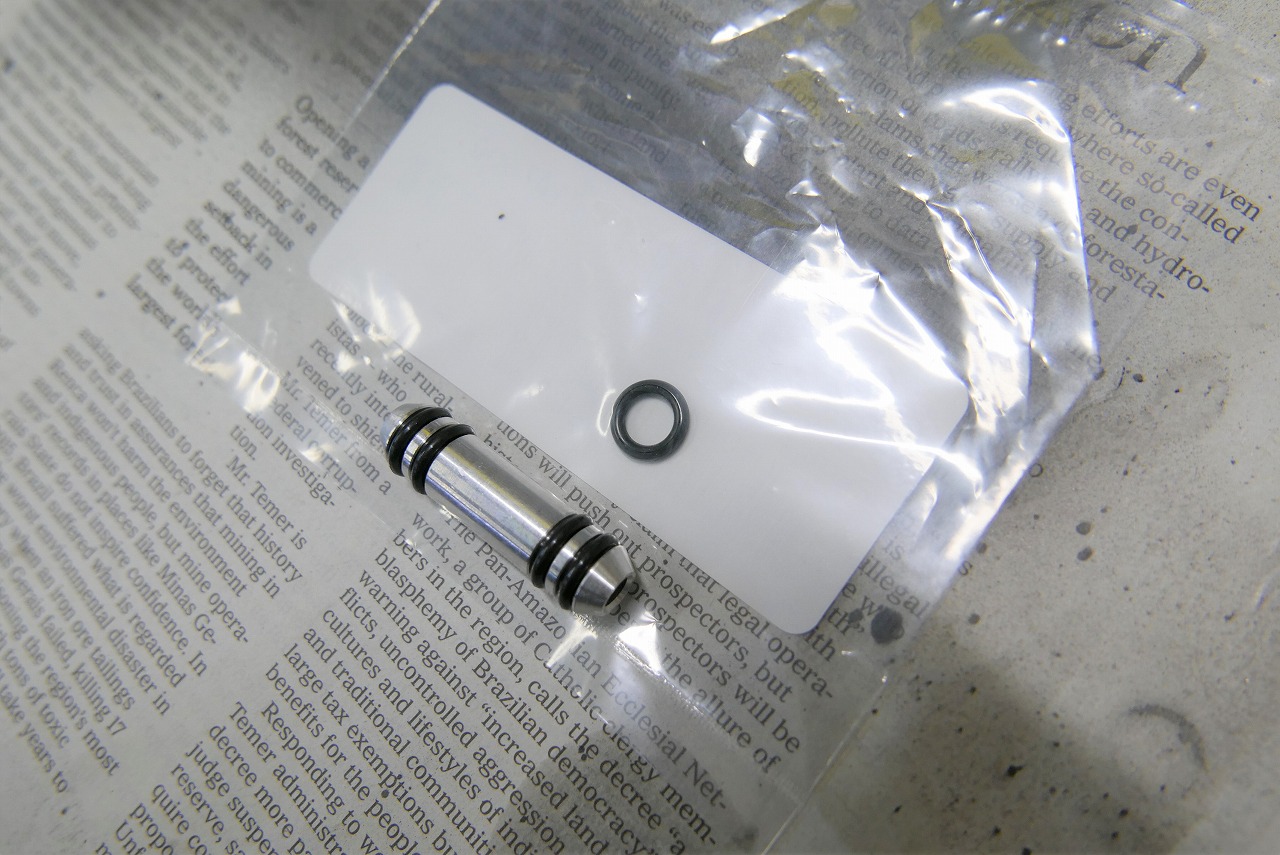
Suzuki’s parts catalog for the nipple assembly is a bit of a pain. I hate having to hunt for it every time… but this time I finally got around to it and found it. Glad I did.
I really need to keep better notes…

I’ve never had a good impression of metal float valves. The tip is made of pretty soft material, wears quickly, and the gasoline seal isn’t as tight as I’d like.
Modern rubber-tipped designs have incredible durability…
I’d like to source a used one, but we don’t tear down this model often enough, so we’ll leave it as is.
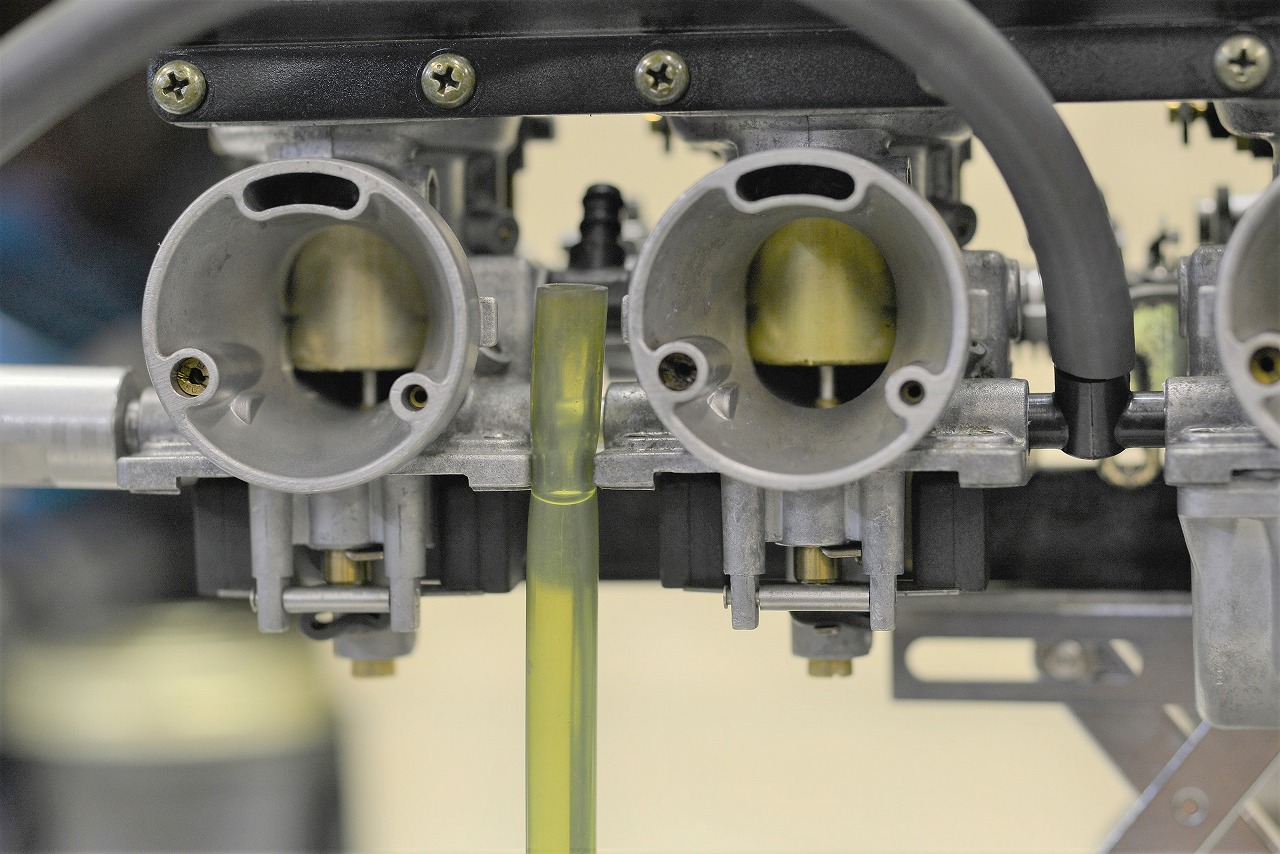
On models where the float arm grows out of the body, checking the float level usually gives you peace of mind.
Occasionally you get a model where the fuel level creeps up slowly without actually overflowing.
If the engine’s running or you have a vacuum petcock, you won’t get overflow, but you get this subtle running issue.
When the engine’s revving, it runs great, but these subtle symptoms pop up.
This carb had all four cylinders doing it, especially #3 creeping up slowly.
You have to wait a few minutes to see it, so it took forever to diagnose. I improved the metal-to-metal contact and then adjusted the fuel level.
“Oh, 1mm too high”→pull→”oops, 1mm too low now”—I’m basically wrestling with myself here.
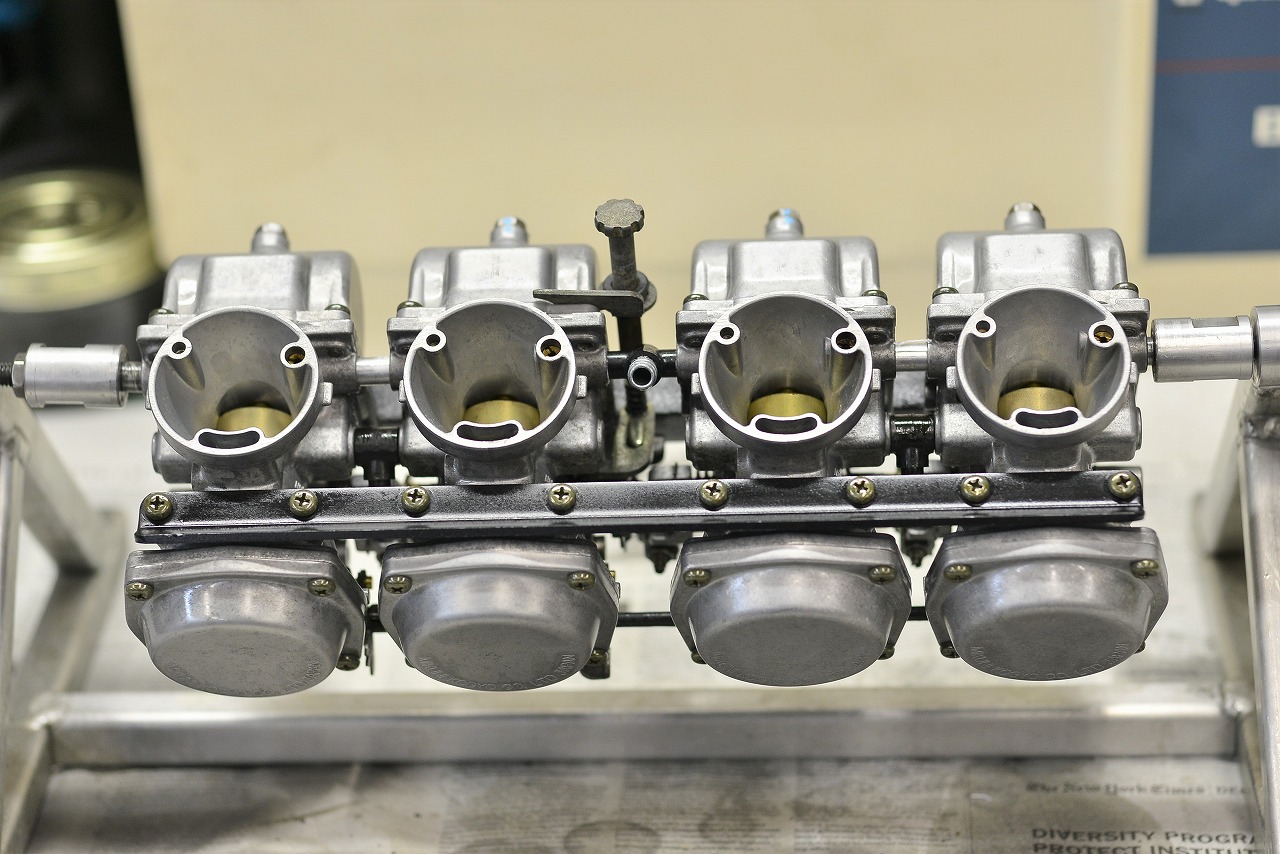
Finally got it done. Removed the Bomb Kit (is that even a term anymore?) and went back to stock.
Balanced the carbs and we’re finished. Purr purr!