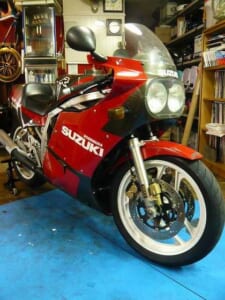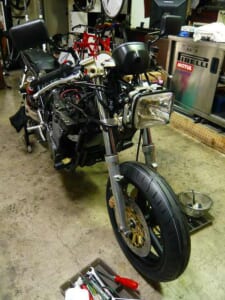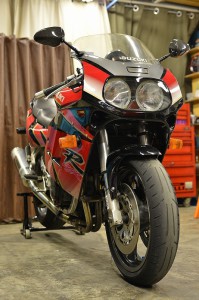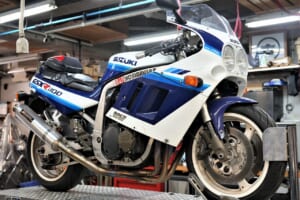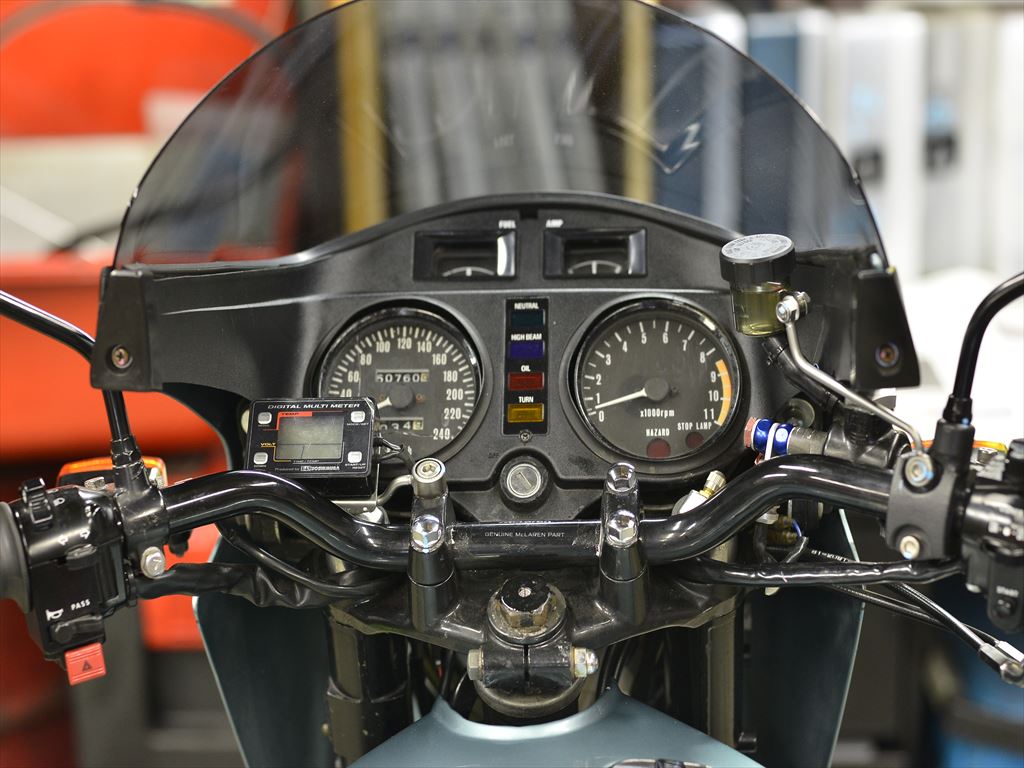
We’ve received a request for the ever-popular H2 master tank bracket fabrication and digital temp gauge installation.
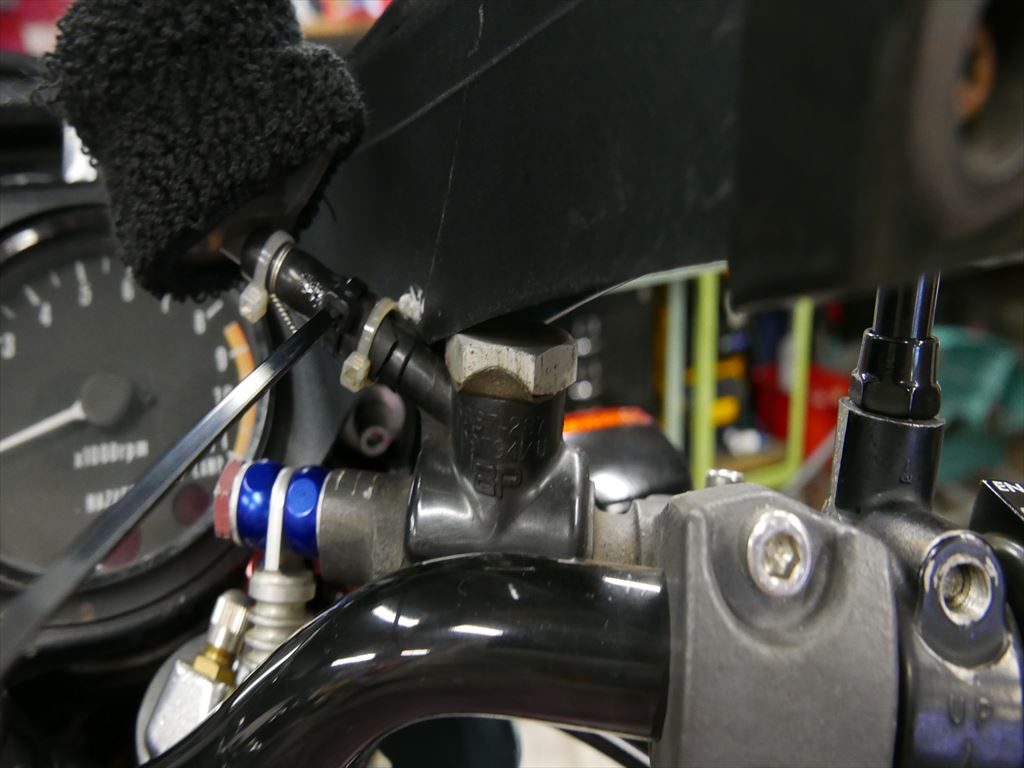
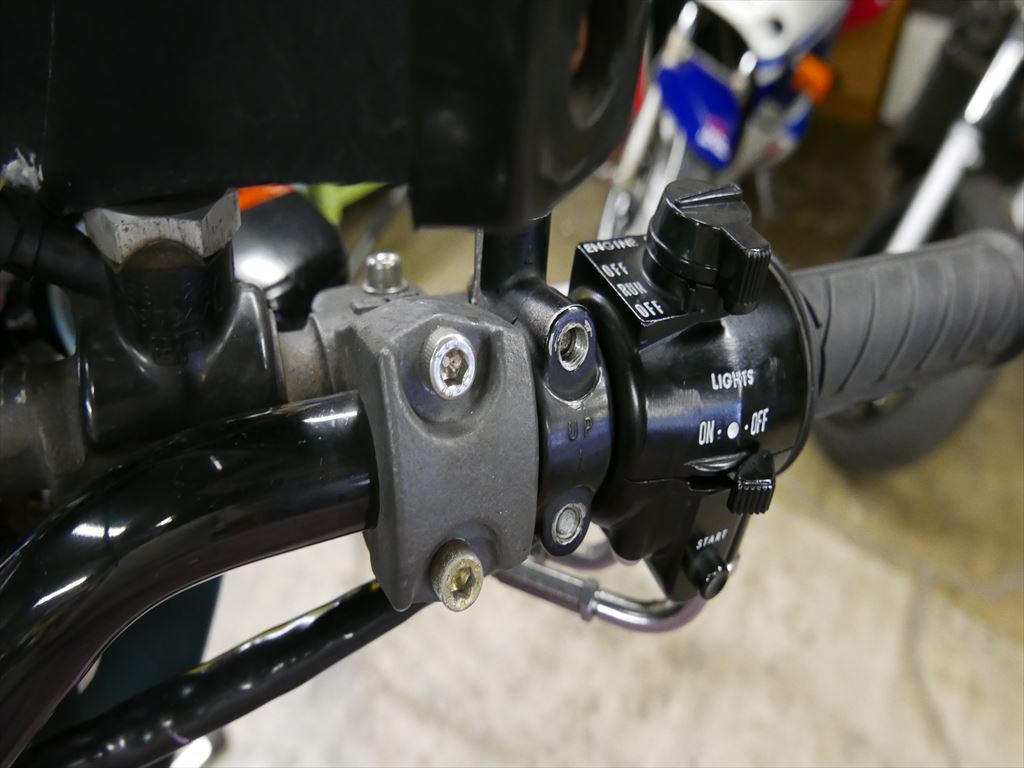
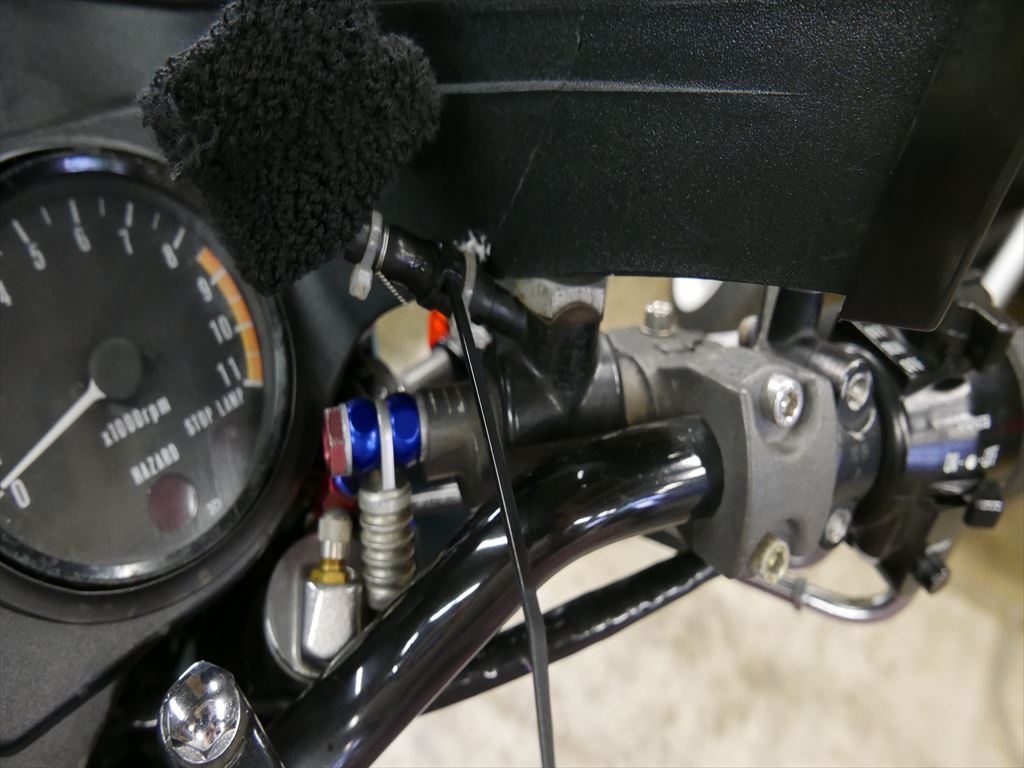 I knew about it from the previous owner, but the finish is quite rough.
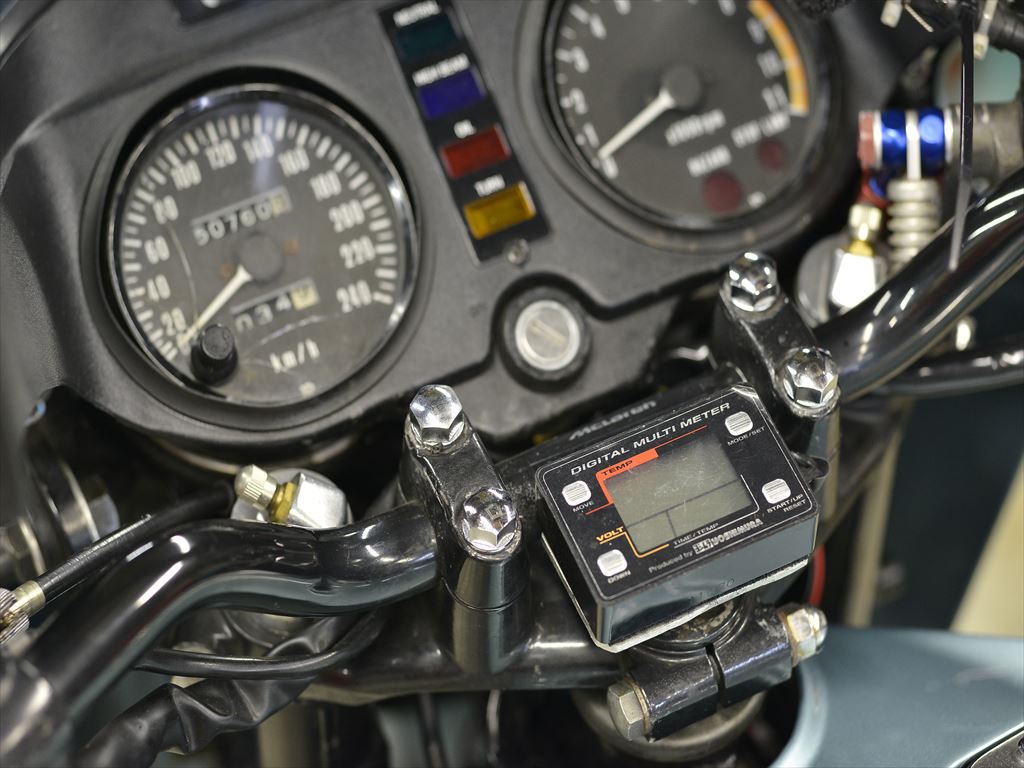
The customer also wants to change the position of the digital temp gauge.
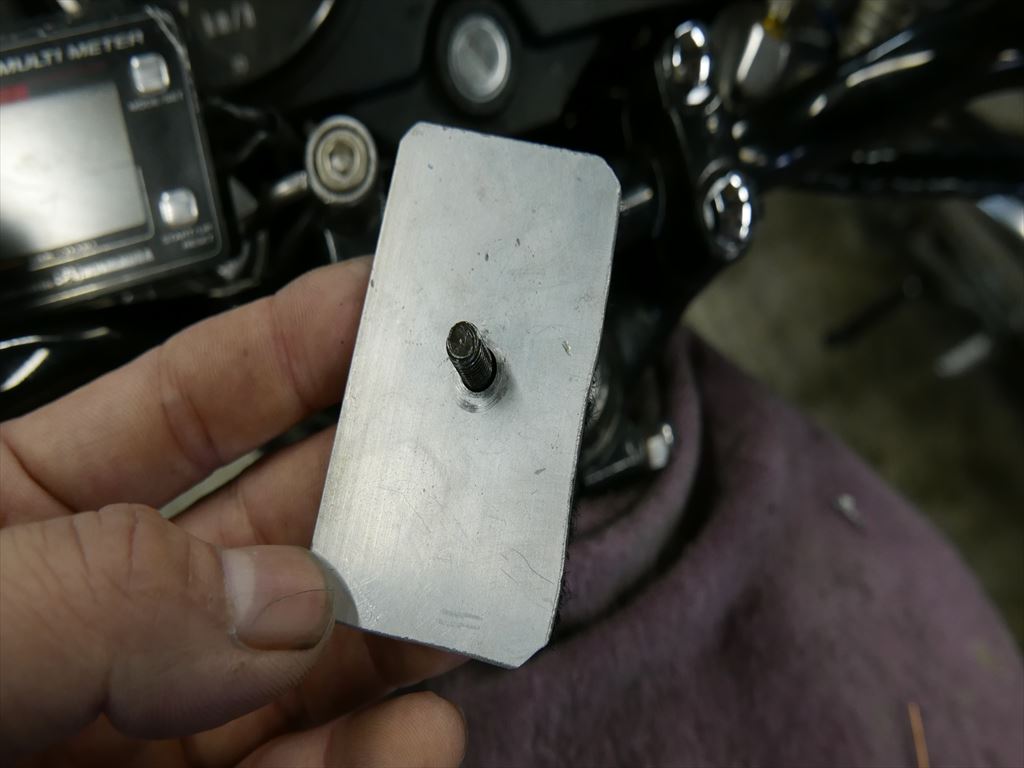
It has a pretty sharp look—perfect marks all around.
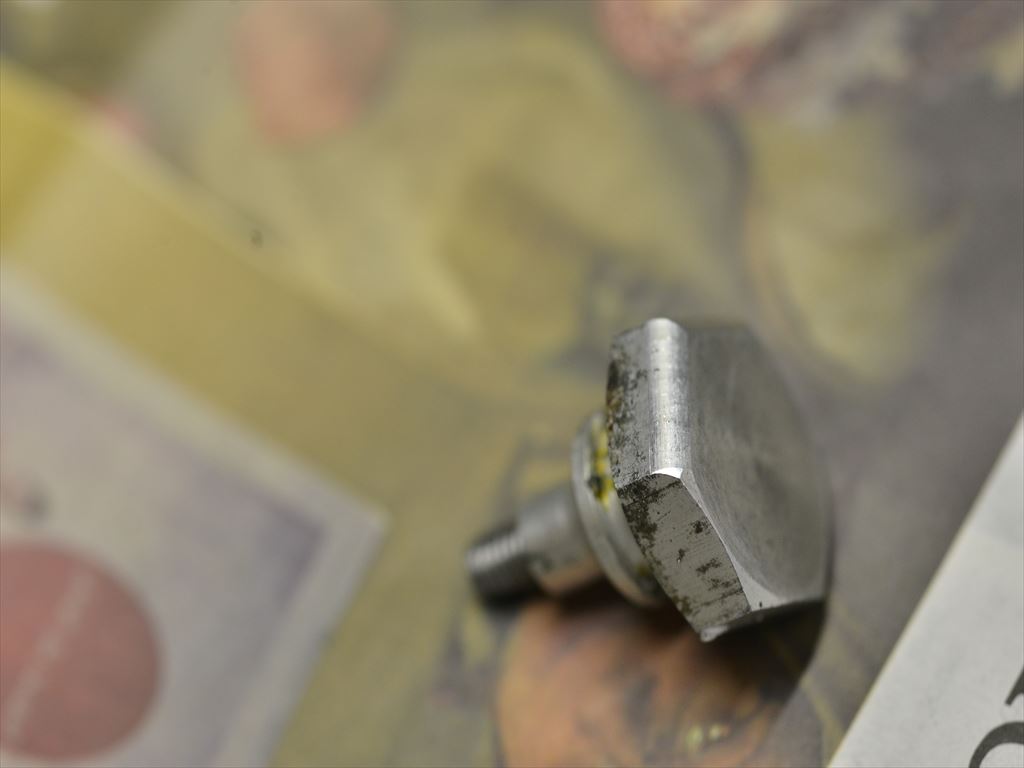
Let’s start the prep work. First, I’ll radius the areas that need to contact and chamfer the edges.
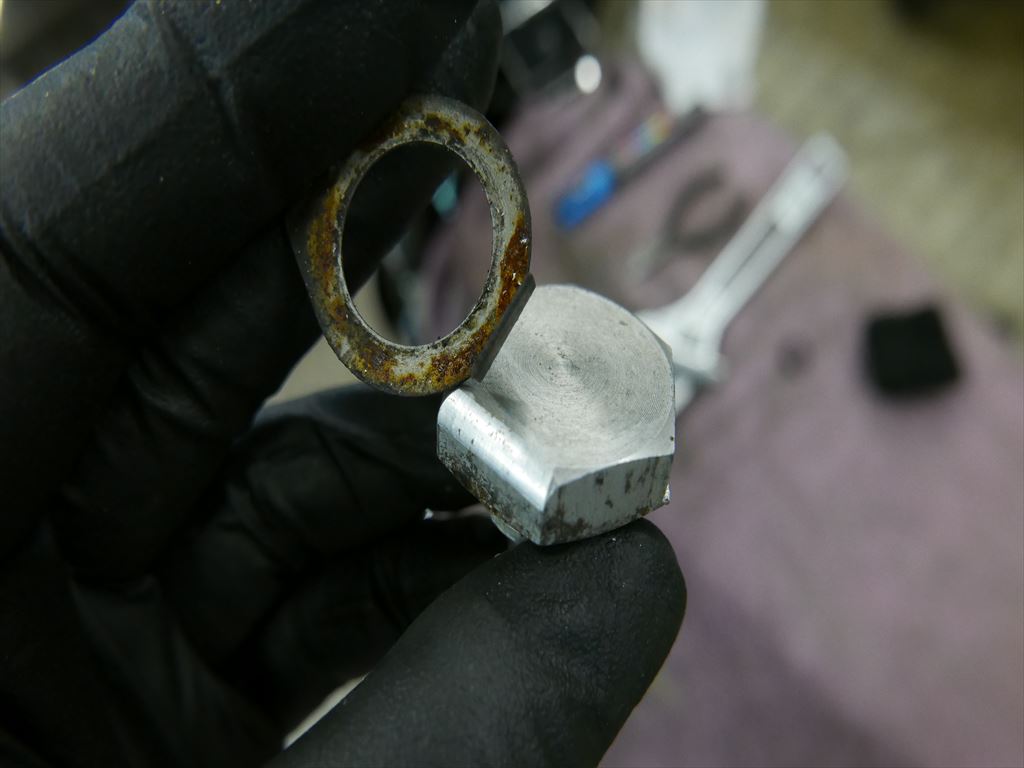
The corrosion is severe, so I’ll polish it. I’m a bit concerned about the O-rings going forward.
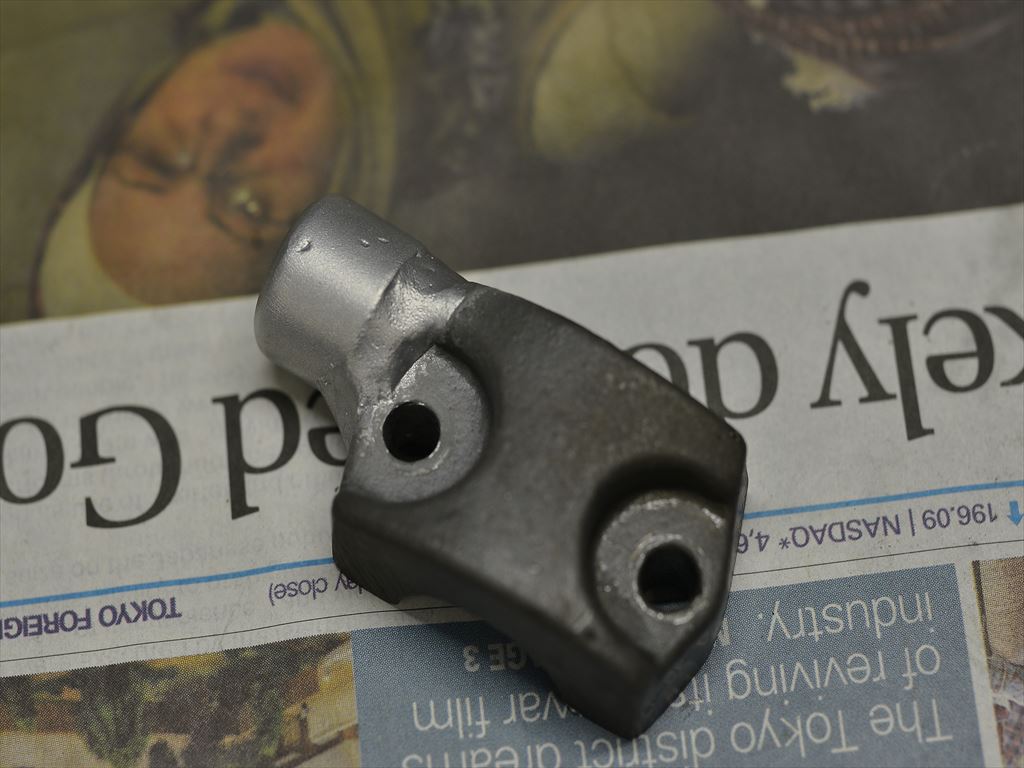
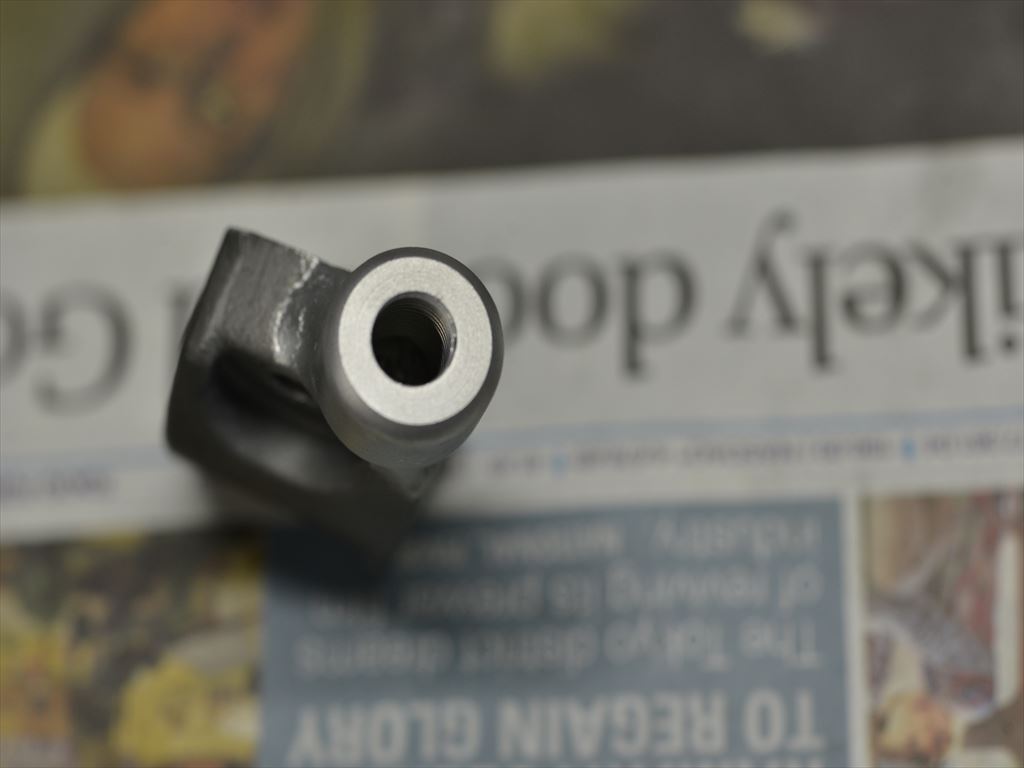
Let’s fabricate the mirror holder and weld it in place. The trick is offsetting it outward. If we don’t, we’ll run into trouble later when we extend the master tank bracket.
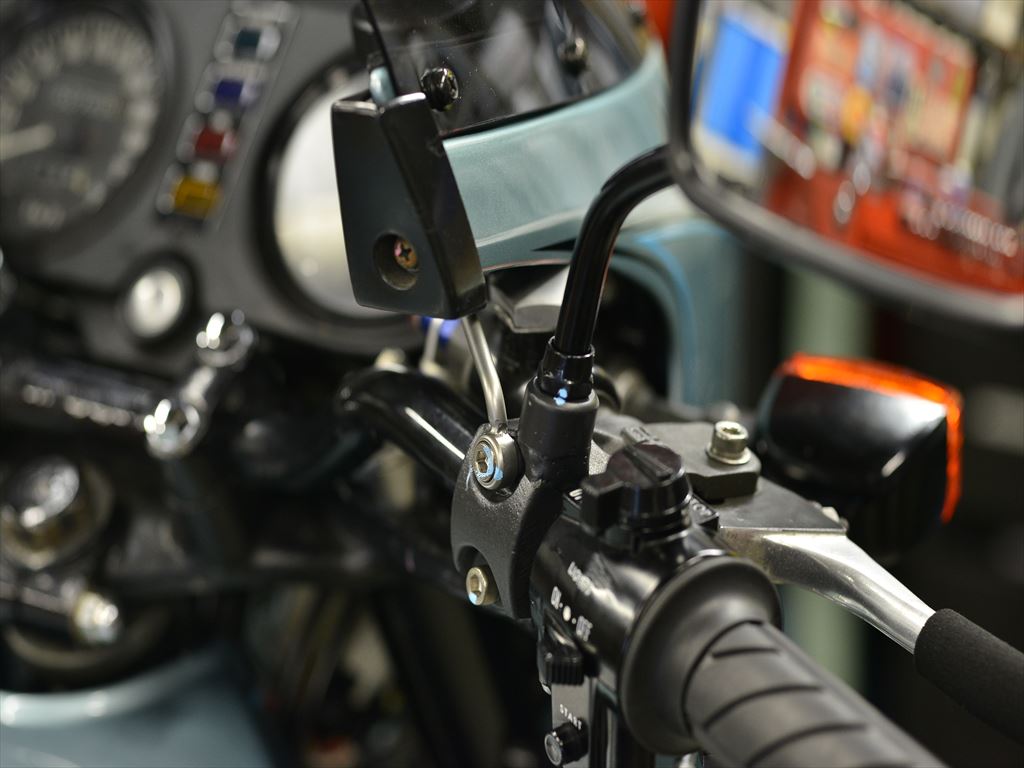
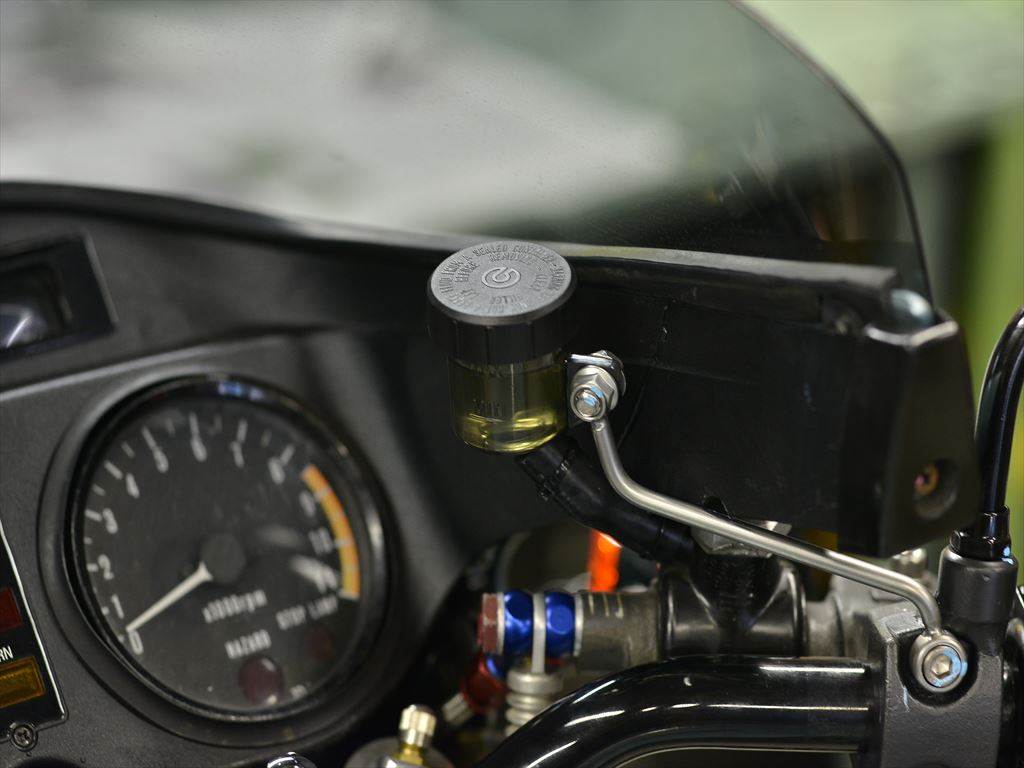
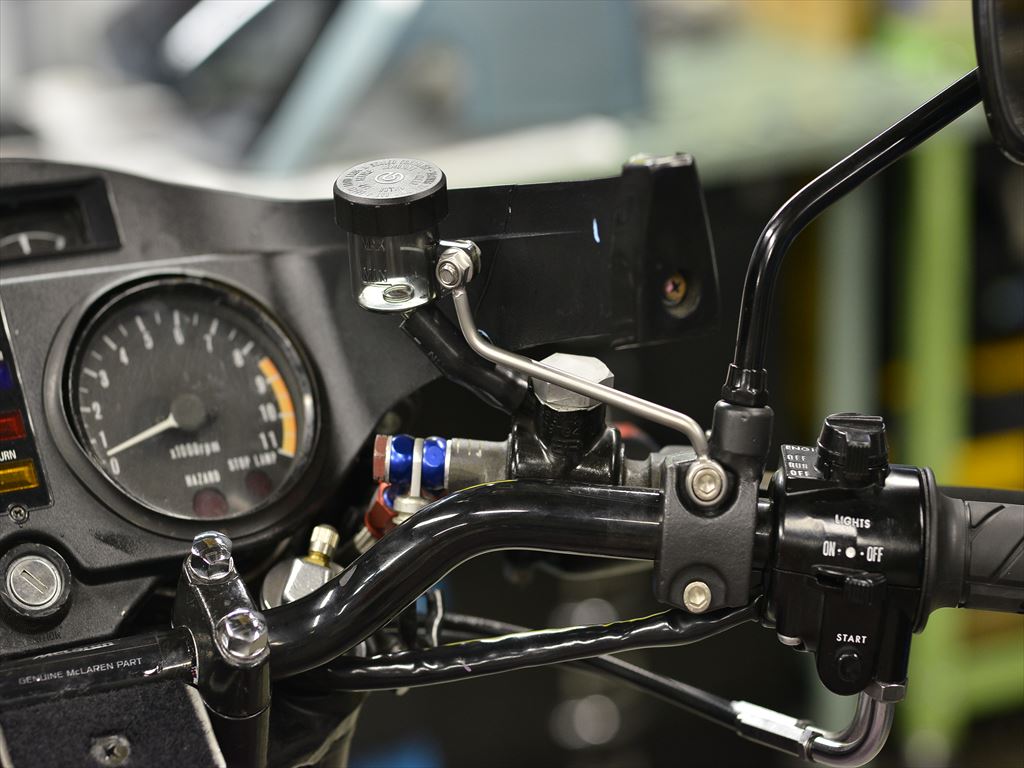
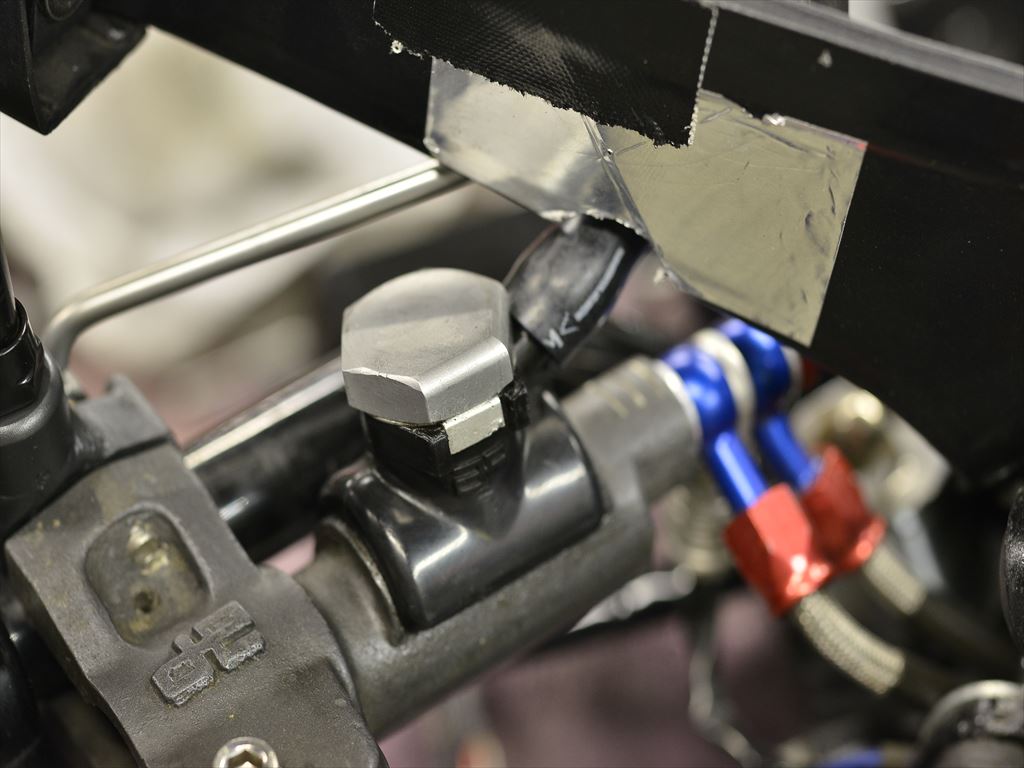
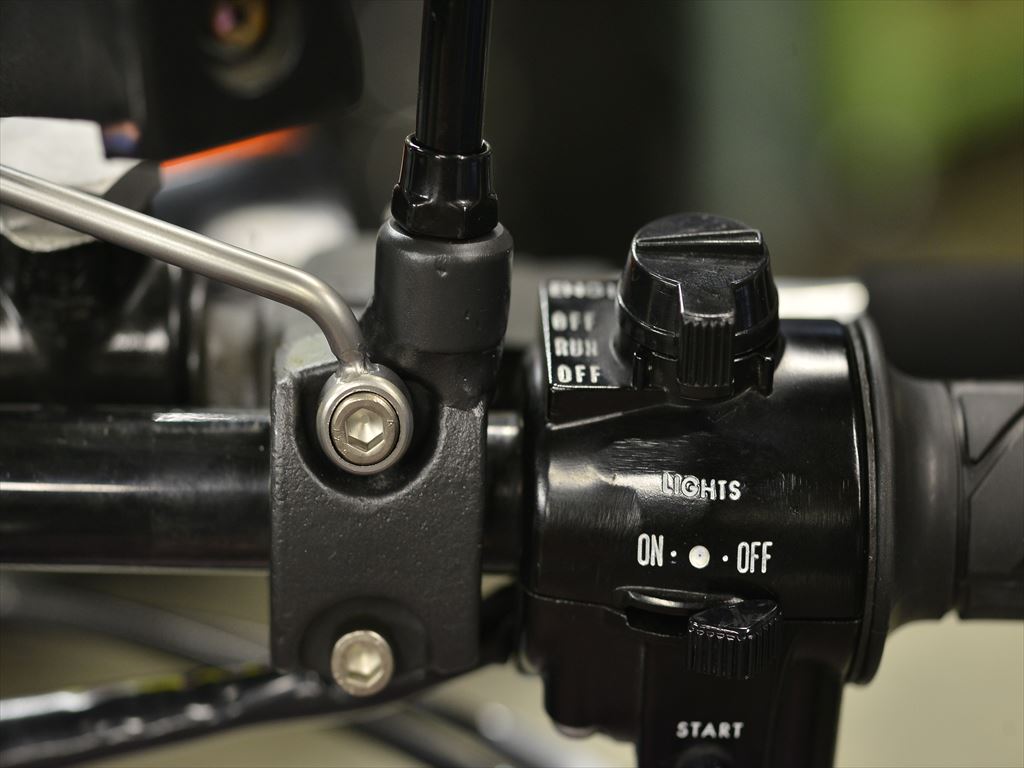
It turned out nice and simple.
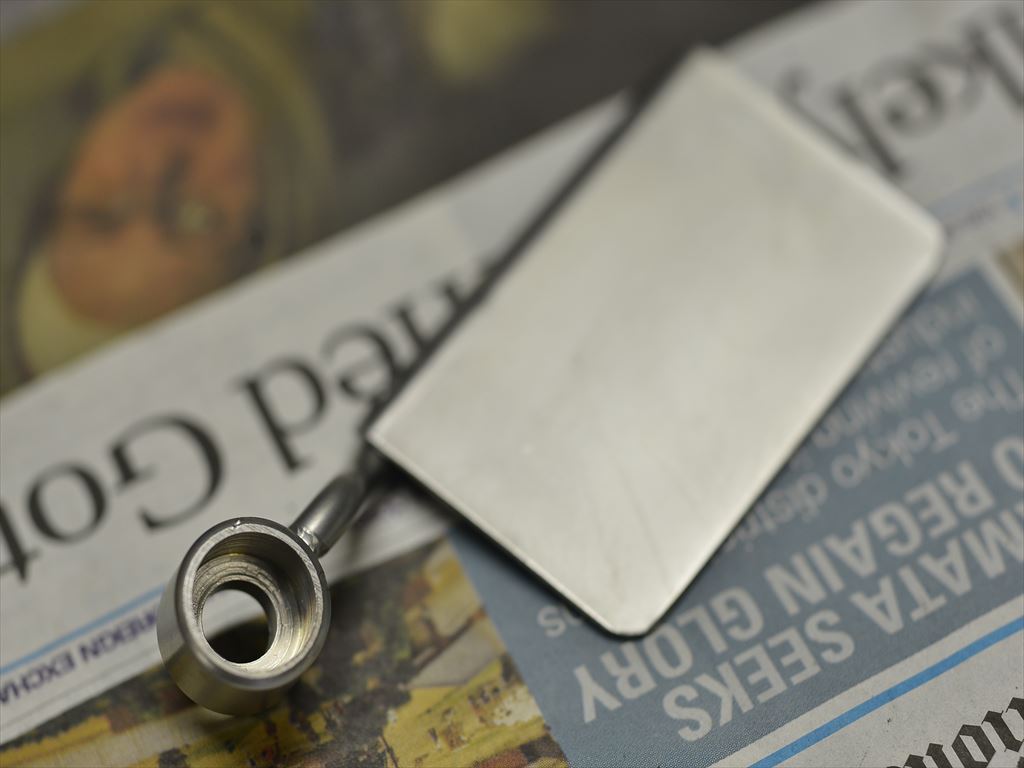
The customer wants the digital temp gauge on the left side and as low as possible.
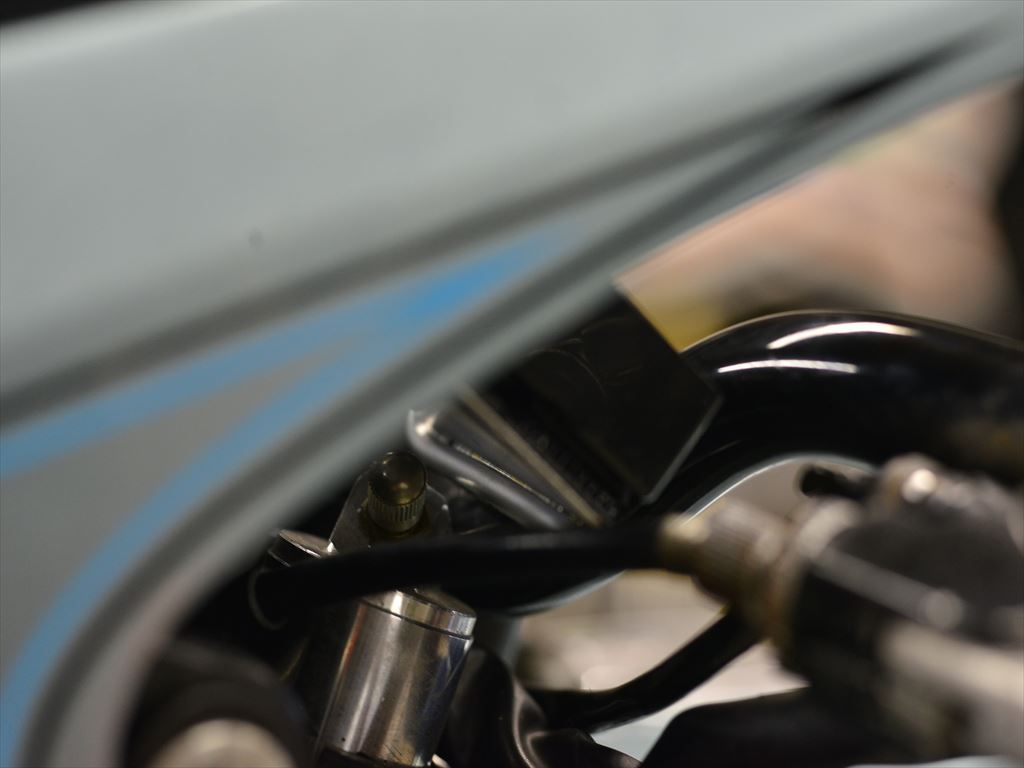
Below it are the fork cap and clutch wire. This is about as low as we can go.
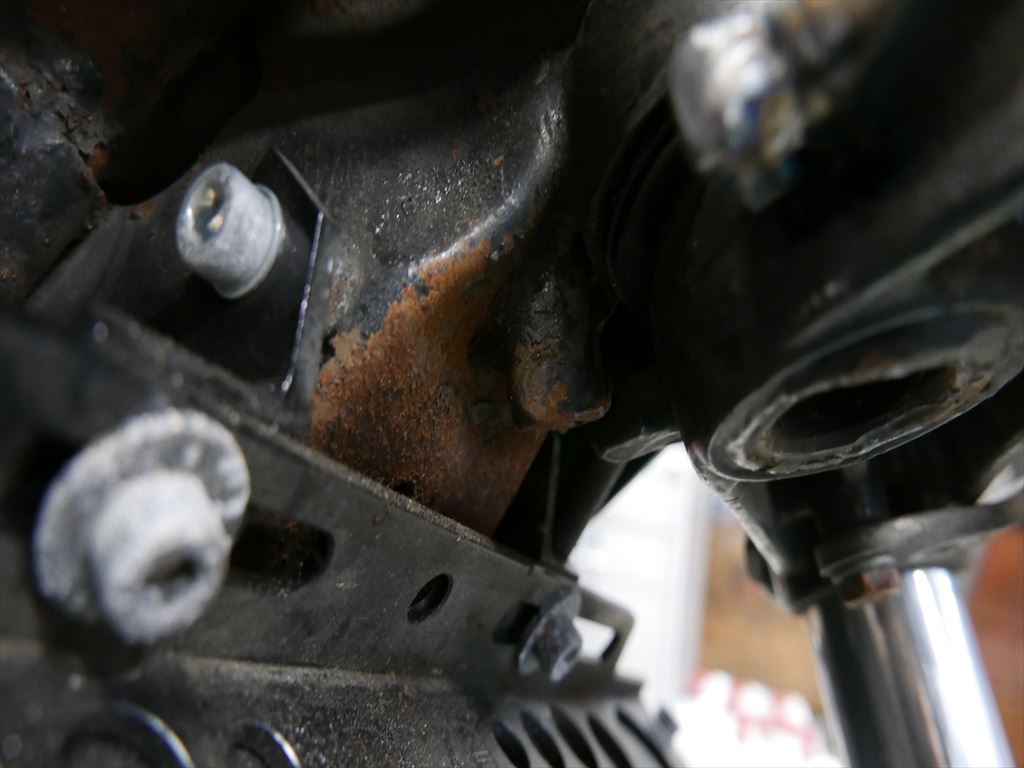
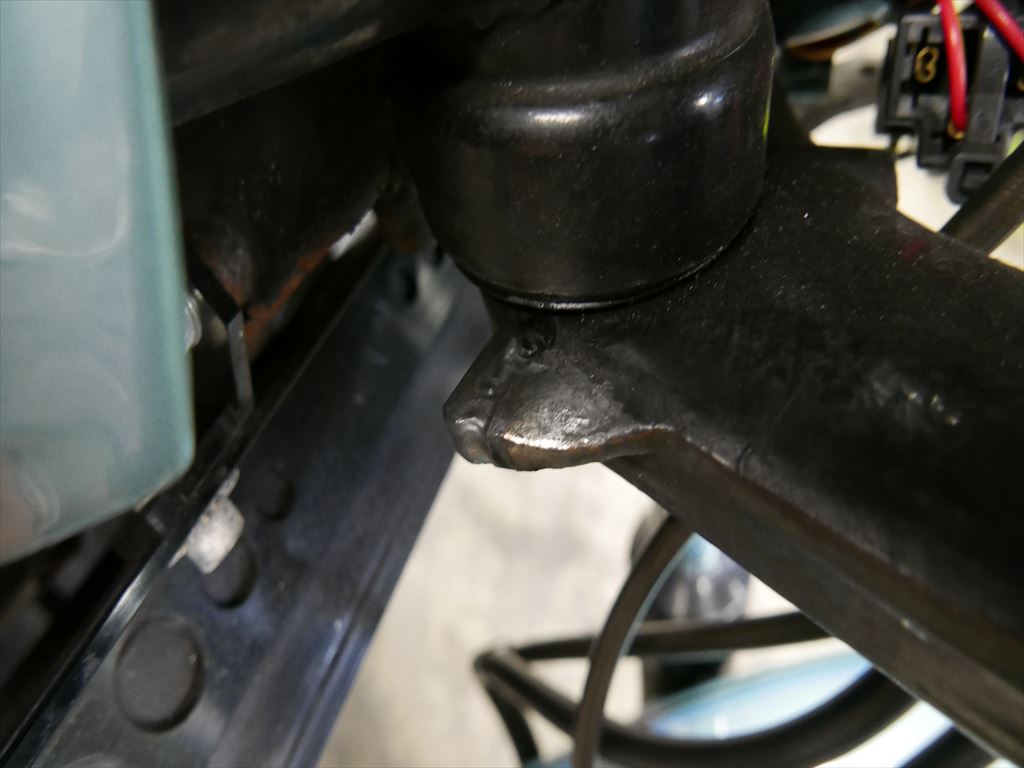
The handlebar stopper is bent pretty badly, so I’ll weld a small stopper onto the stem side.
When welding to the frame, you need to think it through carefully and not rush. If removal becomes difficult or the weld looks bad, it’s a pain to undo. It’s like trying to remove a tattoo you regret—think it through before you work.
On the stem side, you can remove it when you fix the stopper, and it’s replaceable.
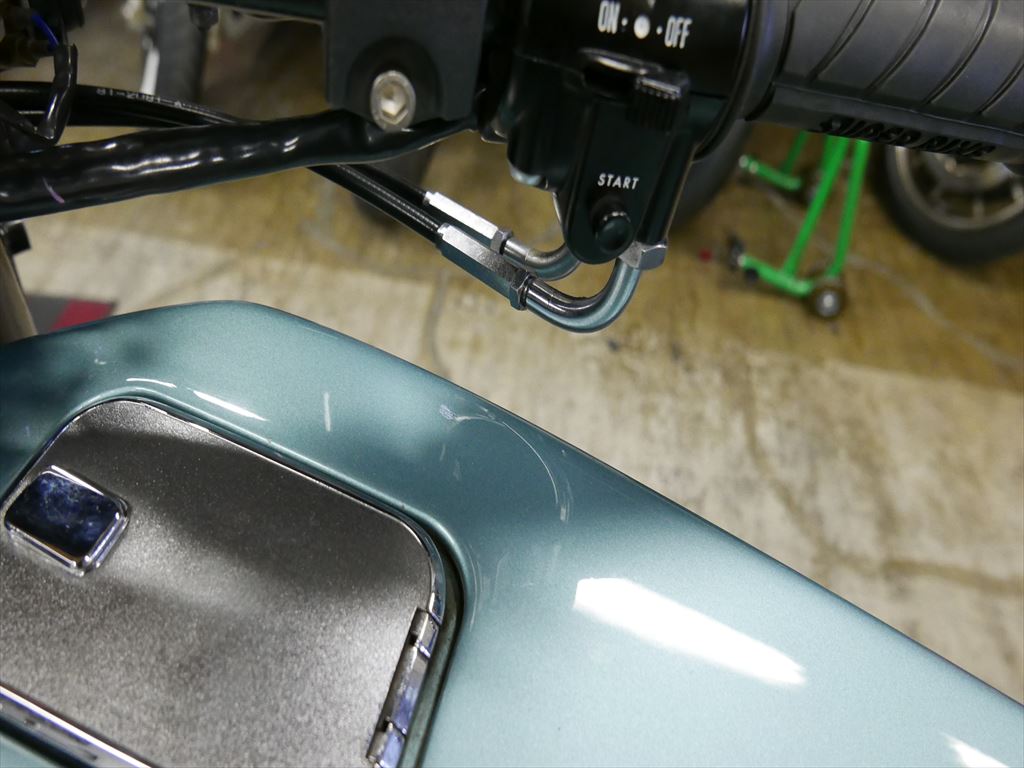
I don’t want it to cut too much. And for bikes that don’t open more than 5 mm, you’ll need to make sure there’s adequate clearance.
And that’s how it’s finished.