Days pass in the blink of an eye… Where did the slow life go??
This week’s typhoon chaos threw all my schedules into disarray, so I rushed through the inspection and other tasks. With a fresh start, I’m hoping to end the year without any unfinished business.
Let’s go!
Decoboco’s other blog. “RURAL GARAGE”
A secret room for non-motorcycle stuff. Everyday convenience items, relocation, delicious food, life philosophy and more. ← click
If you’re on the fence about it, it’s seriously amazing (*´ω`*) You could even plan to buy one. “Someday I want” never becomes a purchase…
Cleaning and polishing matter! Steady 1% performance gains
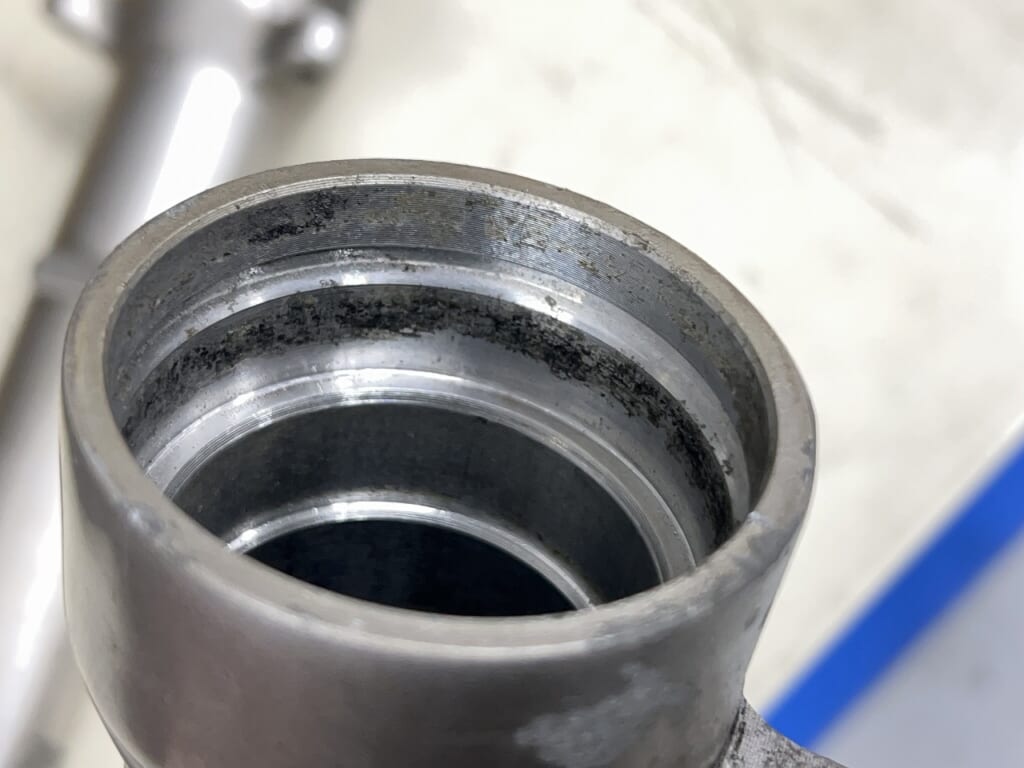
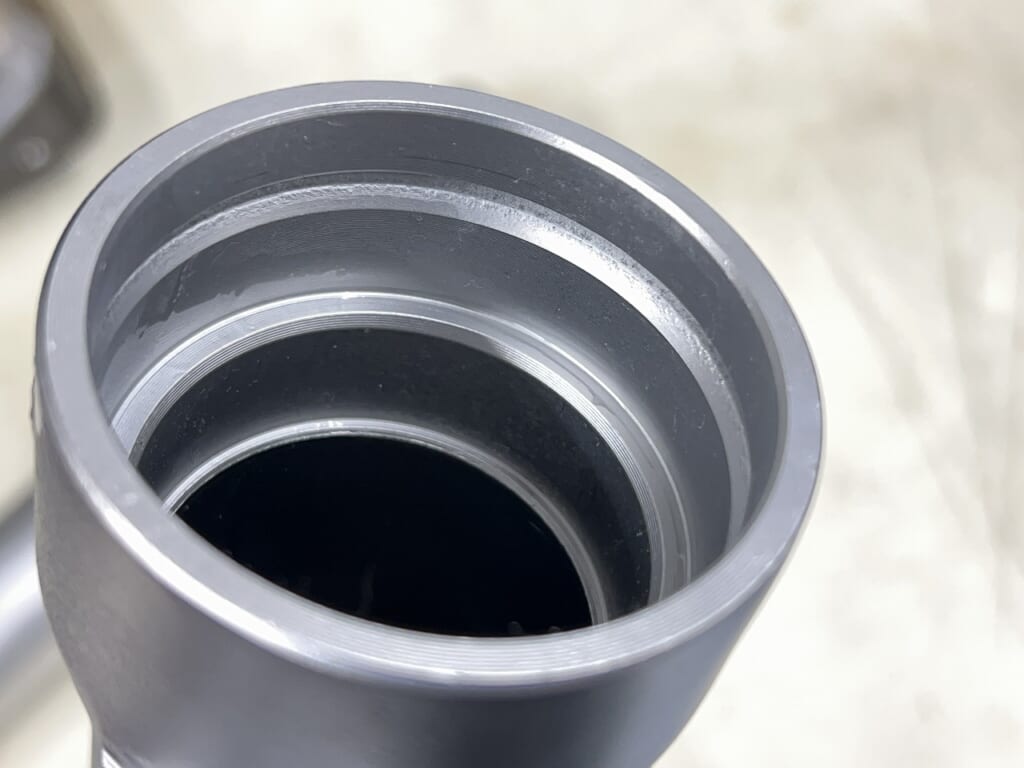
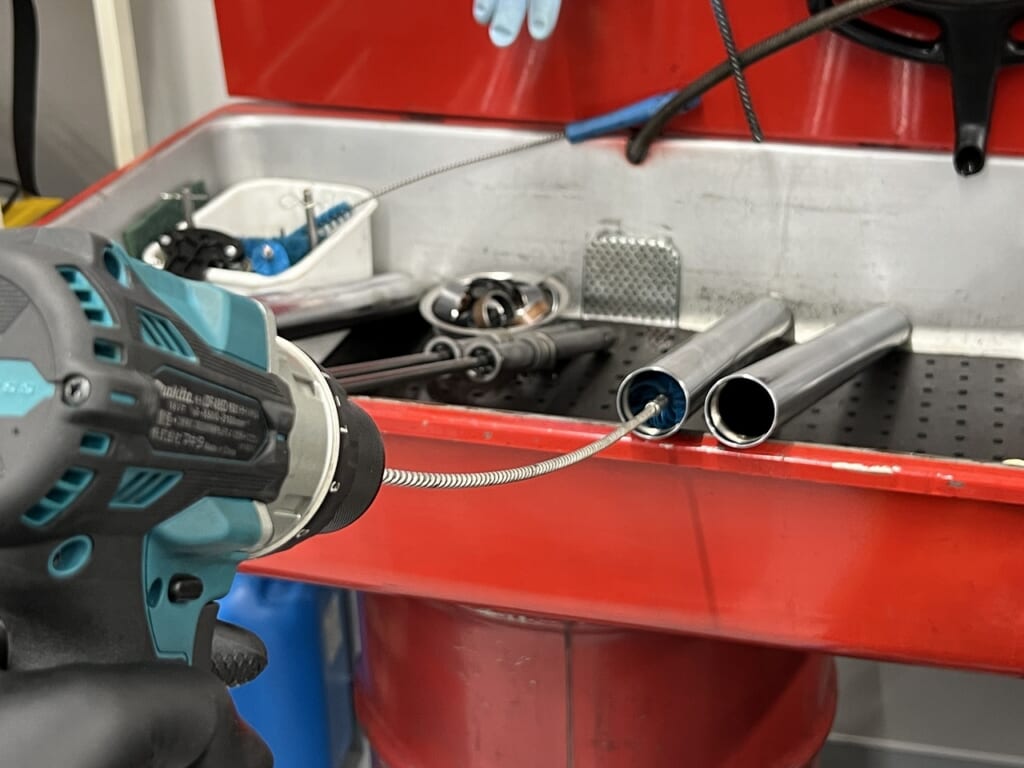
I clean the inside of the inner tube with a Vulcan brush using a Makita power drill. The dirt that settles on the inner wall should be completely gone.
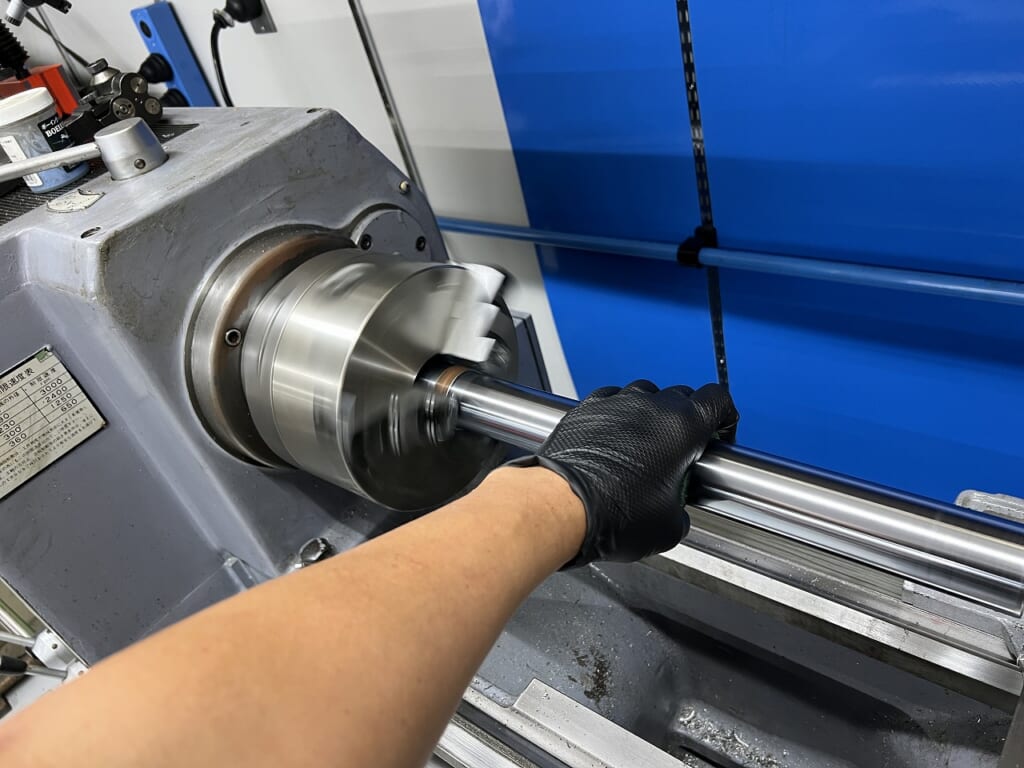
The front contact area of the inner tube inevitably gets shiny (polished), so I polish it with Scotch tape. The inner tube is shiny = friction, which puts stress on the seal .
For people who can’t polish with a lathe, “upright fork only” rotate to shift the contact area and install on the frame there’s also a method. *I always do this when changing fork oil. Forks shouldn’t leak in the first place.
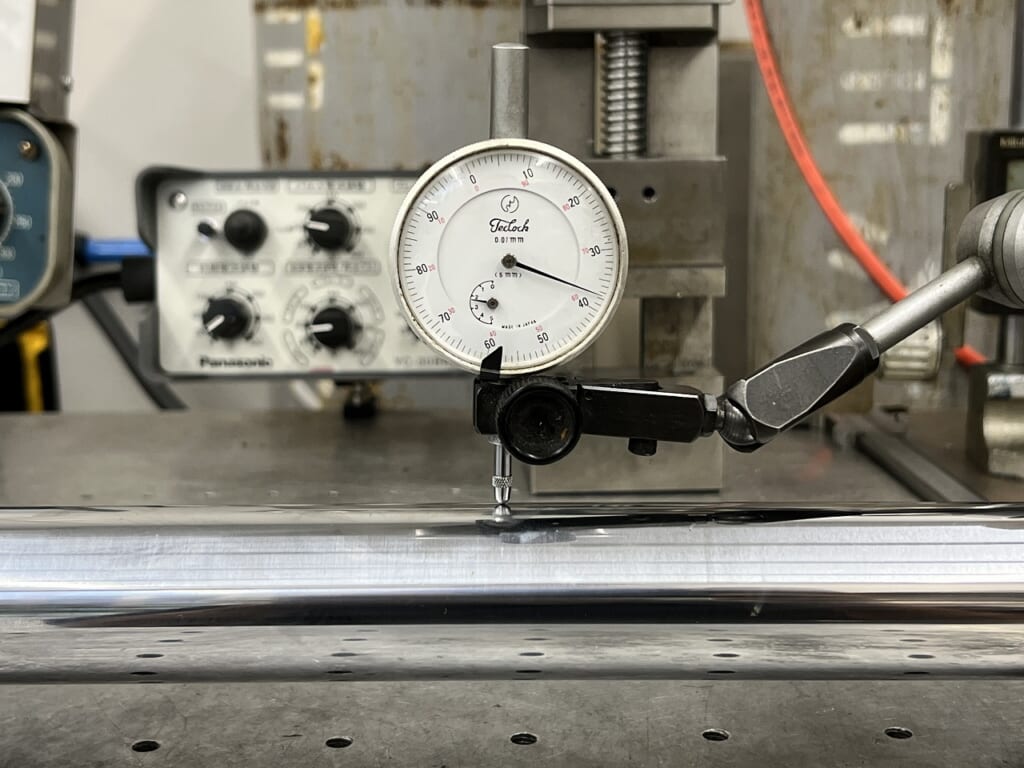
First check, second check. An unexpected irregularity
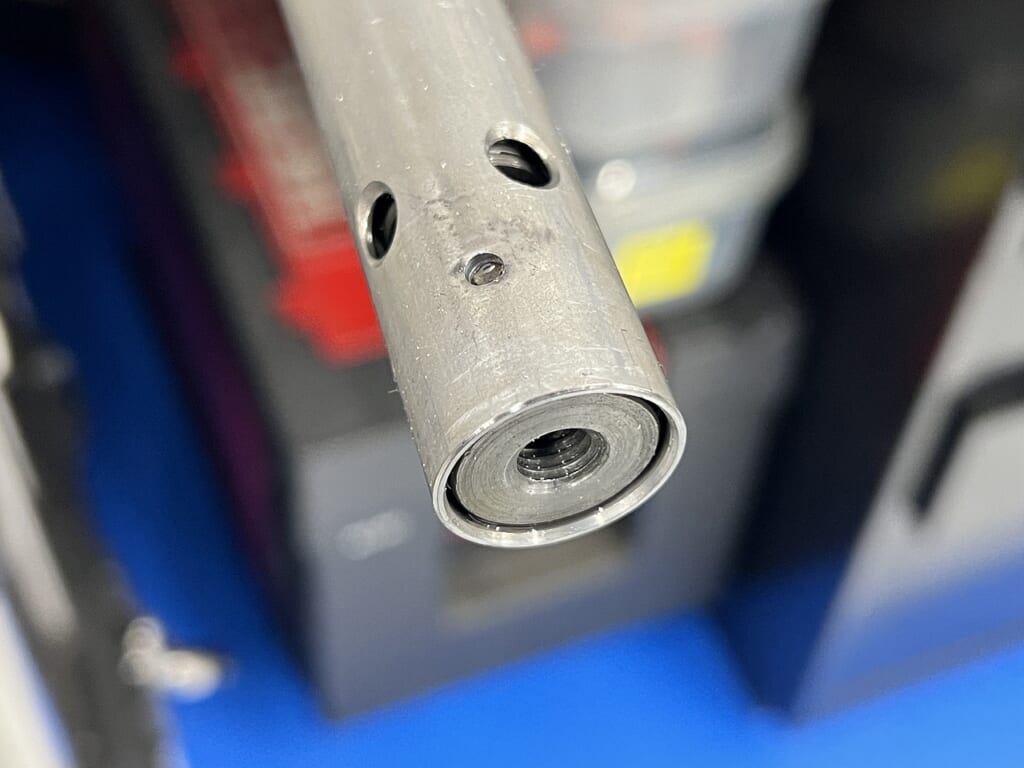
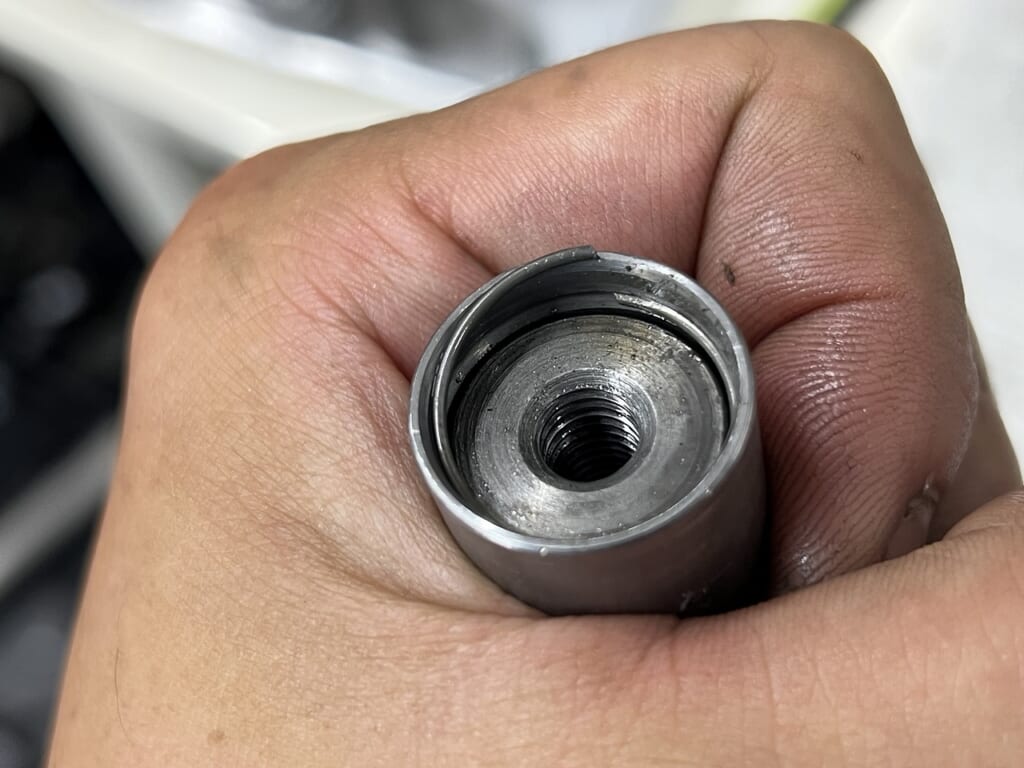
The crimping got loose and it spins. This means I can’t apply proper tightening torque to secure it… I’ll disassemble and add a stopper.
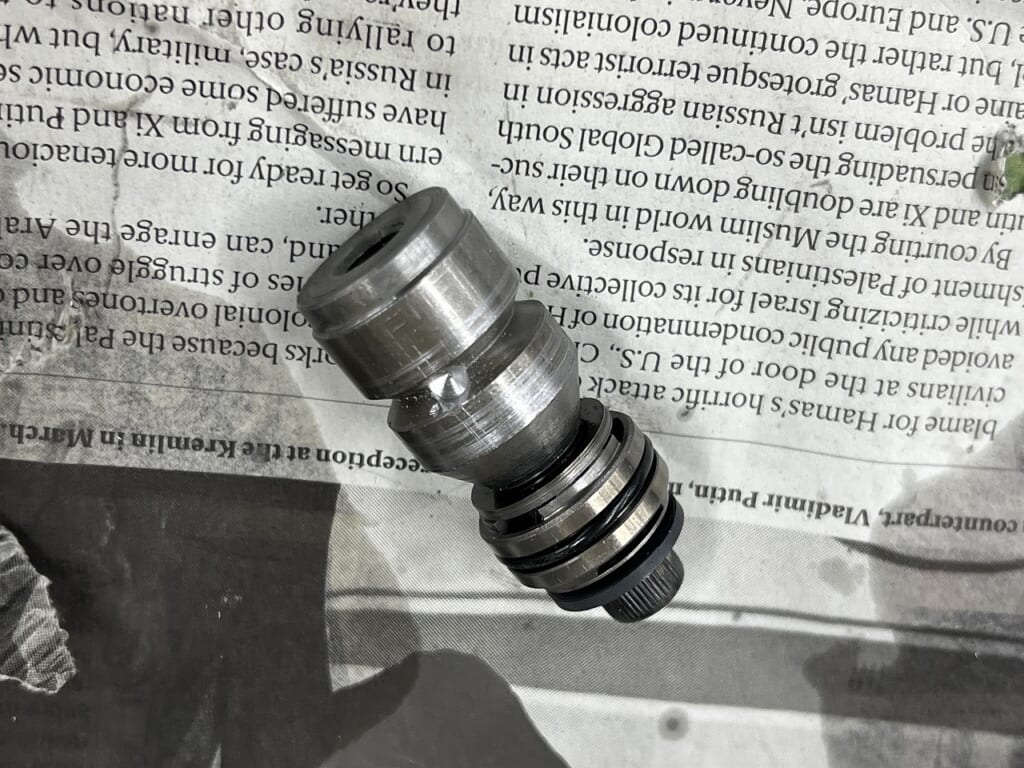
Removing the cartridge cylinder fixing section
I knead the crimp with a drill, and tapping deeper reveals the snap ring.
After that, I just pull it out with a slide hammer… but… Hmm? I realize there’s no M8 slide hammer boss.
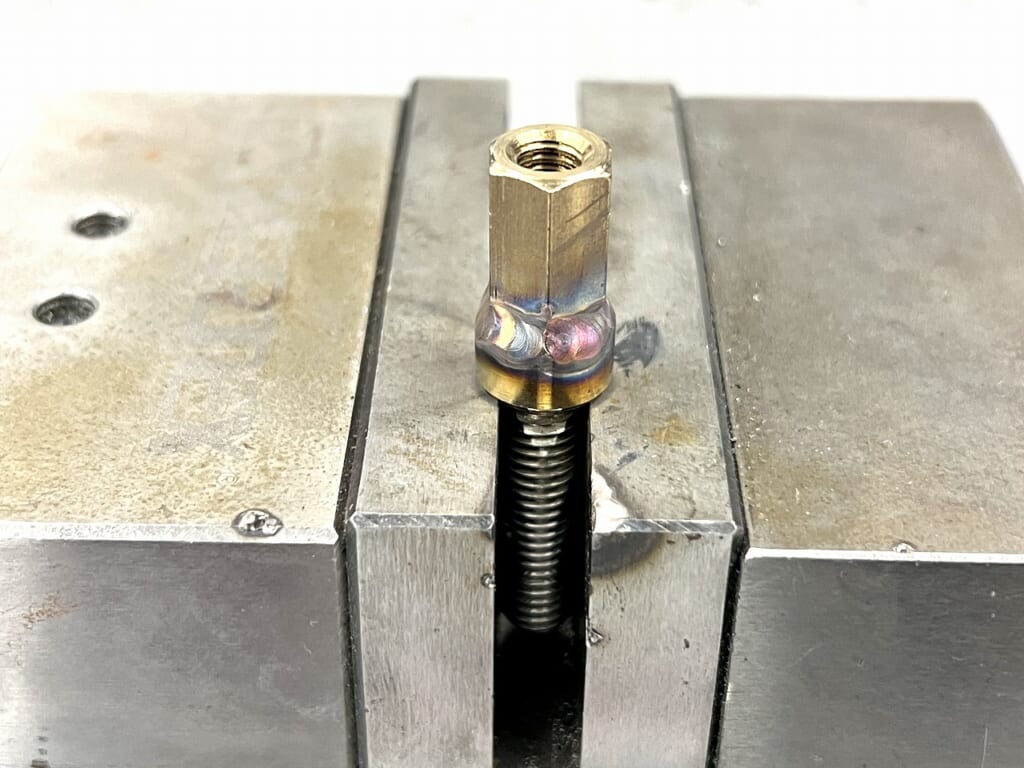
I weld together a loose SUS304 bolt and high nut ♪ Now I can tap it (*´ω`*)
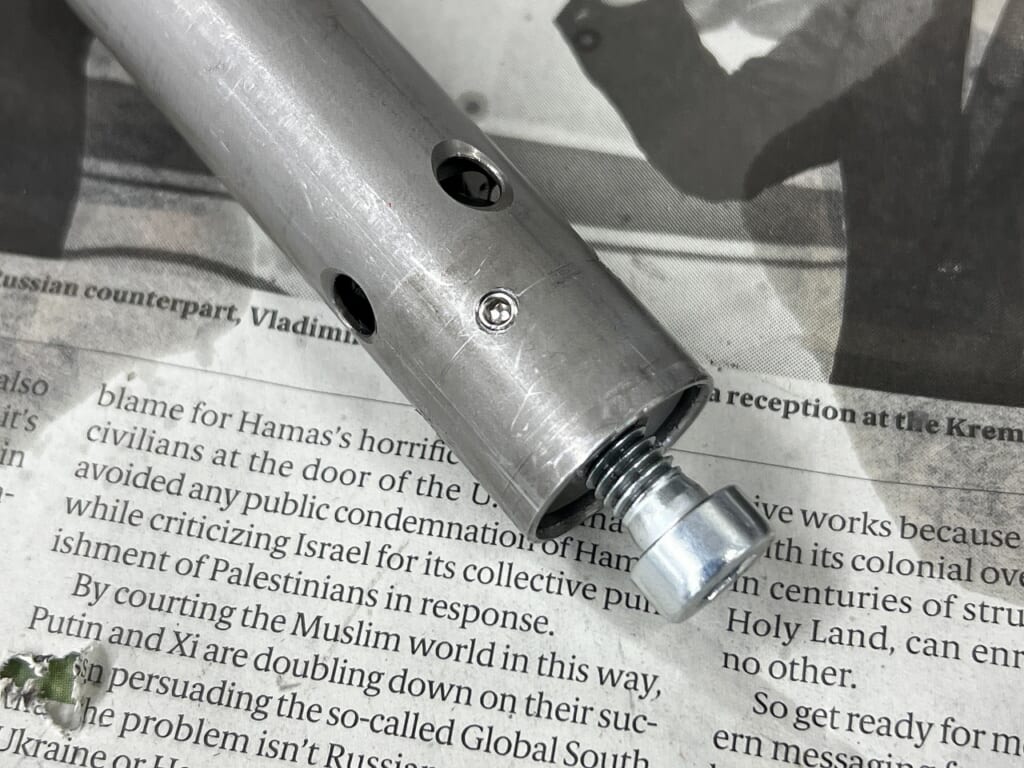
I only had M4*0.7 set screws on hand, so I’ll use those. I’ll cut M4*0.7 threads in the cylinder and drill a small set screw escape in the fixing boss side. This way it won’t spin physically, so you’re safe.
When these kinds of irregular situations come up, “tools, machinery and equipment” and “various materials” become necessary. Maintaining older bikes requires having and knowing a lot of different things.
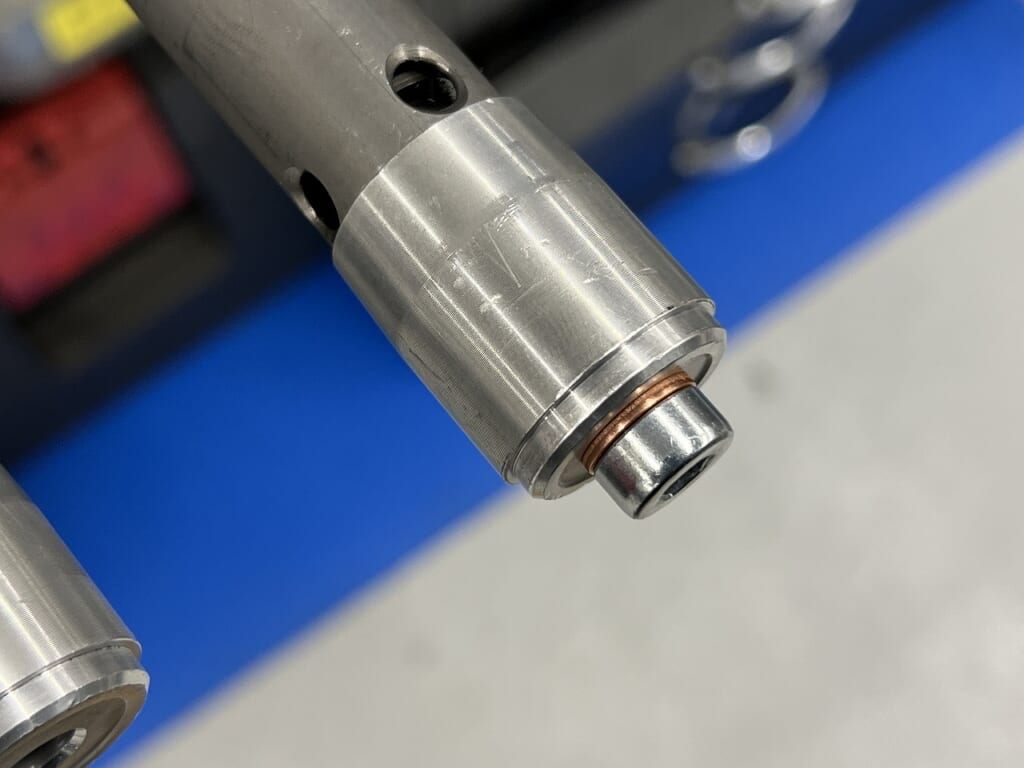
Clean the cartridge fixing bolt so it slides in smoothly by hand. Now it’s perfectly secure.
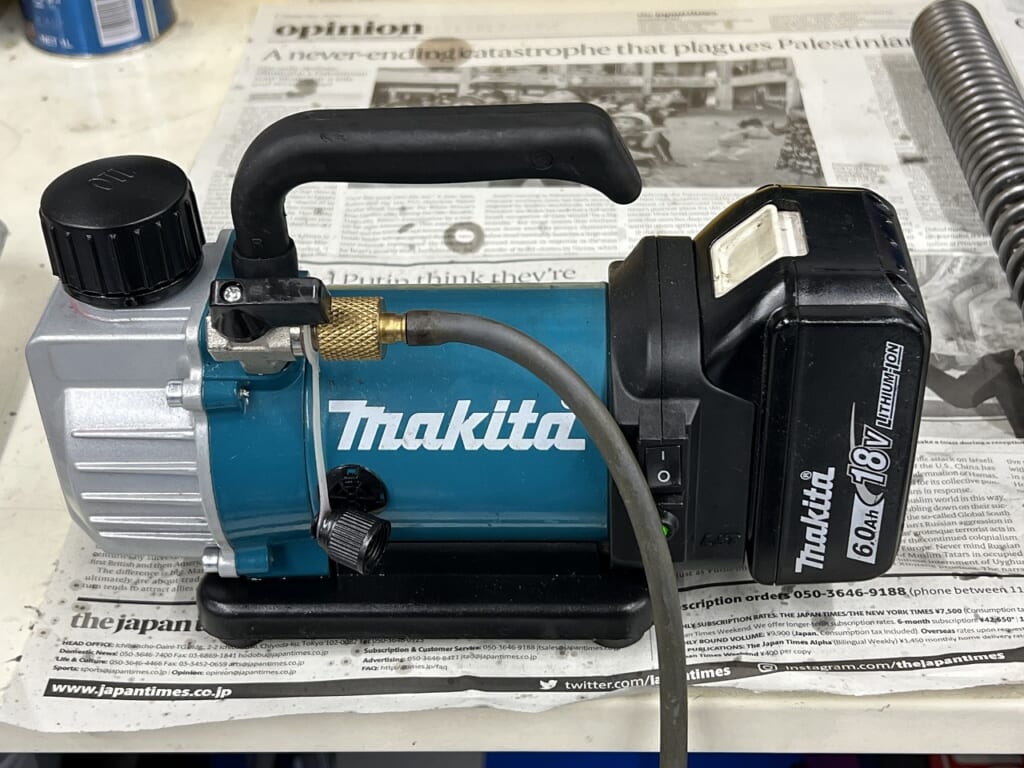
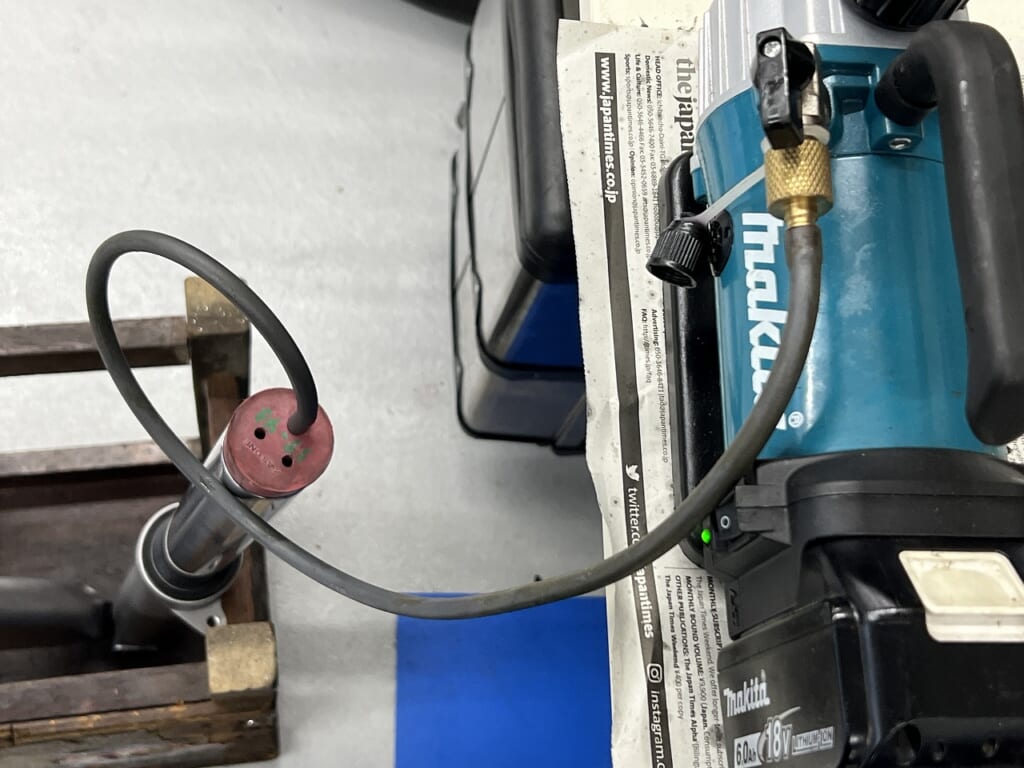
You should definitely do it! Bleed air with a vacuum pump
Makita has this product and it’s very convenient. The one I used before was 100V, so unplugging and replugging was a hassle. Really! With recent battery technology advances, convenience has really improved. Makita Vacuum Pump VP180DZ
Whether you do it or not probably doesn’t make a huge difference, “doing it is more certain” Once you get used to this process, “not doing it feels wrong” in your heart. The air bleed is probably 1% better… probably. *Self-satisfaction
It’s been quite refreshed like this.
Oh no! I forgot to install the stroke sensor…
I accidentally forgot to install it. This part can be installed from the outside, so no worries (*´ω`*)
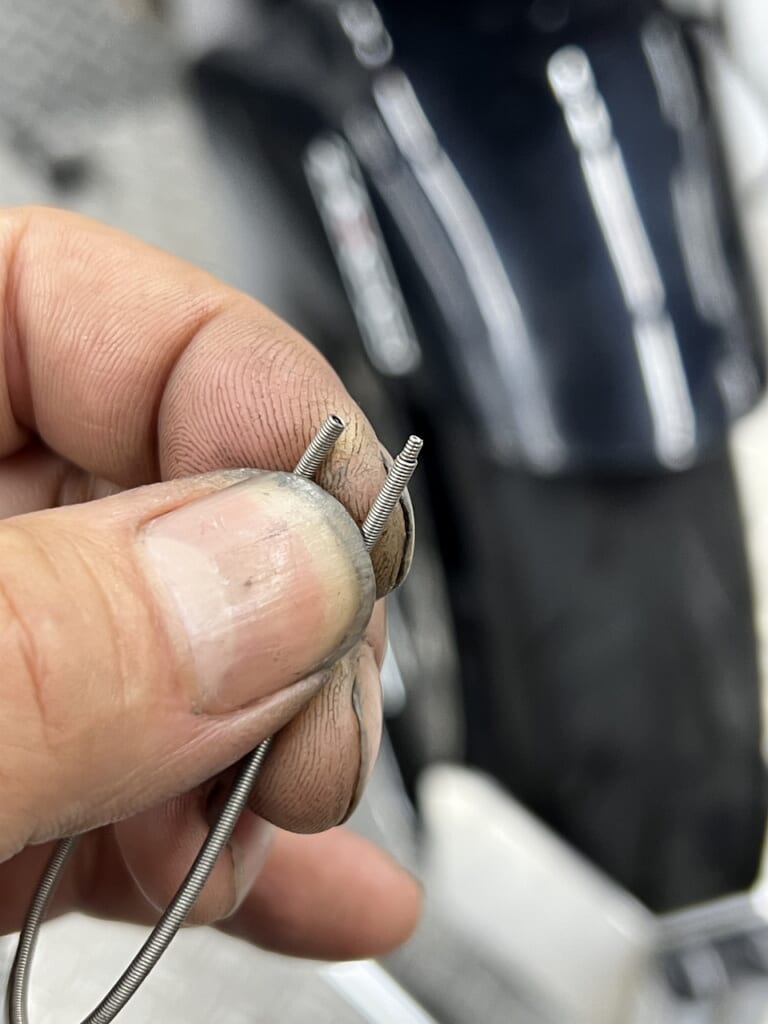
So that’s how it threads together. Back in the day, I’d compress this spring a few more turns to increase the lip effect and such. To be continued.



 ポチップ
ポチップ