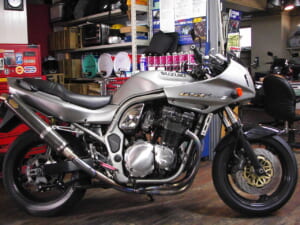
Lately, with the nice weather, we’ve been getting a lot of visitors. When I get caught up chatting leisurely, before I know it, it’s evening.
I moved out to the countryside a bit, so I’ve been feeling pretty relaxed. Soon I won’t be able to take in any more bikes, so I really need to push forward with the work.
So we’re going to move right along with the work.
Decoboco’s other BLOG. “RURAL GARAGE ”
A secret room for things other than bikes. Convenient everyday items, relocation, delicious food, life philosophy and more. ←click
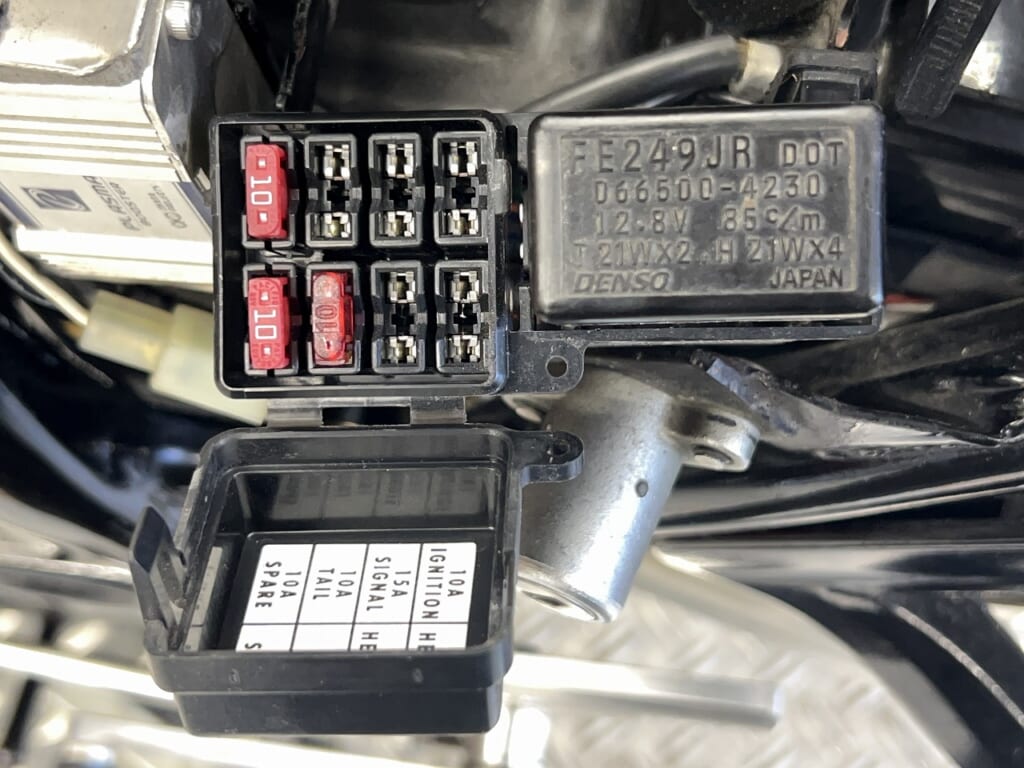
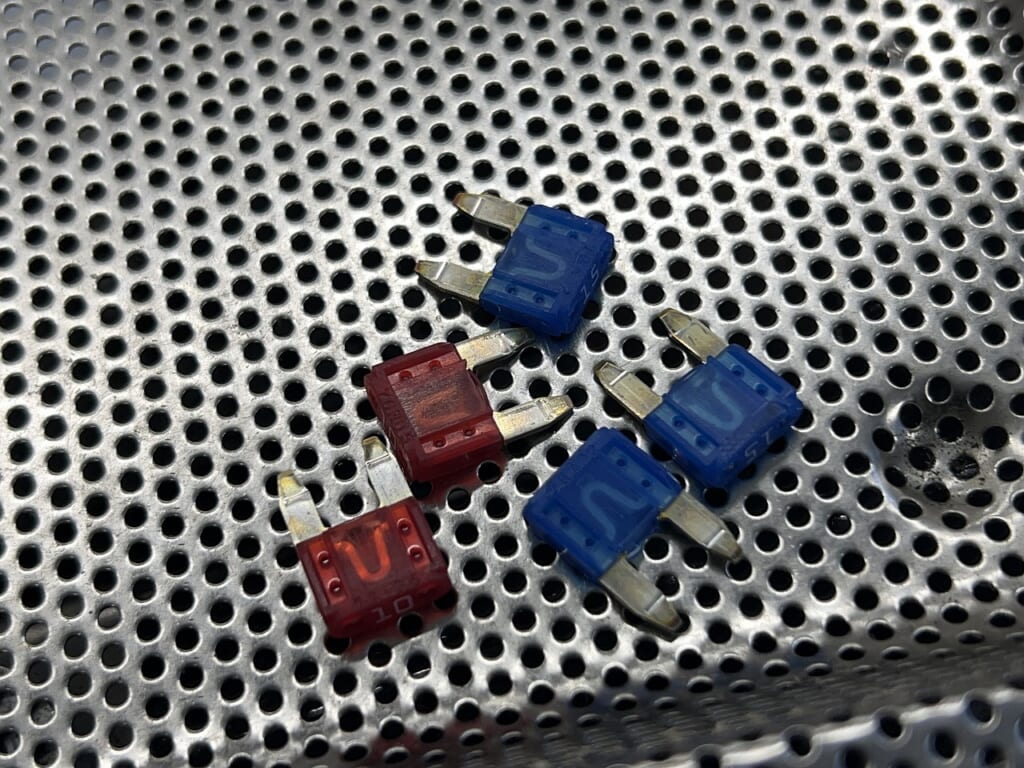
Is it just me who feels like pulling fuses in and out? Since I replaced them last time, I reused them.
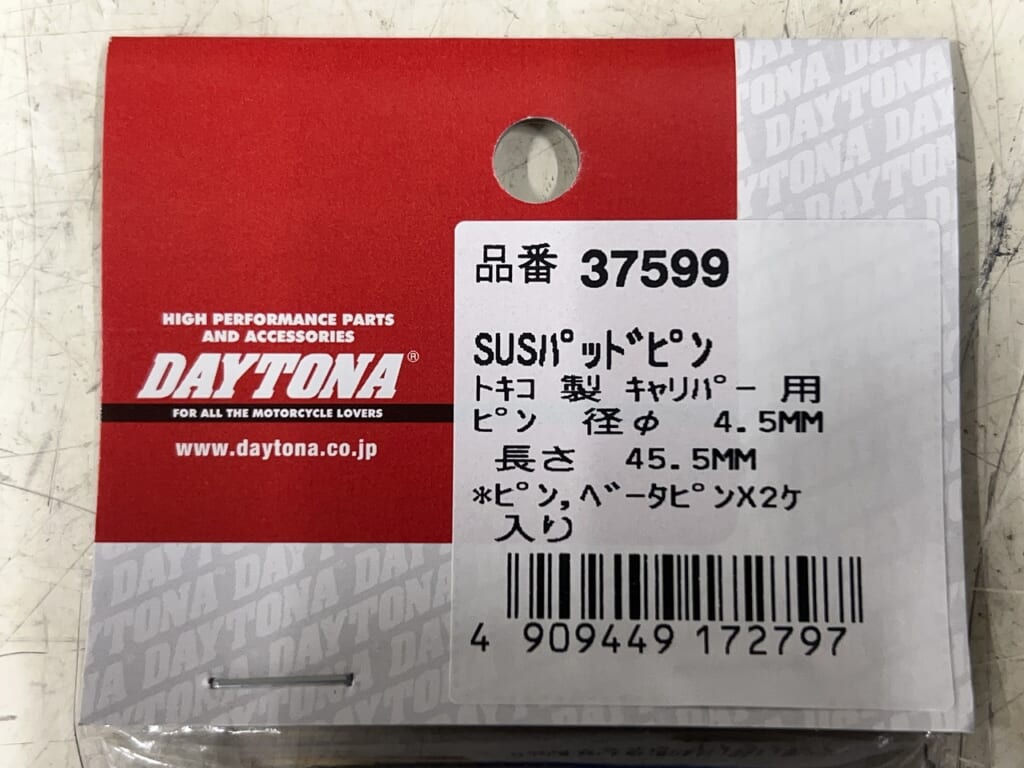
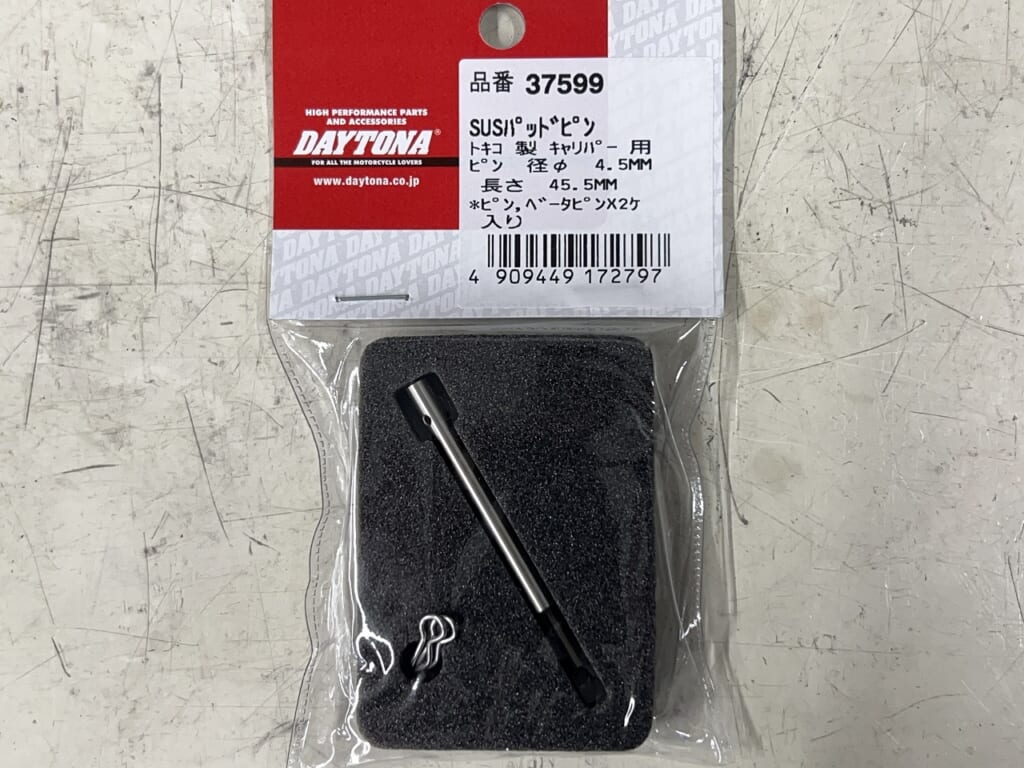
The original pad pins are replaced more often due to rust than wear. Since this part isn’t a bolt, I replaced it with a SUS304 pad pin. This might be worth making standard.
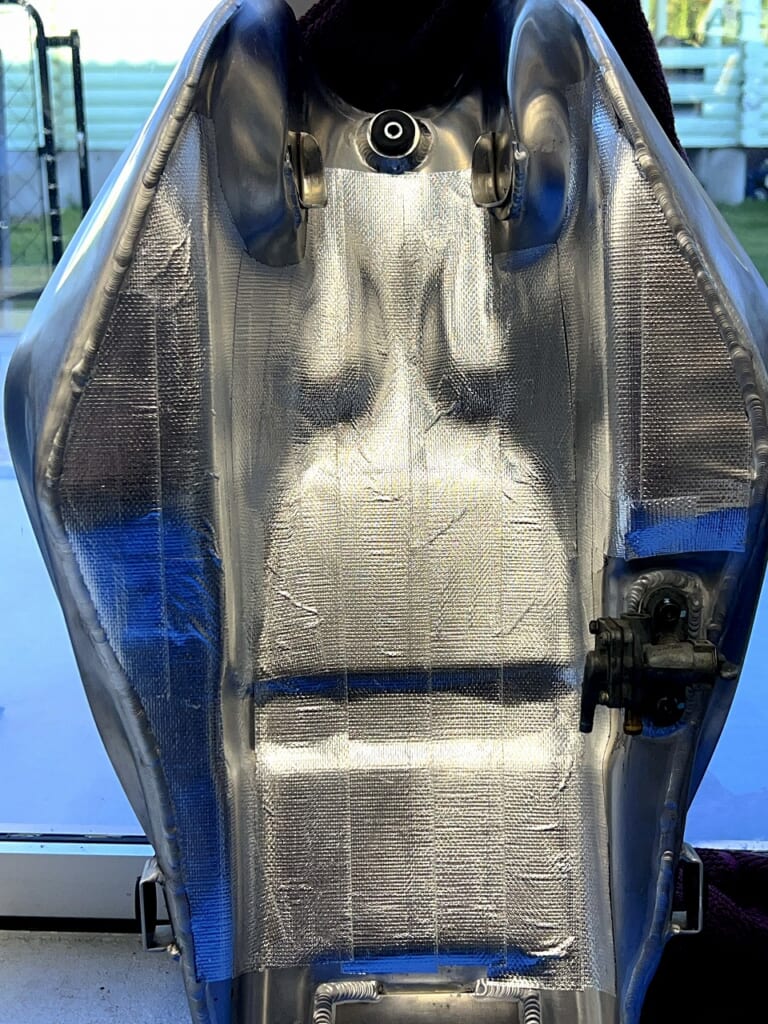
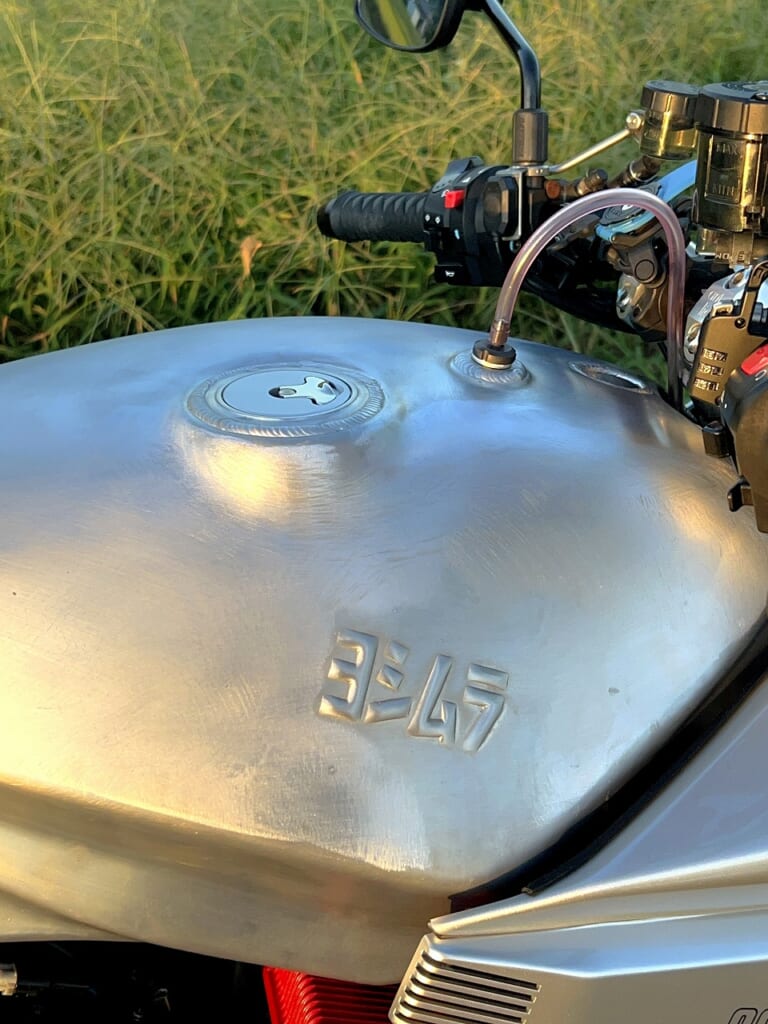
Aluminum tank = Gasoline bubbling out ⇒ Countermeasure as peace of mind
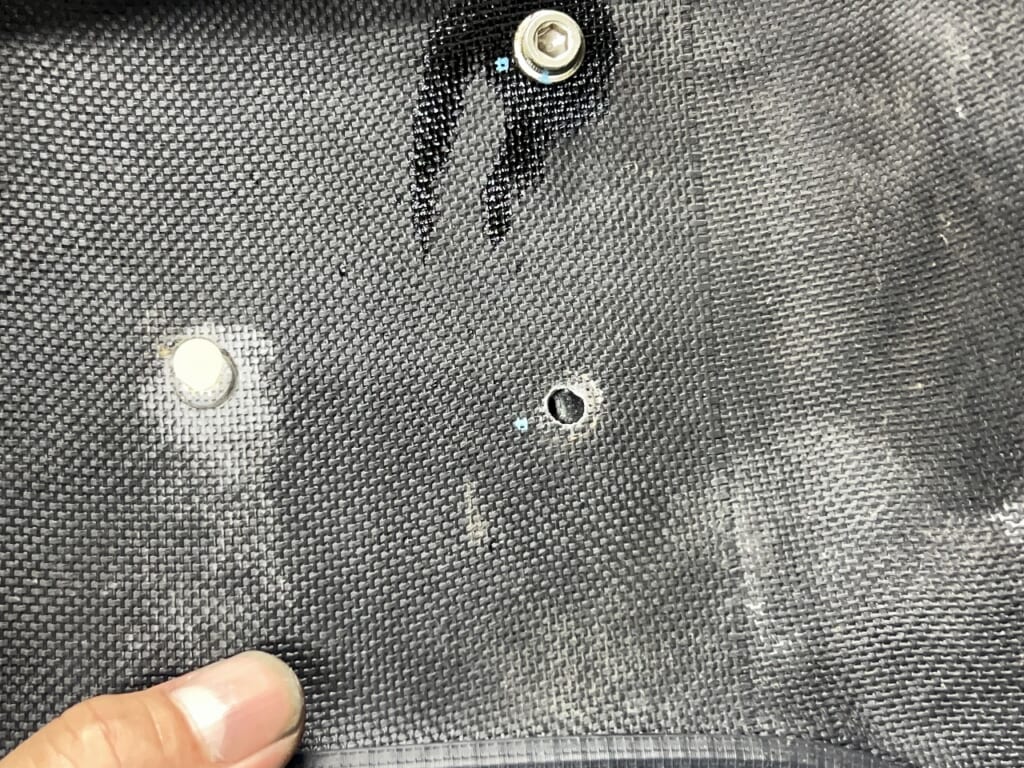
With an aluminum tank, the heat causes gasoline to bubble out of the breather in a terrifying way. To help mitigate this, I applied thermal tape to the back of the tank. I think it should help a bit.
I filled the tank to the brim and went for a ride around the area. Unlike the image of Yoshimura aluminum tanks I knew, it didn’t bubble at all???
I was a bit disappointed, but that’s actually fine and I’m relieved.
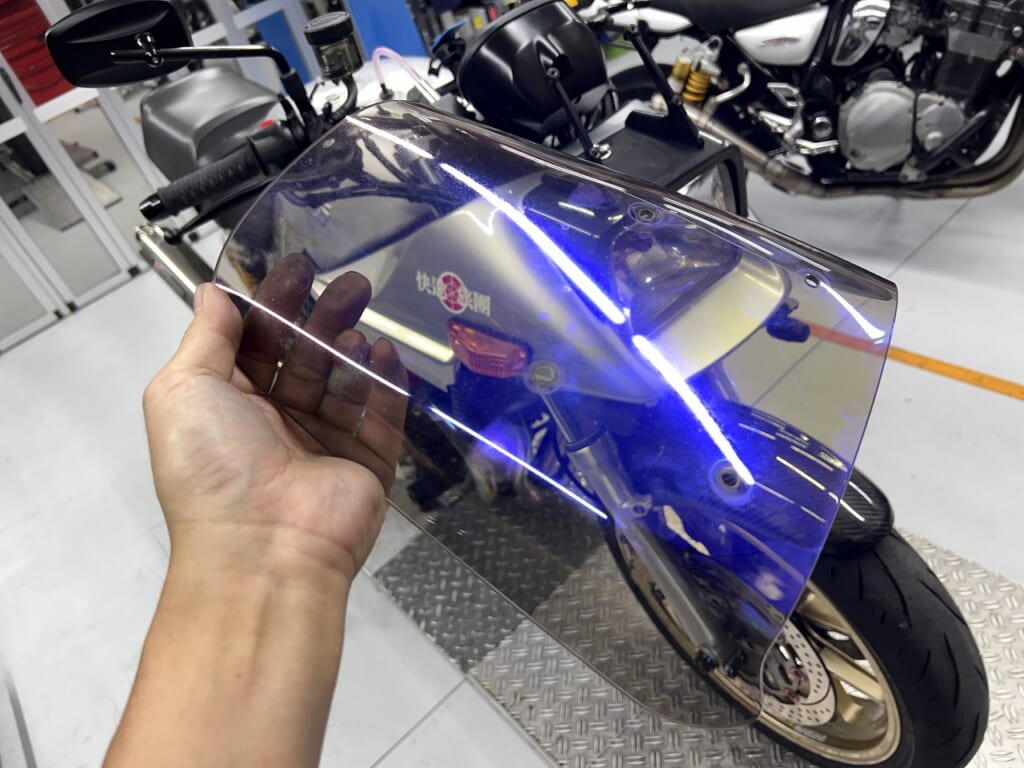
The screen is incredibly loud and vibrating
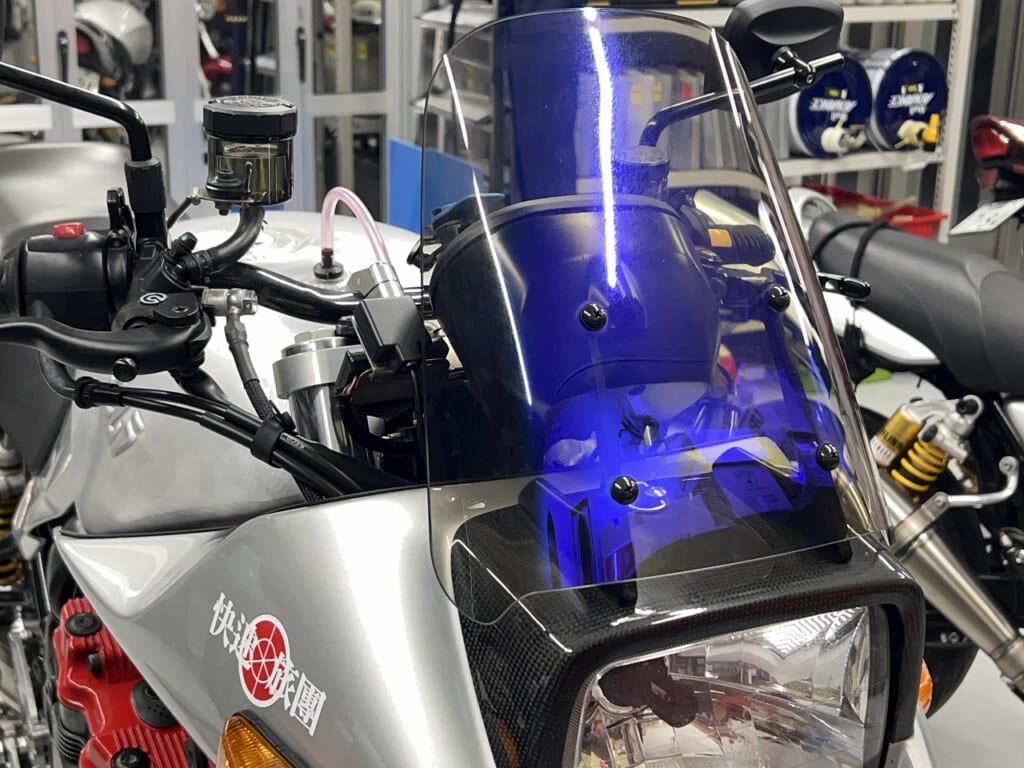
All Katana screens are noisy, right? The original mounting is pretty unconventional to begin with, so vibration is inevitable. Sandwiching plastic with rubber and fixing it with iron bolts is just how it has to be.
It’s quite annoying, so I’m going to do something about it.
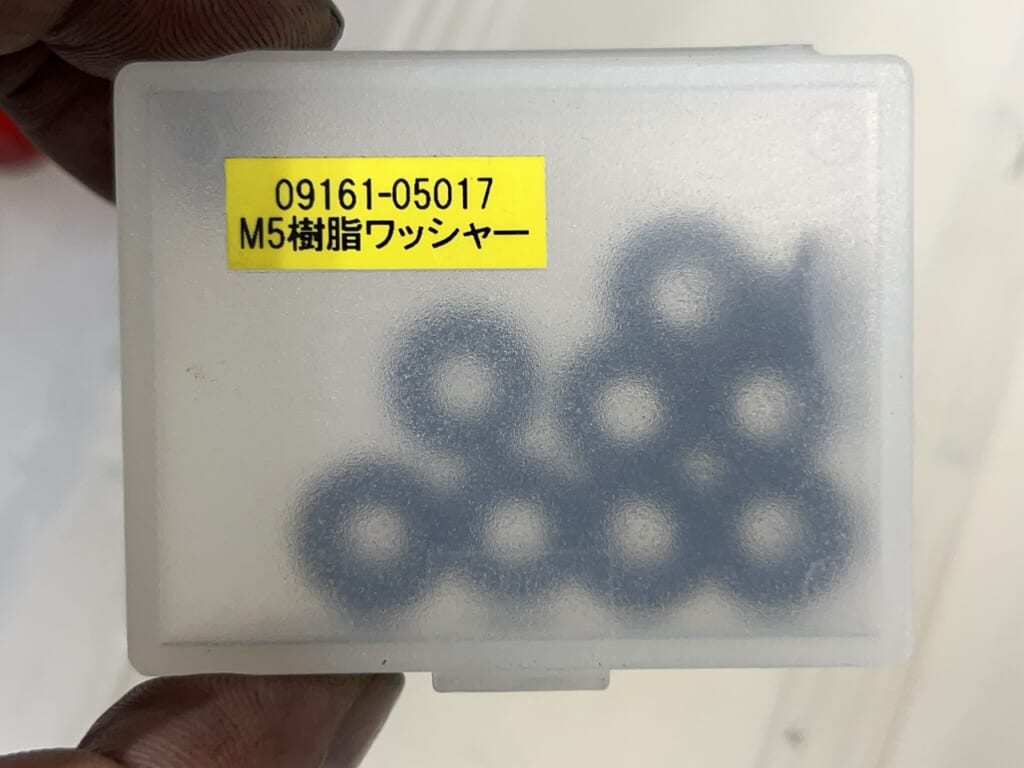
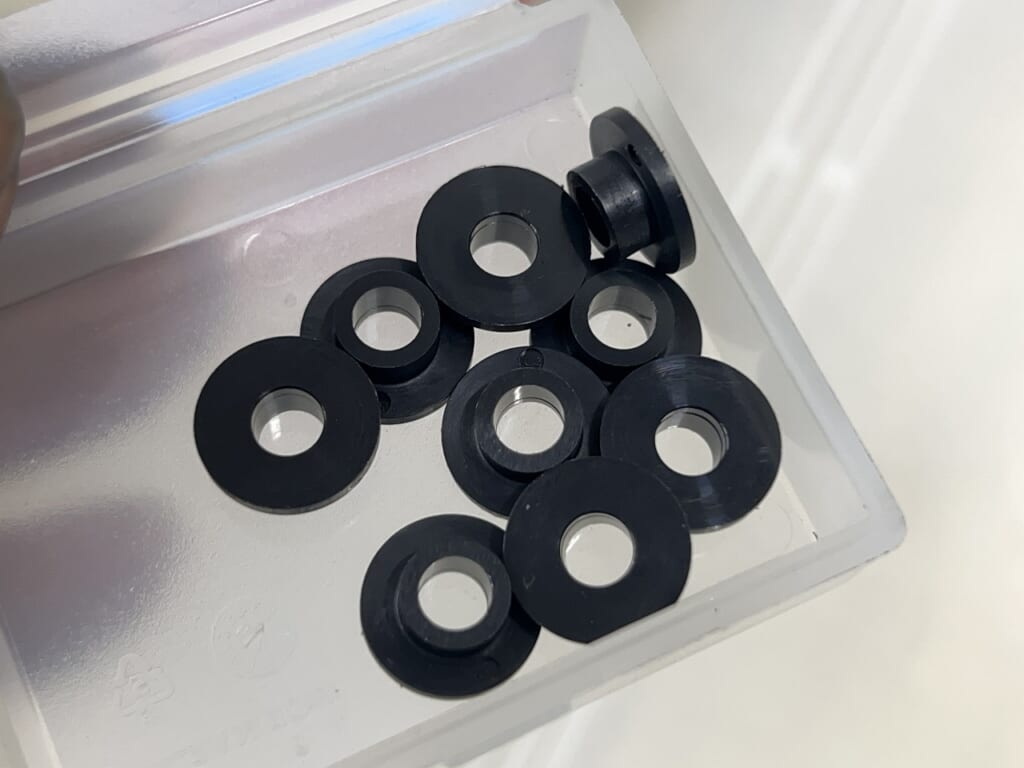
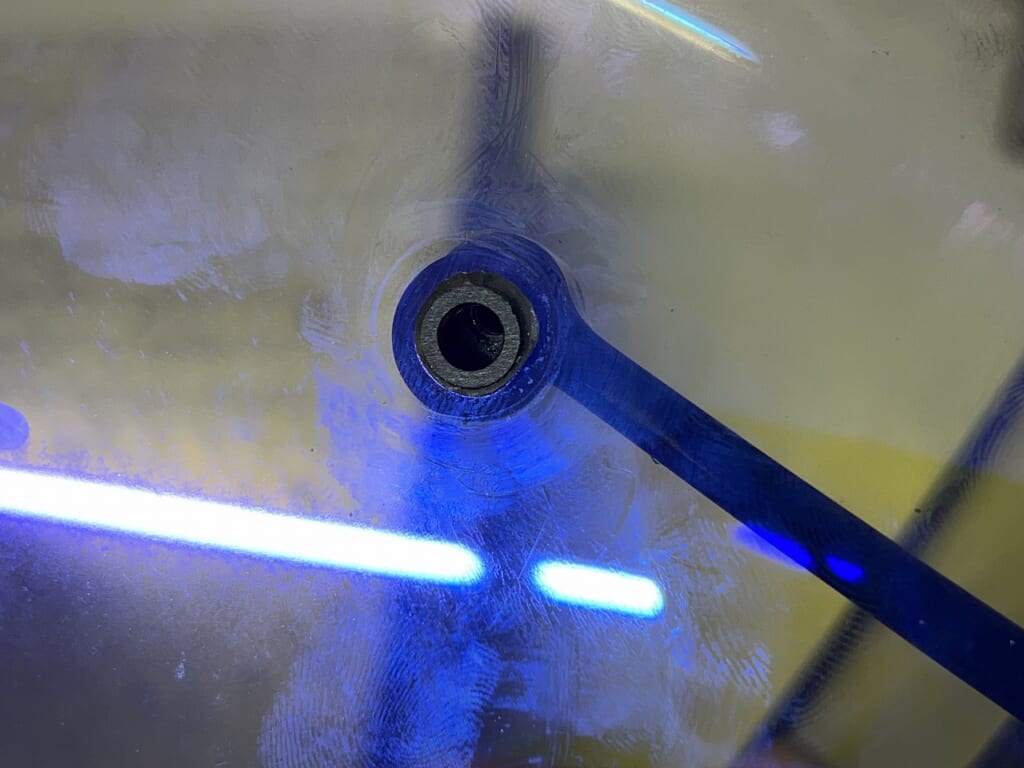
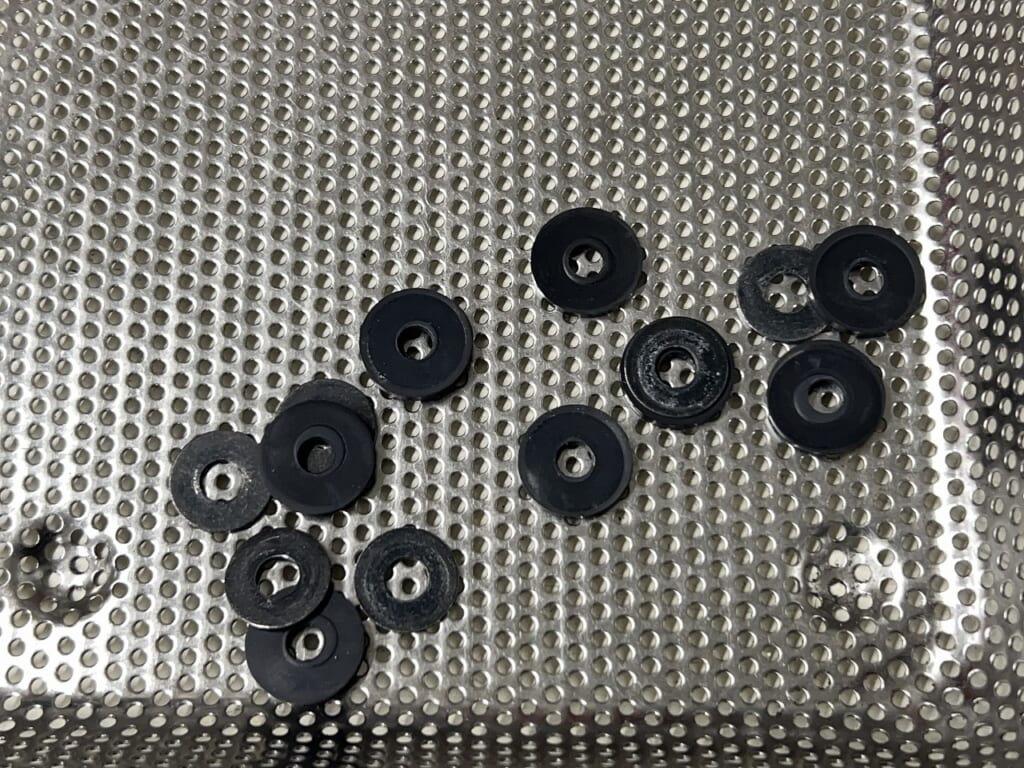
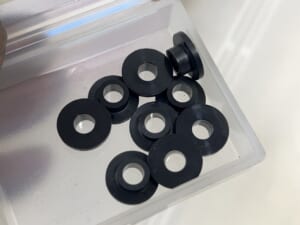
Used by Suzuki OEM “Convex plastic collar/washer” Using this, we float the screen. By the way, this is for M5, and there’s also an M6 version. Suzuki 09161-05017 If you own a GSX-R, this part should be familiar.
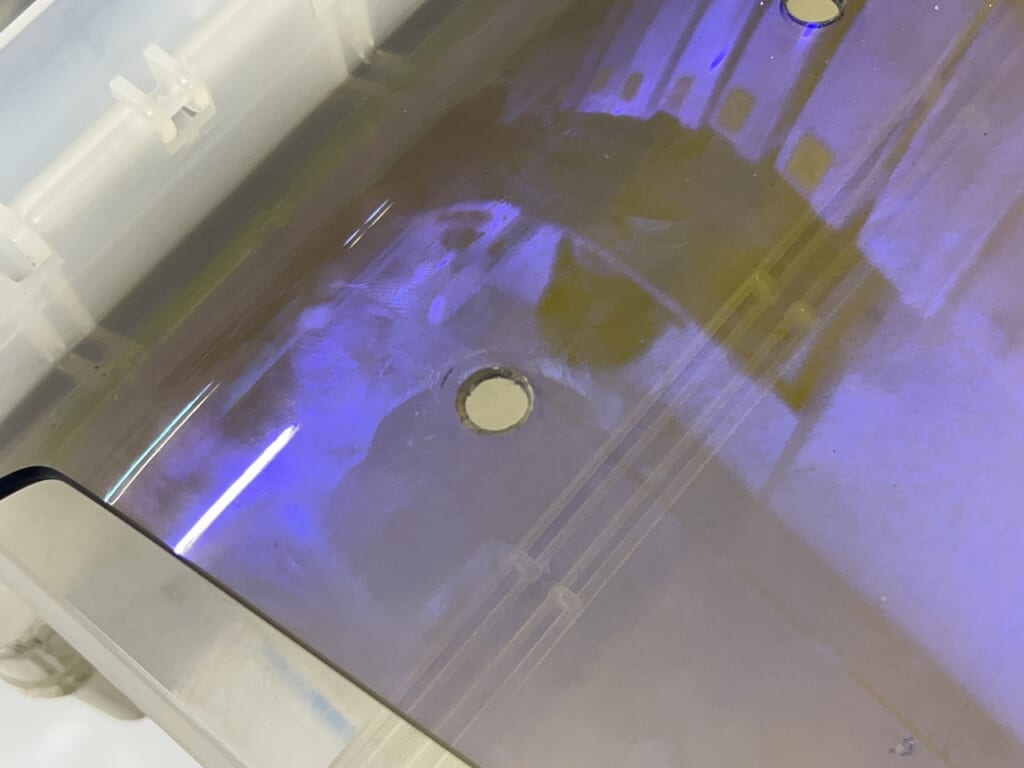
Enlarge the screen holes to 8.2Φ with a drill. I “reverse rotation” and expand it 0.5mm at a time.
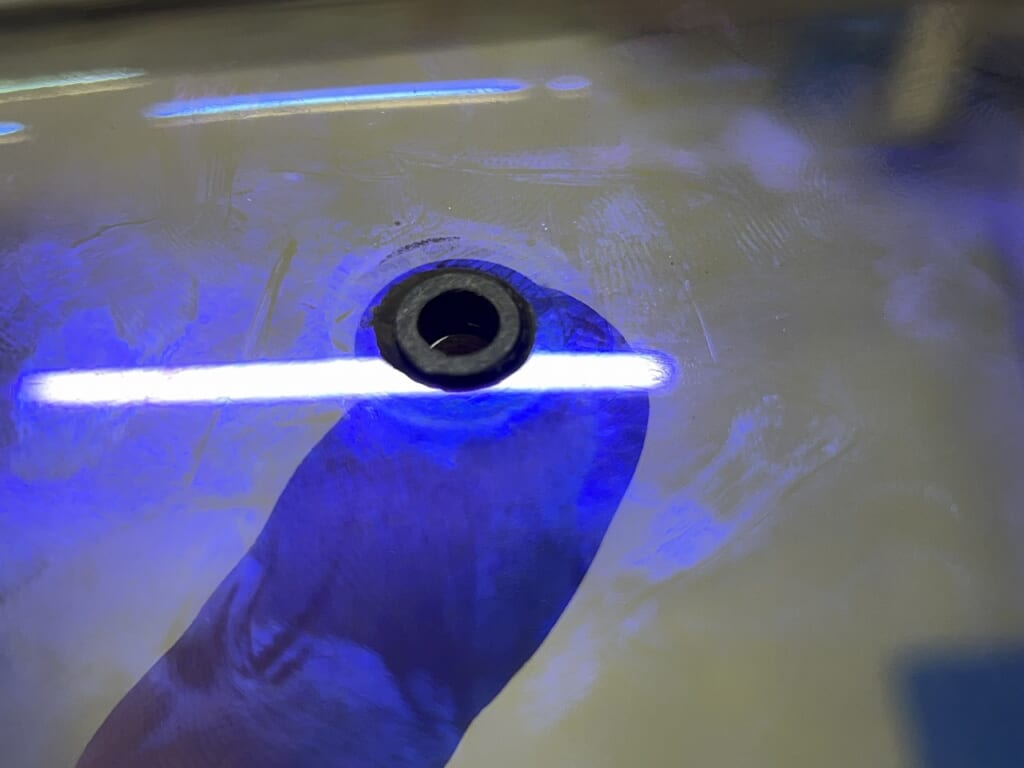
By the way, if you do it with forward drill rotation, it’ll crack in one shot and become garbage, so be careful. When you tighten it with the “convex collar” sticking out from the screen like this, the screen becomes free.
If it’s too wobbly, you can insert a shim-like thing to suppress it. This way you can mitigate the vibration.
“No way, brute force” The positional relationship between the screen and the fixed corner is very poor.
If you push the corner hard, you can install it, but it puts stress on the screen. That causes vibration and can even trigger cracks. Shave down the cowl a bit so the bolt goes in smoothly by hand.
It’s completely stopped vibrating (*´ω`*)
It used to vibrate so much at idle that I had to hold it down by hand, but once I floated the screen, it stopped completely (*´ω`*) This modification should really relieve a lot of minor stress.
Basically, it’s better to avoid floating without using rubber sandwiched and fixed with metal bolts.
First, the bolt won’t be properly secured, and if the rubber or plastic compresses and shrinks, the bolt will loosen. To secure the bolt firmly without stressing the plastic side, use collars or convex-shaped parts.






 ポチップ
ポチップ