Before we attach the side stand… something smells off
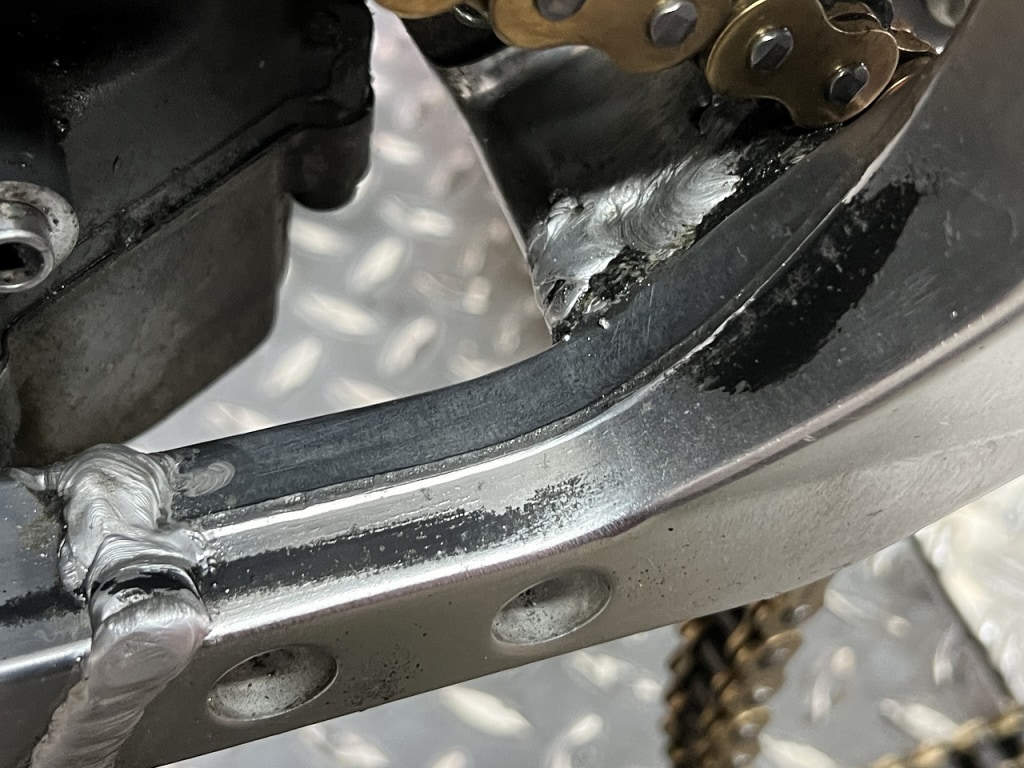
It looks like it was painted from the outside. The overall deterioration pattern seems off, so I’m checking things carefully as I go.
The side stand was removable even back then.
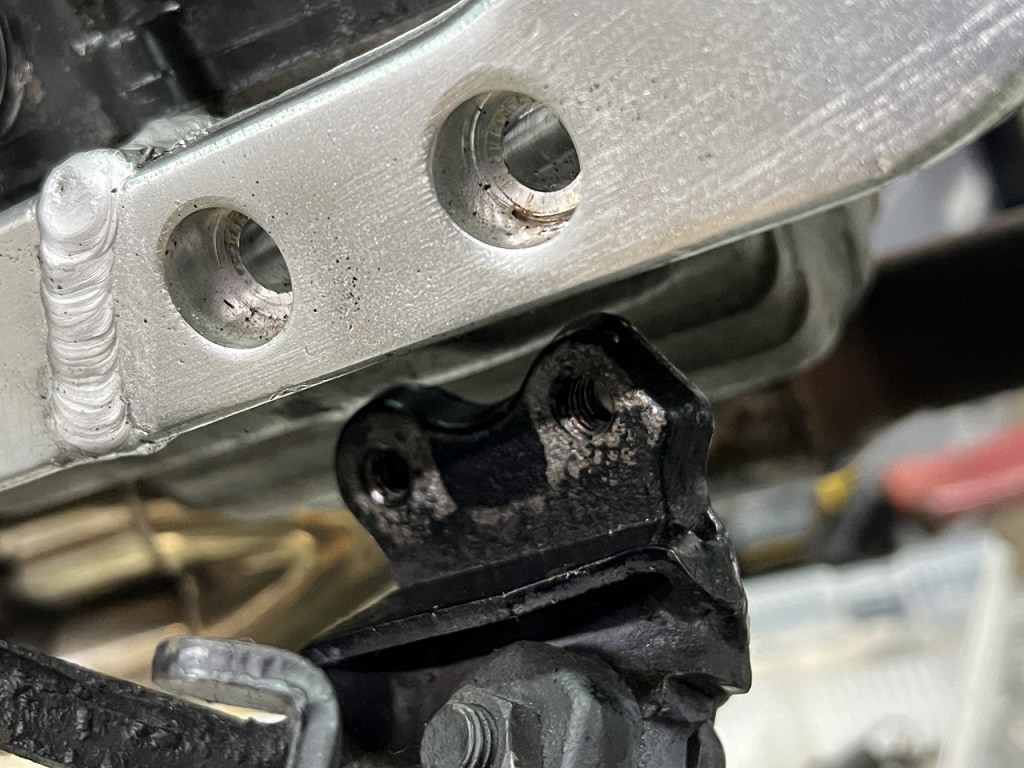
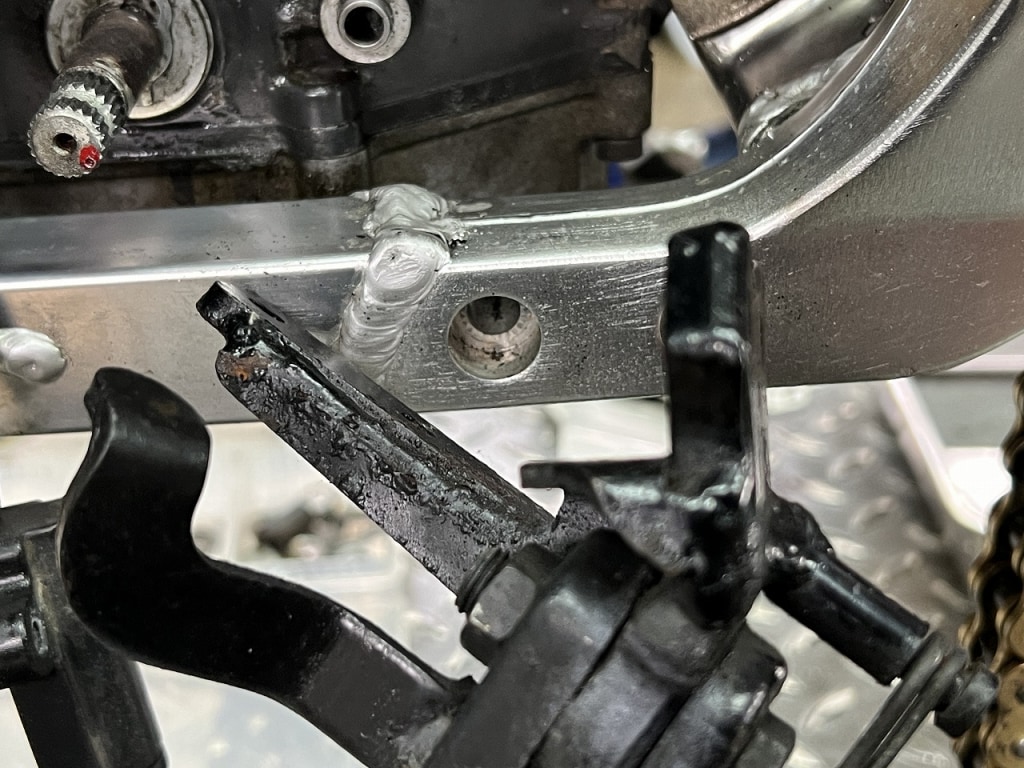
By the way, the GS 1000 had a removable side stand base back in that era! That’s cutting edge, right?
The factory design uses a solid surface to secure it and doesn’t put stress on the bolts. The side stand carries a lot of load, so it’s a good idea to check this base attachment occasionally for safety. I replaced the bolts and nuts too.
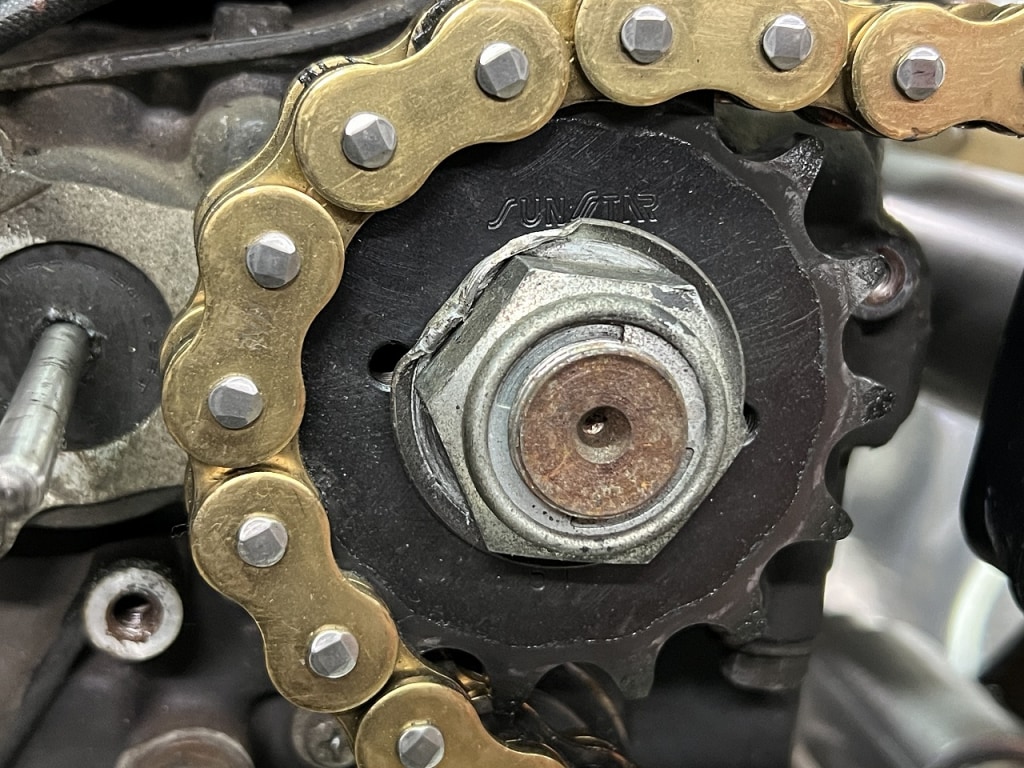
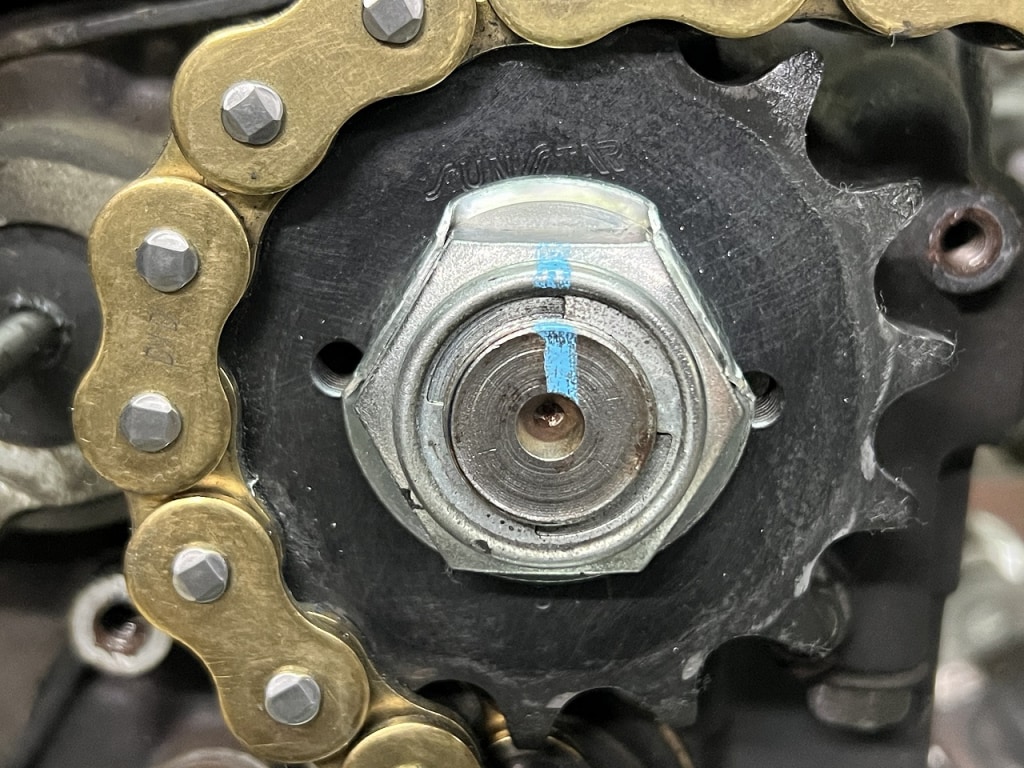
The lock washer wasn’t seated properly, so I took it off to check.
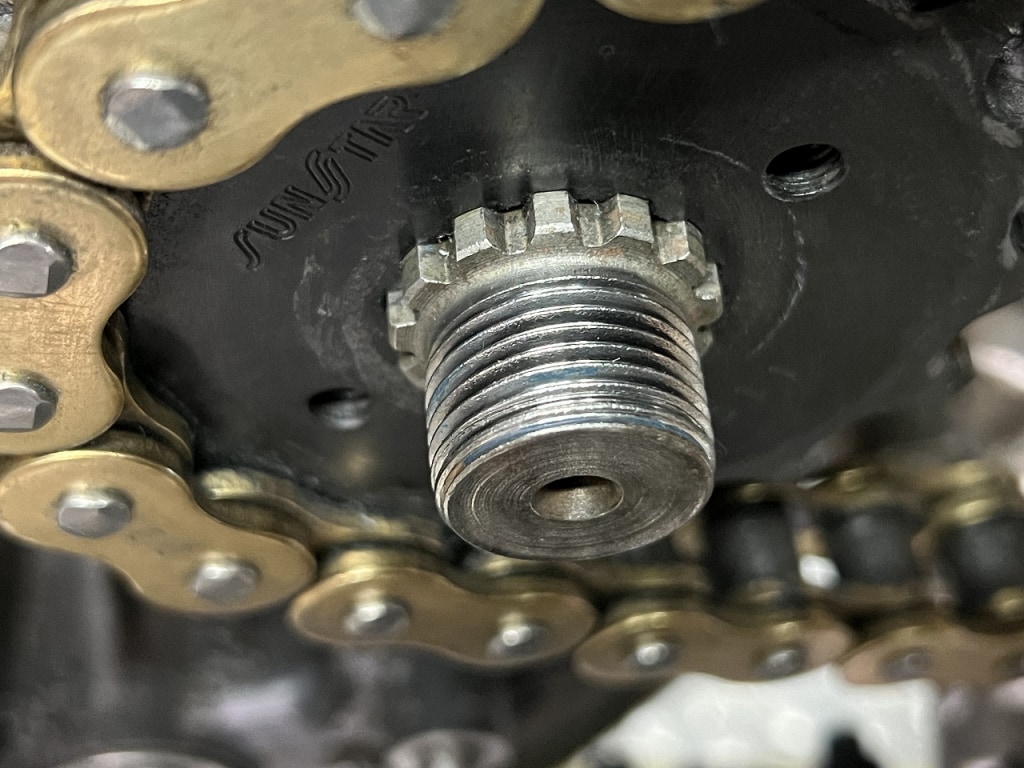
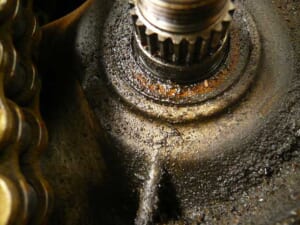
I cleaned the countershaft threads thoroughly and applied thread locker before securing it. Of course the lock washer is new. I polished the nut and reused it since it seemed wasteful to throw it away. It’s more reassuring if you crimp the lock washer in two or more places.
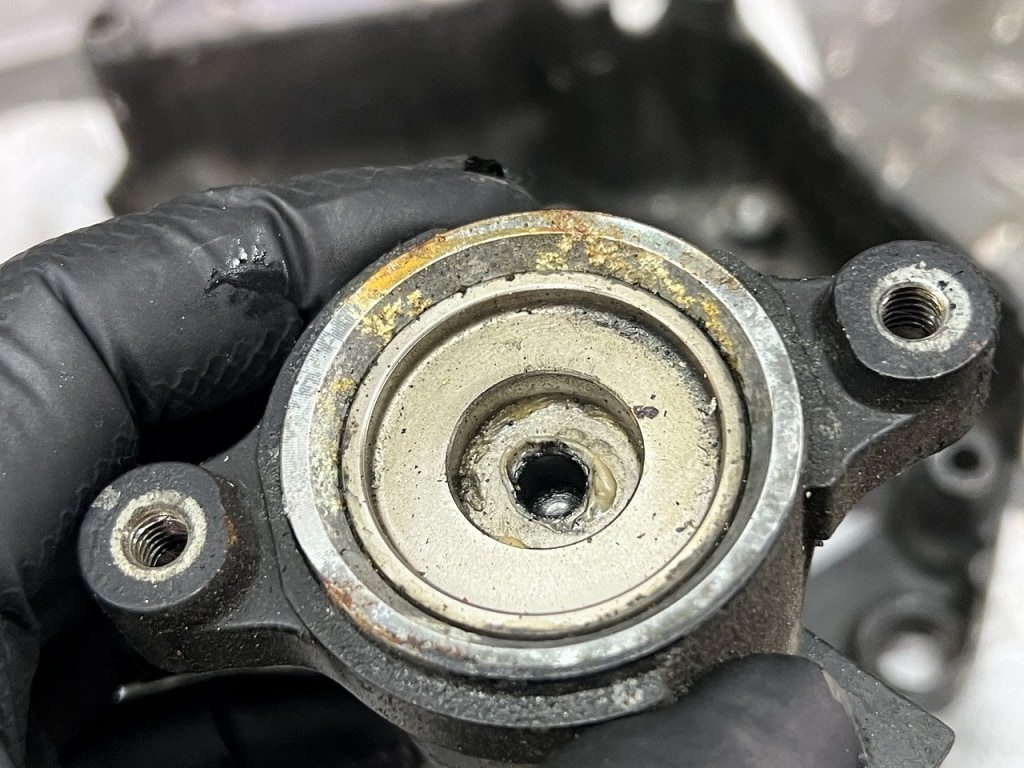
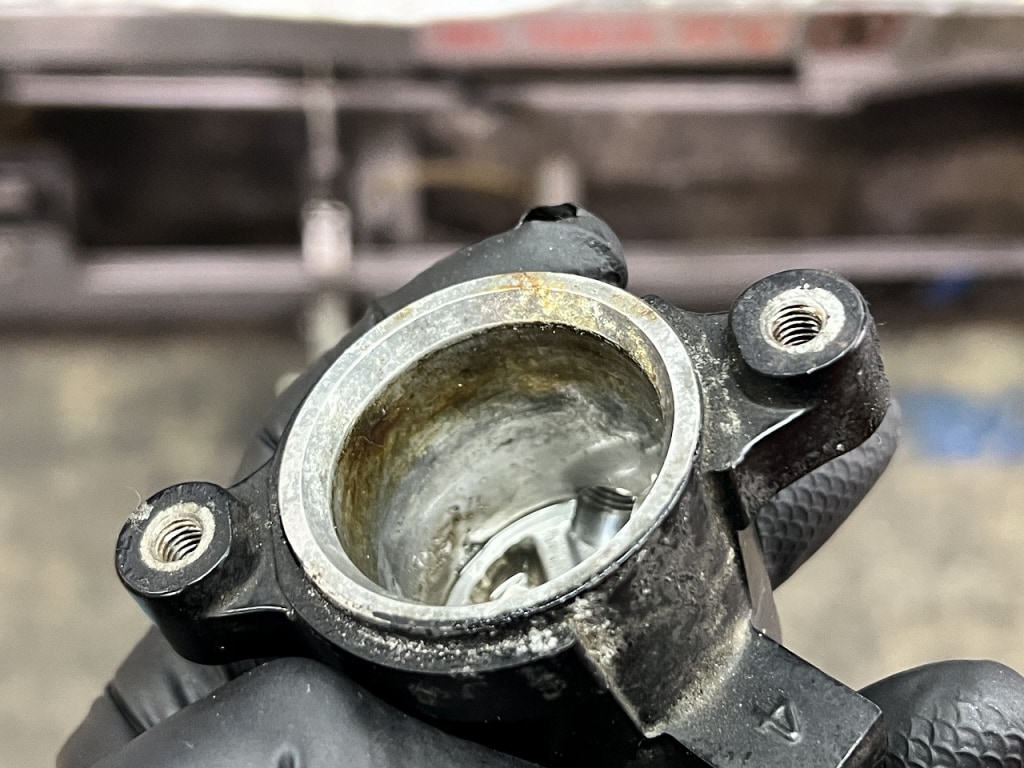
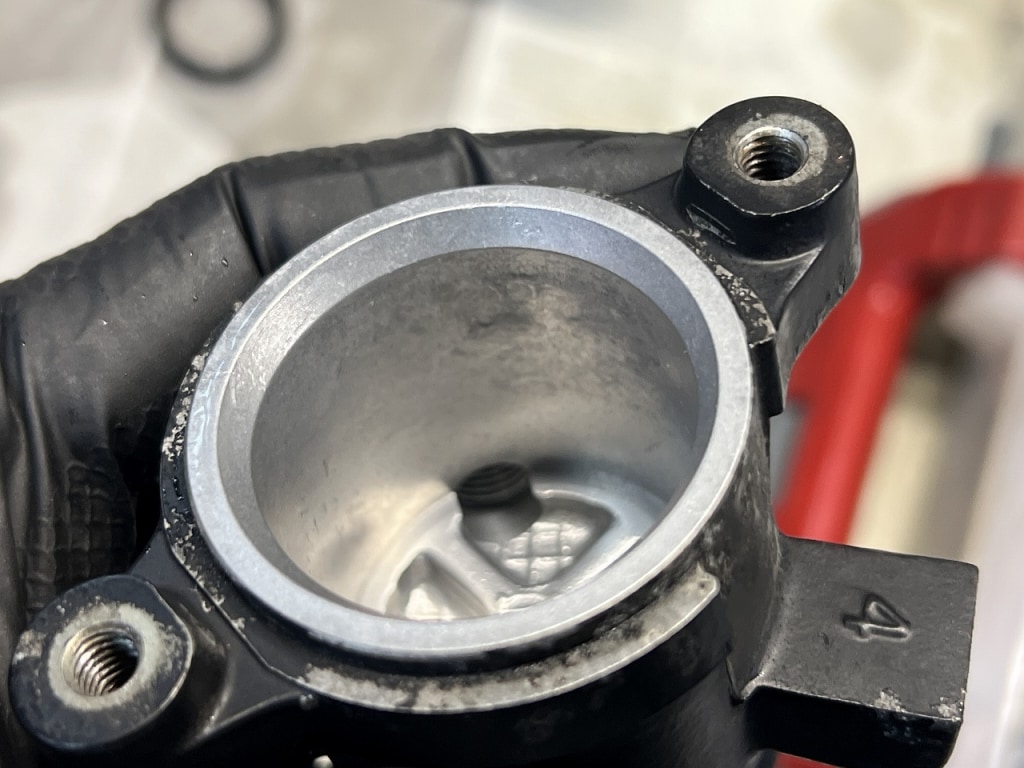
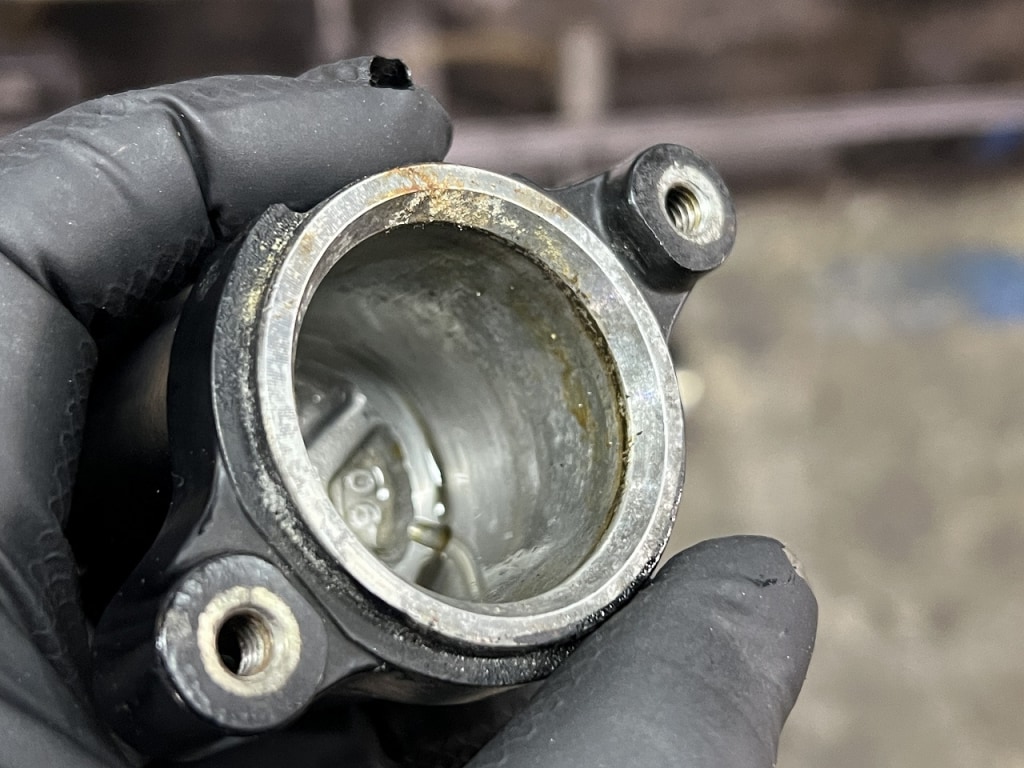
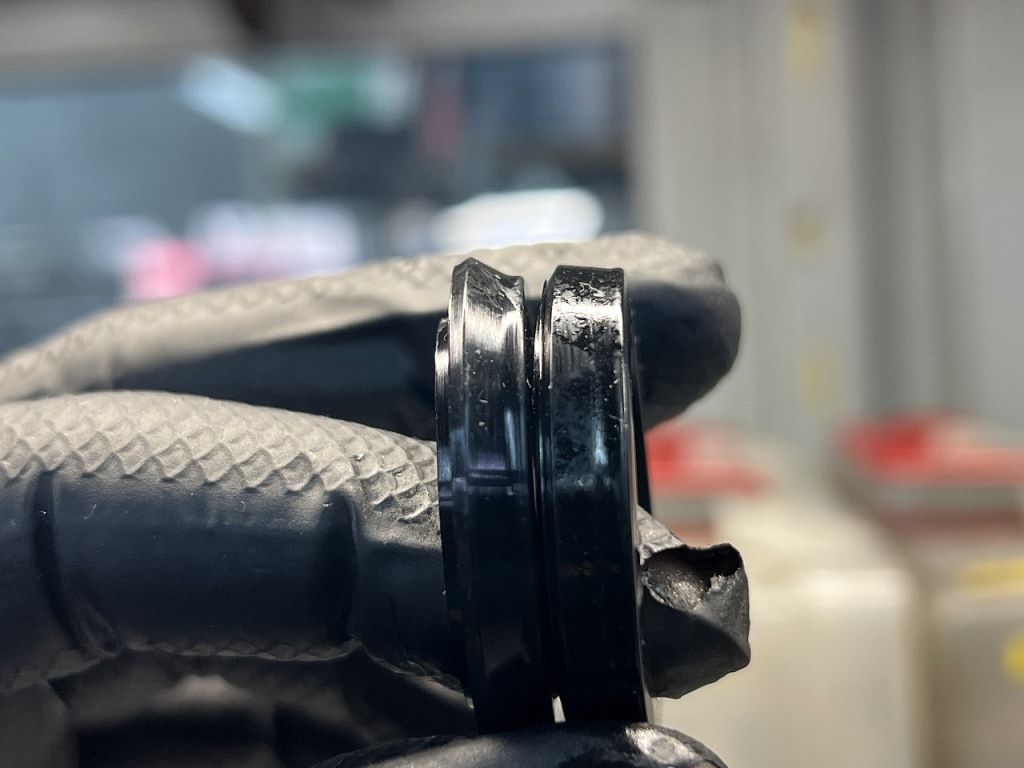
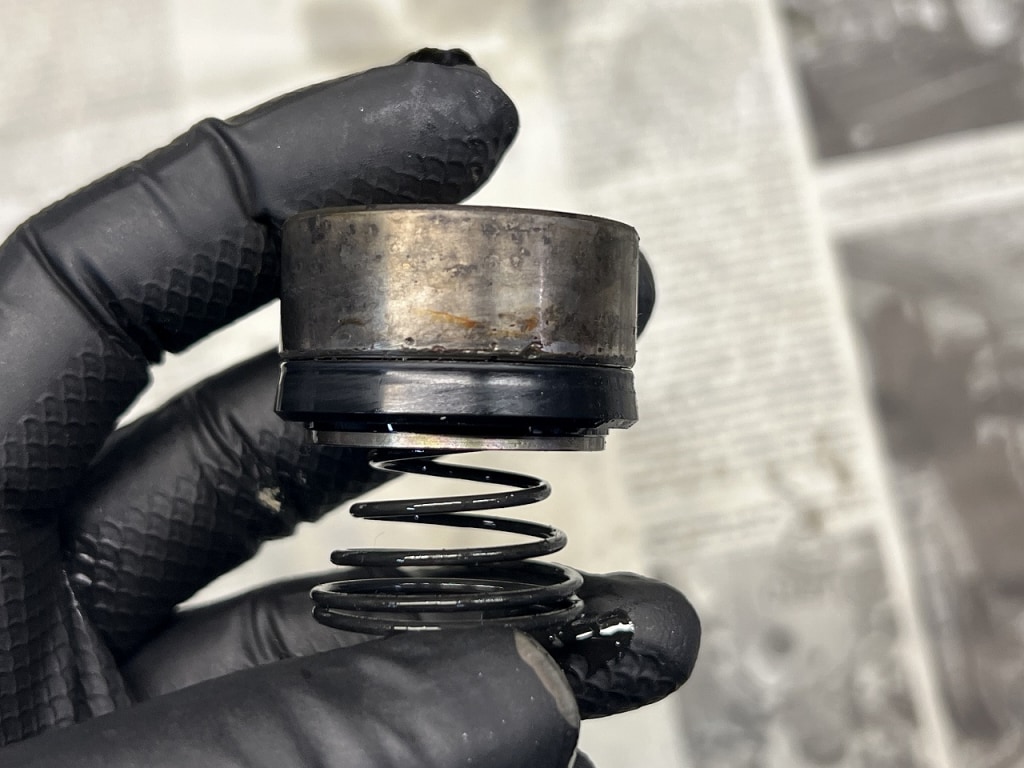
The clutch release cup is showing signs of seepage
This is a spot that often gets overlooked during maintenance. For one thing, it’s hard to access, which might be why maintenance doesn’t get done on it.
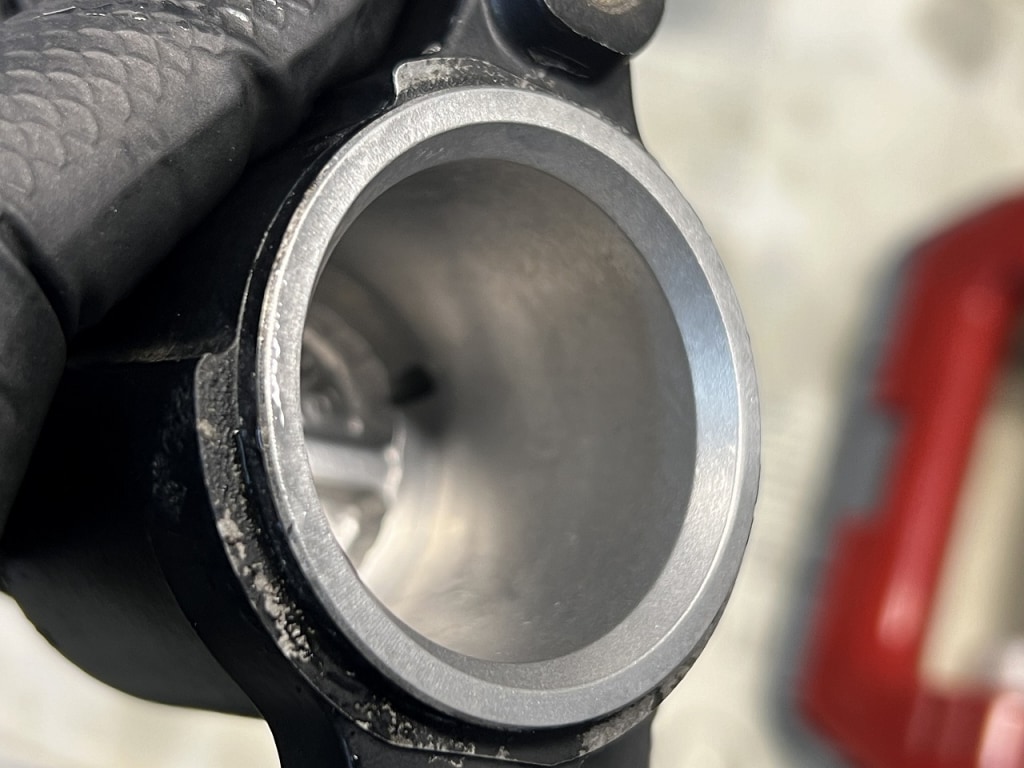
The inner wall was still in usable condition, so I was relieved.
The cup opens when hydraulic pressure is applied, so it doesn’t actually leak much. However, since it stays closed and confined for so long, it’s inevitable that it deforms.
And as time passes, the cup swells and becomes mushy, so I think it’s better to disassemble it at certain intervals (though that’s the tricky part).
It might be a good time to do it when you’re removing the front sprocket.
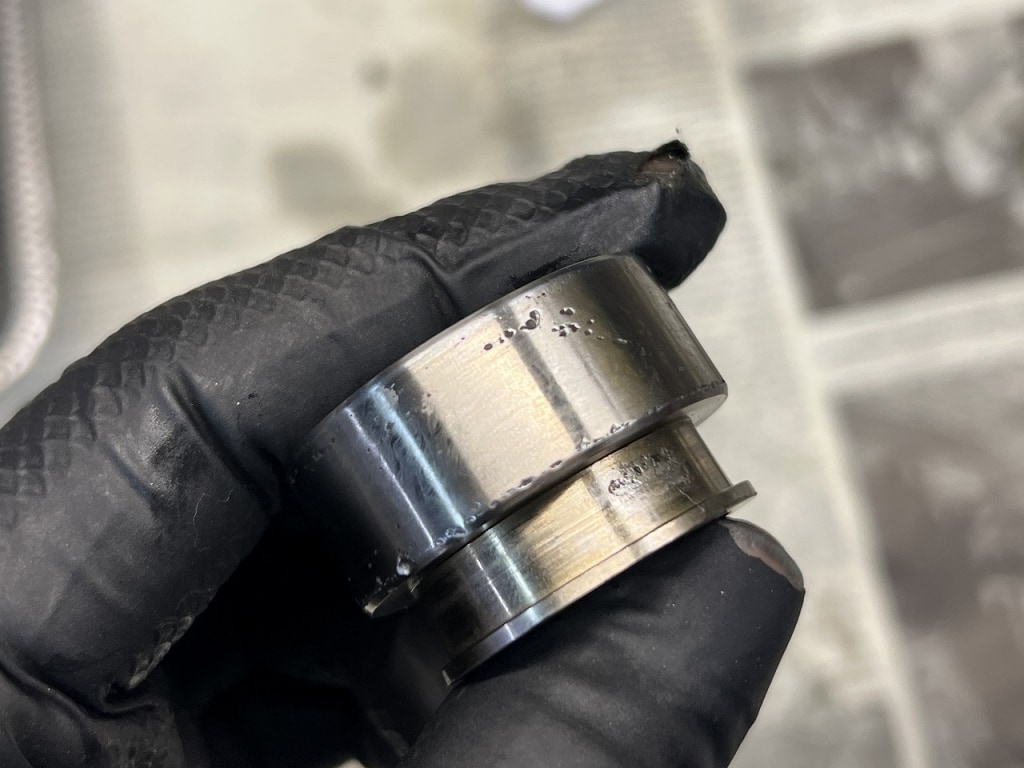
The piston condition isn’t great. For now, let’s just replace the cup and call it a day.
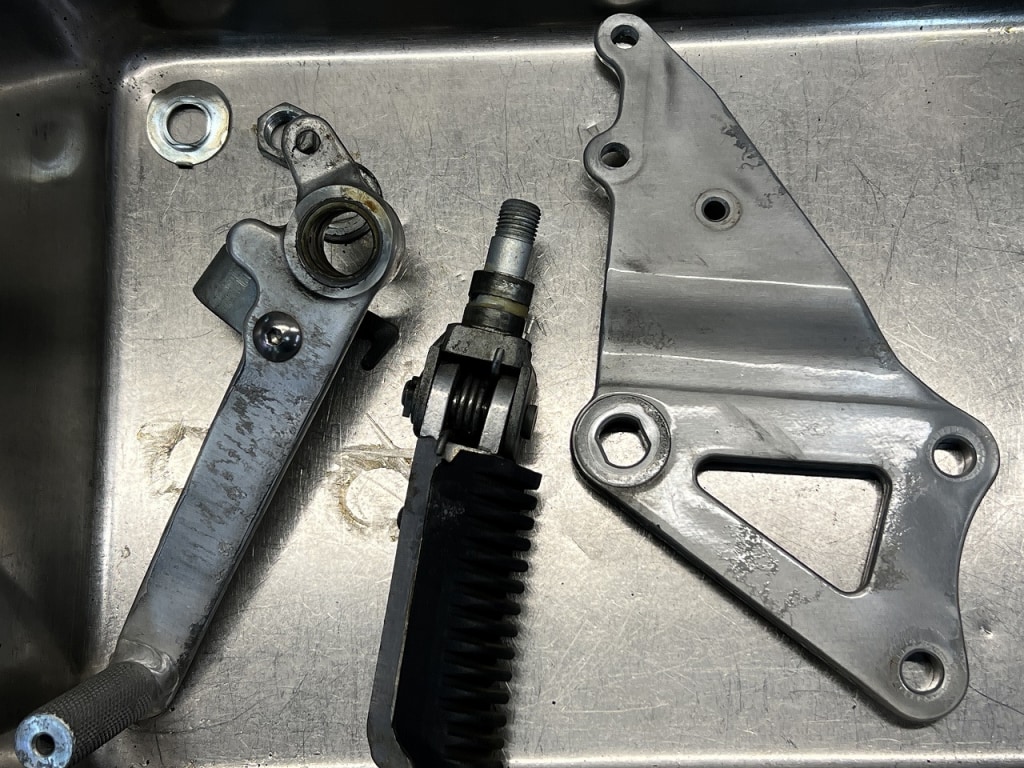
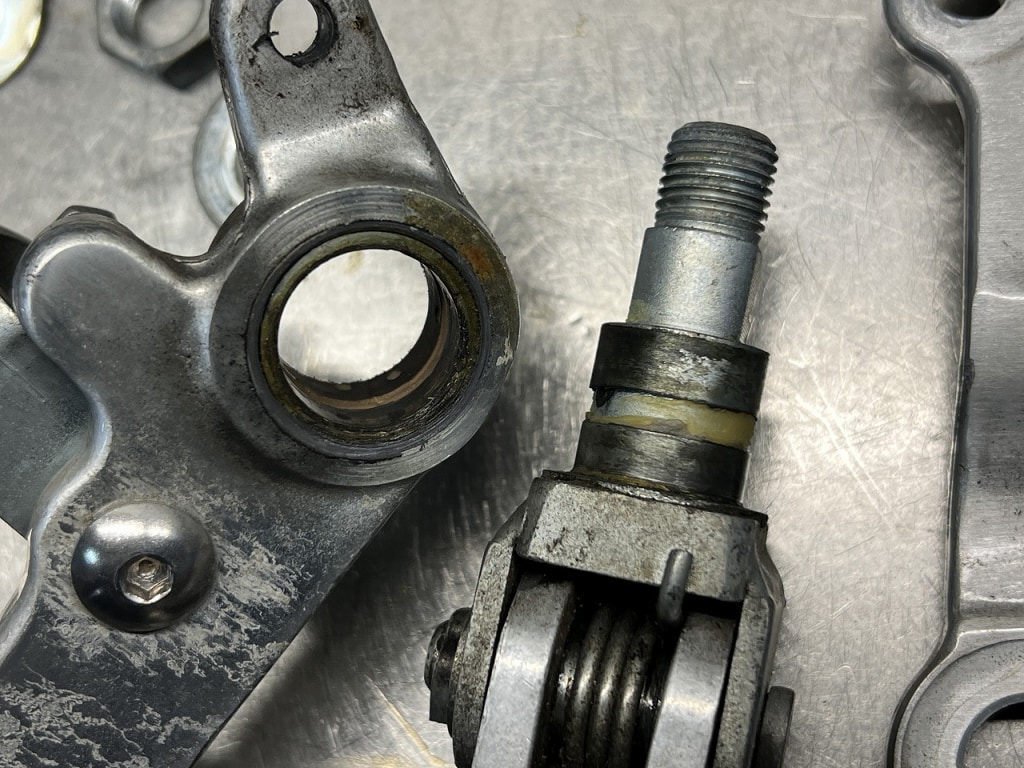
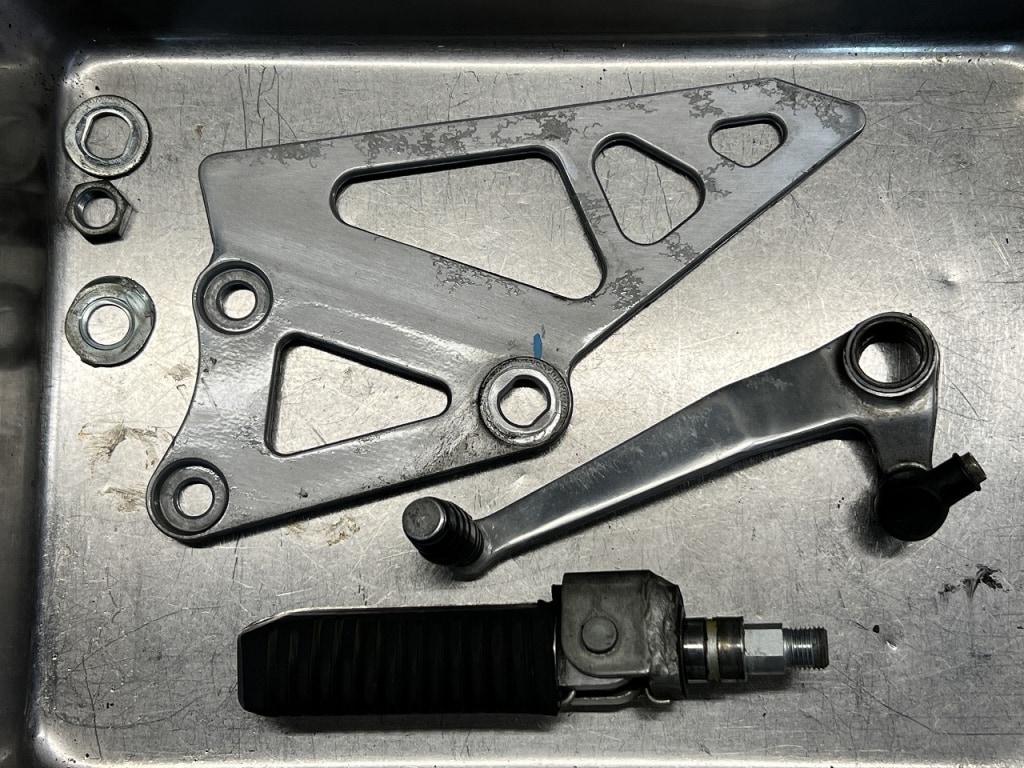
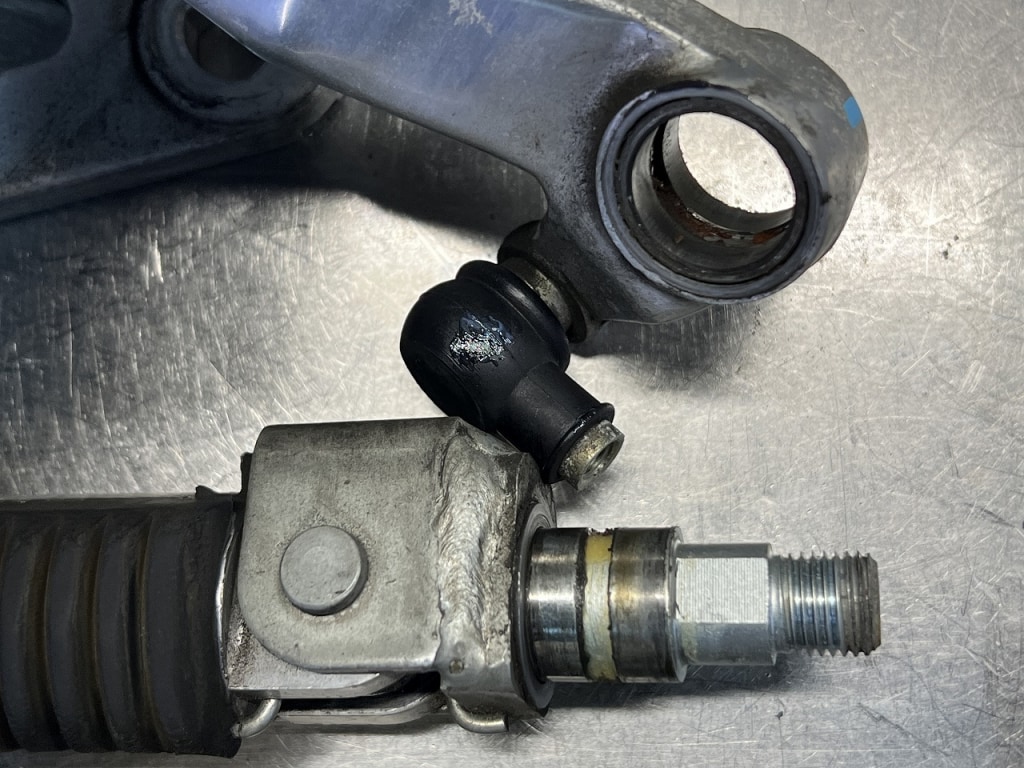
First, let me grease up the shift pedal and brake pedal
The condition was relatively good. Occasionally taking it apart for cleaning &and greasing makes it operate smoothly.
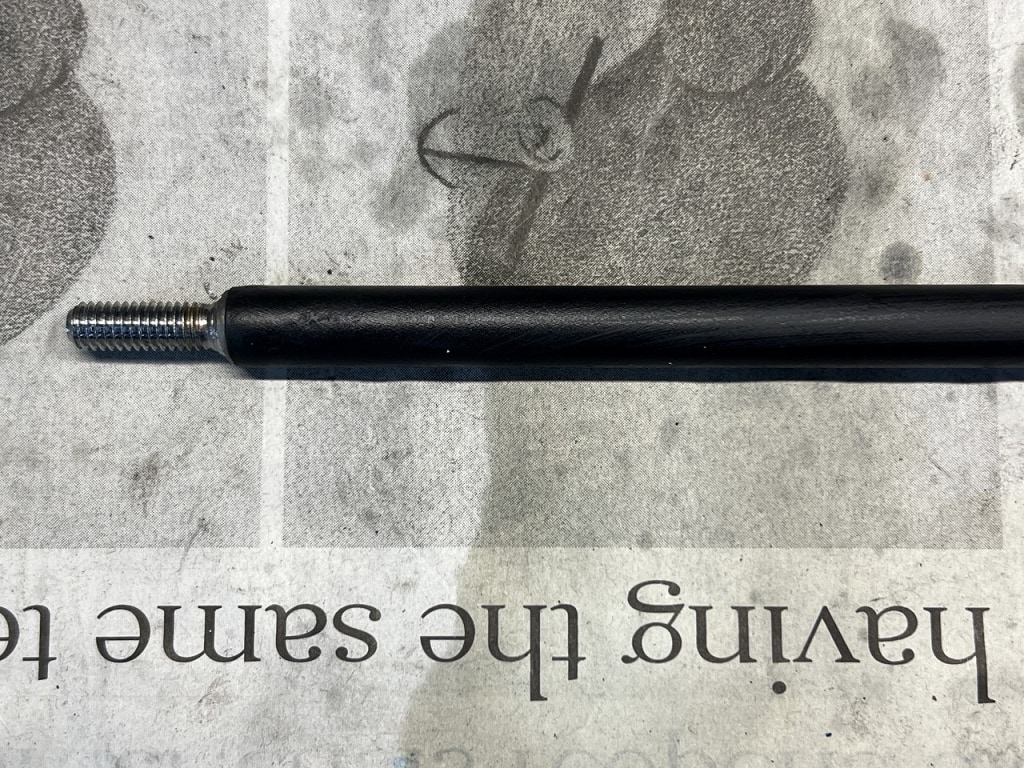
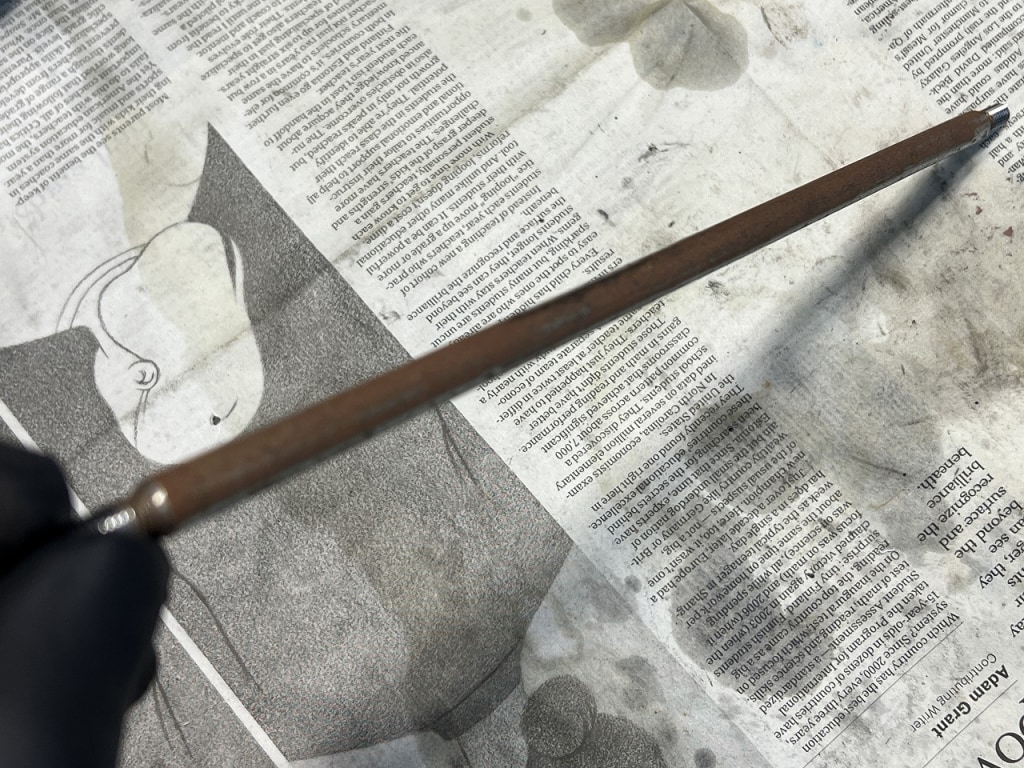
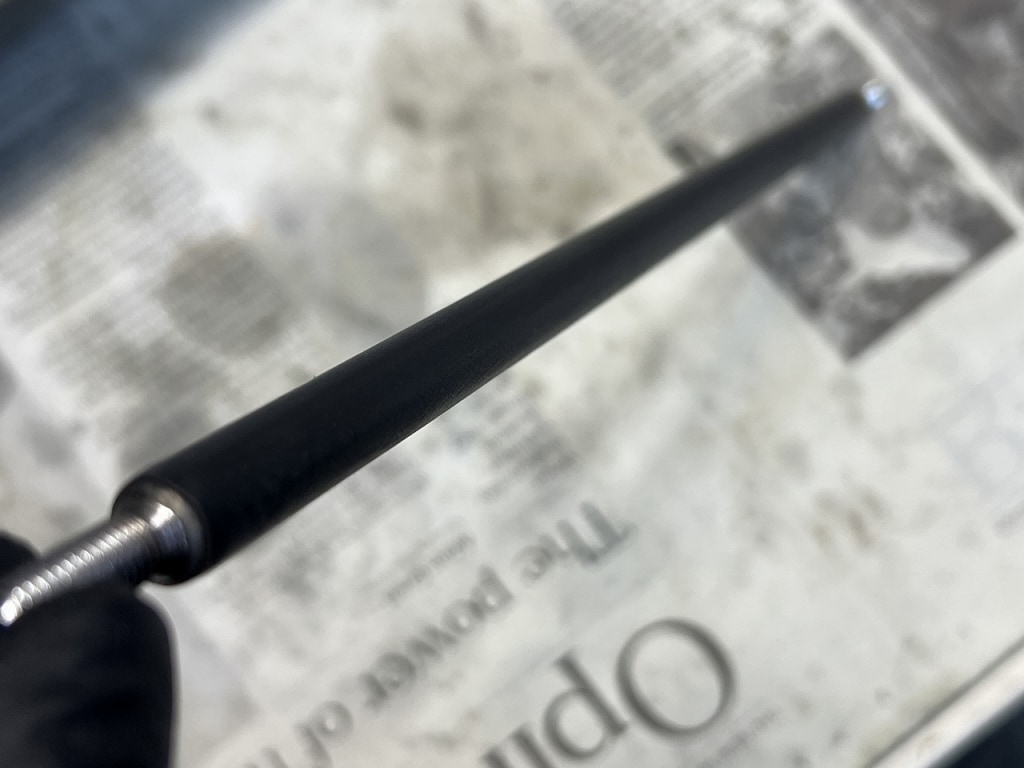
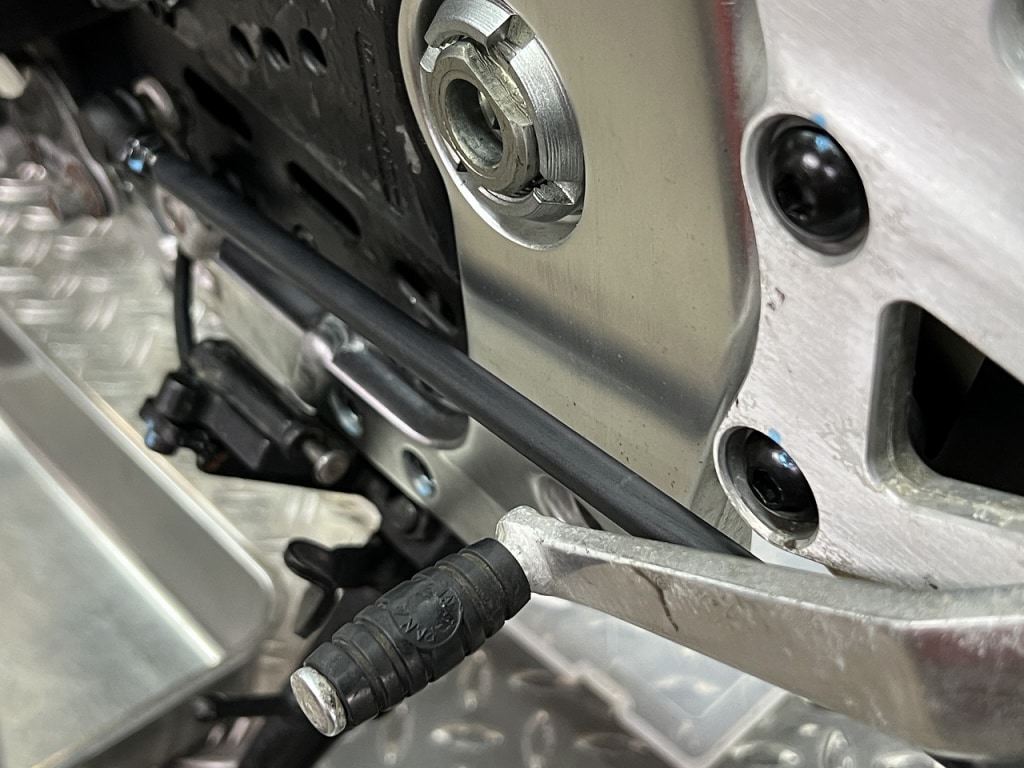
The shift shaft was incredibly rusty and dirty, so I polished it and then dressed it up with heat-shrink tubing.
It doesn’t cut easily even if the boot rubs against it, and it just looks a bit nicer too. With just a little bit of this kind of touch-up, the bike gradually gets cleaner.
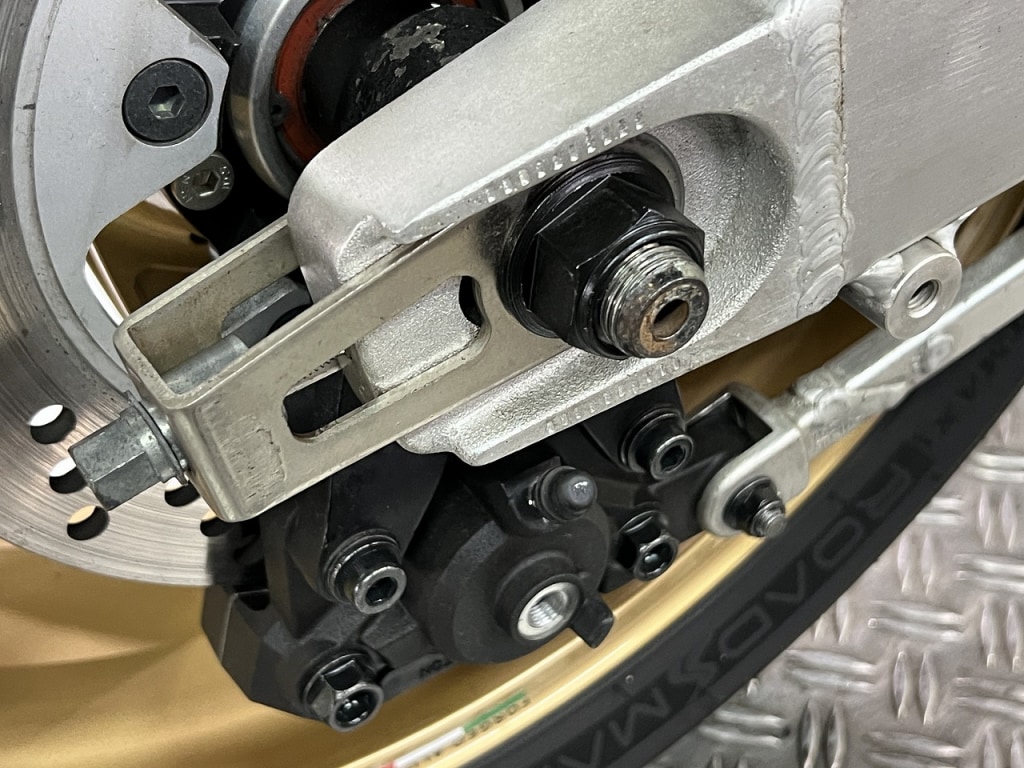
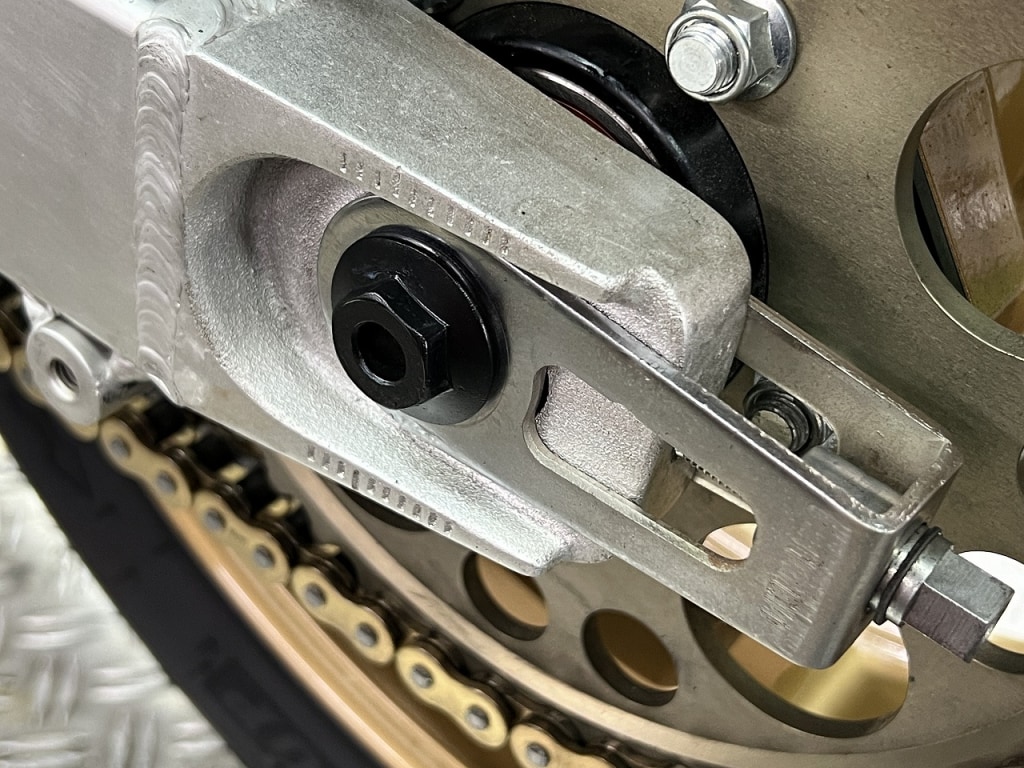
Just cleaning up the bolts and nuts makes the bike look sharp right away. The little details add up and make a difference as we get close to the finish line. Oh, and by the way, GSX-R models from this era have the axle shaft inserted from the left as original equipment. Well, it doesn’t really matter either way, but I’m keeping it original.
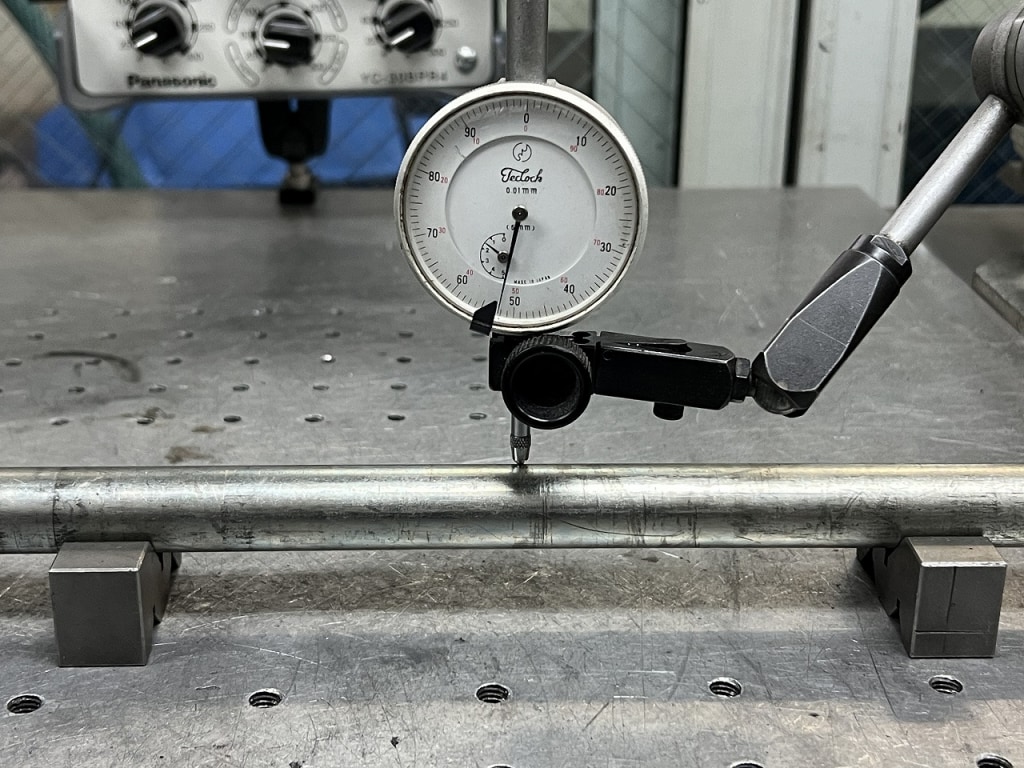
The axle shaft runout was fine.
Putting heat-shrink tubing on the hose clamp prevents scratches
I saw this technique a long time ago and thought “wow!” It looks nice and keeps parts from getting scratched, which is great.
I think it’s good to install things as gently, carefully, and cleanly as possible.
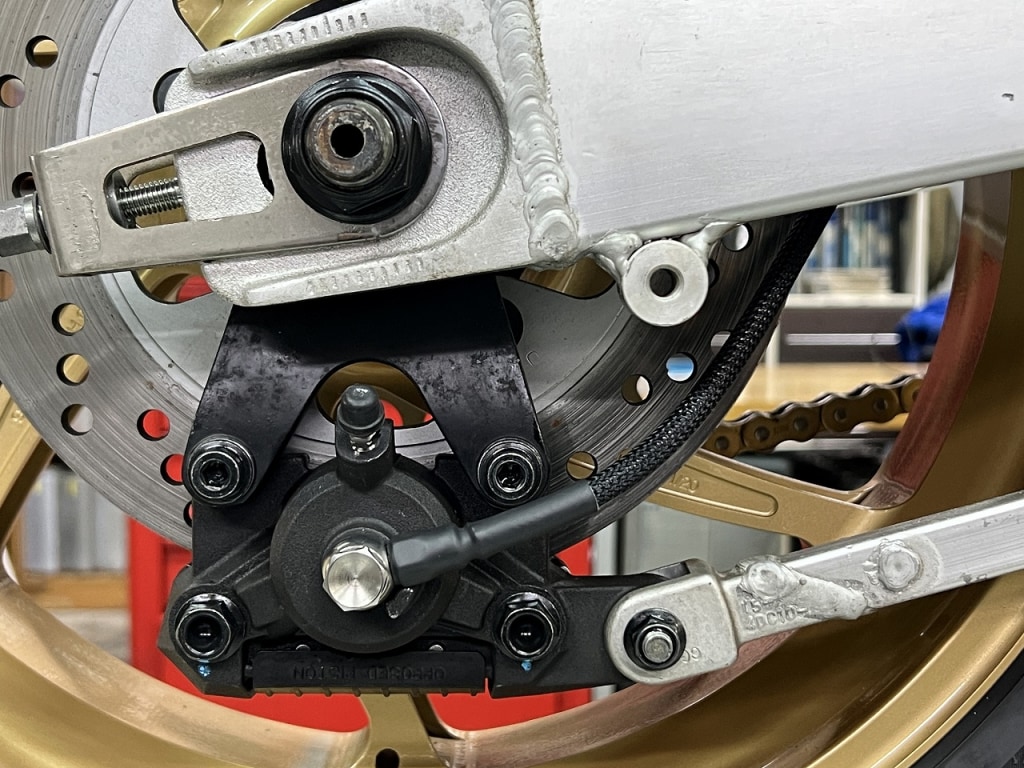
I’m running low on brake hose protective covers…
I managed to make just the rear brake hose cover for now. I’ll make the brake hose covers once the materials arrive next week.
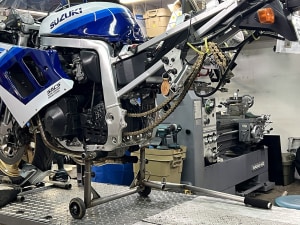
I want to get ahead with the maintenance work first. I was hoping to finish this week, but it’s not that simple.


 ポチップ
ポチップ