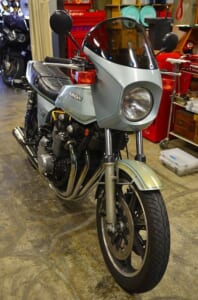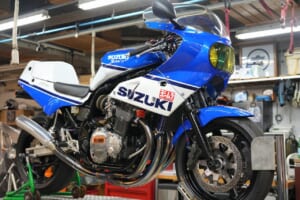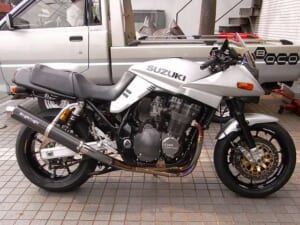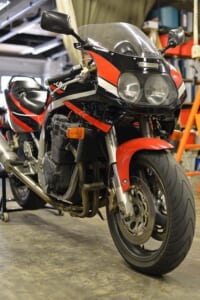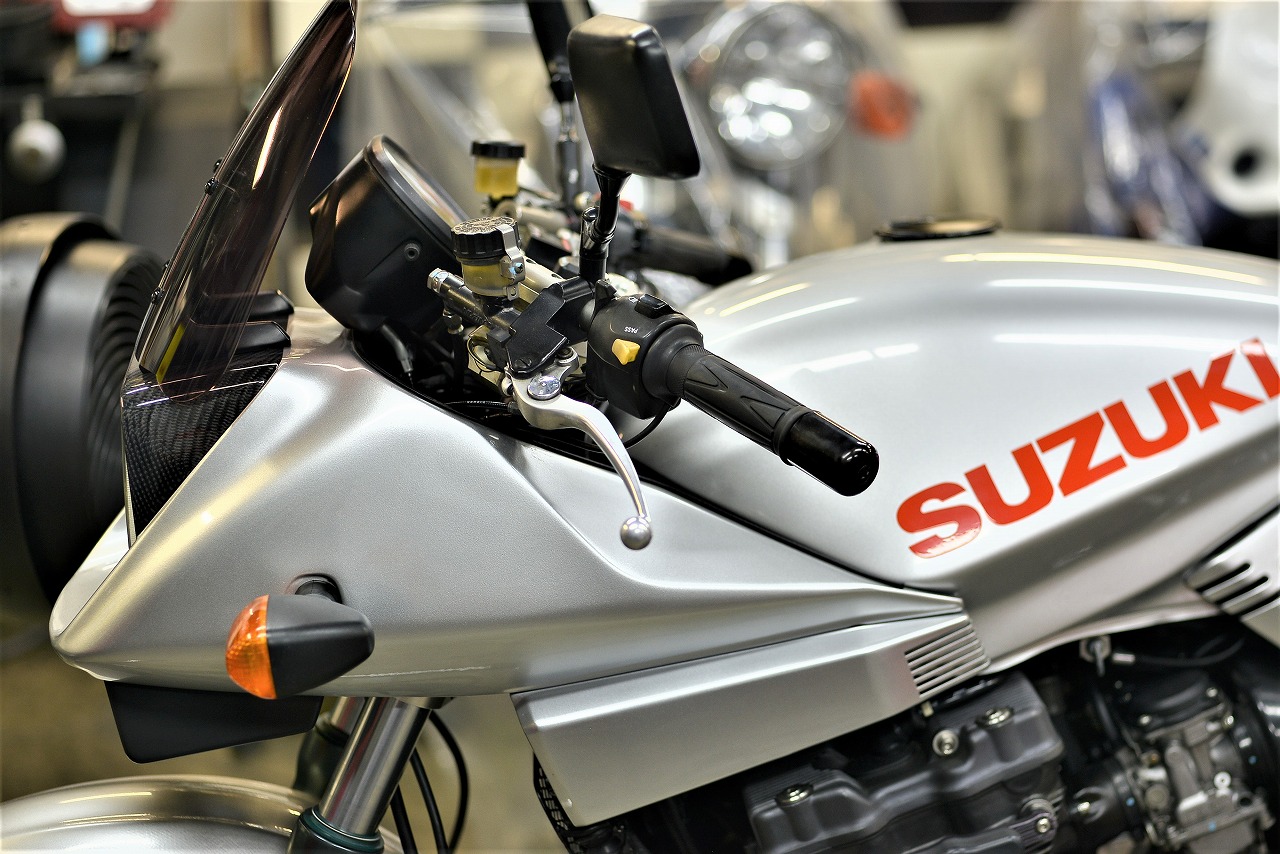
Inazuma 1200 oil-cooled Katana main harness replacement. It’s been several years since the 1200 harness was discontinued…
At that time, the owner got a 400 harness thinking “well, if it’s a 400!” and we’re swapping it in.
Will it work? It’s Suzuki, so probably. Should be fine. But let’s check. Alright, let’s get to work.
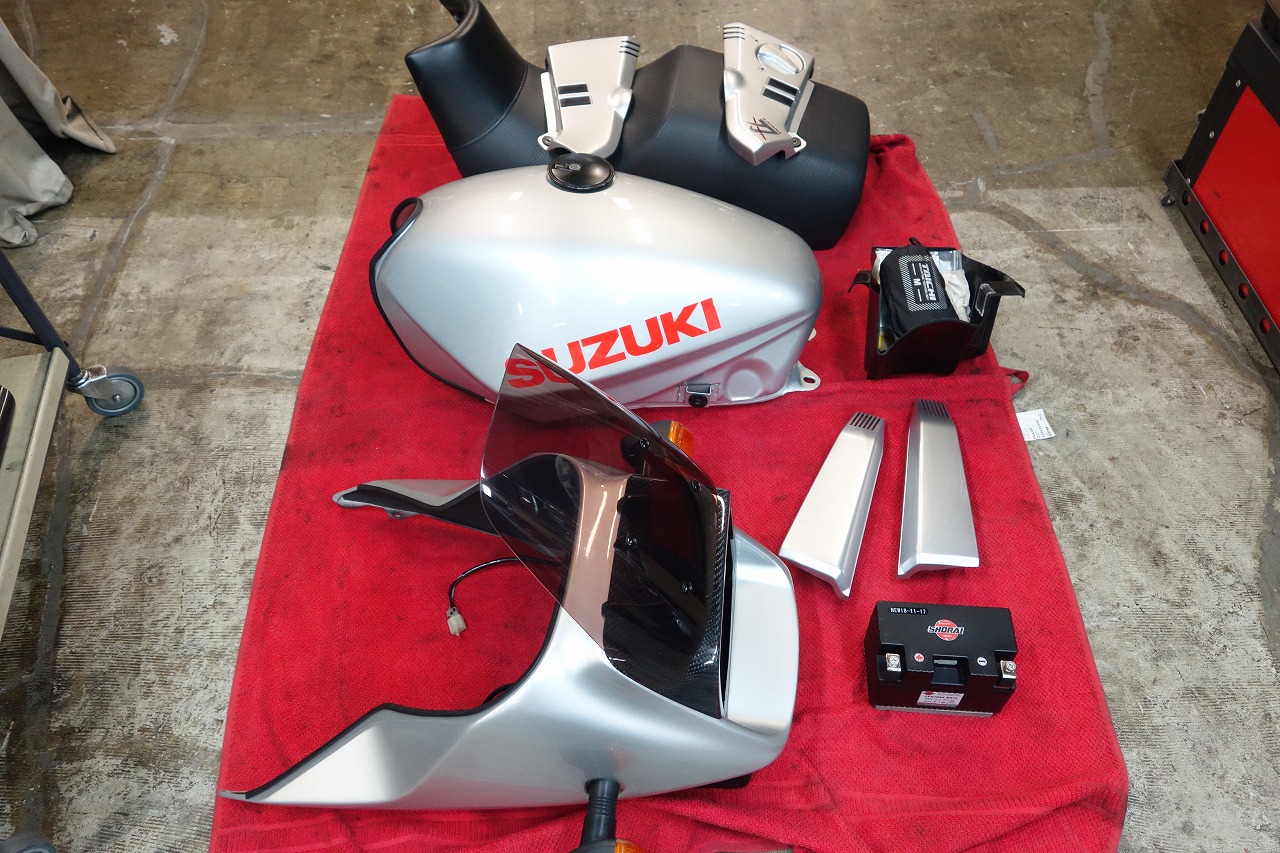
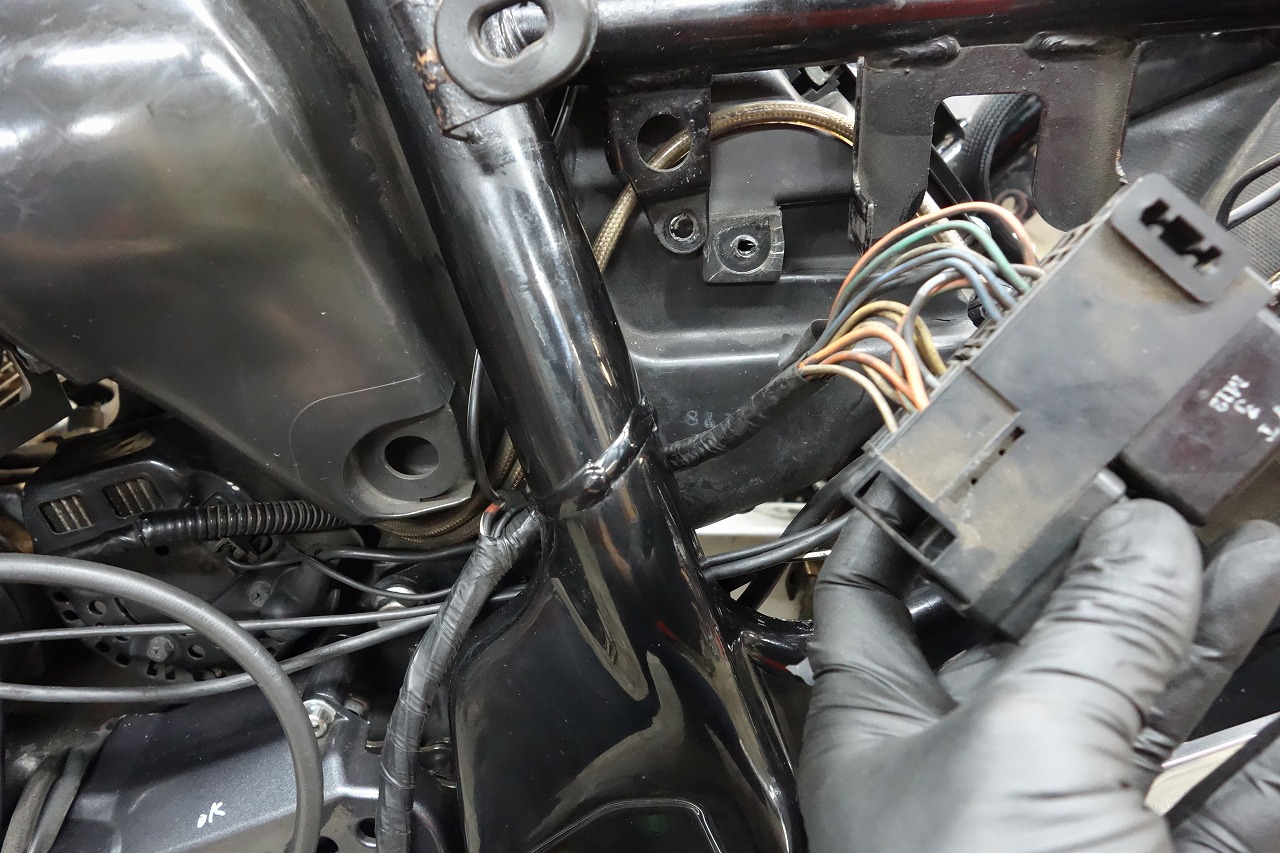
The fuse box won’t come out = it’s the reverse pattern.
(Everything except the fuse runs through from under the air cleaner box.)
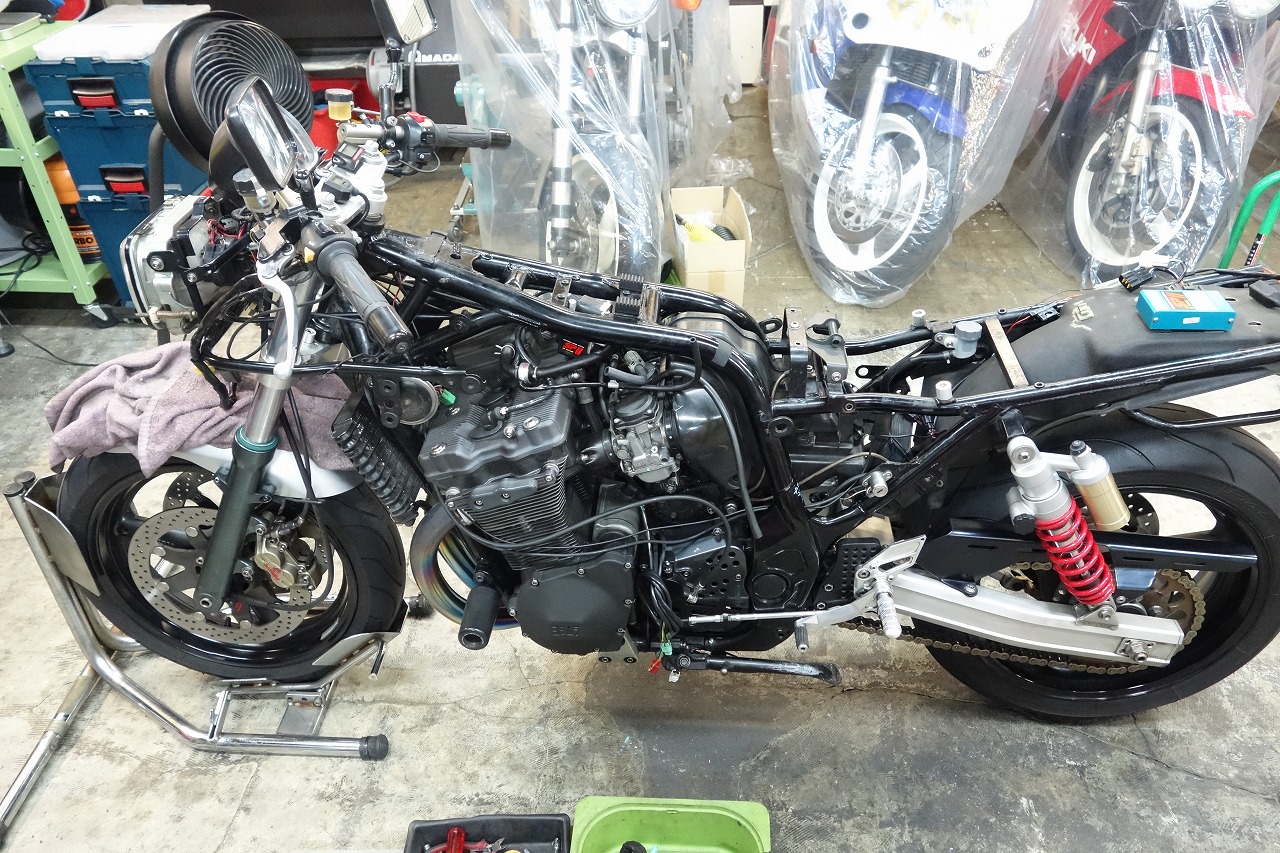
Harness replacement has the image of being a hassle at first glance, but if you proceed carefully and neatly, it’s not really a pain.
Basically, manufacturers design things so they can be replaced. Don’t rush or panic.
There are times I really dislike it—like when the harness is modified during removal and you have to cut it. When it comes to aftermarket parts, if you think not just about “installing” them but about “installing, functioning, looking good, and maintaining well,” you might actually get surprisingly good results.
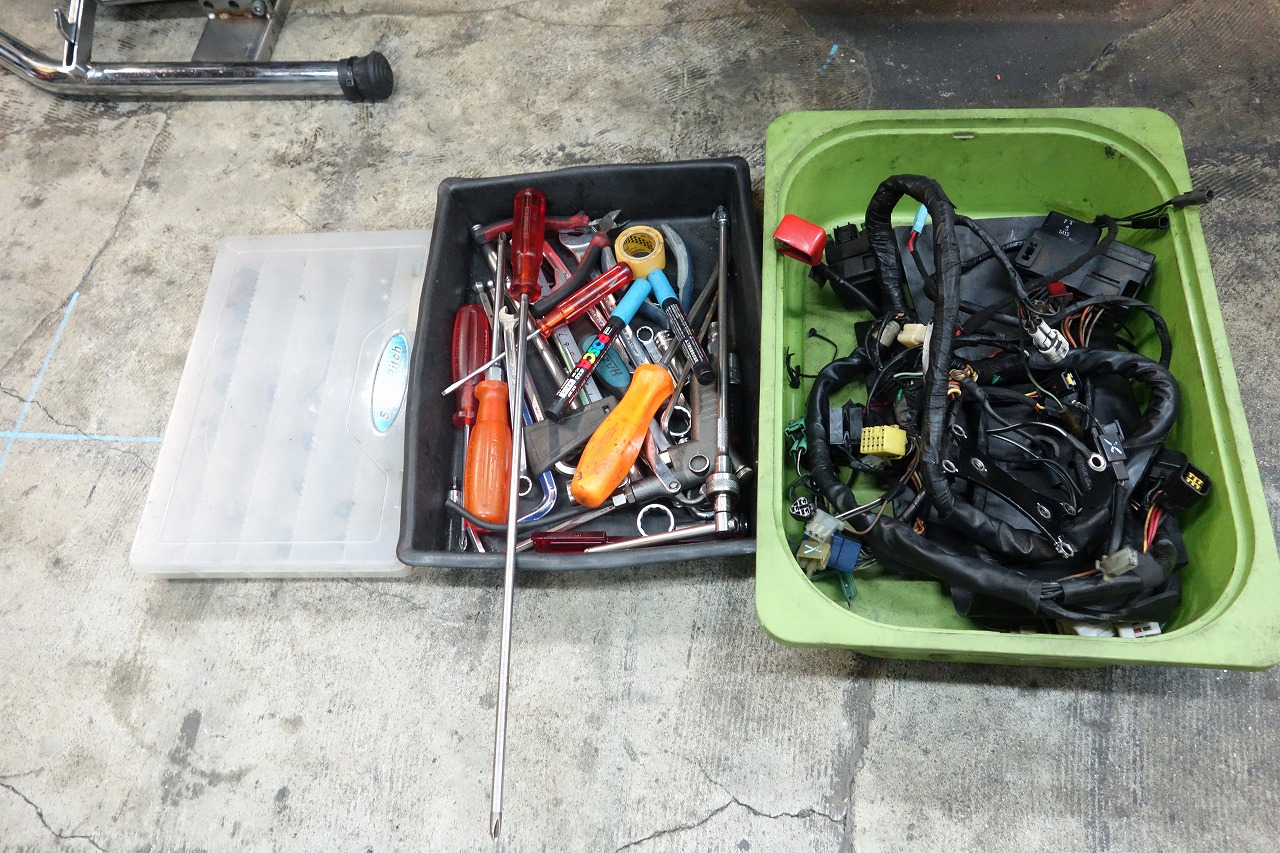
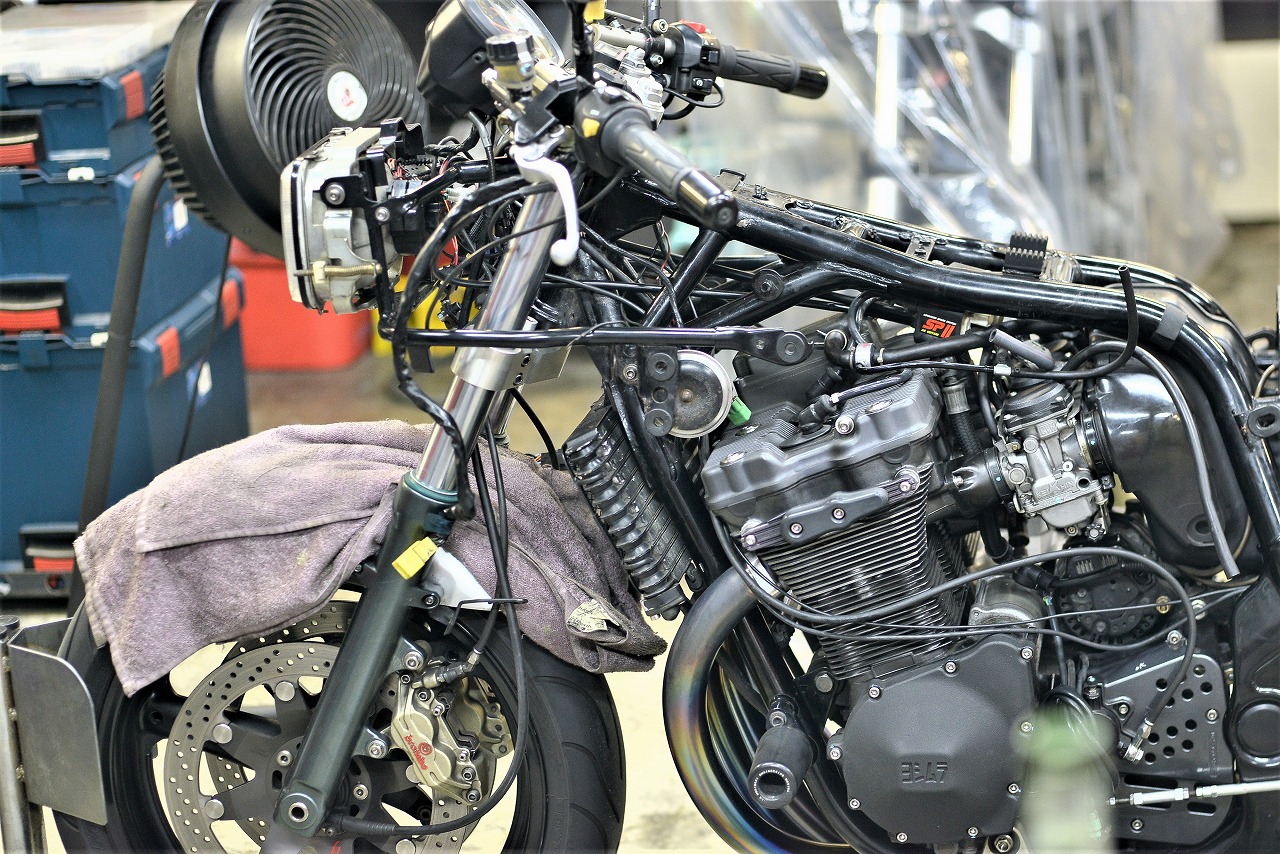
With aftermarket Watanabe ignitions and such, it’s good to install them without using the included accessories and in a way that’s convenient.
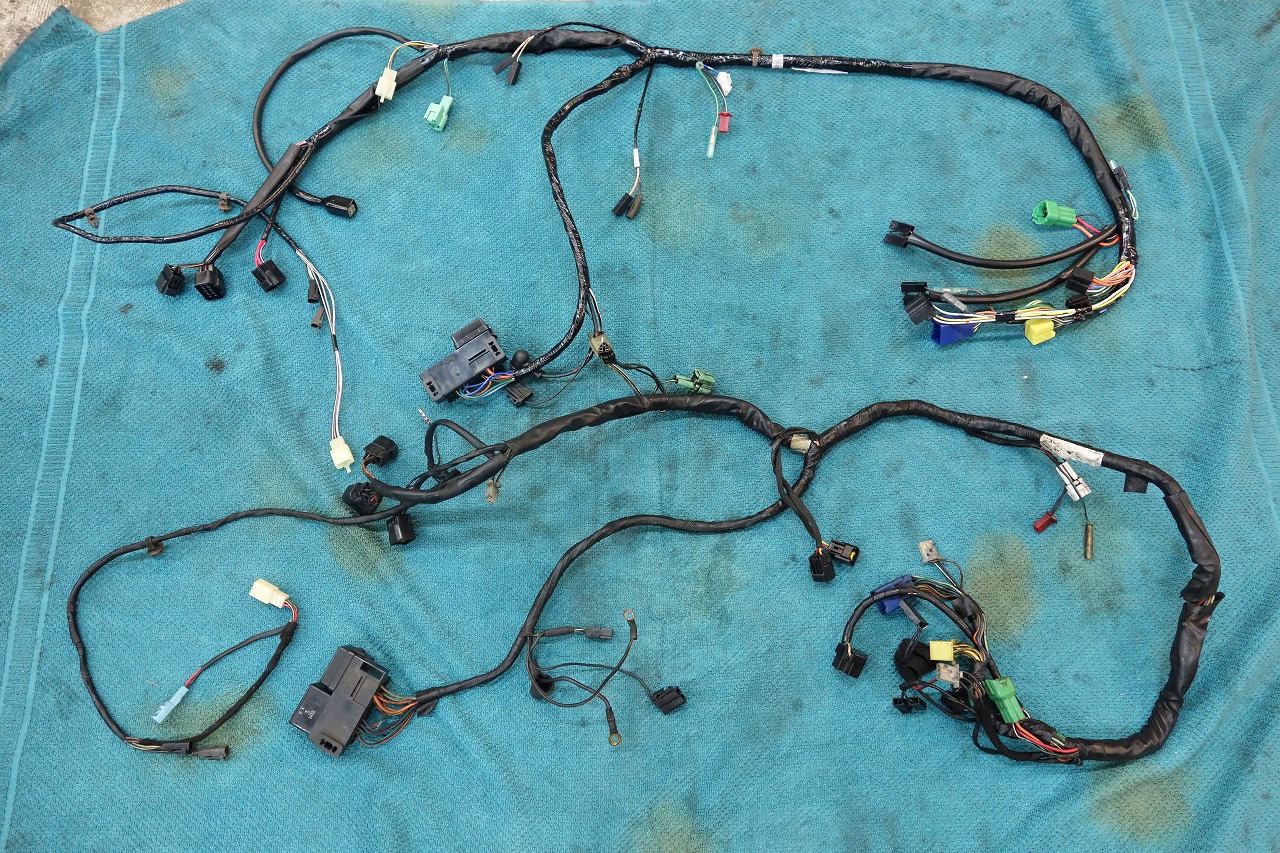
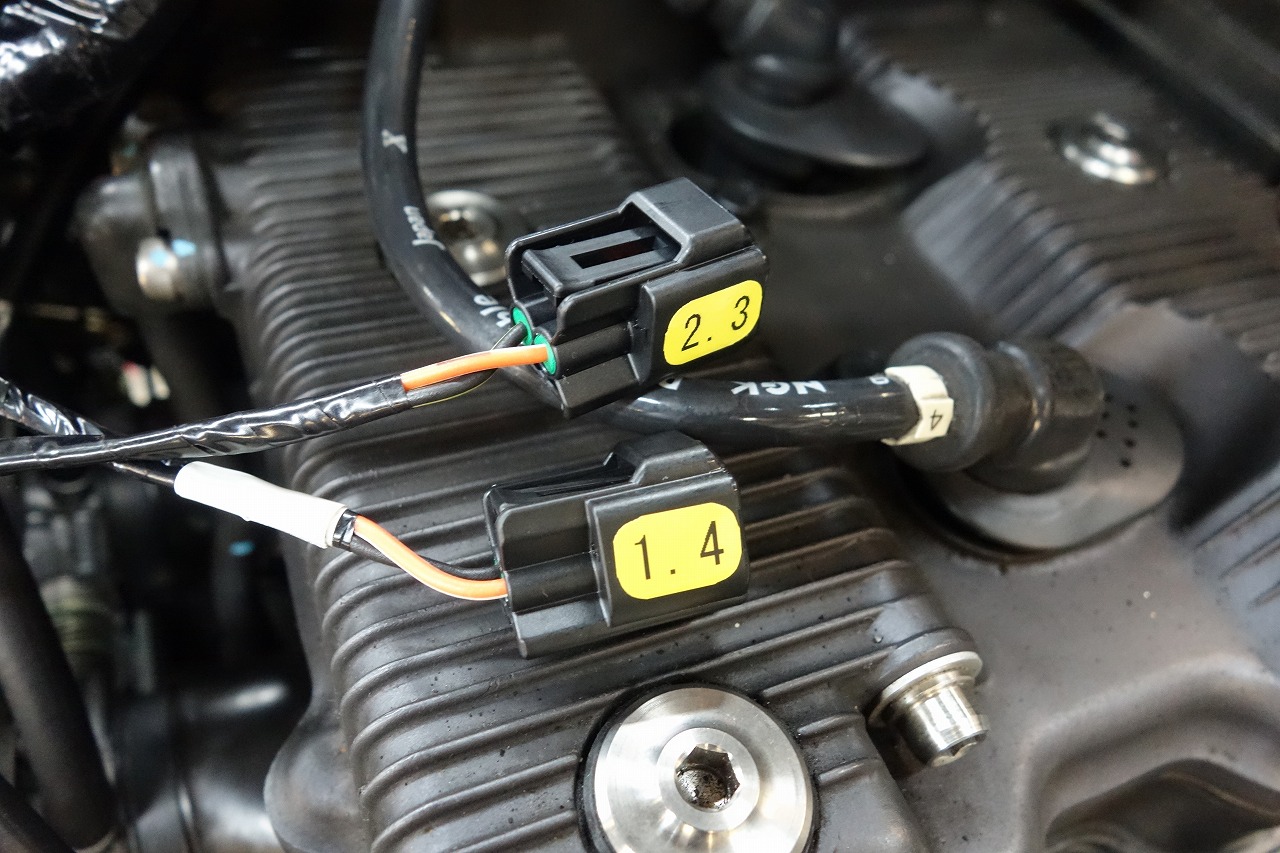
They’re pretty much twins… as expected from Suzuki. But we’re grateful. Result = basically OK (just a few differences).
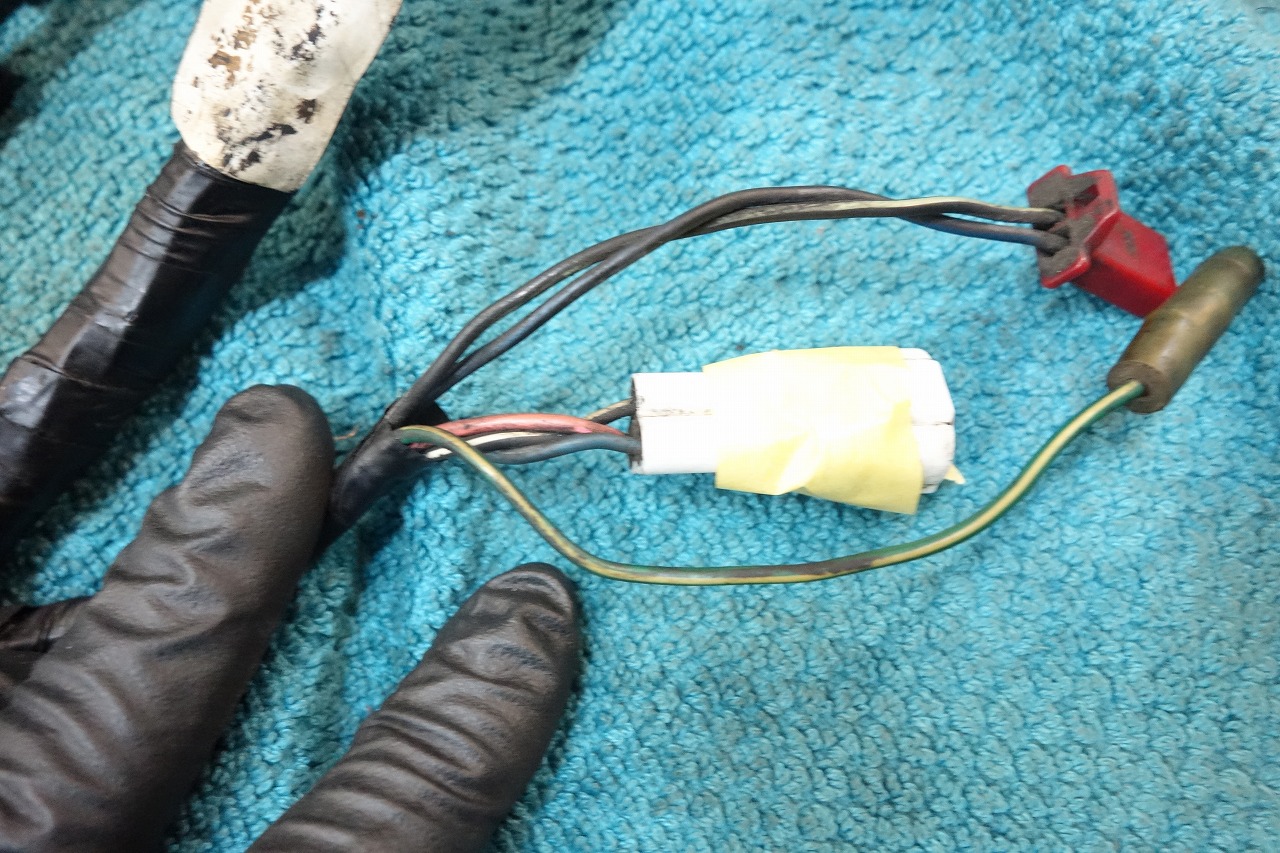
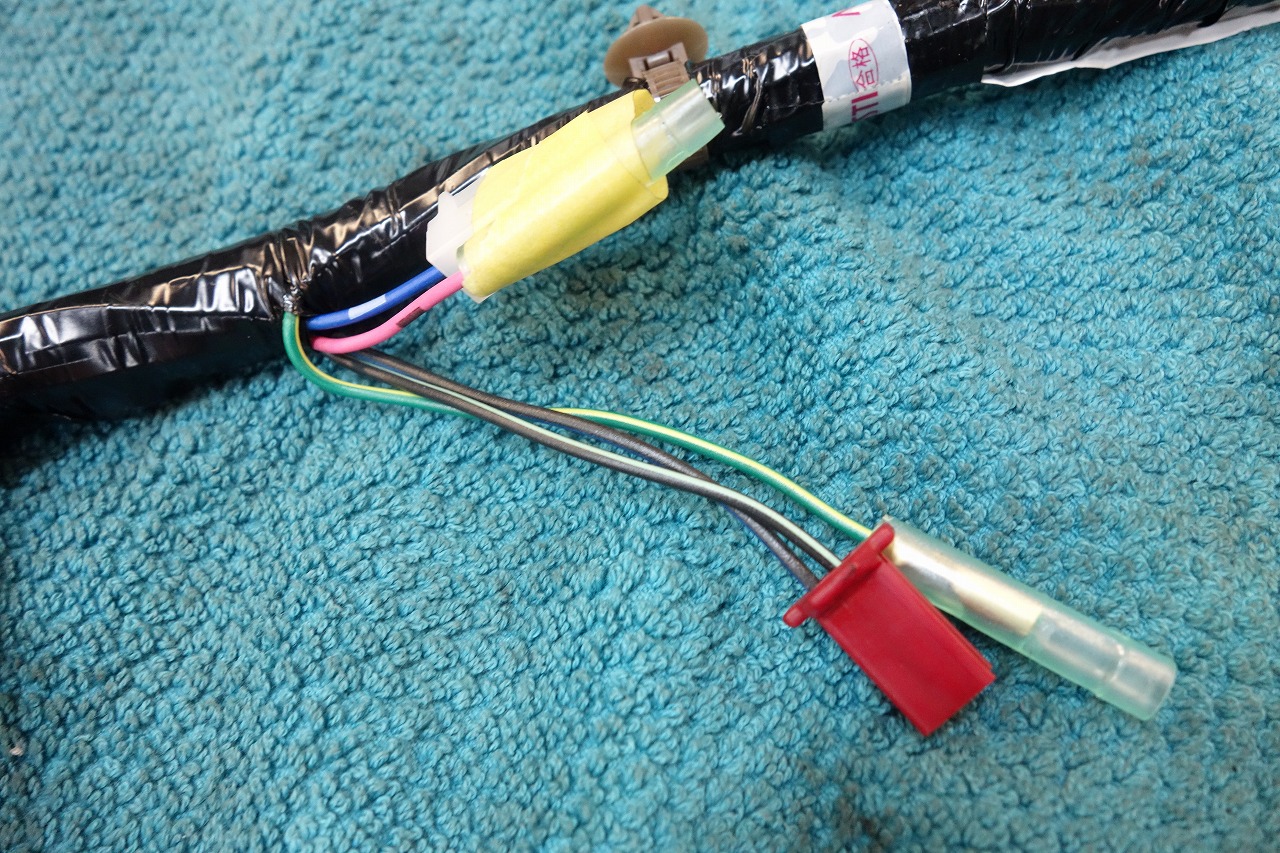
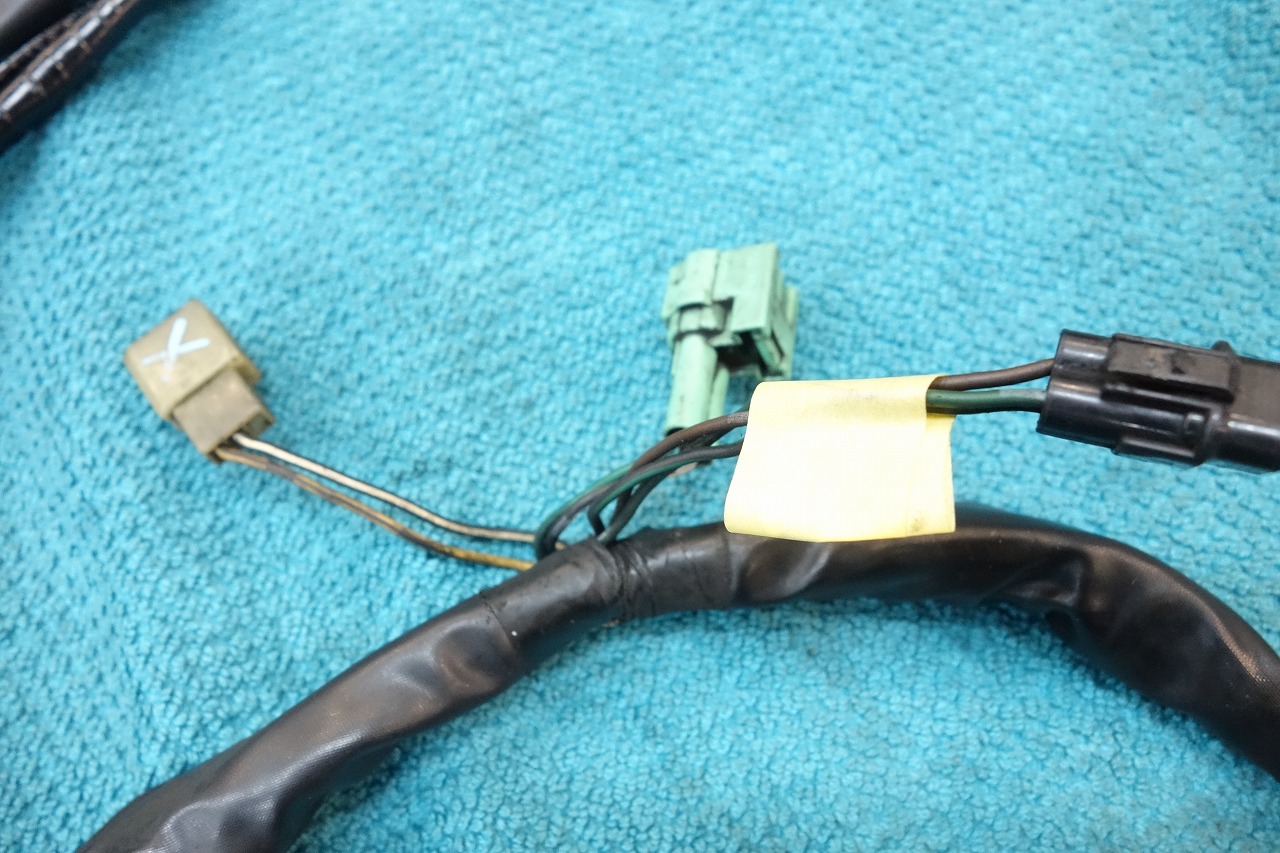
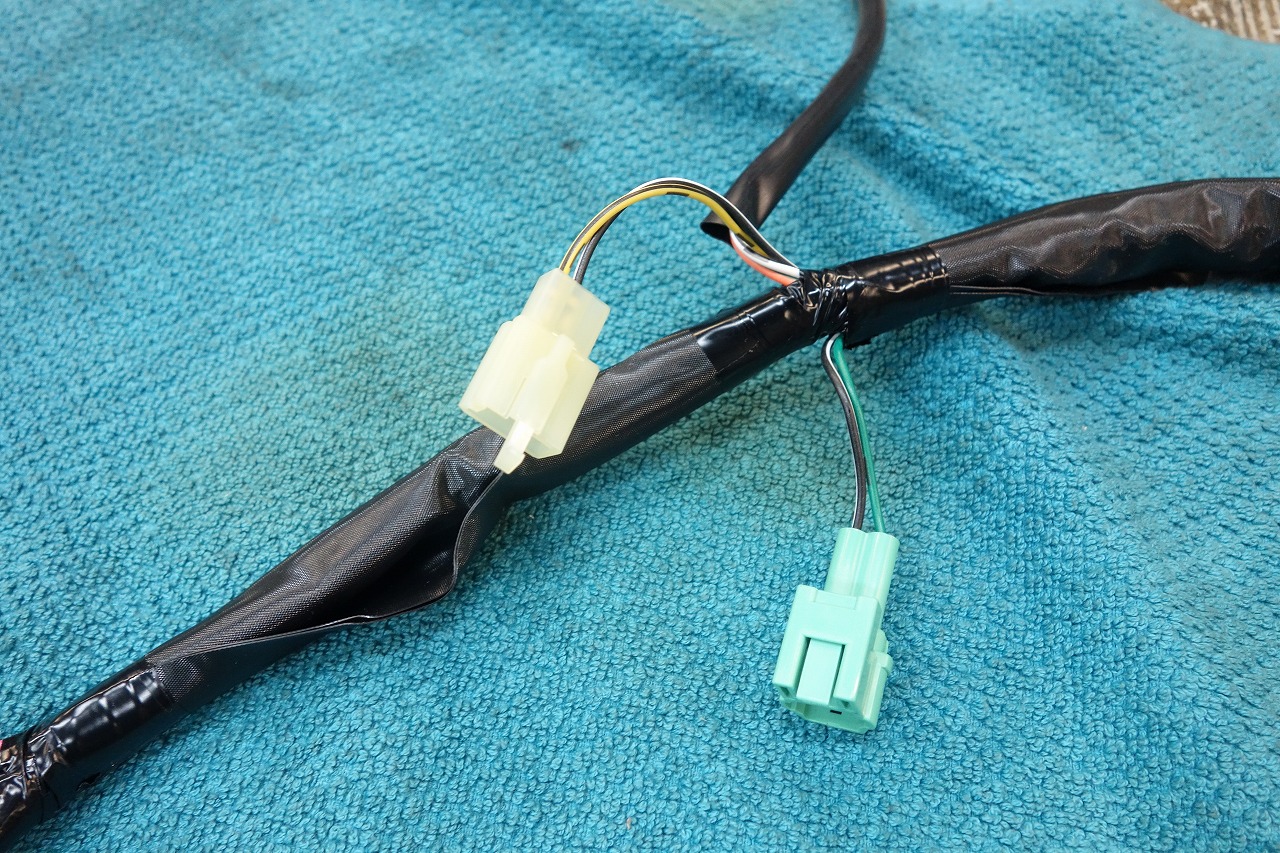
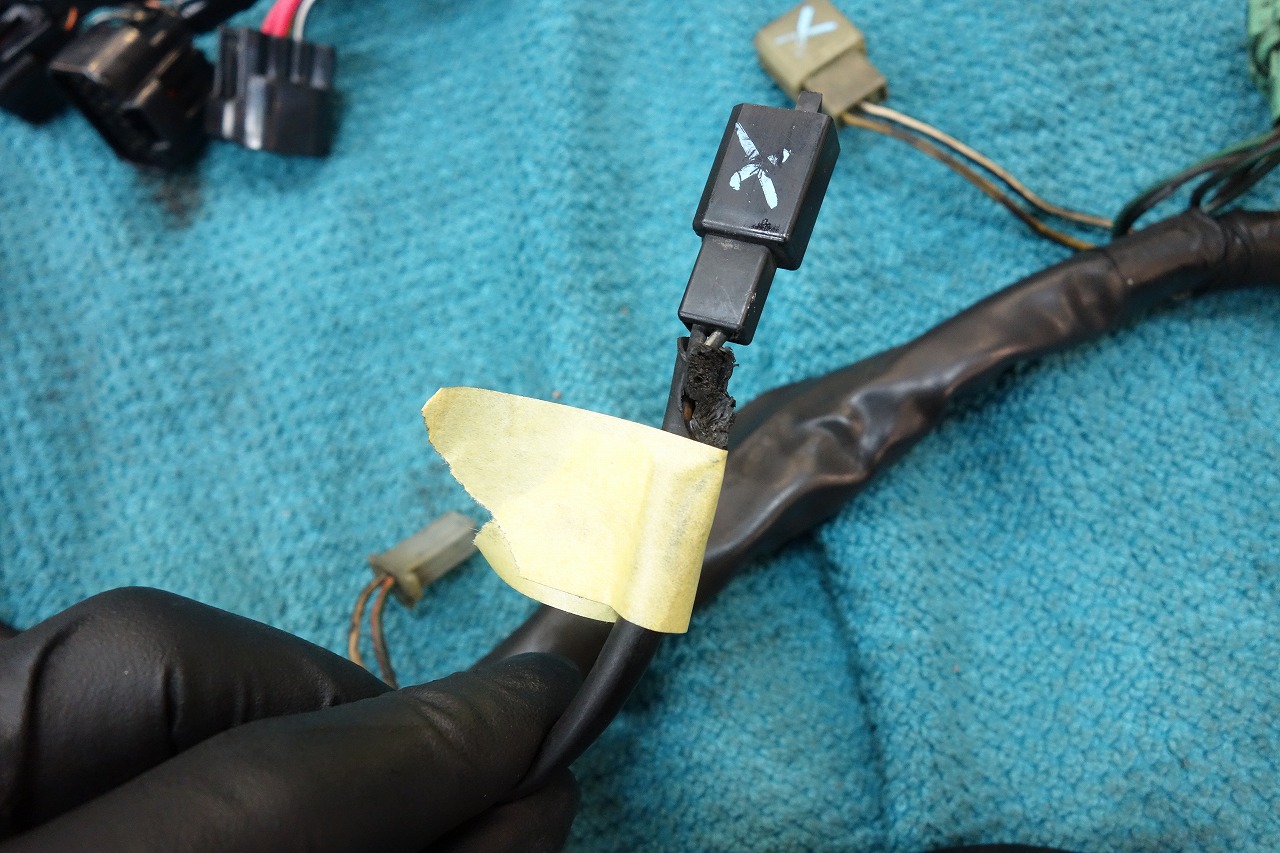
Orange/black—on Suzuki this goes to the fuse-kill switch.
Black/white (ground).
With these two wires, is it optional?
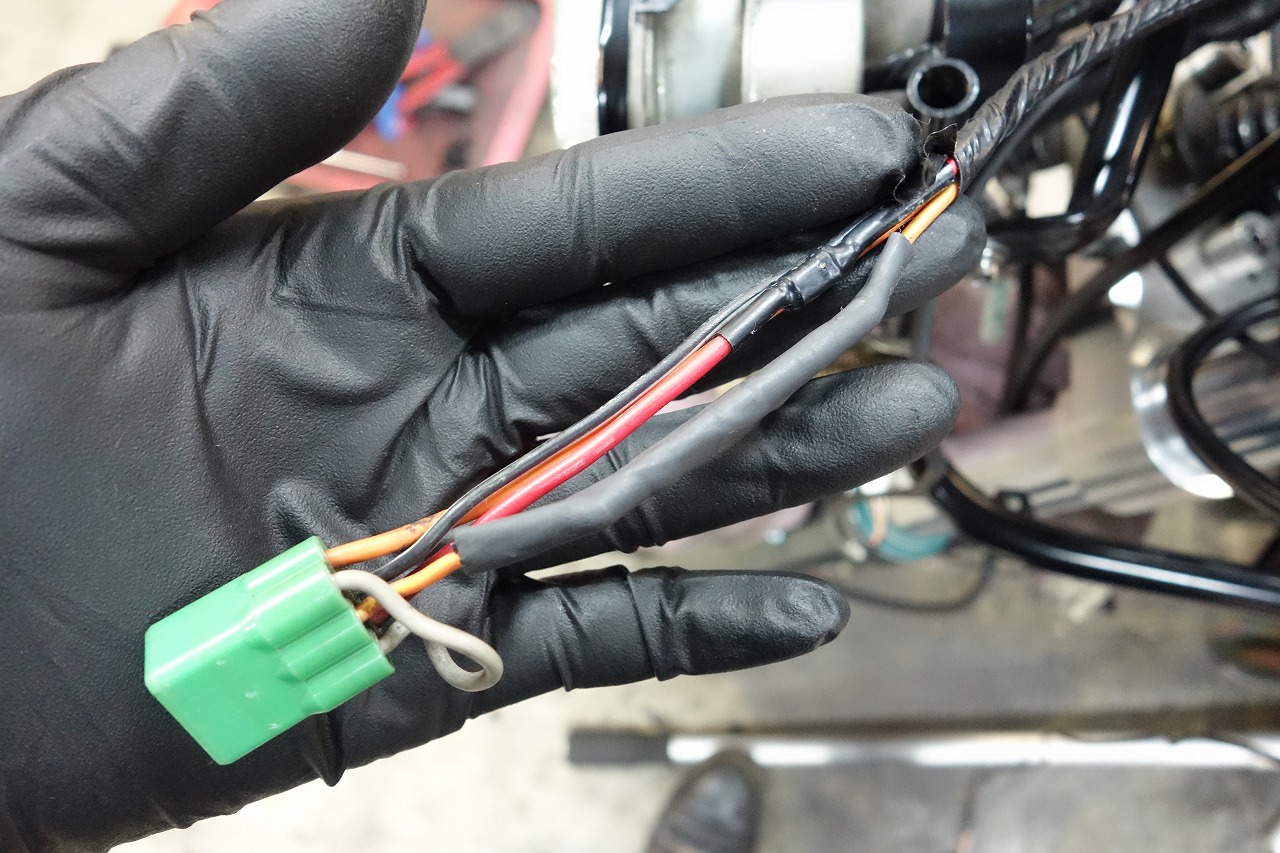
To change to an old key, you need to install a resistor.
Google “key cylinder resistor motorcycle.”
This is an Inazuma 1200 Katana, so I fumbled around trying to find where it is…
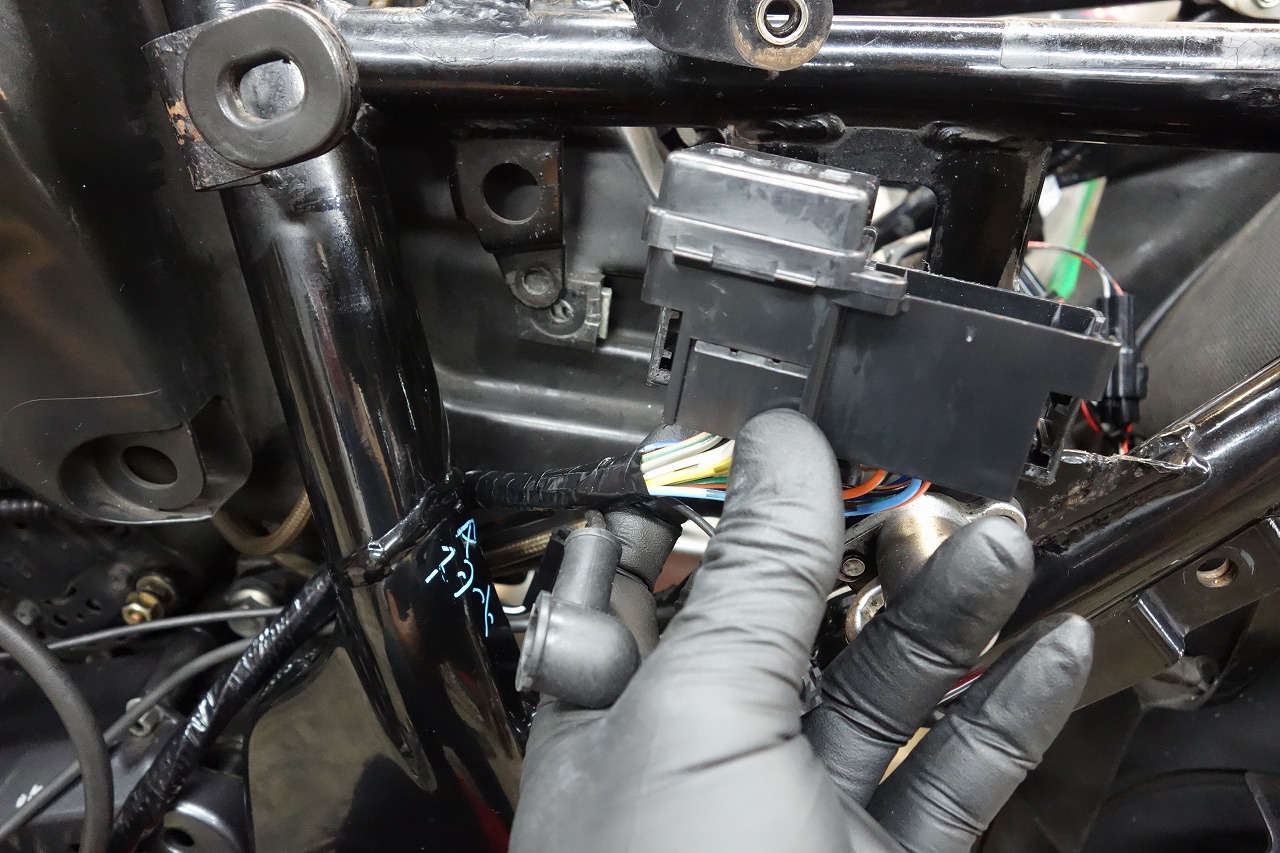
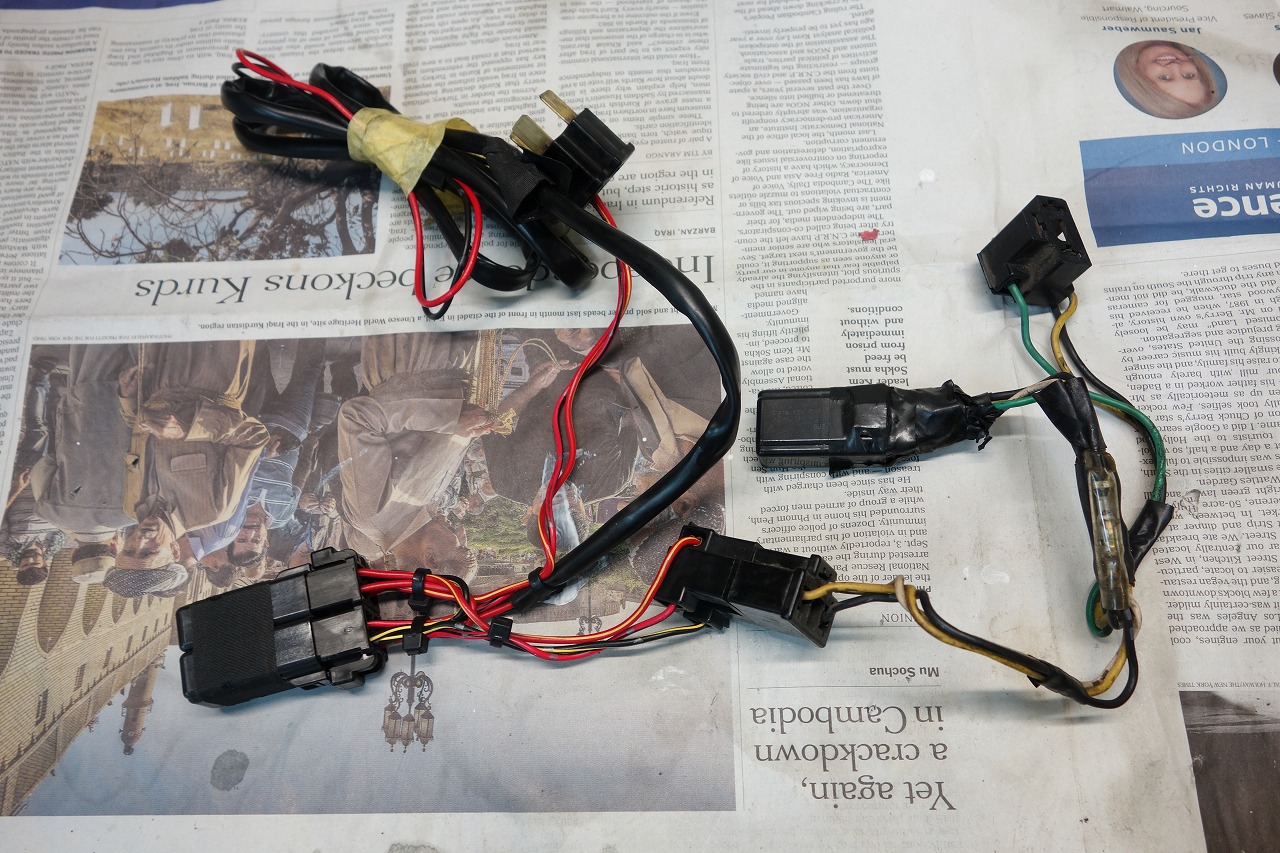
The type where the relay comes to the headlight side… I hate it. It’s super annoying.
I can’t exactly tell him to swap it for a Daytona… so we installed it.
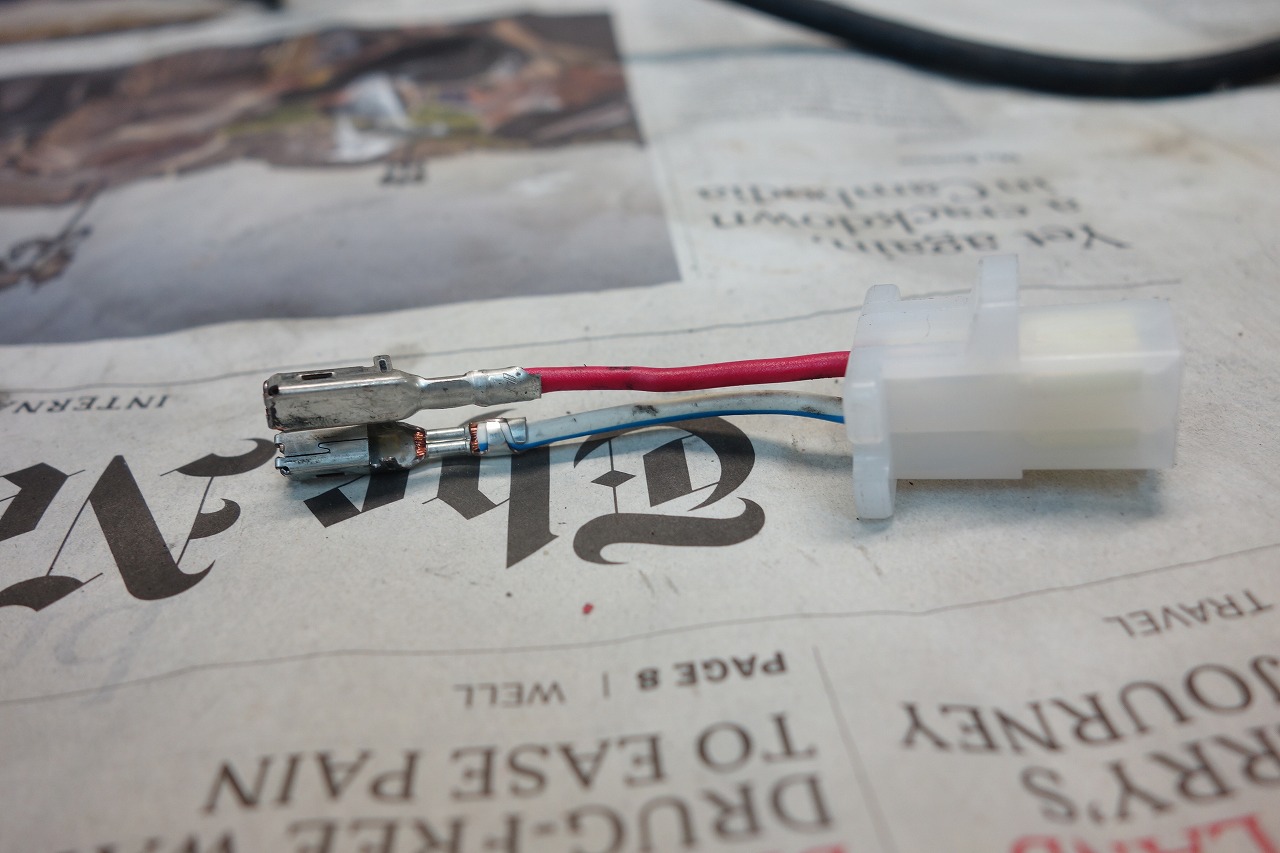
But since it’s a direct-to-battery relay, what about the positive besides the ground?
The starter relay terminal (BT side) = battery positive, so you can use that too.
This time we used the generator output = battery positive. But!
Getting battery positive = fuse is essential → aftermarket fuses are… well, I was hesitant, but looking at the existing fuse box, there’s space!
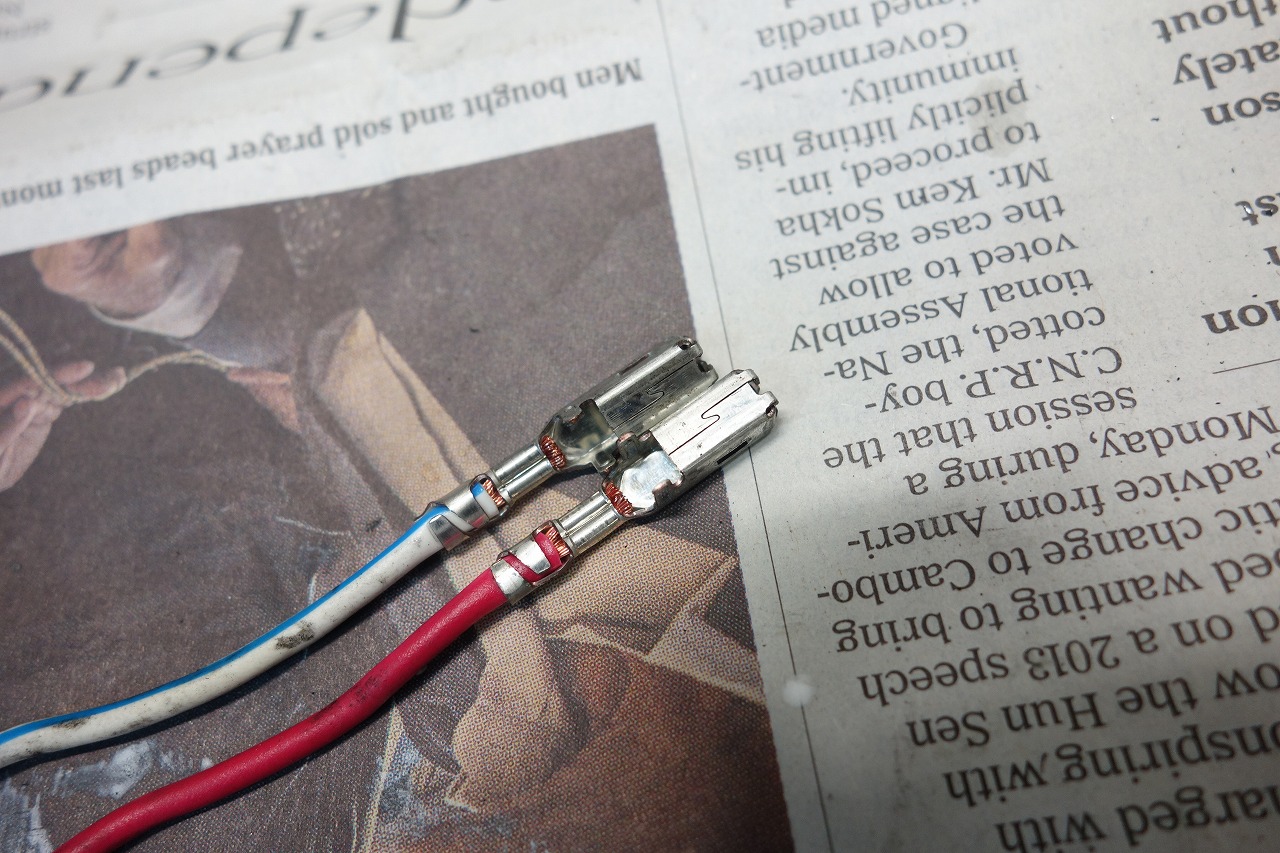
We got terminals and wiring from a junk connector and made a tap like this.
Shall we all search for it?
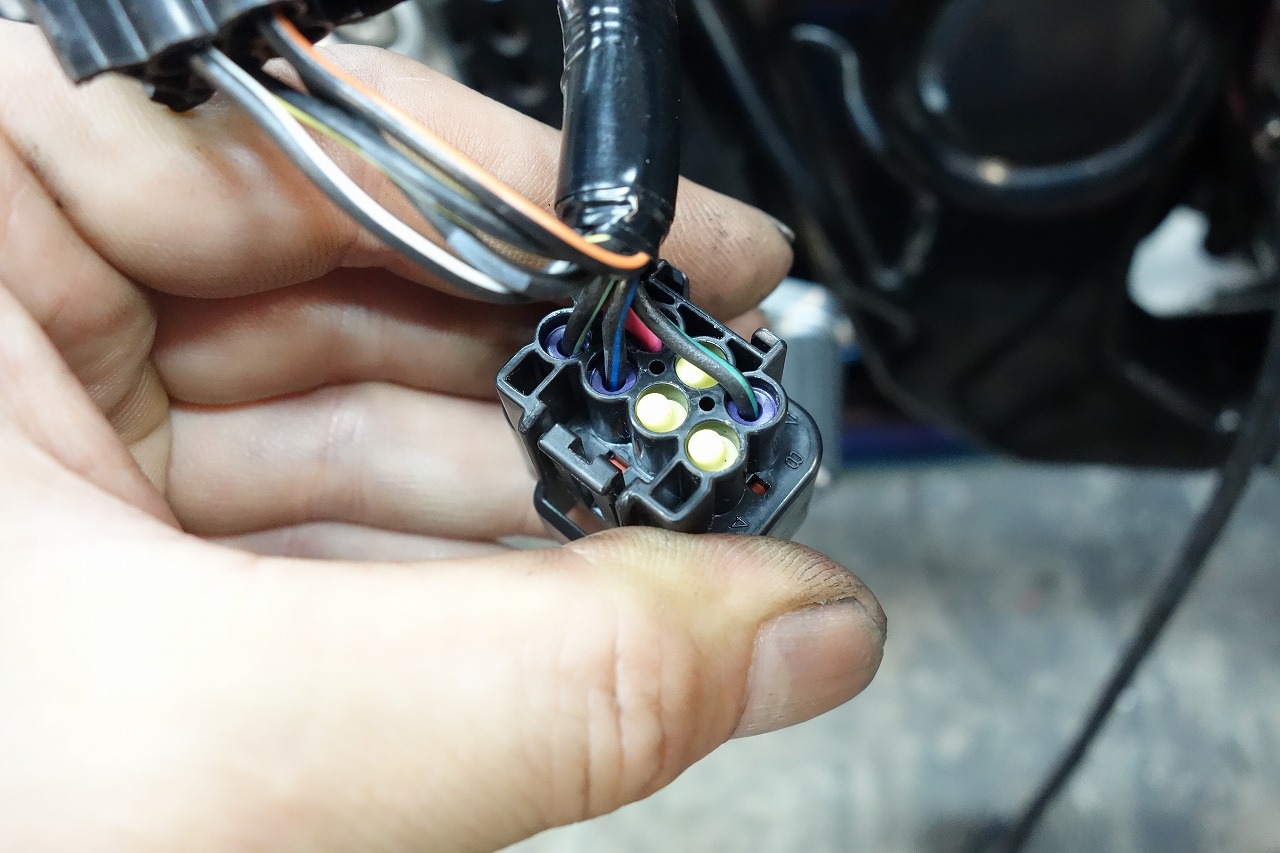
Finally found the 400 wiring diagram… I get it now.
On the 400, the tach signal line = igniter.
On the 1200, the tach signal line = coils 2 & 3 and igniter.
When using Watanabe, there’s no tach signal line at the stock tach wire location.
We tapped from the Watanabe blue wire and fed it into the harness to clear it up.
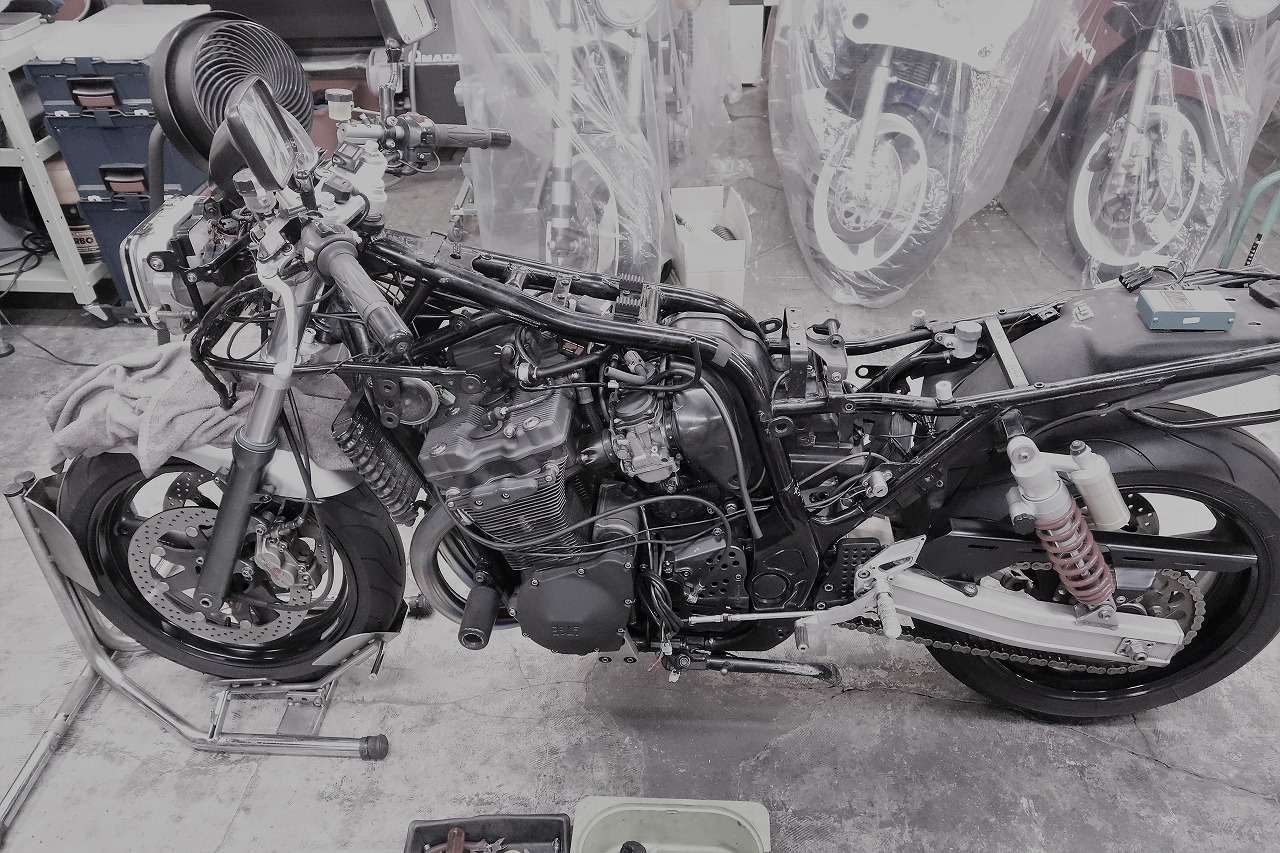
Harness replacement takes more time figuring out the layout than actually doing the swap.
If you just swap it without thinking, it shouldn’t take more than two hours… (*´Д`)
That wraps up this job.