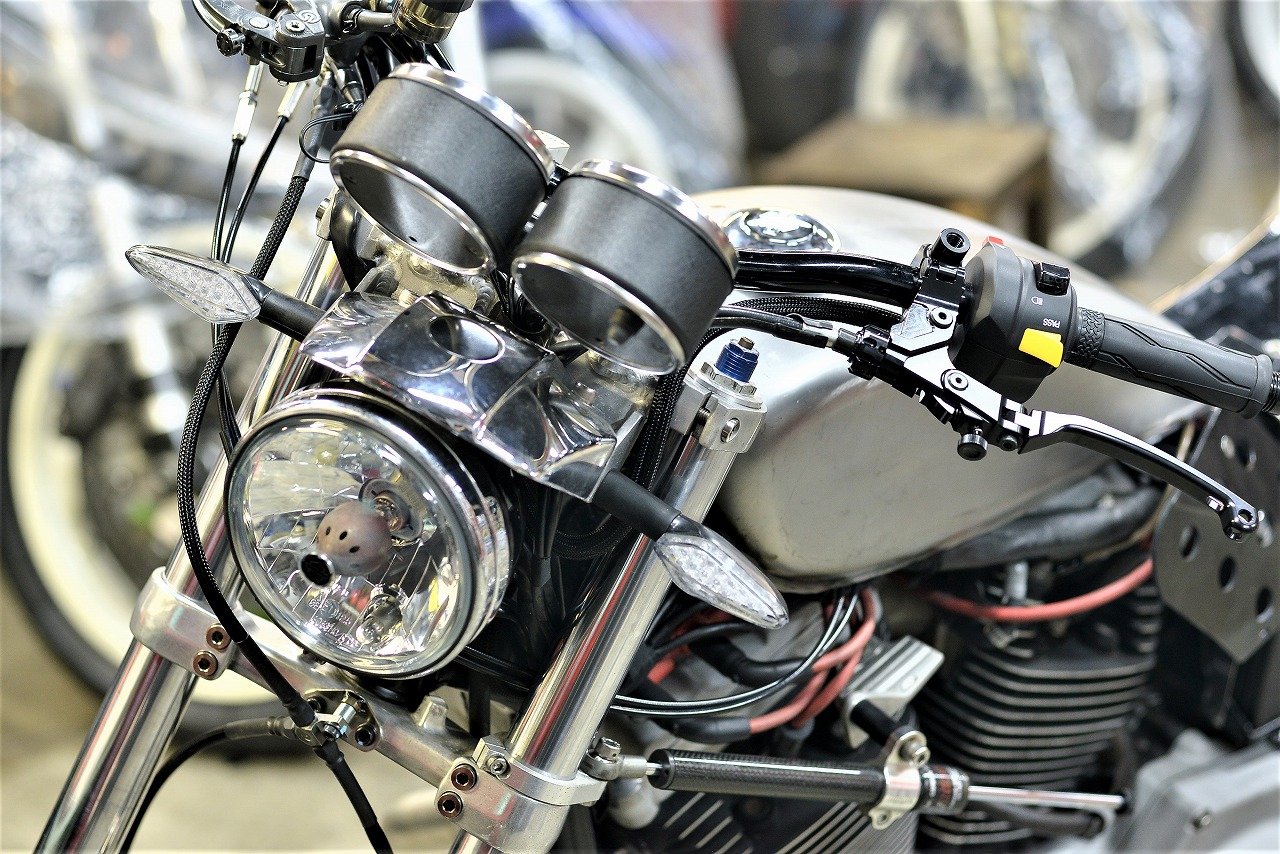
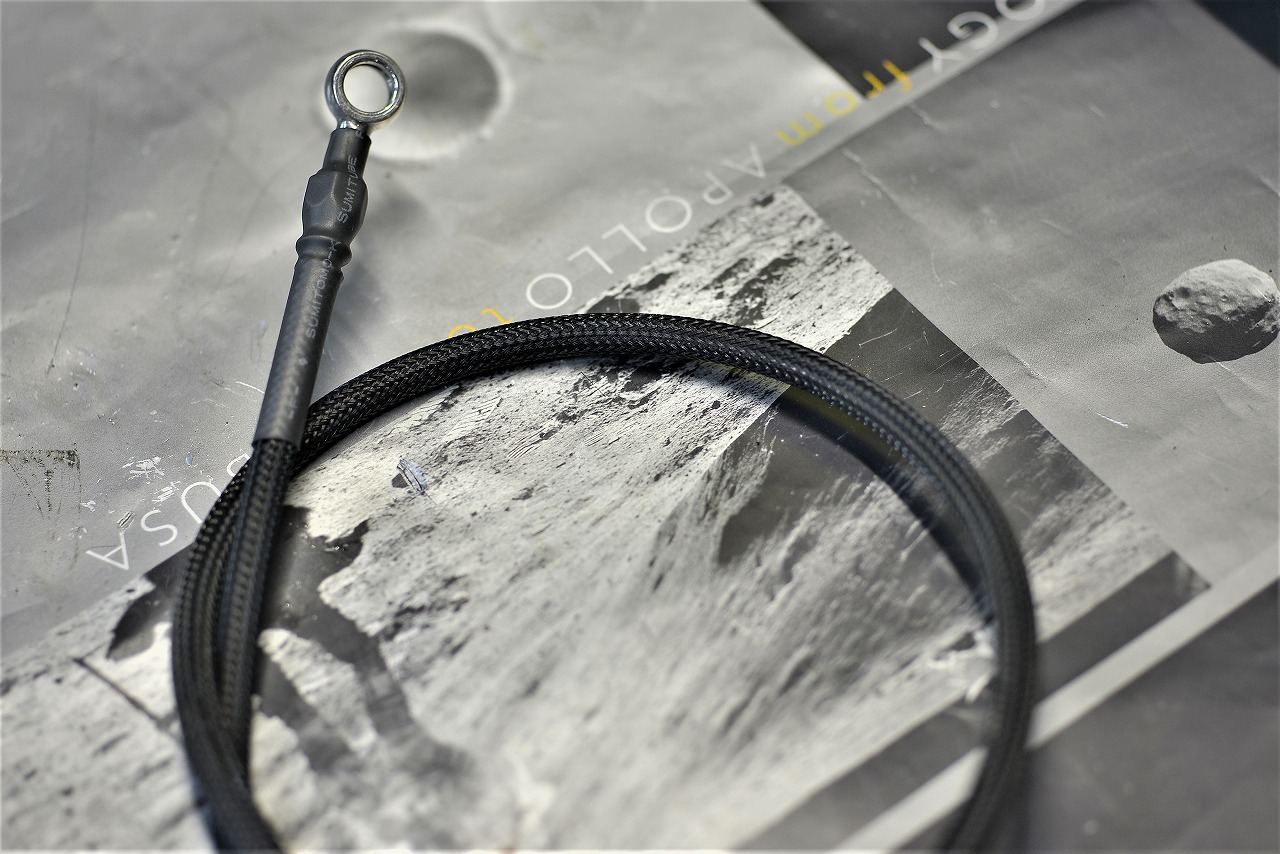
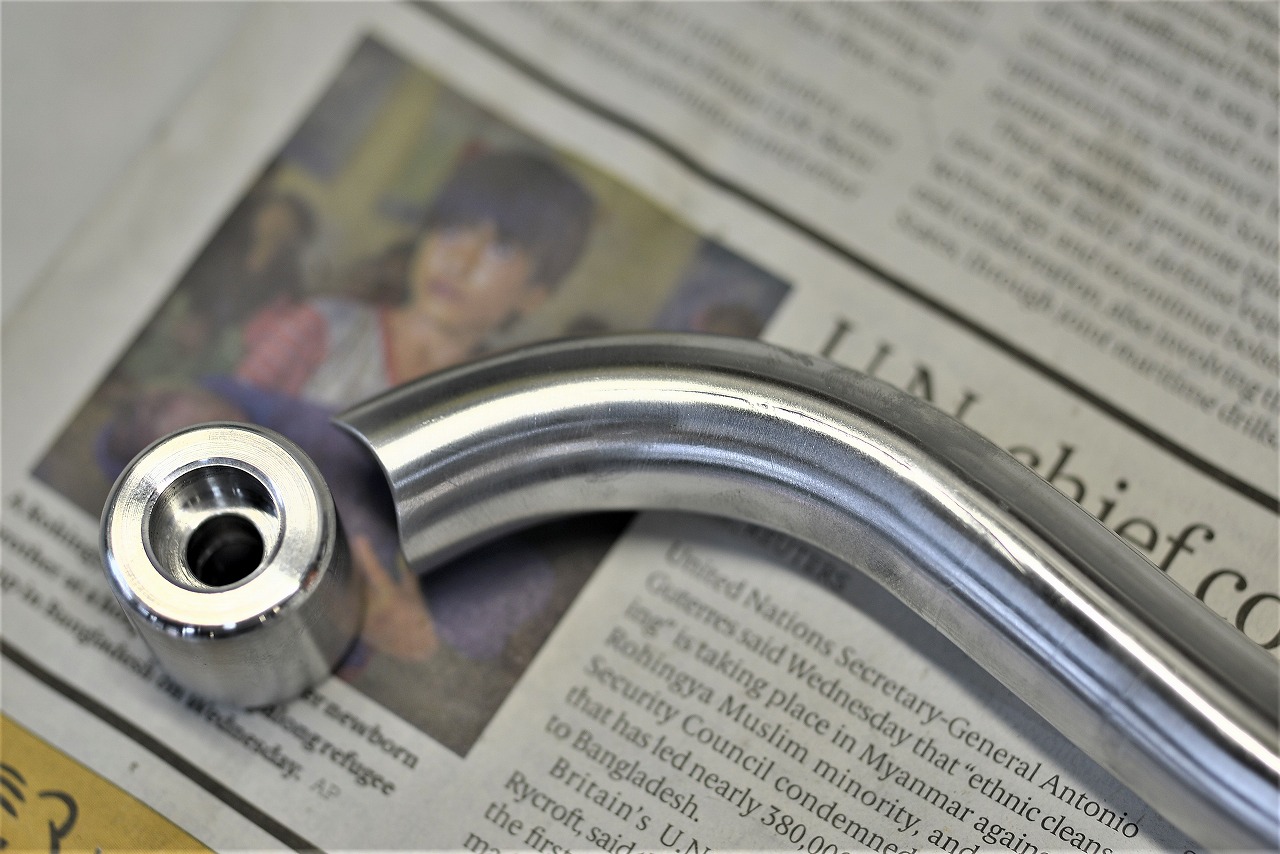
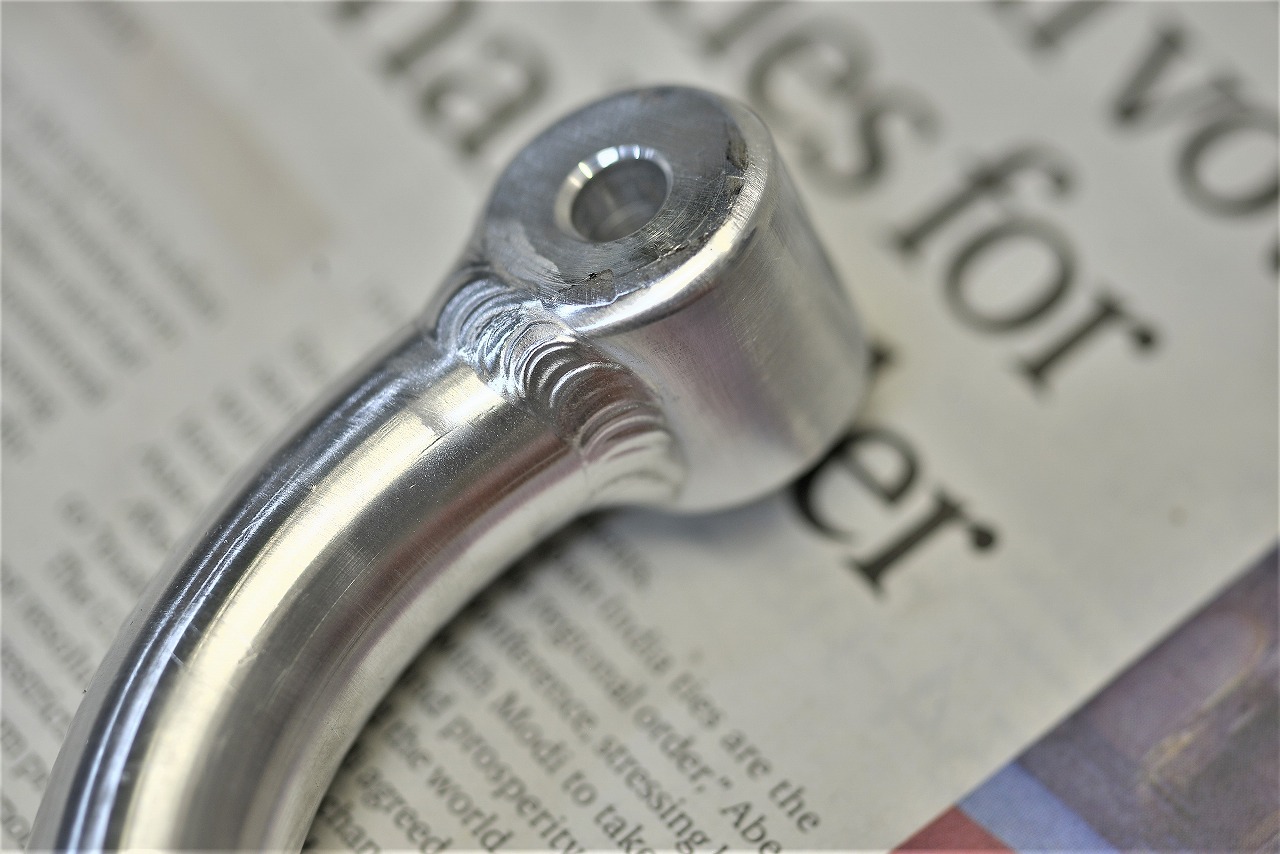
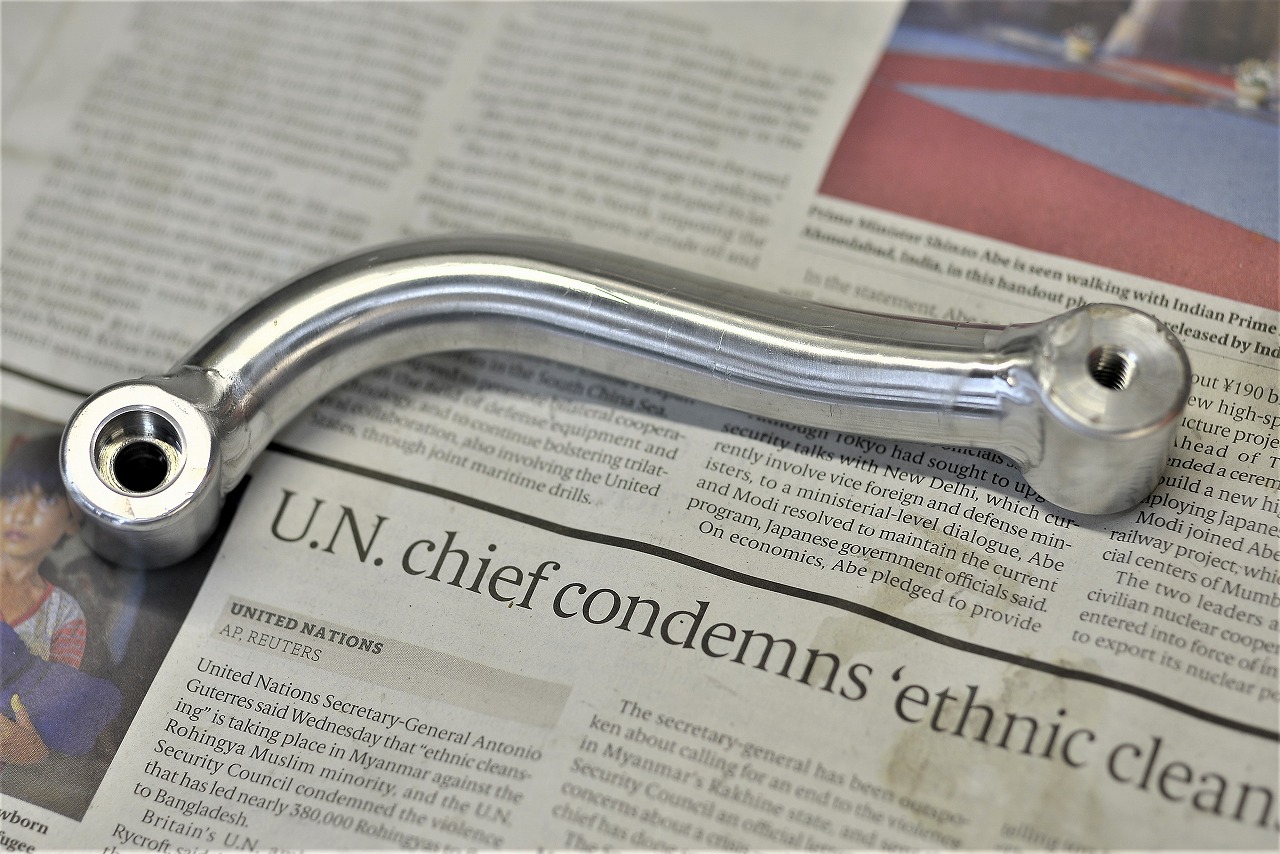
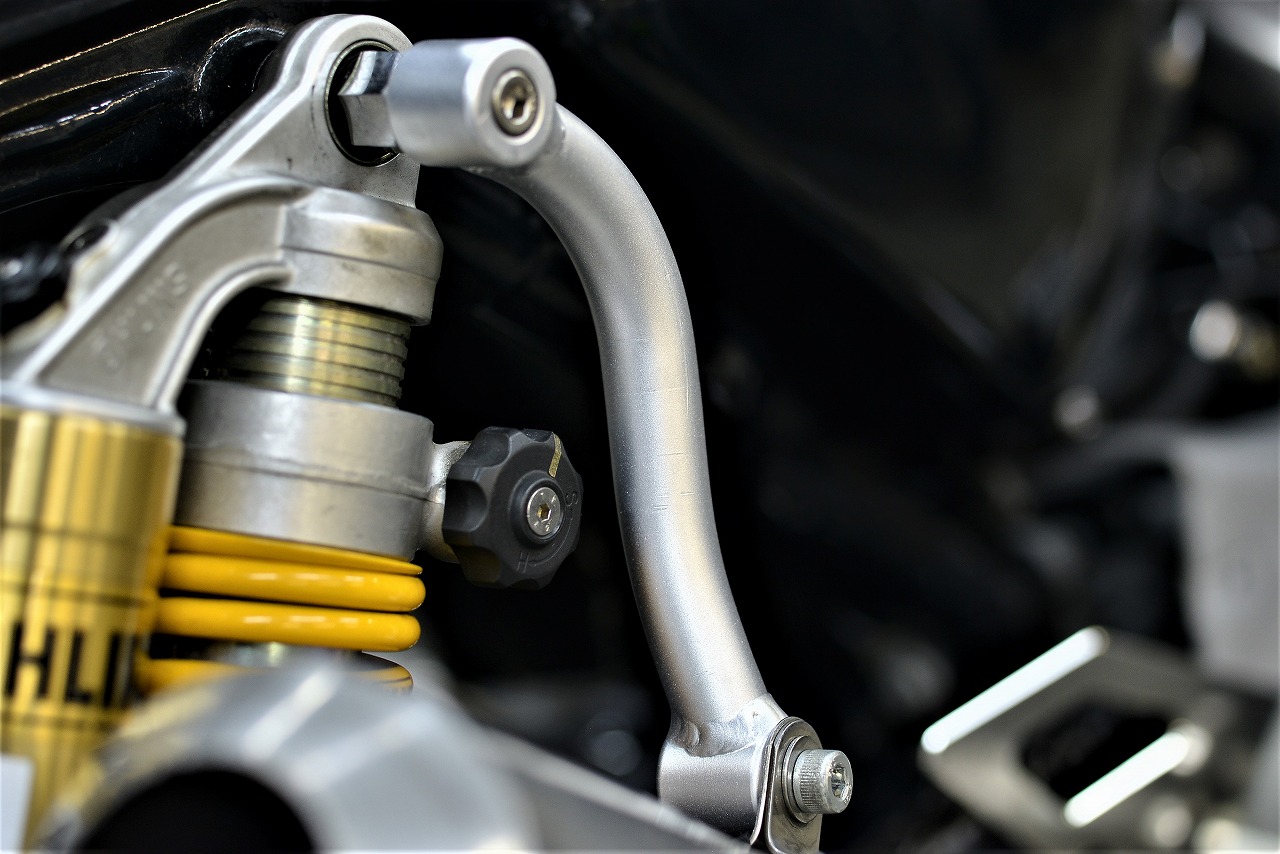
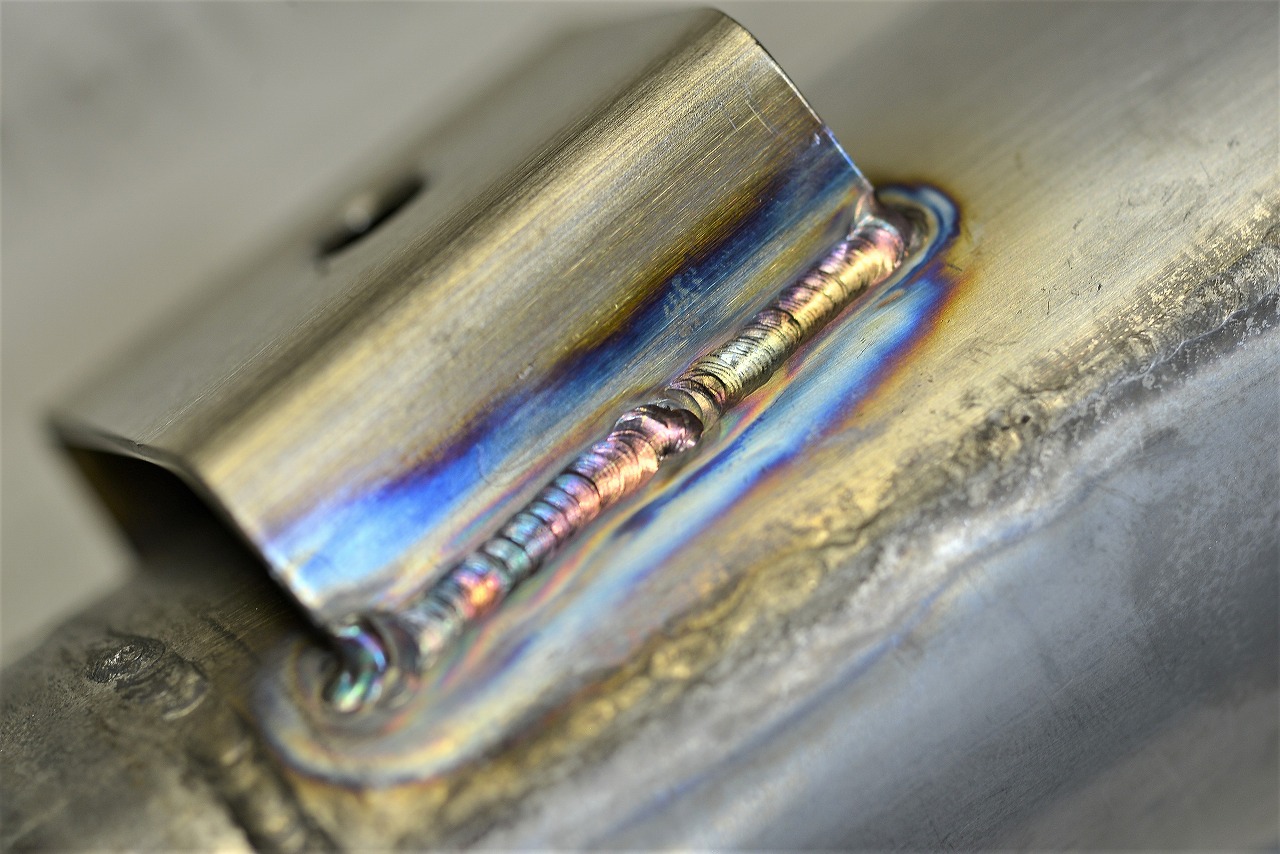
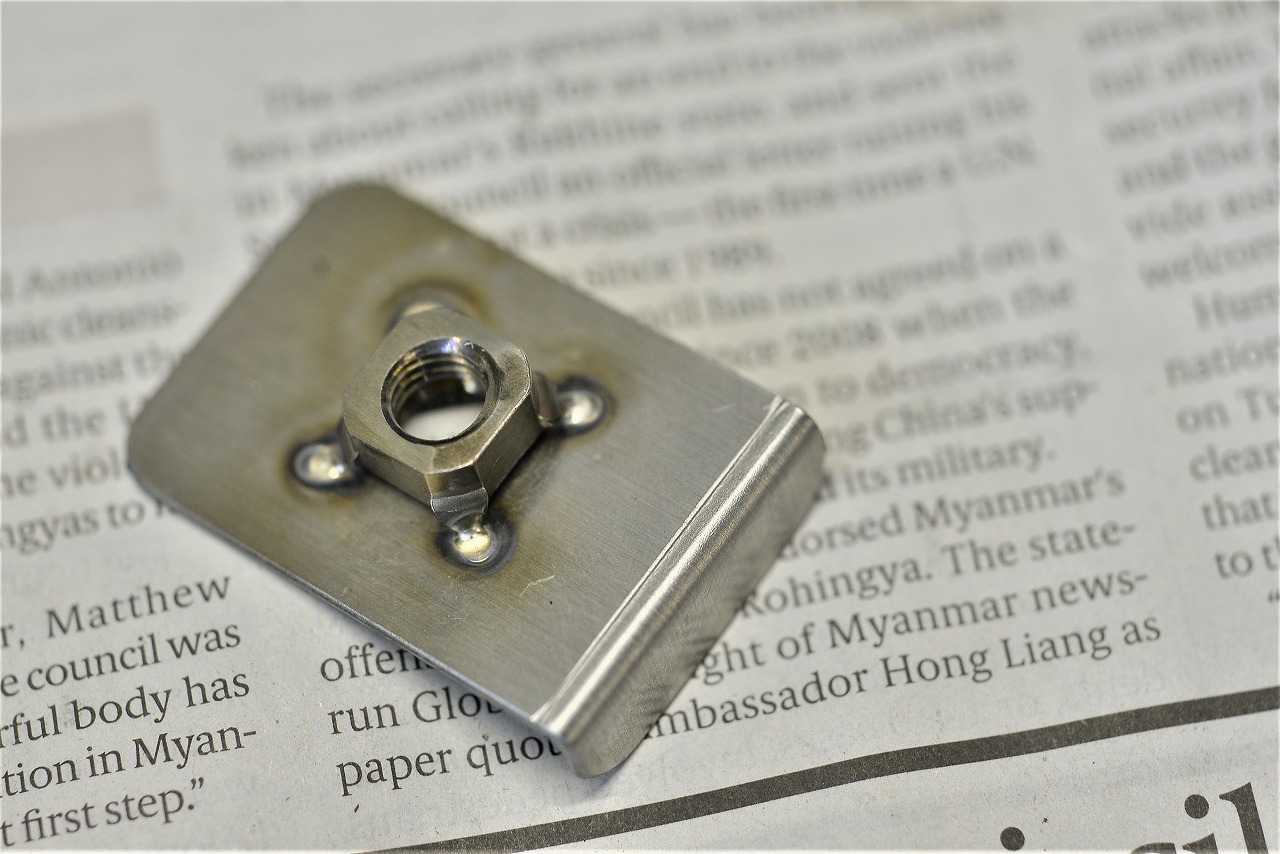
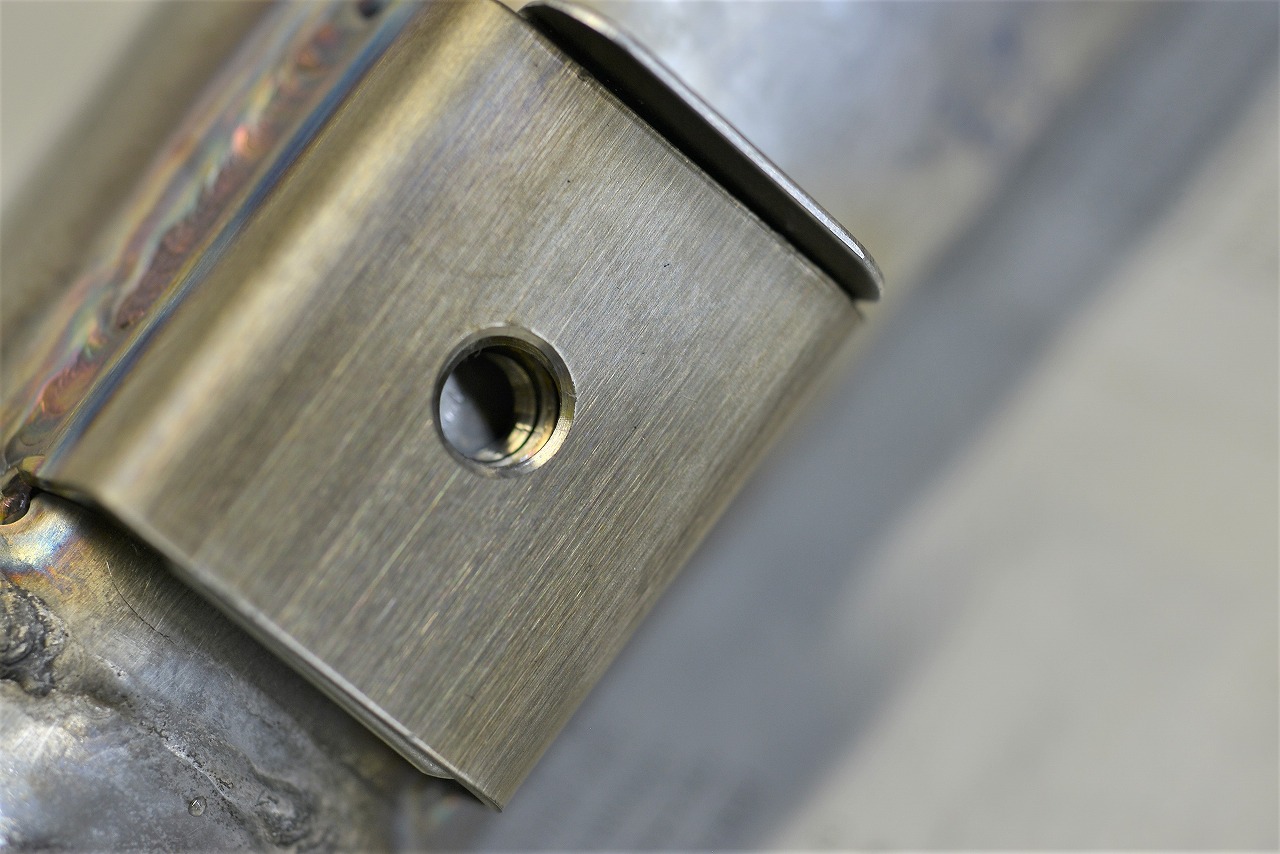
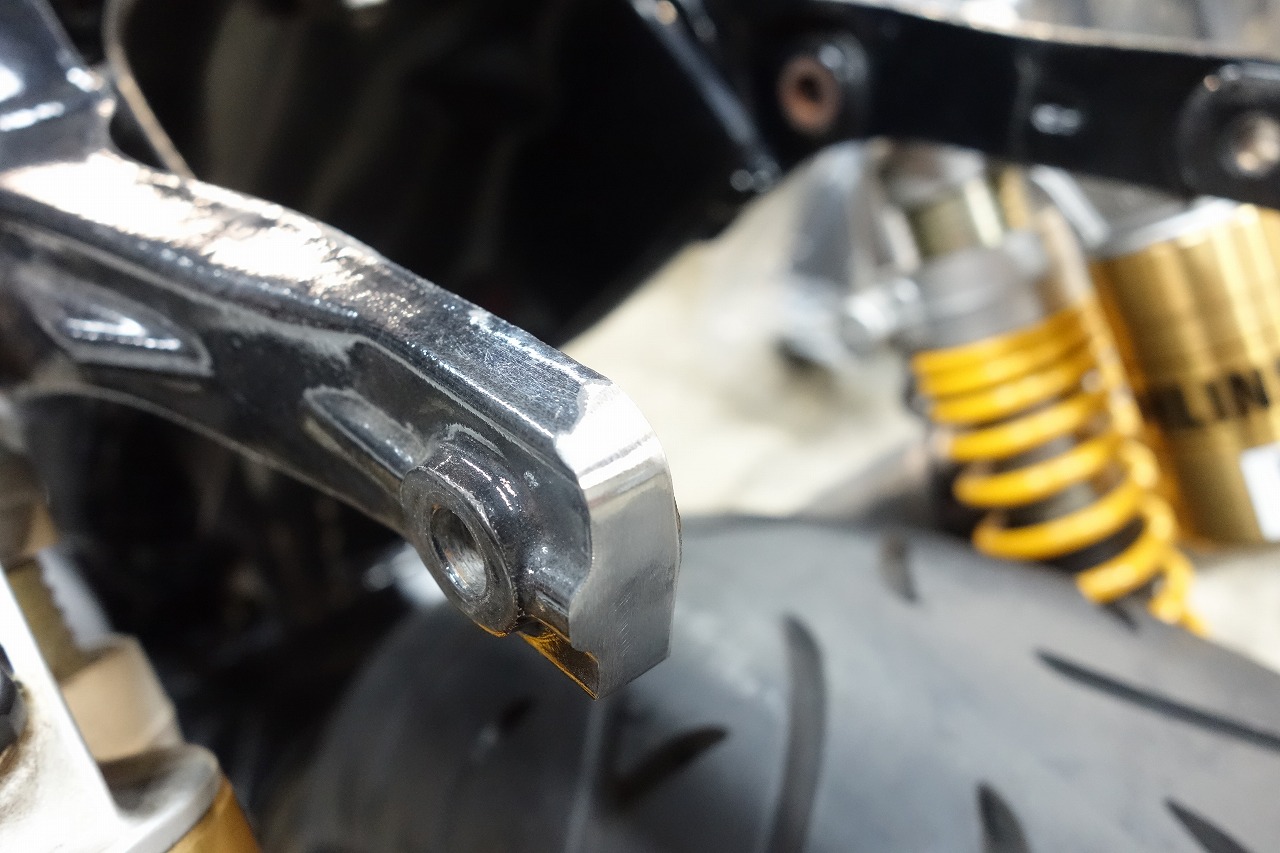
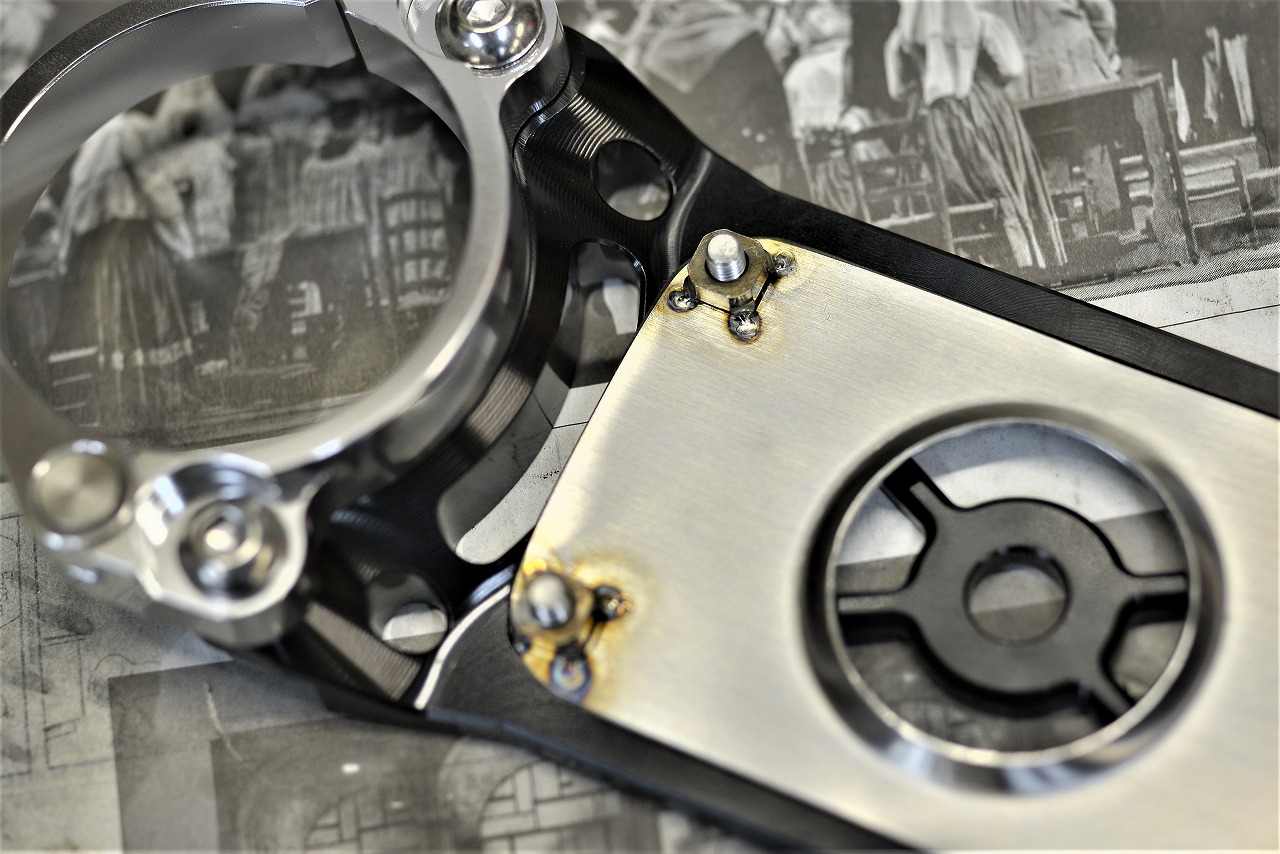
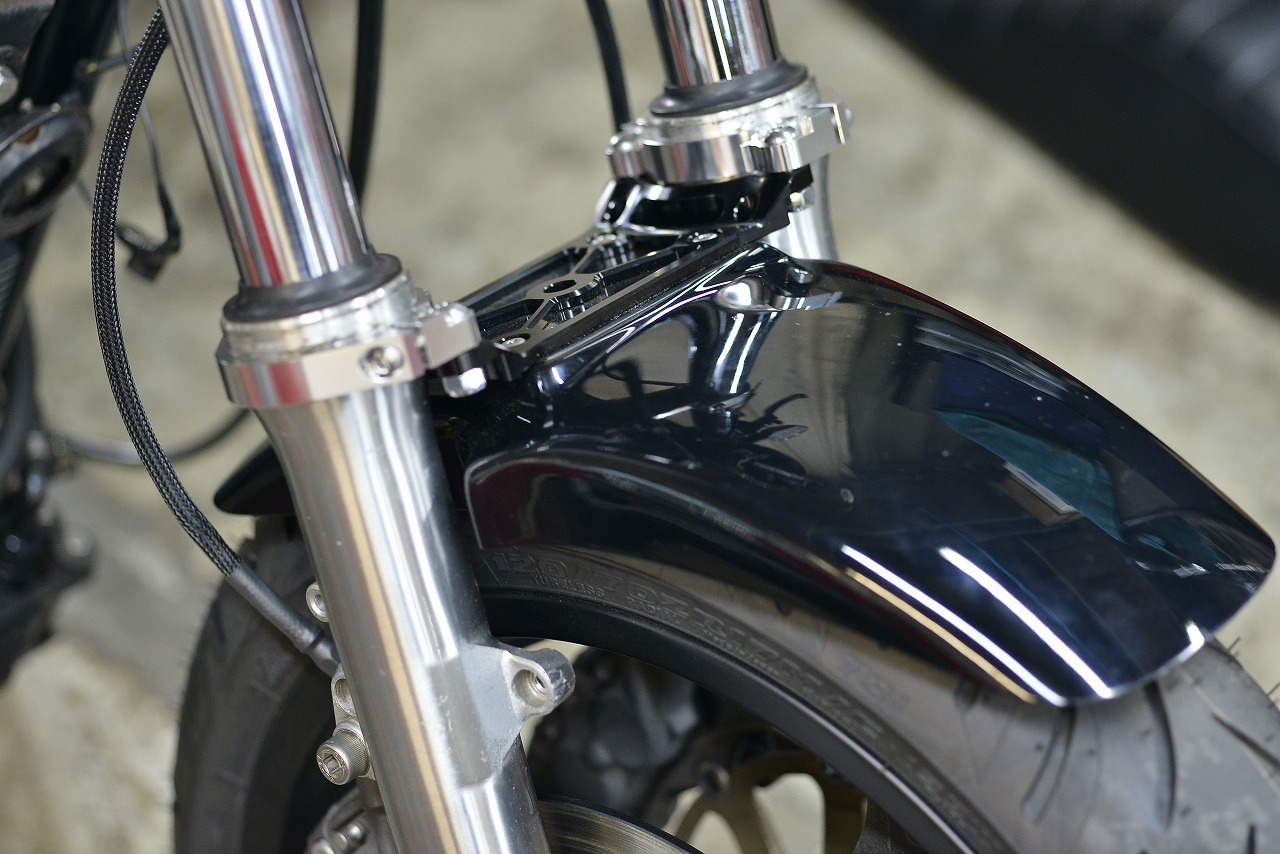
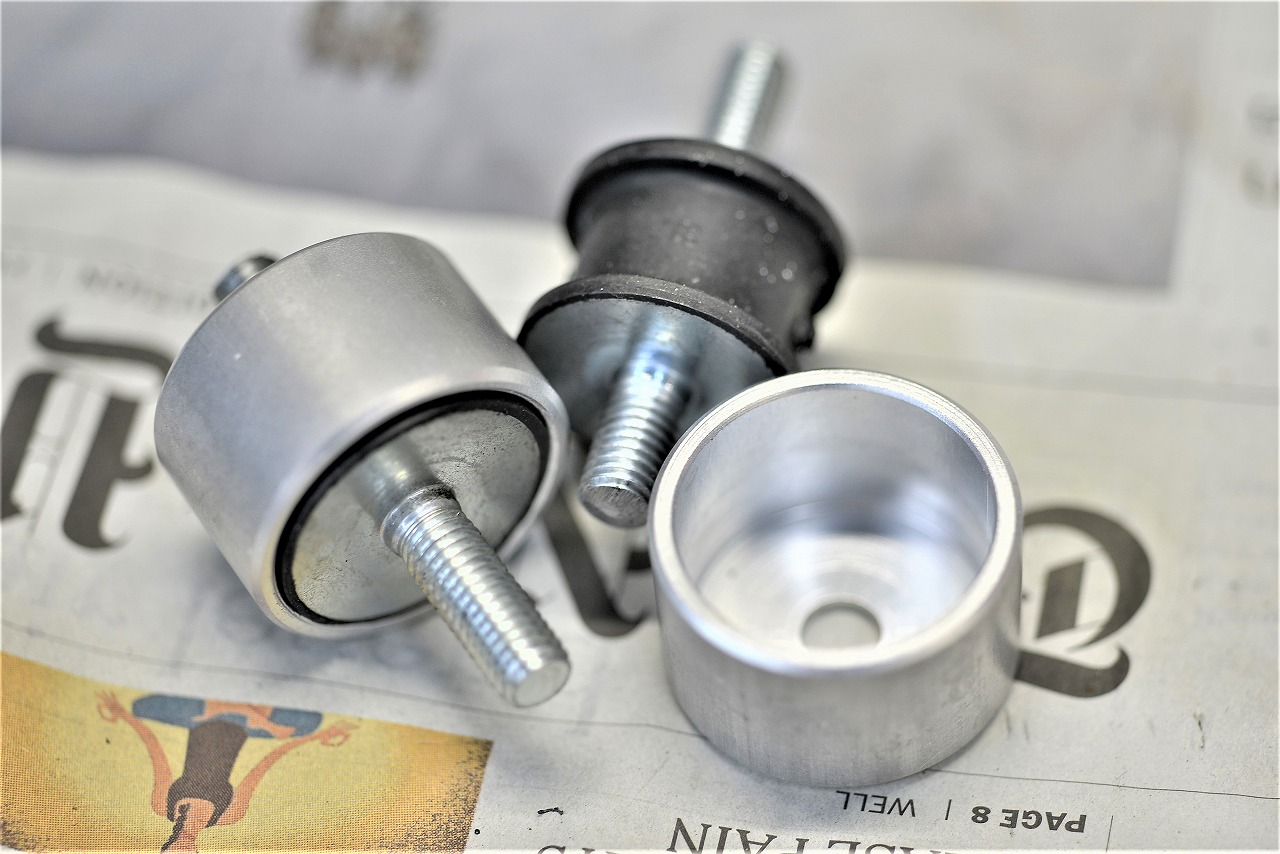
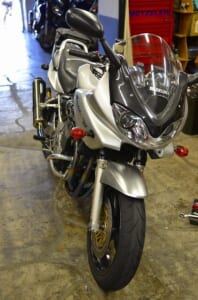
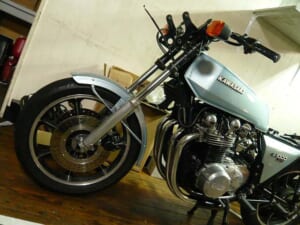
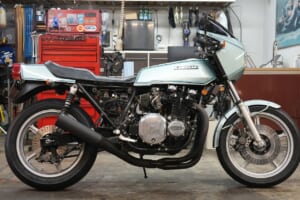
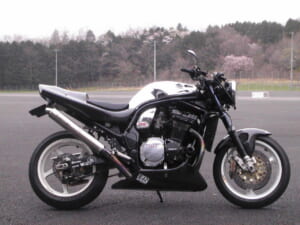
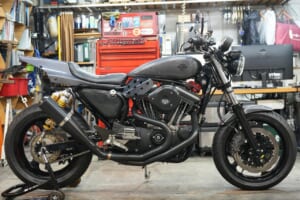
We pushed forward with a tracker-style build partway through, but… no dice! What?! Seriously?! That’s how it went. To everyone: we don’t work on foreign bikes here. ★First, we fabricated the brake hoses front and rear as originally requested. (Since the rear caliper is missing, we only did the front at this stage.) I think it’s better not to secure brake hoses with cable ties. *They rub surprisingly and scratch everything around them, plus it looks worse. *Cable tie mounting isn’t floating. *Cutting and tying creates extra trash and work. We fabricated muffler bracket #1. After bending, lathe work, and pipe notching to fit, we polished, degreased, and welded. Then we welded it. It came out like this. After grinding, it’s done. I’m skipping the details on cutting threads into the upper nut. By the way, it’s now nut-less. Don’t underestimate Harley vibration! We added another boss at the base. Since detaching would be a pain, we made it a quick-disconnect type with a plate and welded nut. (M8) That’s how it plugs in. On the frame side, we used steel and installed a W800 muffler damper for floating action. (Details omitted.) We cut the rear end and fitted it. Next, we’ll paint it black. The customer wanted a fender but hung from above. After much deliberation, we went with a no-brainer setup: OHLINS forks with adjustable fork span—a sweet configuration! ★
By the way, the forks are from an XJR1300… Fork span is great, but we worried about the bottom outer diameter. Still, we had to make it work somehow, so we ordered them and—perfect fit!
So if we use a nut inside the fender, we’d have to remove the wheel every time we detach the fender. That’s a hassle, so we handled it now.
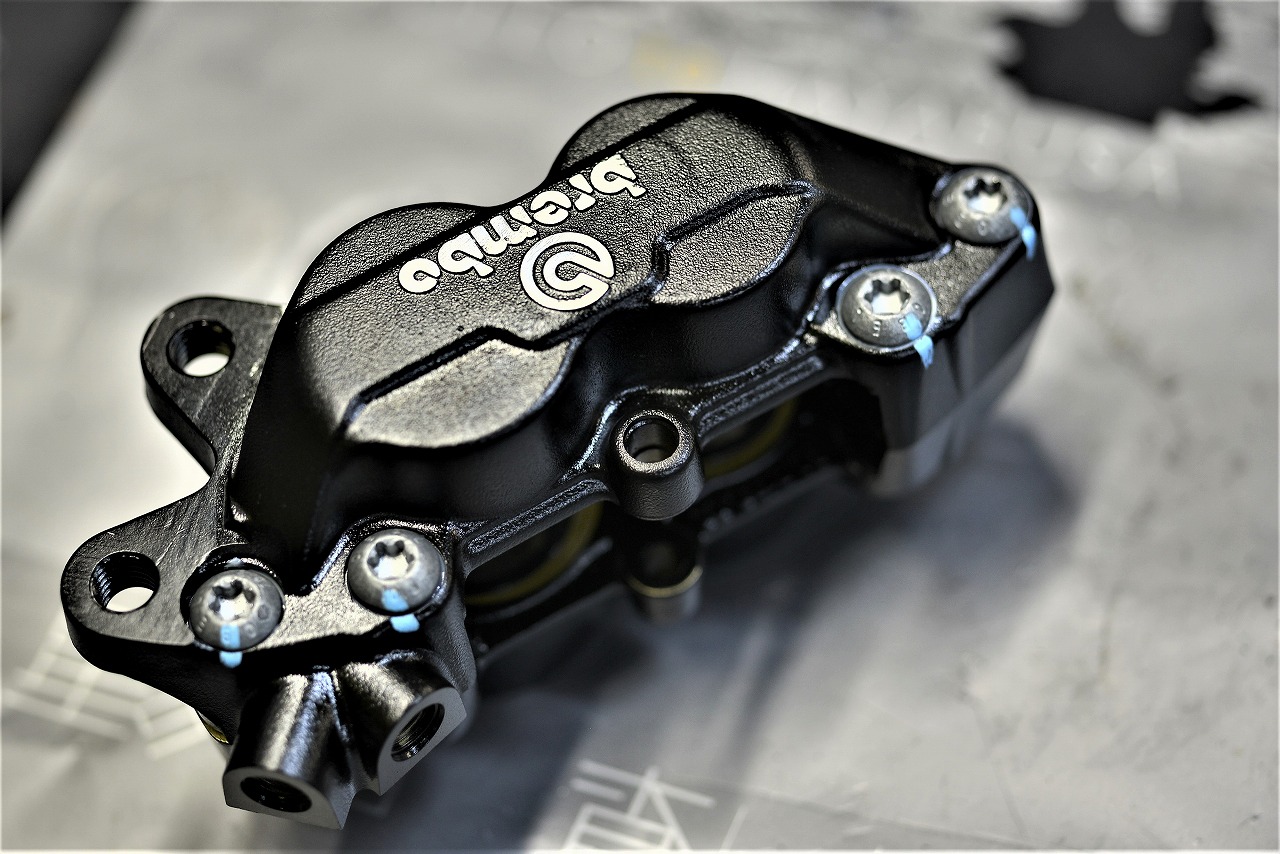
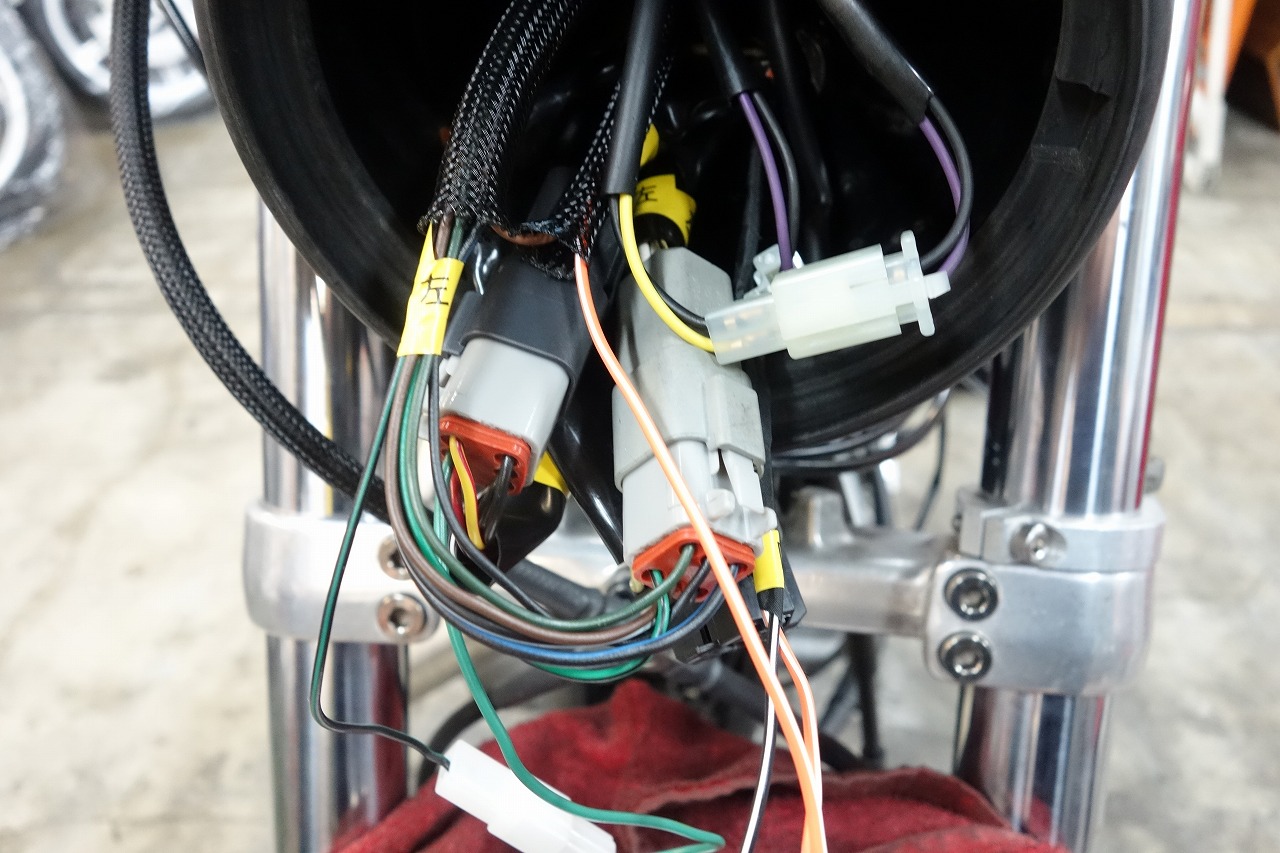
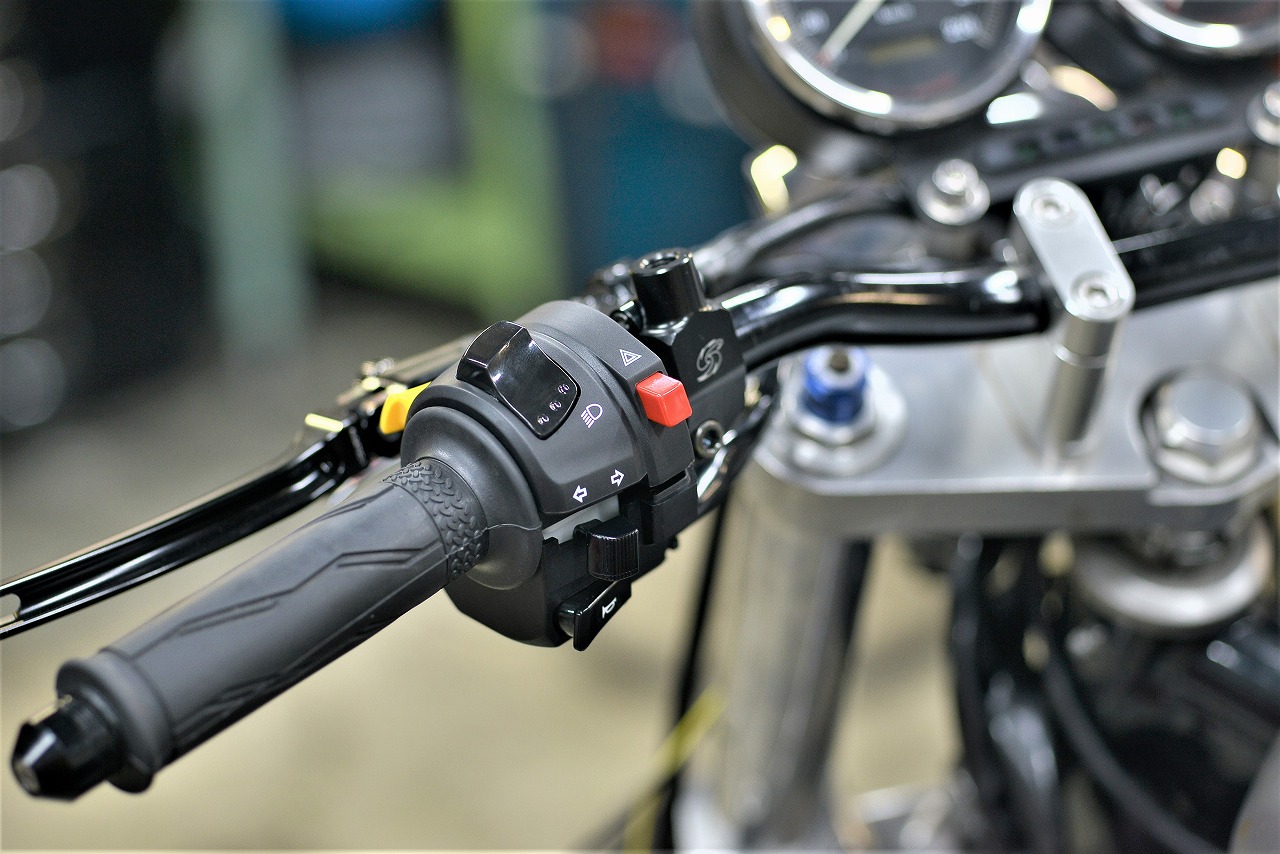
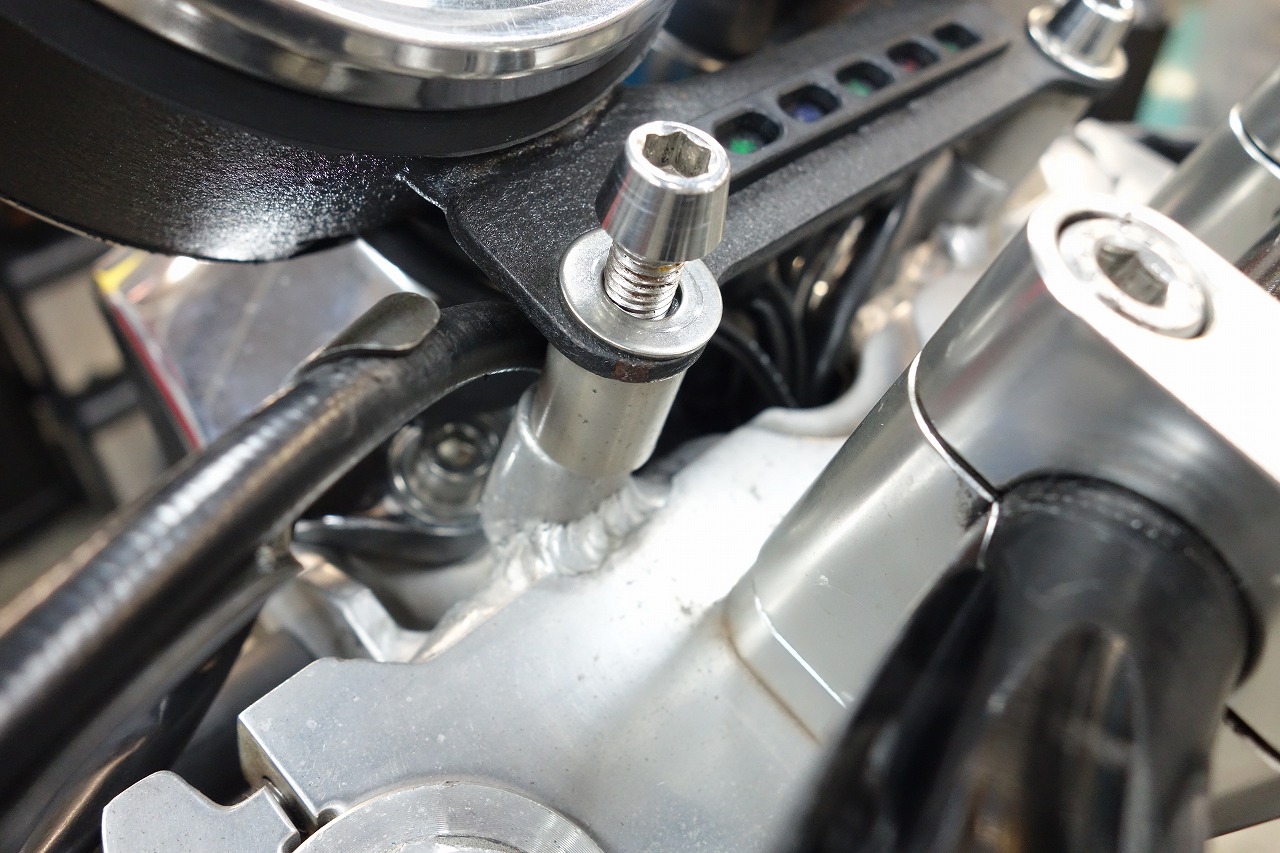
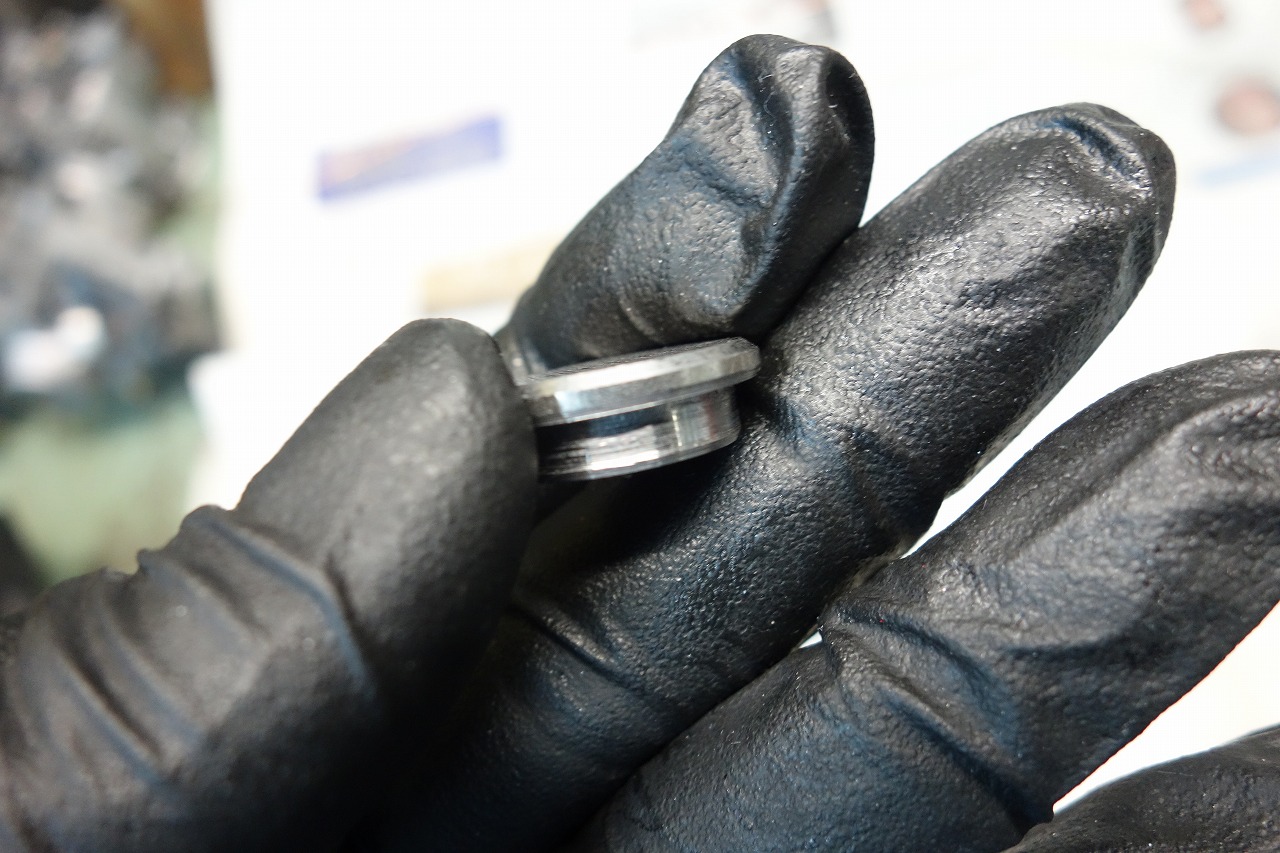
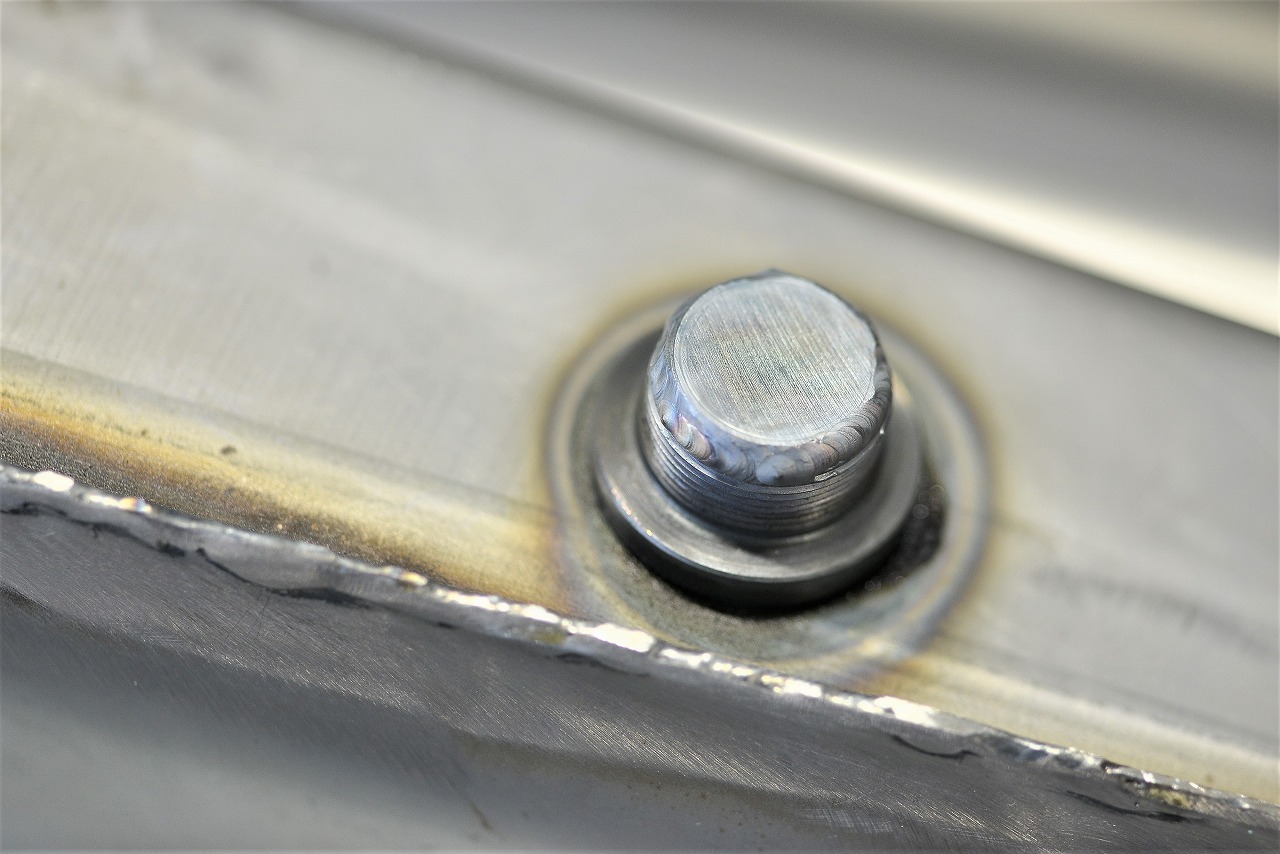
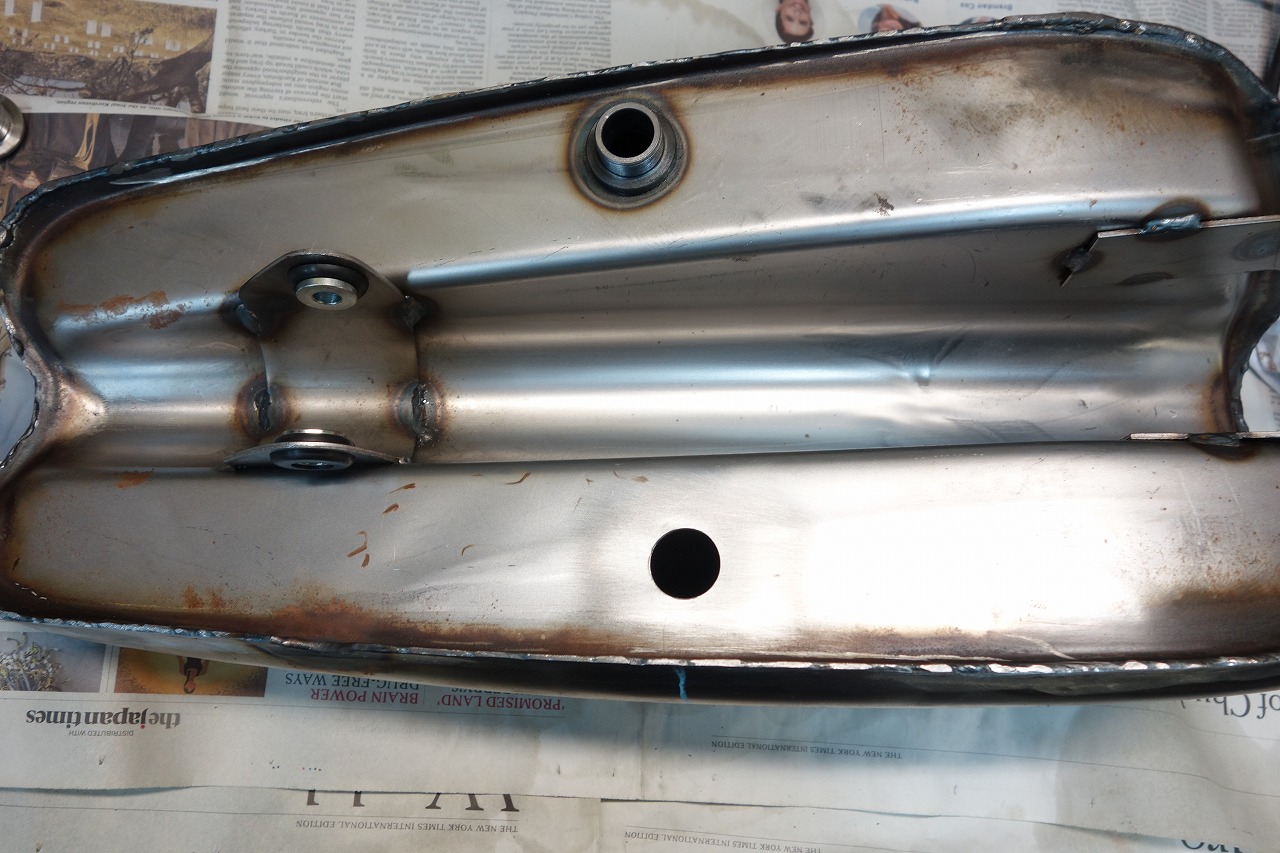
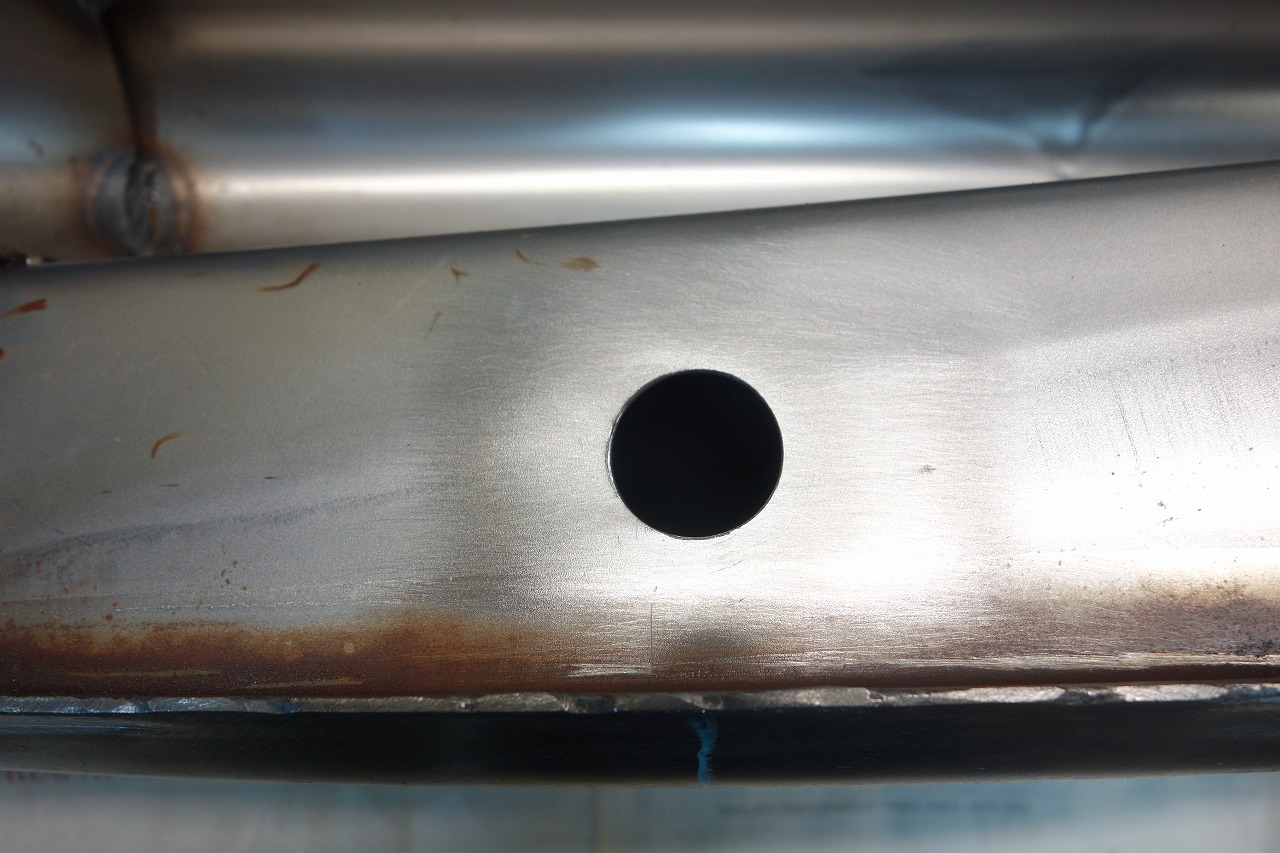
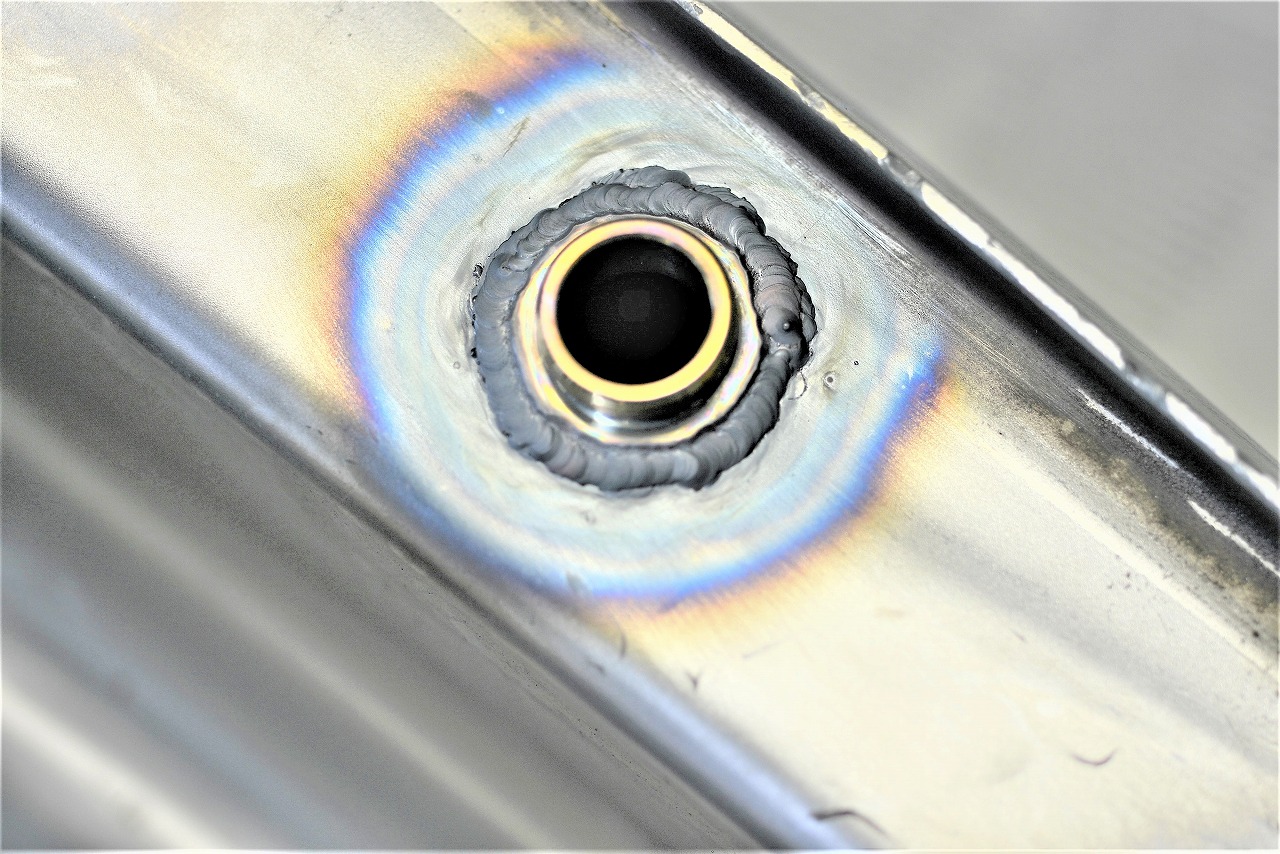
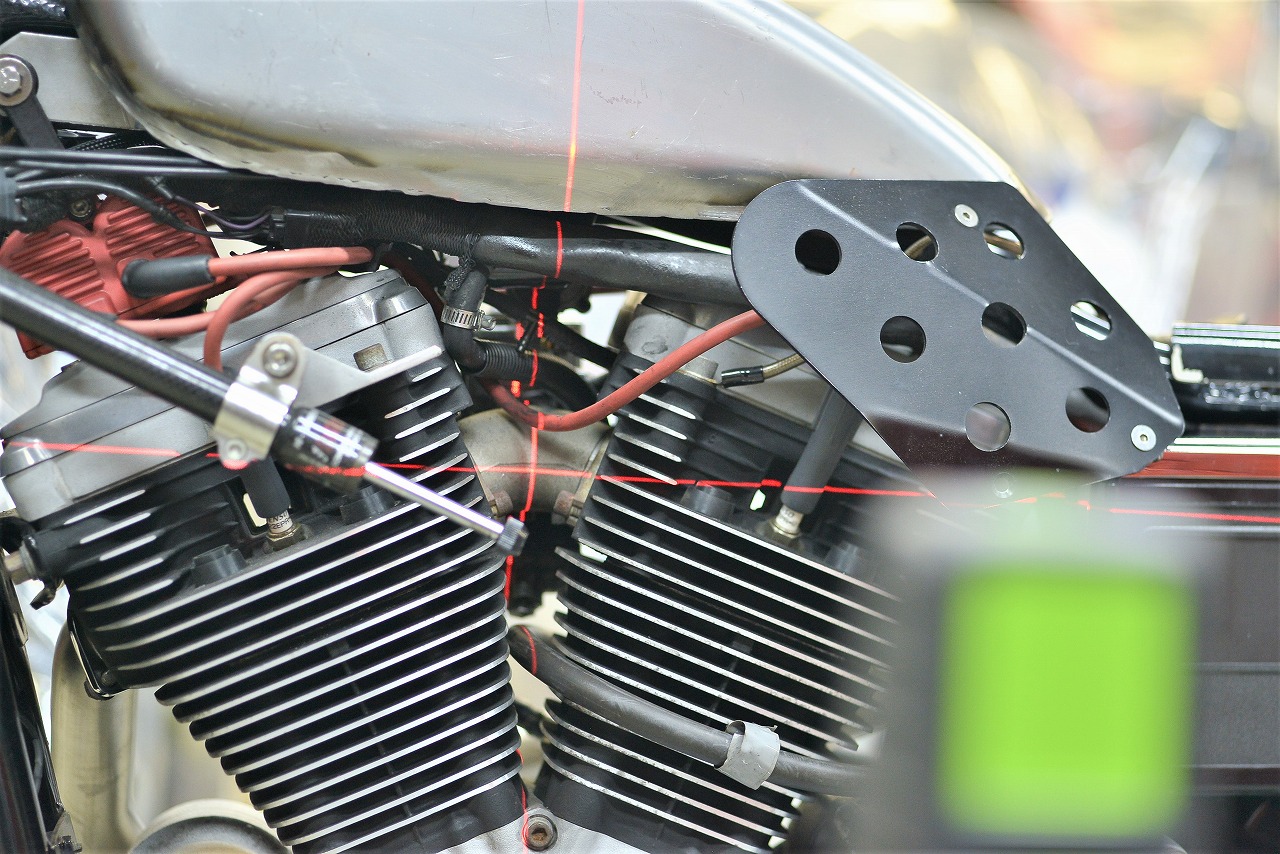
We did some unnecessary burrling—it’s been a while! We chose the color—silver and black. Perfect match! We ordered a new caliper, but it wouldn’t fit without negative offset… Hmm, with this support, the leading side… but we couldn’t get bogged down in that, so we milled out clearance, applied gun coat, and carefully installed it. The wiring took the most time. My heart broke more than once… but hardship becomes strength. This connector used to be sold by Daytona, but it’s discontinued now, so we hunted online and somehow made it work. It looks clean. Left is Suzuki, right is Honda. The throttle holder is Active, and we fabricated the throttle cable with a DIY kit. (Details omitted.) The meter broke before—that’s the story. The top bridge is pretty sharp too… We’re pushing ahead anyway. The spacer helps, and we want to use it well. We made an aluminum sleeve for the vibration damper and slipped it on to restrict movement. It moves just right—should be fine. We relocated the petcock, so we plugged the old hole with this plug and welded it. We did two passes to be safe. Next petcock. We drilled the hole and cleaned it up. Welding prep is important. We did two passes on this one too. We positioned it with a laser. Sort of…