When you start the engine of a bike that’s overflowing…
puff puff… puff puff… it gets you really worried (゚Д゚)
What if it doesn’t stop like this… you know?
If all the spark is good, you can at least feel a bit relieved ♪
Open the entrance ~ ventilate ~. The fire alarm has gone off before…
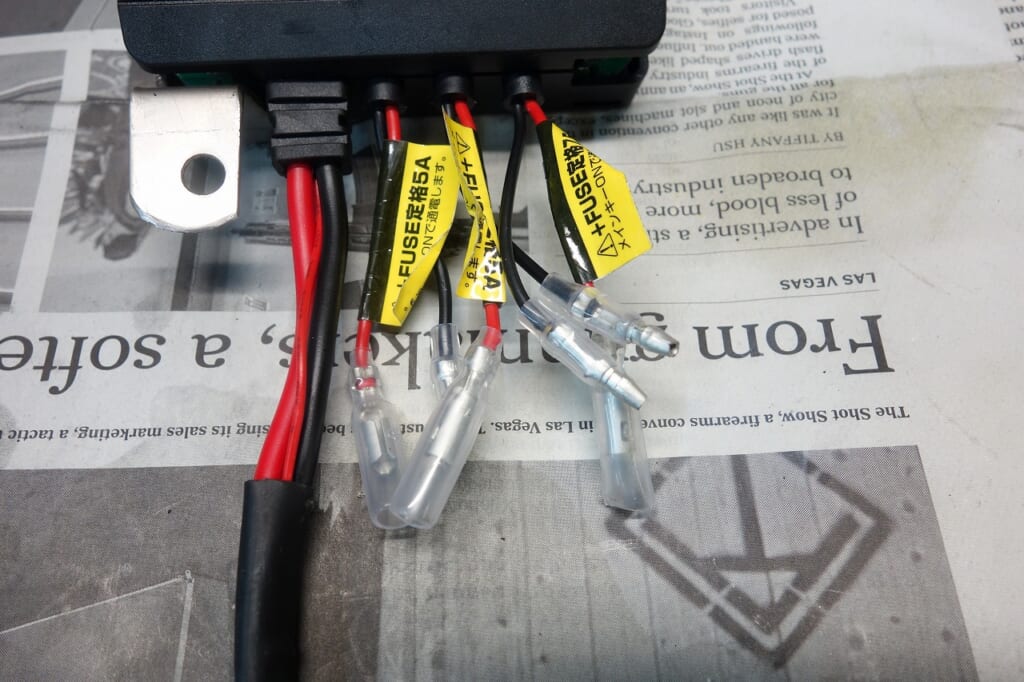
Getting it installed neatly is surprisingly tricky Daytona D-UNIT+
The off-the-shelf product is designed with a gentle touch so you can even install it at home.
I’ll remove the unnecessary bits. I’m changing all these spade terminals to 110-series connectors.
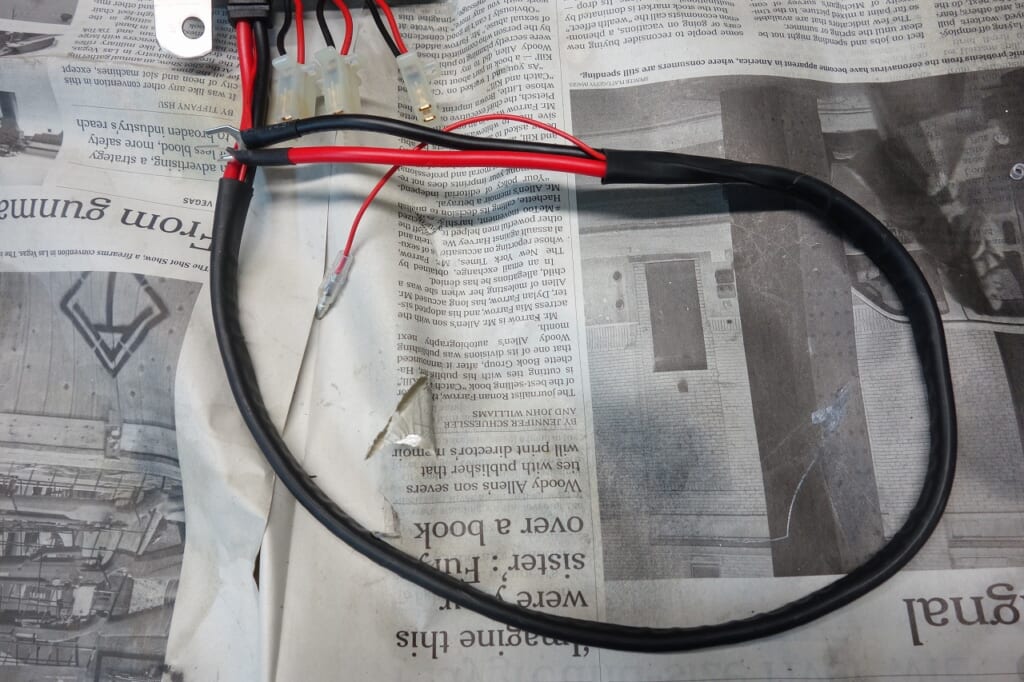
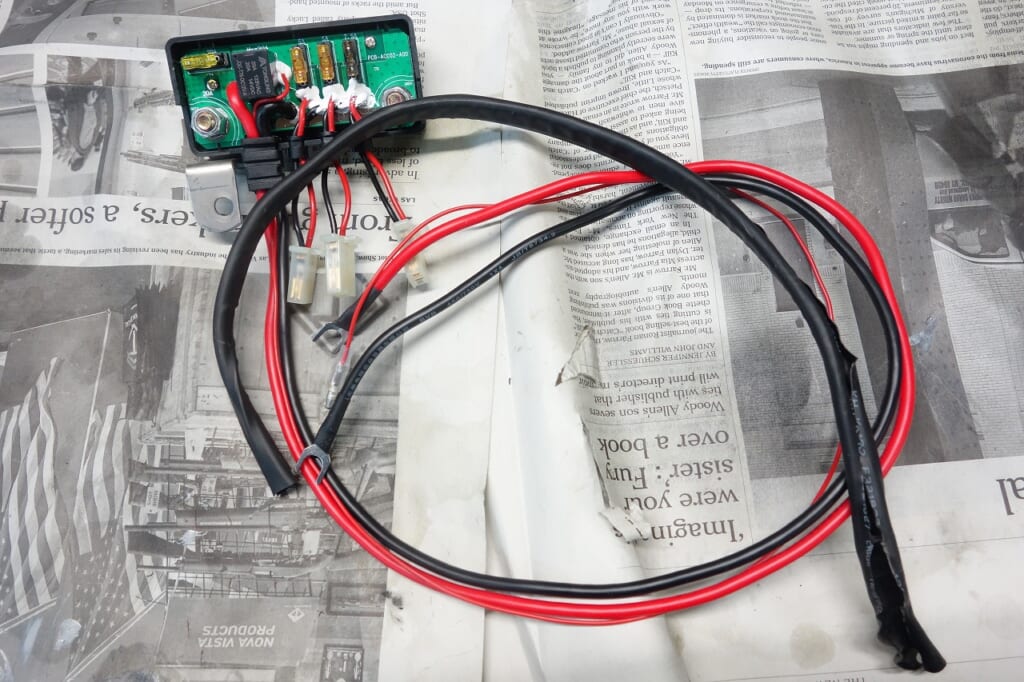
I’ll also peel off the heat shrink tubing.
You might wonder why the wiring isn’t clean… it’s because it’s “unnecessarily long”.
The manufacturer makes the wiring long so it can fit any bike model. Usually there’s extra, so when you bundle it up it looks “bulky”.
If you cut and crimp it, you’re looking at two or more steps.
If you want it clean and done right, cut it. If you just need the electrical components to work, leaving it as is is fine.
It comes down to how much you care about your bike.
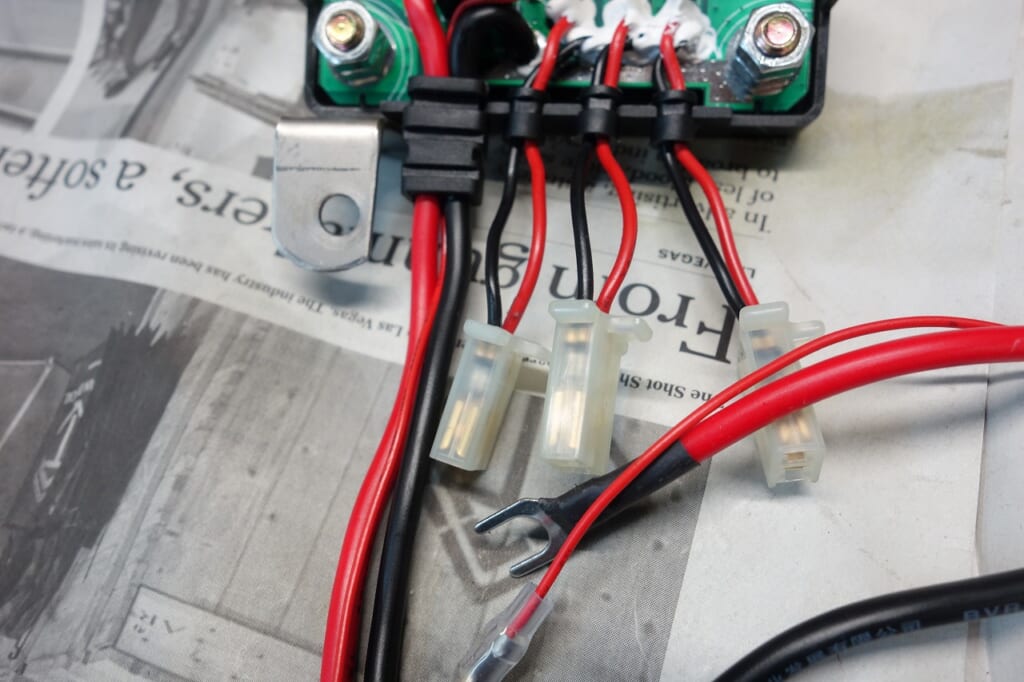
So I’ve changed them to 110-series connectors first.
The reason for making them male and female at upstream and downstream points is clear, right?
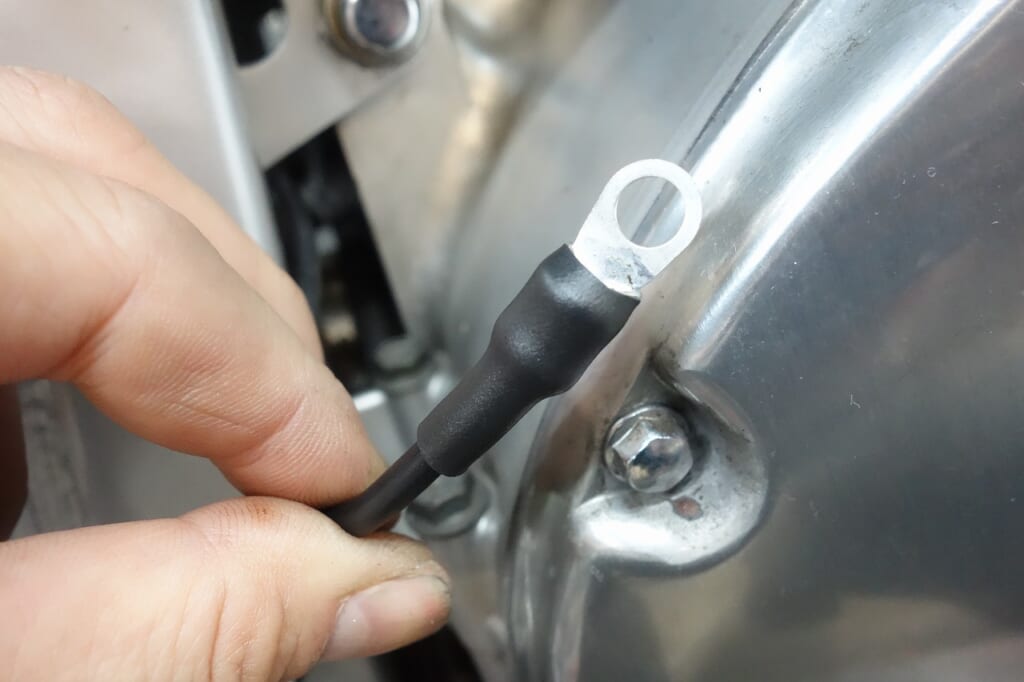
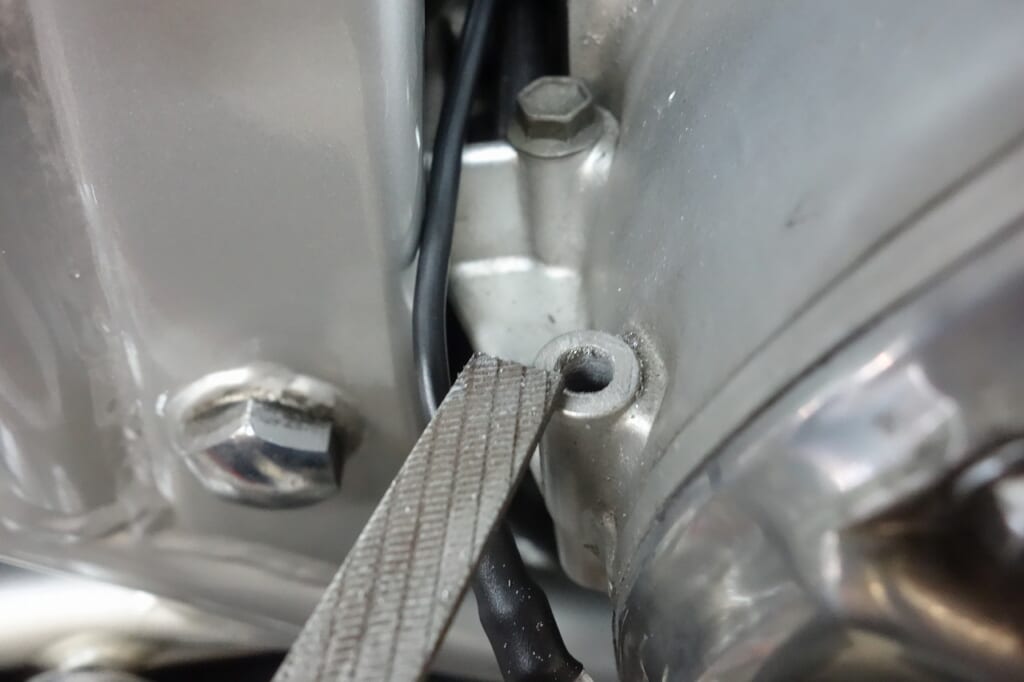
I’ll trim it to a proper length and get the ground from the engine case.
It’s best to get ground from aluminum. You want to avoid iron…
After crimping the terminal, I solder it and cover it with 3:1 heat shrink tubing.
Scraping the paint off the case side and making sure you get a solid ground connection is reassuring.
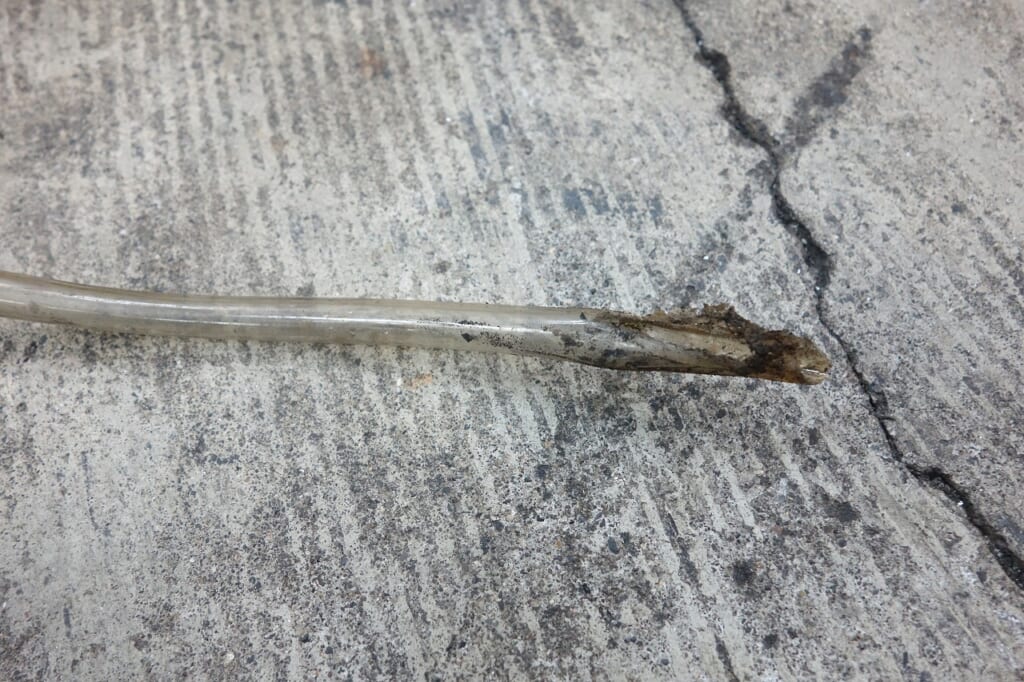
The old battery breather hose came out.
When I tried to pull it, it wouldn’t come out? Following it along, it was stuck in the muffler.
This GSX1100S has been updated, but for those still using an open-type battery! It might be about as convenient as going from a flip phone to a smartphone.
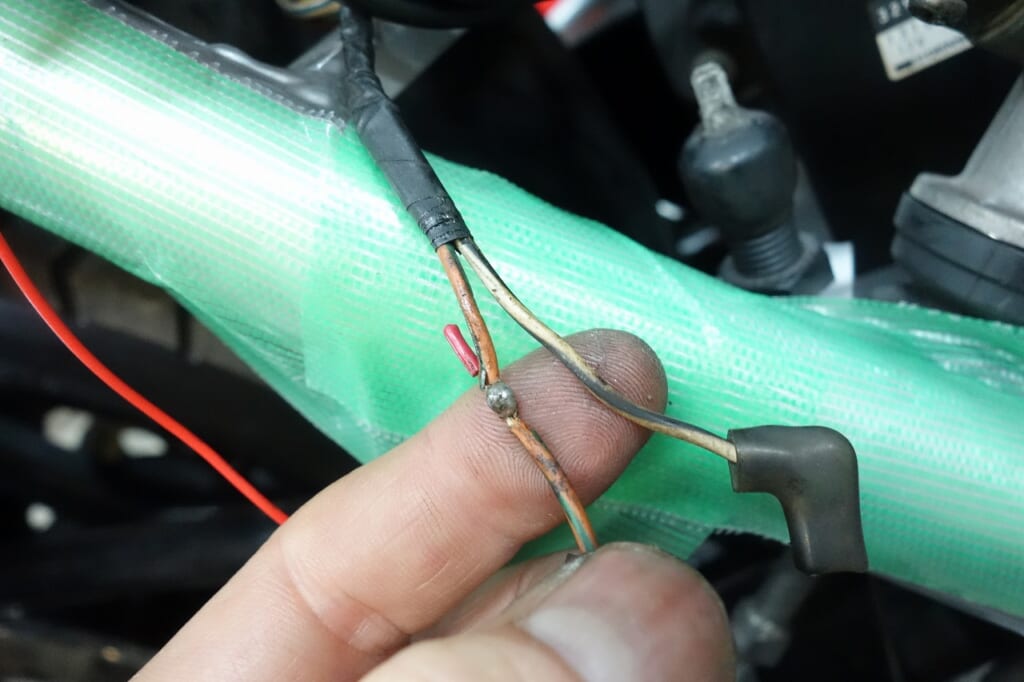
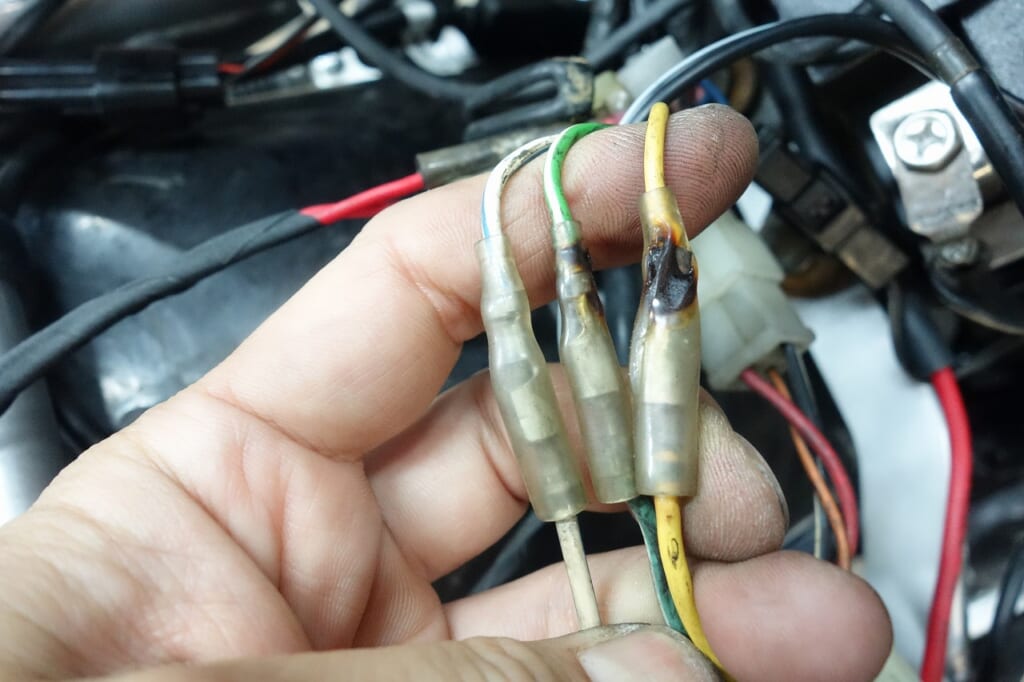
You know that moment when you peel off tape and go “oh!”…
I found the classic connector burn on the GS-GSX. It was pretty melted. *Just barely safe.
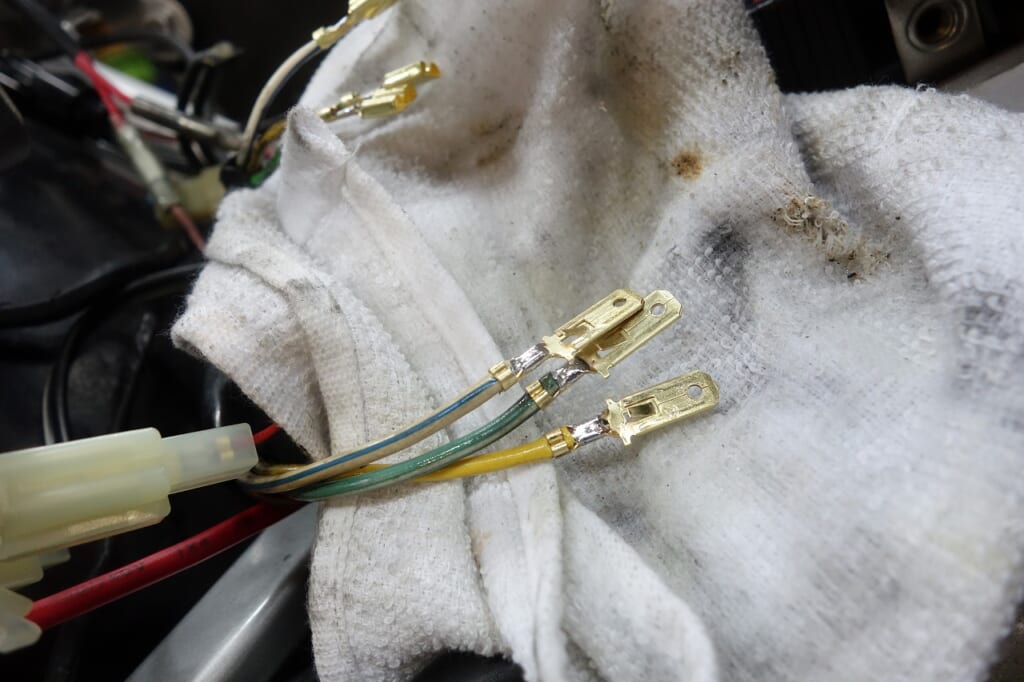
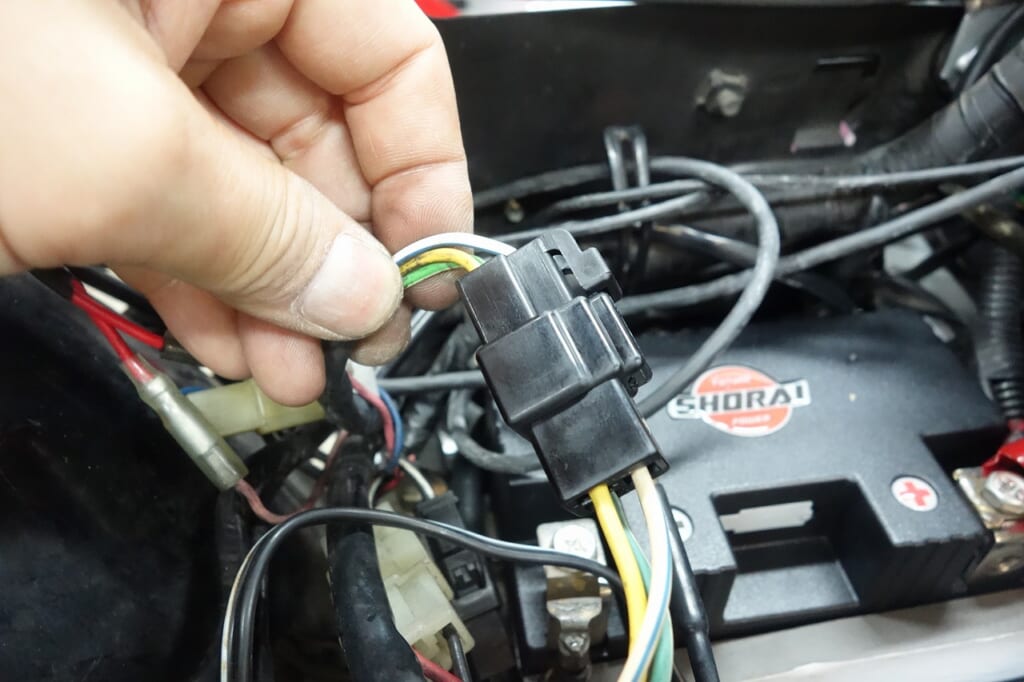
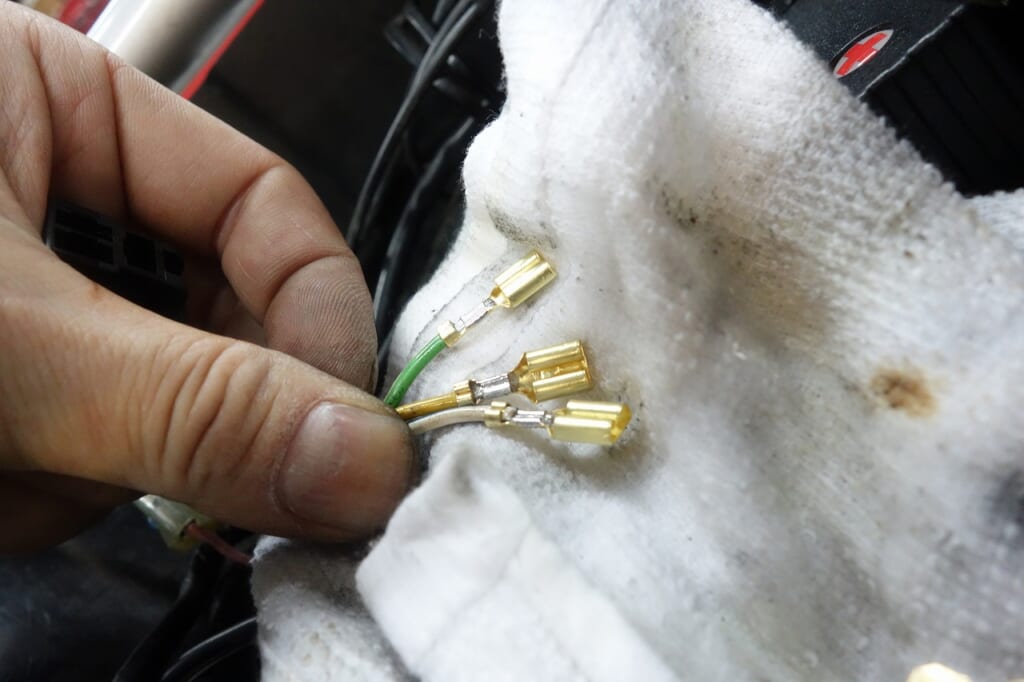
I changed it to a flat 250-series 3-pin connector. Even when flattened, it doesn’t make full contact, so it’s more of a peace-of-mind thing (‘ω’)ノ
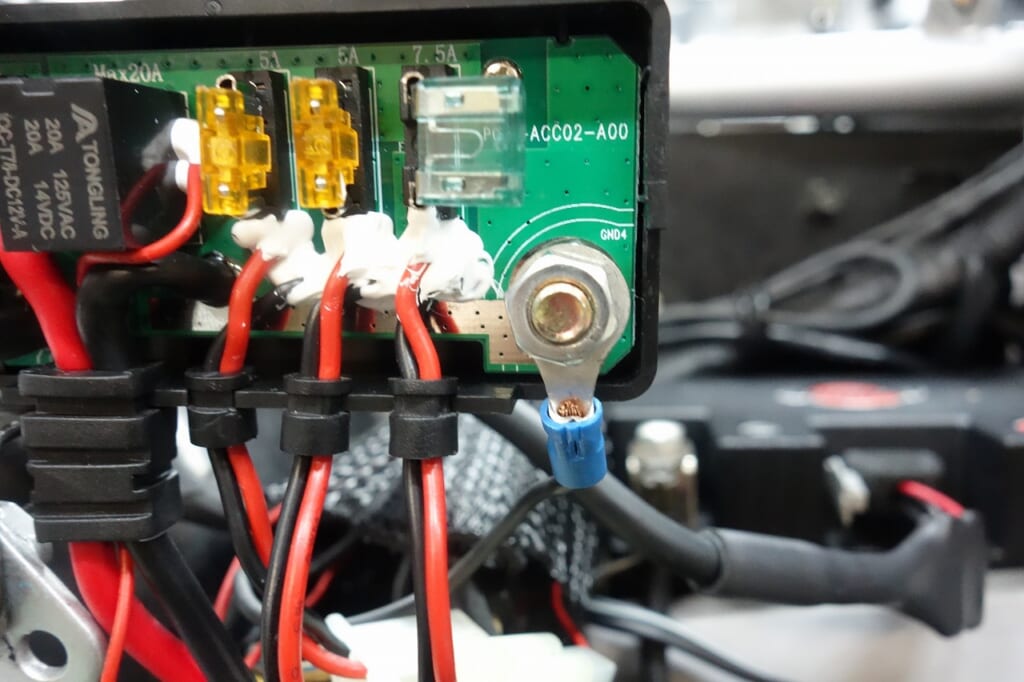
Daytona D-UNIT+ has a nice feature. You can get ground from it too.
I want to avoid co-tightening to the battery as much as possible. It makes maintenance harder and you need to mark things so you don’t forget to reinstall them.
I think a clean finish is better.
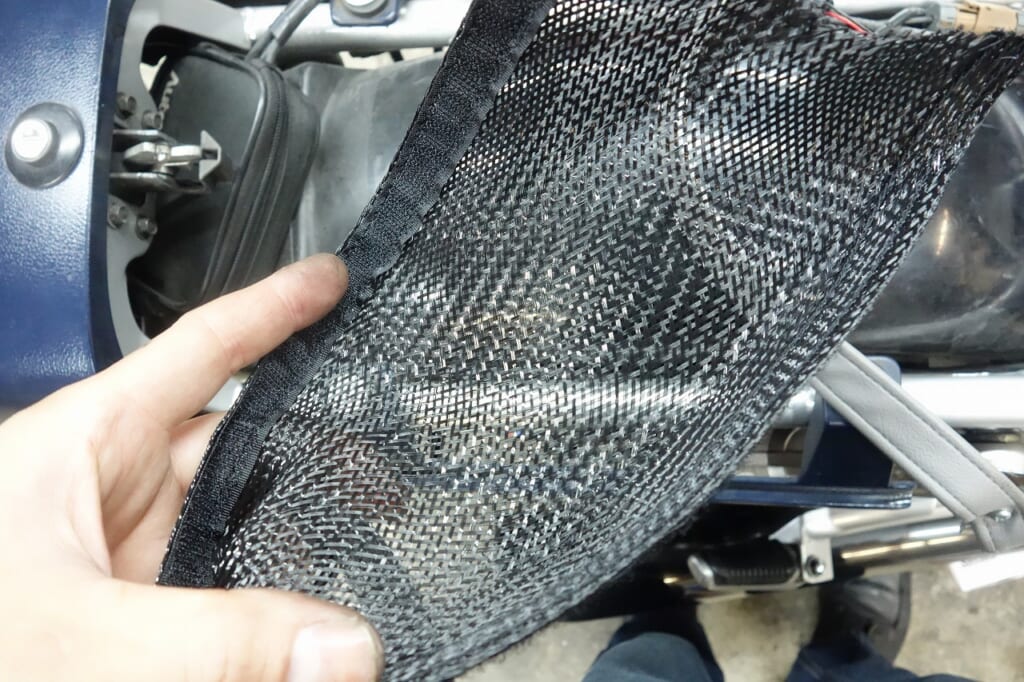
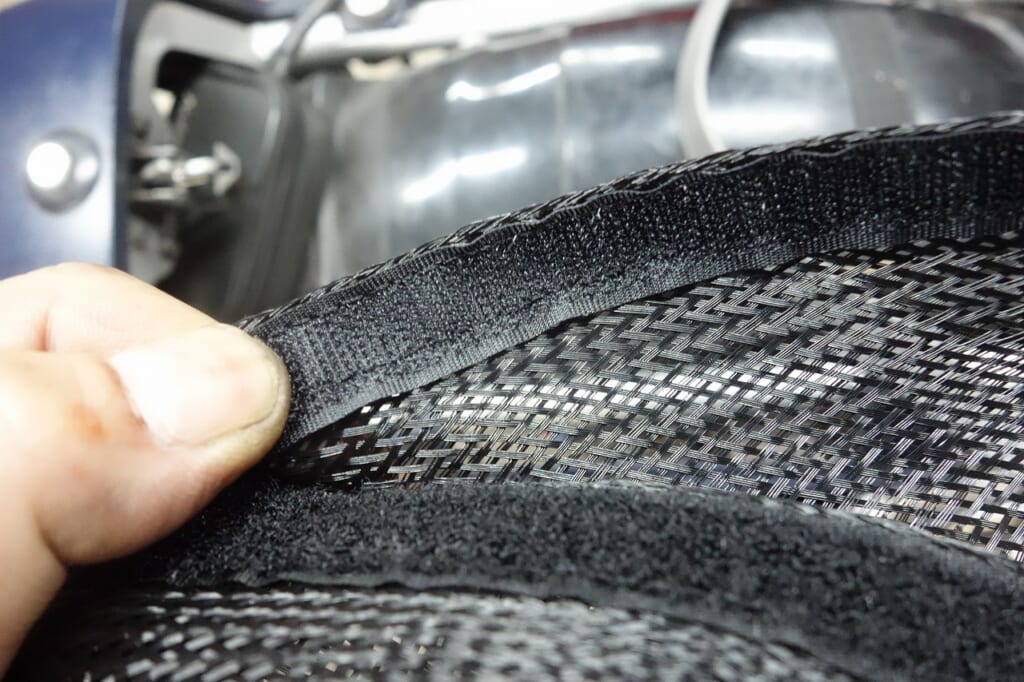
Do you know about this super handy, awesome item?
It has a mesh with velcro that stretches, so hiding wires and checking them is easy.
Denka Electron FLR Tube FLR-40 5m
It comes in 5-meter units, but it’s way cheaper on Amazon than Monotaro!
Make sure you pick the largest diameter.
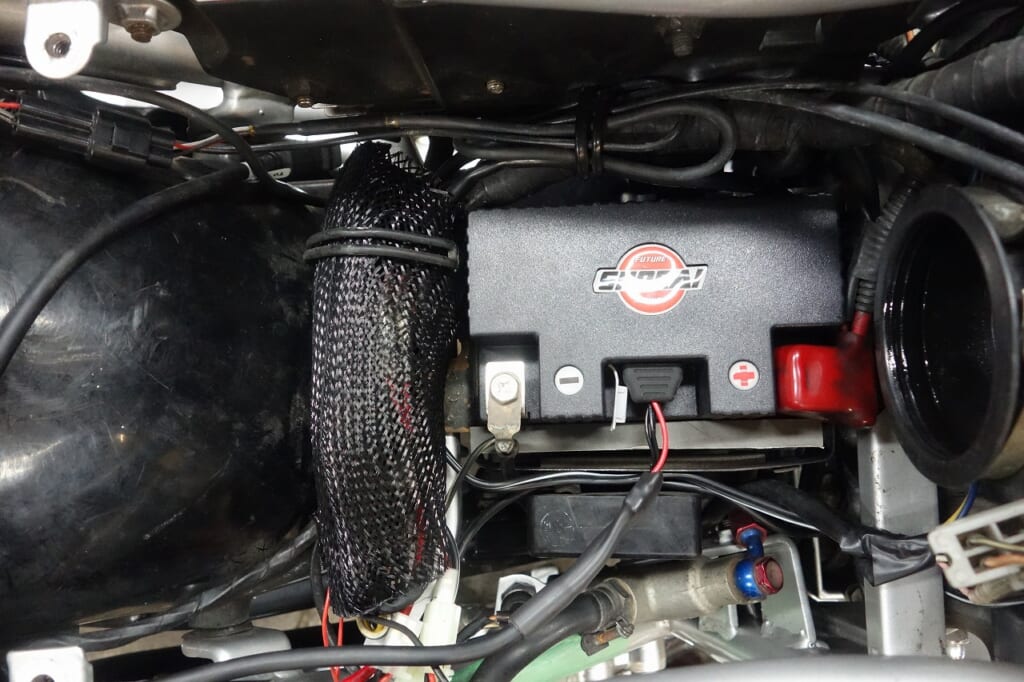
So the layout is complete. No co-tightening to the battery!
It looks much cleaner now.
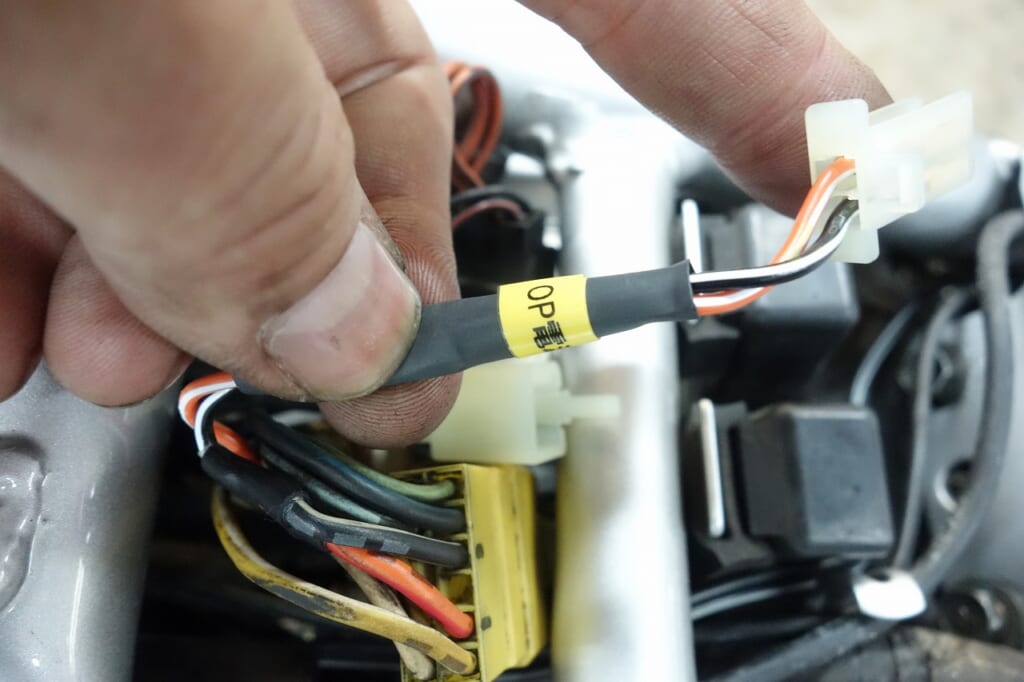
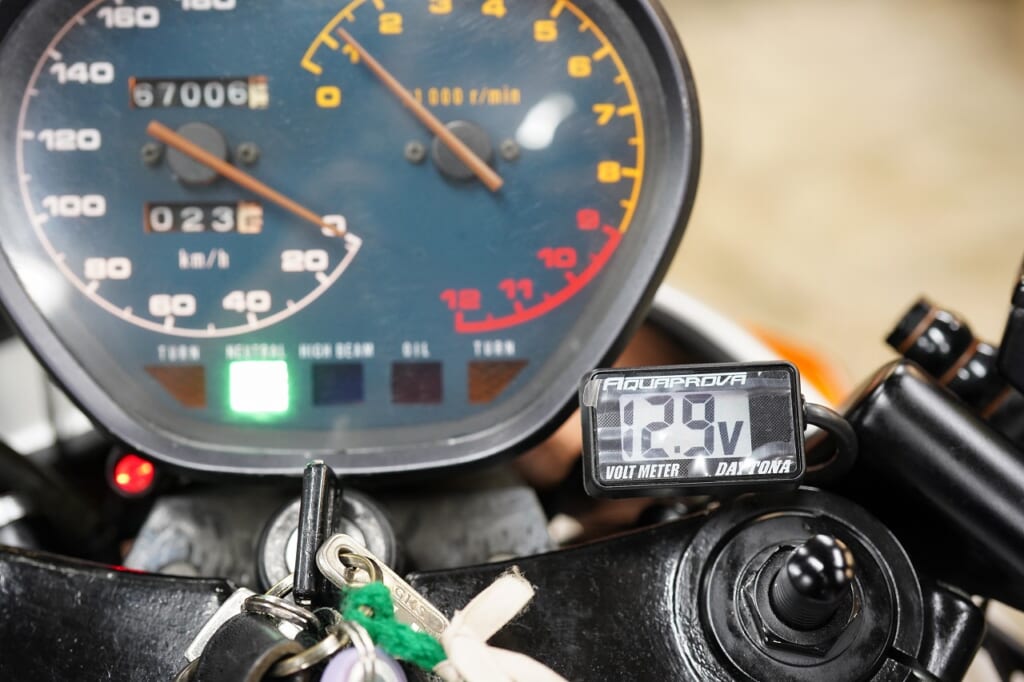
I got the voltmeter from the left switch, so I have one spare port left on the D-UNIT.
I set it up with a connector so you can use a dash cam or grip heater.
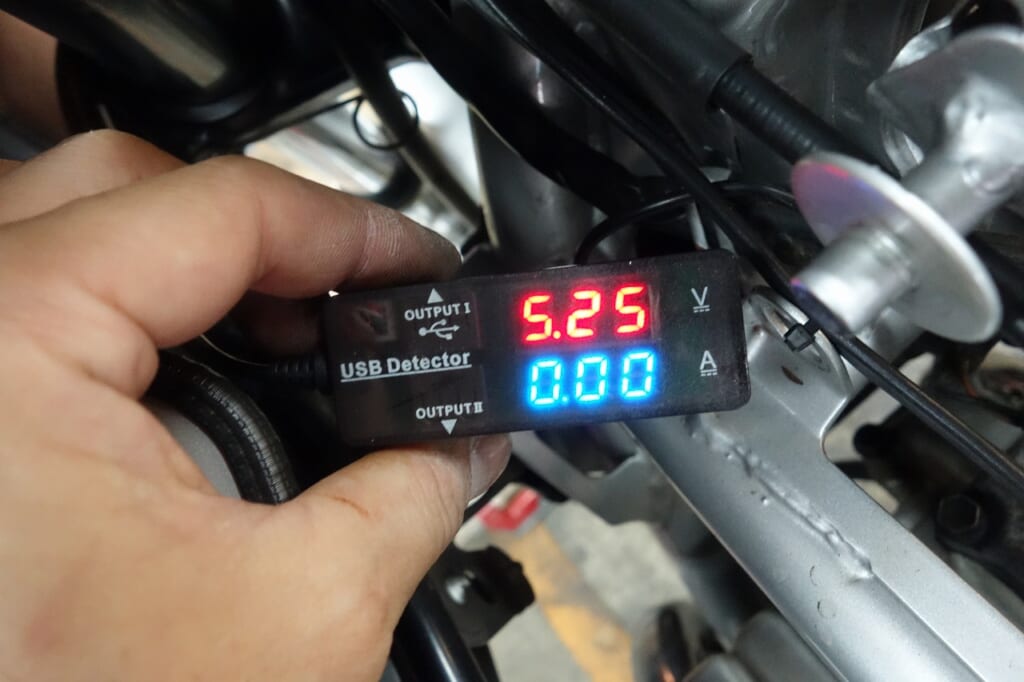
The USB operation checked out fine too.
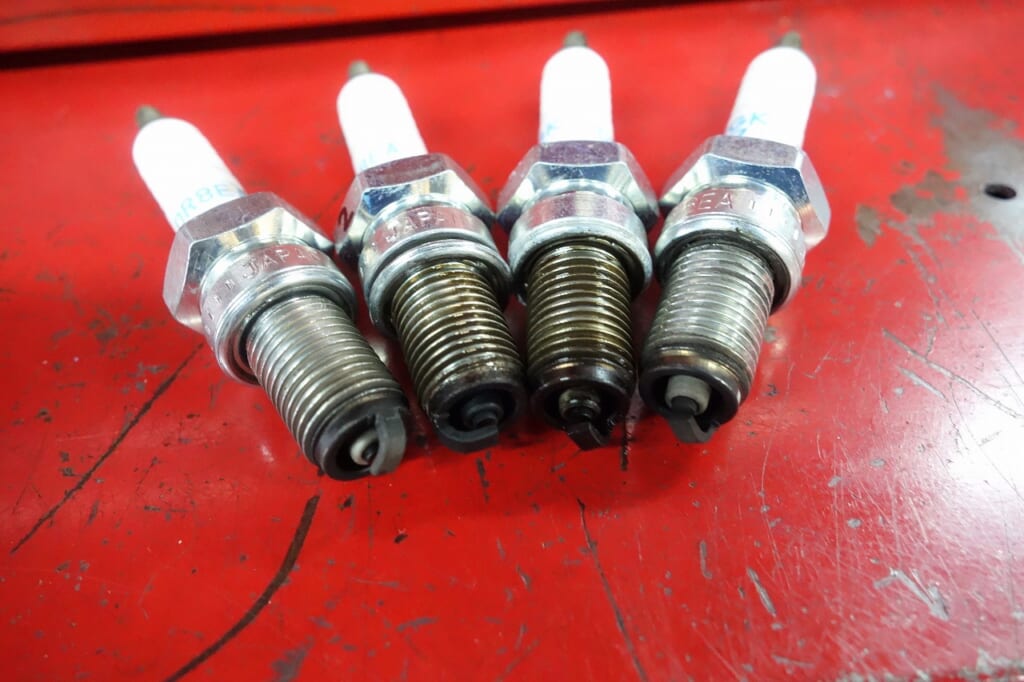
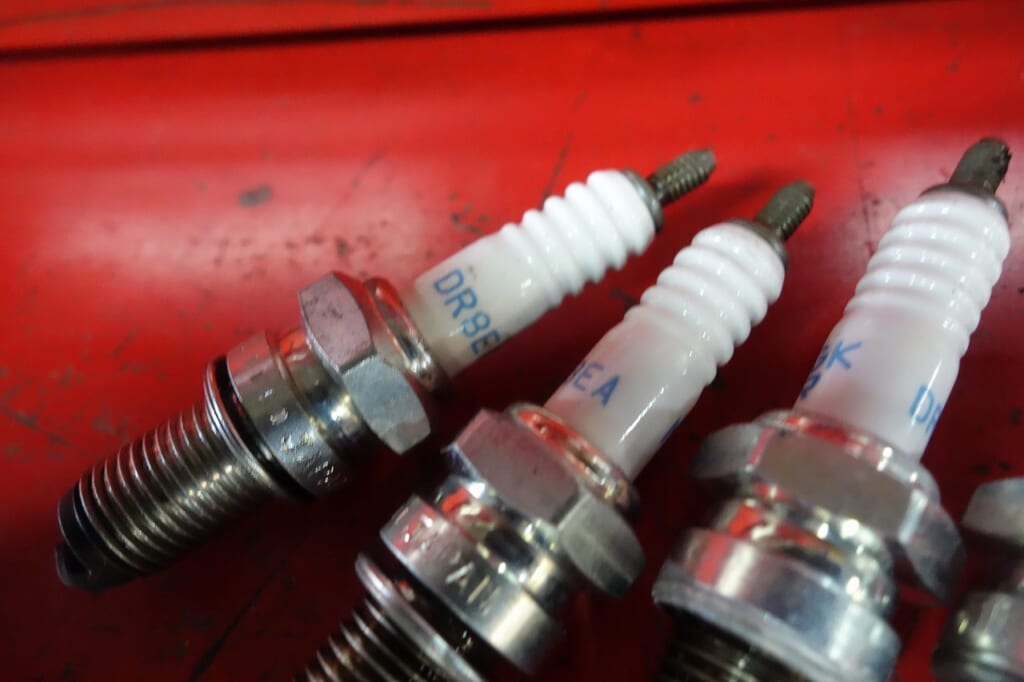
The spark plugs are damp, so I’ll replace them.
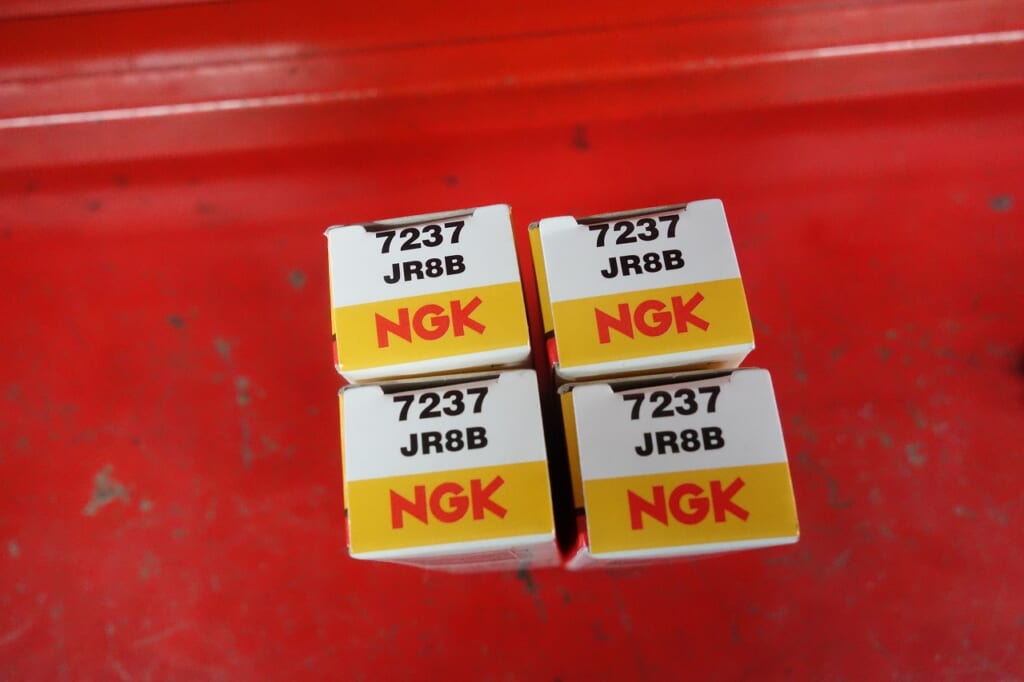
For oil-cooled bikes, I’ll swap in the JR8B, which is a standard item.
By the way, the JR8B can be used as a compatible replacement for the DR8EA.
Compared to the “DR8ES” used in bikes like the GPZ900R, the “JR8B” is a performance-enhanced version with compatibility.
Compared to the “DR8ES,” the “JR8B” has a “taper cut” on the outer electrode tip for improved ignition performance.
“Taper cut” means the outer electrode tip is cut to taper down toward the point. Other than the taper cut mentioned above, there are no differences.
I’m not making this up—this is information I got directly from NGK, so don’t worry.
DR < think of it as JR. *DPR8EA is different.
Due to inventory, we’ve moved away from DR.
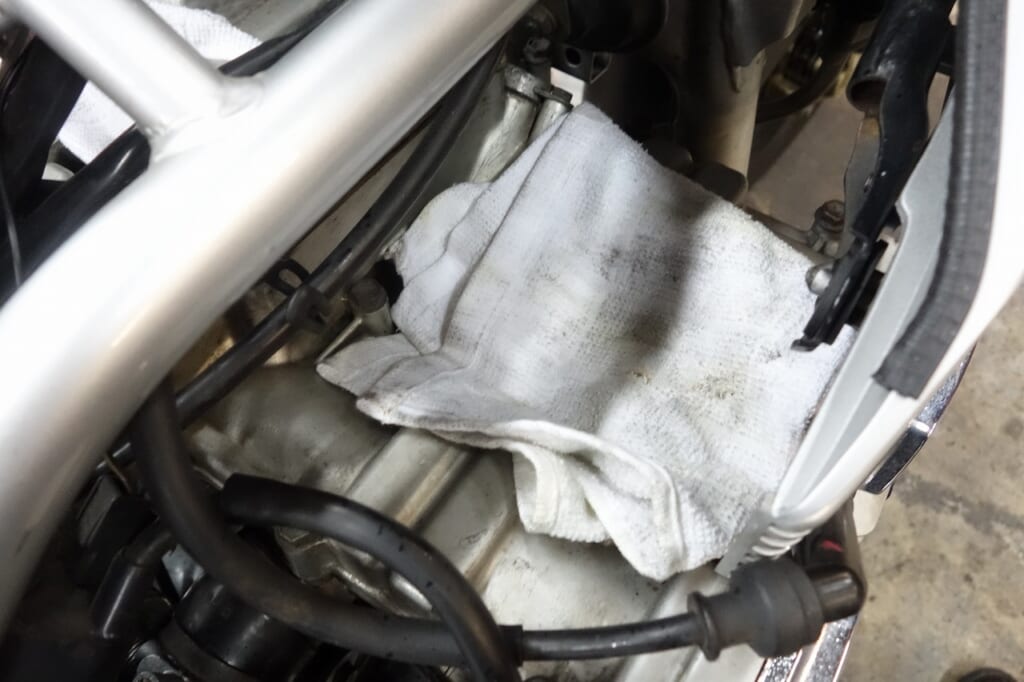
I’ll add engine oil, place a rag in the spark plug hole, and crank it.
SHELL ADVANCE ULTRA4T 15W-50
Whoosh… pitter-patter~ (ΦωΦ) Still coming out… but…
Everyone, watch out for overflow. It’s really a hassle.
White smoke puffing, the engine started.
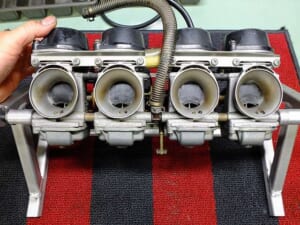
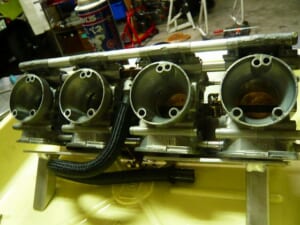
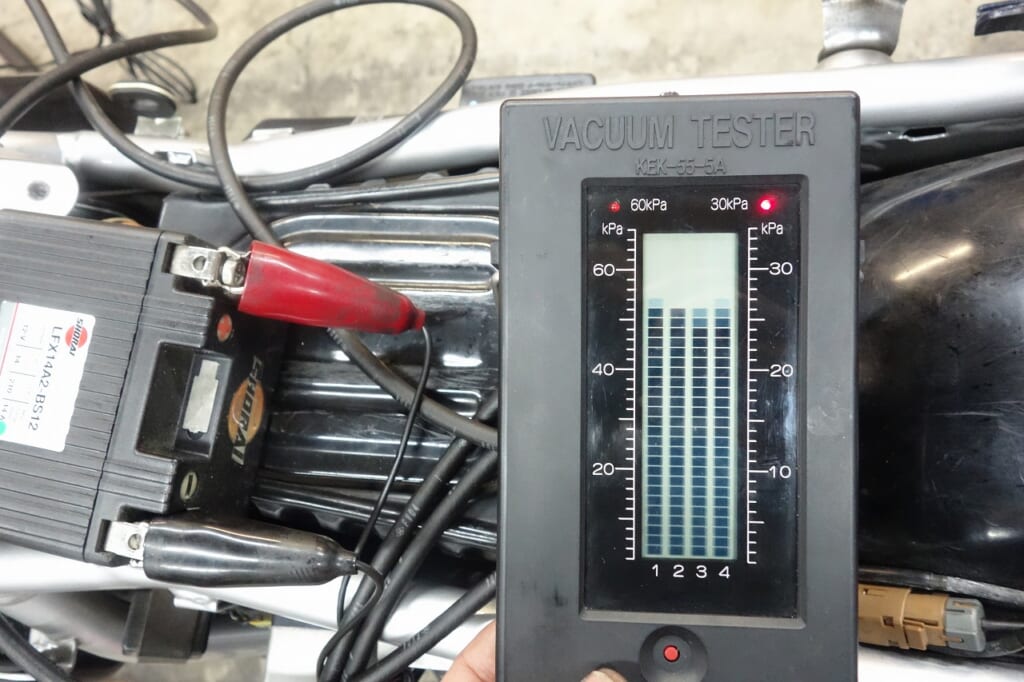
Looks like some got into the muffler too… I synced the carburetors.
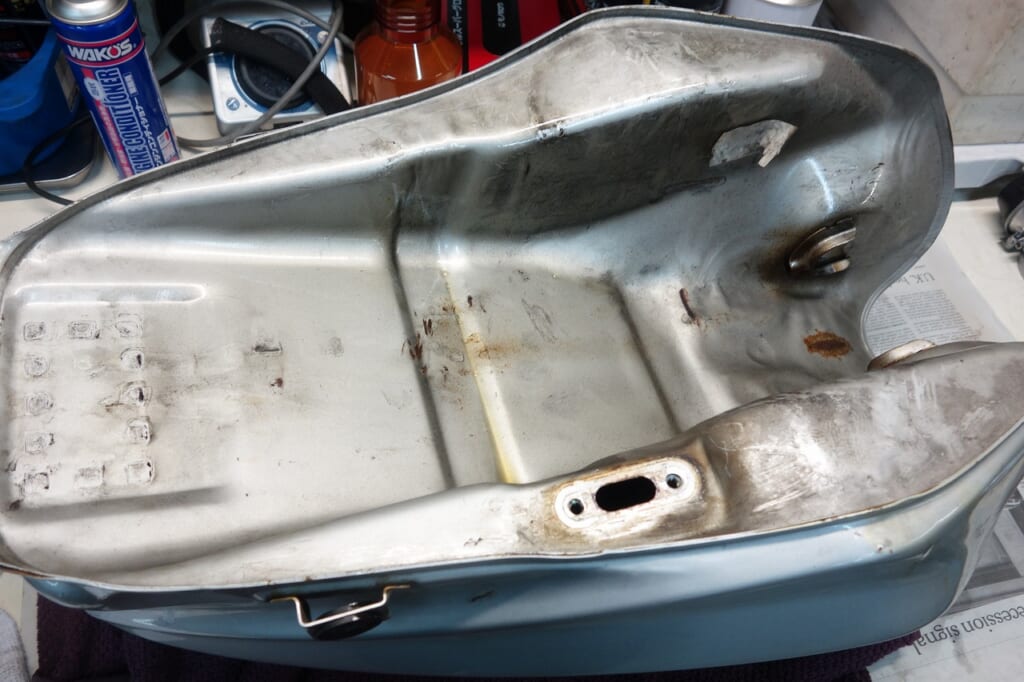
I checked the tank interior with an endoscope.
I shot video, but… probably nobody wants to see it, so I quietly deleted it.
It was in very clean condition with just minor surface rust.
The overflow happened because the gasoline inside the carburetor got old and gummy, causing the float valve to stick or malfunction.
I also polished up the back of the tank.
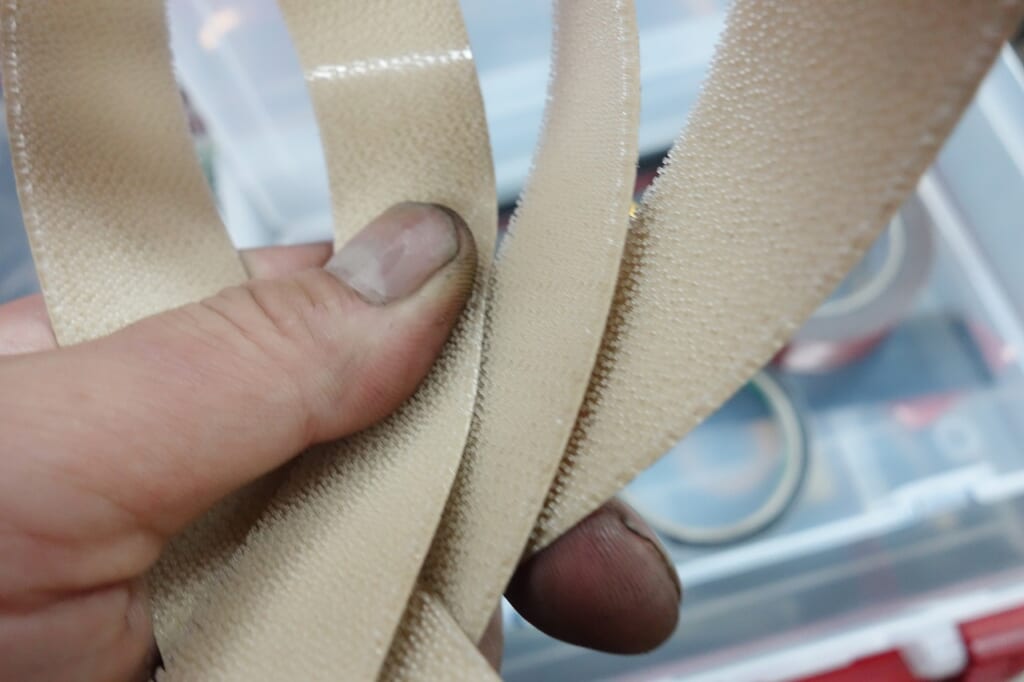
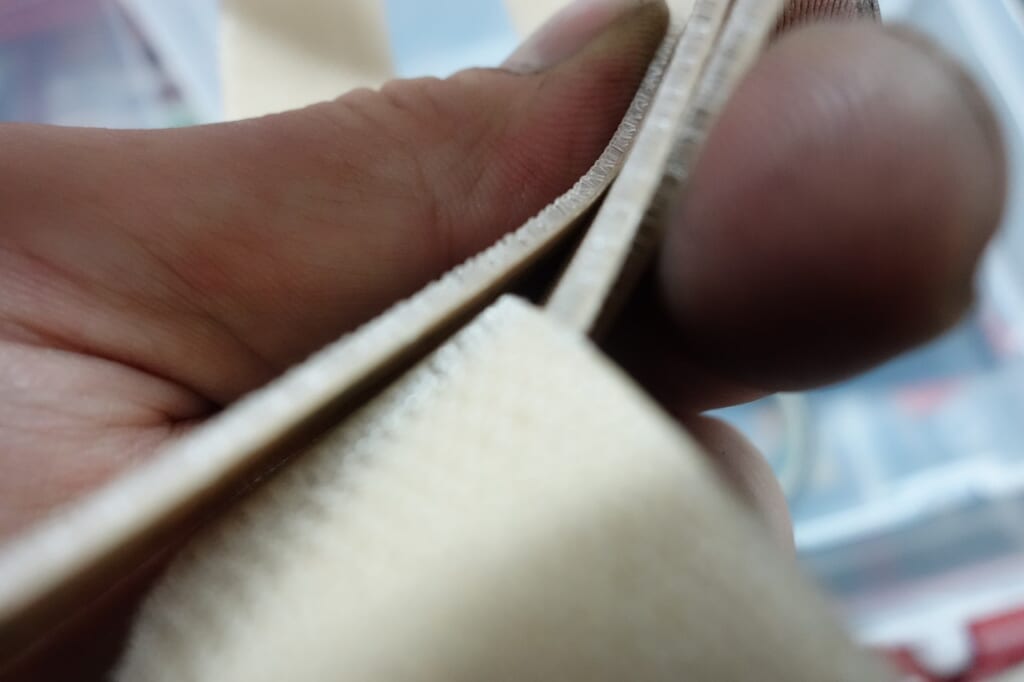
3M Dual Lock Fastener 25.4mm × Sold by the meter [SJ-4570]
Of all the dual locks out there, the one I use most is the SJ-4570.
The benefits are “very thin when mated,” “adhesive residue is minimal when removed,” and “adhesion strength is just right—not too strong, not too weak.”
For fixing electrical components, this usually does the job.
I’m also fixing this voltmeter with SJ-4570.
I don’t use the included double-sided tape. Keeping things easy to remove makes future work smoother and more efficient.
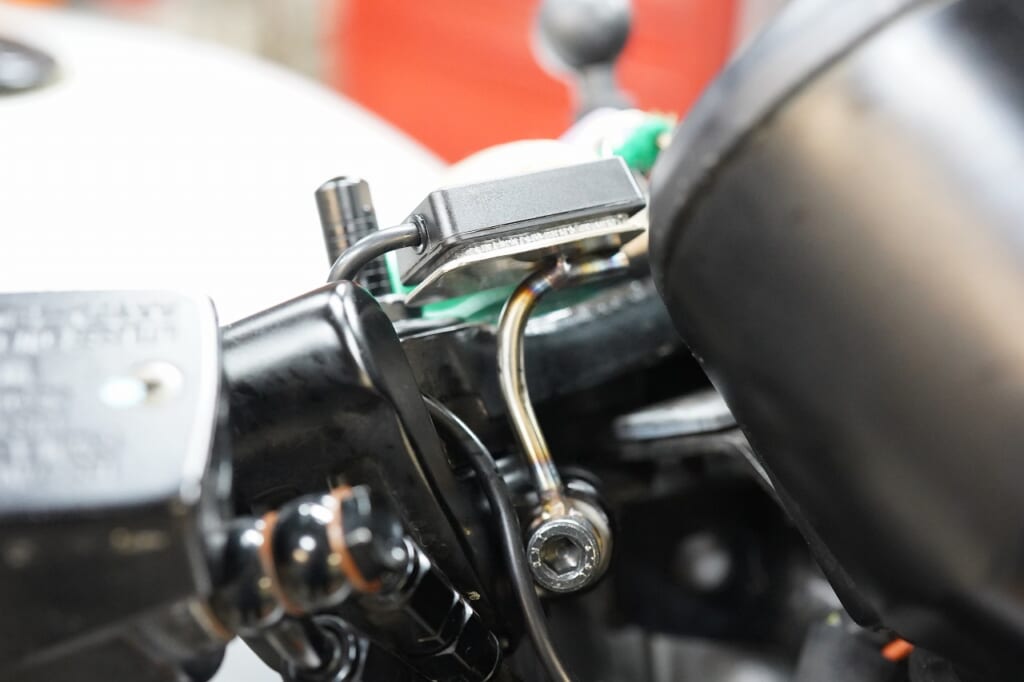
Using the “second bend rule,” I’m working it back and forth.
For bracket-type parts like this, I think stainless steel or iron works better—less cracking and easier to work with.
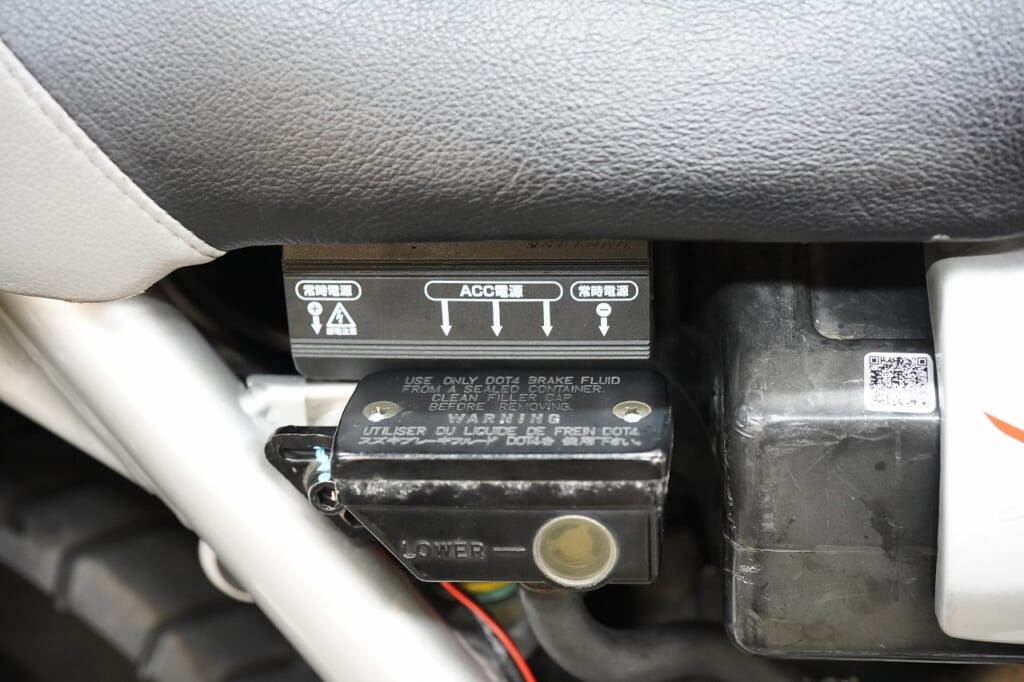
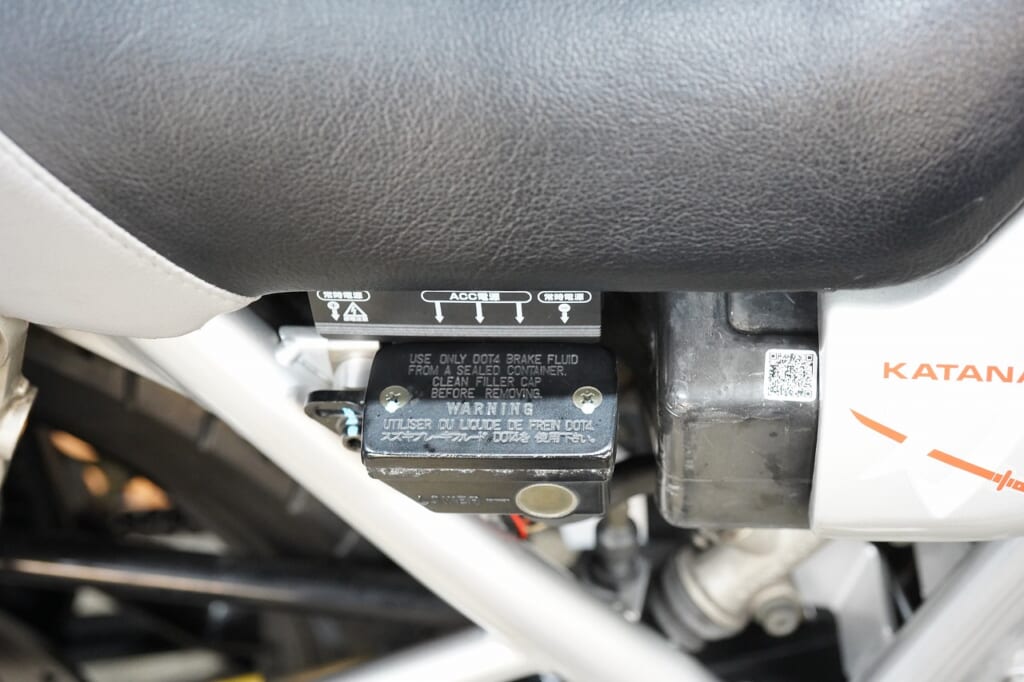
It sticks out just a tiny bit, but it doesn’t hit your foot and doesn’t hurt the look or maintenance access.
The white smoke stopped, so now it’s just my favorite part—writing up the invoice and we’re done (‘ω’)ノ