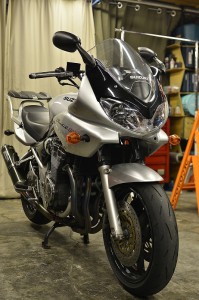
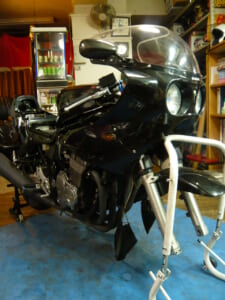
Hey there, how are you enjoying the autumn sunshine over this three-day weekend? There are quite a few holidays on Mondays, so I’ve actually shifted some of my work to Tuesday and Wednesday.
Since parts haven’t arrived yet, we can’t move forward, but let me do a quick check anyway.
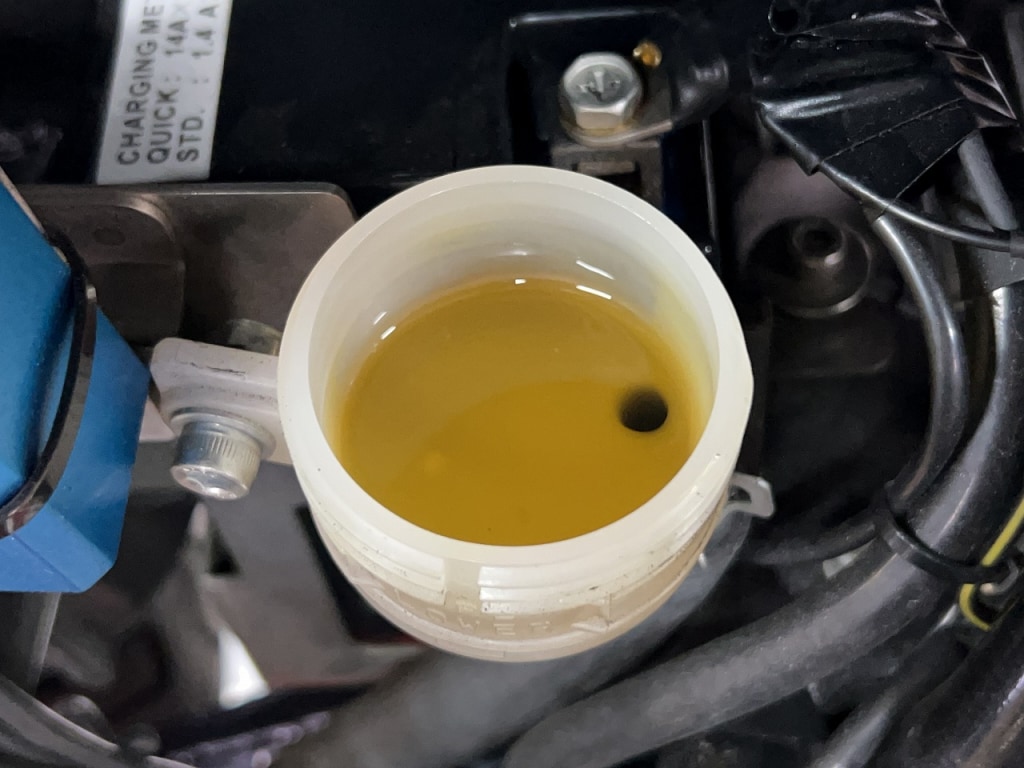
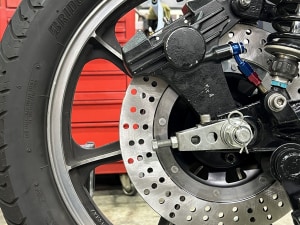
The rear brake feels spongy, so let me check it out.
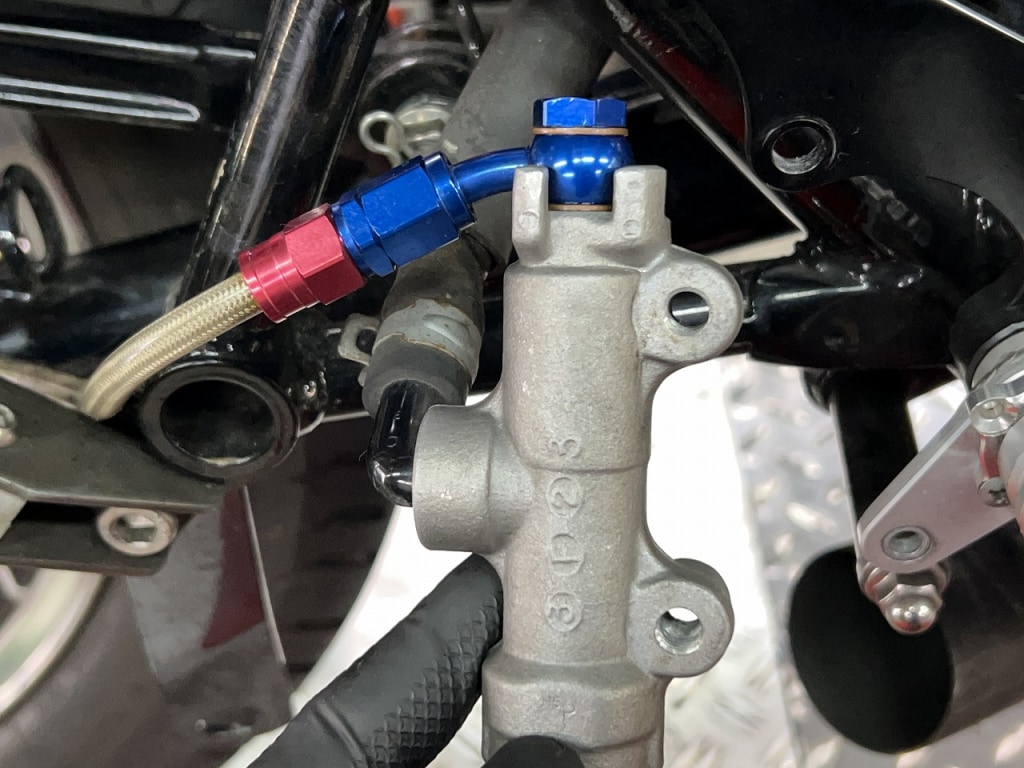
The rear master cylinder tends to trap air with this layout, so I’ll remove it and bleed it. With the rear master cylinder, “the fluid enters from the side and falls up and down,” and air tends to get trapped around the banjo bolt.
Often even vacuum bleeding doesn’t get it all out. Don’t be lazy—remove it and work through it carefully.
It’s improved quite a bit, but there’s another issue…
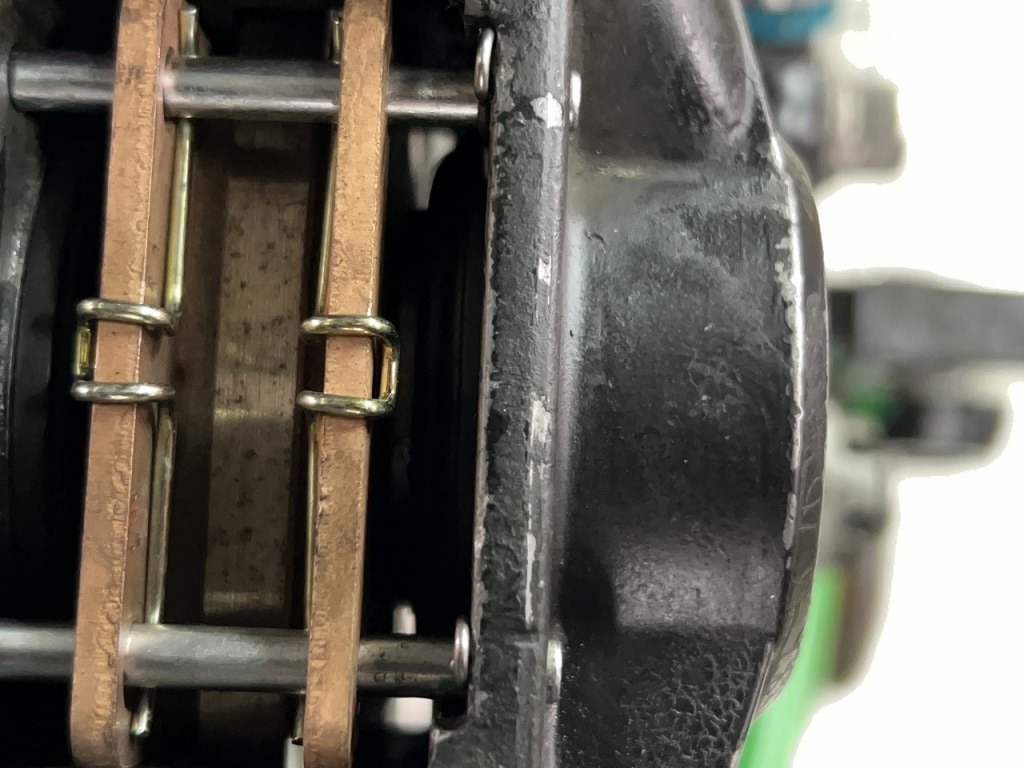
When I replaced the pads yesterday, the piston return was sluggish—quite a bit sluggish actually. The piston extends in the hydraulic direction, and returns via the oil seal deflection. If the oil seal is acting up, you tend to get either “won’t return” or “returns too much.” This time it’s the returns too much type, so it feels spongy.
That spongy feel is very similar to the sensation when air is trapped. Use some kind of spreading tool to press the brake pad firmly against the piston, then operate the master cylinder—that makes it easy to diagnose the condition. If the feel is firm and clicky, it’s the caliper. If it’s spongy, it’s either air in the system or the master cylinder, etc.
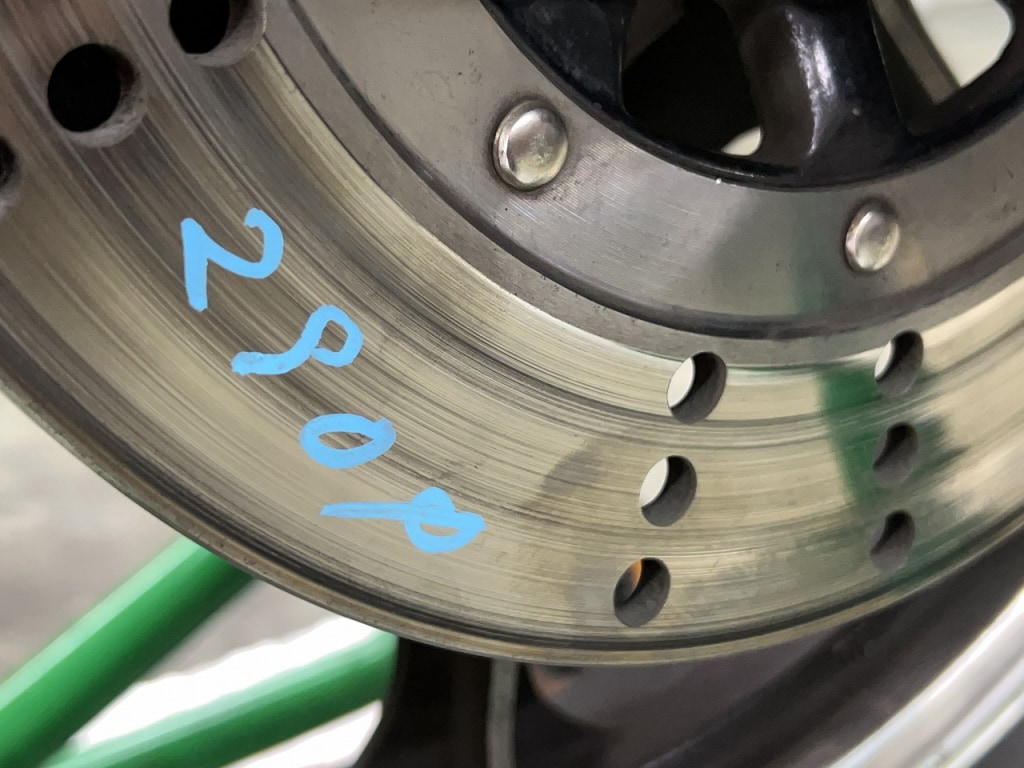
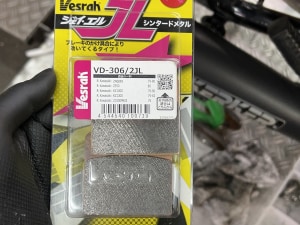
The rear brake disc is also wavy, so we’ll replace that too. The Z has good demand for this kind of wear item, so parts are always available—that’s reassuring. Even though it’s old, you can get parts as easily as a current model, which is great peace of mind. That’s Kawasaki for you.
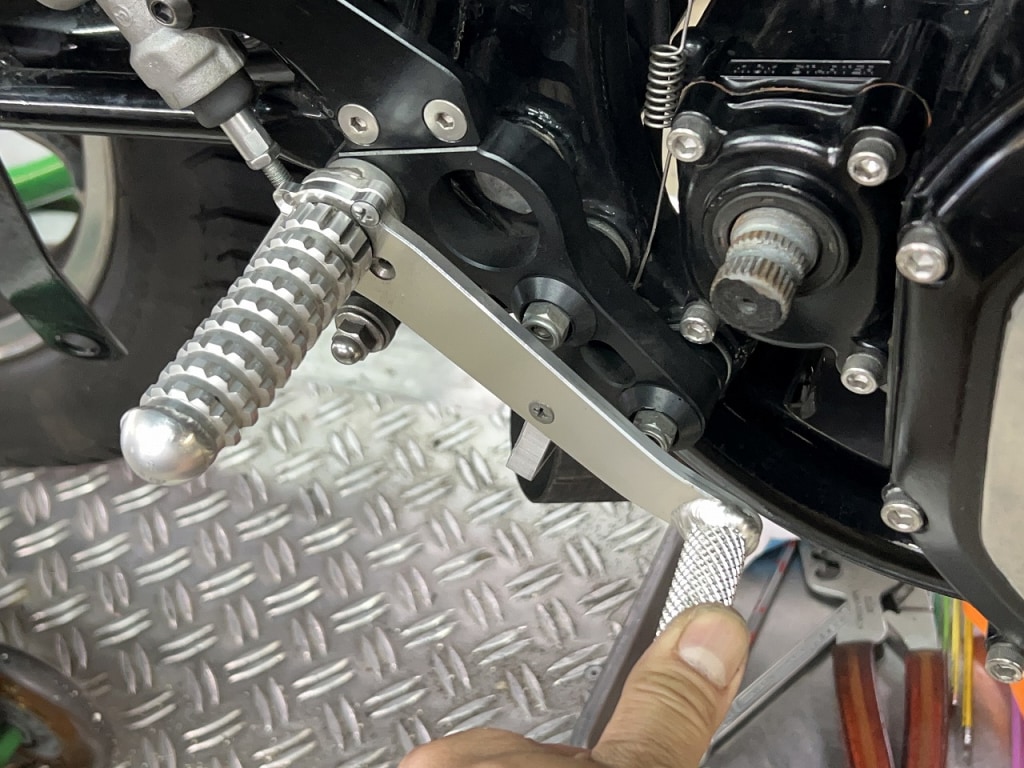
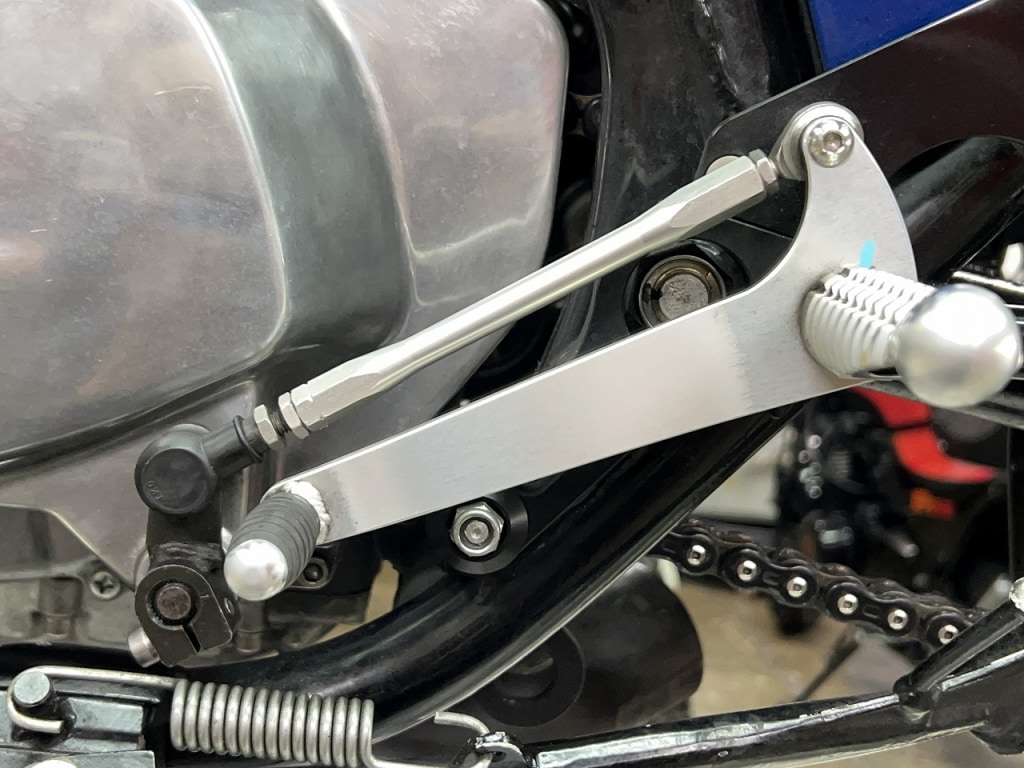
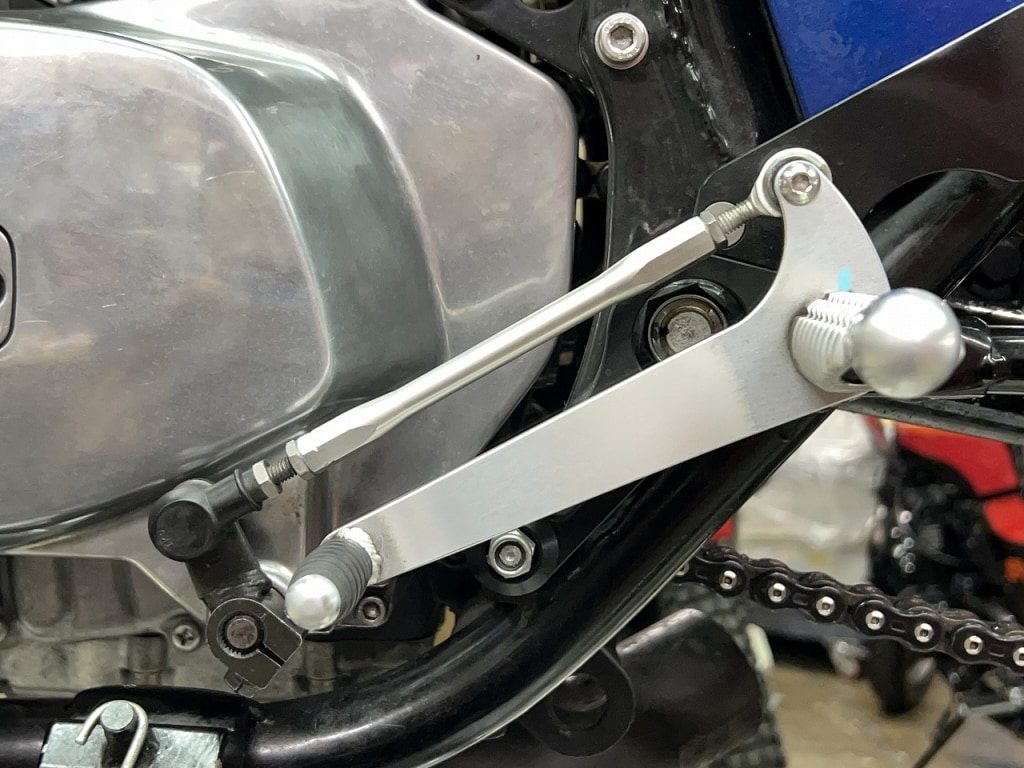
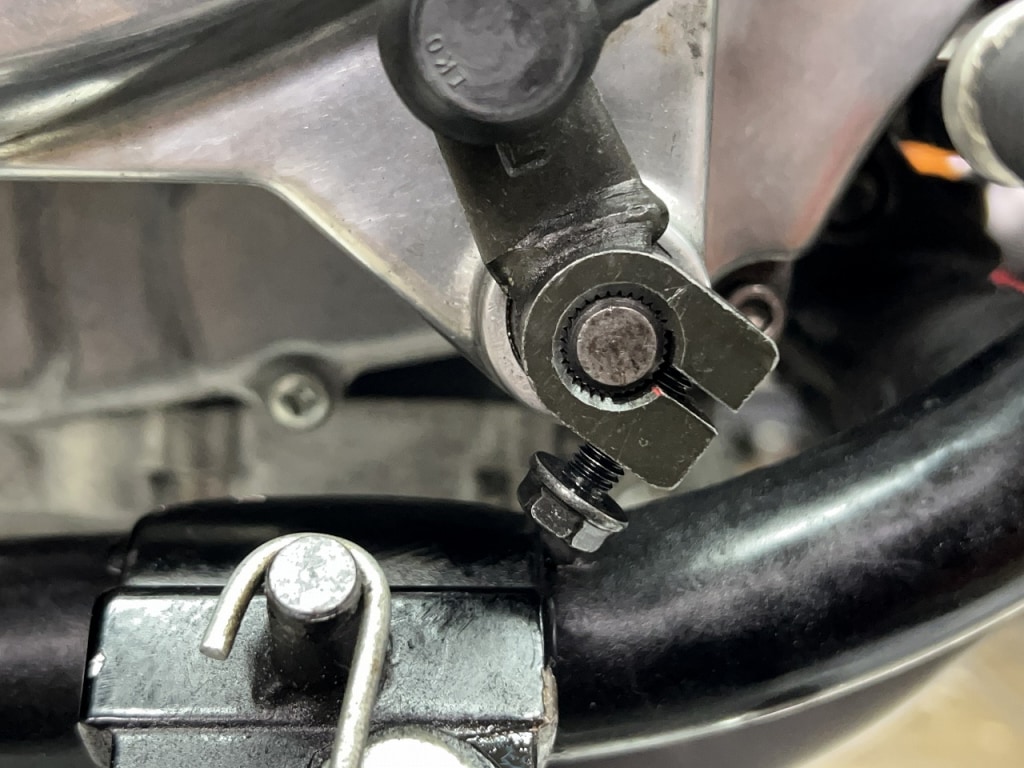
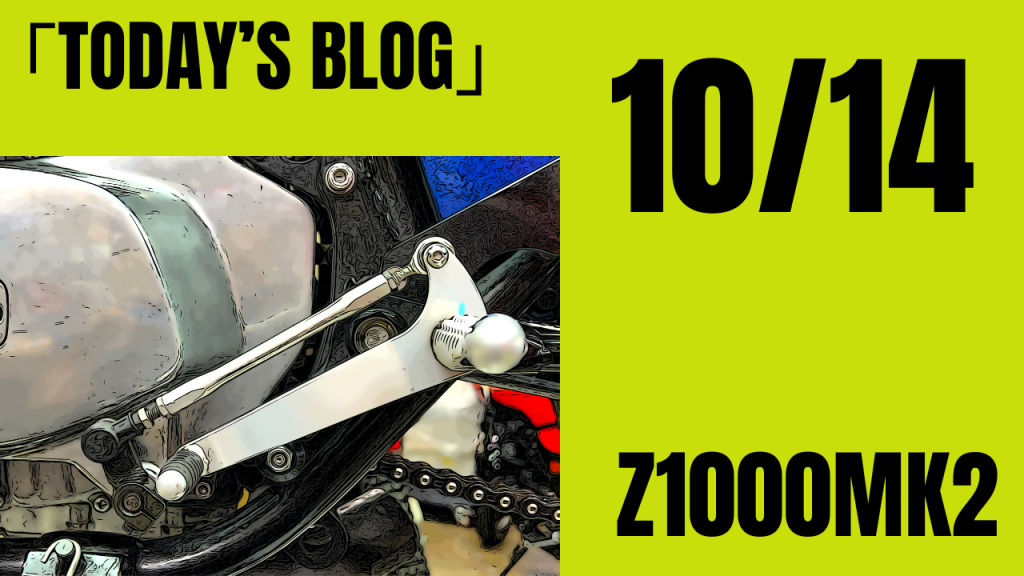
I’ll adjust the angle so the shift engages more easily.
Ideally the angle should be close to 90 degrees. If the angles are misaligned, the shift moves in a twisting direction, which puts some stress on it. Since the shift stroke is limited, adjusting it so it moves smoothly and effectively feels really nice.
When adjusting the shift, remove everything first.
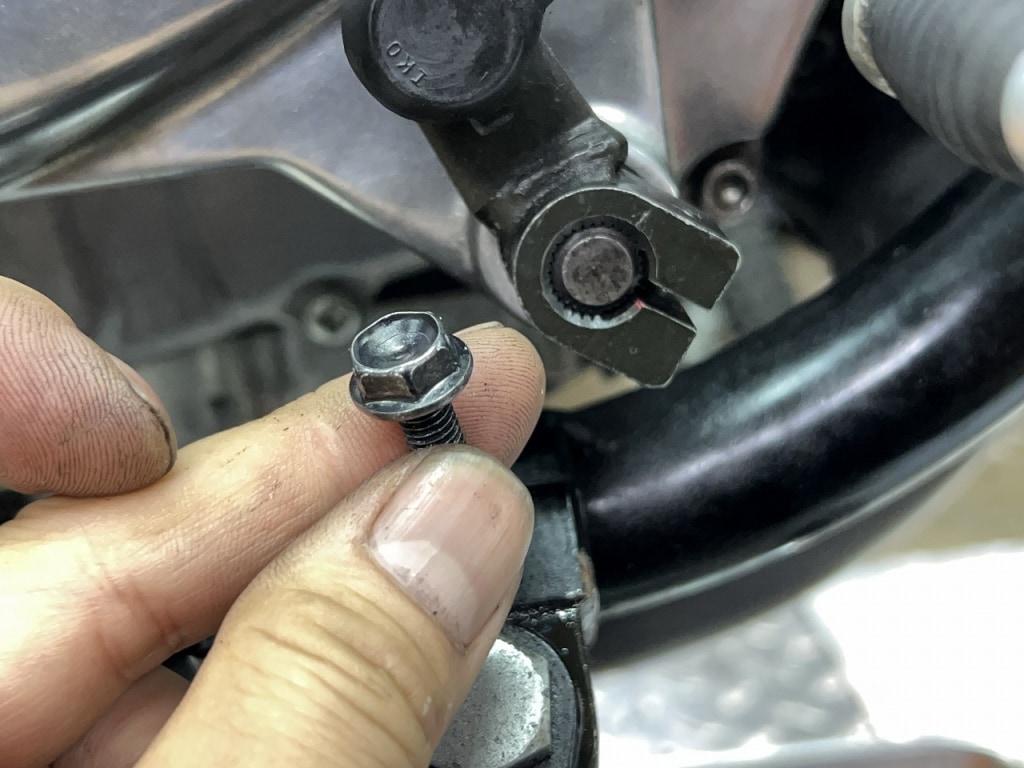
From the outside, you can’t really tell how far the screw is threaded in. Remove it once and check how much thread engagement there is before adjusting.
I always thread in the minimum necessary amount first, then adjust only by threading in further. With this method, you can only go in the safe direction, so there’s no mistake.
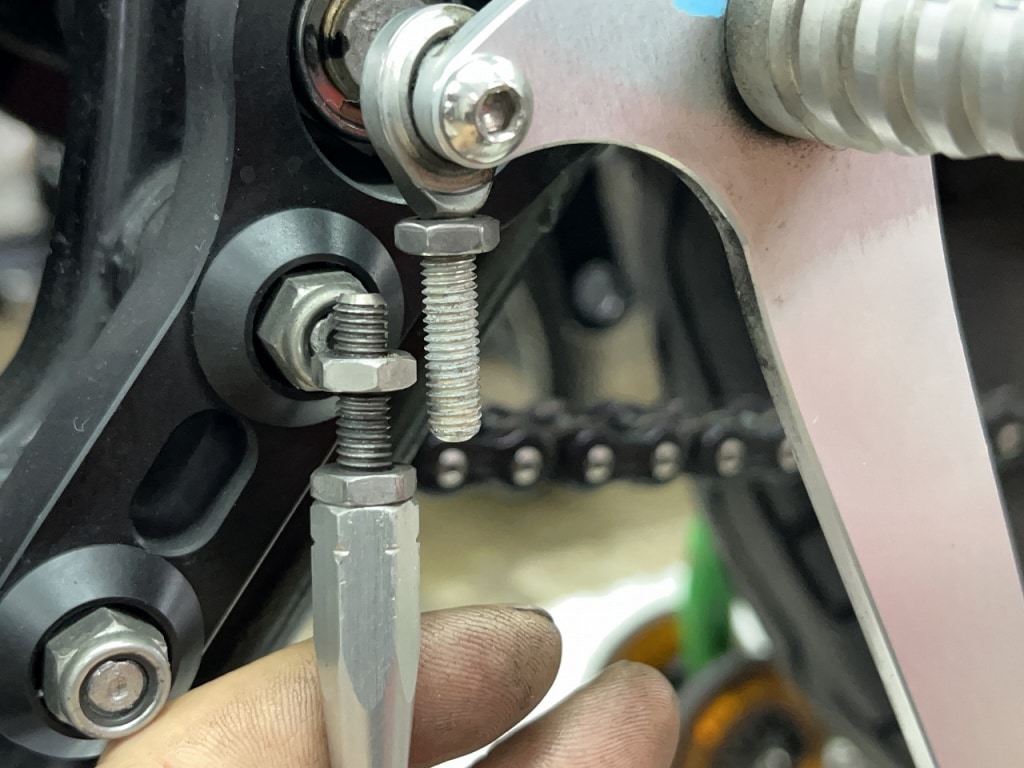
Right tool for the job—using a bolt head with good serviceability feels great.
In tight spaces like this, cap screws are a no-go! They make serviceability really bad.
Use tools you can access from the side, like a flex-head ratchet or an open-end wrench, so you can attach and remove things easily. That way, if you break down somewhere, you can manage it with tools you carry on the bike. Keeping things as hassle-free as possible is friendly to everyone. I’m using Honda OEM flanged steel bolts to keep the part count down.



 ポチップ
ポチップ