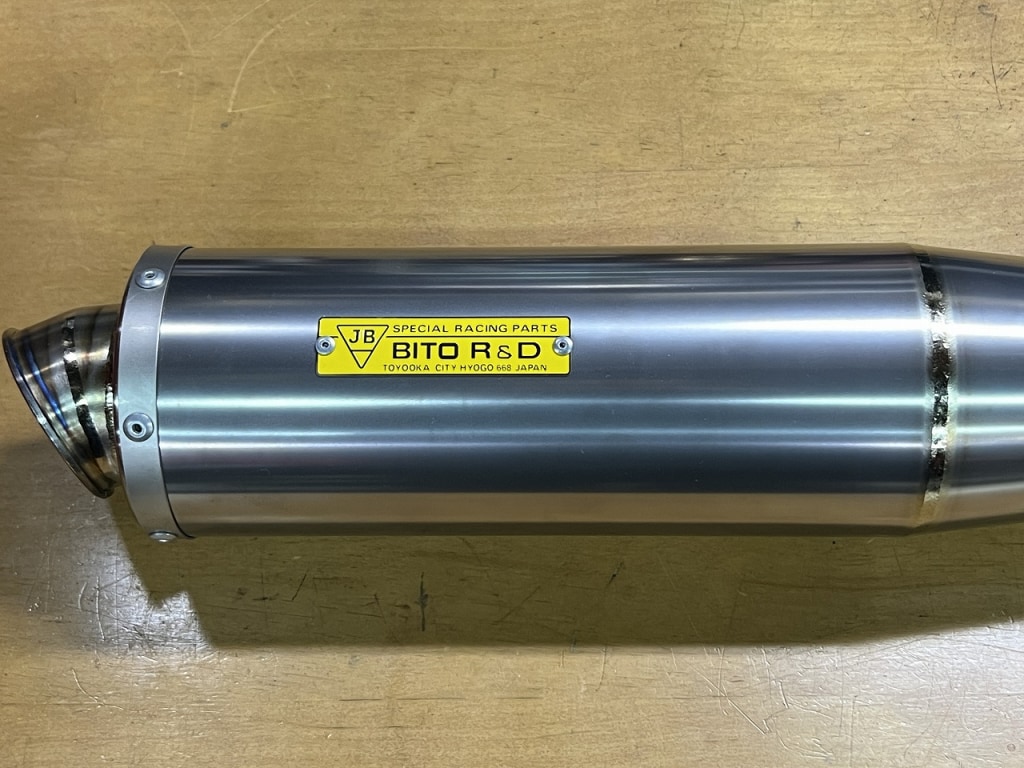
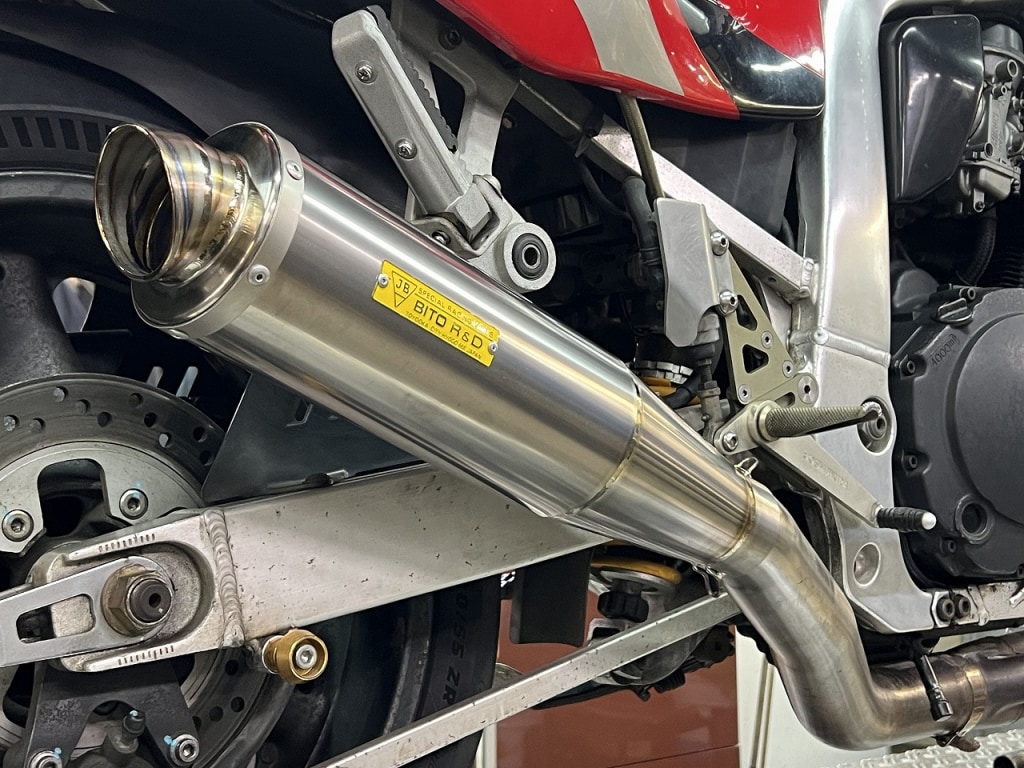
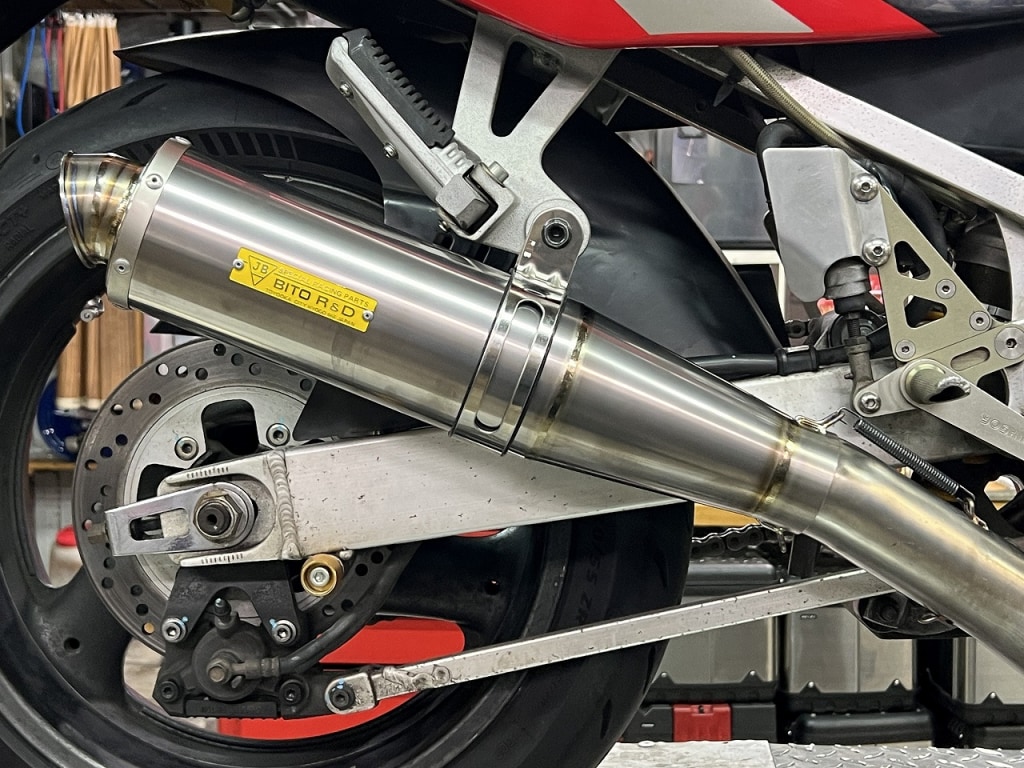
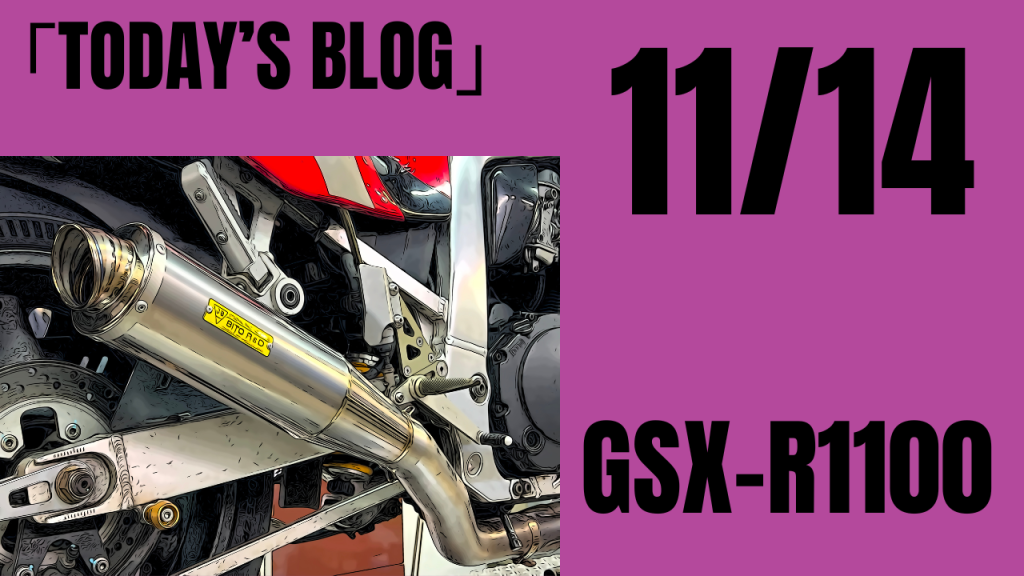
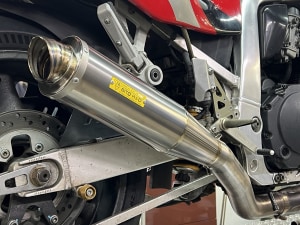
BITO R & D Titanium Megaphone Silencer 210-04-100S
It’s great to be able to see the product in person (*´ω`*) I was actually a bit curious about it. Pictures and the real thing are surprisingly different, aren’t they?
And you can’t tell if it will suit your bike without seeing the actual product. The length and shape have an extremely wonderful design.
With this shape, I think it would fit various bikes. Also, the fact that it doesn’t overlap much with what others have is nice too.
It’s interesting how just making it a bit more megaphone-like gives the muffler such a nice line. In this state, it’s already cool—it was definitely the best choice!
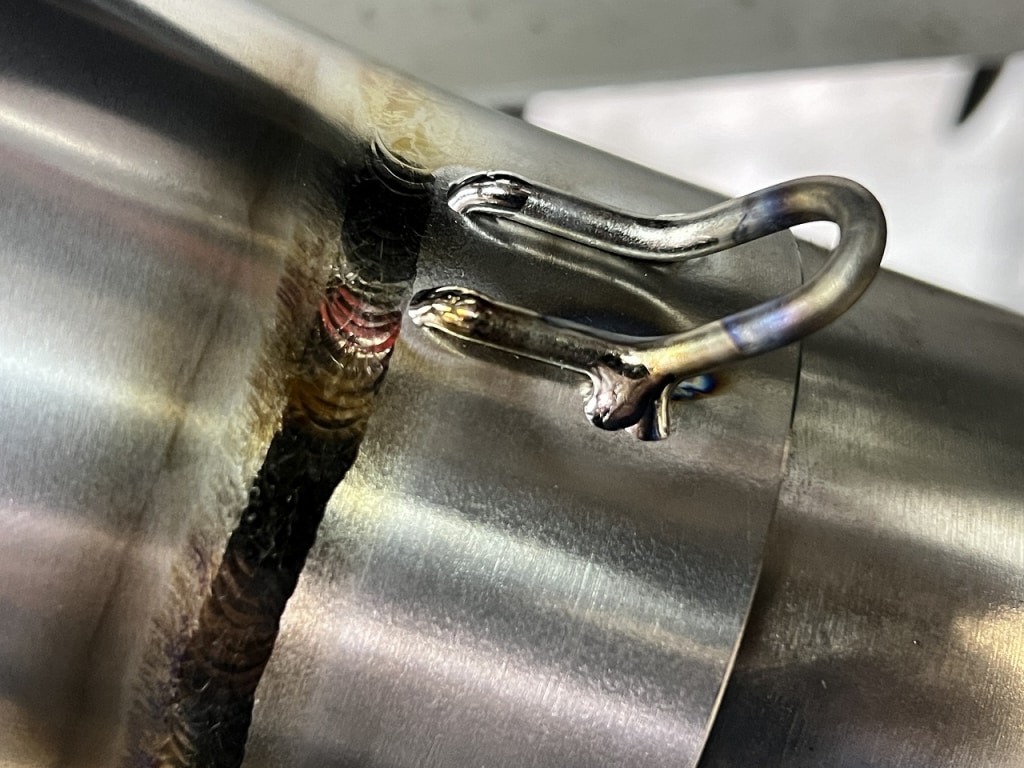
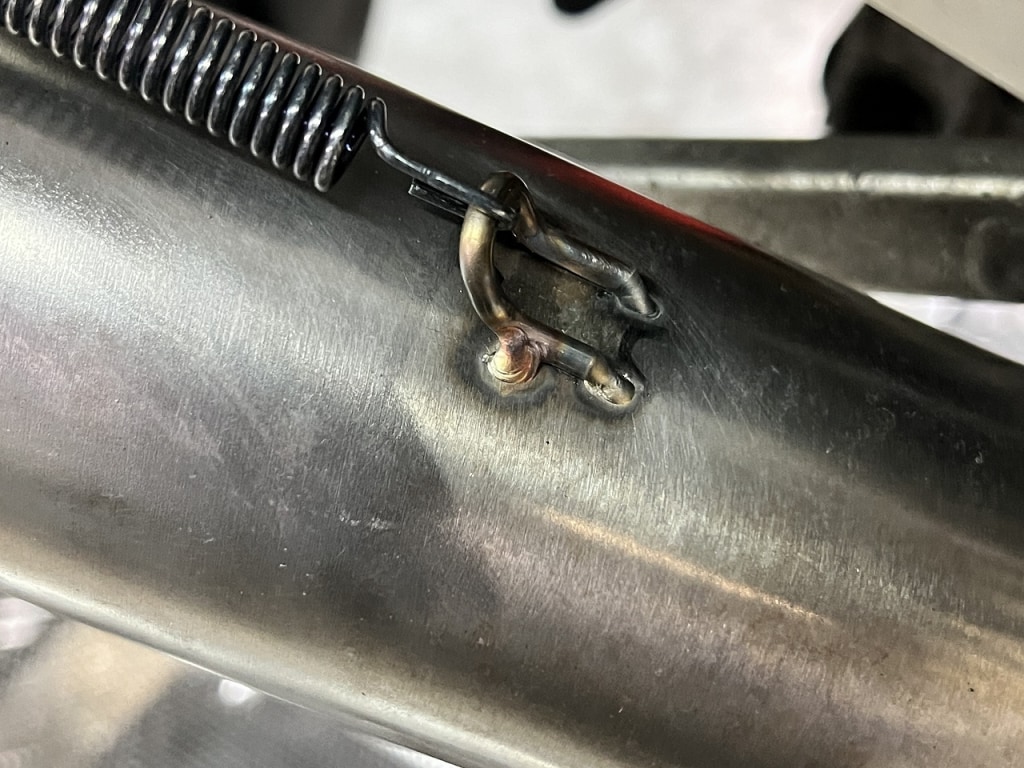
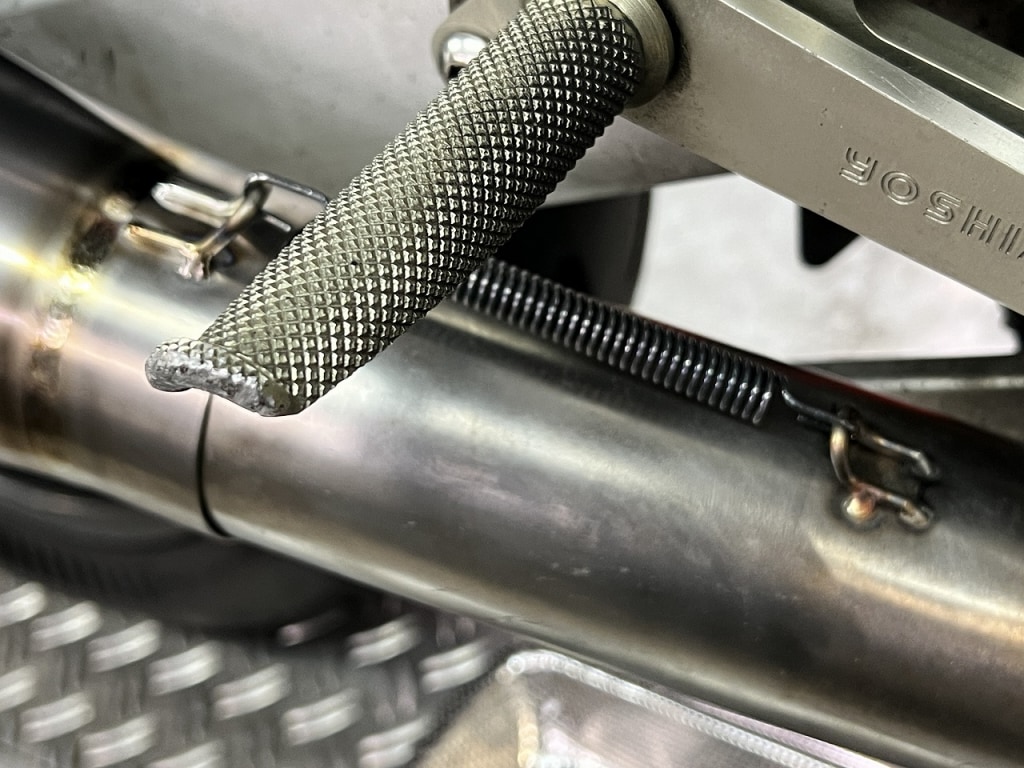
Looking at the hook welding on the silencer side?
It’s quite innovative. It’s a very efficient four-point fixing method. Necessary and sufficient—if we ever need to replace the hook, there’s less material to grind away, so I’d like to copy this approach. *Plus, the welding is easier, which helps.
As I get older, everything becomes a hassle, so I just bought it
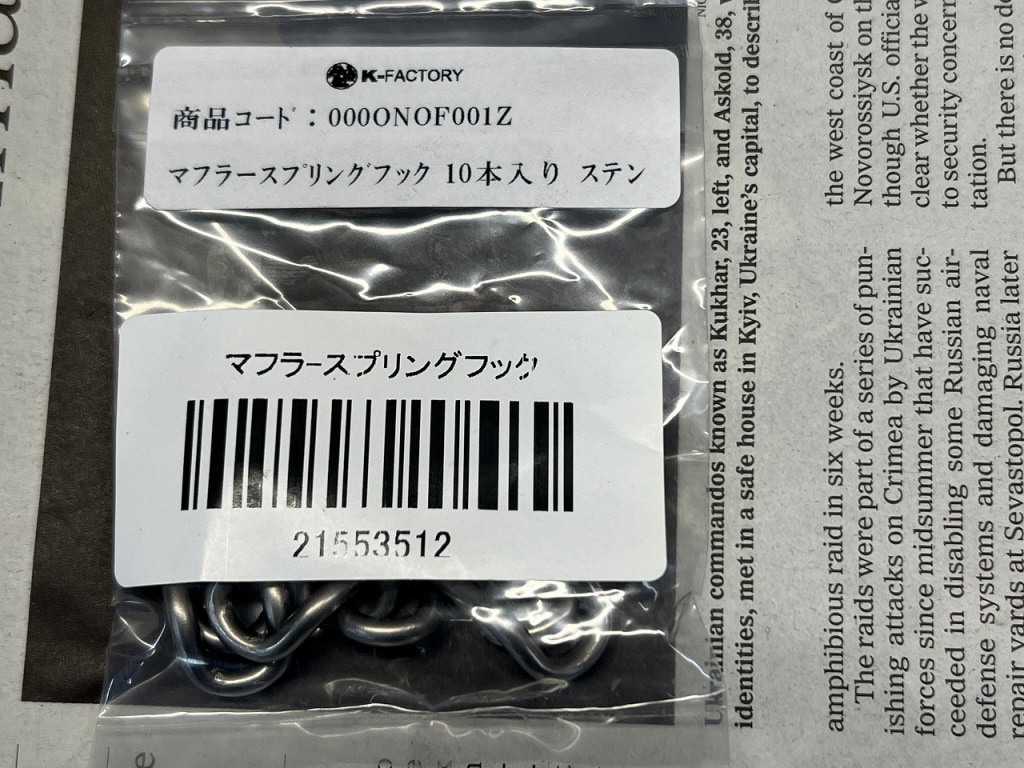
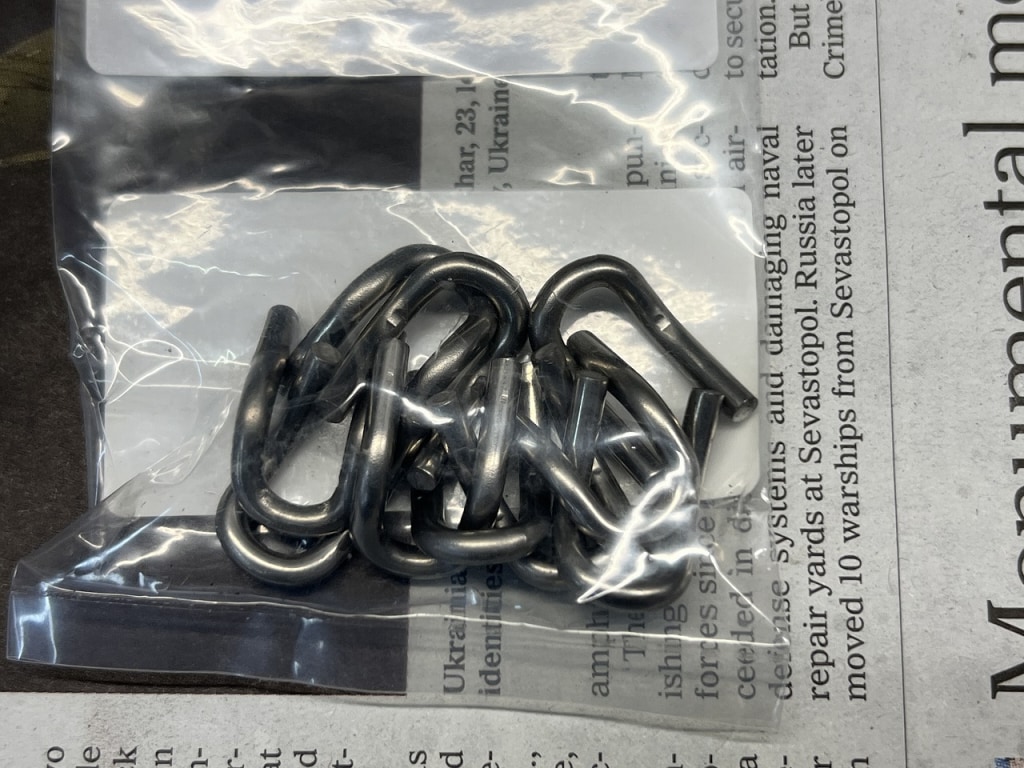
I used to bend round bars by hand, but I thought maybe they sell them ready-made, so I looked it up… and they were indeed being sold by K Factory.
The materials come in two types—SUS and titanium—and they’re very reasonably priced. I felt genuinely moved by how good things have become, even in these small details. SUS304 Muffler Spring Hook 10-Pack 000ONOF001Z
I think choosing Street this time was the right call. We still have one spring in stock that we haven’t tested yet, but the sound quality and low-end pickup look promising.
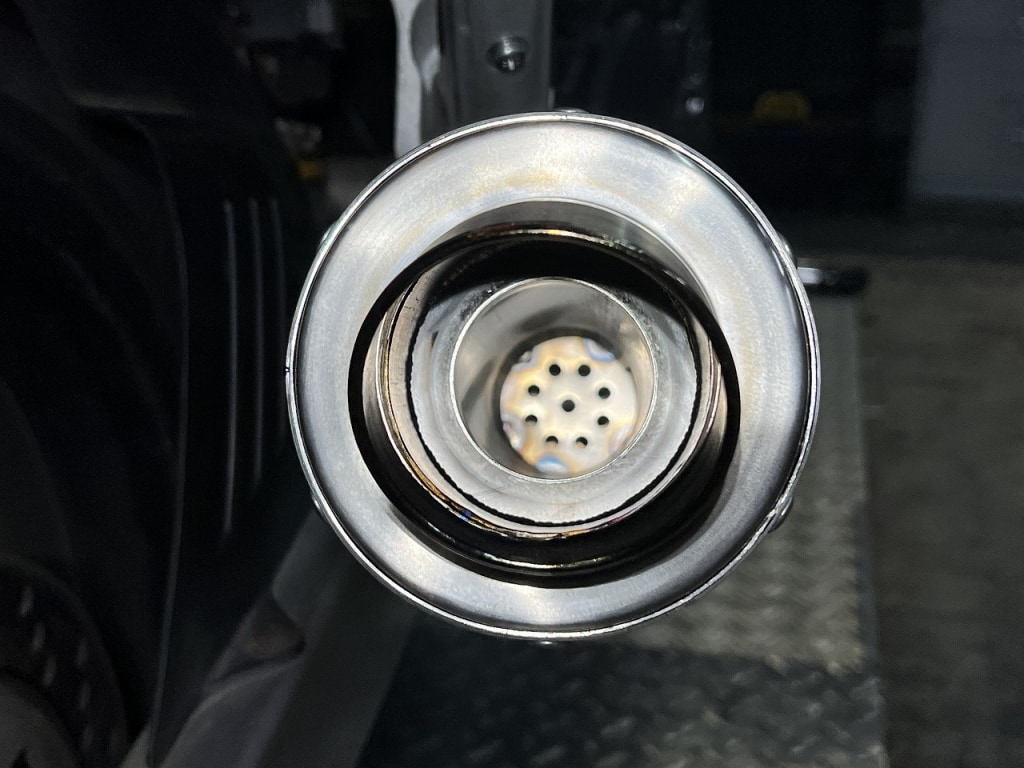
As you can see in the image, the silencer is packed with sound-dampening material inside, which is why it has such a gentle finish. Since it’s Street type, it doesn’t appear to be removable.
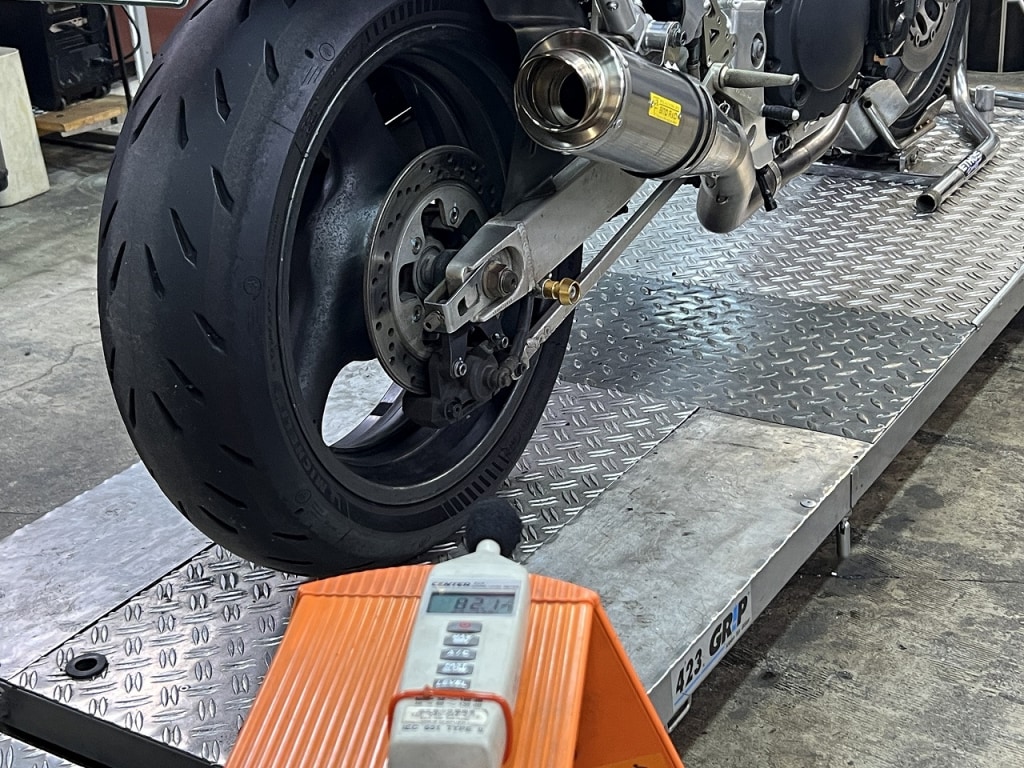
I thought maybe it could pass inspection as-is, so I measured it just in case. At around 4200 rpm it hits about 100 decibels, so it looks like it’s just barely over the limit.
For inspection, you can remove the silencer and stuff some stainless steel wool inside—that should do it. *Stainless steel wool actually works surprisingly well.
Now let’s track down the source of that mysterious oil leak.
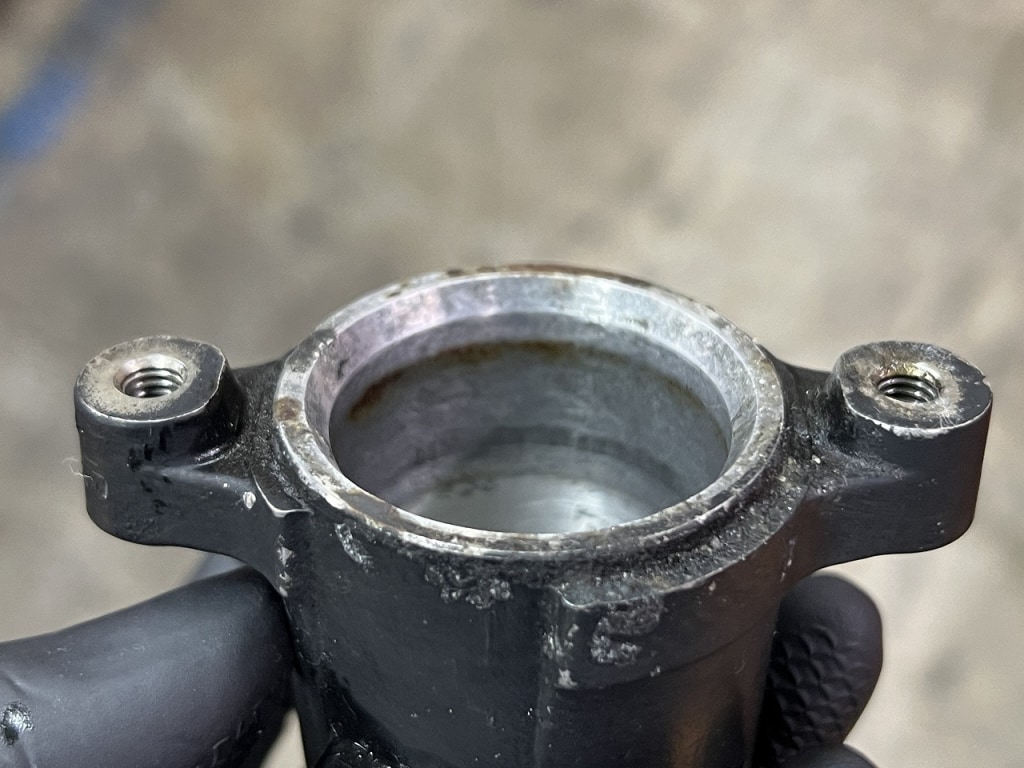
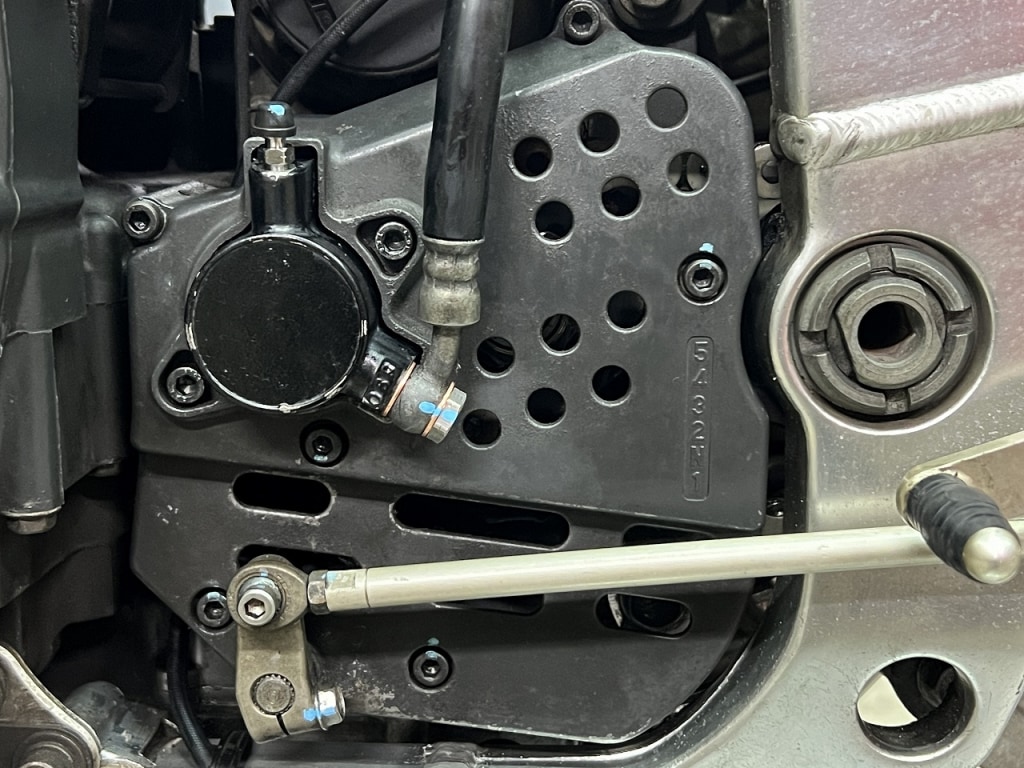
Since the owner said the clutch wouldn’t disengage, I was pretty sure it was the release. The fact that the area around the side stand had gotten all rusty was another clue.
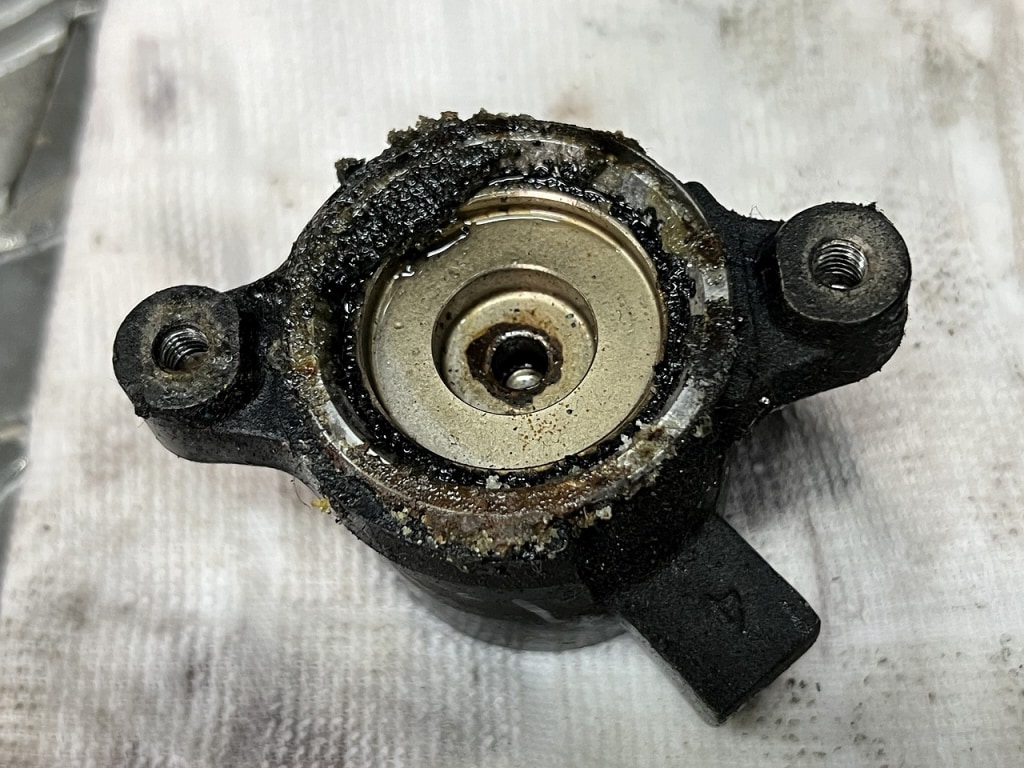
It looks like it’s never been disassembled before. It’s already leaking slowly.
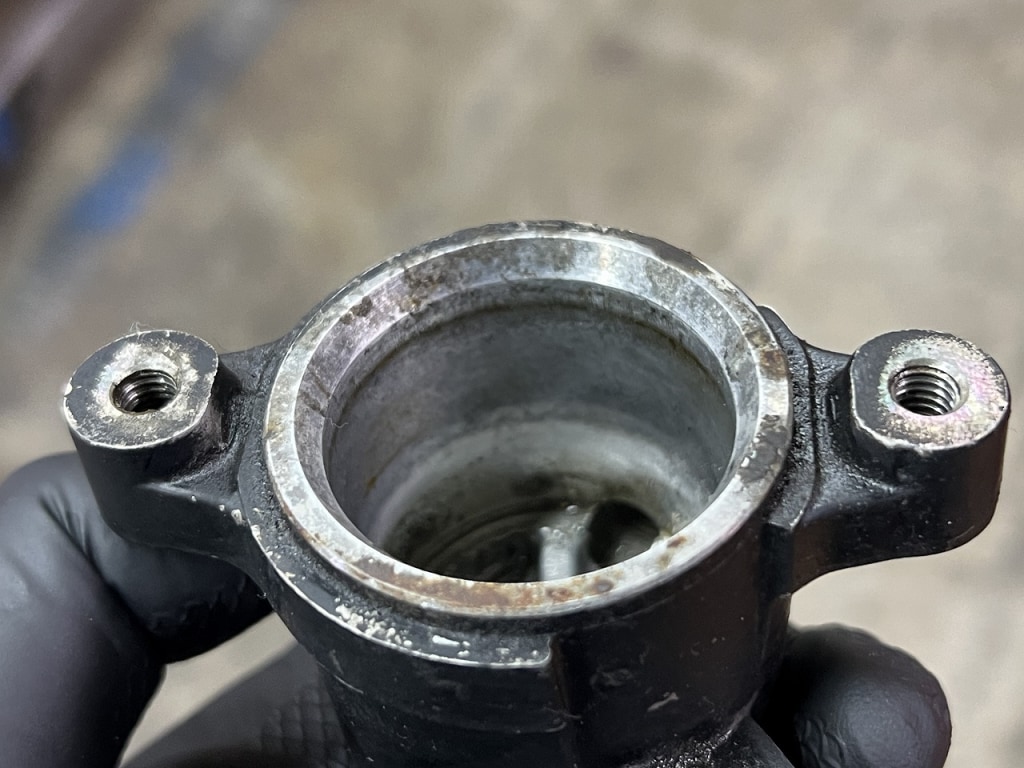
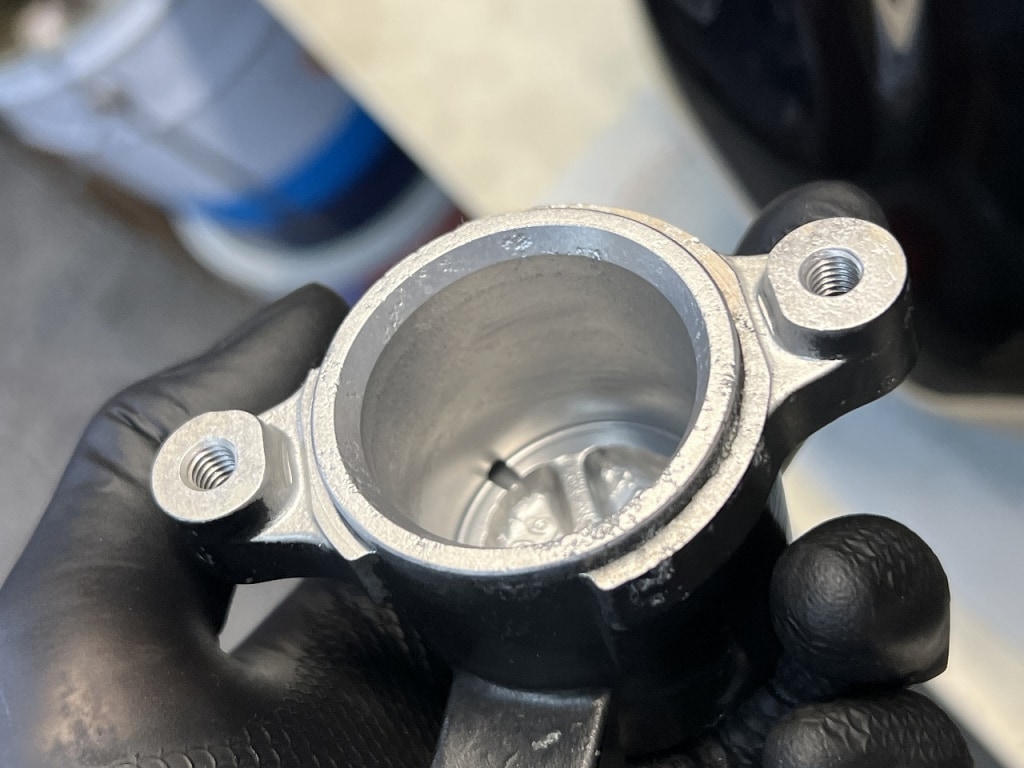
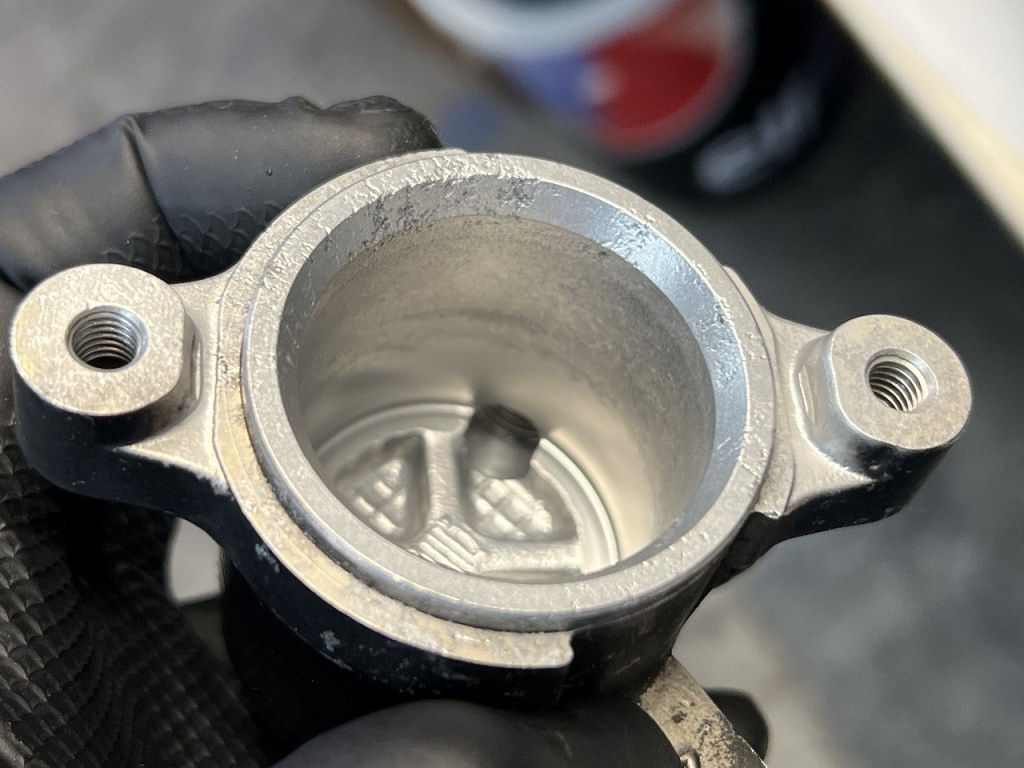
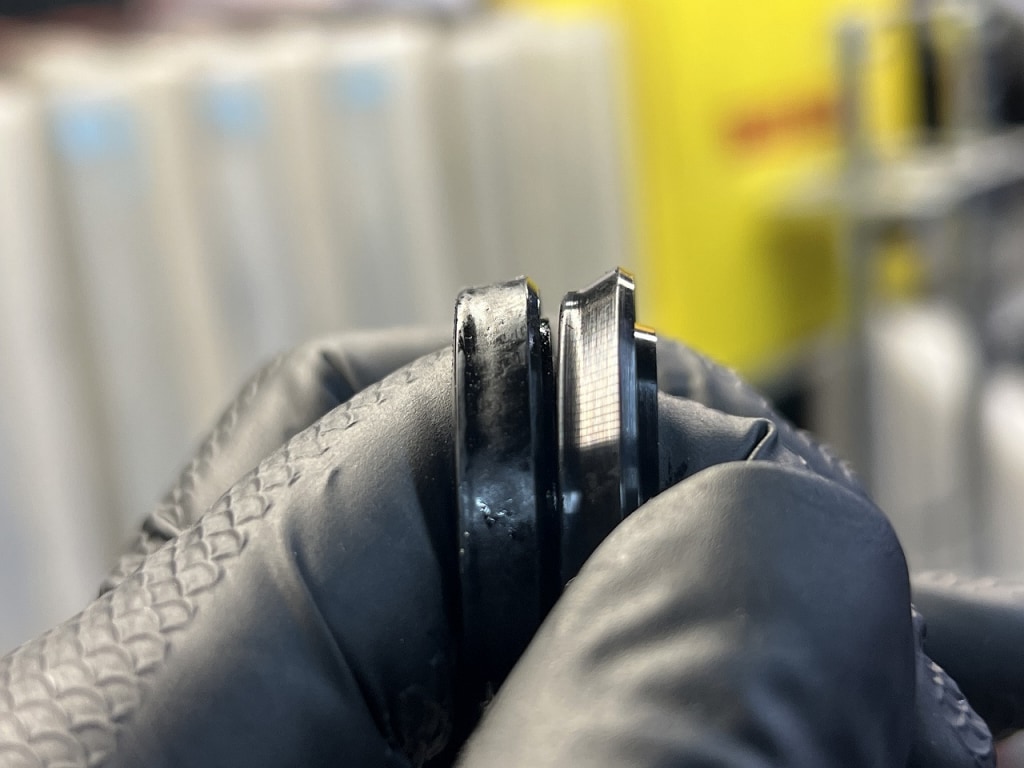
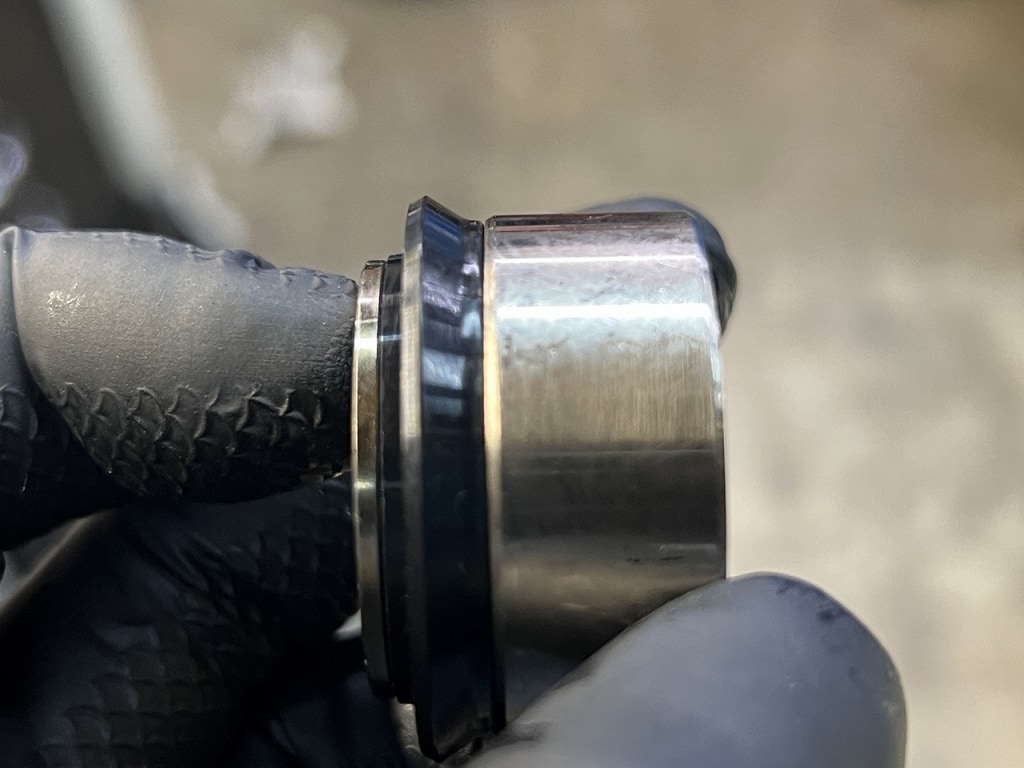
The outer wall doesn’t wear down as much as you’d think, which is helpful. The piston cup lip has plenty of clearance, so the piston shouldn’t grind away the body.
I wet-blasted it to clean it up nicely. There’s some roughness in the chamfered areas on the outside, but the inner wall is fine, so it was reusable.
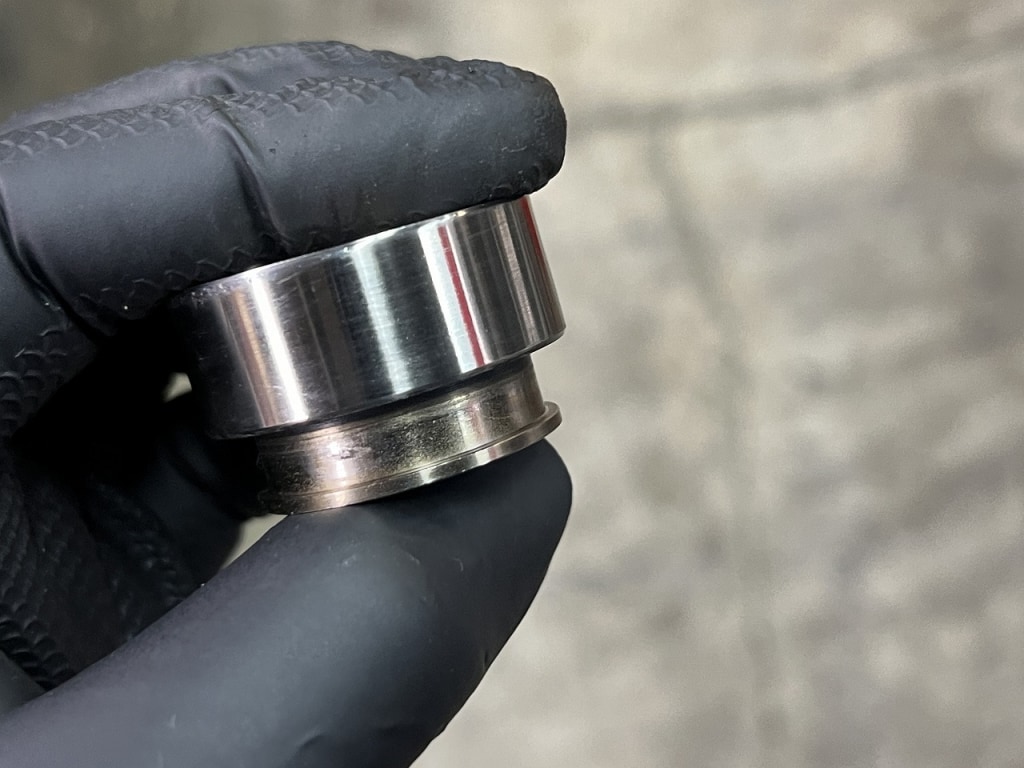
The release piston didn’t have any significant corrosion either, so I decided to polish and reuse it.
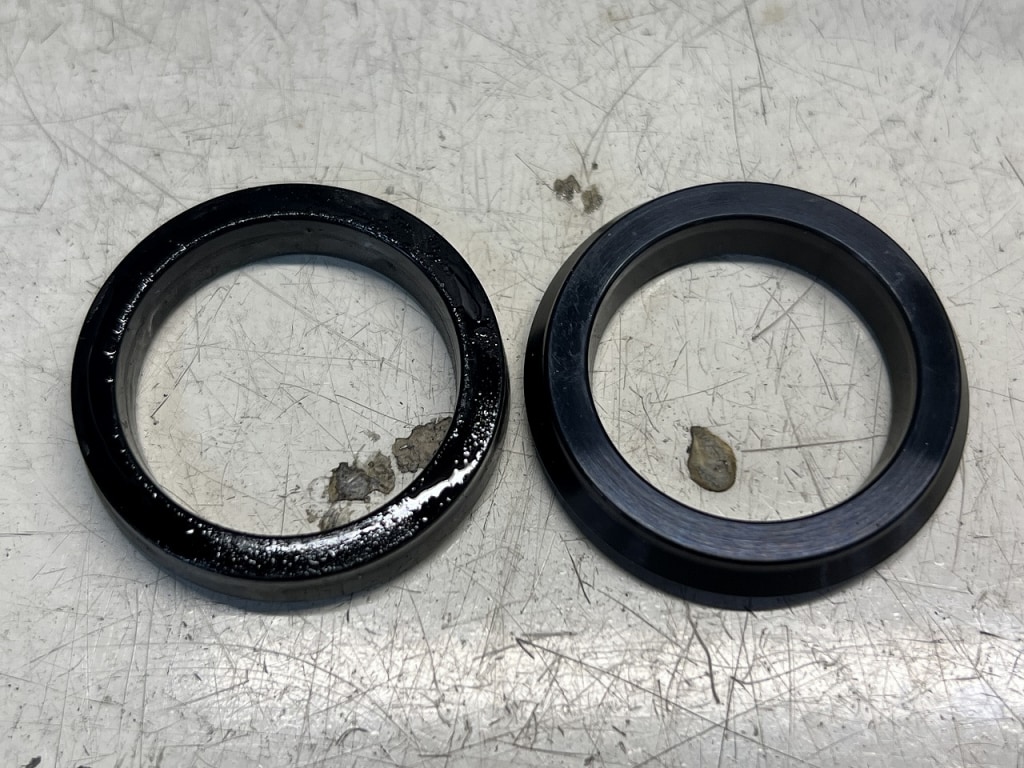
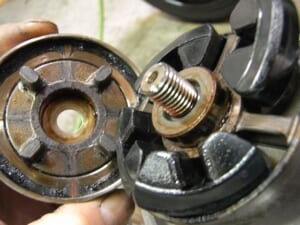
As you can see from the image, it’s no longer in its original shape. The lip has completely sagged, and the cup material itself has swollen and become soft.
I’d say the limit is around 10 years of use.
Since this part is inexpensive, there might still be some compatibility across different models. I haven’t researched it thoroughly, but if it’s been a while, I’d recommend just swapping it out quickly.
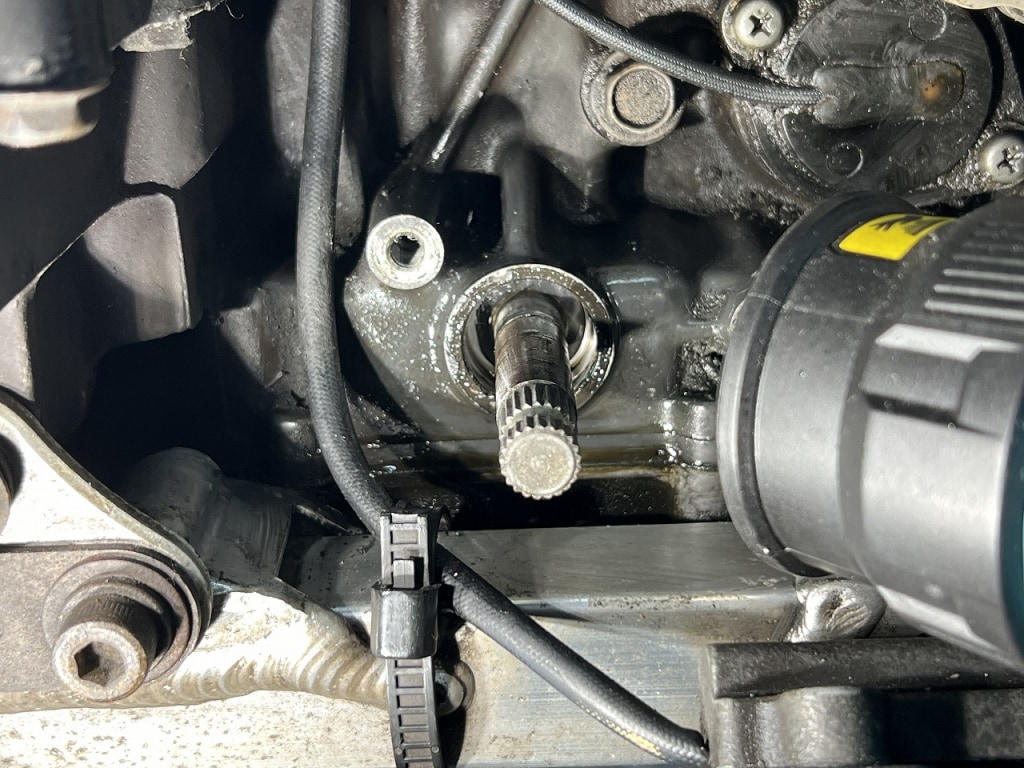
Just to be safe, I’ll replace the shift oil seal too
I was a bit nervous this time—the slide hammer barely worked. It was so stuck I thought it might not come out at all, so I had quite a struggle.
When removing the oil seal, make sure to heat it well and lubricate it thoroughly before proceeding. If you mess up the oil seal and it loses all grip, you’re in trouble.
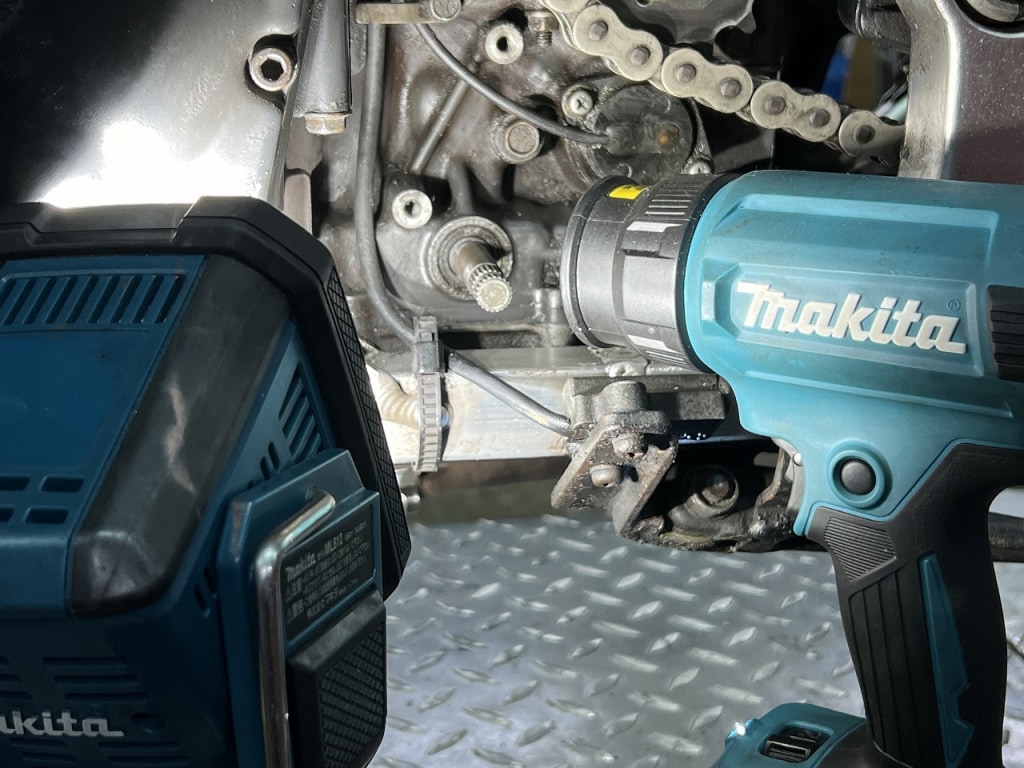
A cordless Makita heat gun is really the best. Most importantly, it stands on its own, which makes it super convenient—you can heat while pulling. Switching from a 100V heat gun is genuinely amazing (*´ω`*)
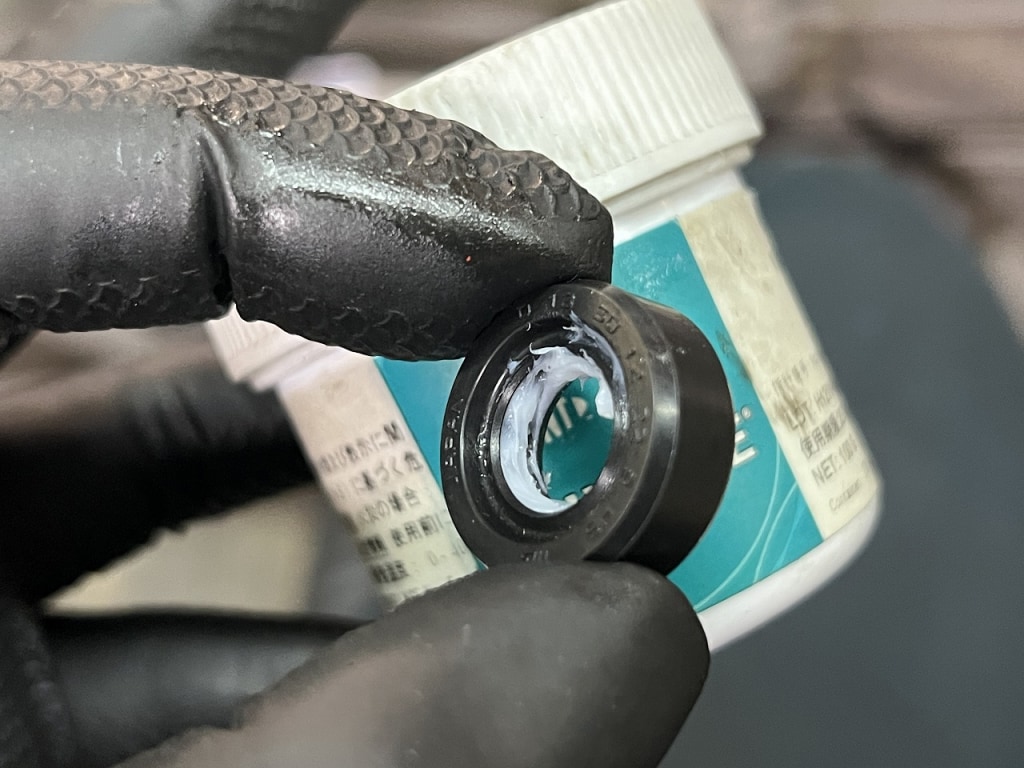
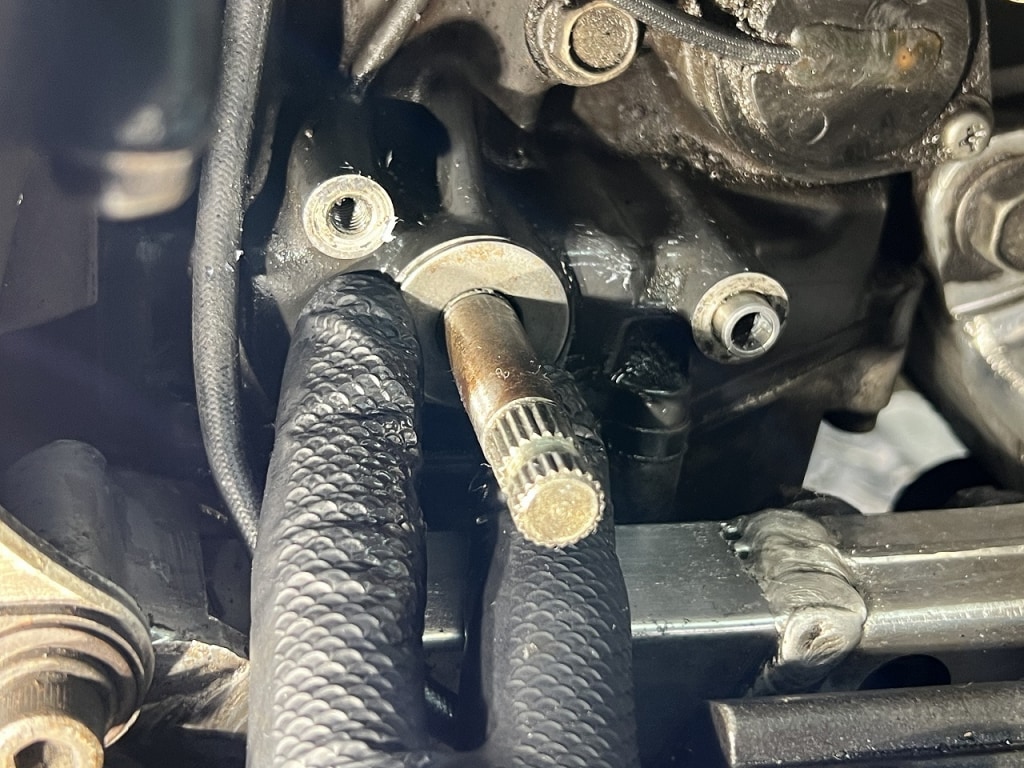
I apply fluorine grease to the lip area before assembling oil seals. It provides good lubrication and prevents oil from seeping through, so it can cover minor oil leaks.
Basically, it doesn’t mix with oil, so don’t apply too much. Also, if these oil seals are properly cleaned and lubricated, you can press them in by hand. There’s no need to hammer them in forcefully.
Fluorine grease is expensive, but if it prevents frequent oil leaks from work, it’s worth it. I try to use up a bottle per year by applying it to various things.
I’m a titanium lover when it comes to bleeder nipples (*´ω`*)
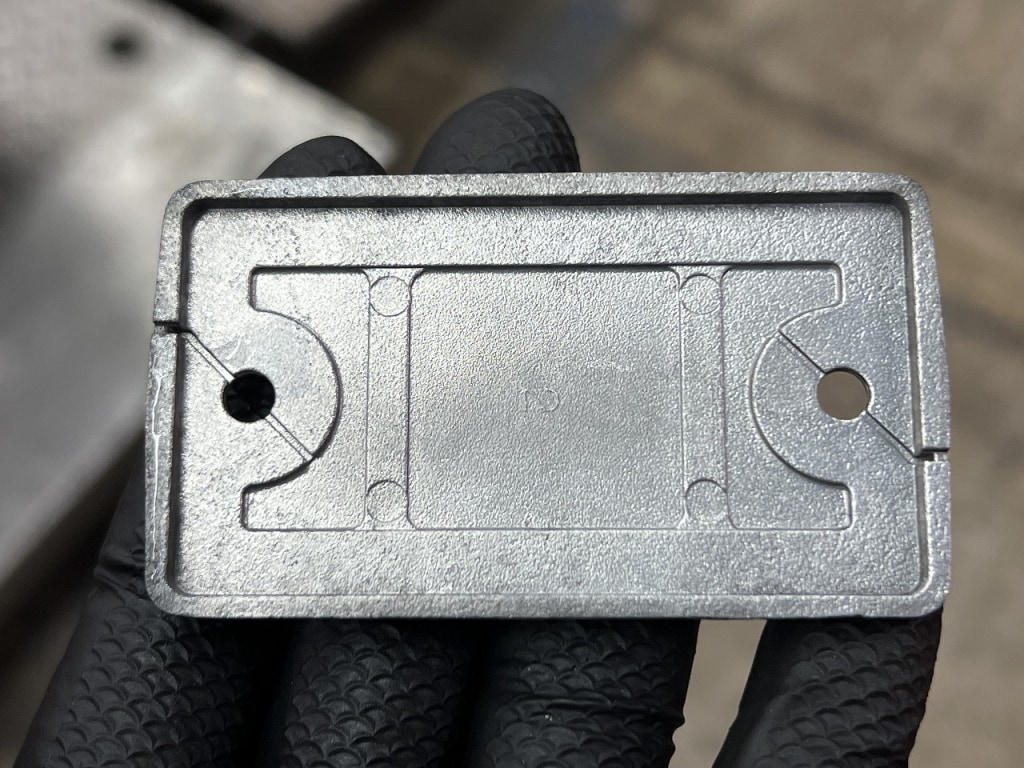
The back of the clutch master cap was all crusty too, so I wet-blasted it. If it gets dirty, the ventilation passages get clogged and you won’t get atmospheric pressure, so watch out.
So once the other muffler spring arrives, we’ll be done. Work is pretty backed up right now, so we’re going in order of requests, but everyone, please hang in there a bit longer


 ポチップ
ポチップ