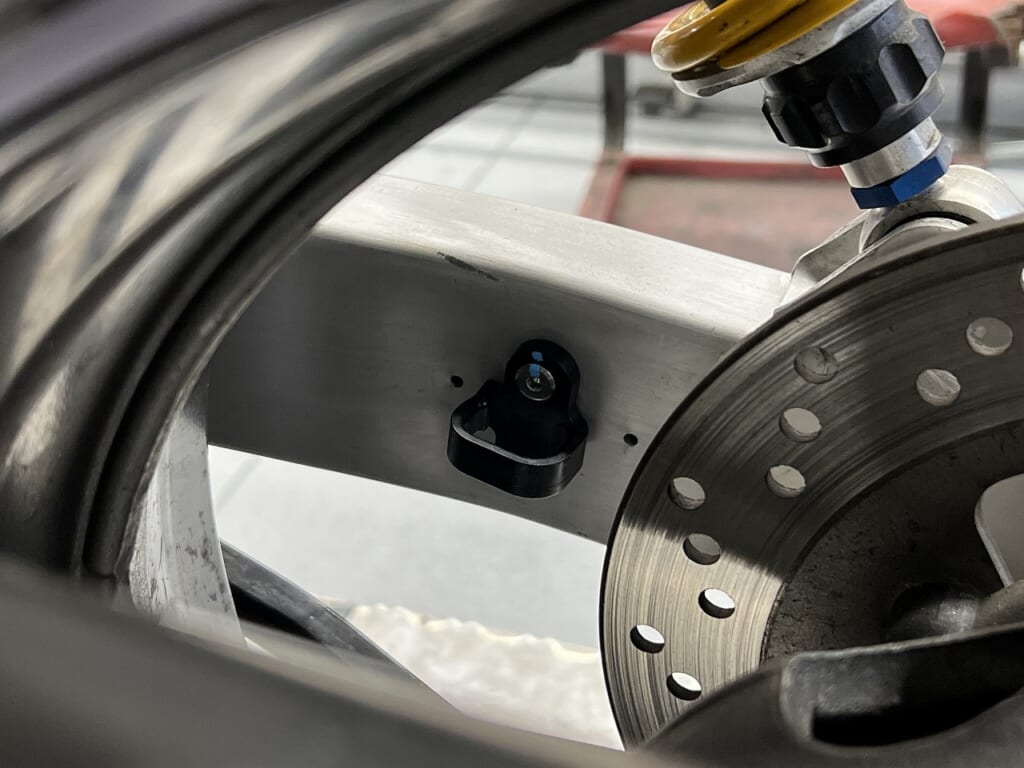
I pulled out a secret stashed swingarm and started overhauling it (*´ω`*) There are people who haven’t looked at it once since purchasing it… it probably won’t come off easily.
Today’s maintenance log
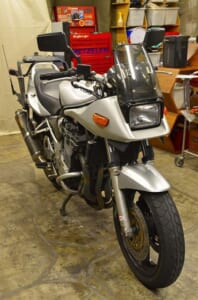
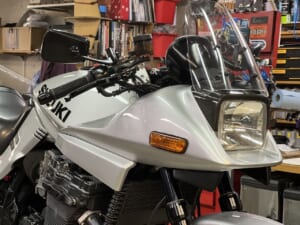
Vehicle:Unicorn Japan GSX1200S Katana
Work:
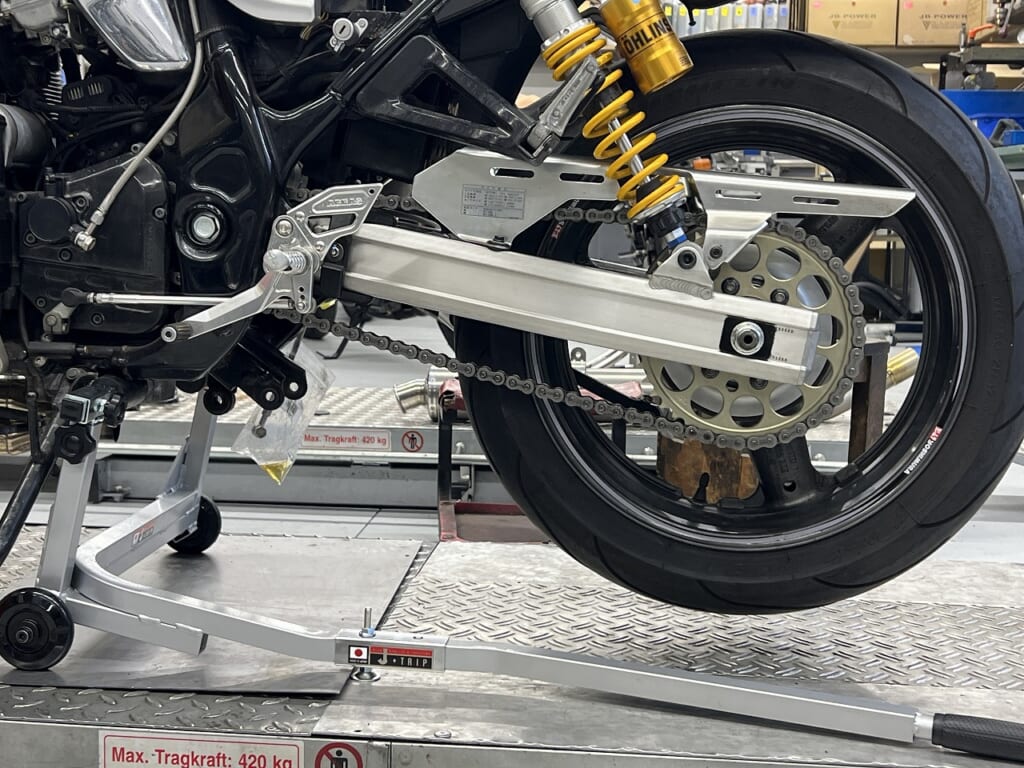
Swingarm assembly: New bearing press-fit, packed with generous waterproof grease.
Rear caliper assembly: New seals, piston insertion, air bleeding.
Results:
The swingarm moves smoothly.
Rear brake drag is eliminated, and the wheel spins lighter.
Now we can ride confidently into spring touring season.
Decoboco’s other blog. “RURAL GARAGE“
A hidden room for non-motorcycle topics. Convenient everyday items, relocation, delicious food, life philosophyand more. ←click
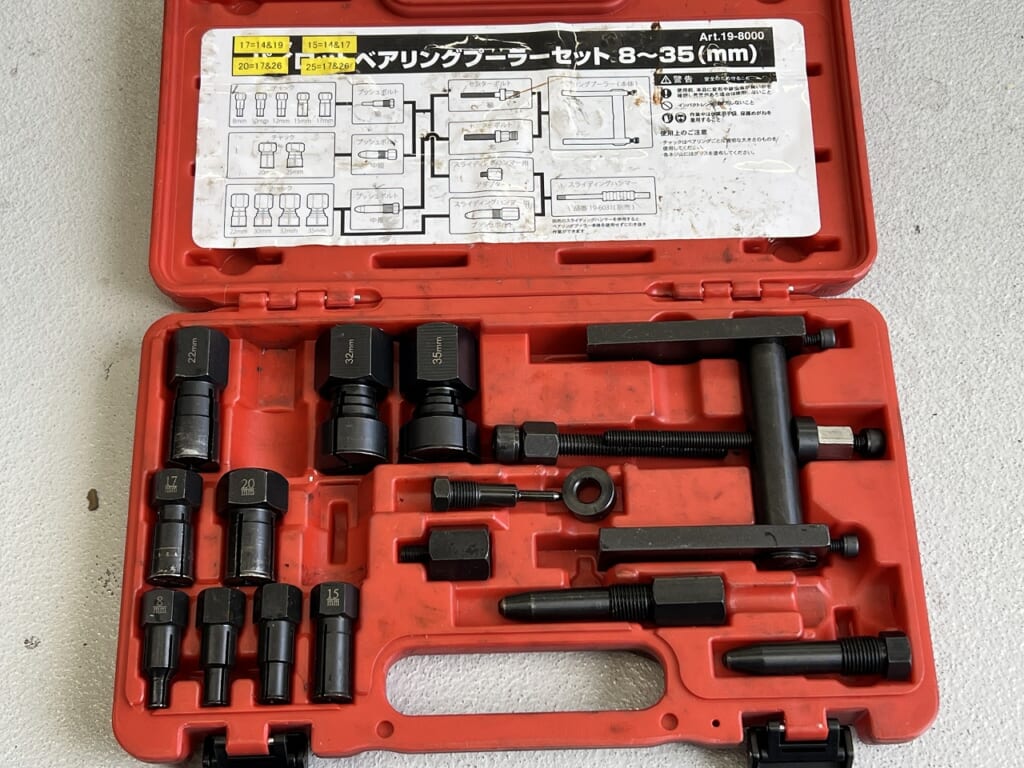
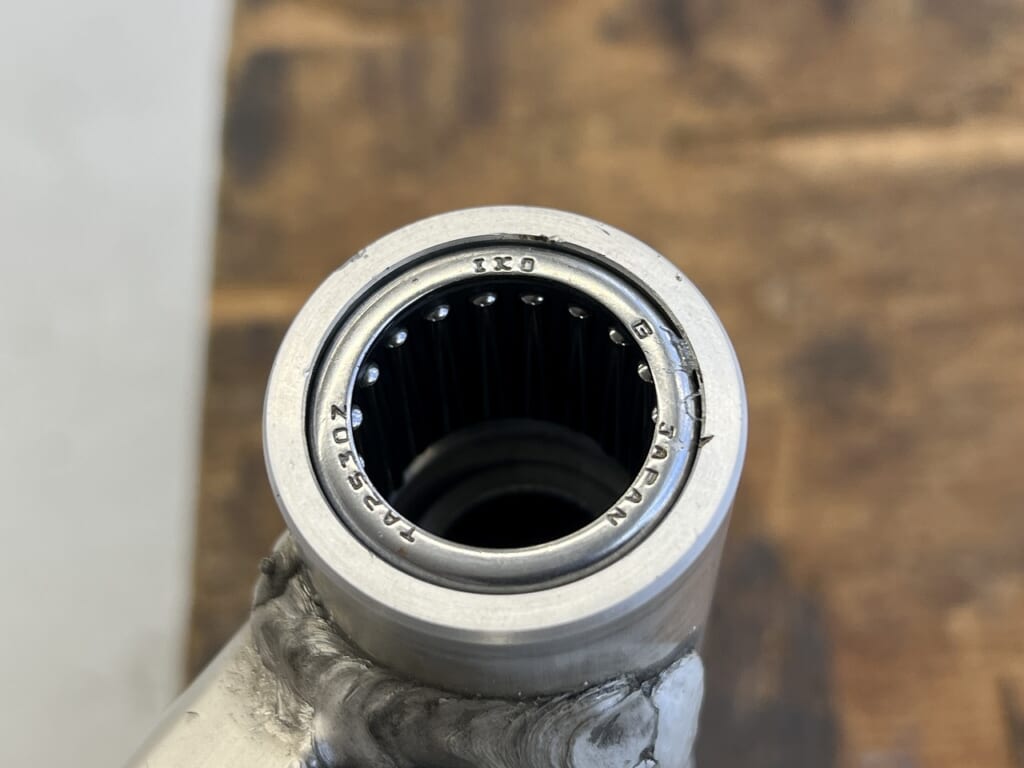
Removing the needle roller bearing becomes easier.
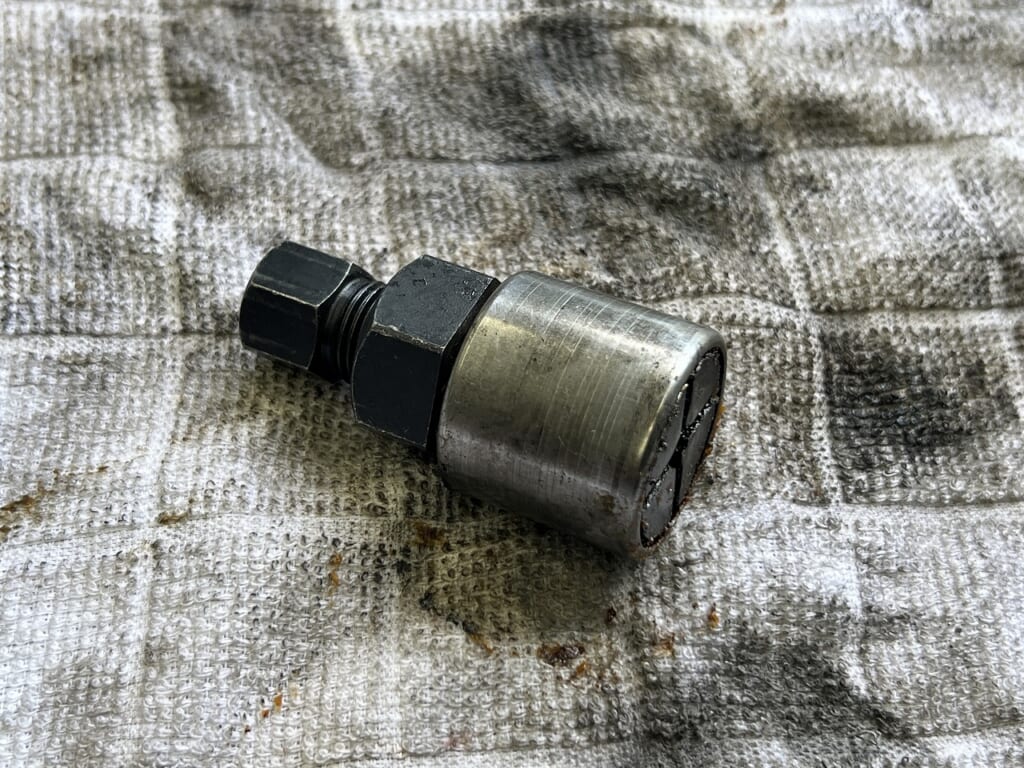
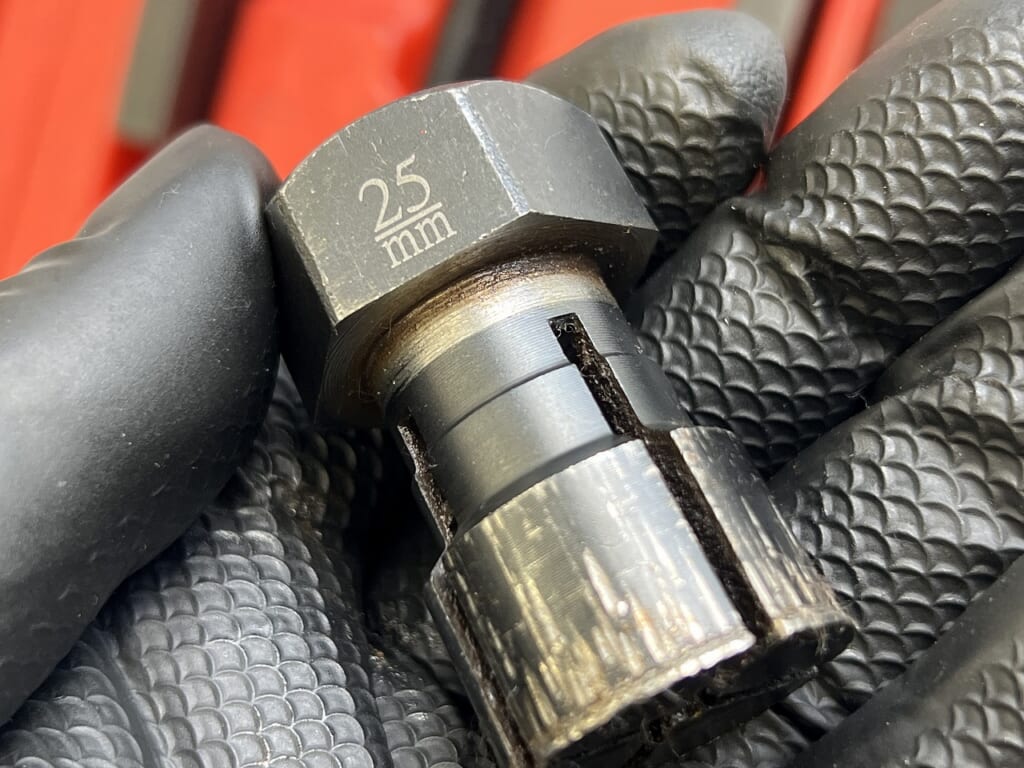
This inexpensive bearing puller is great because you can modify it or push it hard. I have a Hasco too, but it never gets used… maybe I should sell it.
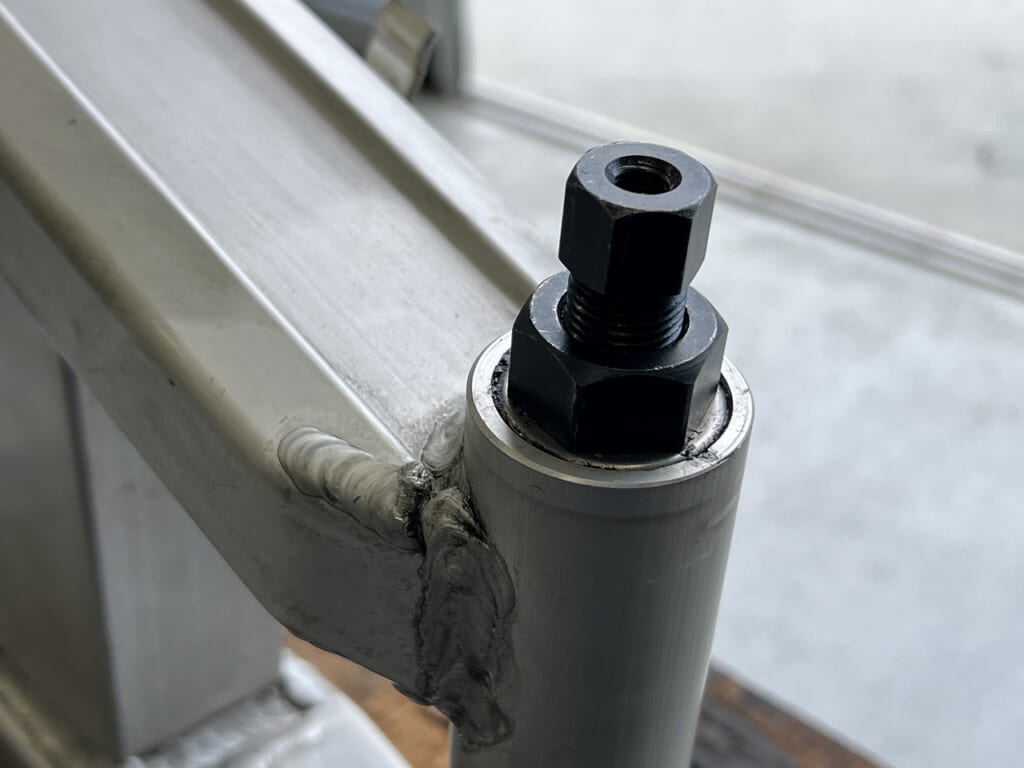
Click it in all the way, expand it, warm the base material, and tap it out—it comes off easily. The manual specifies a sliding hammer tool… That kind of work process is something you can’t show people—the feeling of a crane?
Actually, reducing work processes you can’t show the owner tends to be more efficient. I enjoy thinking about it every time (*´ω`*)
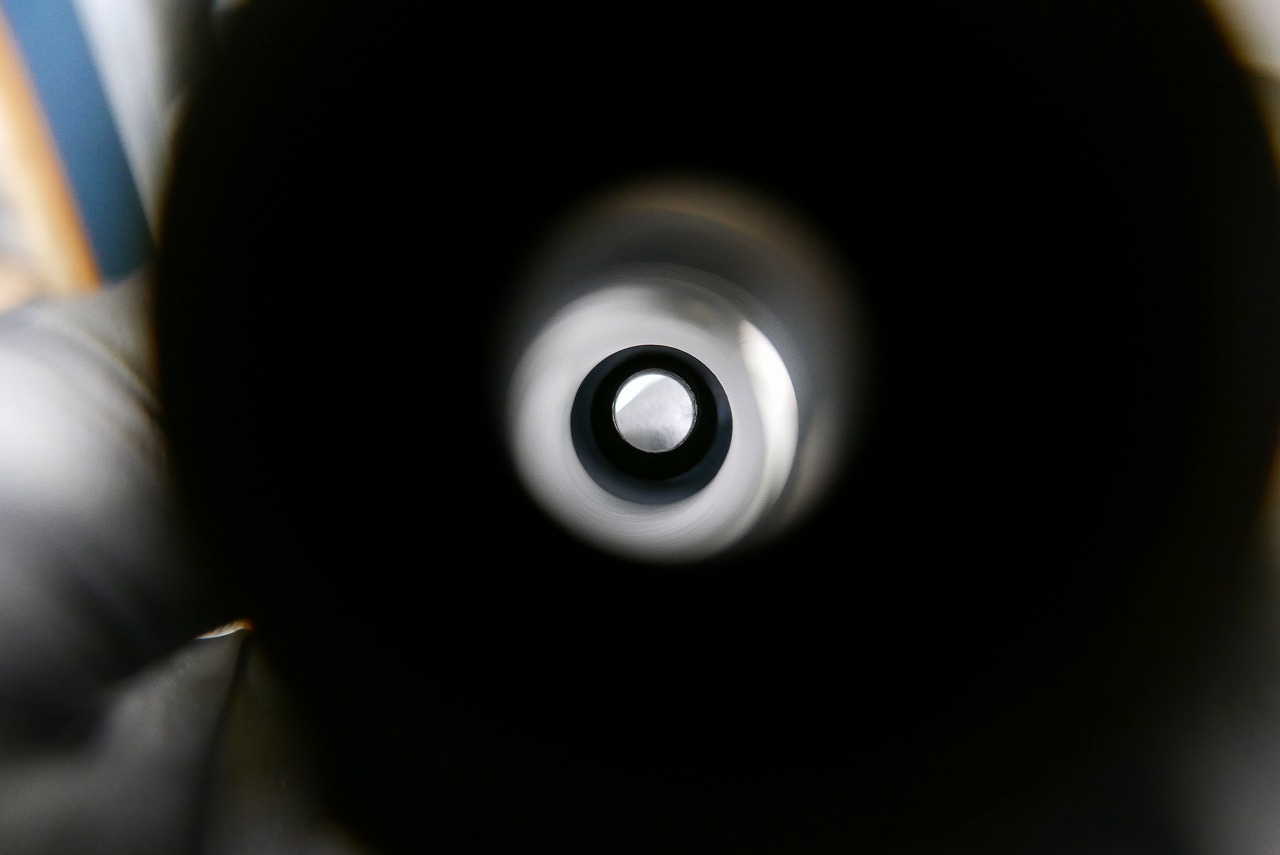
I’m turning it on the lathe to get it in a bit deeper.
Bearing removal works best when you can do it reliably and easily—that’s efficient. It took a while to figure out this method. I’ve had the experience of only the outer shell of the needle roller remaining, cutting a groove with a rotary tool to remove it. Building tools to work as smoothly as possible might make the job more enjoyable… hopefully.
Swingarm pivot clearance adjustment
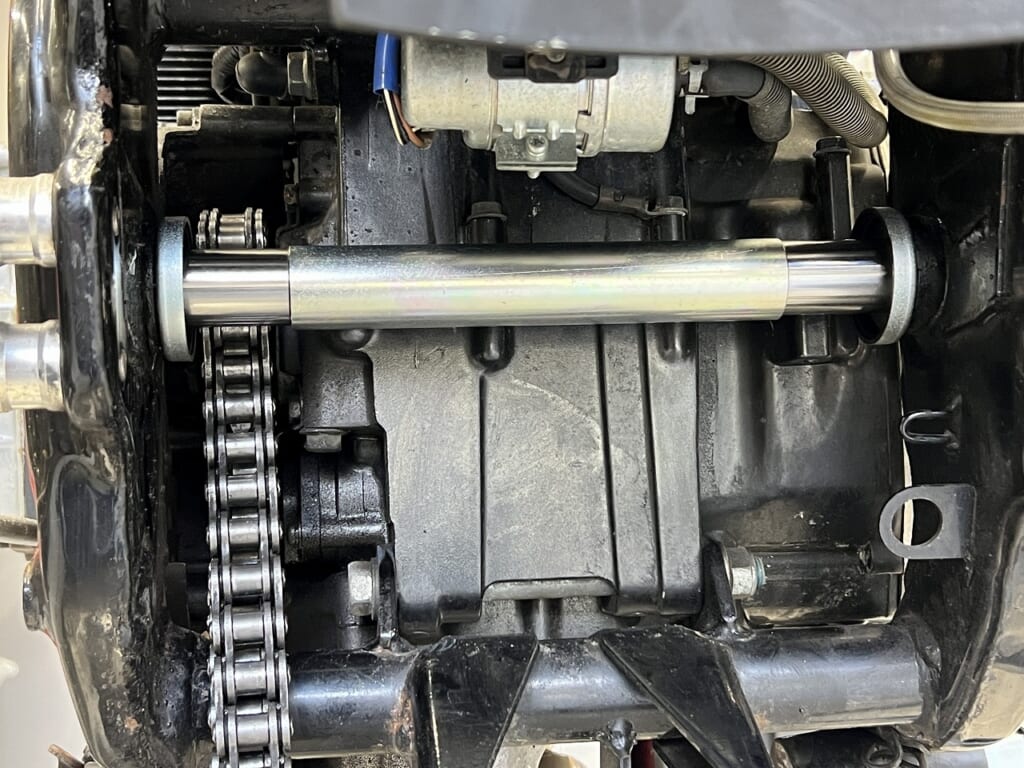
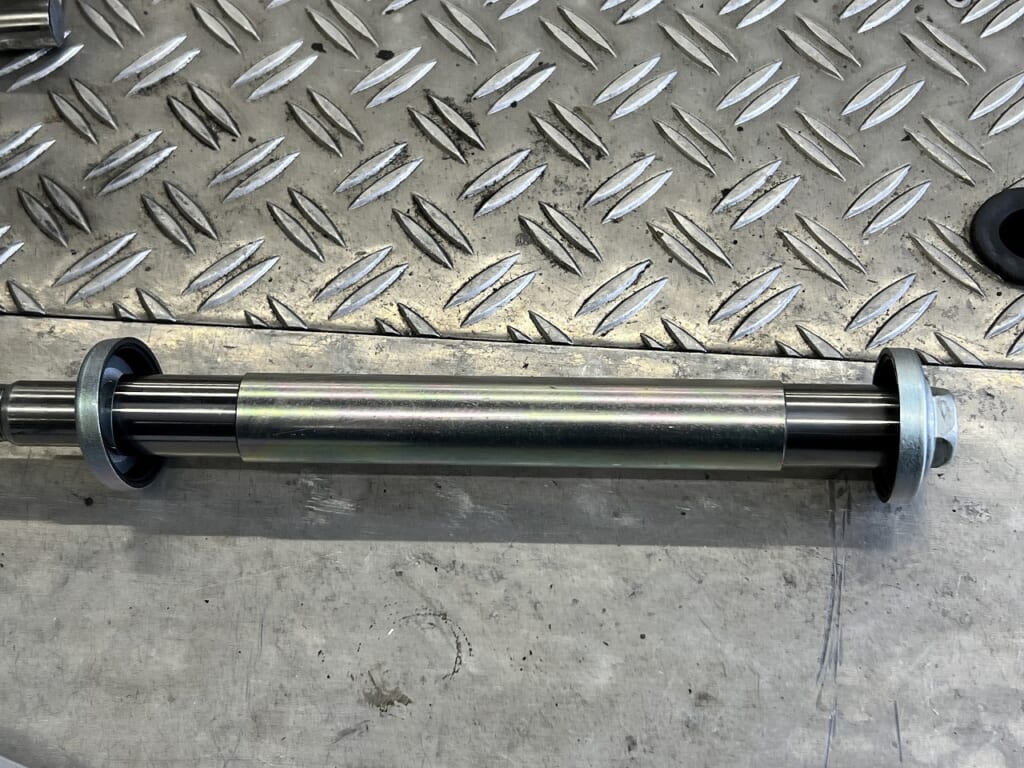
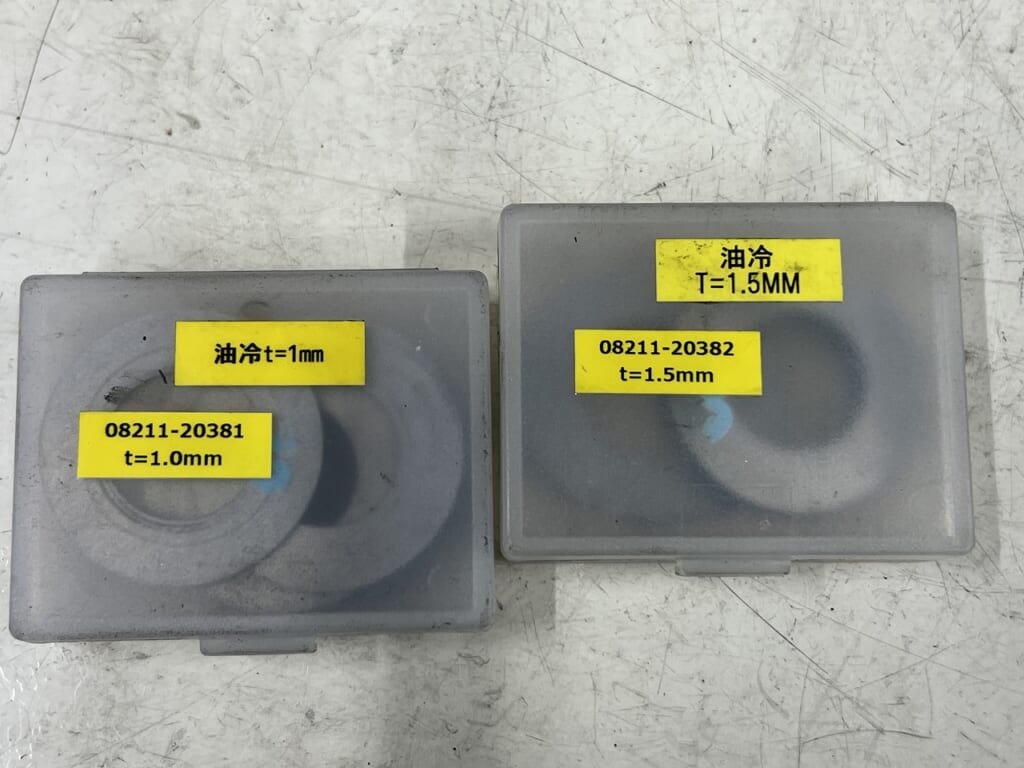
It’s not something so grand. You want to fit the swingarm with dimensions as close as possible to the frame’s inner width.
Bikes without pivot adjusters need shims. With excessive no-load clearance like this, the pivot tightening torque can’t compress the frame, resulting in “left-right play.” Considering the pivot-to-axle distance, the swingarm pivot bears considerable load. The crack that appeared this time might have been caused by this rubbing too.
It’s good to check clearance before assembling parts onto the swingarm. Bottoming out comes from the inner core, dust seal, and shim. Repeated removal and installation on the swingarm itself leads to a scarred life.
You want to get the swingarm mounted right the first time.
The oil-cooled 750/1100 has this specification, but it was omitted on the 1200. It’s a harsh world where parts lists and manuals don’t teach you these fine details.
Feel the bearing fit as you press it in. Even with a replacement, loose clearance won’t deliver good performance.
Besides, you can’t press indefinitely. Do it gently with love and? friendship.
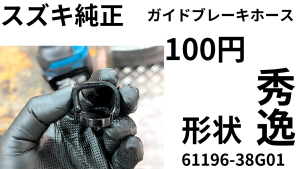
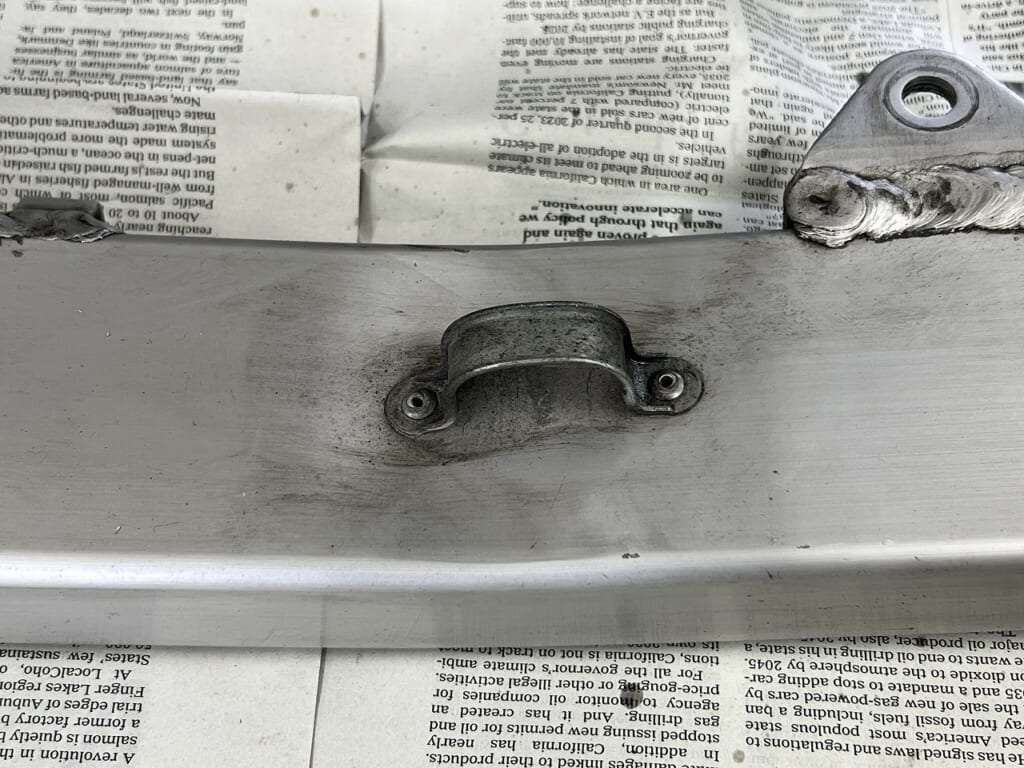
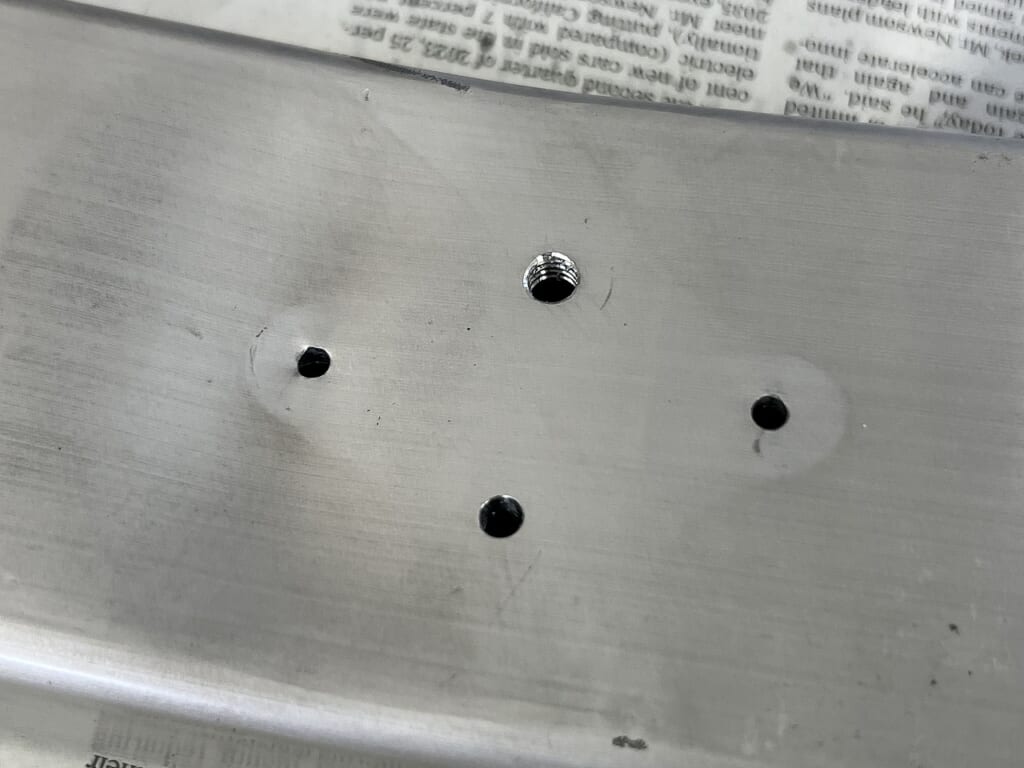
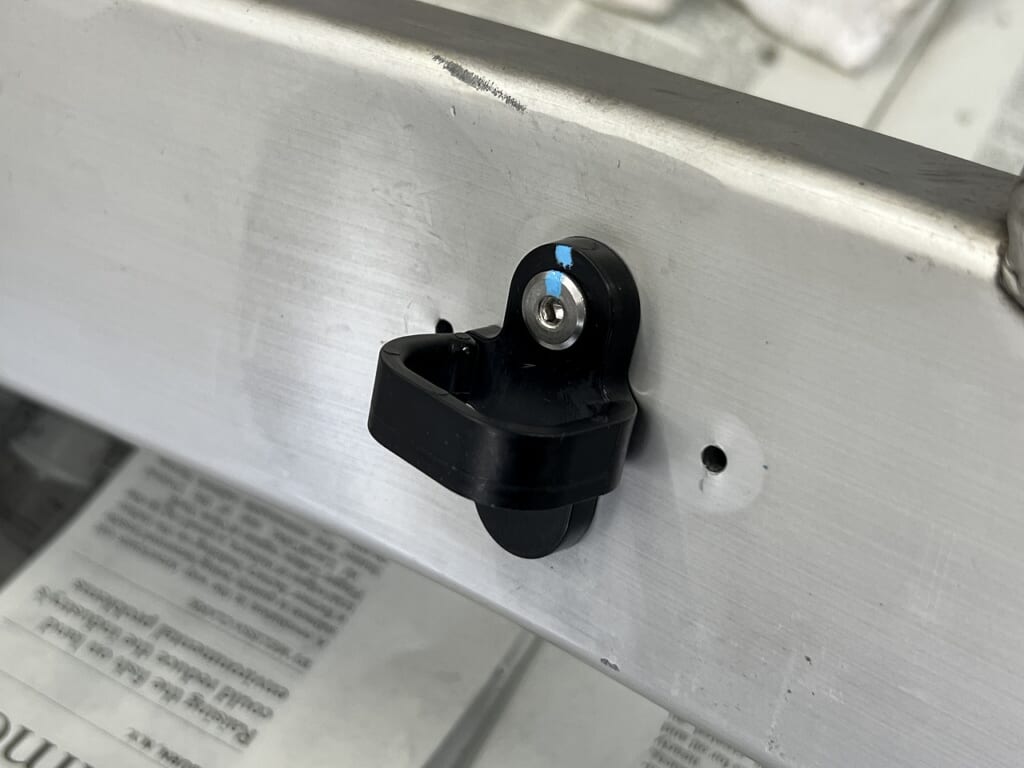
That’s how we replaced and overhauled the swingarm. Suzuki’s seven mysteries… the chain slider has been revived after being discontinued.
I even made my own Inazuma one from Durakon…
Now let’s overhaul the rear caliper and rear master
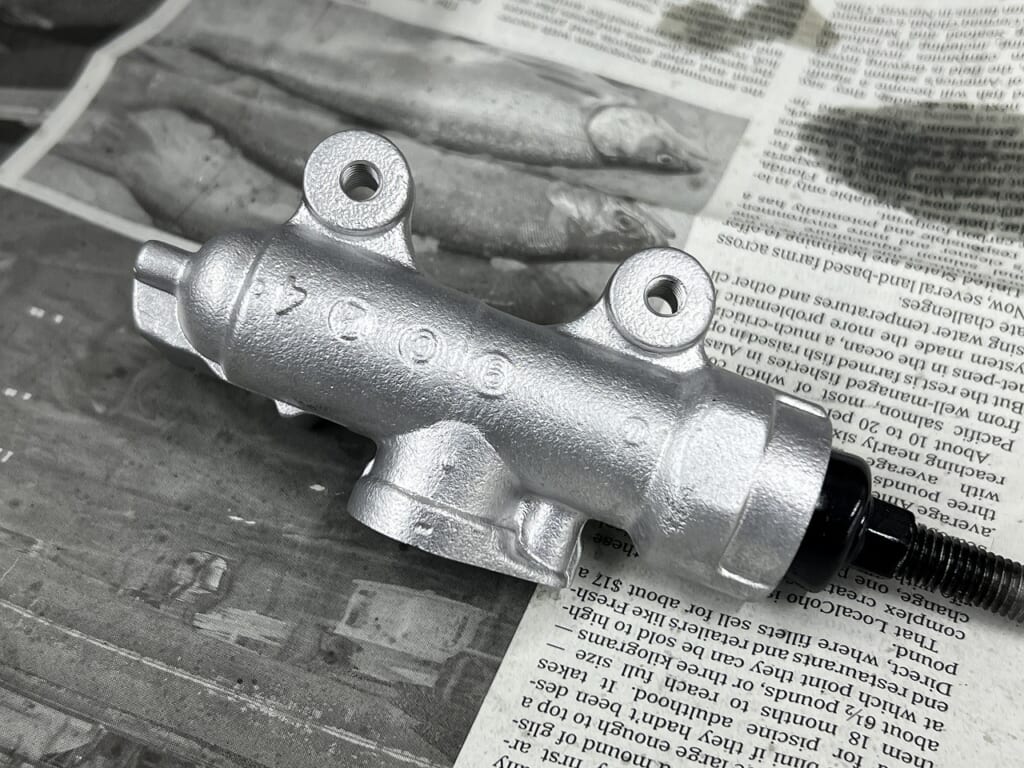
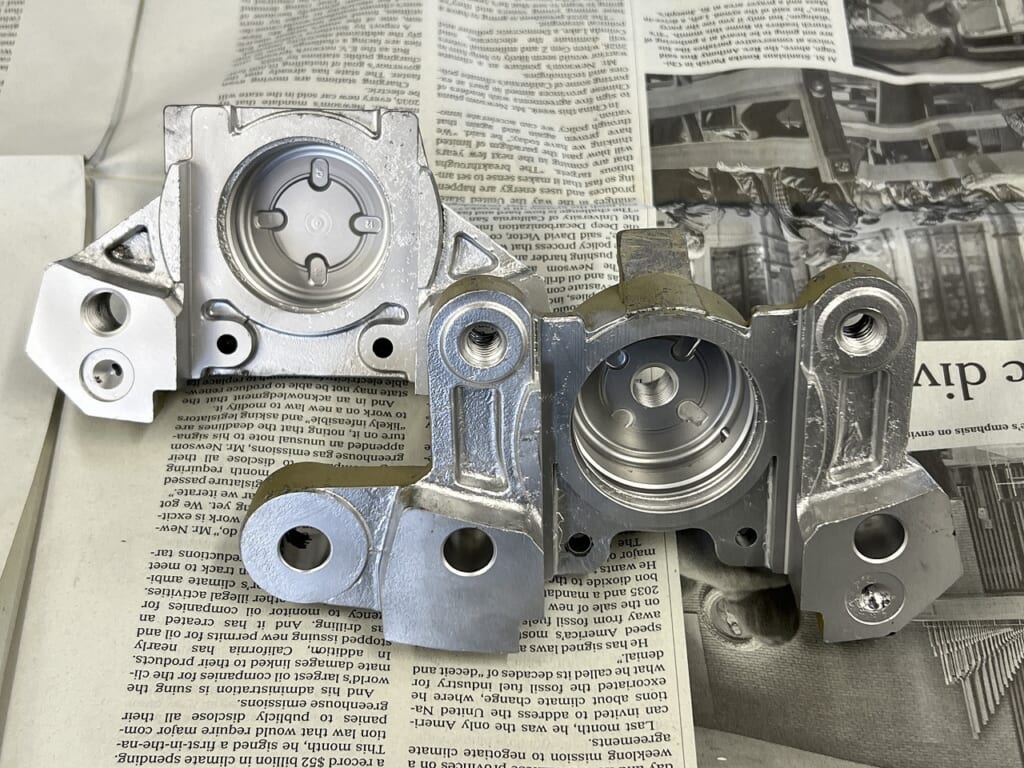
It shines beautifully thanks to the wet blasting effect (*´ω`*)
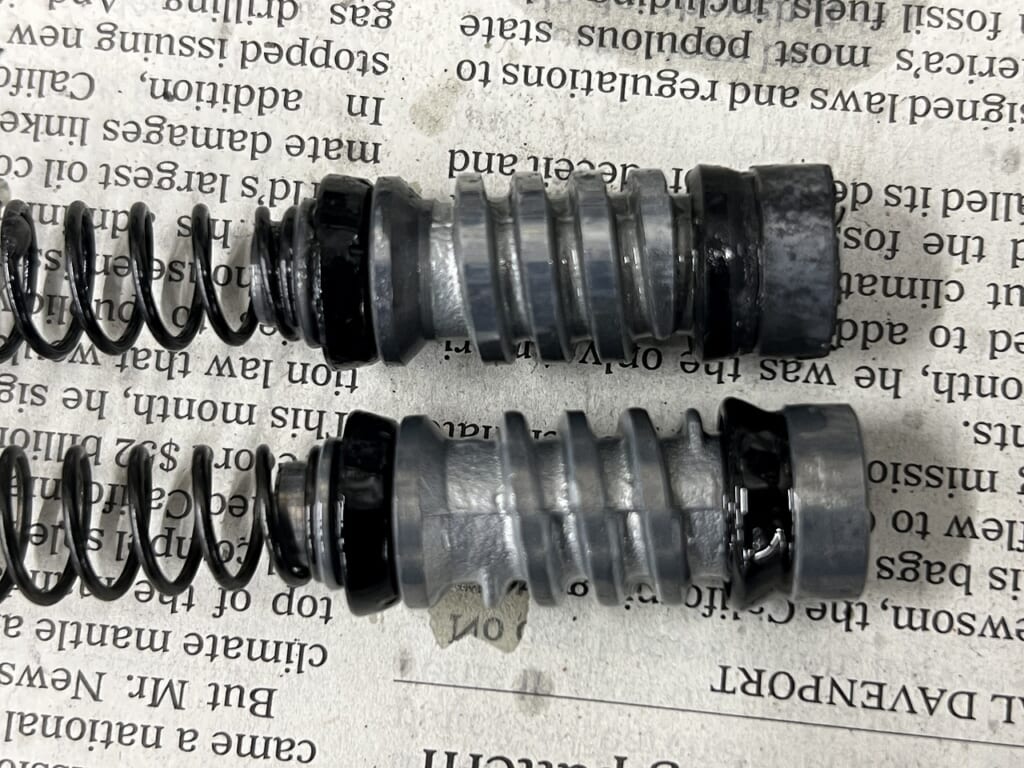
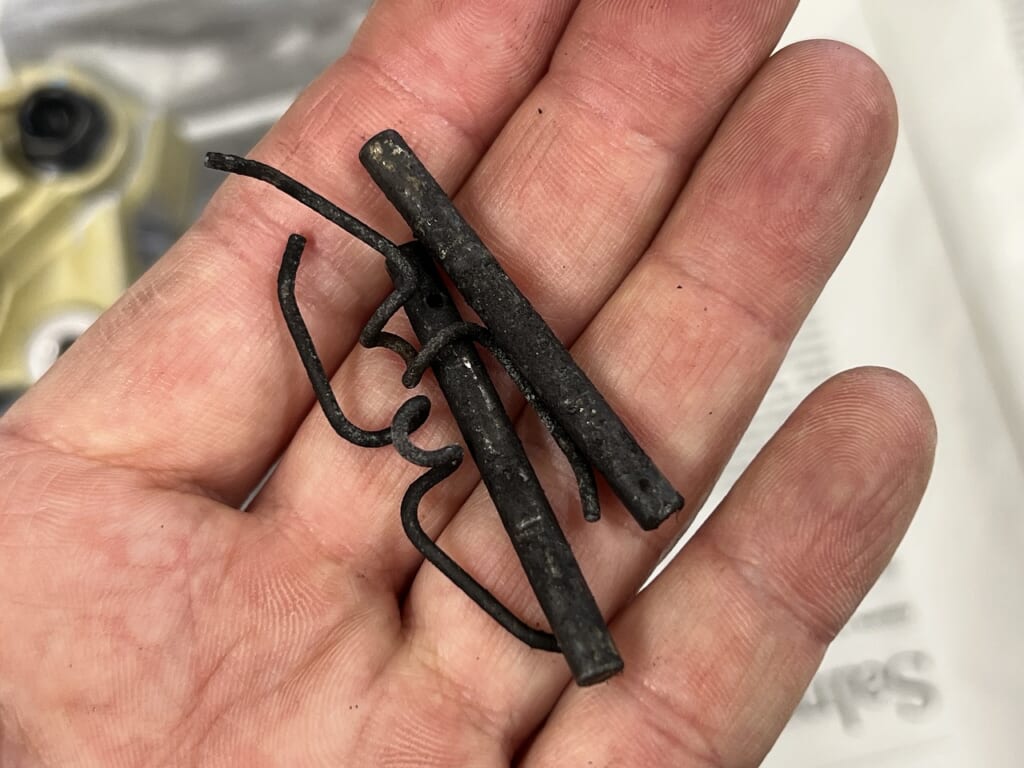
The rear master cup was pretty worn. Most people probably have fluid seeping out when they lower the boot. It won’t fail all at once, but it rusts like crazy, so be careful
We replace these parts aggressively.
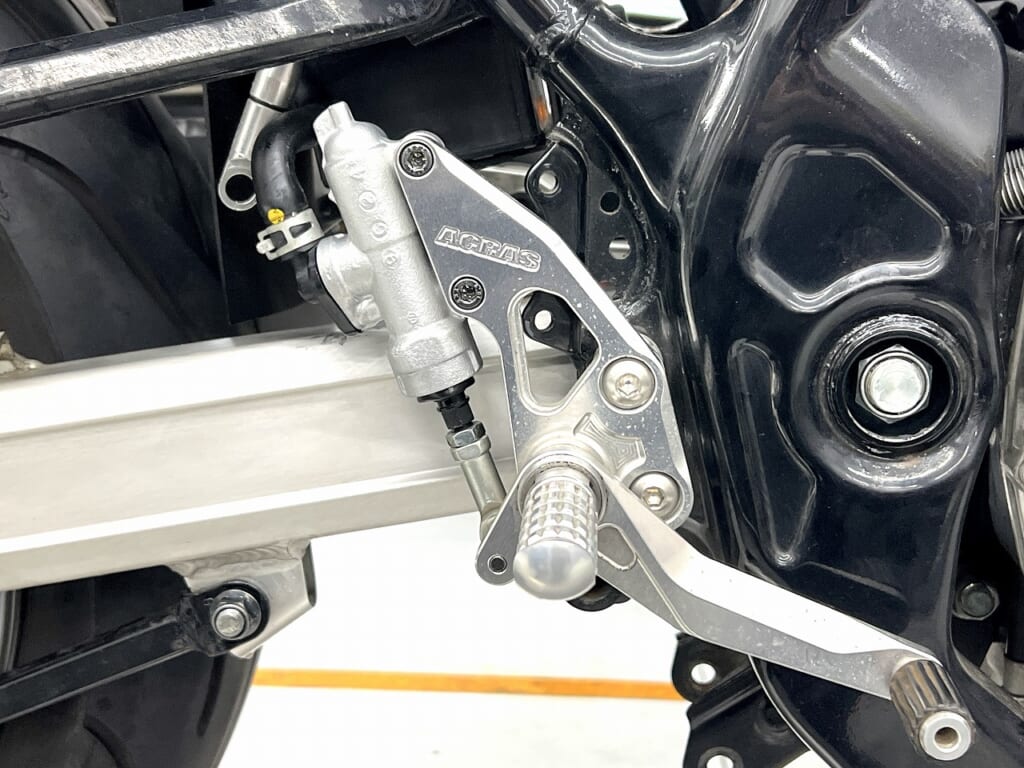
We also replaced the rod and shortened it by about 8mm. Now the brake pedal height can finally be adjusted.
This Agras step uses interesting pillow balls that can be repurposed for other things. The master-side mount is M8, but the pedal-side fixing is 6Φ. I forgot the part number.
And so it continues.
Unicorn Japan GSX1200S Katana: Swingarm & Rear Caliper OH Completed.
Work: Reassembly of the cleaned swingarm and rear brake caliper. Details:
Installed new bearings and packed them with high-quality waterproof grease. The swingarm now moves effortlessly.
Rebuilt the caliper with new seals and polished pistons. Brake drag is completely eliminated. Verdict: The rear suspension is responsive, and the wheel spins freely. The bike is now ready for the riding season.




 ポチップ
ポチップ