[Maintenance Log] Control a Massive Machine with Just Your Fingertips! Brembo RCS Brake Master Cylinder Installation on the Super Ténéré 1200 (XT1200ZE)
Bikes from the 20th century (carbureted ones) are completely vintage—or rather, you can safely call them old. As maintenance becomes increasingly difficult for certain models, owners need to prepare accordingly. First, “consumables” brake pads & discs, sprockets, air filters, hub dampers —if these parts have poor cross-compatibility with other models, stockpiling is essential.If you’re considering a bike swap soon, this might be the right time.
There’s a sense of security knowing aftermarket and custom parts exist, but “costs can skyrocket suddenly.”So caution is needed. What started as a caliper overhaul can turn into “caliper & support, master cylinder, brake hose, and brake disc replacement” before you know it. Depending on the model, it’s important to decide in advance how many more years you’ll ride it. If you’re only going to ride a few more years without covering many miles, long-term customization, repairs, or restoration require careful judgment. “I commissioned work but the bike never came back for years”—such risky stories are all too common.
You also need to factor in the shop owner’s age when deciding what work to commission. Am I really okay? Really?
Today we’re installing the right side (brake) system—
Today’s Brake & Hydraulic Tuning Log
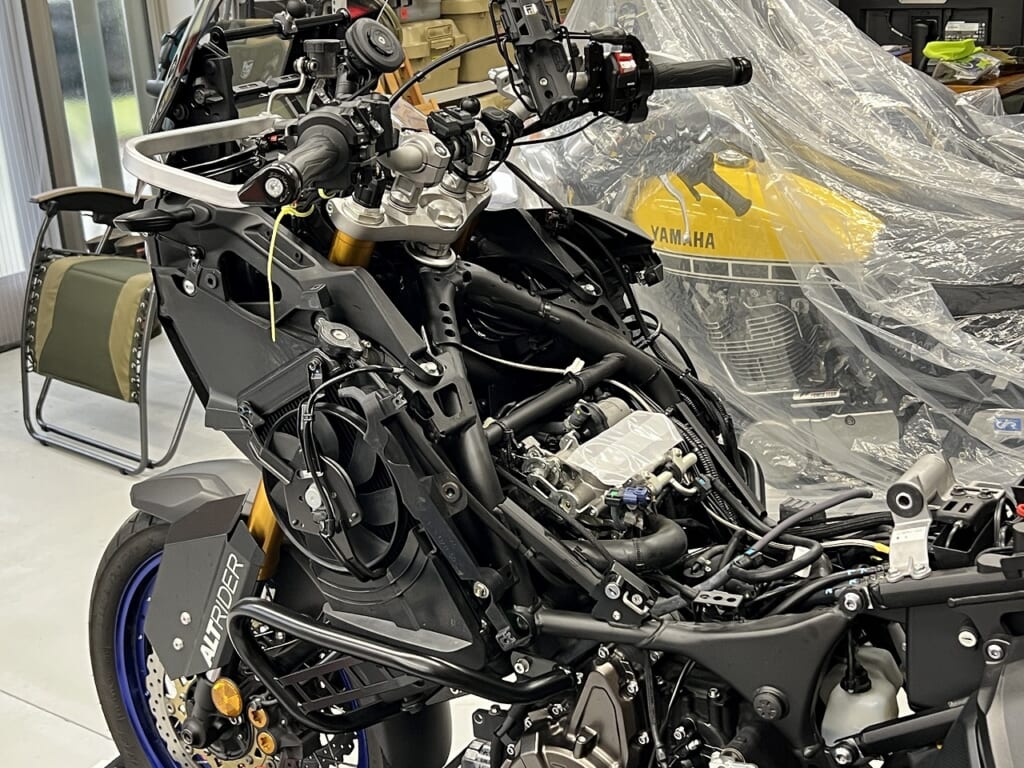
Target Machine:Yamaha XT1200ZE Super Ténéré (Super Ténéré 1200)
Purpose of Installation: To achieve “linear braking control” for safe, fatigue-free deceleration of a 260kg+ machine on mountain passes and long tours.
Work Highlights:
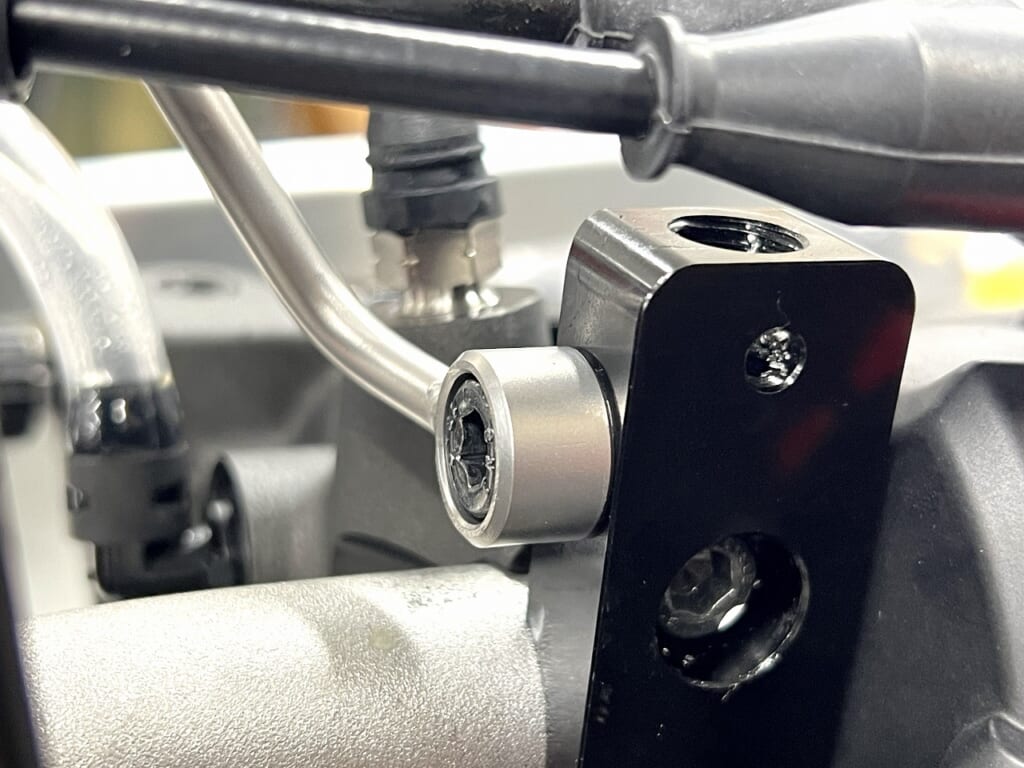
Avoiding Interference with Handguards & Windscreen: Positioning and banjo bolt routing that prevents contact even at full handlebar lock.
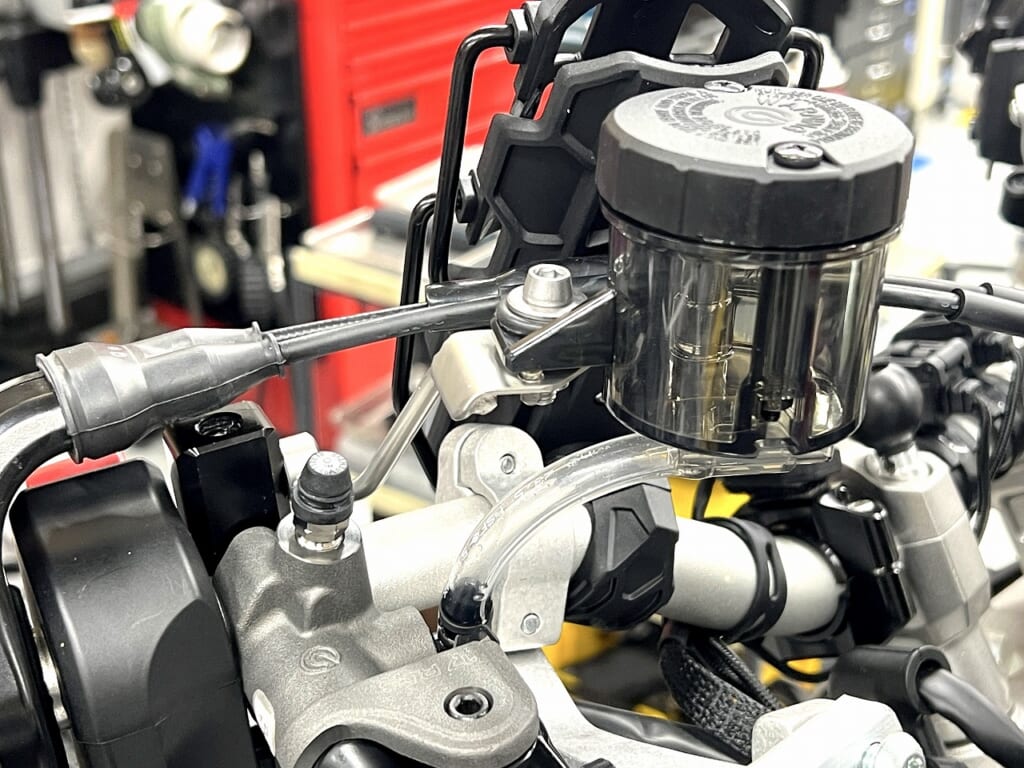
Reservoir Tank Bracket Fabrication & Vibration Isolation Mount: Custom-formed bracket that keeps the fluid level horizontal without obstructing visibility.
Complete Deaeration & Bleeding: Purging micro-bubbles from the master cylinder and dual calipers to build a solid, responsive feel.
Shop Owner’s Note: Anyone can bolt it on. But with a large-frame machine like this, meticulous pre-fit work—eliminating every millimeter of binding and friction—is what makes the difference!
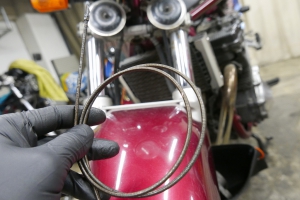
I want to remove the OEM brake line, but it’s so wavy and twisted it won’t budge. “No way! Absolutely! Brute force it!”—with that mindset, I remove what I can. Finally got it off—
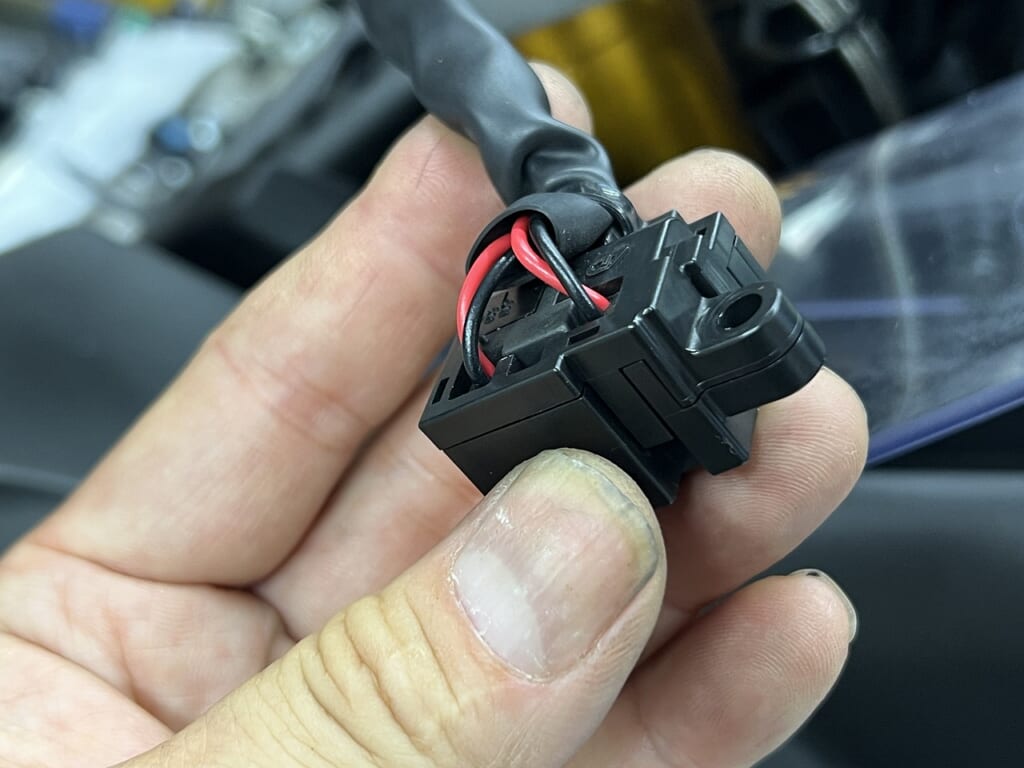
Wait… the brake also has four circuits… I see. Two of them are probably just for the brake light. *The brake side can’t be dual-circuit.
So it’s either a Brembo switch plus hydraulic switch, or I fabricate a support for the OEM switch… Ideally I’d like to wrap this up with just the hydraulic addition.
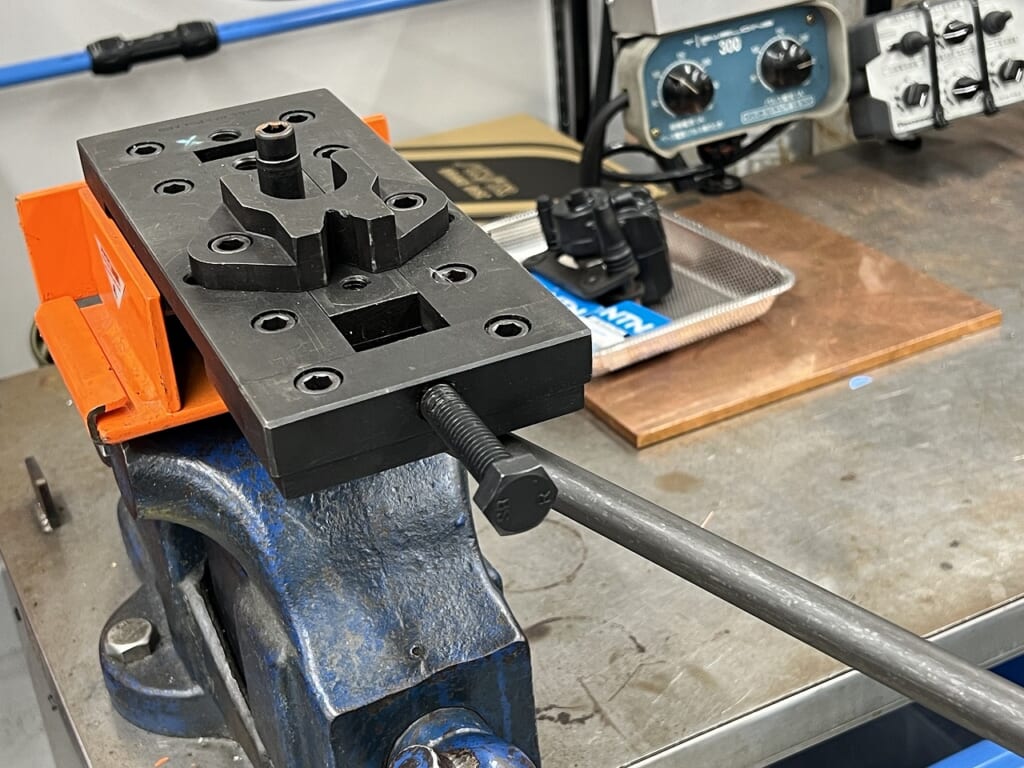
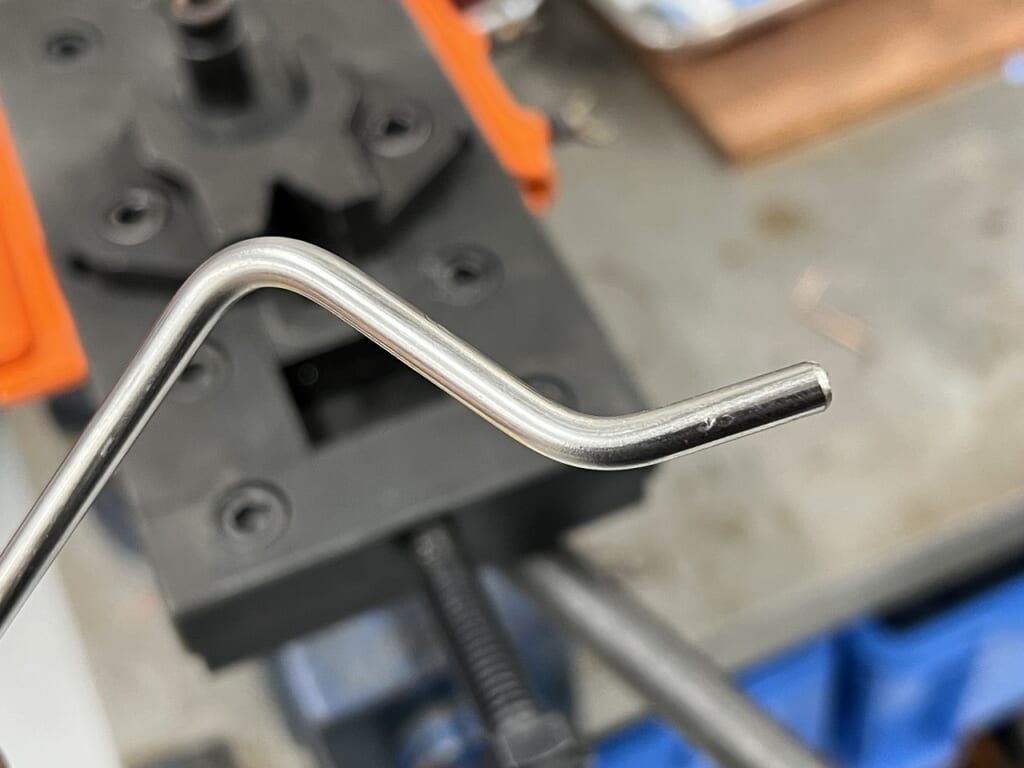
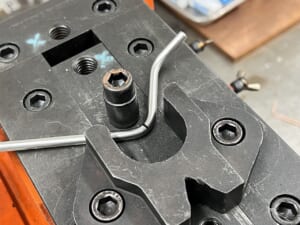
Metal craft: RBR (Roll Bender Rivet) tools
Metal craft: RBR (Roll Bender Rivet) tools
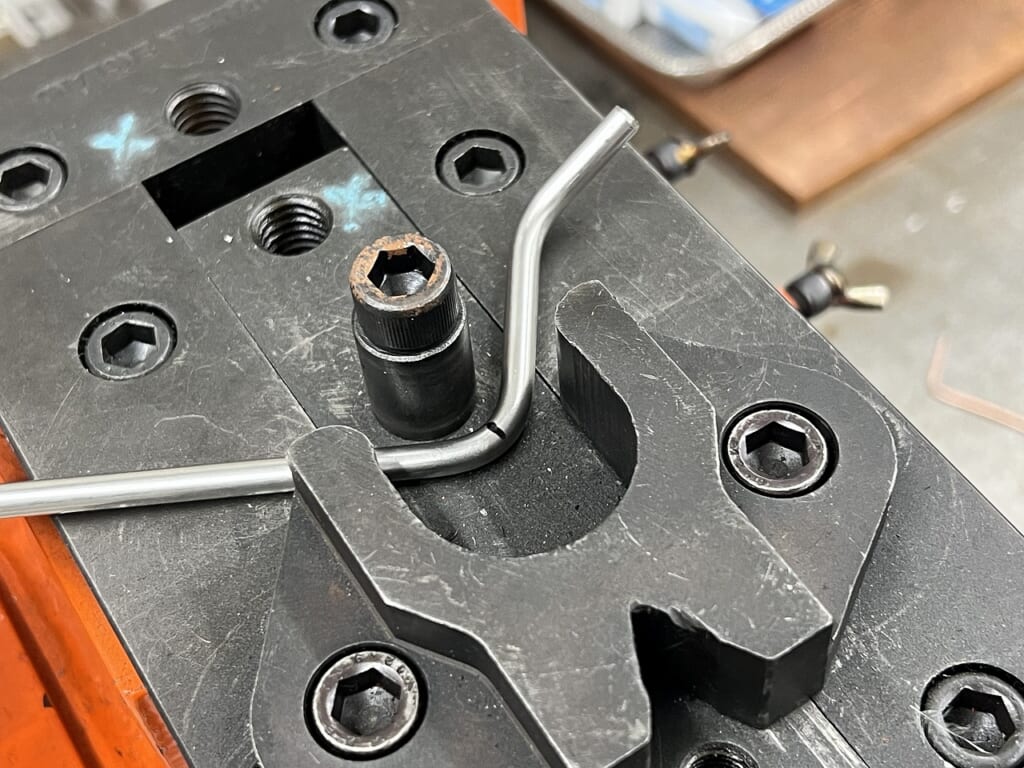
This thing is actually pretty handy. 5φ SUS304 round stock is no problem at all. The advantage is you can bend even short distances. You get the flexibility to make fine adjustments.
Of course, it takes some technique and practice, but it’s far easier than heating and bending. I used to bend round stock with a bender, but it only worked for wide pitches. Once I found this tool, work became so much easier.
With the right tools, you save time and work smoothly—it’s all about efficiency.
Mirror holder fabrication and mounting
The helmet holder bracket was reusable. Since the geometry has plenty of material, I’ll tap an M6 hole and mount from there.
Generally, the brake-side reservoir uses the large size. It’s floating, and bigger is safer on the brake side.
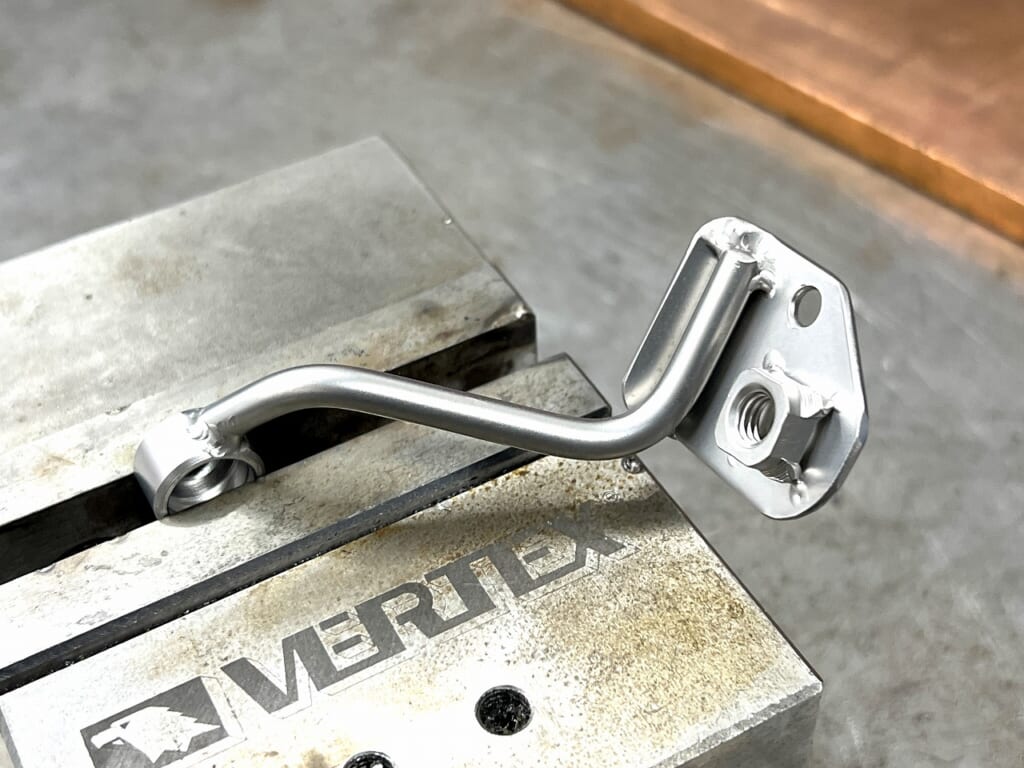
We weld the boss and plate to the round stock, then wet-blast it—done. Though it doesn’t happen in an instant…
And that’s how the mount came together.
Next, I’ll decode the wiring diagram and solve the switch issue. Seriously… custom shop work is tough.
Yamaha XT1200ZE Super Ténéré.
Topic: Precision installation and clearance tuning of a Brembo 19RCS Radial Brake Master Cylinder. Details: Happy Sunday night from the Decoboco tech bay! Following our recent clutch upgrade, tonight’s log covers the front braking system on Yamaha’s flagship adventure tourer, the XT1200ZE. Managing a 265kg machine demands precise, linear stopping power rather than heavy lever effort. We installed a Brembo 19RCS radial brake master. The primary engineering challenge on this adventure rig was clearance: ensuring zero interference with the bulky OEM handguards and high windshield at full steering lock. We custom-bent the reservoir bracket, tailored banjo line angles, and flushed DOT4 fluid until every micro-bubble was eliminated. Verdict: The lever now delivers crisp initial contact followed by deep, progressive hydraulic feedback. Two-finger control over a heavyweight tourer reduces fatigue and elevates touring confidence to the highest tier!
[Maintenance Log] Control a Massive Machine with Just Your Fingertips! Brembo RCS Brake Master Cylinder Installation on the Super Ténéré 1200 (XT1200ZE)


 ポチップ
ポチップ