Replacing the main harness on a Suzuki GSX-R or oil-cooled bike is a completely different level of work.
With OEM parts, it’s just a matter of removing and reinstalling, but with a repro harness—especially an adapted one—you start wondering, “Huh??? What’s this? Why isn’t it being used?” and so on.
Once you start noticing these things, you can’t move forward until you understand what they’re for.
I’ve mostly figured it all out and made a manual, so it should be smooth sailing next time.
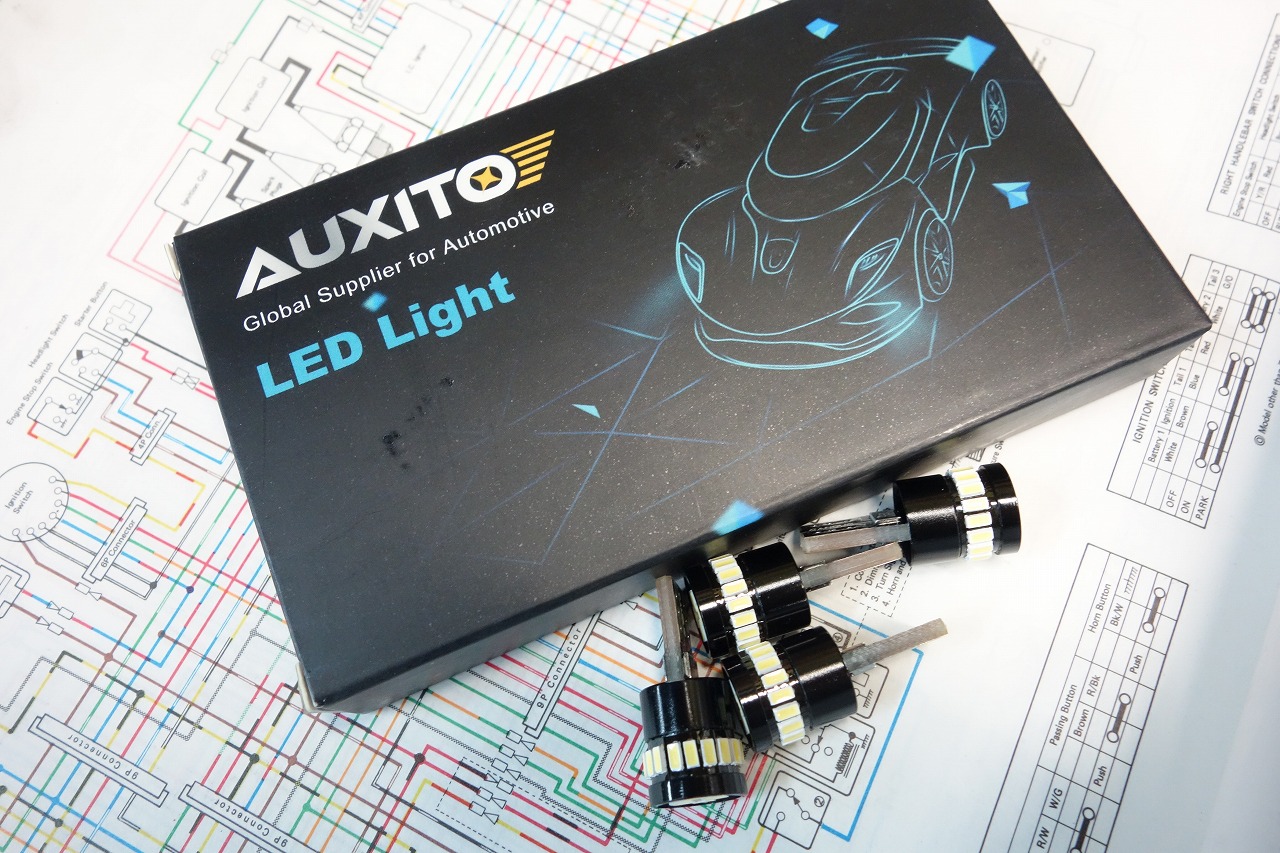
The repro harness uses wedge bulbs, so we’ll swap them out for LEDs.
AUXITO T10 LED White
These are pretty good—we keep them in stock regularly.
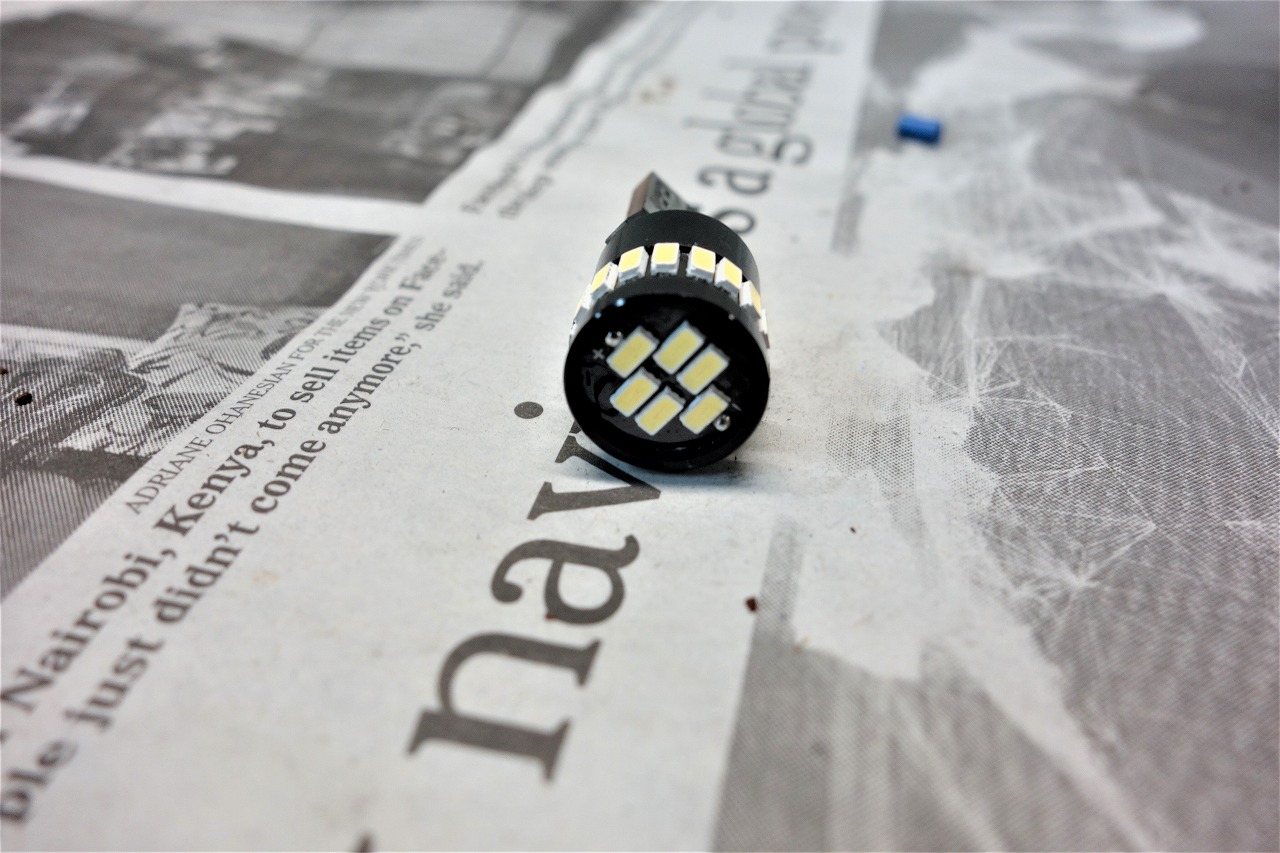
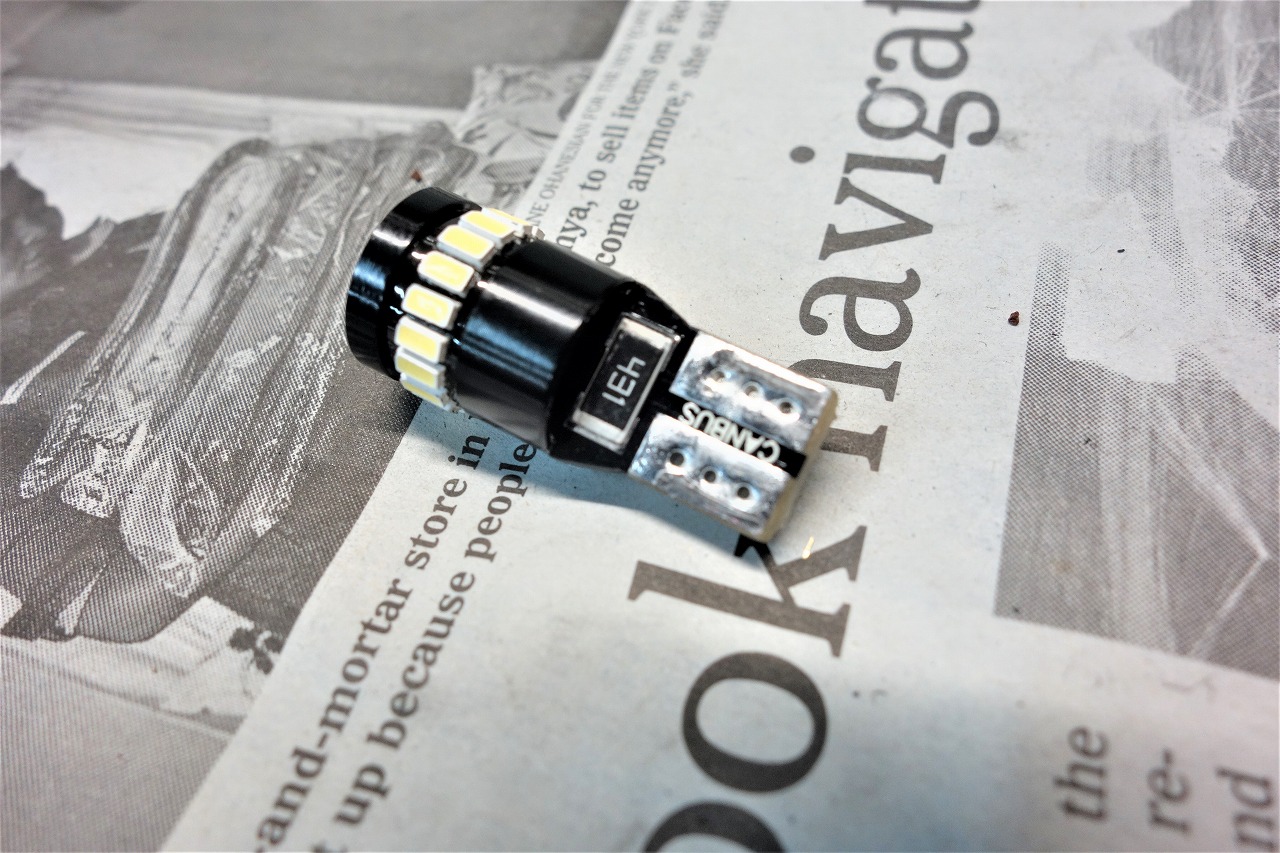
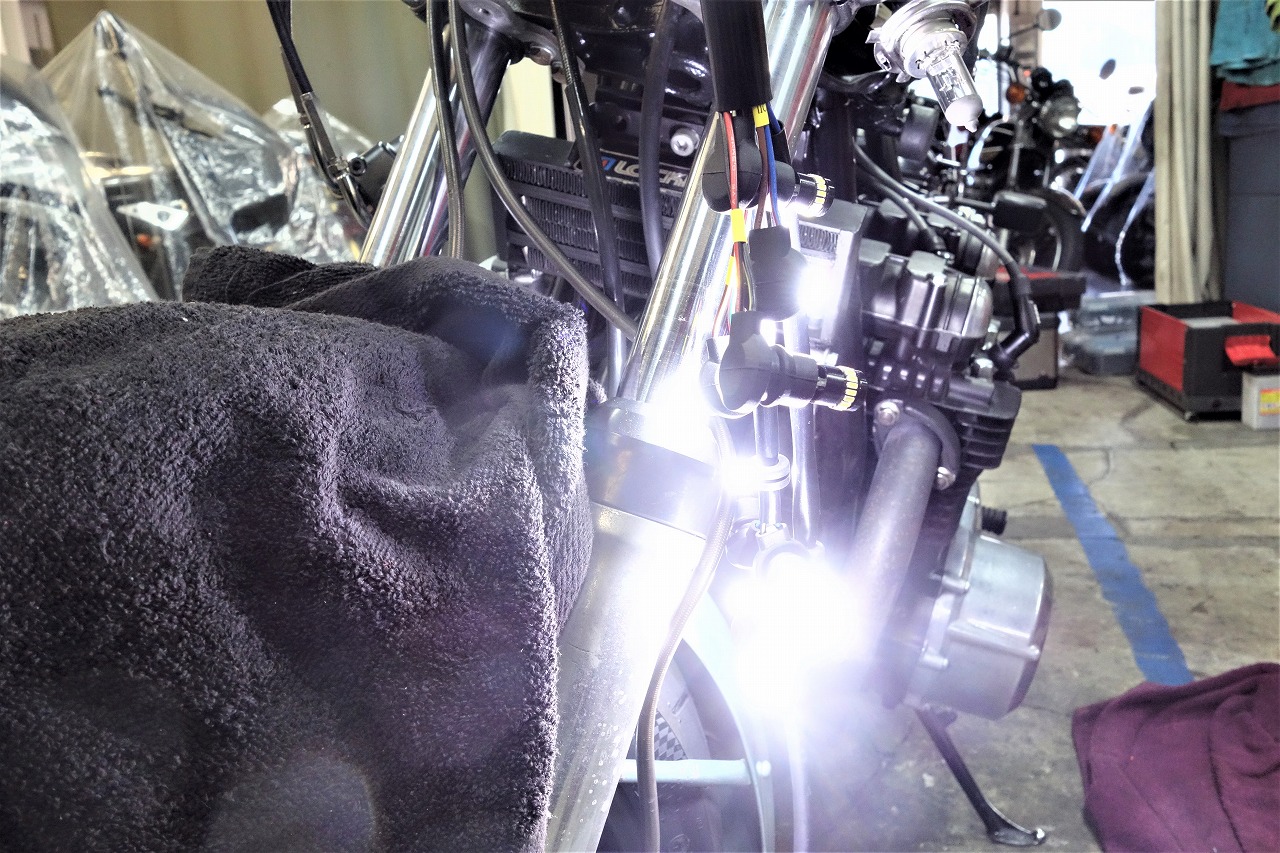
A solid insertion point gives you peace of mind. Wires bent and sticking out can cause contact issues, so be careful.
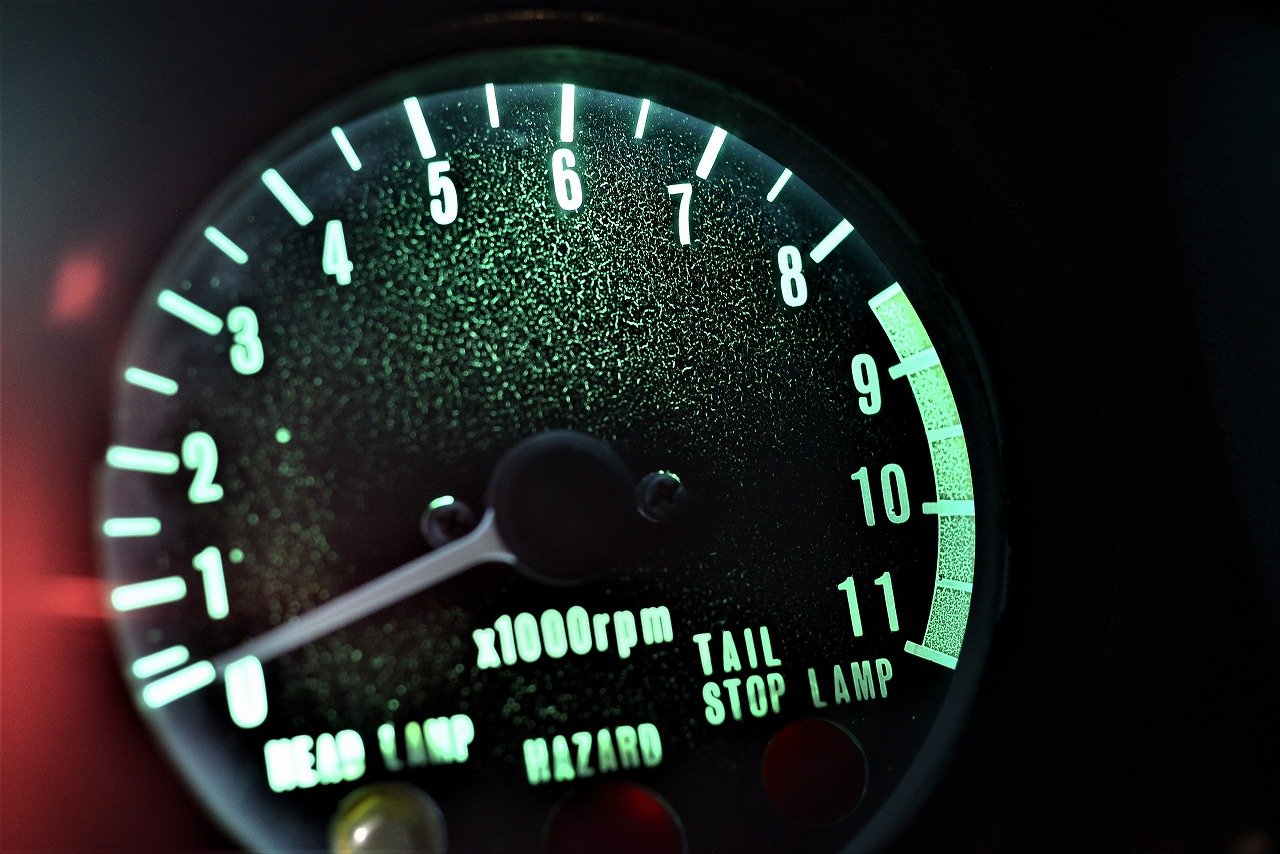
The meter that was dimly lit before should now have much better visibility.
Always check that it lights up before assembly.
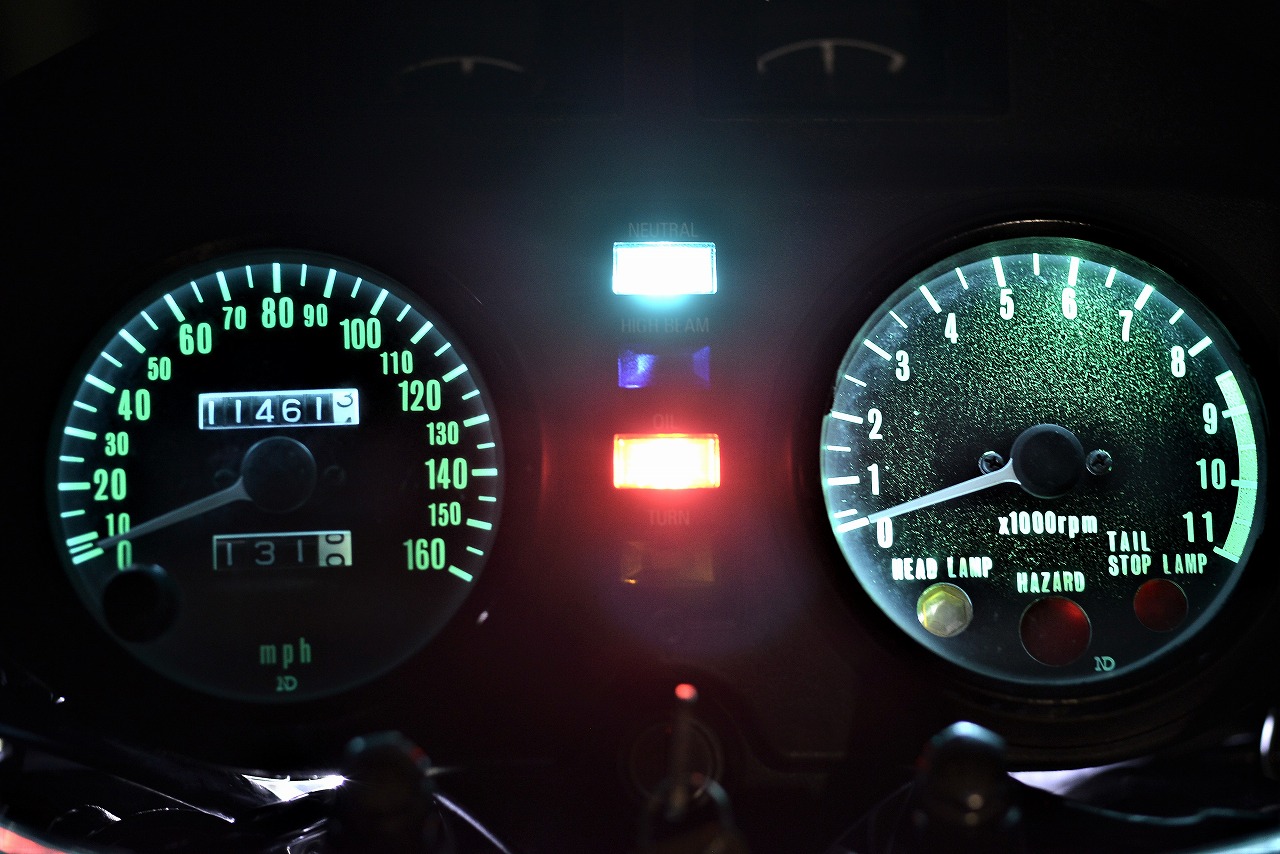
This gives it a nice crisp feel.
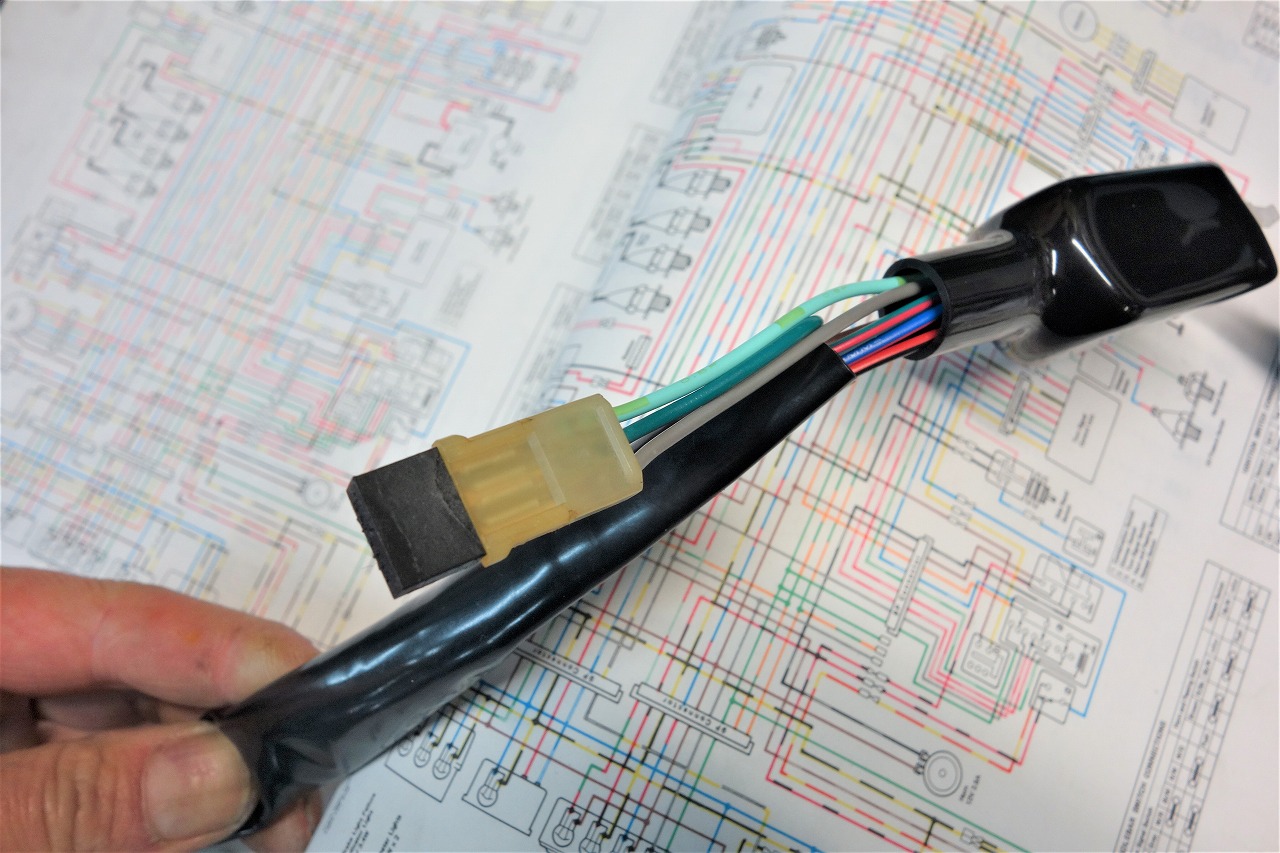
When converting models with a single turn signal indicator to LED, you need to be careful.
I use a diode to rectify the left and right signals.
(Hmm, not making sense?)
First, models with a single indicator work with
left turn signal positive and right turn signal positive.
↓
When you swap these to LEDs, only one side will light up because LEDs only conduct current in one direction.
↓
You run both left and right turn signals into a diode and pull out a single wire.
*Occasionally even after rectifying, some current leaks through and creates a dim glow, so watch out.
↓
The dual indicator wiring is completed with one wire from the diode and ground.
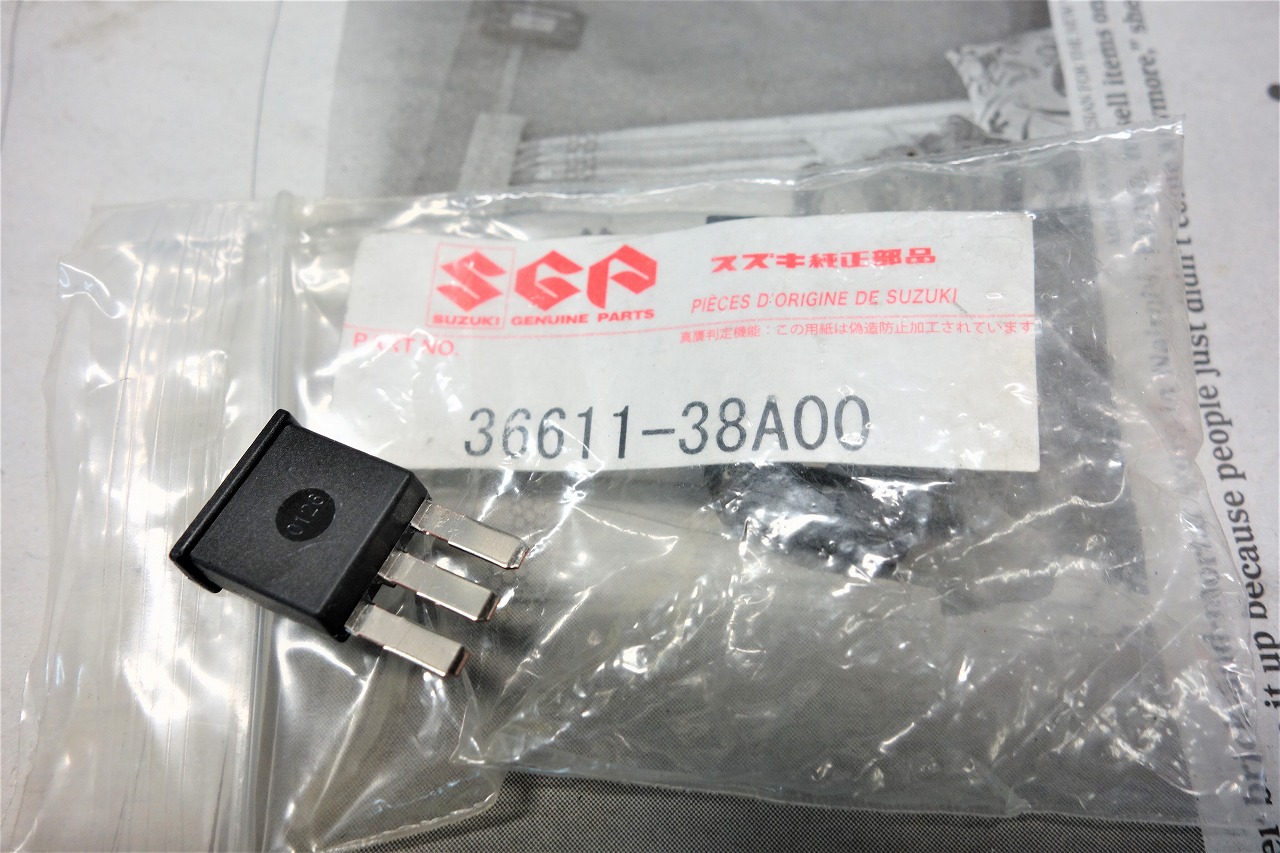
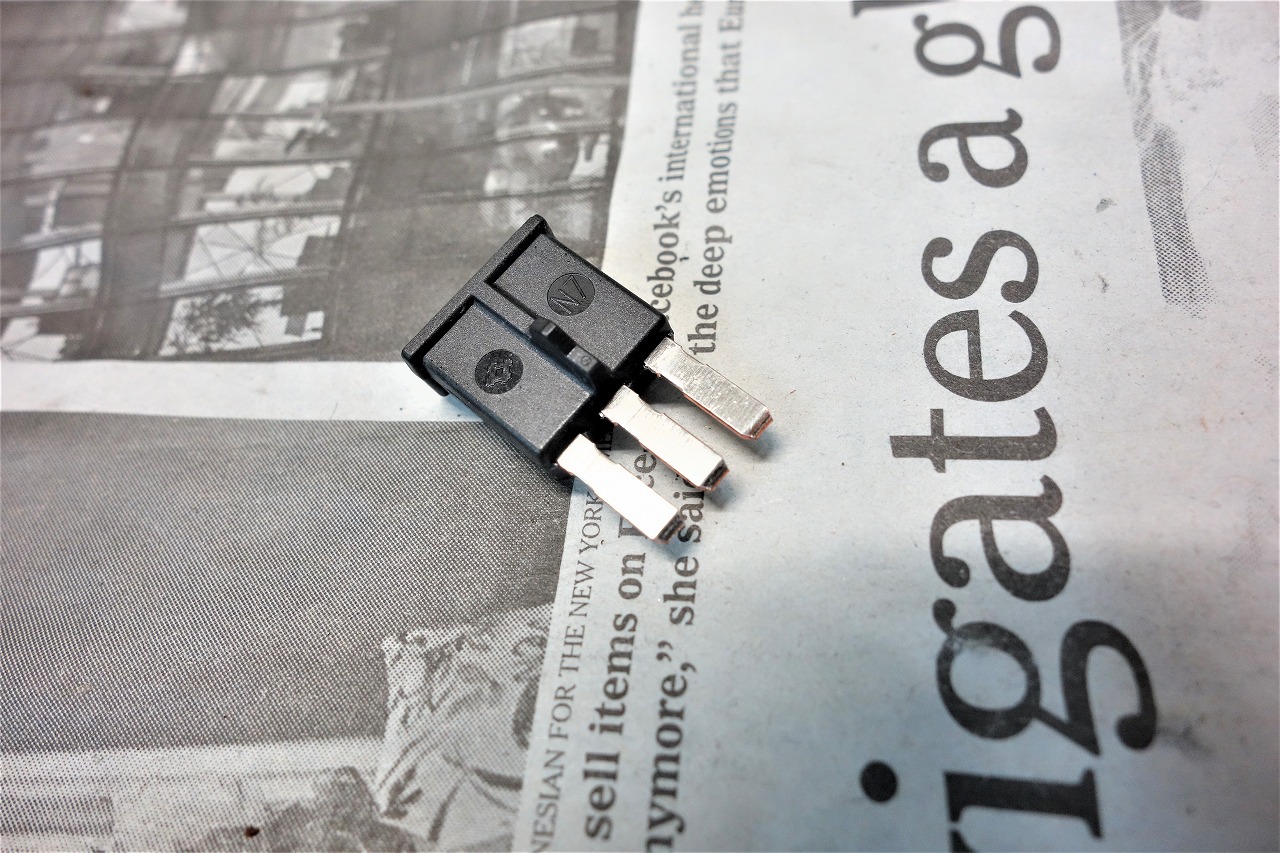
Here’s a handy side stand diode—Suzuki 36611-38A00
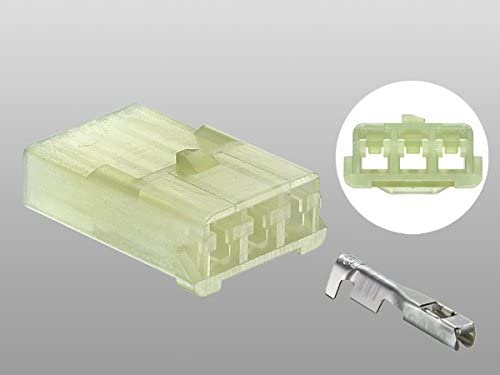
And I found this today… I’m pretty sure this is it… no, definitely this.
Sumitomo Electric 090-type MT series 3-pole F connector (with terminals) / 3P090K-MT-F
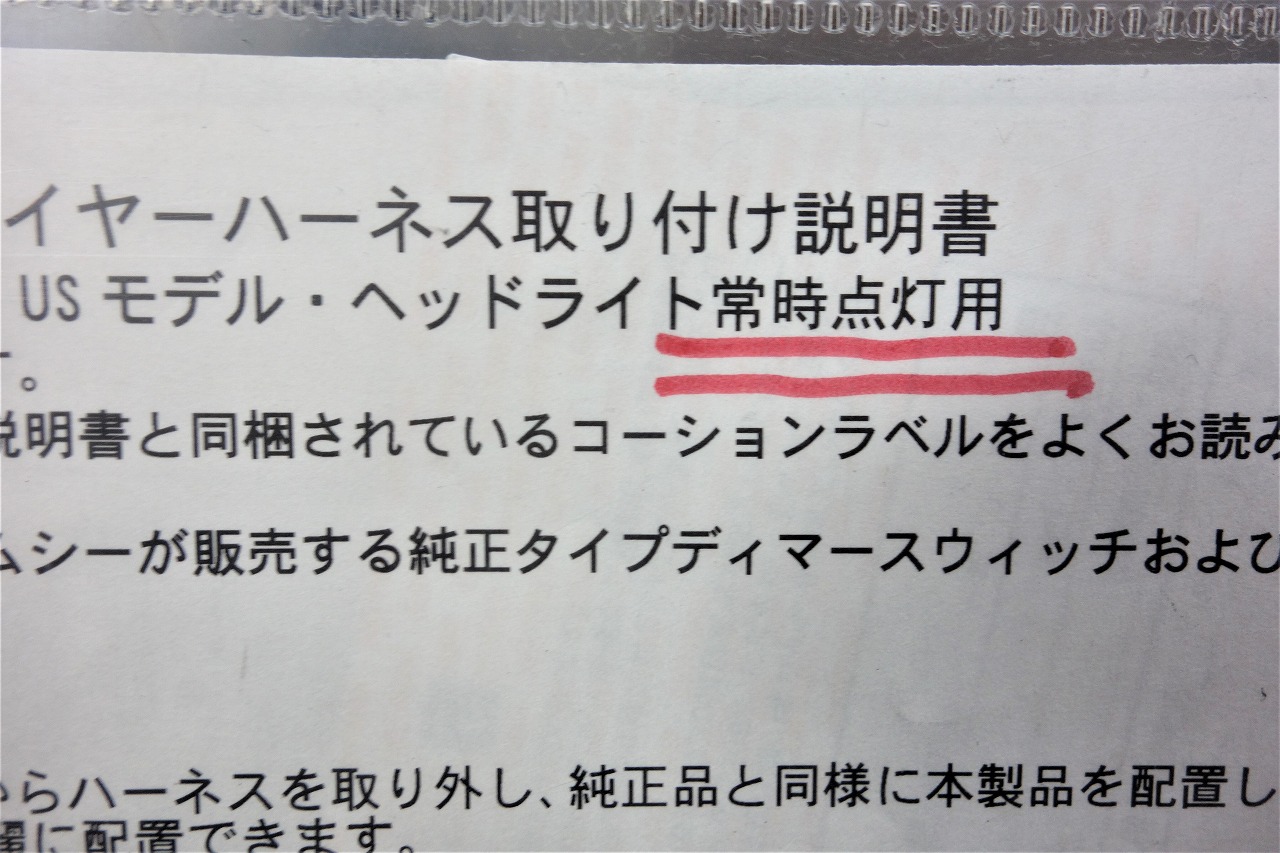
This time I adapted a PMC Z1000MK II harness for the Z1R.
Two mystery connectors came with it, and the instructions said to connect them first.
Looking at the wiring, I thought, “Hmm??? Why plug this in? If this conducts, the light won’t turn off, will it?”
Then I looked carefully at the manual and… there it was: “for constant illumination.”
Repro harnesses run deep… the lesson is to read the instructions properly.
Working on the Z1R today, I realized something.
If you can use one, going with a headlight case would let you route the wiring much more neatly… if it fits, that is.
*The Z1R is basically just a lens, more or less.
【Progress】
● Old harness removal
● Other electrical components removal
● Left and right handlebar stopper welding (lock angle correction)
● Watanabe coil bracket cutting, spark plug wire securing
● Tail light and rear turn signal wiring routing
● Electrical plate in progress
● Handlebar hole drilling, left and right switch installation
● MOSFET regulator wiring
● Starter lead wire modification
● N switch/OP switch wiring
● Honda fuse electrical installation
● IC turn signal relay electrical installation
● Starter relay connection 5/6
● Fuse wiring 3 systems layout only 5/6
● Mystery wiring confirmation 5/6
● Harness marking 5/6
● All main harness layout, engine start and voltage checks, operation verification 5/7
● Meter indicator lamp LED conversion 5/7
● Turn signal indicator rectification 5/7