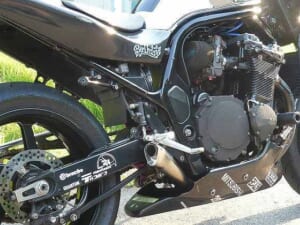
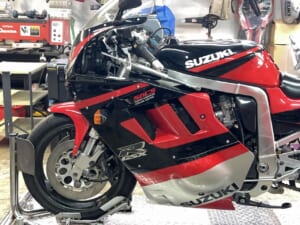
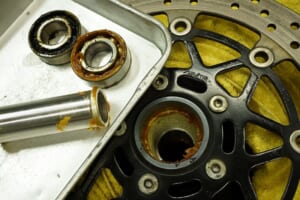
It’s like walking through a minefield—that kind of bike. It’s a classic bike thing, but I’m a bit nervous about removing things and they don’t go smoothly, which is unusual for me.
Given that nearly 50 years have passed, I suppose it’s unavoidable (;∀;) So I’m going ahead with the valve timing adjustment.
Z1-R Season 3 Engine Diagnosis
Current status:
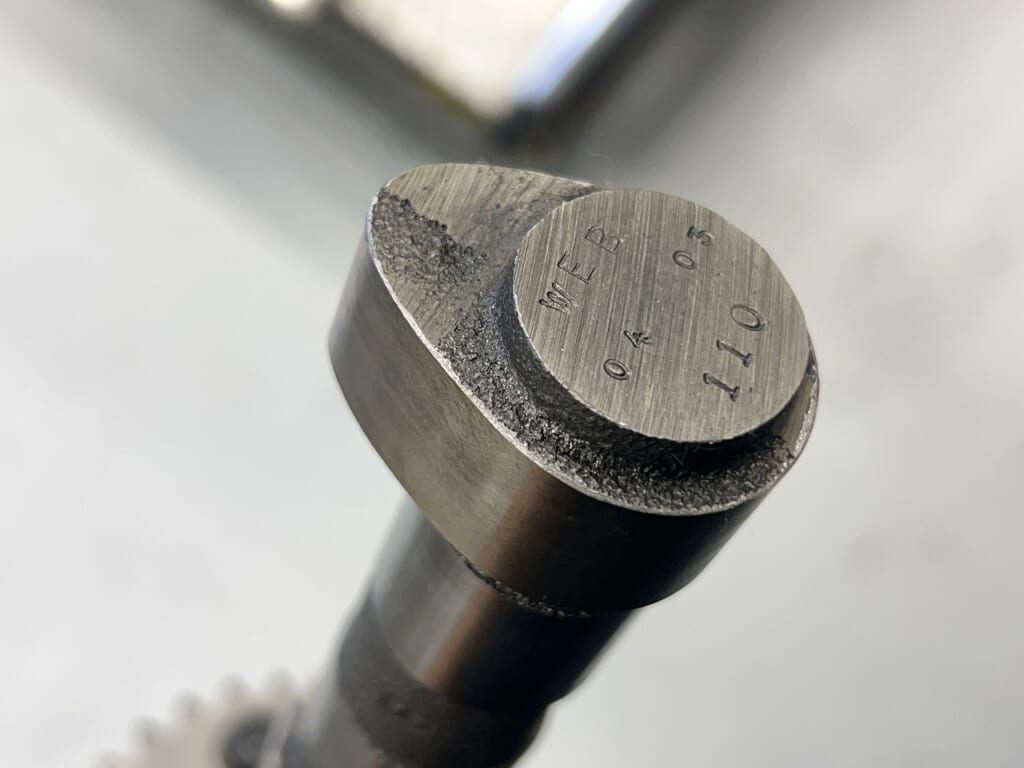
WEB CAM (Web Cam) #110 is installed.
However, it lacks the expected punch, and there’s **”something off”** about the throttle response and idle.
Hypothesis: Could the **”valve timing”** be off due to cam chain stretch or misalignment during installation?
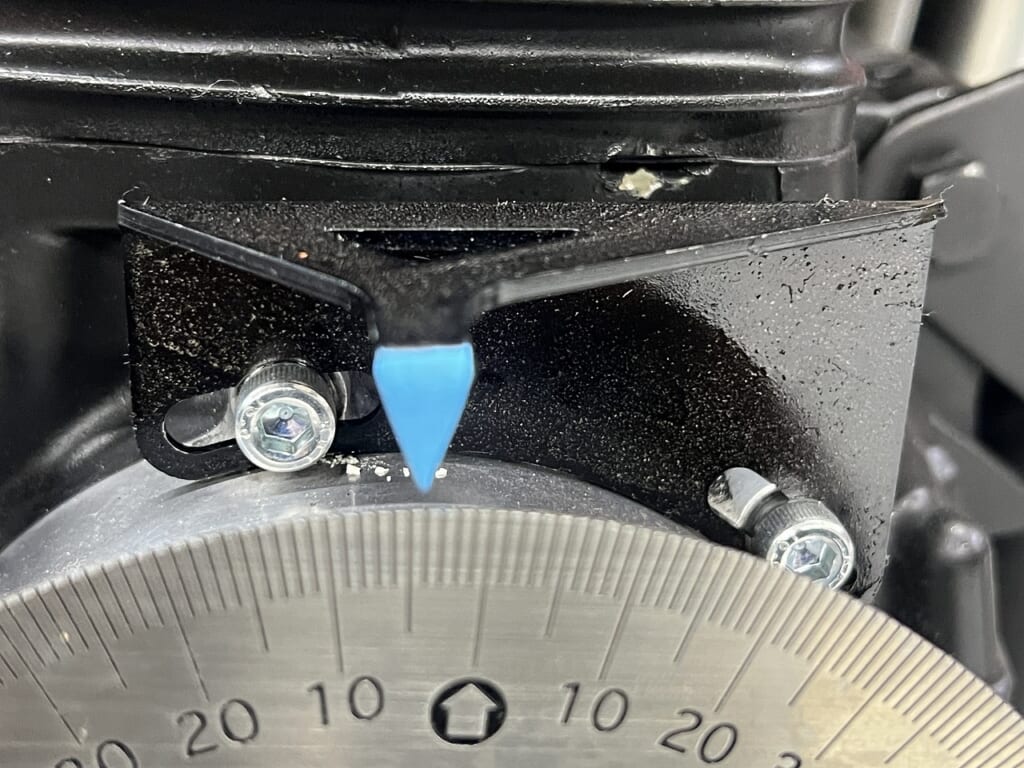
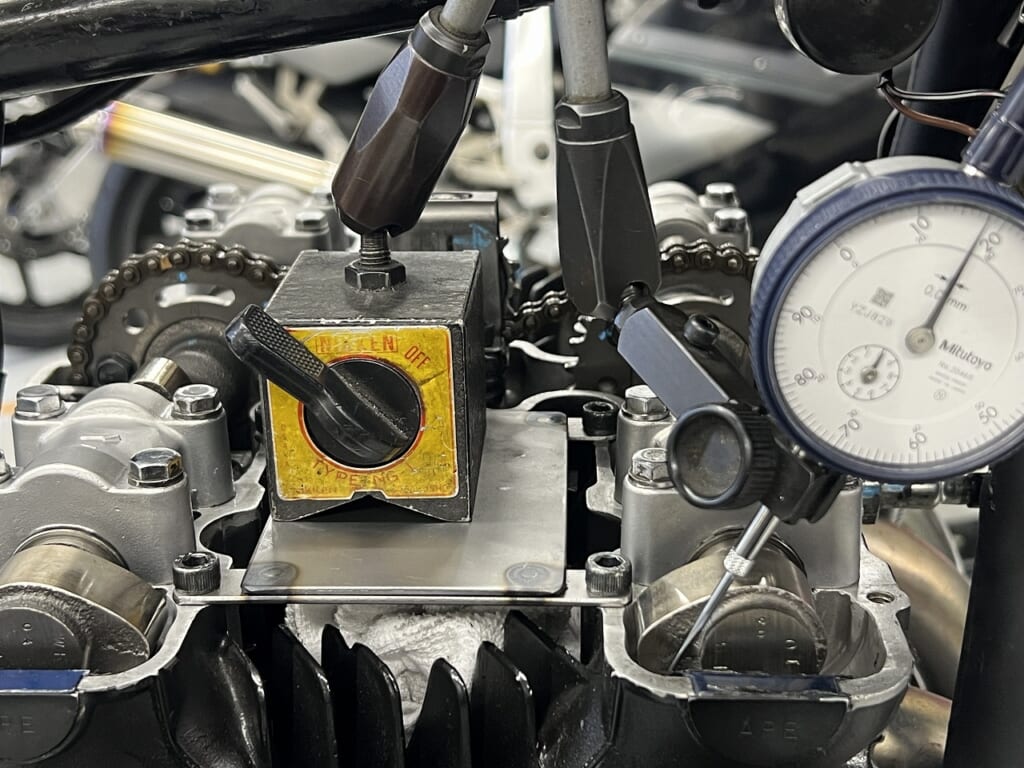
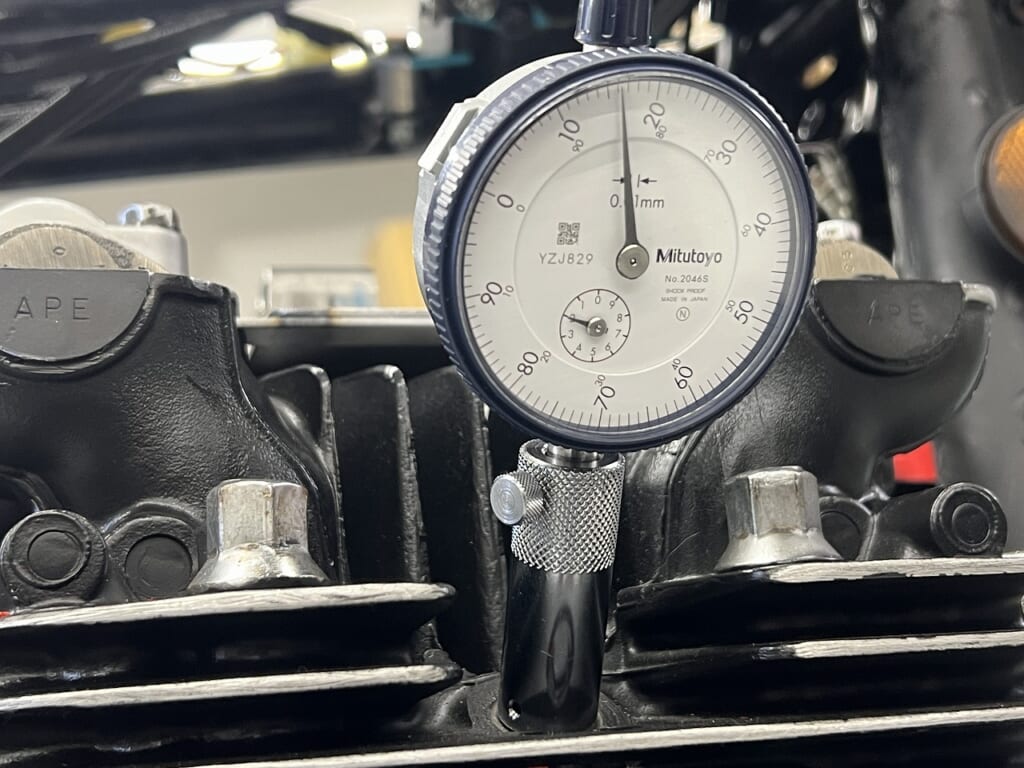
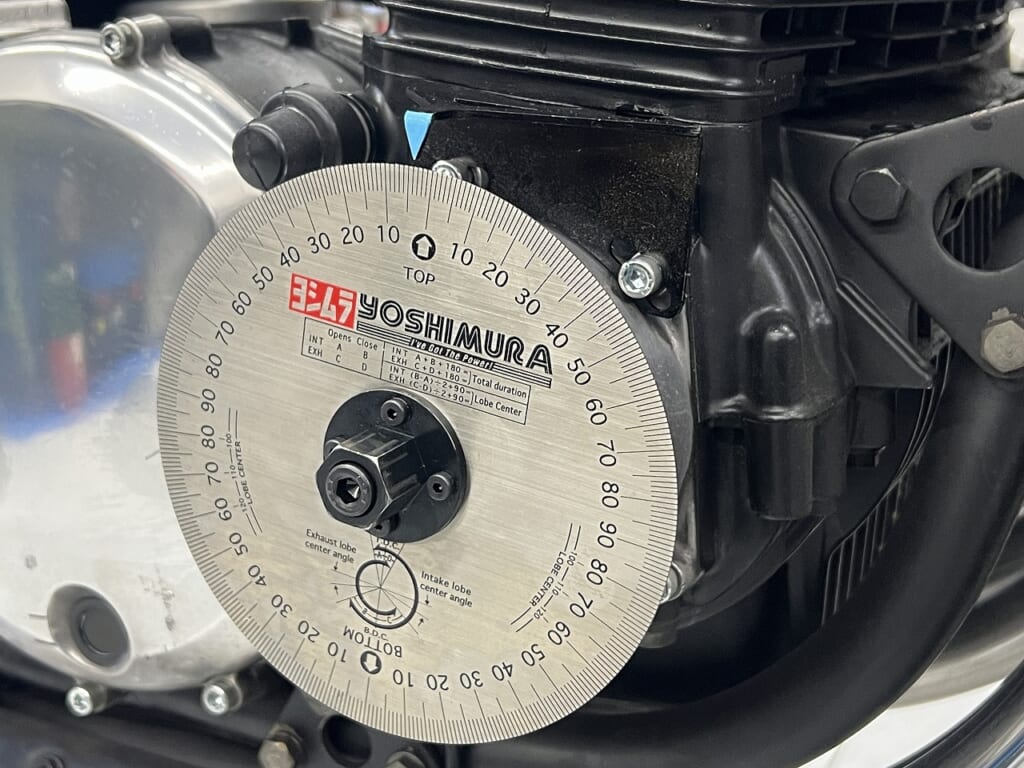
Work: Using a dial gauge and protractor, I’ll precisely measure the current valve timing → adjust to spec.
Decoboco’s other BLOG. “RURAL GARAGE“
A secret room beyond motorcycles. We share everyday convenience items, relocation, delicious food, life philosophy and more. ←click
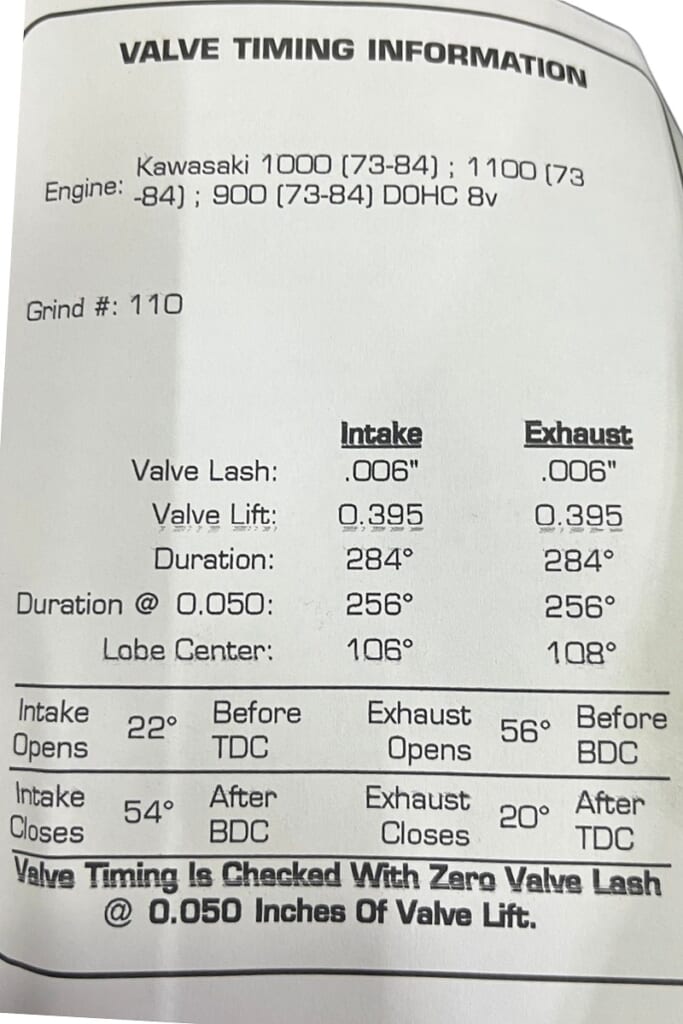
When it comes to cams, it’s Yoshimura! So I have no idea about the specs. When in doubt, I contact the expert in Gifu… and they quickly sent me the data (*´ω`*) Thank you as always.
I see… Valve Timing Is Checked With Zero Valve Lash @ 0.050 Inches Of Valve Lift.
Web Cams and similar products use “the point at which 0.050 inches (approximately 1.27 mm) of lift occurs” as the opening and closing reference “Zero Valve Lash (valve clearance zero)” I see—so manuals and specifications are always important.
We think we know something, but then“Wait, that’s how it works?”happens often, so I need to be careful.
Anyway, something feels strange…
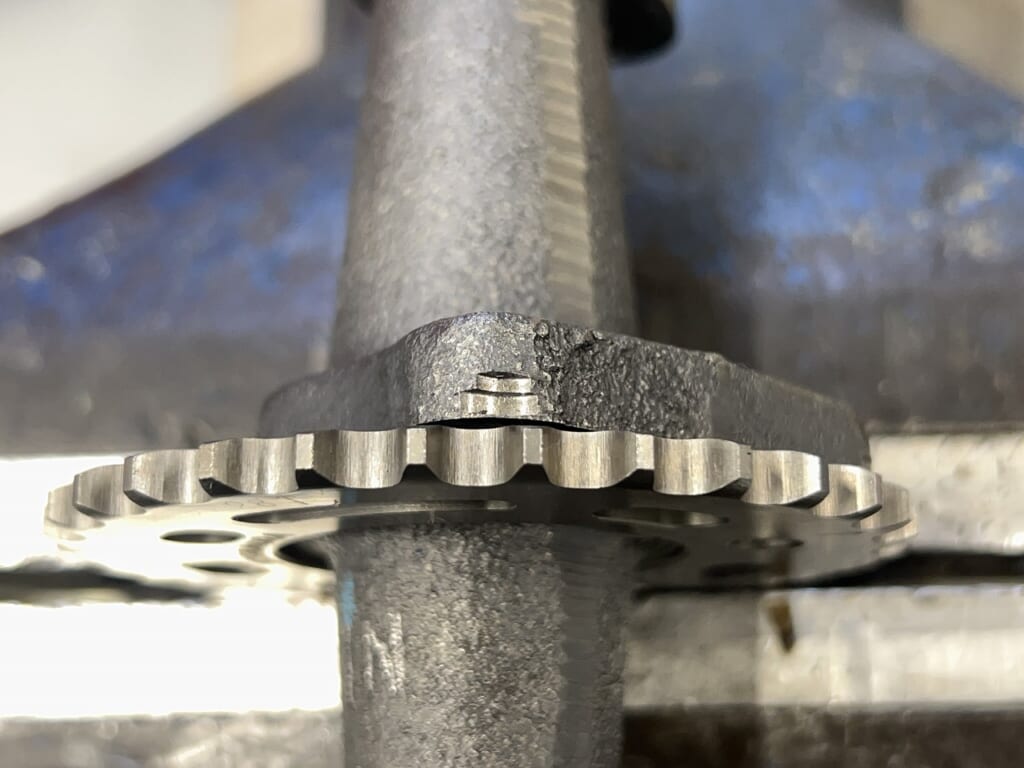
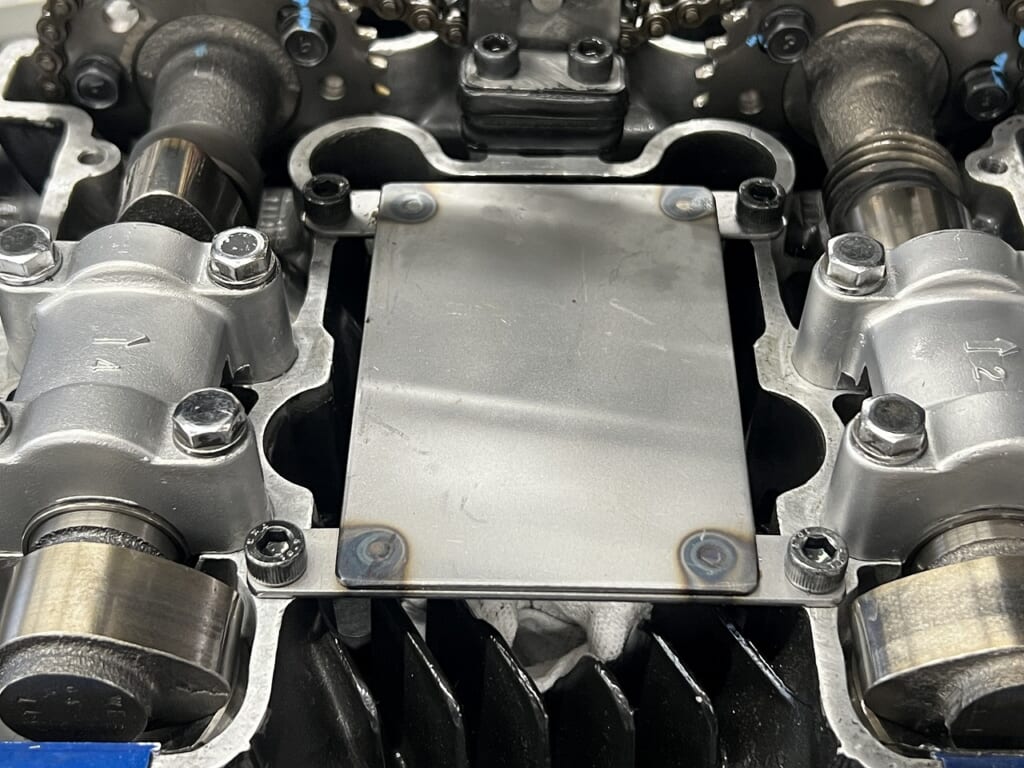
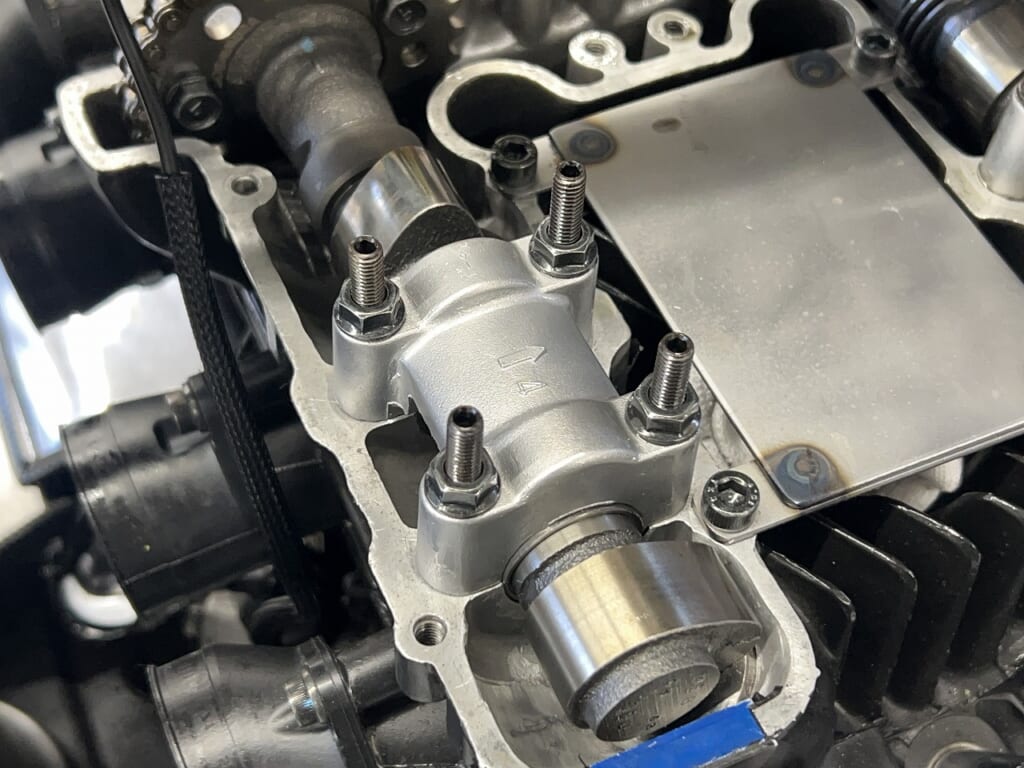
I didn’t expect the cam chain to contact in a place like this… An alternate dimension? I’m proceeding with the work a bit nervously.
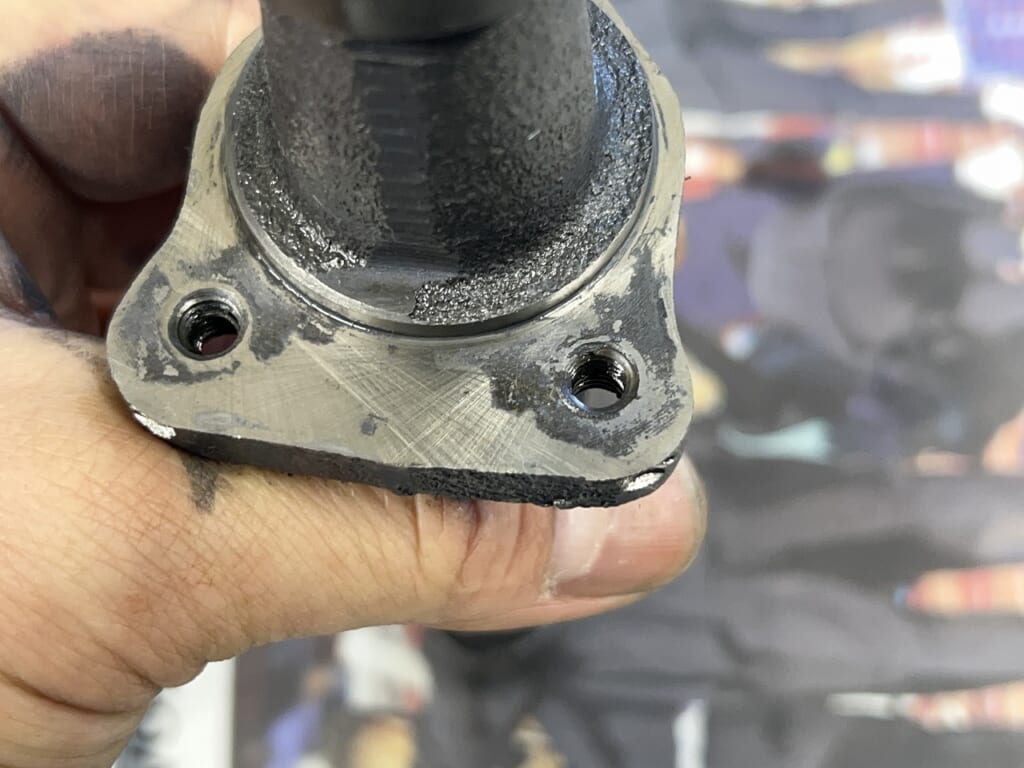
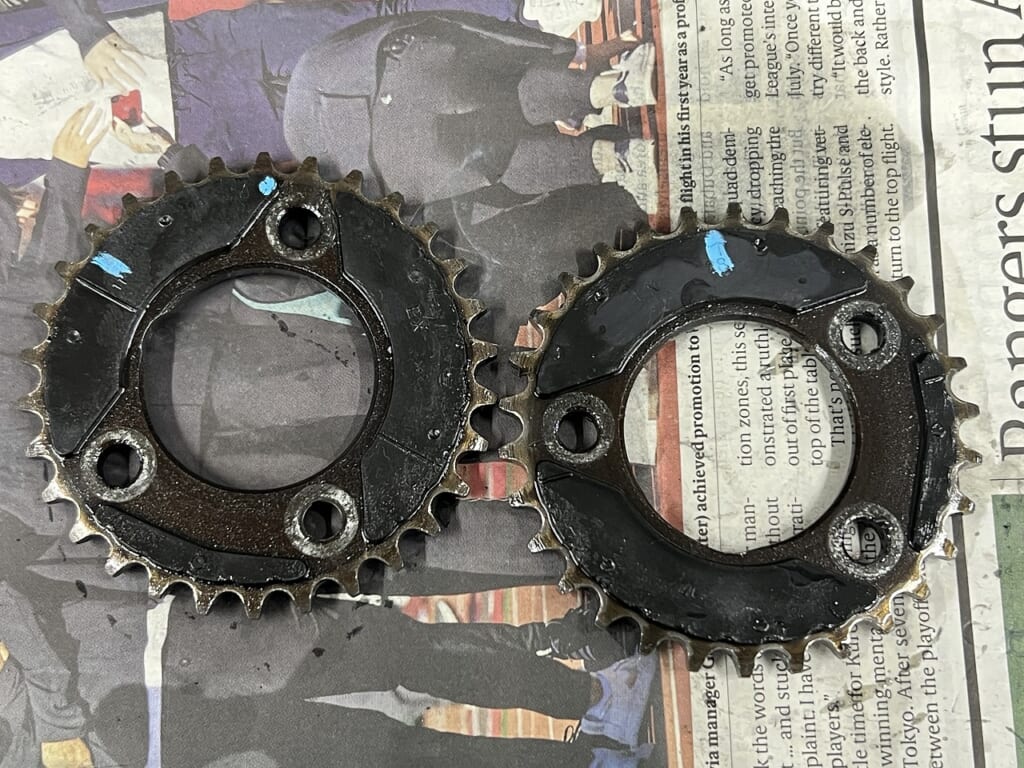
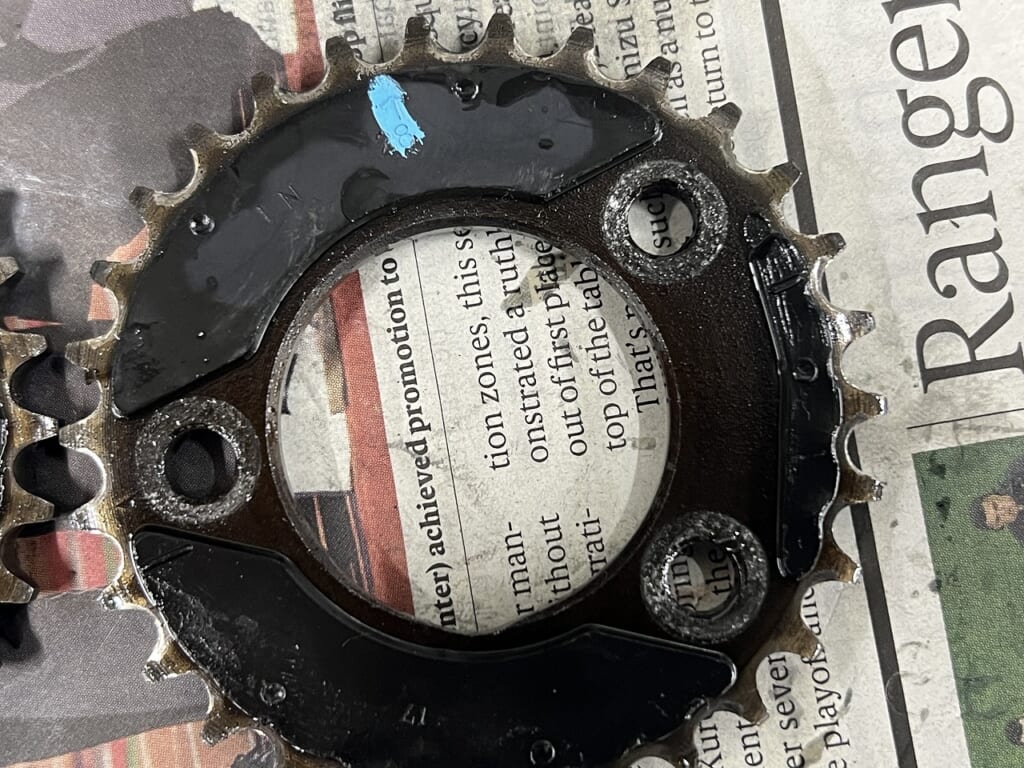
It looks like molybdenum was applied… strange finish. Everything sticky came off—was it applied like that? The surface treatment seems to be peeling too much. I cleaned up the mounting surface too.
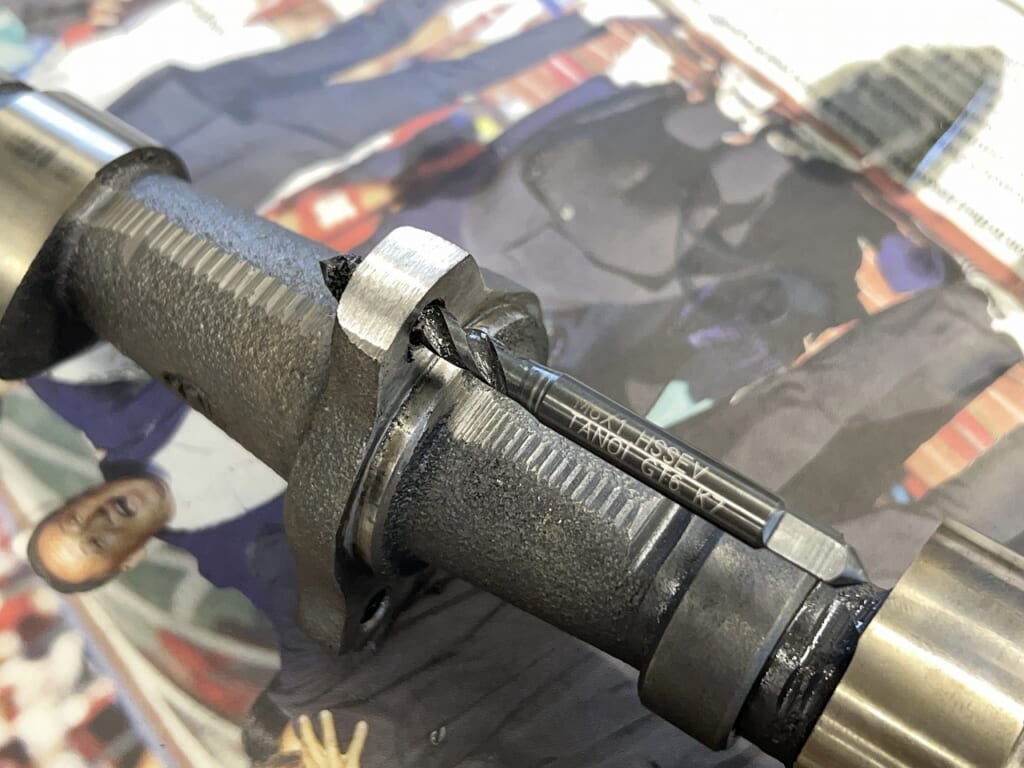
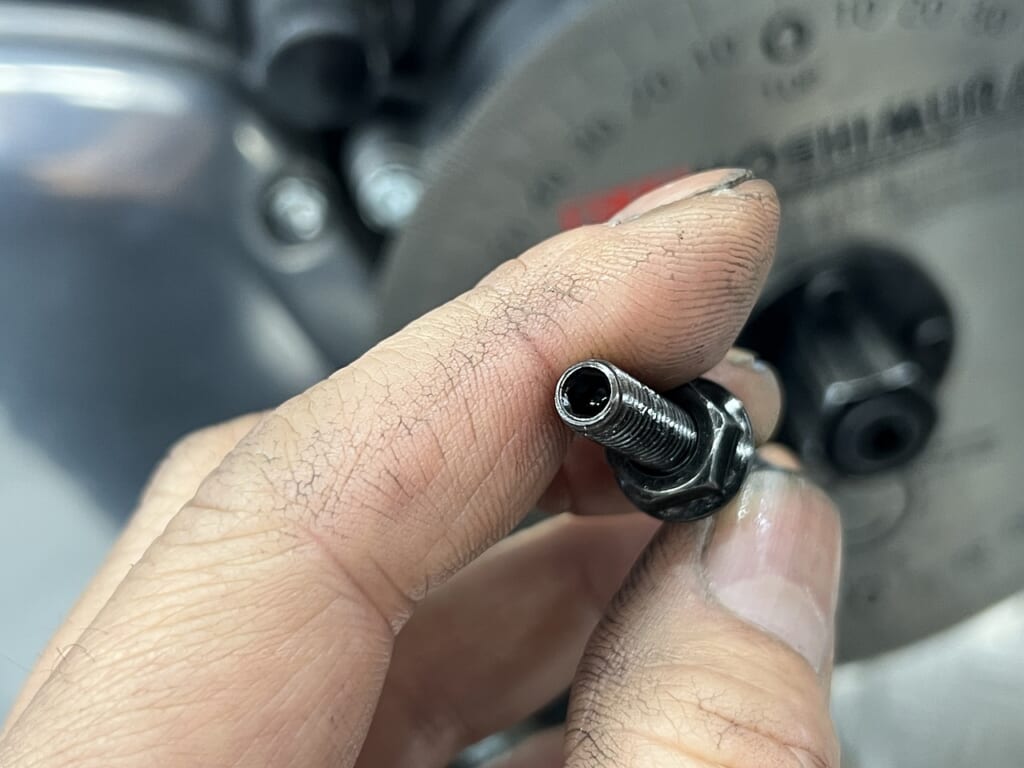
I thoroughly cleaned the contact areas. There was plenty of thread locker, so I tapped it out.
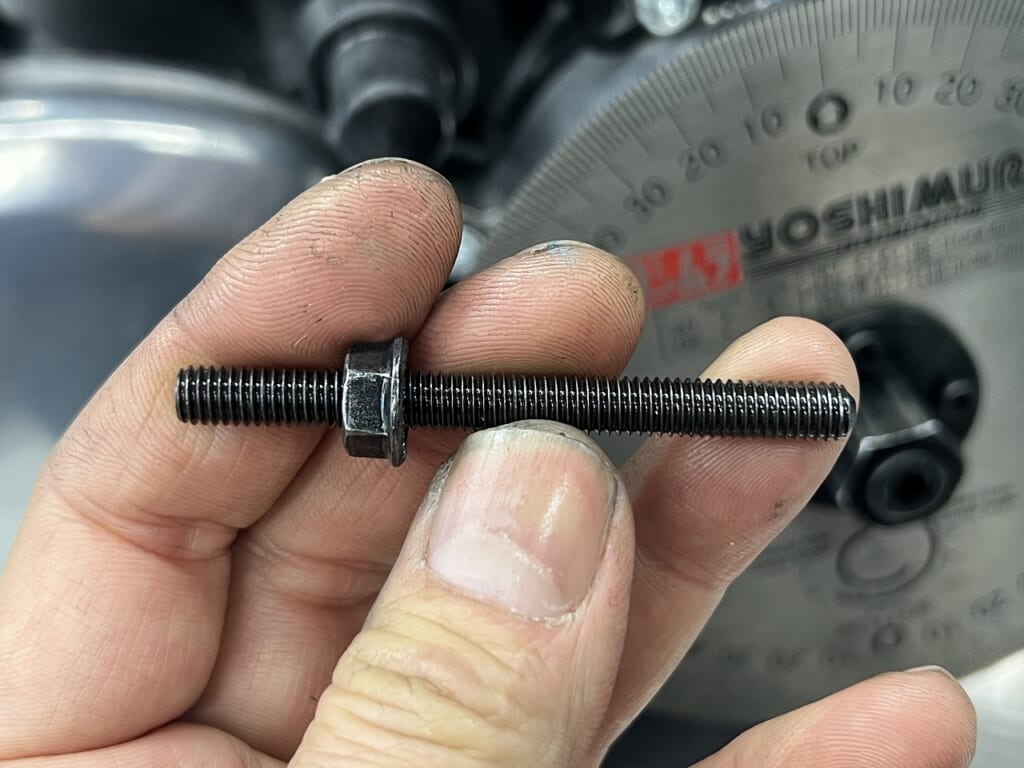
The Z uses M6×3 with strength class 9. Suzuki uses M7×2 with strength class 12.9, and the tightness feels solid.
It’s unusually sharp. Since there were burrs, I removed them all (*´ω`*)
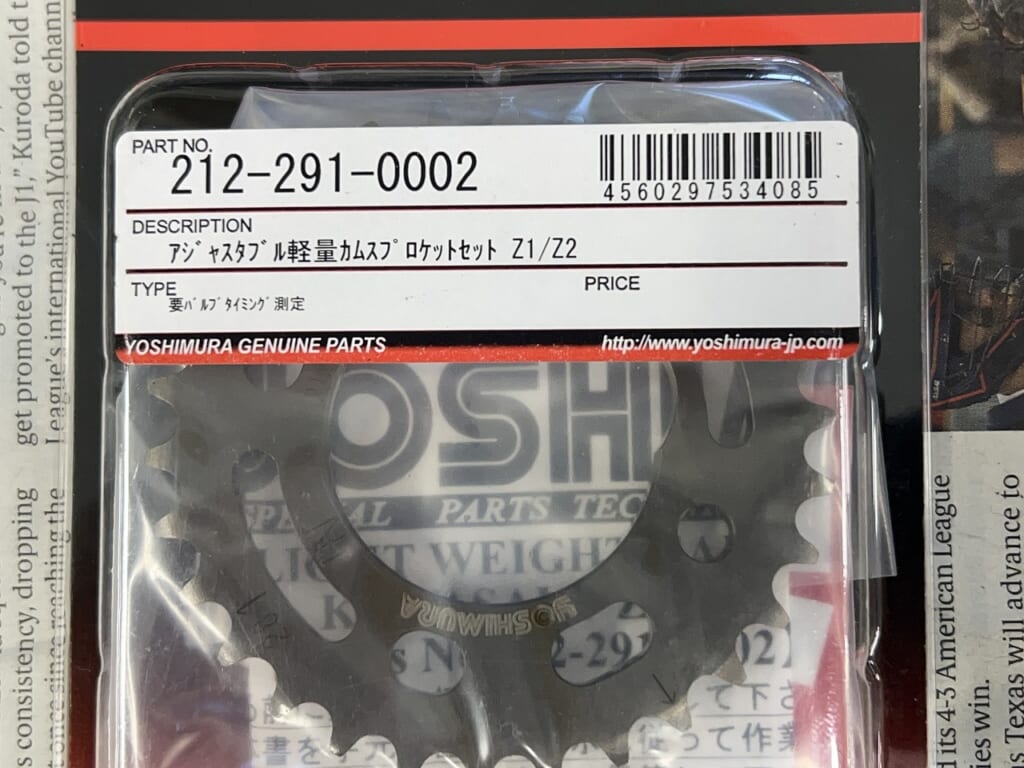
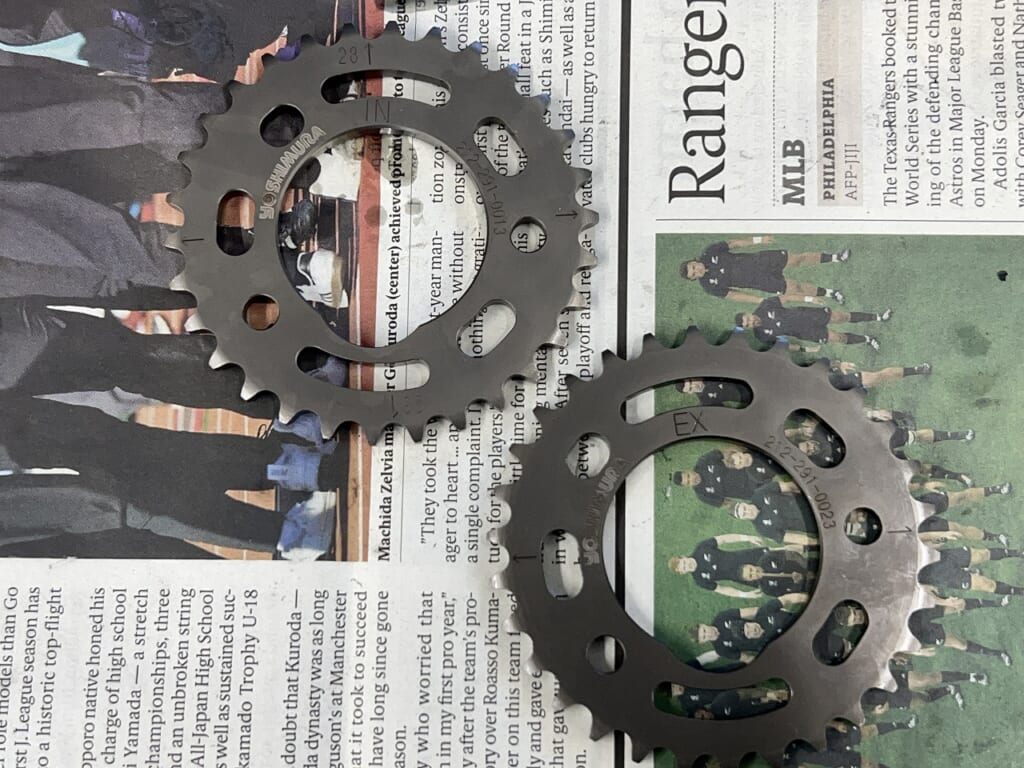
Yoshimura Adjustable Lightweight Cam Sprocket 30T
The sprocket I removed didn’t have elongated holes. It was just snapped on as-is, so it was retarded by over 10°.
Thinking about it this way, Yoshimura cams are really something special.
I could make one myself, but setup takes time—buying is faster and more economical.
When buying, I’m not very familiar with the Z, so“Same tooth count? Same chain size?” I had to research various things.
Chain size: Both are DID 219T(J-series uses Hy-Vo chain, which is different) Tooth count: Both are 30T Mounting holes: Both are 3 holes(3-bolt fastening)
Basically they’re the same, so it’s reassuring that it works.
I wanted to measure carefully, so prep took a while
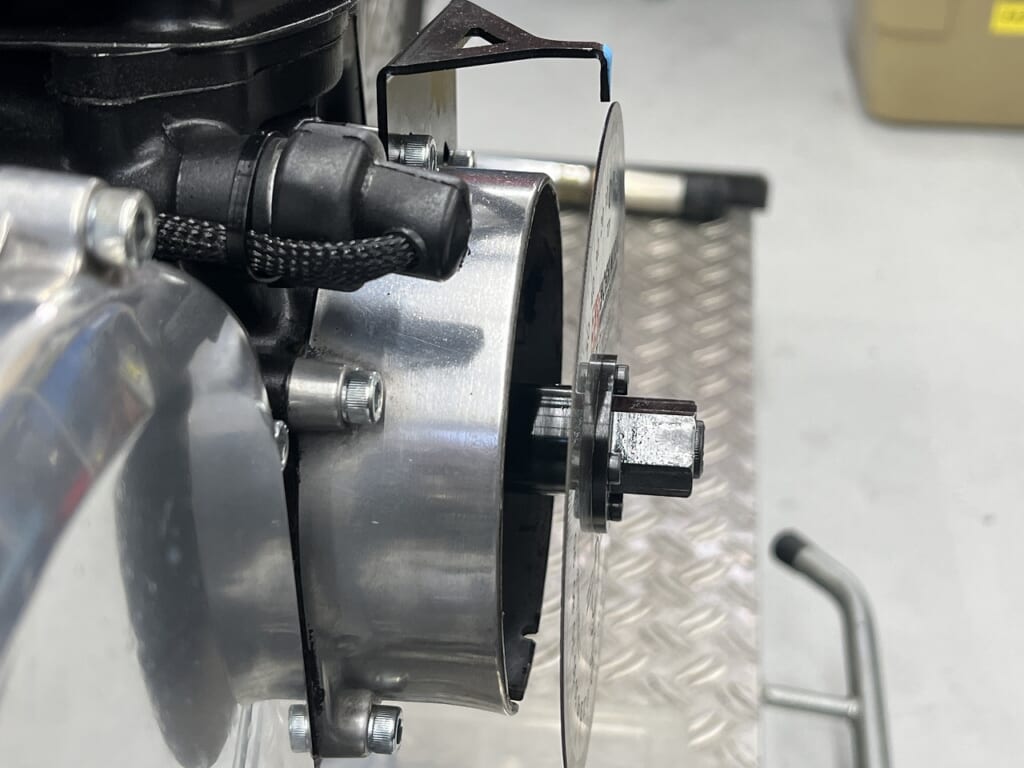
It’s very simple, easy to install, and a tool you can love. I initially considered making one, but considering time and material cost, buying is faster.
This type of timing tool should be solid. Everyone’s experienced“Wait, did my hand just touch?”problems disappear.
Since I couldn’t place the magnetic base, I made a simple stand. I realized the mounting space is surprisingly tight.
I prepared various things to minimize ambiguity and reduce damage risk. From past experience, I have a sense of what might go wrong… Though honestly, I probably should have just referred them to a Z specialist shop from the start.
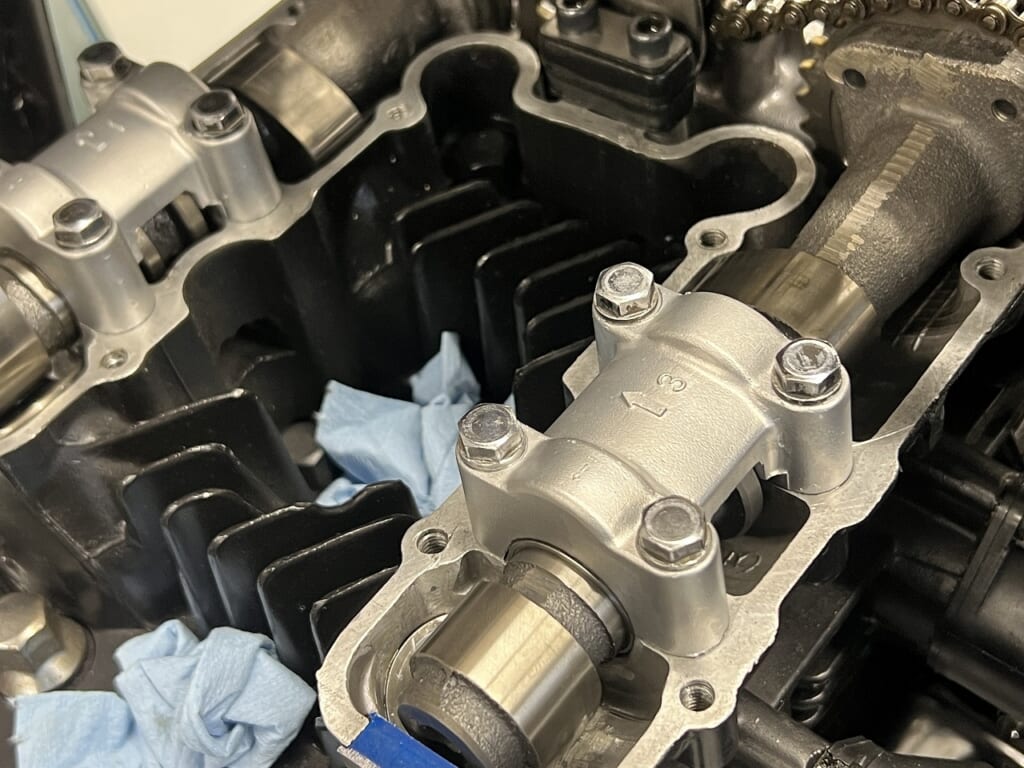
So I set it right to spec and also checked the valve pistons. This should make it run much sharper.
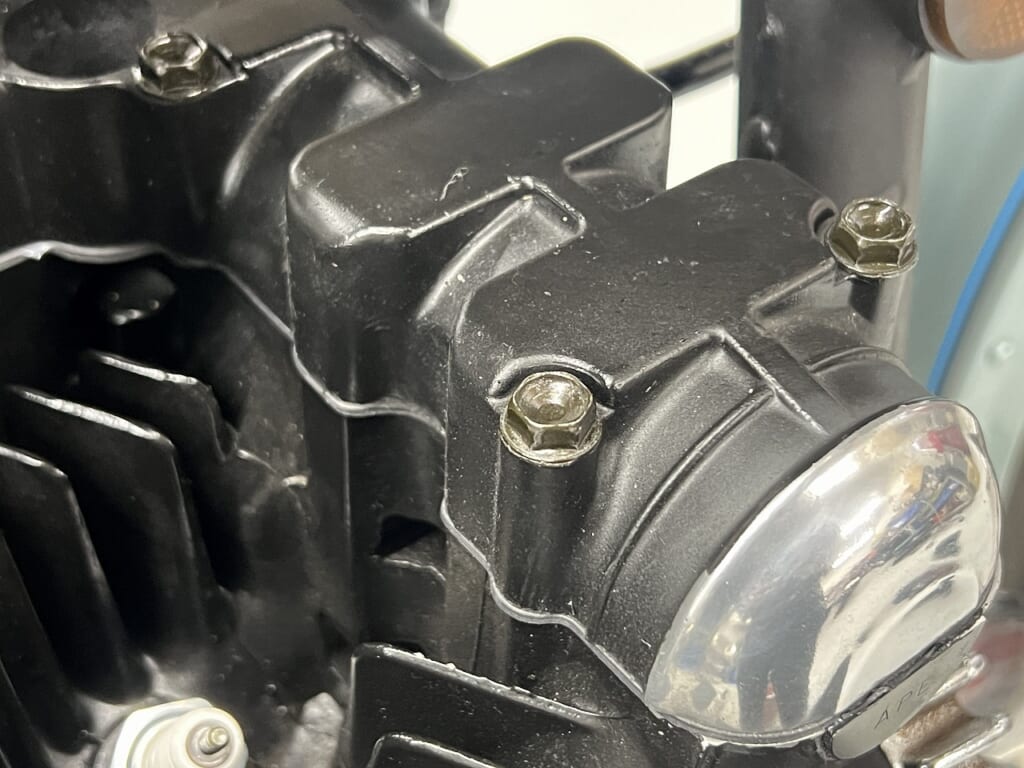
I used Honda OEM head cover bolts (steel). Pretty understated and nice, right?
There’s a bit more to come.
Troubleshooting Z1-R: Checking Valve Timing on WEB CAM #110.
Issue: The engine performance felt “off” despite having high-performance WEB CAM #110 camshafts installed. It lacked the expected power and response. Diagnosis: I suspected the valve timing was incorrect. Work: Using a dial gauge and degree wheel, I measured the cam timing. As suspected, it was off-spec. Fix: Re-adjusted the cam sprockets to the correct timing. Now the engine should perform to its full potential.



 ポチップ
ポチップ