One day. What was supposed to take an hour at most
With this few parts, I thought about an hour, maybe two with cleanup, but I was way off (;∀;)
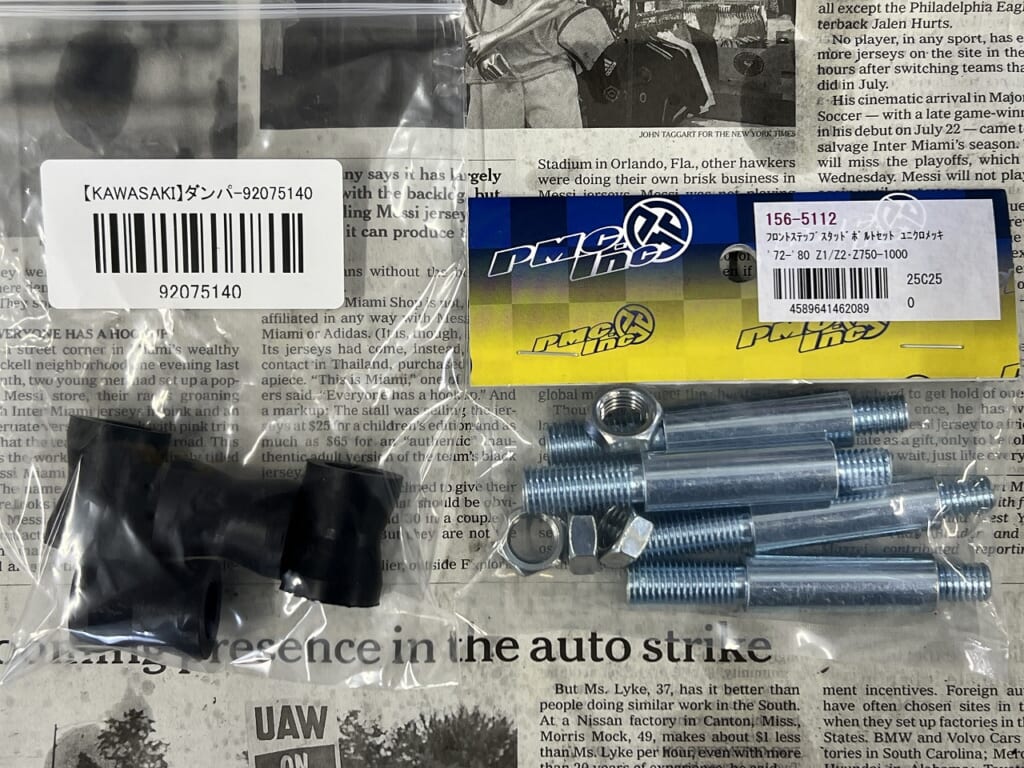
The studs are pretty rough too, so I’ll replace them with new rubbers. You know, after a bath you want fresh underwear too…
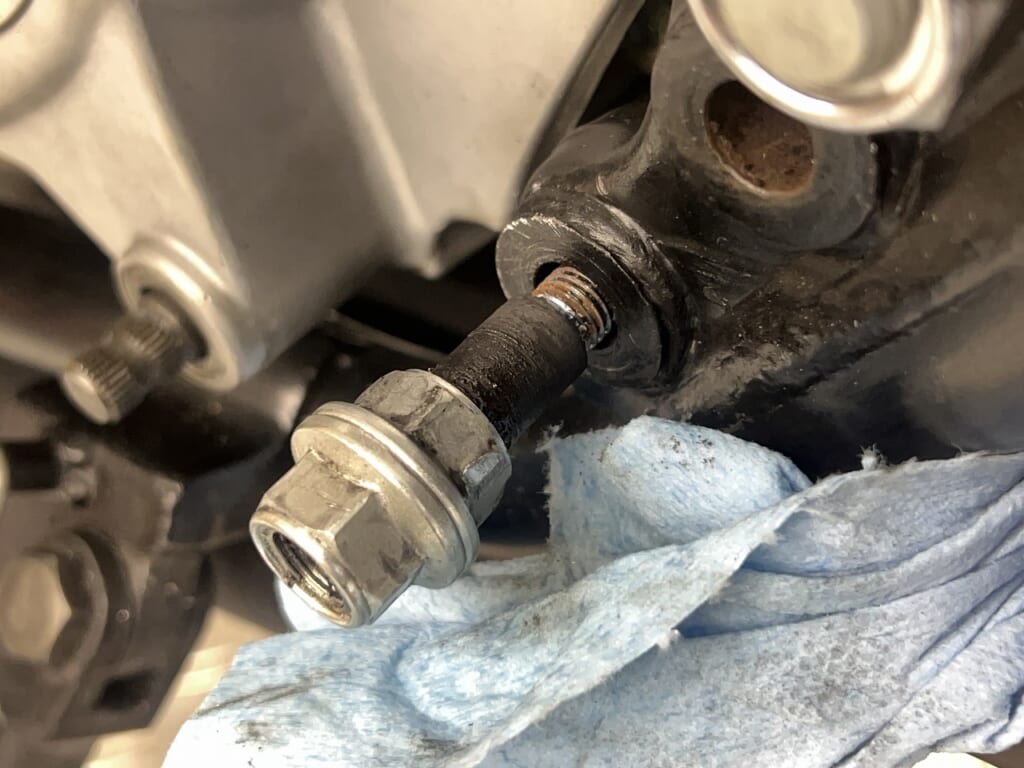
Three out of four won’t budge. *The lock nut on the back is off, so don’t worry.
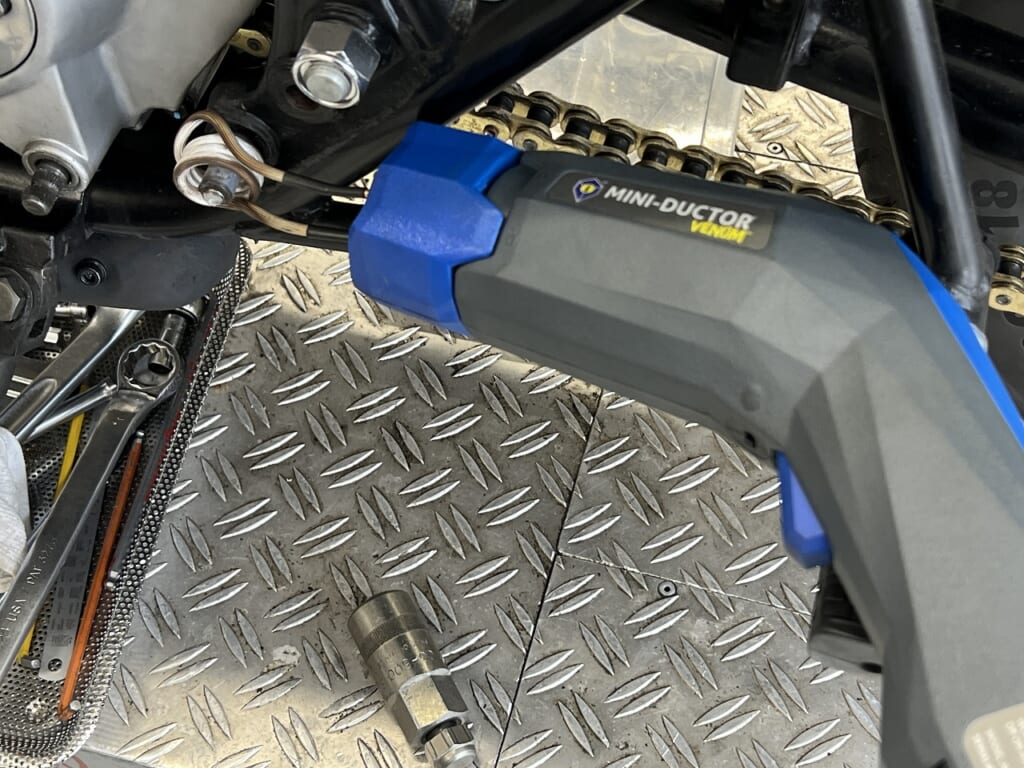
Even with induction heating, it didn’t help…
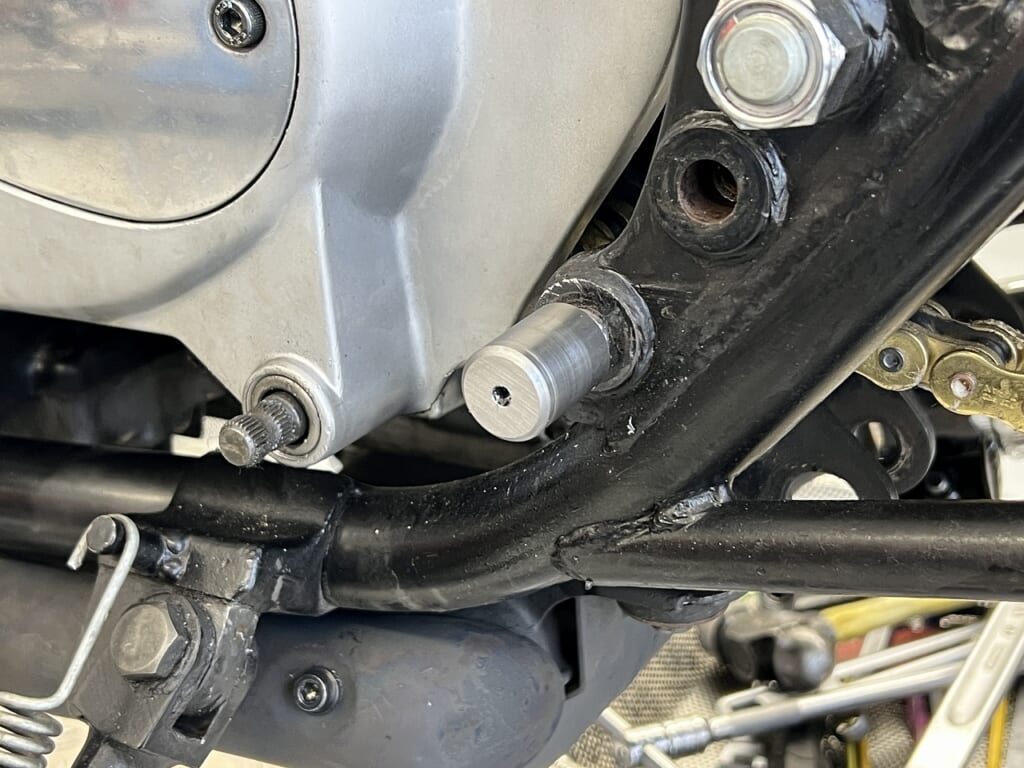
I drilled a pilot hole first, but looking closely… it’s bent. I thought about welding the nut and snapping it off, but…
I have a bad feeling about this. I’ll wrap it in a rag, soak it with lubricant, and leave it.
Time passes. Two days later.
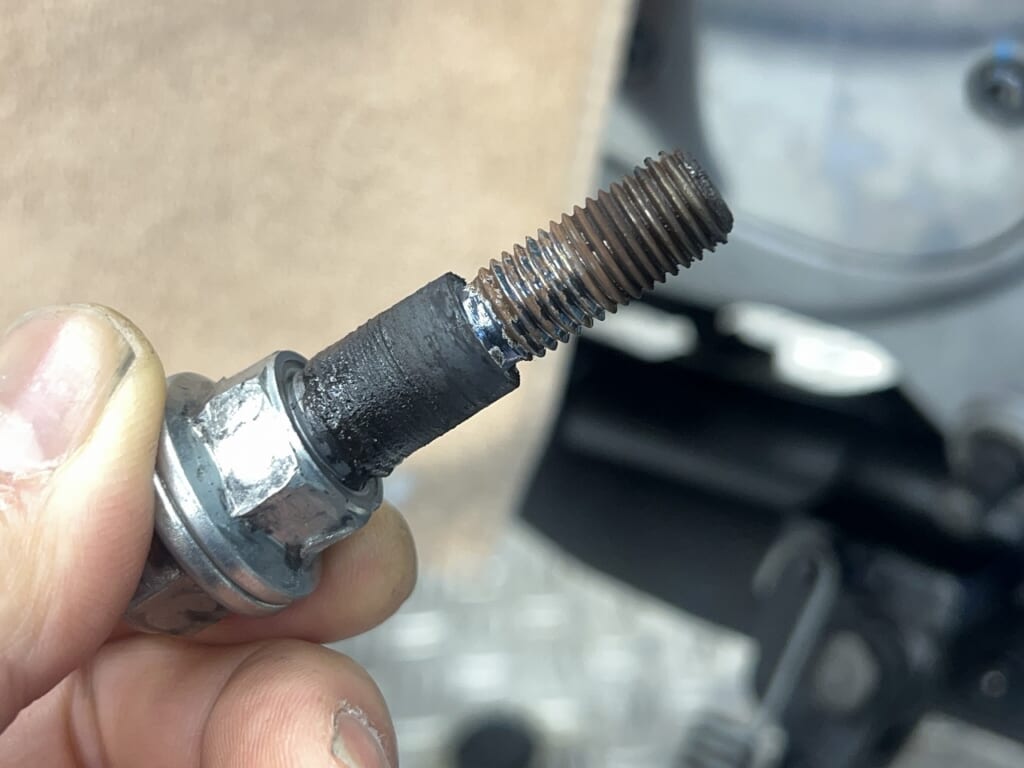
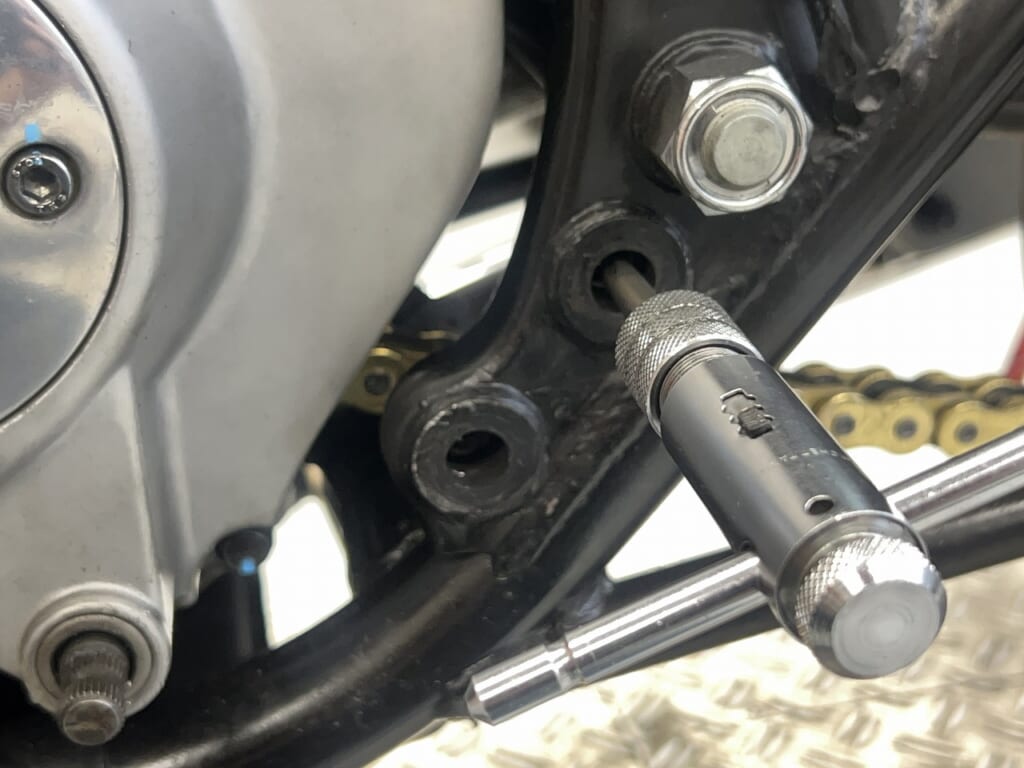
The other day I cut M10-1.25 threads on the stud and double-nutted it. Before welding, I turned it to check, and… it spun smoothly. Oh!
It wasn’t the threads that were stuck—the shaft itself was corroded and seized.
Lucky! Things got a bit easier. The right one is healthy, so I’ll leave it alone. When there’s a good chance of making things worse, the smart move is not to push it.
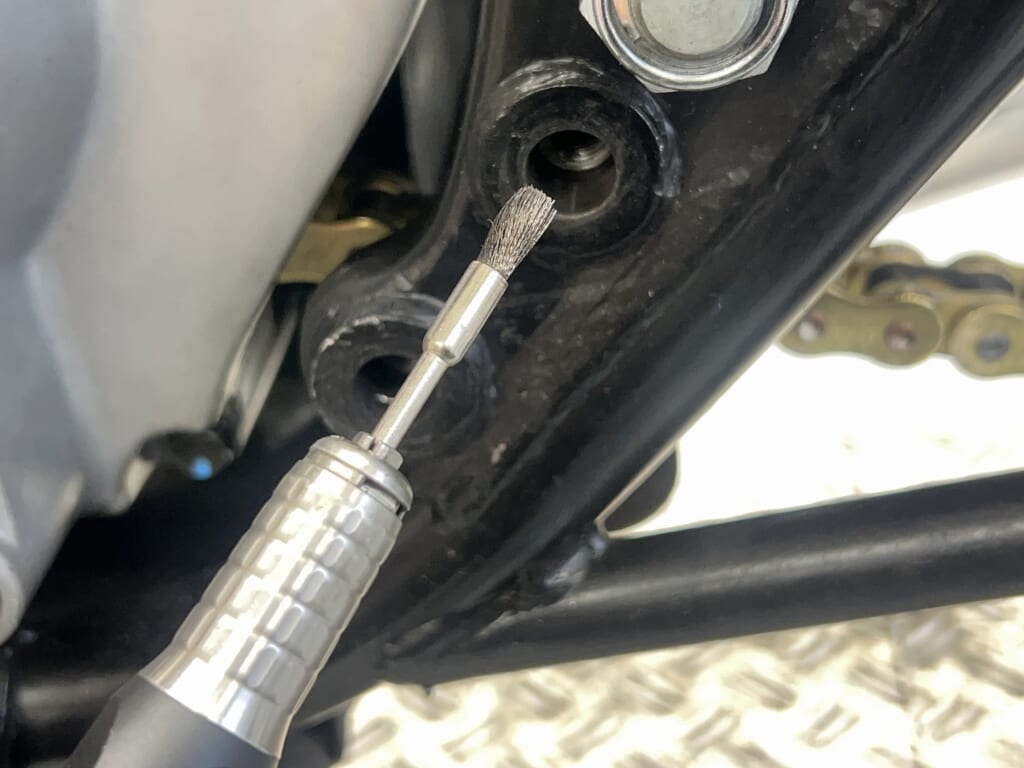
Remove rust thoroughly.
I’ll use a rotary tool with a brush to clean up the hole. Now I’m confident.
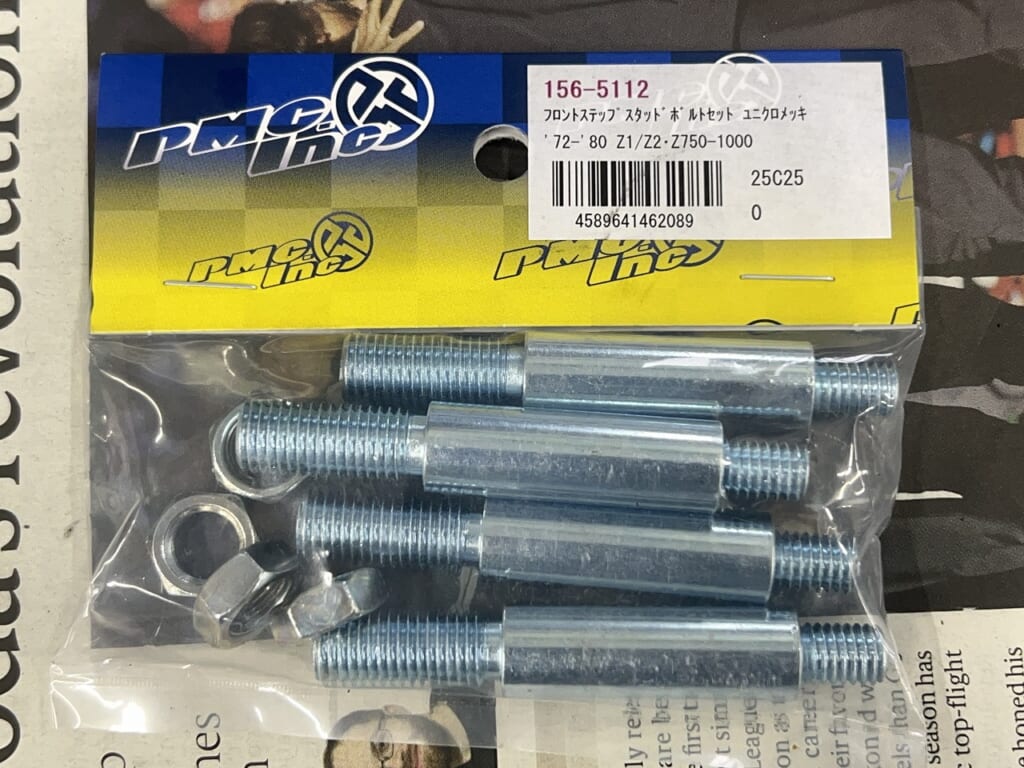
By the way, this stepped stud is also discontinued from the factory. Thankfully PMC carries it.
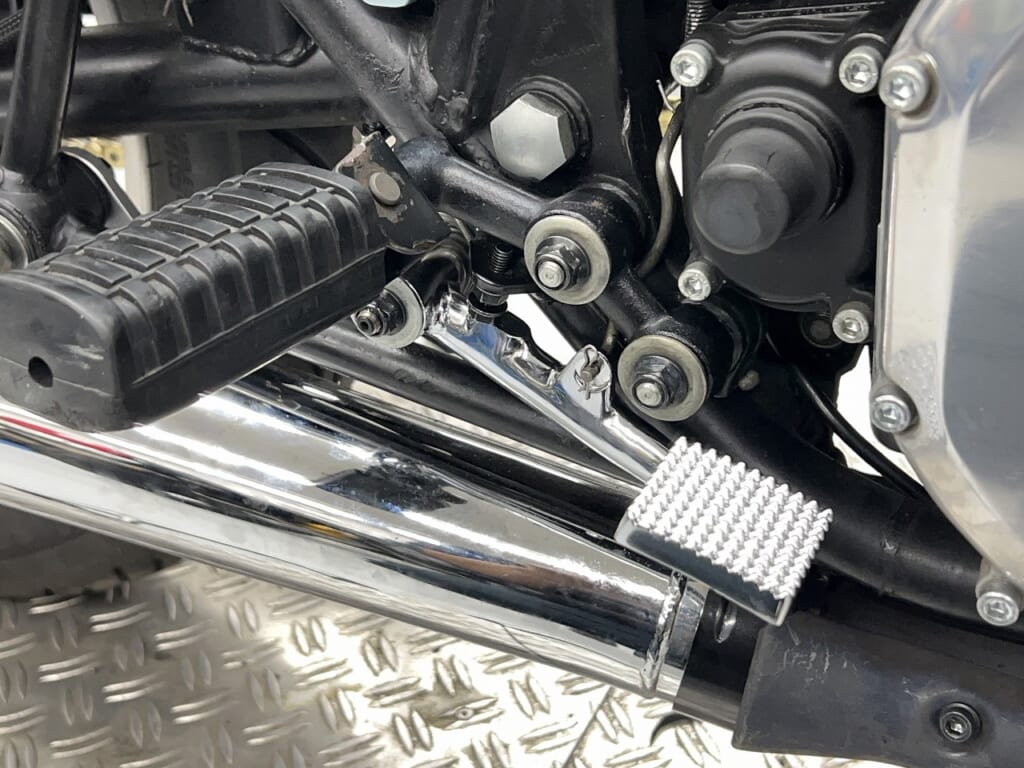
Problem on the right side. The rear master was modified by Suzuki…
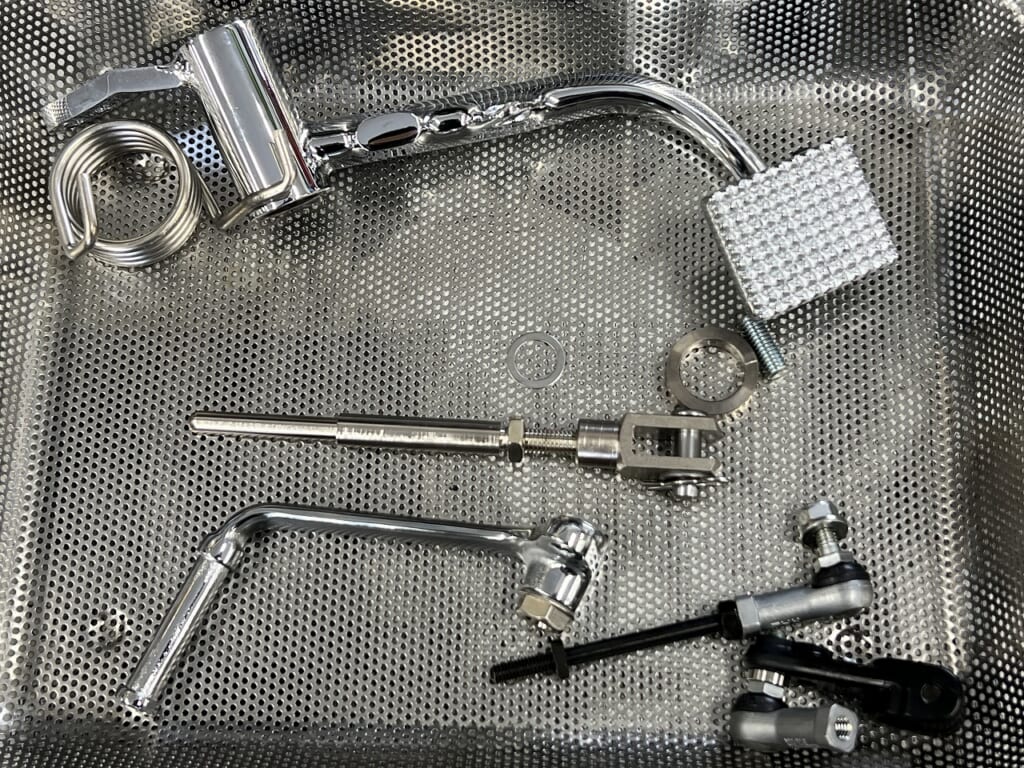
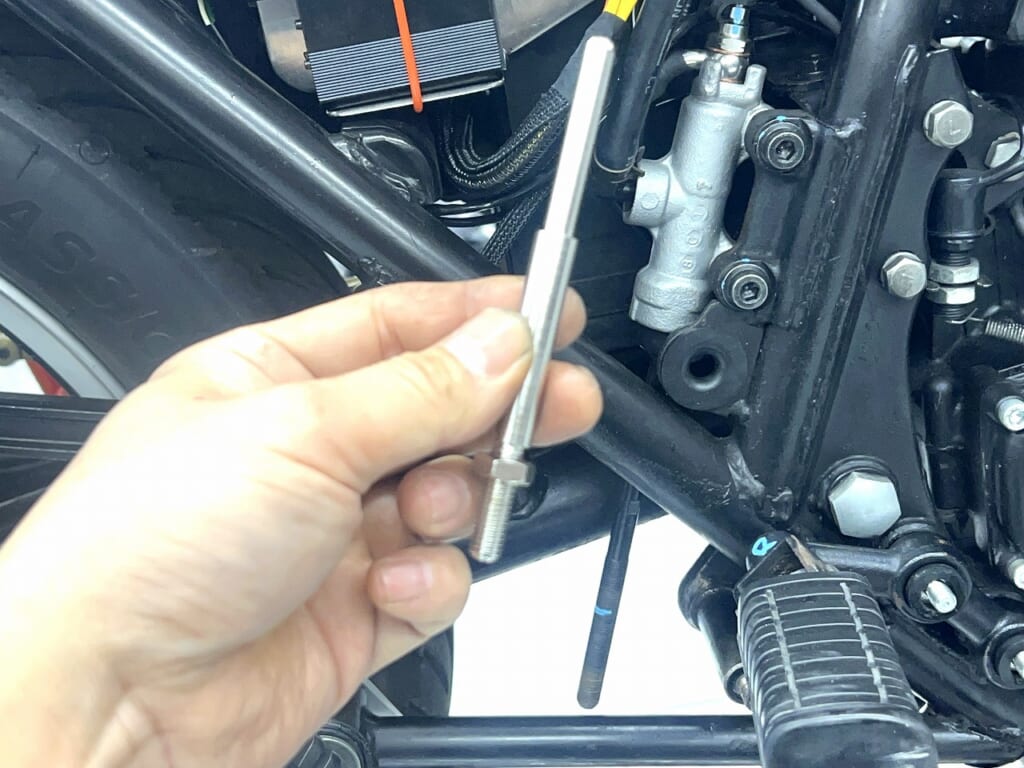
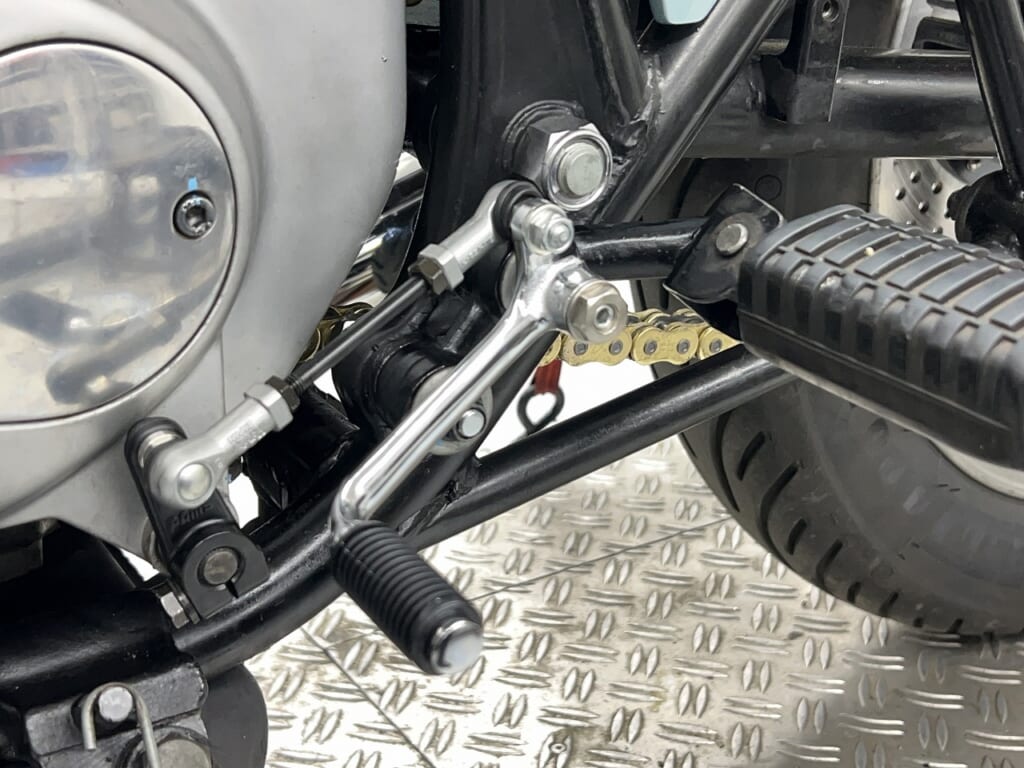
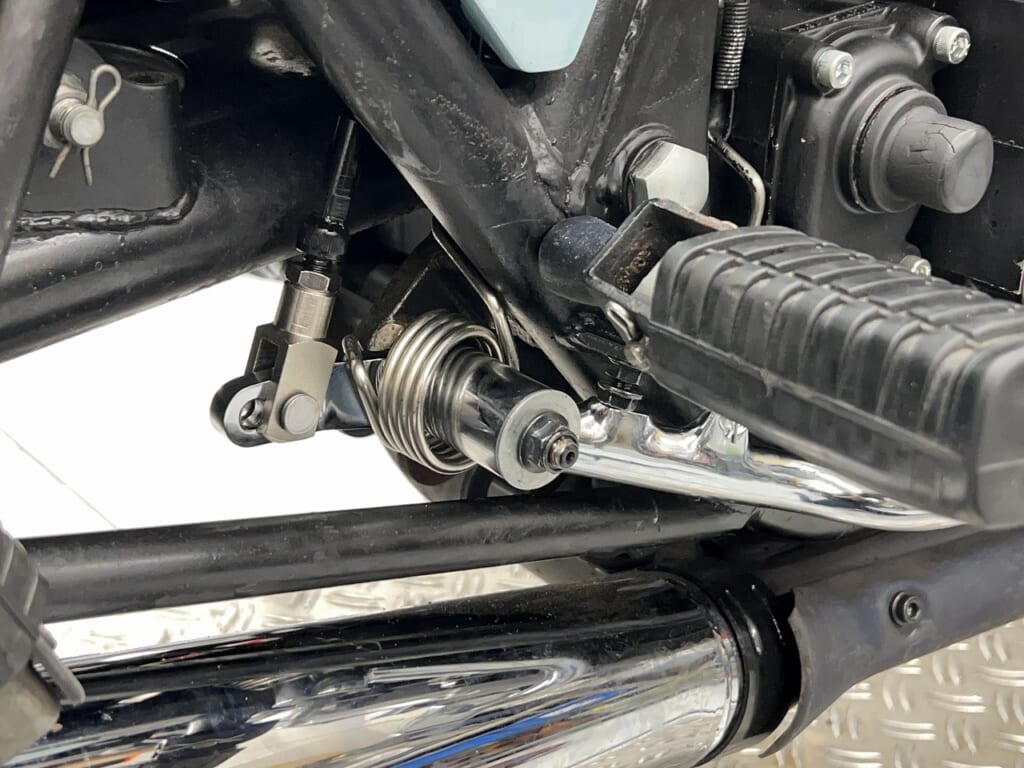
The rear master is a Suzuki unit with the rod changed to a fixed type. Should I modify the supplied rod, or modify the master itself? Tough call.
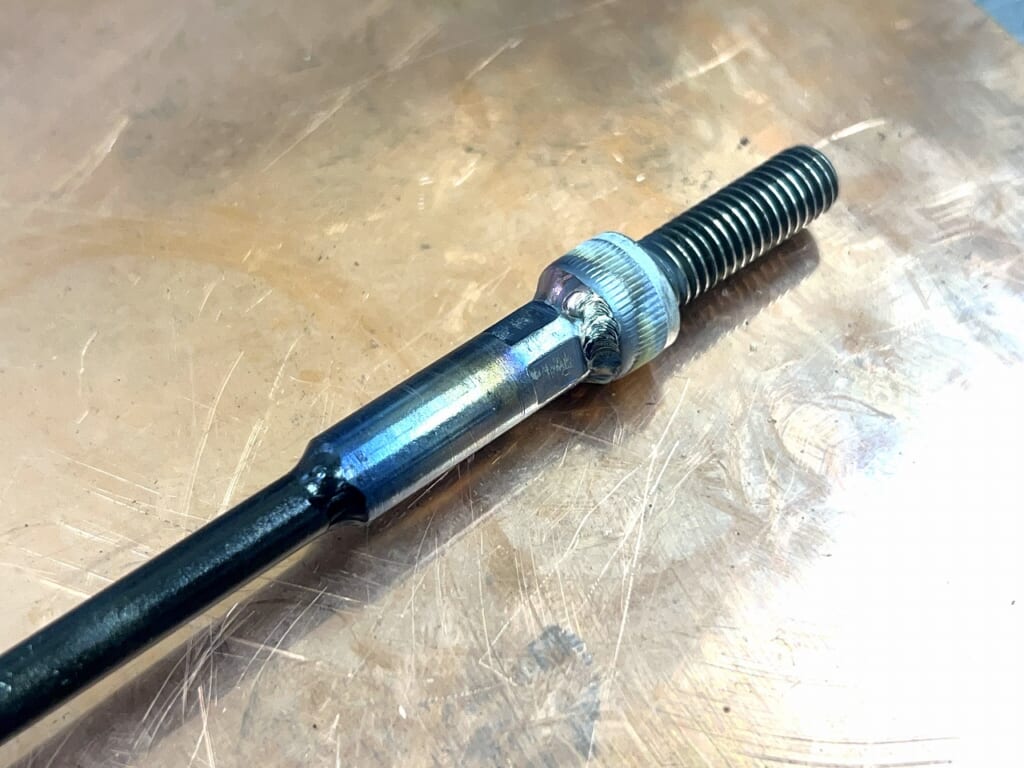
It’s a bit shallow, but I inlaid it and welded all the way around. Centering was a bit tedious. Tack, tap, tack, tap. Pretty straight overall.
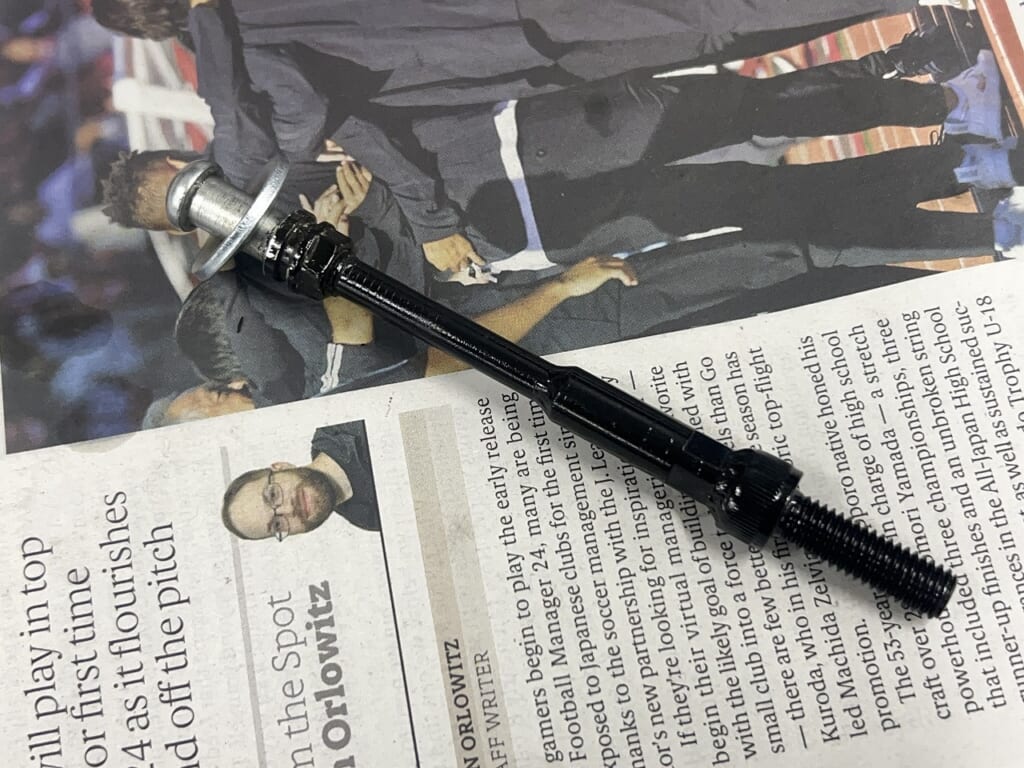
I coated it with Gun-Kote for rust protection. Positioning the pedal was incredibly difficult. Attach, straddle, remove, attach, over and over. Of course, I had to disassemble the rear master, so it was quite the rabbit hole. I wish I’d cleaned off the gunk first.
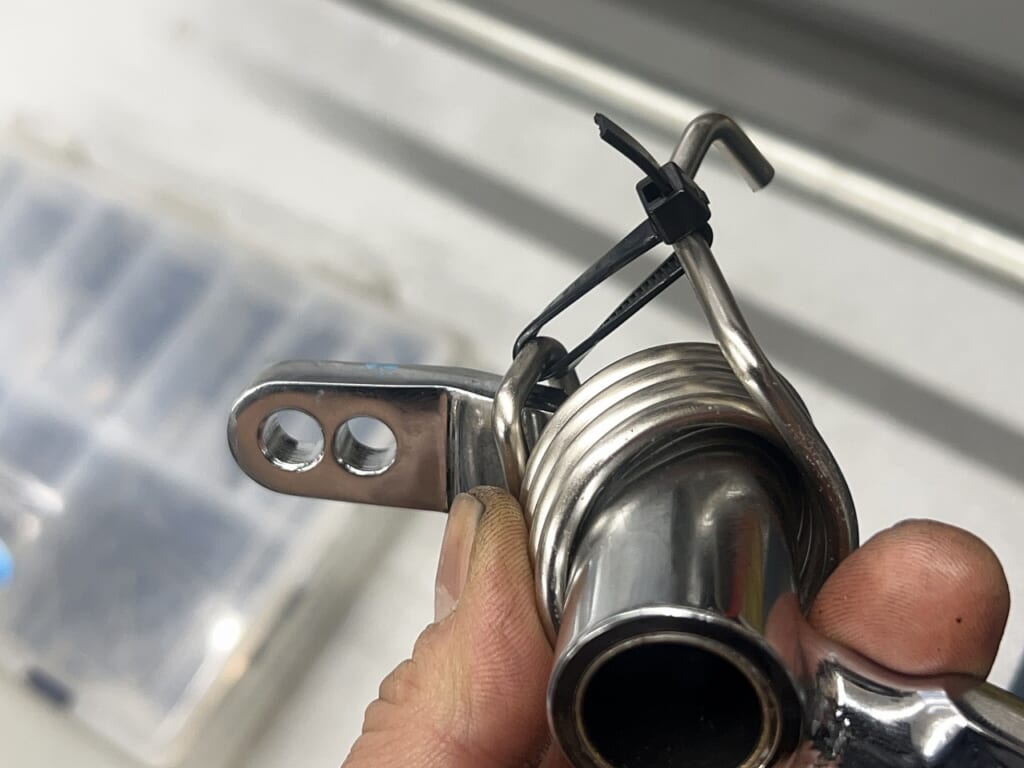
Binding the spring with a cable tie before installing keeps it smooth.
All done at once! (*´ω`*)
That’s how the step installation went. Looking forward to how it feels on the road.
The invoice says PMC, but… this is a PAMS product, right? Quite the mysterious power balance.
This Z1R runs fine, but the idle is acting weird.
I’m thinking the valve timing might be off. When I checked, sure enough. I’ll need to remove the cam, so I’m hoping the head threads don’t strip. Getting the tools ready. Z bikes are scary…
Installing PAMS Back Position Kit on Z1-R. Part: PAMS Back Position Kit for Kawasaki Z series.
Concept: I wanted to improve the riding position without losing the classic “Stock Look” of the Z1-R. Racing rearsets were too flashy for this project. Review: This kit slightly moves the footpegs back and up, allowing for better knee grip and control while maintaining the original aesthetic. It’s a high-quality “Sleeper” modification perfect for a serious street bike.


 ポチップ