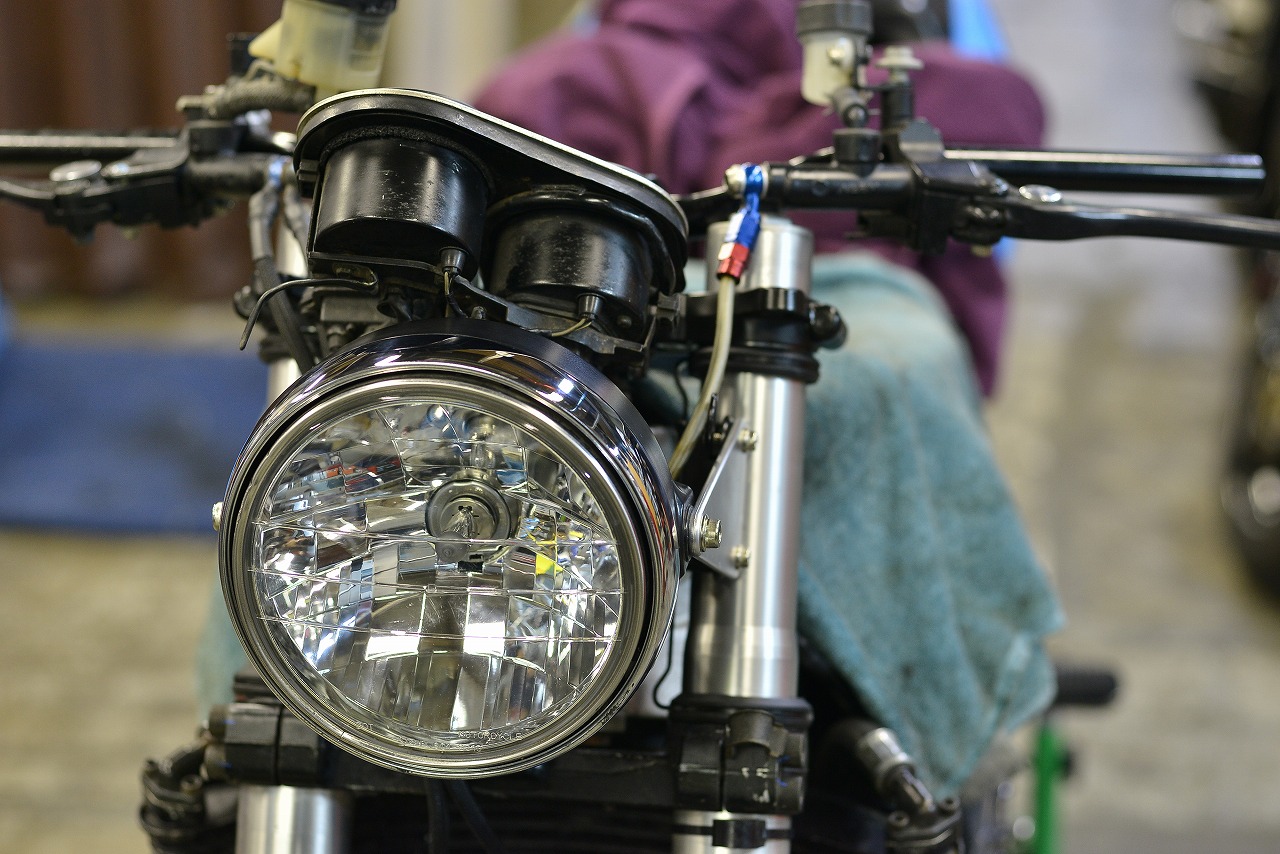
 We’ve settled on a plan that isn’t a hassle, so here’s the GSX400S Impulse fairing installation.
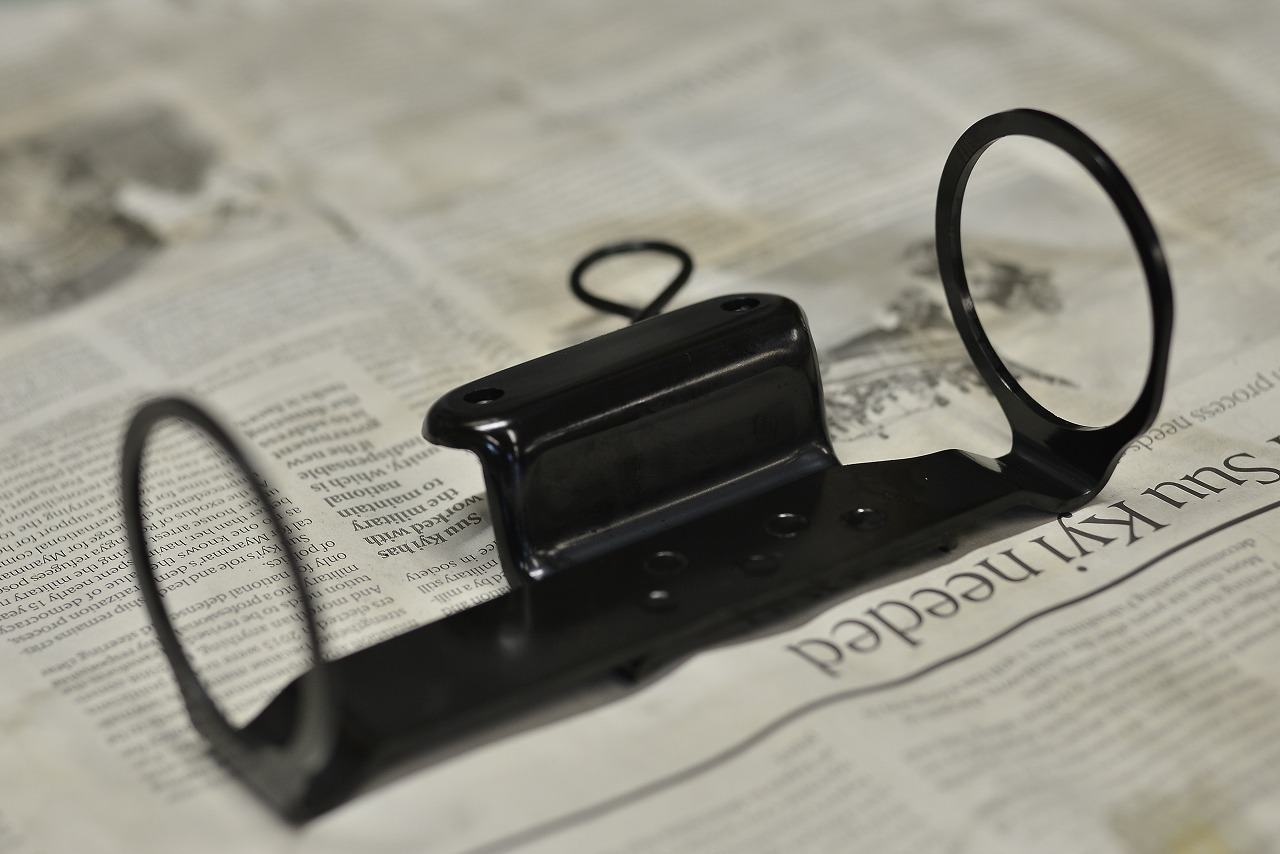
It was already installed, but this time we’re cleaning it up nicely due to the damage.
Things I pay attention to when installing a bikini fairing on a naked bike.
• Don’t obstruct front fork removal and installation or front-end maintenance.
• Fairing removal and installation should be easy.
• The fairing should be removable so the bike can still be used as a naked bike.
• The structure should be simple so it recovers quickly from crashes or accidents.
• Vertical and horizontal headlight beam adjustment should be included.
That’s about it. I think a spec that makes everyone happy helps down the road.
So here we go…
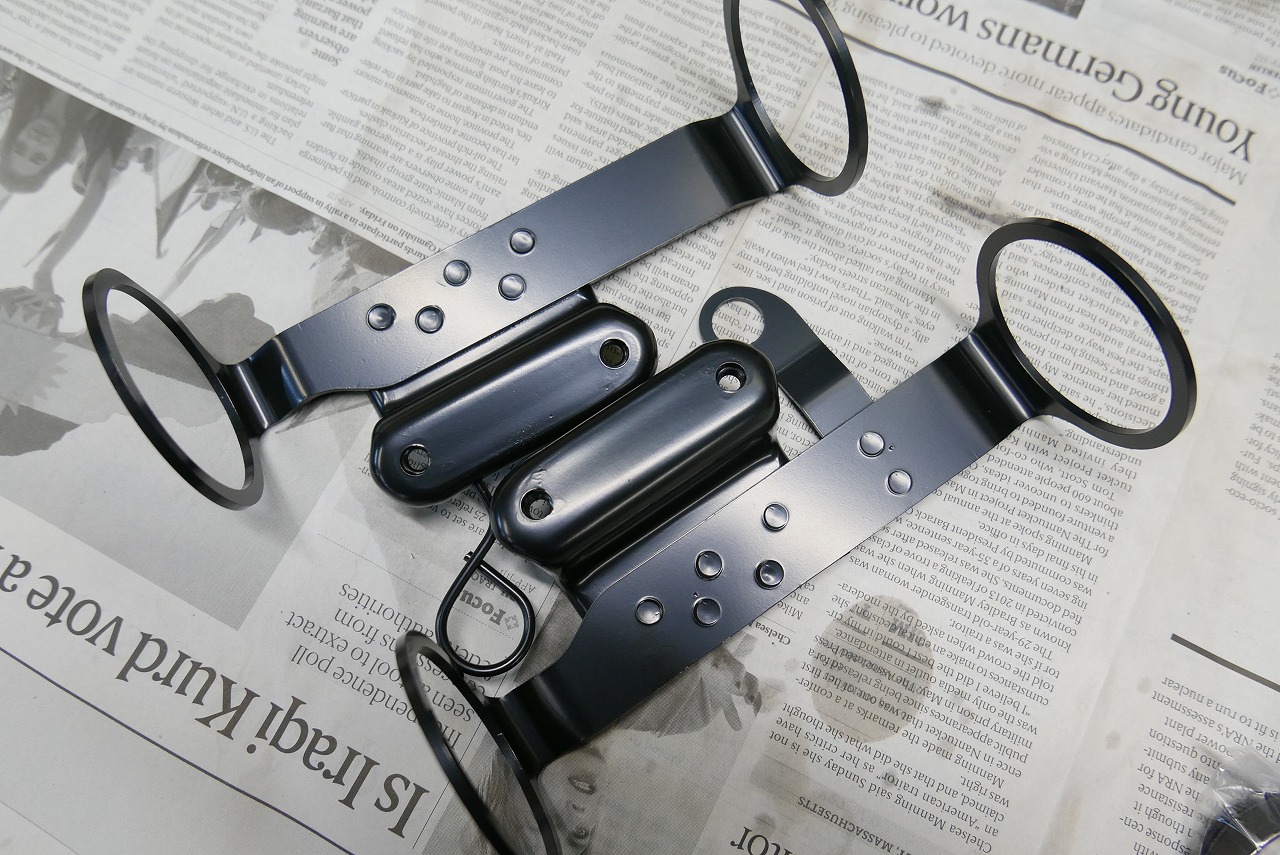
First, it’s best to avoid mounting the headlight and lamp bracket on the fork as much as possible.
Fork removal and installation and front-end maintenance become difficult.
It’s the typical Suzuki push-fit type. We’ll repurpose one from a Goose 350.
Goose 350 = 50φ straight tube
GSXR1100L = 52-56φ
So it won’t work at all.
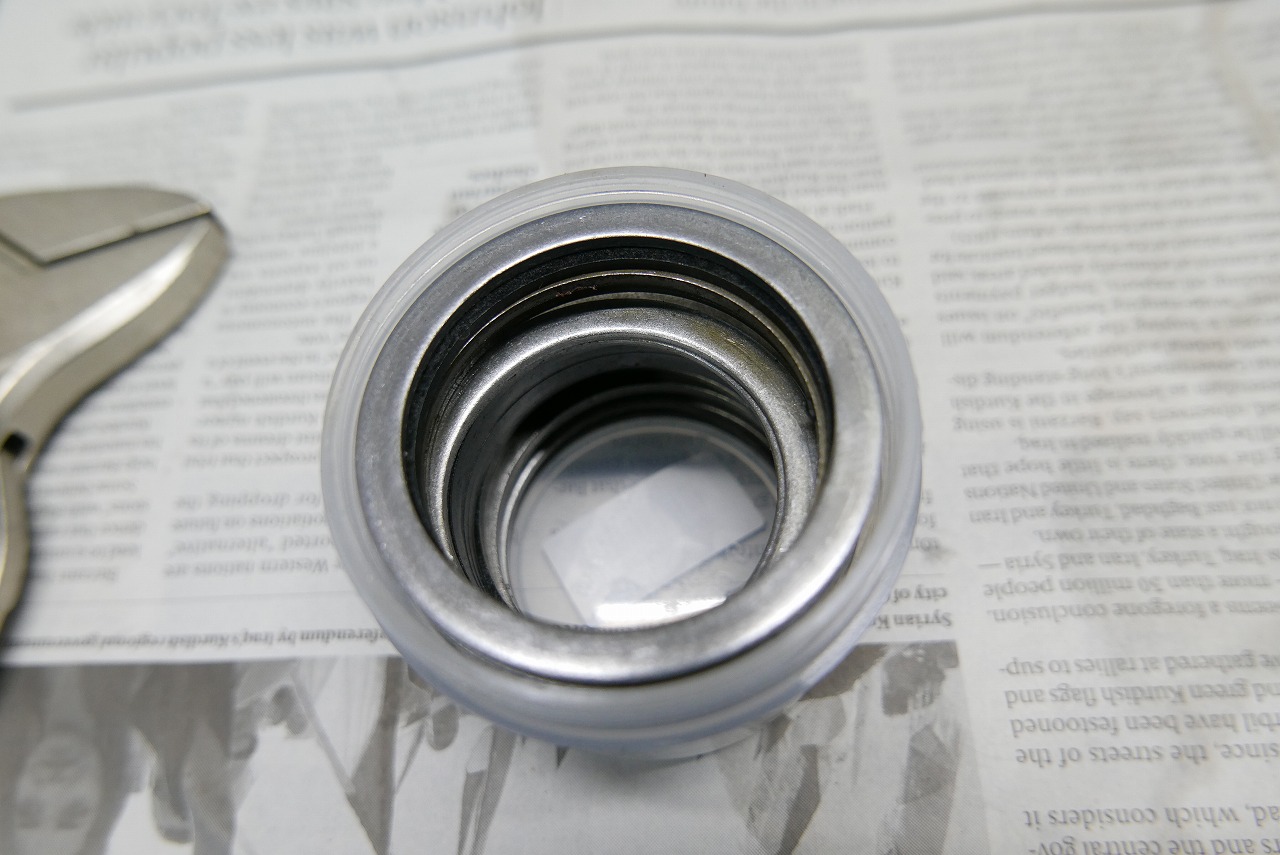
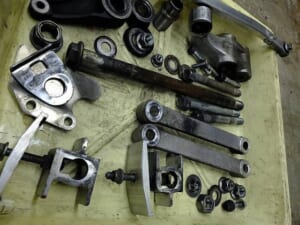
Being frugal, I’ve collected various backup rings, so I’ll use a suitable diameter as material.
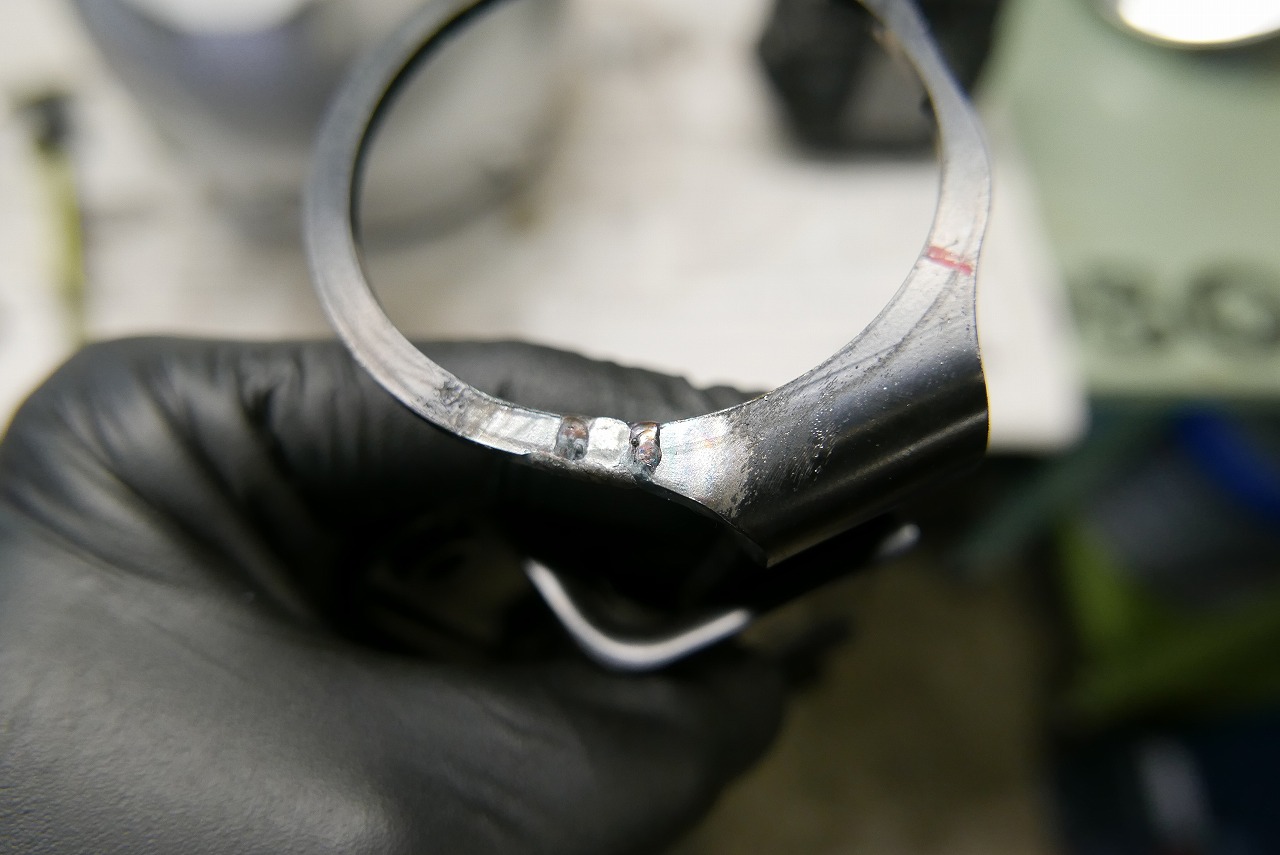
I cut it in one place, then use the lathe chuck to expand it 4mm beyond the standard dimension.
Then I insert a perfectly fitting inner diameter collar, chuck it, and weld it four times to finish.
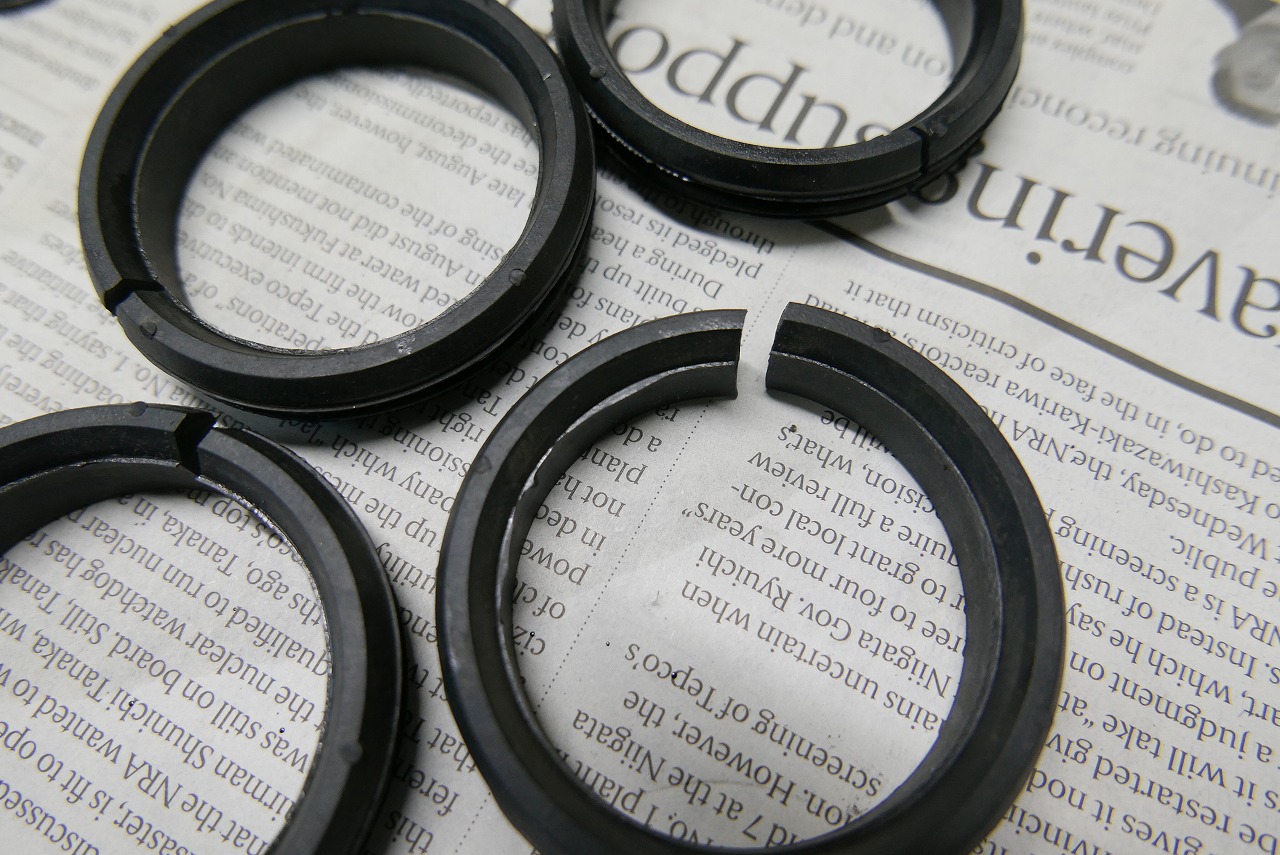
Cutting and fixing the rubber is sufficient.
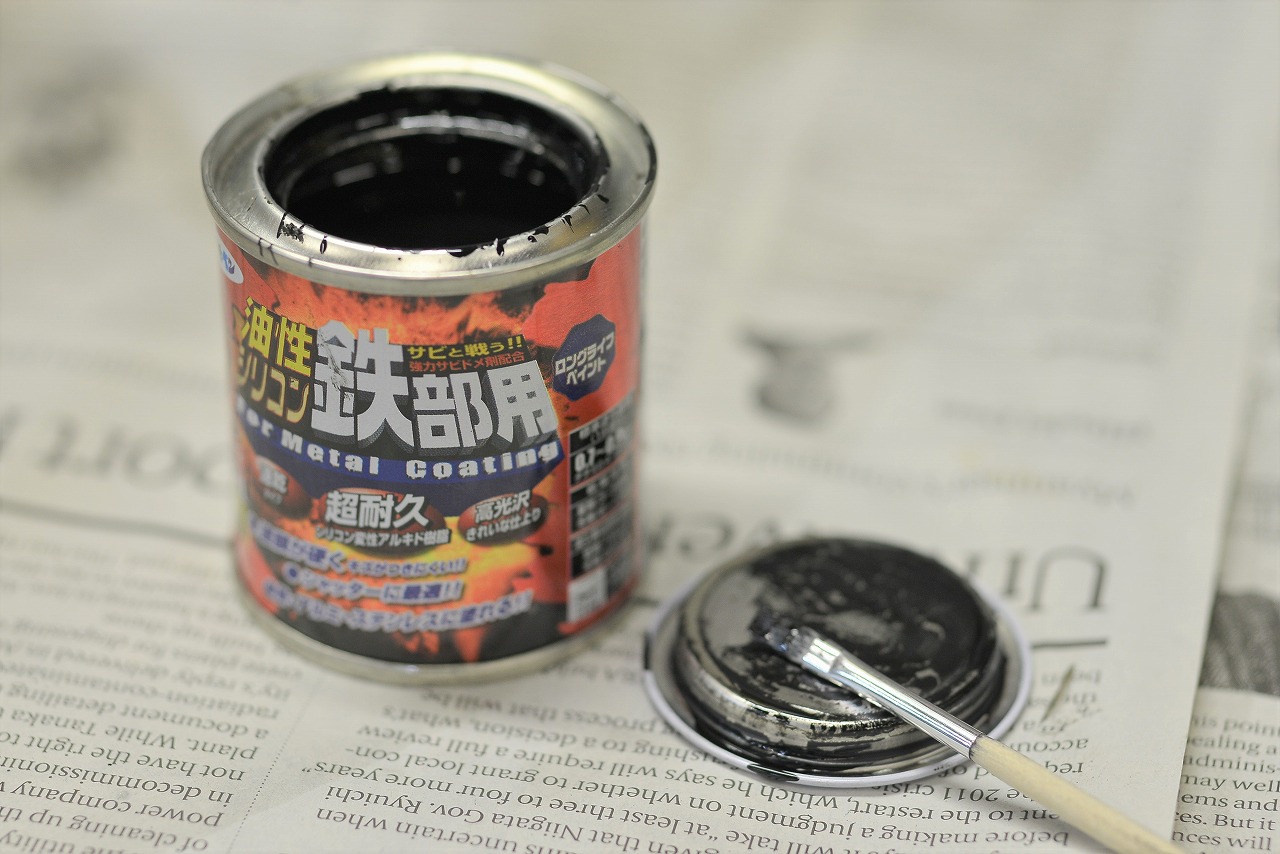
I paint it a little with a lifetime supply of touch-up pens.
Now the bracket is fixed to the fork.
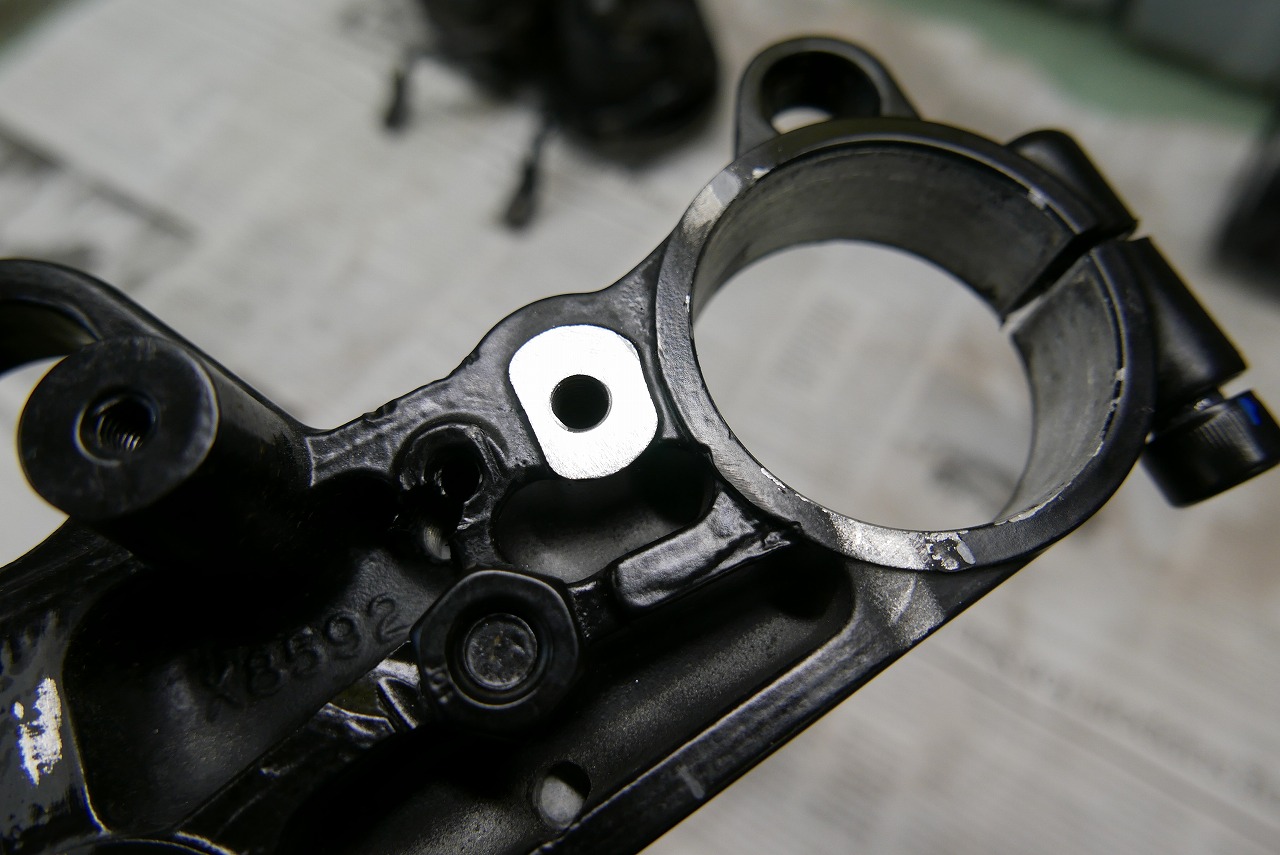
Since it’s a bar-handle bike, an unused boss will contact it, so I cut it and smooth it out.
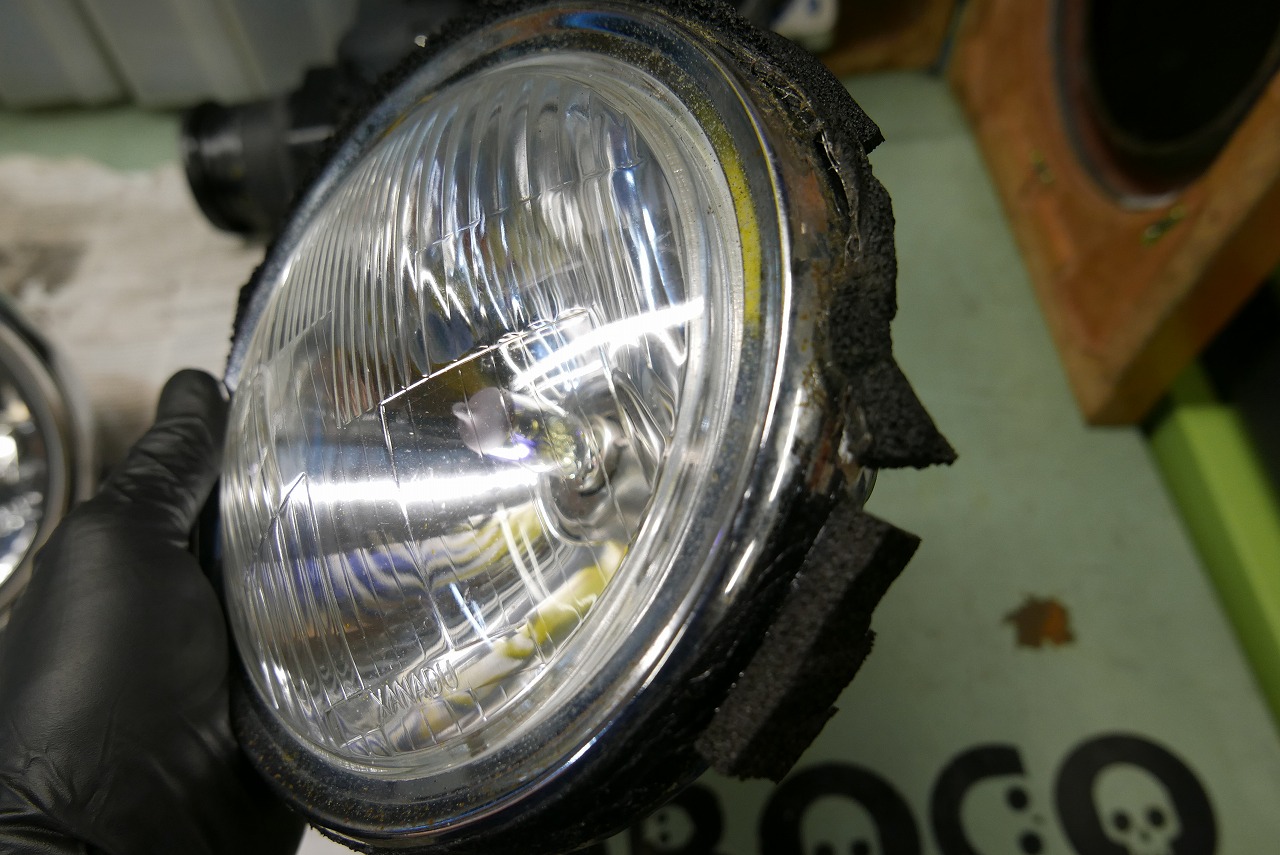
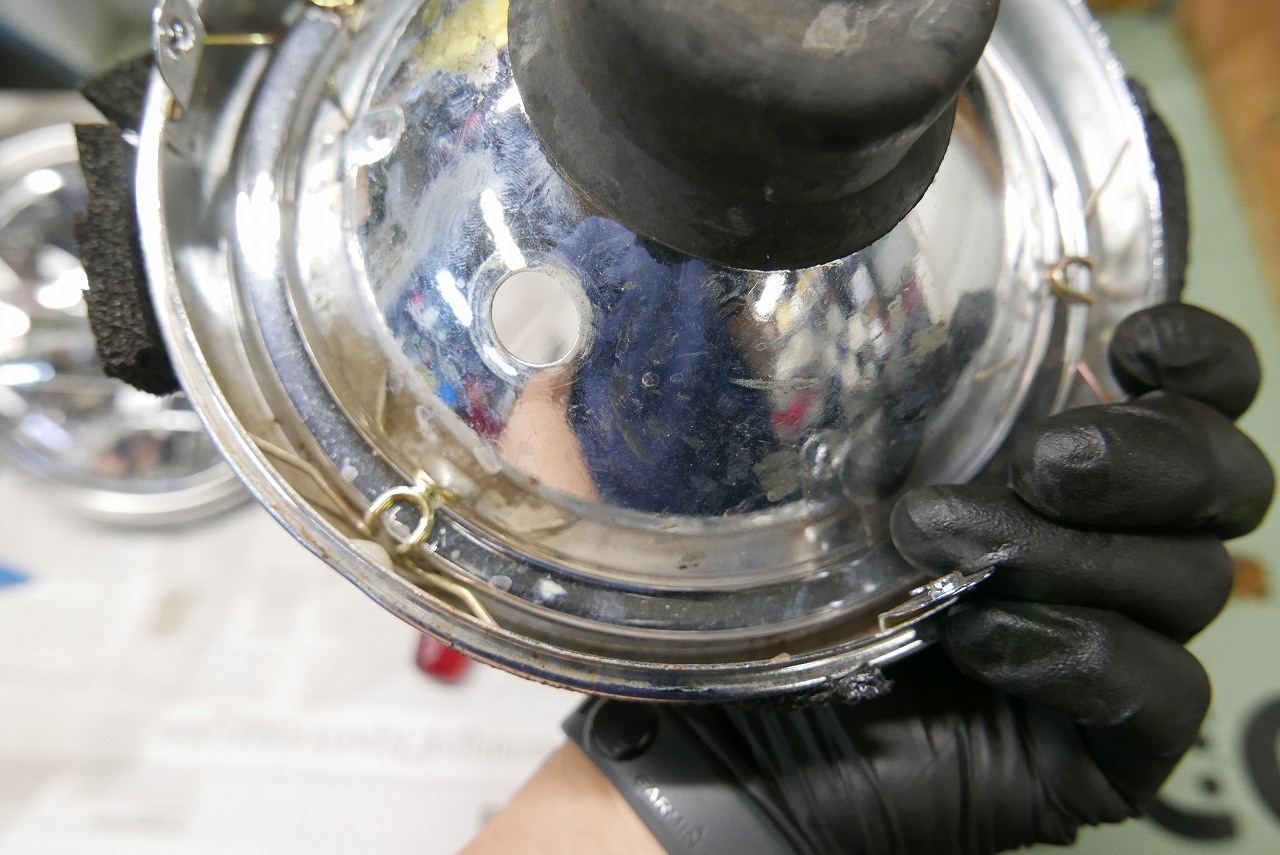
Everyone, when choosing a headlight…
• Domestic brand.
• Has left-right adjustment.
• Rear case is plastic.
〇 Cheap Chinese multi-reflector lights have poor plating inside the lens and lower light output than domestic brands.
〇 Headlights on inspection-certified vehicles should have vertical and horizontal beam adjustment as a matter of courtesy.
〇 Plastic cases make it harder to short-circuit with tightly packed wiring. Lightweight.
If you know from the start, you won’t have trouble with light output or adjustment at inspection, and the chance of wiring trouble from shorts drops significantly, plus it’s lightweight.
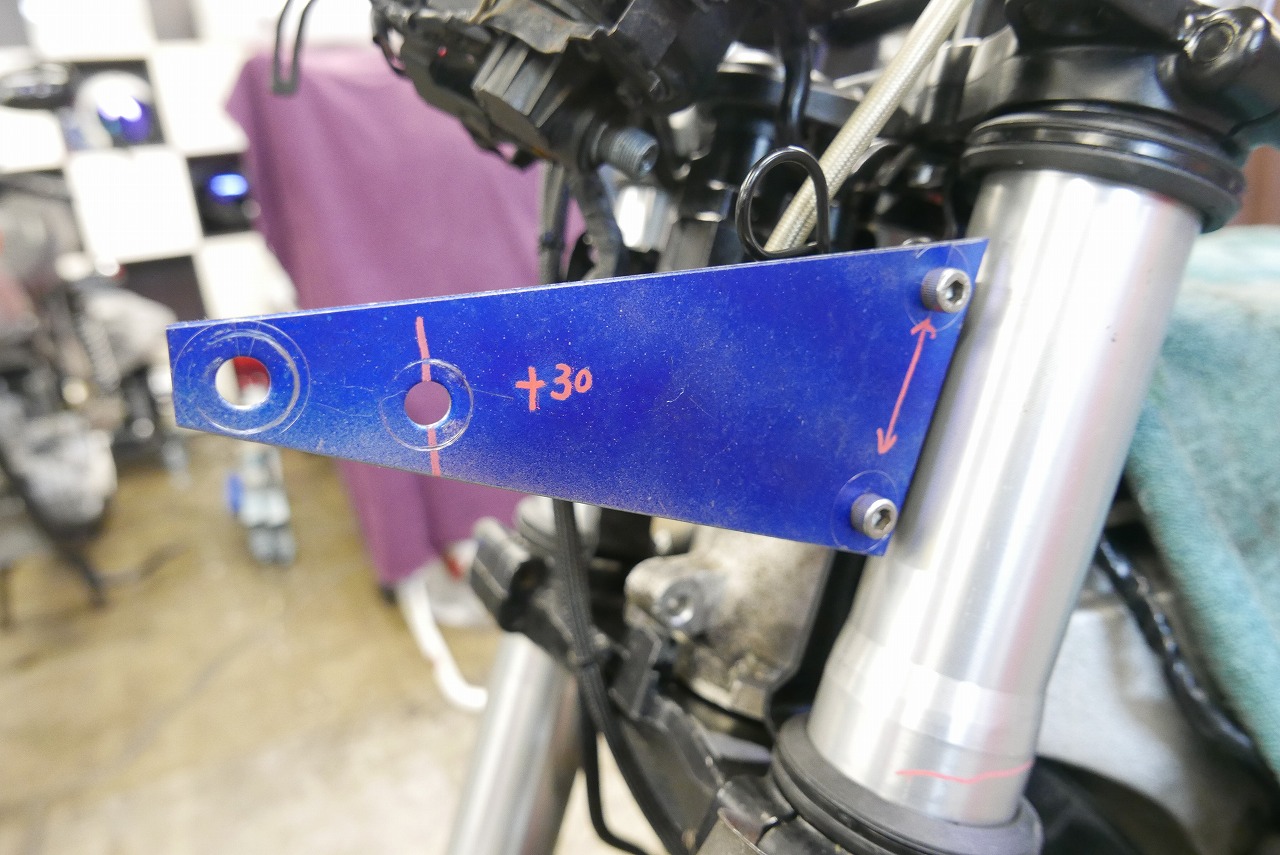
For now, I’m making a mock-up on just one side to check the position.
• OK even if the fork goes through full stroke
• OK to ride as a naked bike
• OK even if we go radial master later
• No contact with any parts!
With these rules set, the process of elimination shows there’s only one place it can go. Then I look from the front and sides and think, what if this were mine? and proceed.
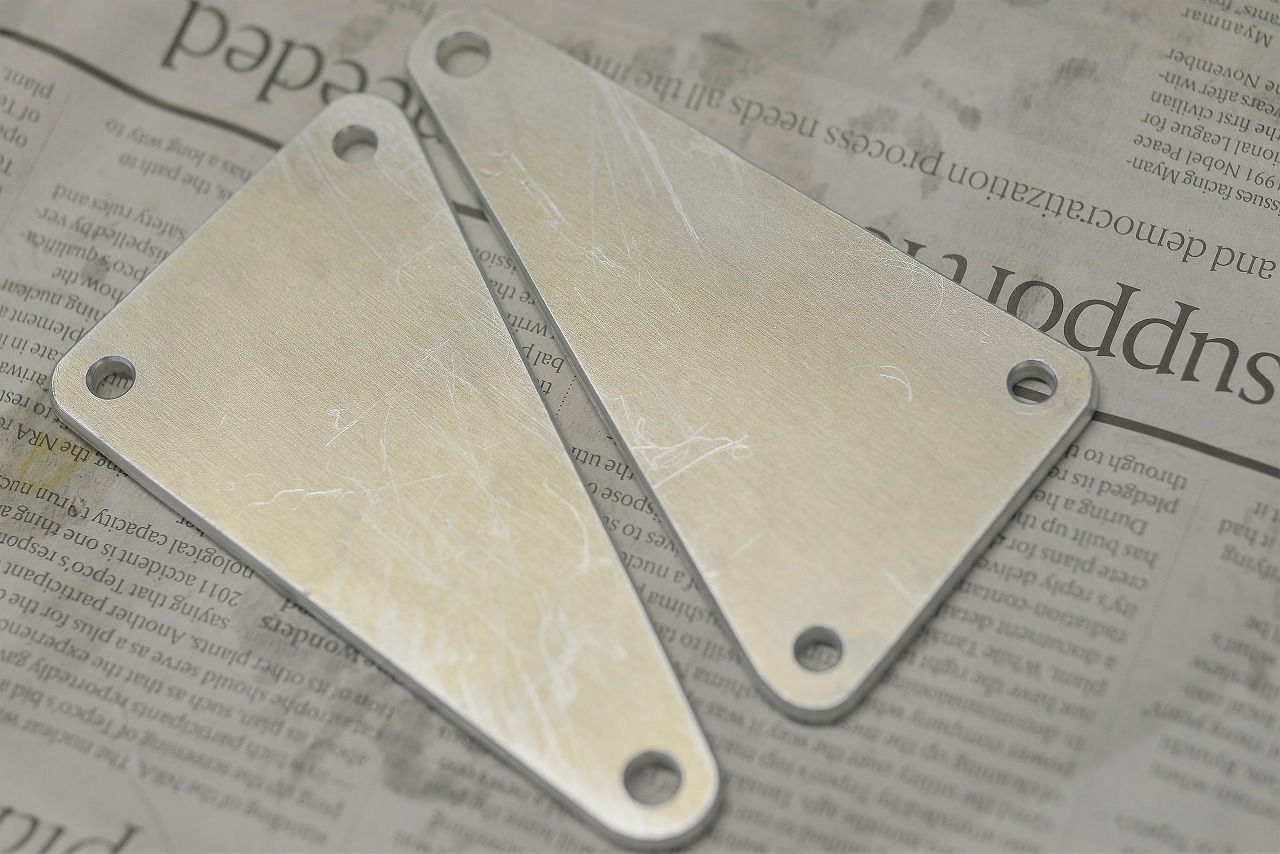
5052/T-5mm aluminum offers lots of recovery options.
Quick drilling and cutting. It’s not finished yet, so there are scratches and dirt.
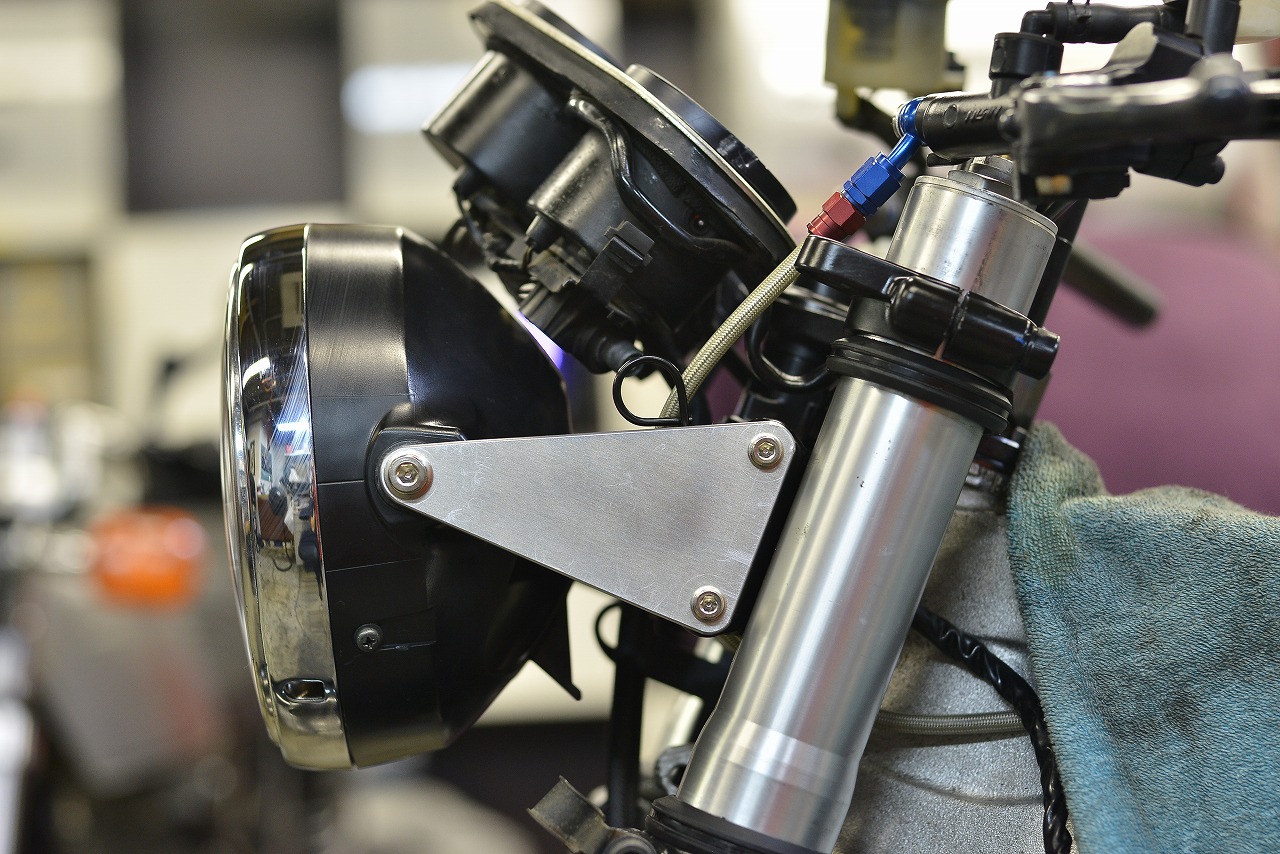
The light is still mine. I really wanted to bend it, but it fits perfectly.
If it’s long, bending it looks more three-dimensional and cool, but that’s how it is.
This is as far back and as low as it can go.
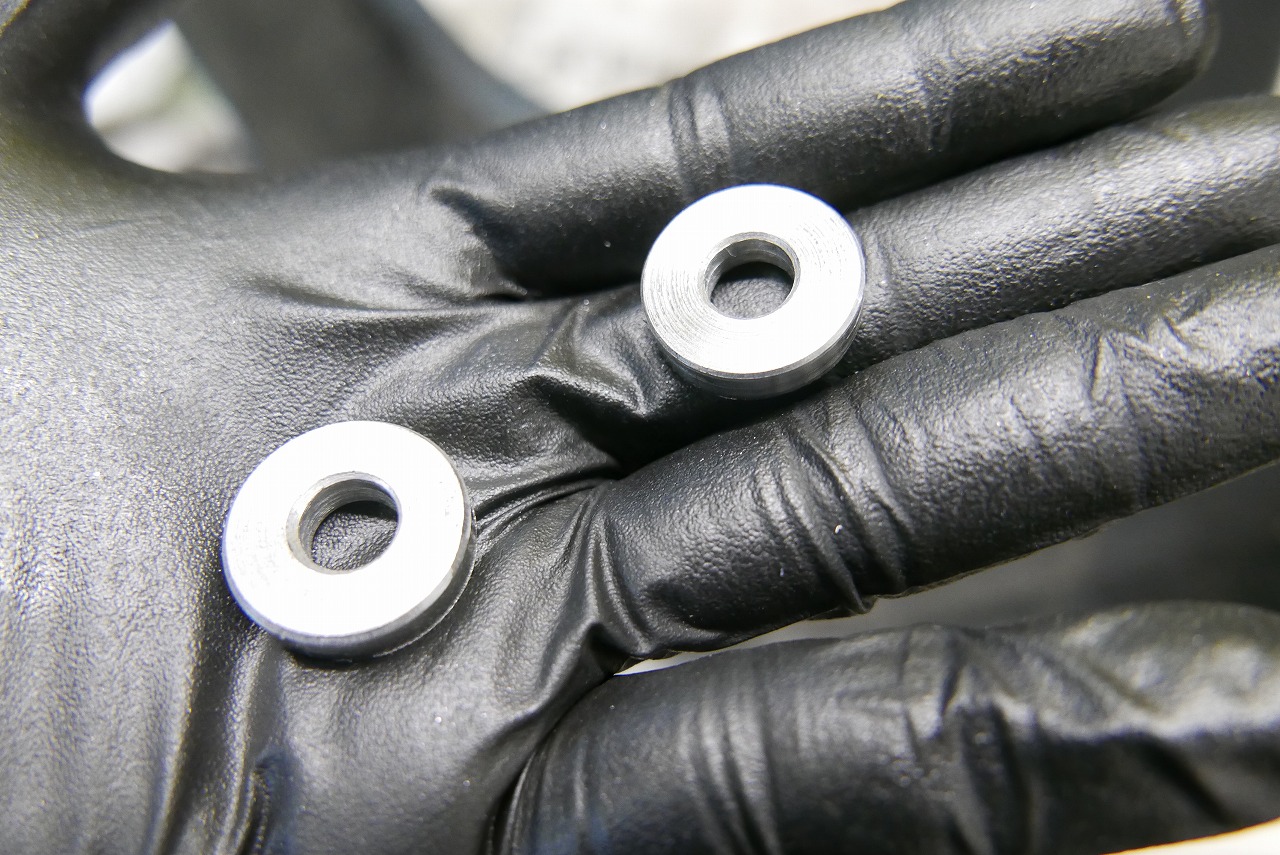
We’re repurposing a fairing stay from an Impulse 400.
Generally speaking, I…
• Can make one-off parts, but it’s a hassle = expensive
• In case of emergency, recovery is difficult, time-consuming, and expensive
I think you should choose based on what’s right for the job and your budget and mood. Sometimes you want to go light with aluminum or titanium, after all.
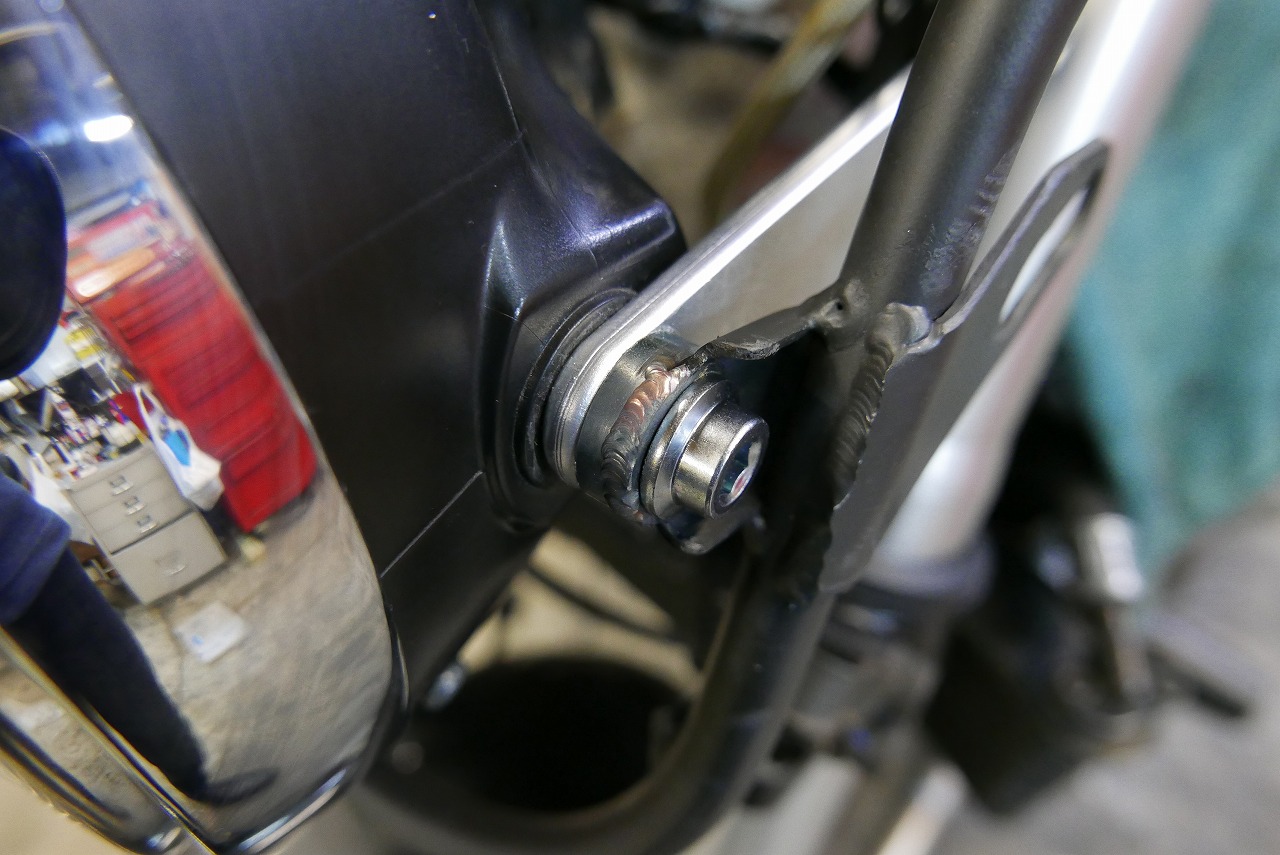
The width is off by 5mm, so I’ll weld a collar to the fairing stay side.
In case we need to remove it later, a design that prevents things from falling apart might come in handy.
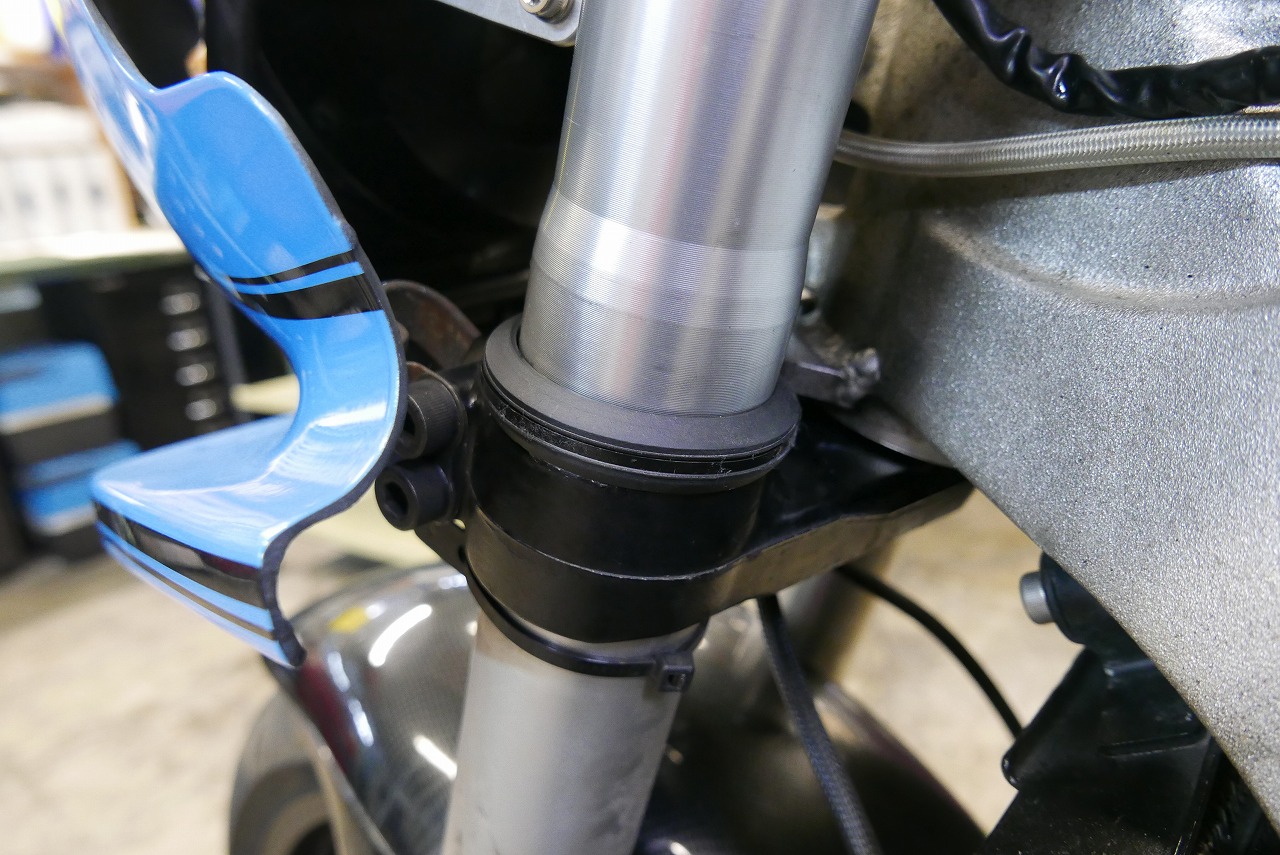
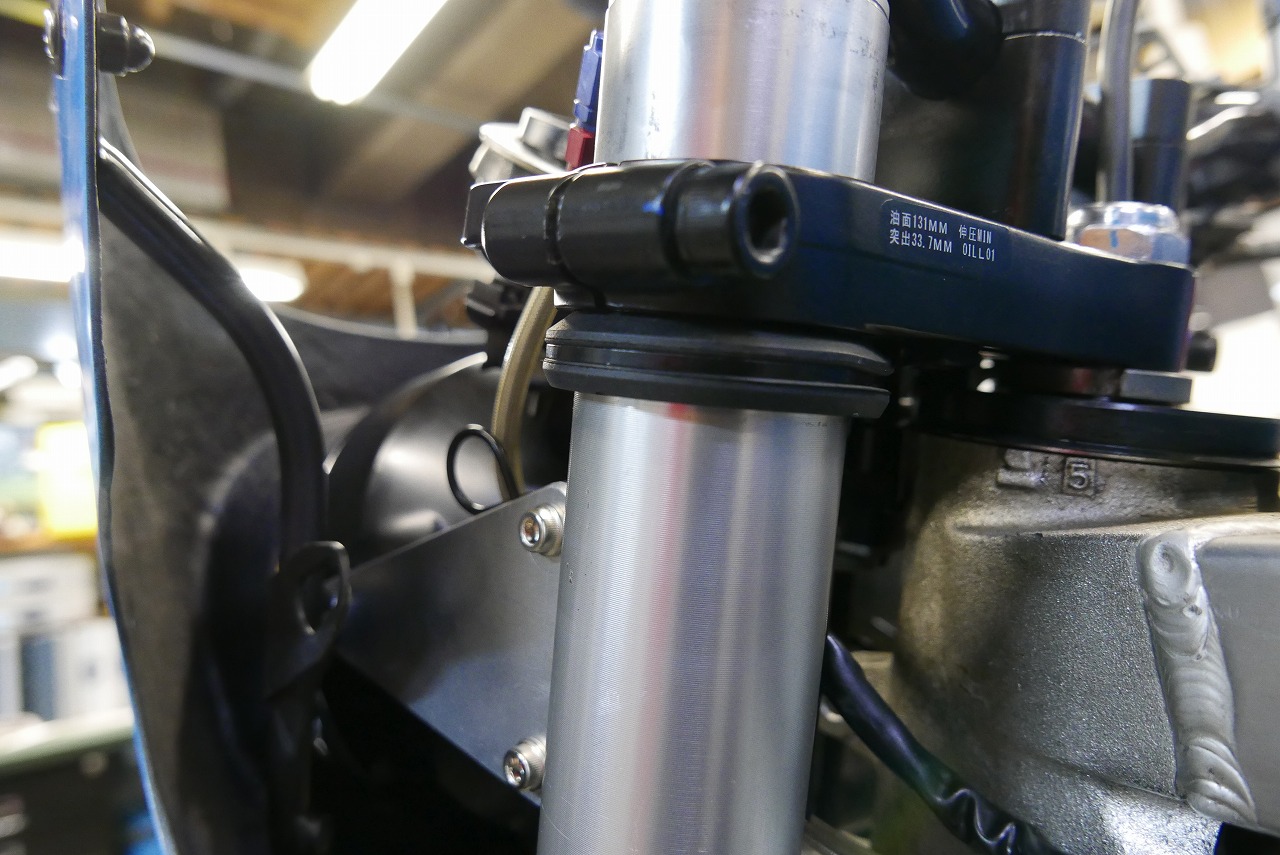
Just like stock. Nobody notices, it’s completely understated…
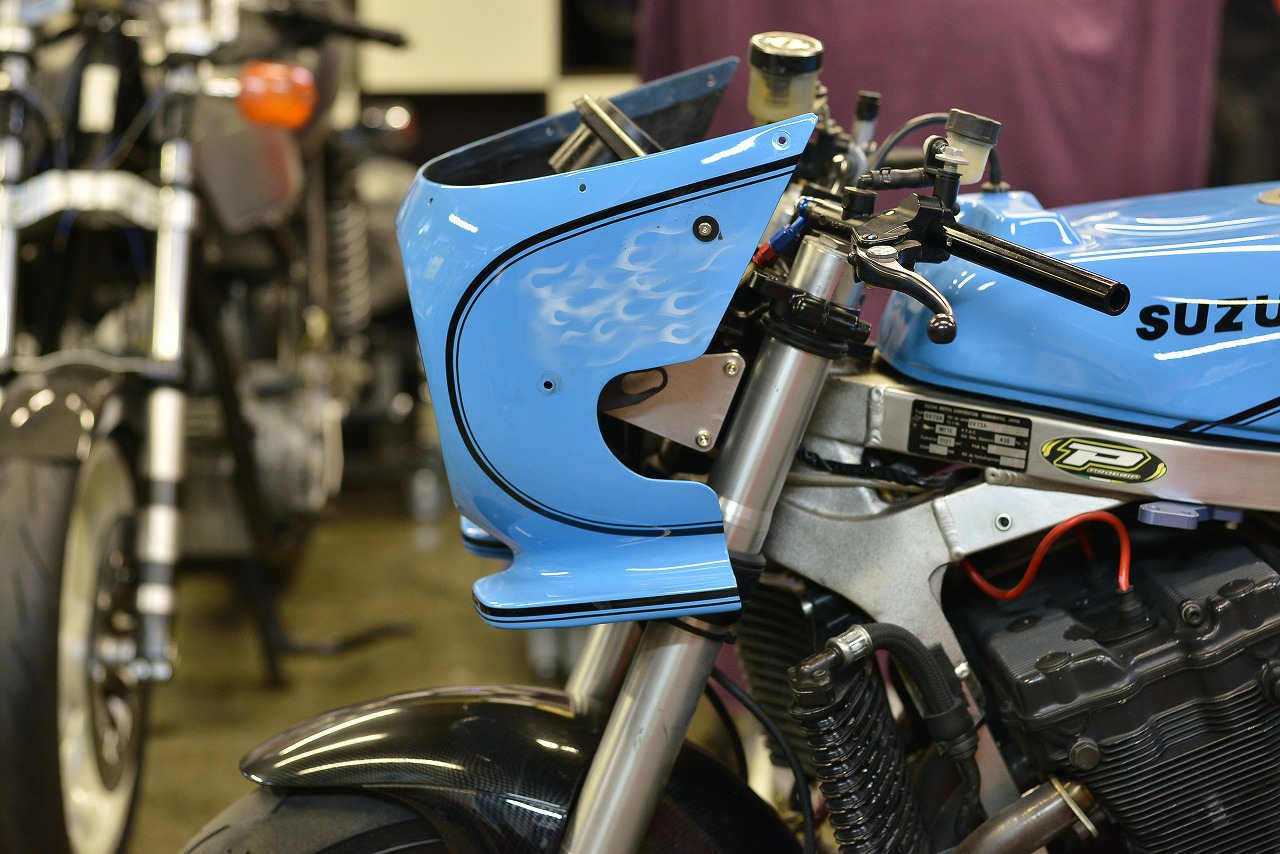
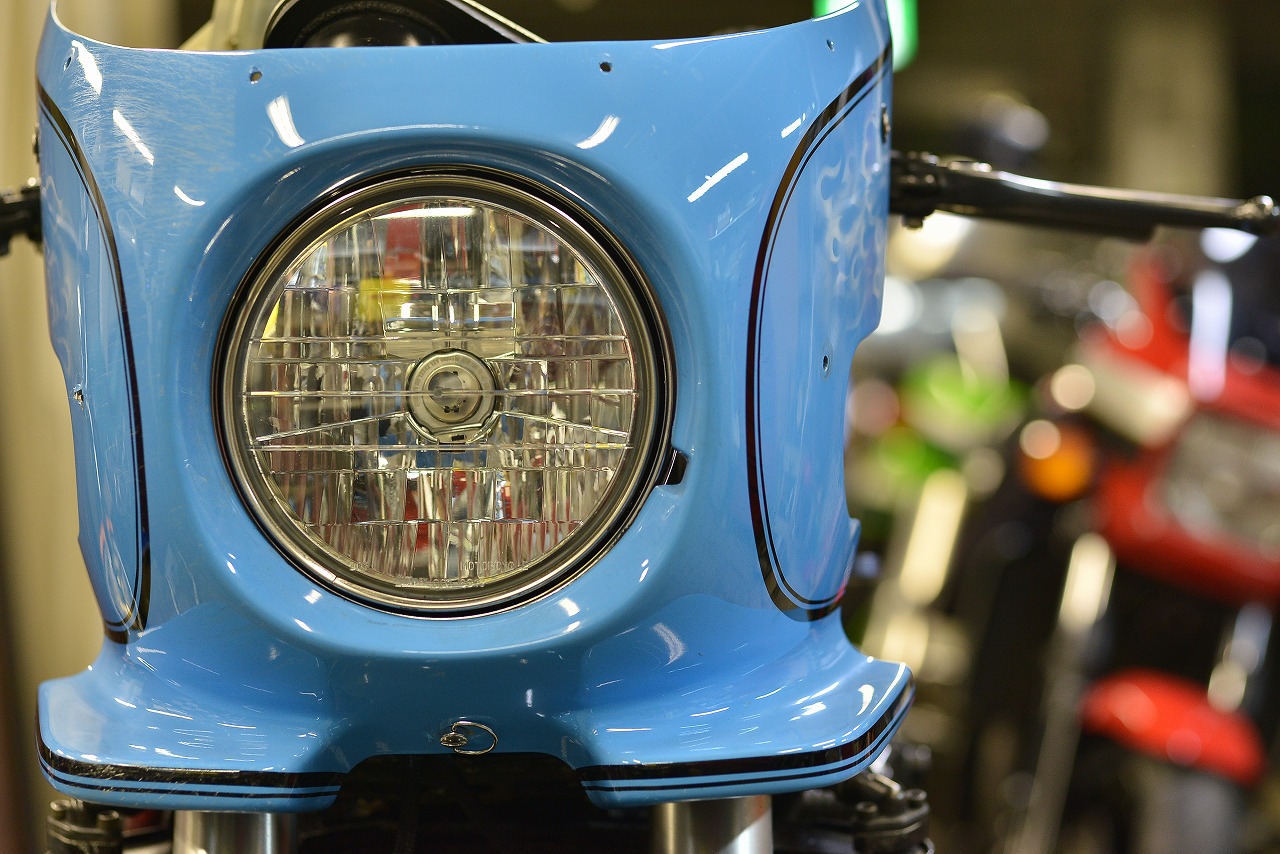
This fairing looks cool with a slight chin tuck.
Next is vertical beam adjustment and vertical positioning.
The upper fastener is nice, right? I’ll do that.