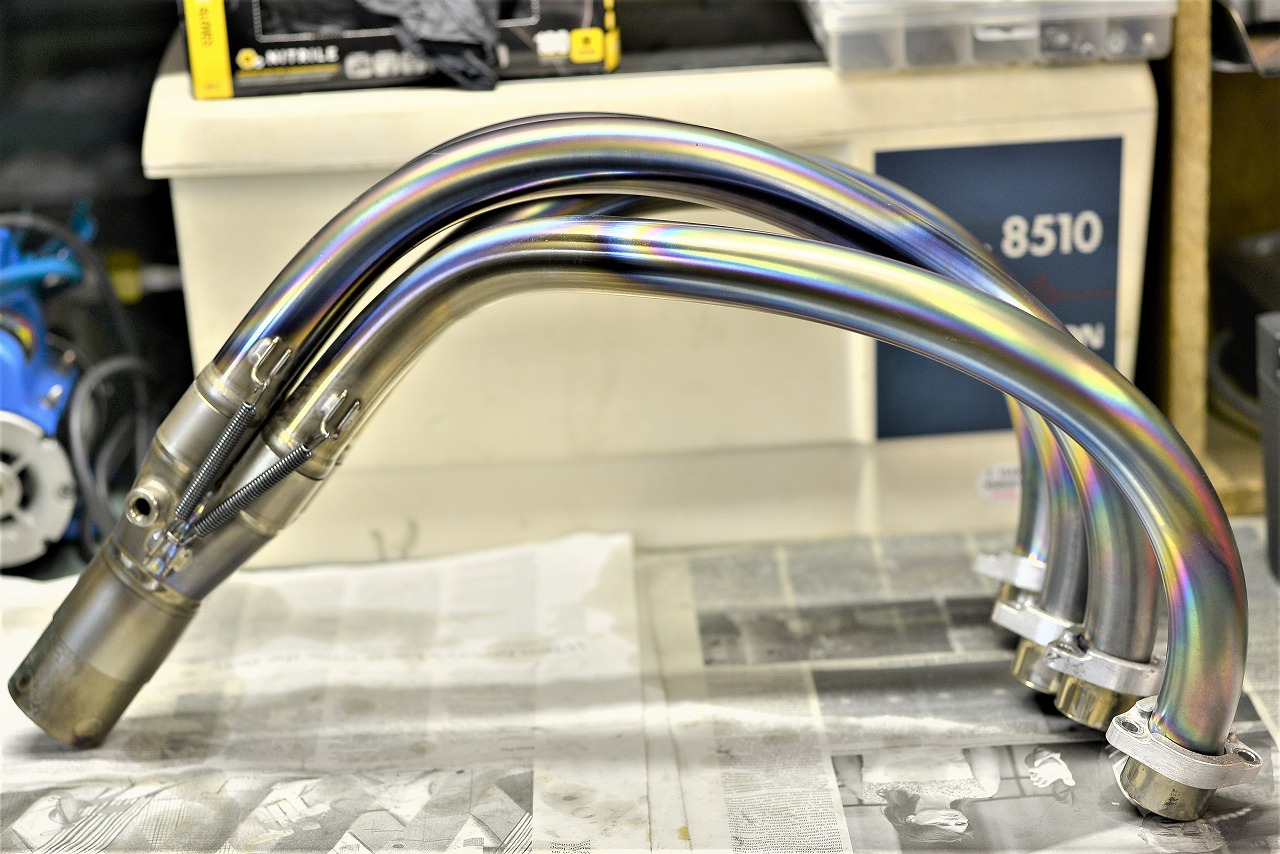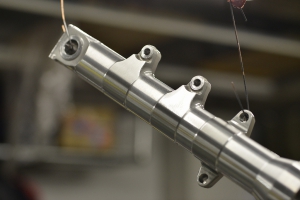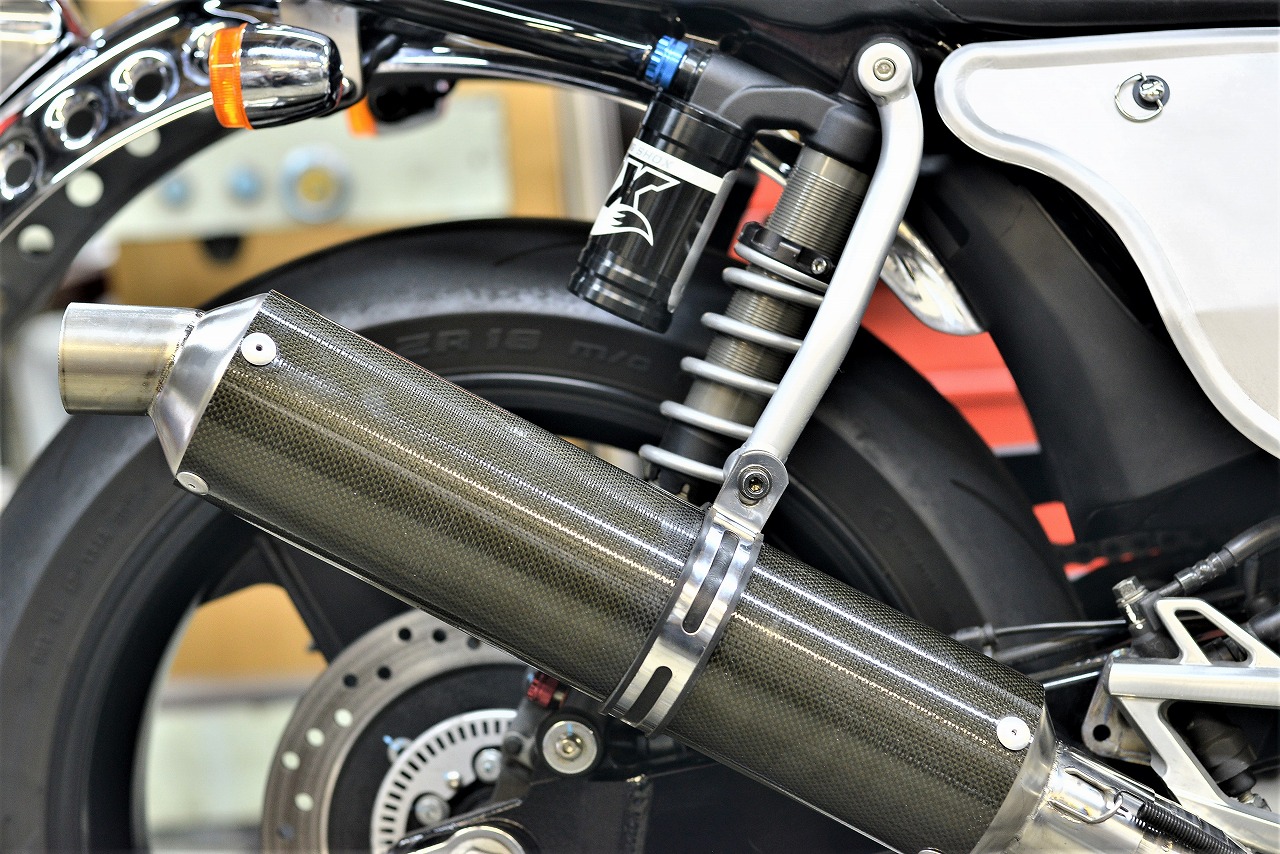
Since I had two of them, I made them 60.5 and 50.8 mm diameter for the GS1000S and CB1100 respectively. I also fabricated and welded the mounting brackets.
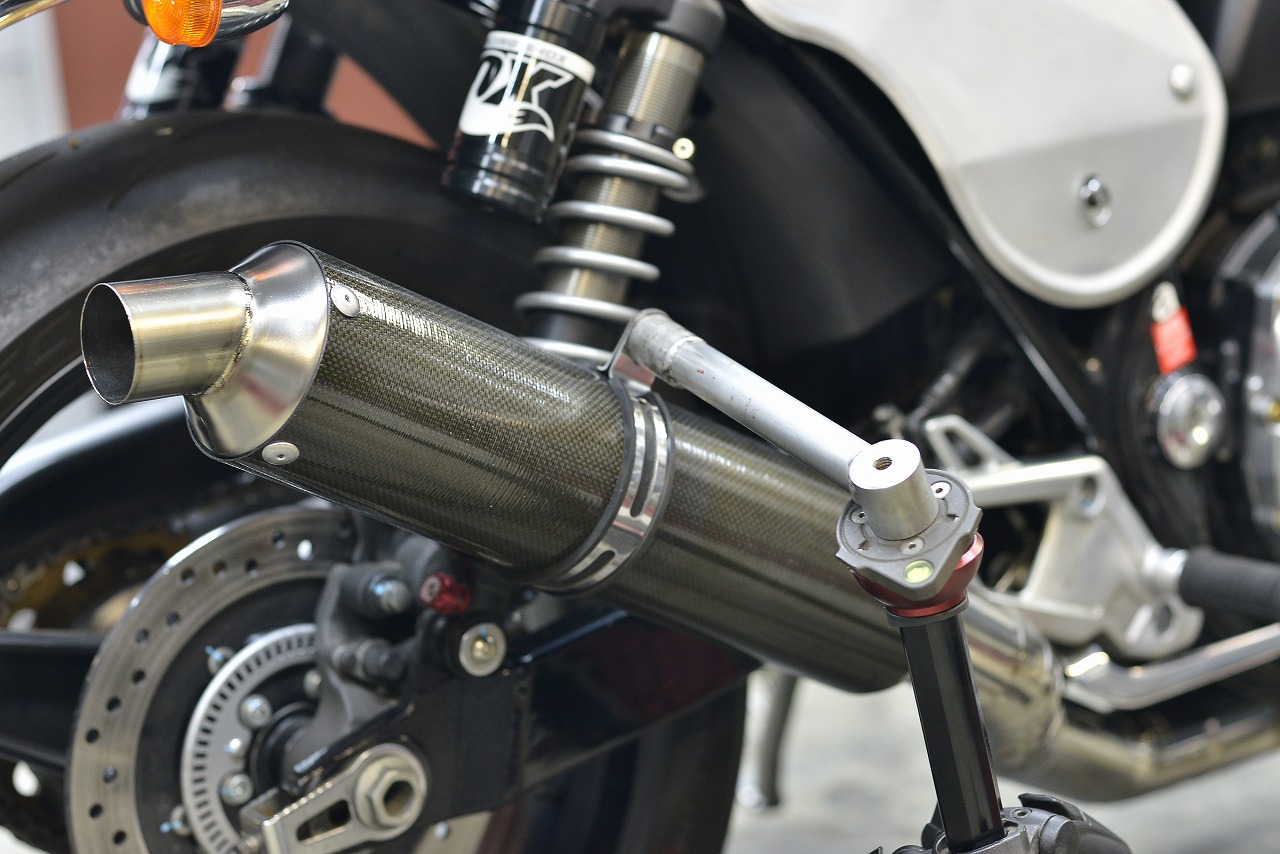
It’s a method of fixing the silencer by making an attachment for a tripod.
Working alone, you can see it up close, but sometimes you want to step back 1 to 2 meters and get a feel for it.
You want to look at it from the front and from the back. This might come in handy for that. I hope it’s helpful as a reference.
A little back, a little up, a little down—you have those kinds of preferences, right?
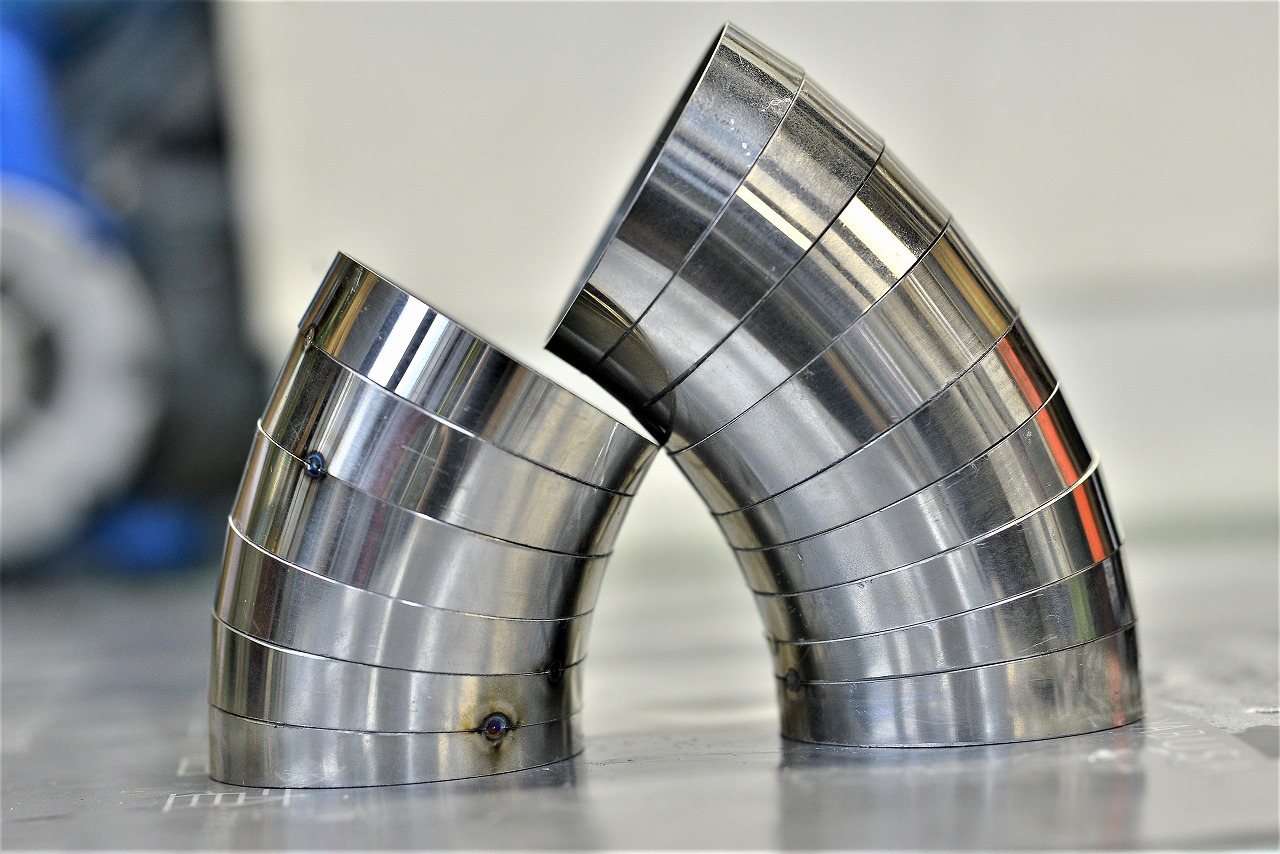
【Advantages】
• Straight pipe is all you need for materials
• You can extend it like building blocks or Lego, so you have flexibility with angles and layout
• Unlike hand bending, no flame is needed, so it’s safe and requires minimal equipment
【Disadvantages】
• Cutting is tedious
• Deburring is tedious
• Welding is tedious
• The appearance is a matter of taste
That’s about how it goes. Joining bent pipes is probably more elegant after all.
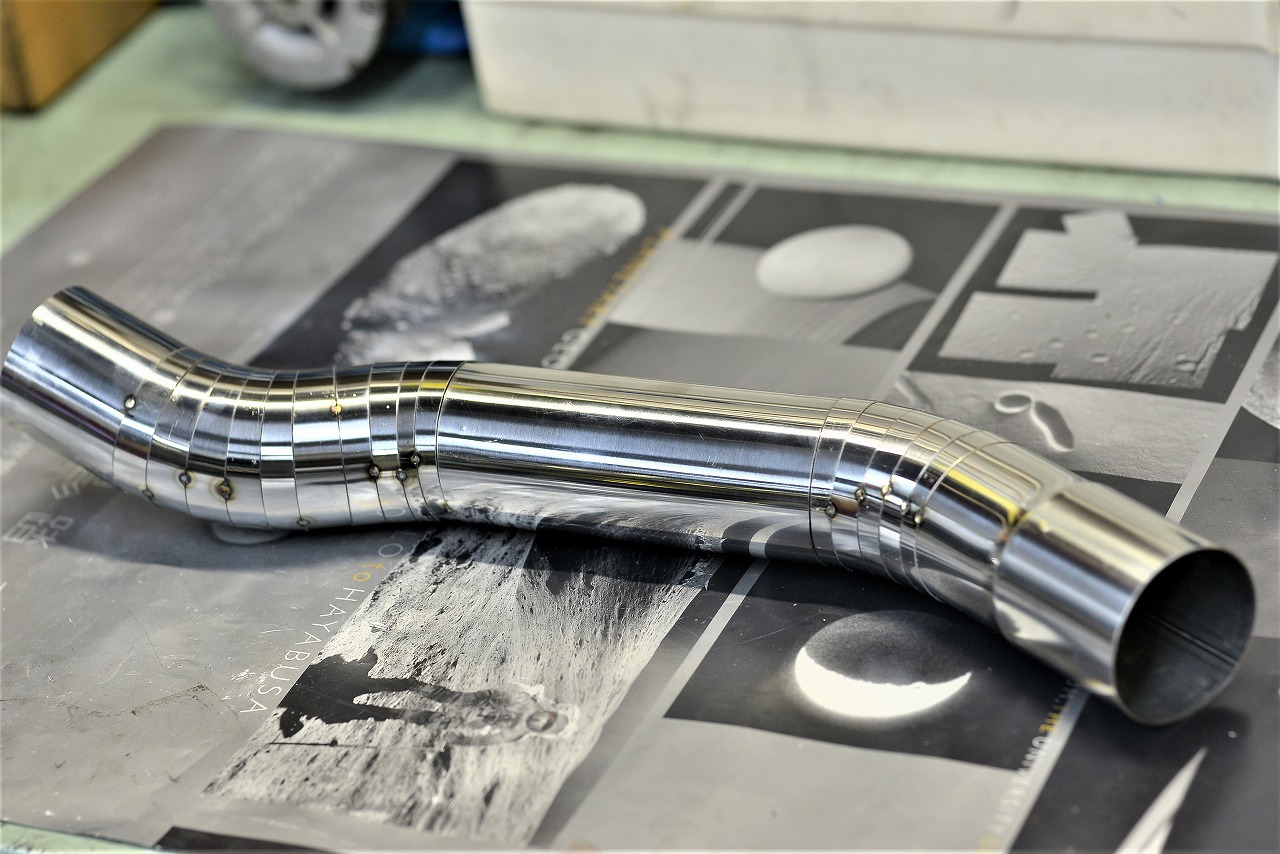
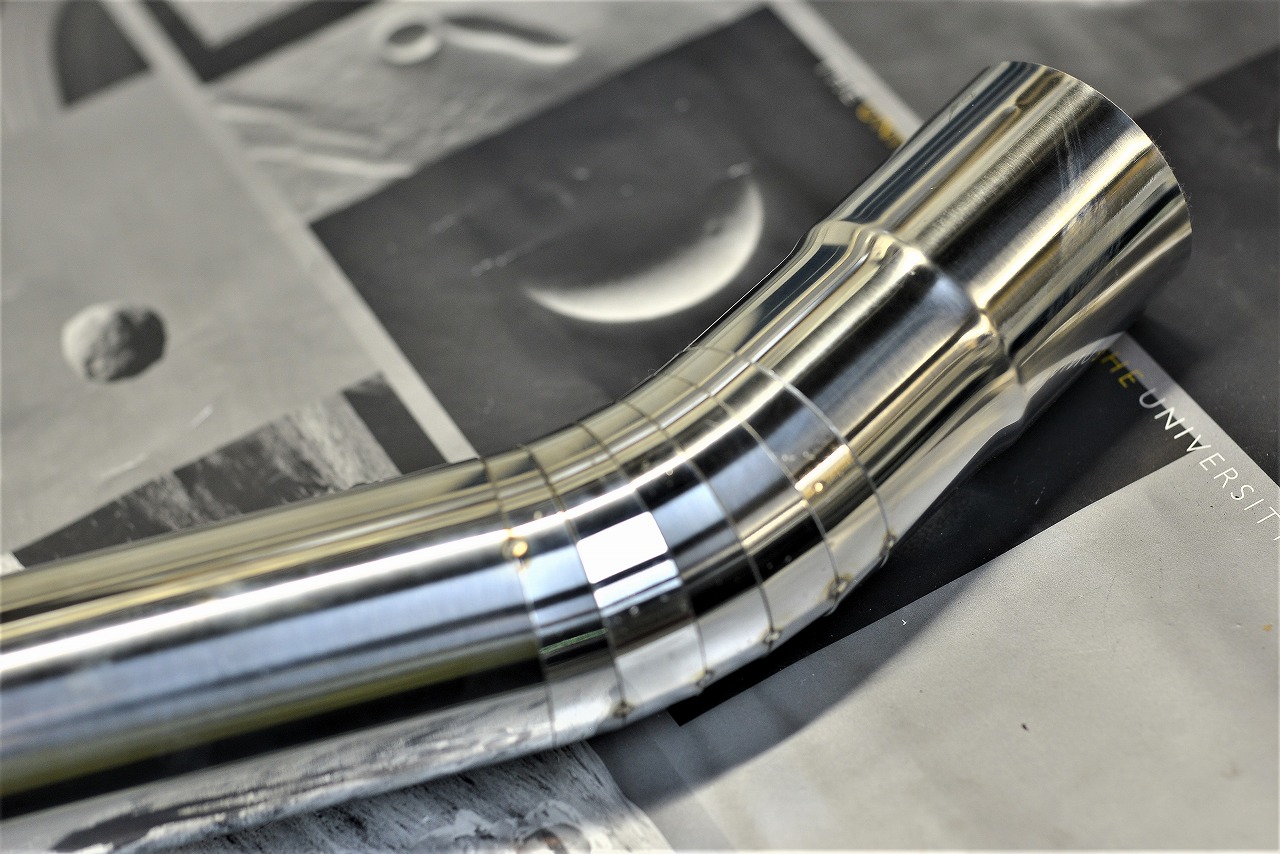
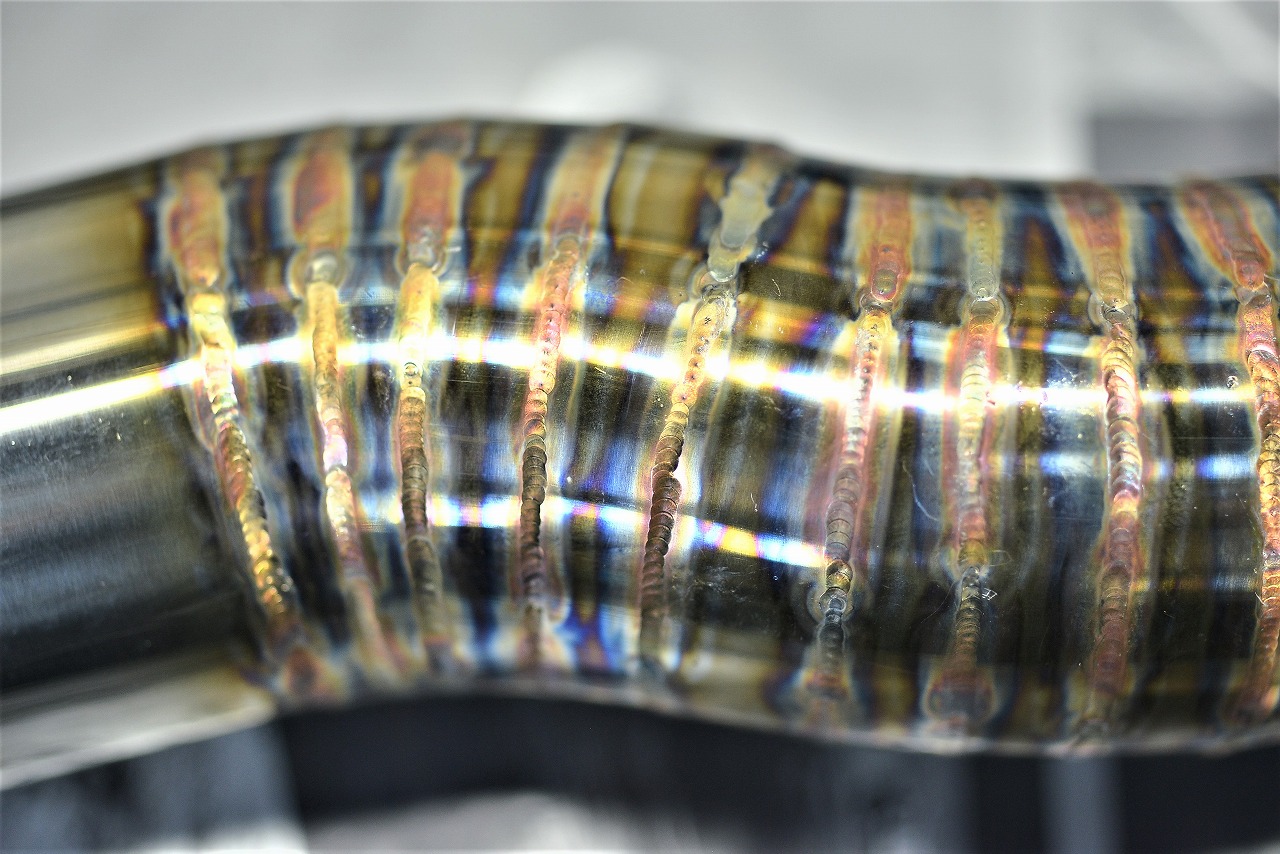
The color is kind of gross—it’s got this weird sheen to it.
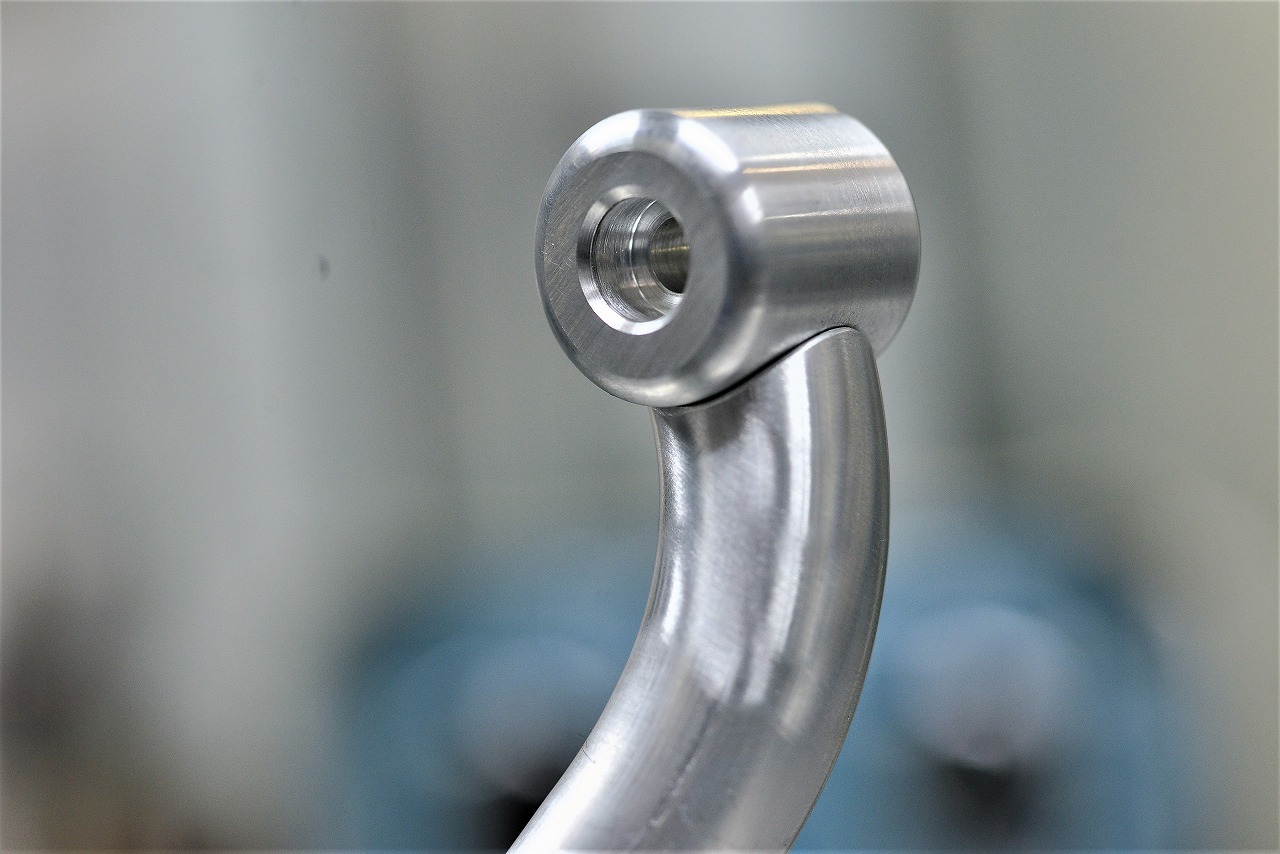
If you cut corners here, you usually fail—that’s from experience.
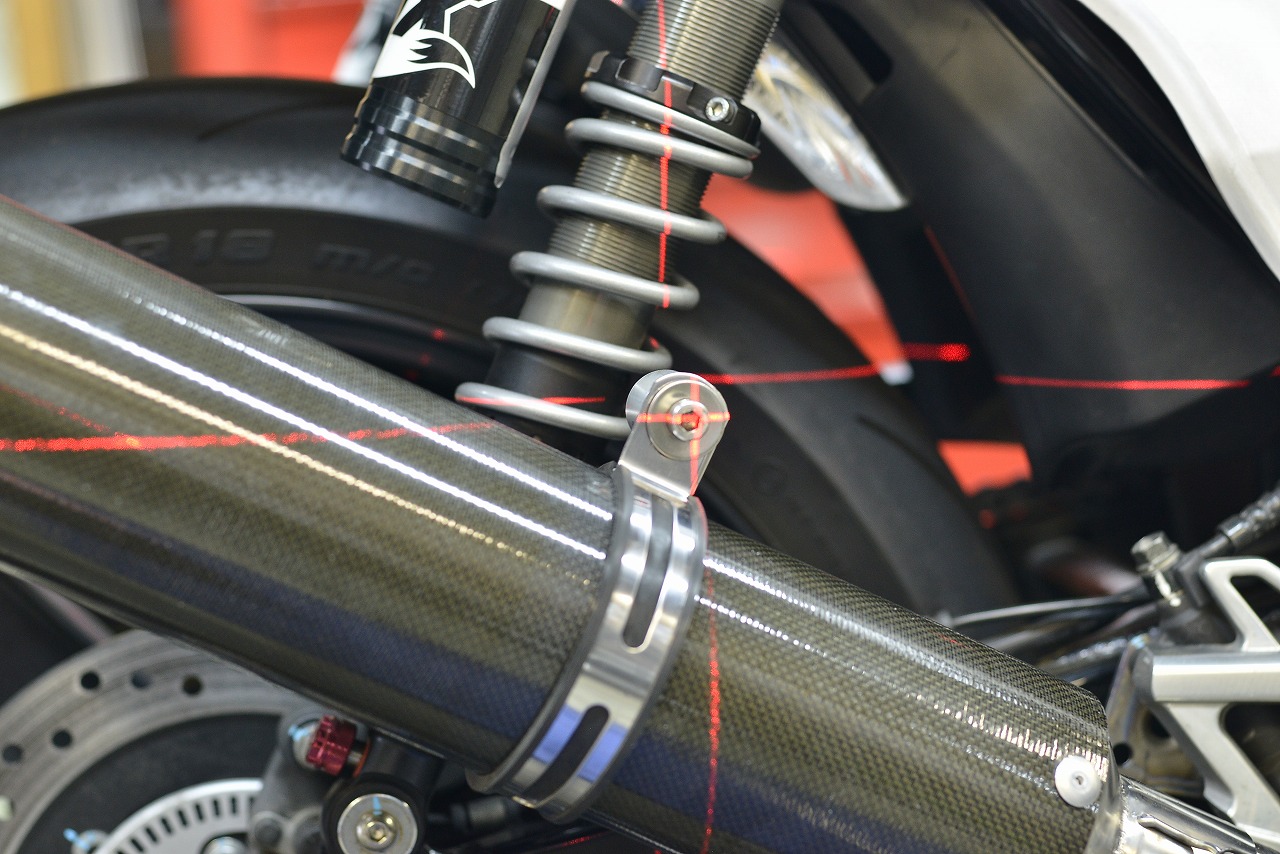
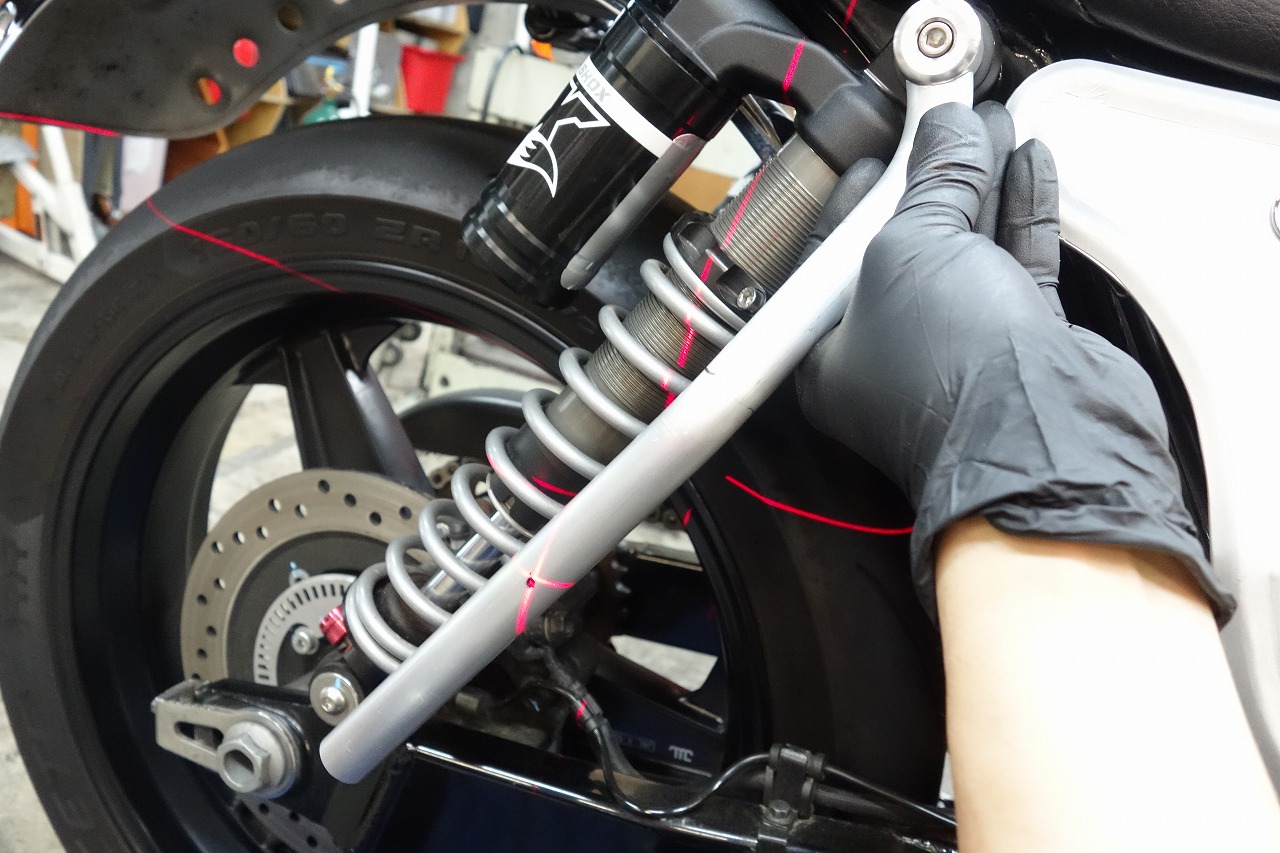
One-off sounds fancy, but really it’s just fitting to the actual part—which I think is the easiest way, honestly.
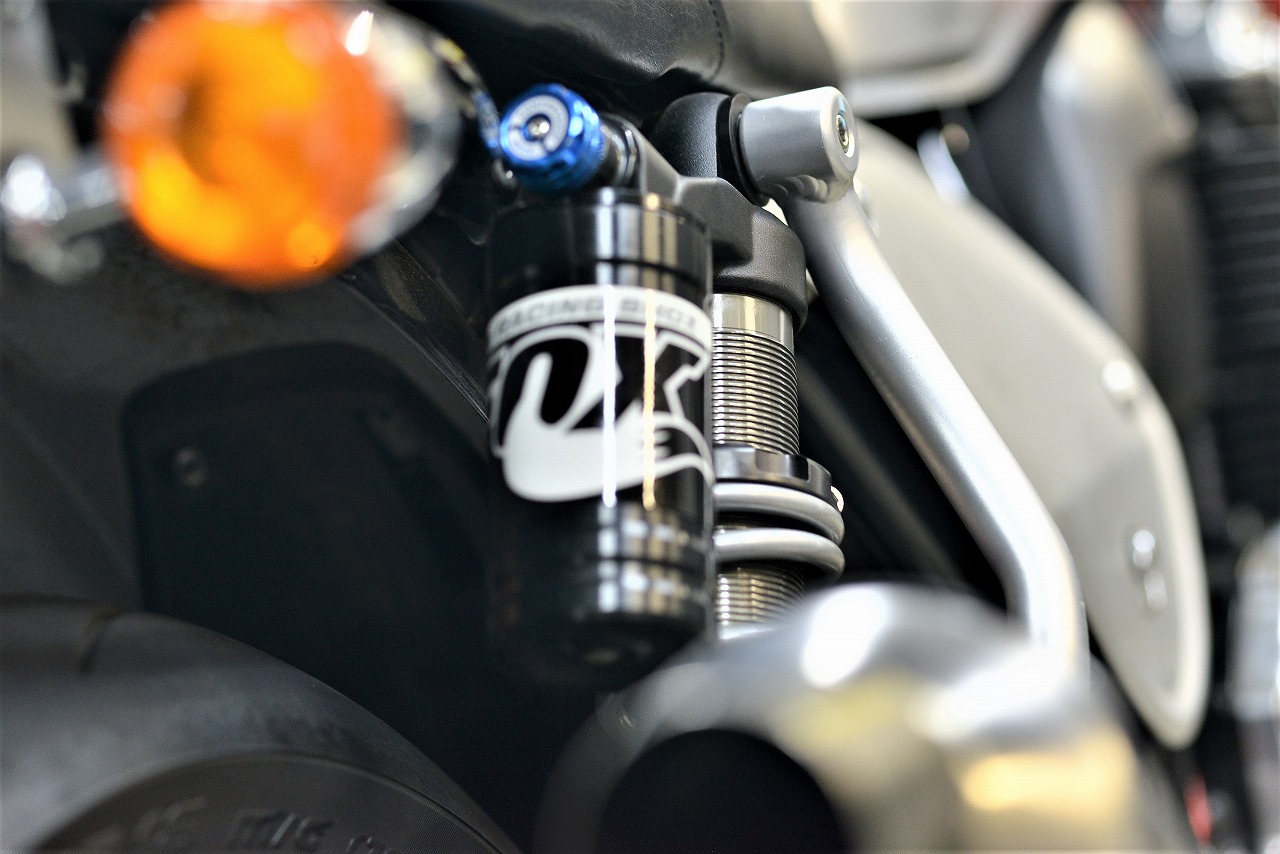
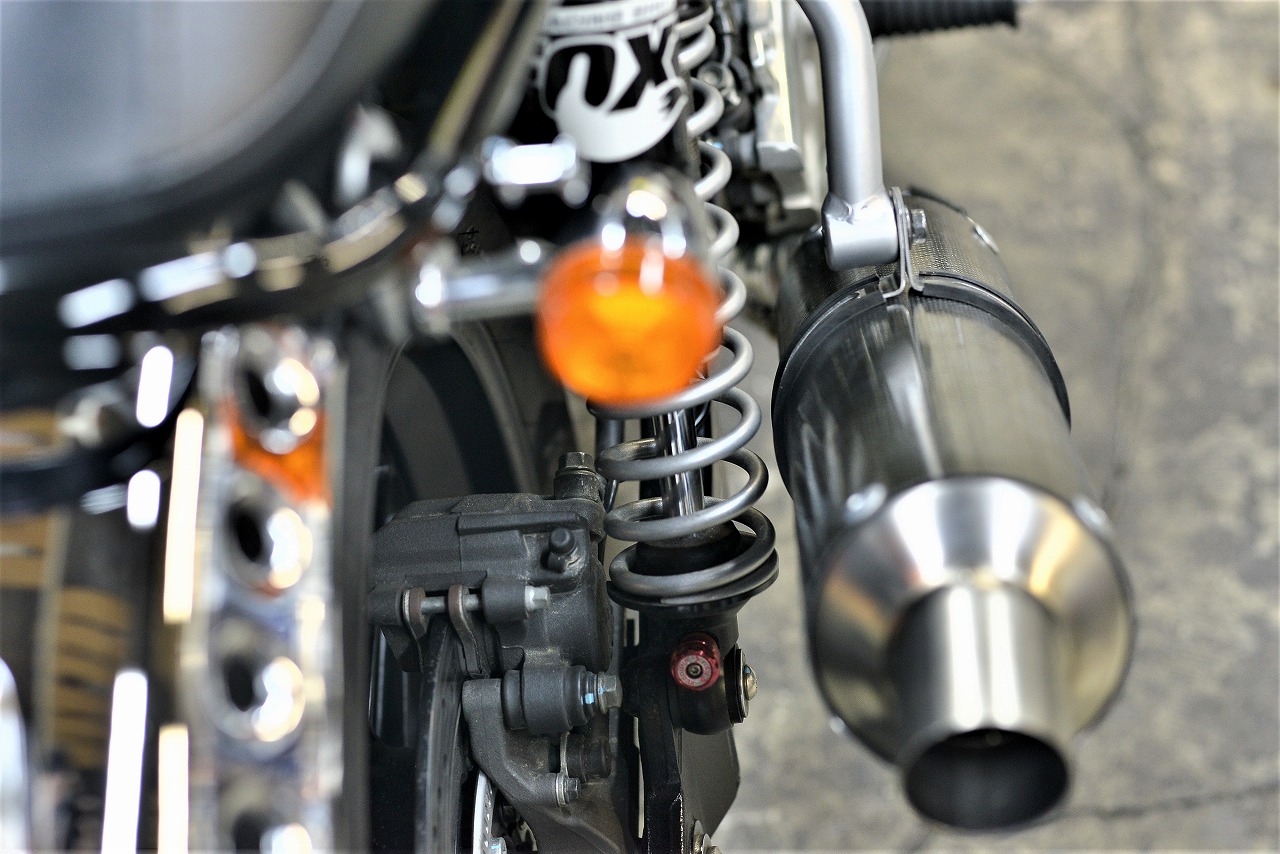
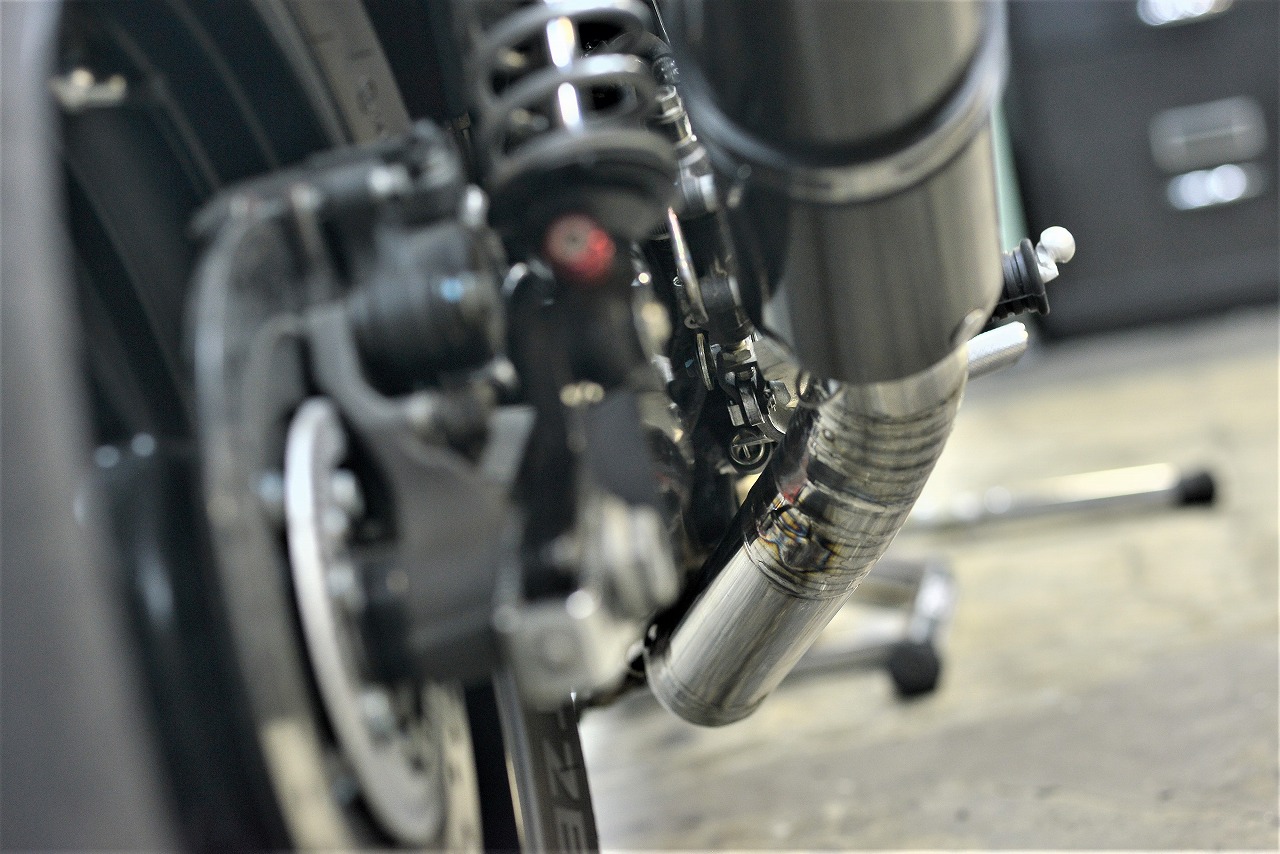
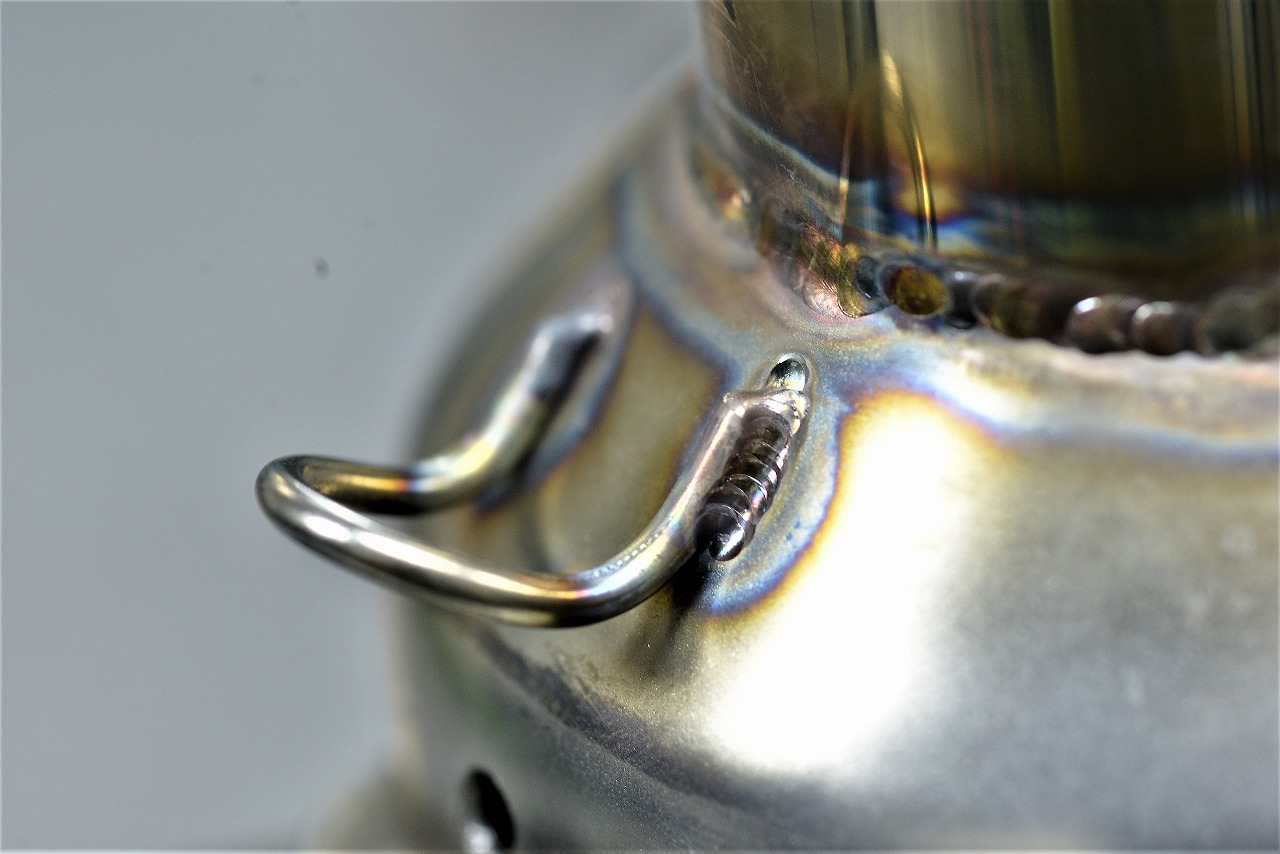
This time the SUS304 pipe ended up at T=1mm, and I really felt the difficulty of thin-wall cutting and welding.
*I was tack-welding what I thought was my own work and it shifted more than expected—the kind of pattern that sends you to hell.
Every day is a learning experience.
I like making things because it’s fun, but
• Financially and time-wise it doesn’t add up.
• It’s labor, but people compare it to retail prices.
• Unless it breaks, it stays on the bike—whether the finish is disappointing or great, it’s there forever.
• How long is the warranty on damage? With retail products people don’t complain, but with one-offs they do?
If you think you can’t do it, it’s better not to try. It’s… dif… fi… cult…
See you!