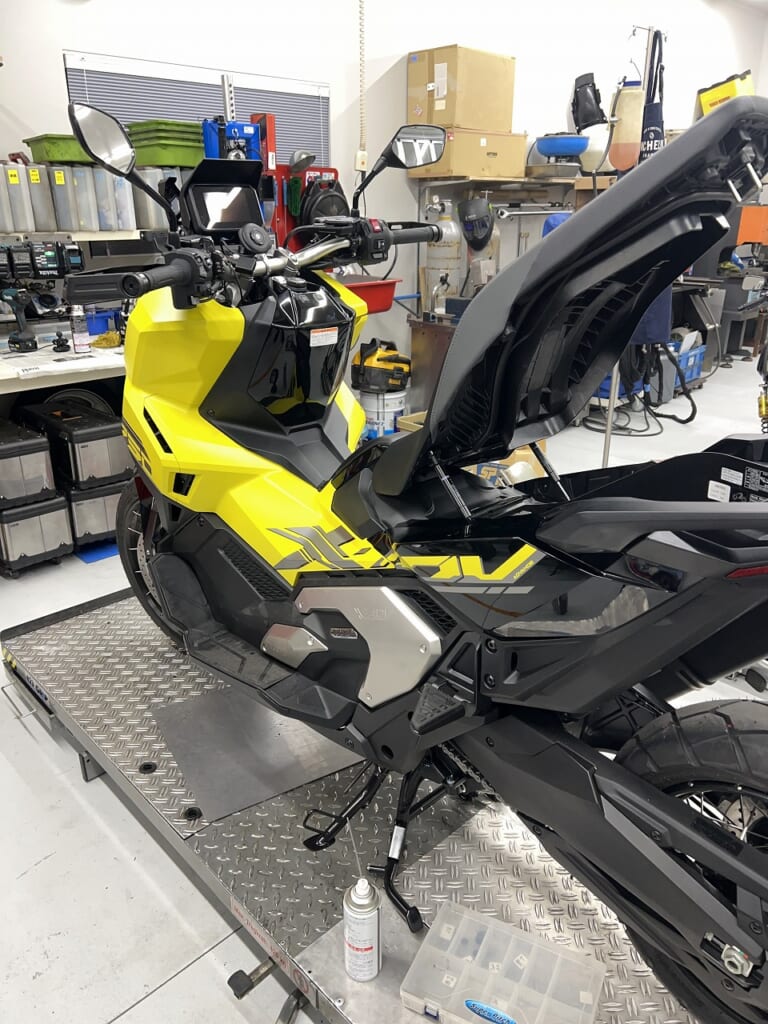
I was supposed to finish by mid-morning on the 21st, but… before I knew it, it was 7 PM… wow.
Wondering things like “How should I route this? Should I modify it or not?” takes more time than expected. I enjoyed learning through this process as well.
Custom log for this article
Vehicle: Honda X-ADV (RH21)
Installed parts:
Mitsuba Sankowa EDR-22G(Dashcam)
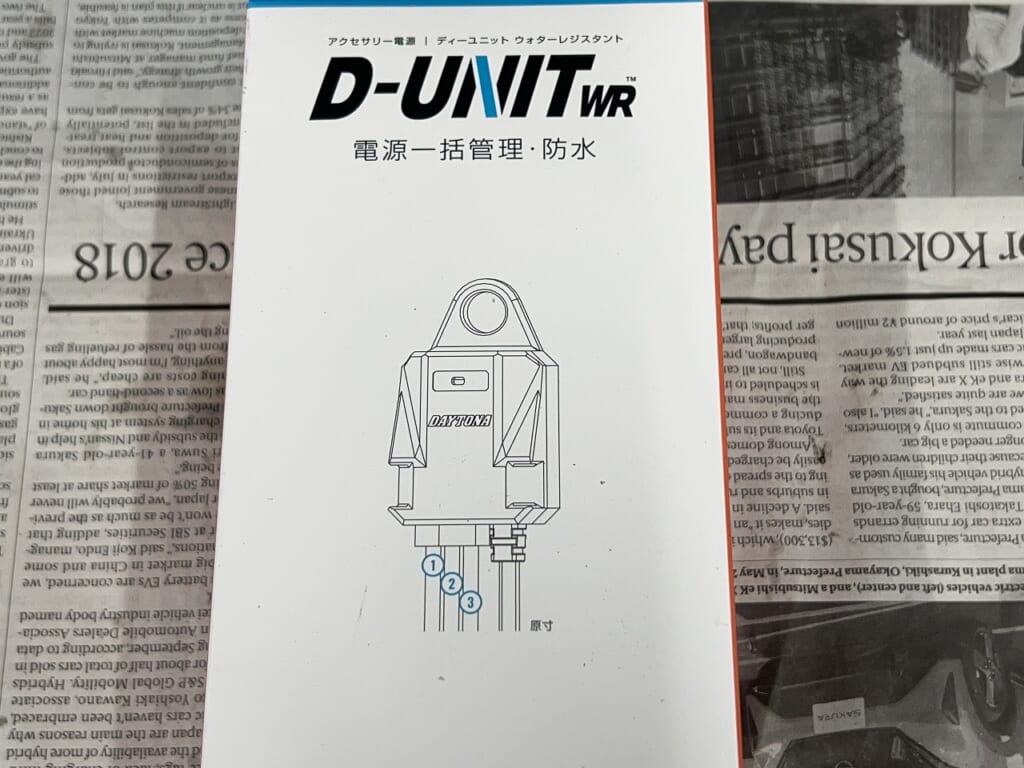
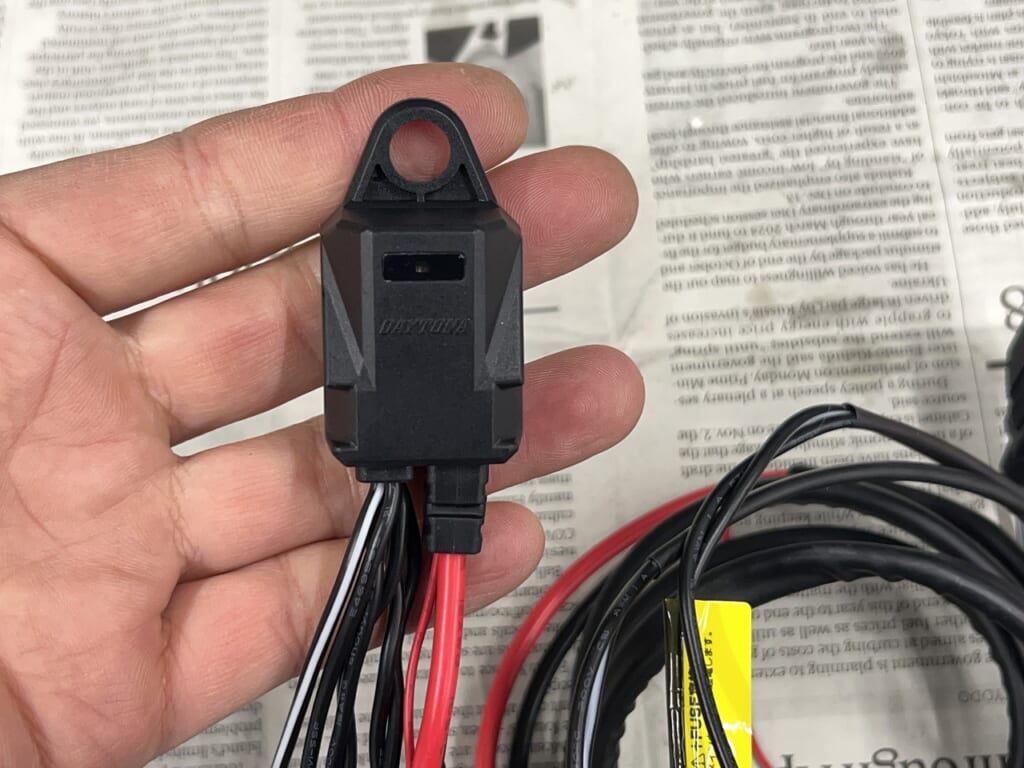
Daytona D-UNIT (D-Unit)(Accessory power unit)
Purpose: To safely and smartly connect multiple electrical devices (dashcam, USB, grip heater, etc.).
Benefits:
Power can be turned ON/OFF in sync with the main key.
Stock wiring remains untouched, making troubleshooting easier.
Wiring stays neat and the area under the seat looks clean.
Decoboco’s other BLOG. “RURAL GARAGE“
A secret room beyond motorcycles. Sharing convenient everyday items, relocation, delicious food, life philosophyand more. ←click
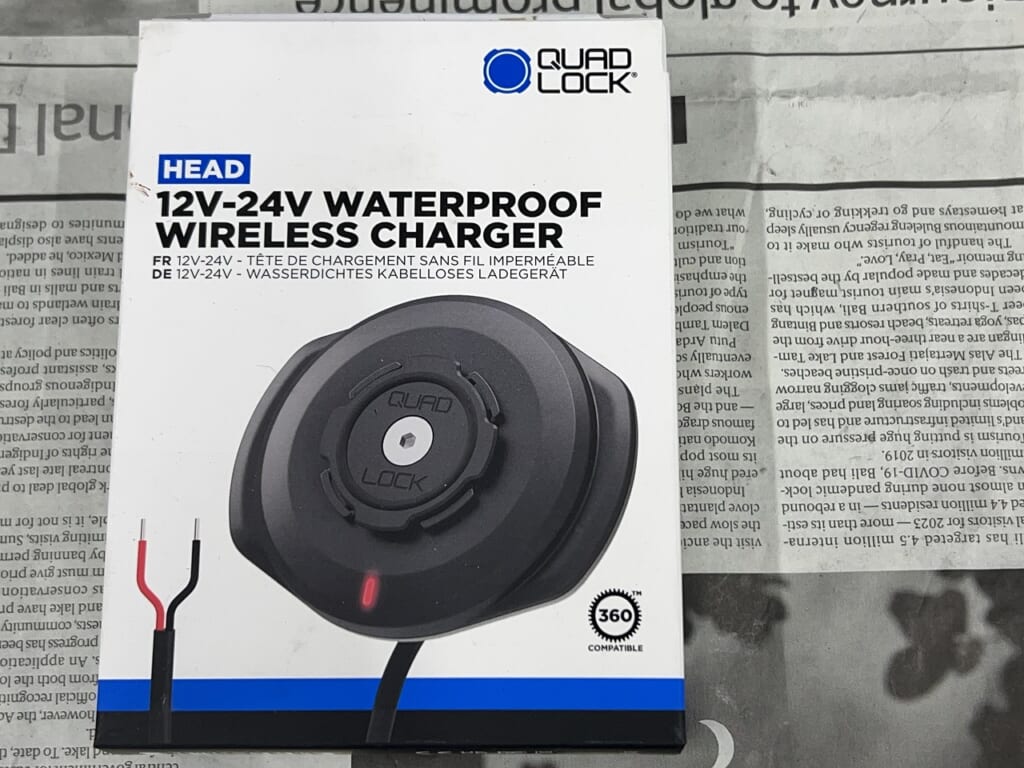
There are two similar types, so be careful. *The one with red/black lines on the package is the correct one.
What’s great about this product is“No 5V conversion needed” “No USB connection required” Just connect 12V and ground, mount your phone, and wireless charging is ready to go.
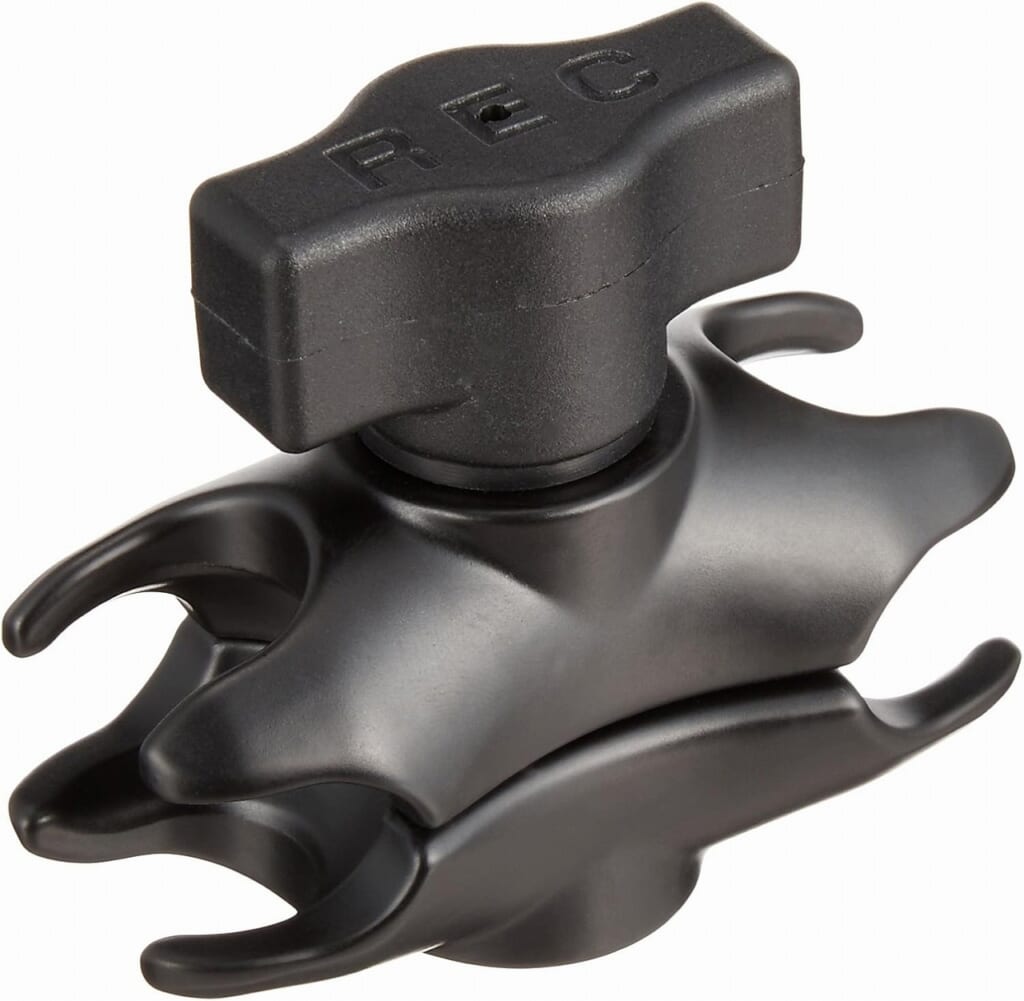
You can also attach vibration dampers to this, which reduces the chance of failure.
Repeatedly mounting and unmounting your phone on a bike can loosen the connector. *If you replace your phone every few years, that’s fine…
As always, I cut it at an easy-to-remove spot and reattach it with a 110-series connector. Why? In case I sell the bike, I can easily remove it and use it again. In my case,I’m running multiple bikes with one wireless quad lock,so it’s cost-effective.
Thinking ahead and installing parts carefully makes things easier for everyone!
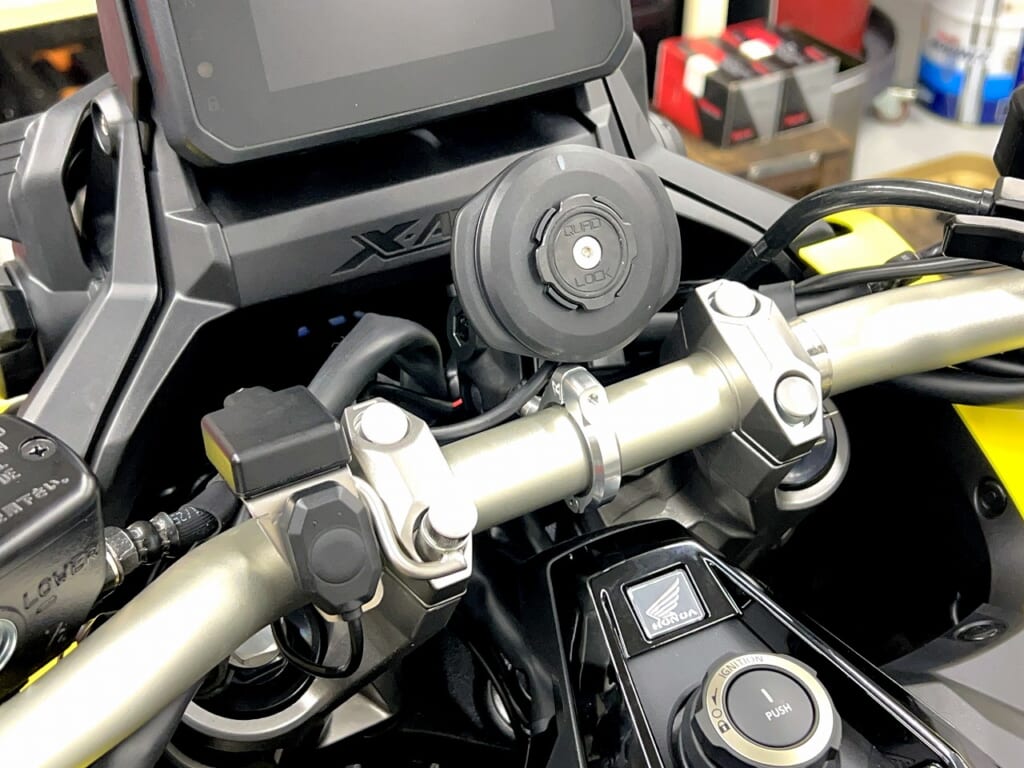
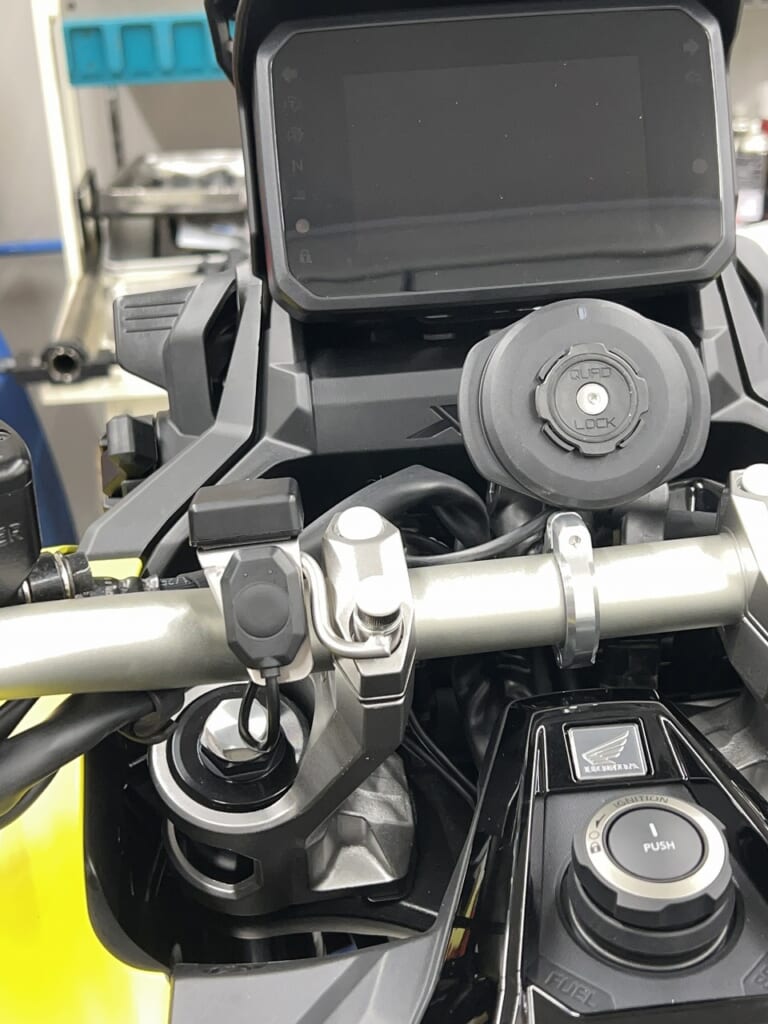
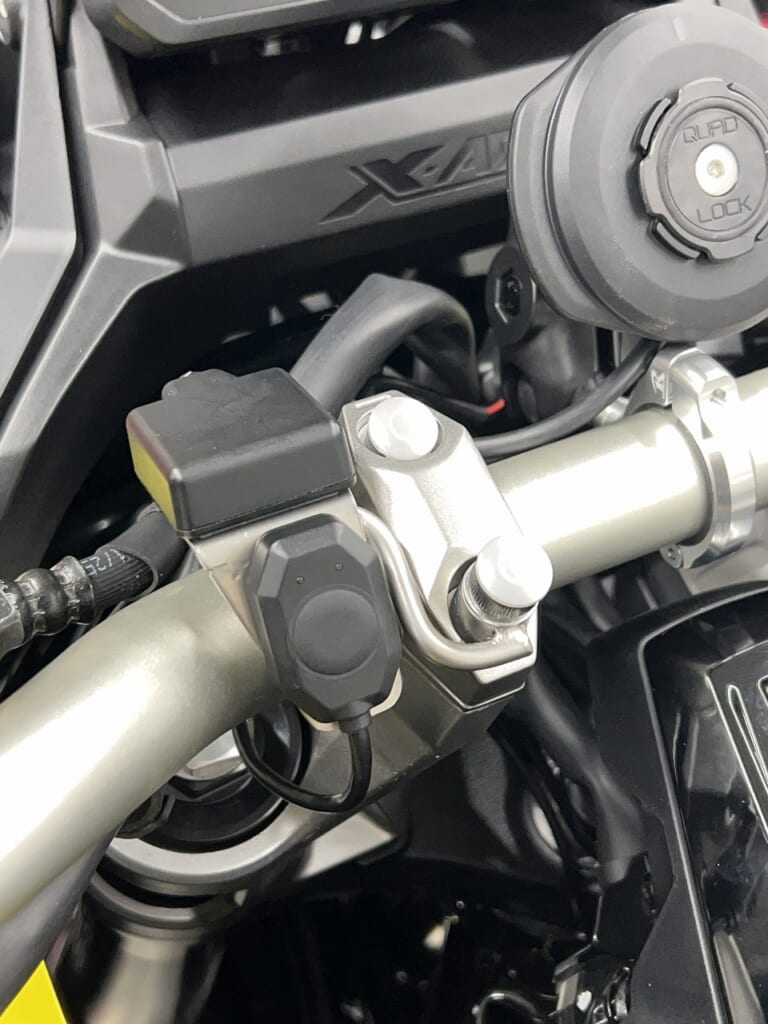
Want to mount your phone next to the digital meter?
I prefer not to make things from scratch. Using commercially available products gives better expandability and reproducibility.
It’s actually easier when customers trust me to handle it. Buying random parts is definitely not the way to go. About 80-90% of them either don’t work or require expensive modifications.
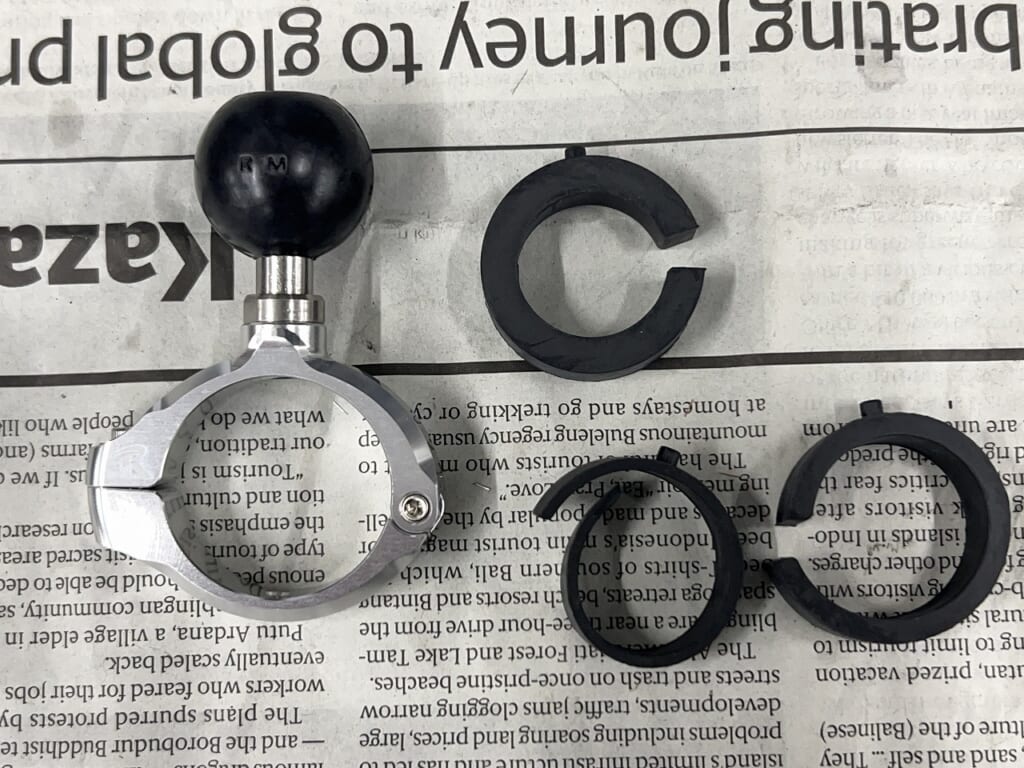
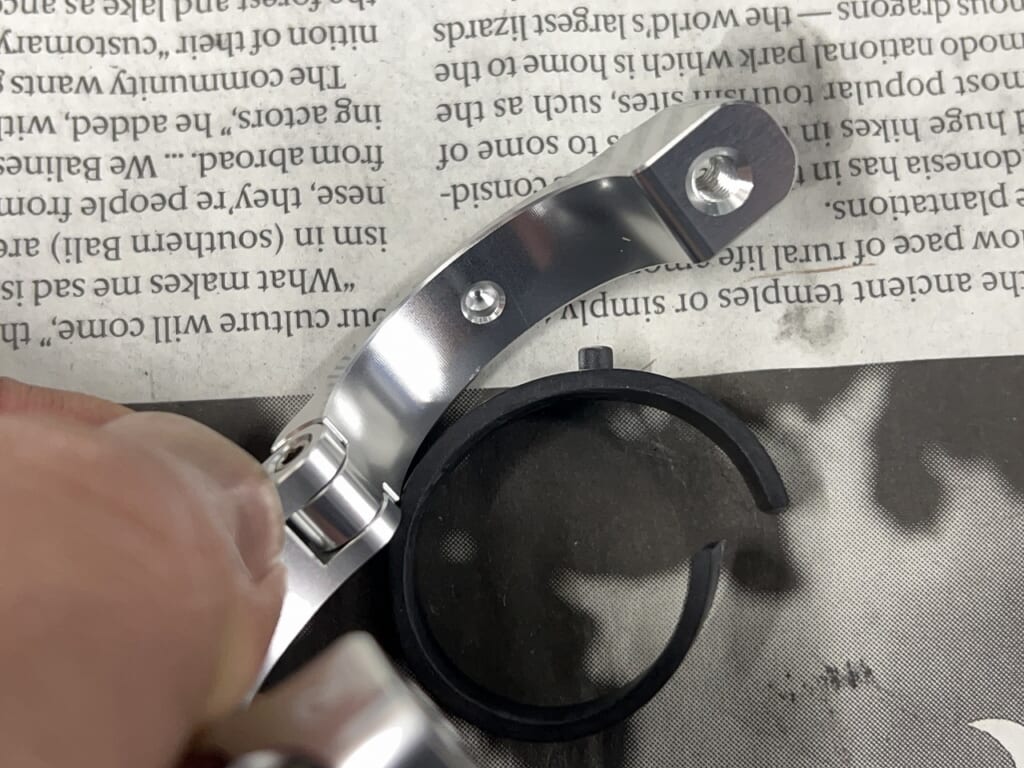
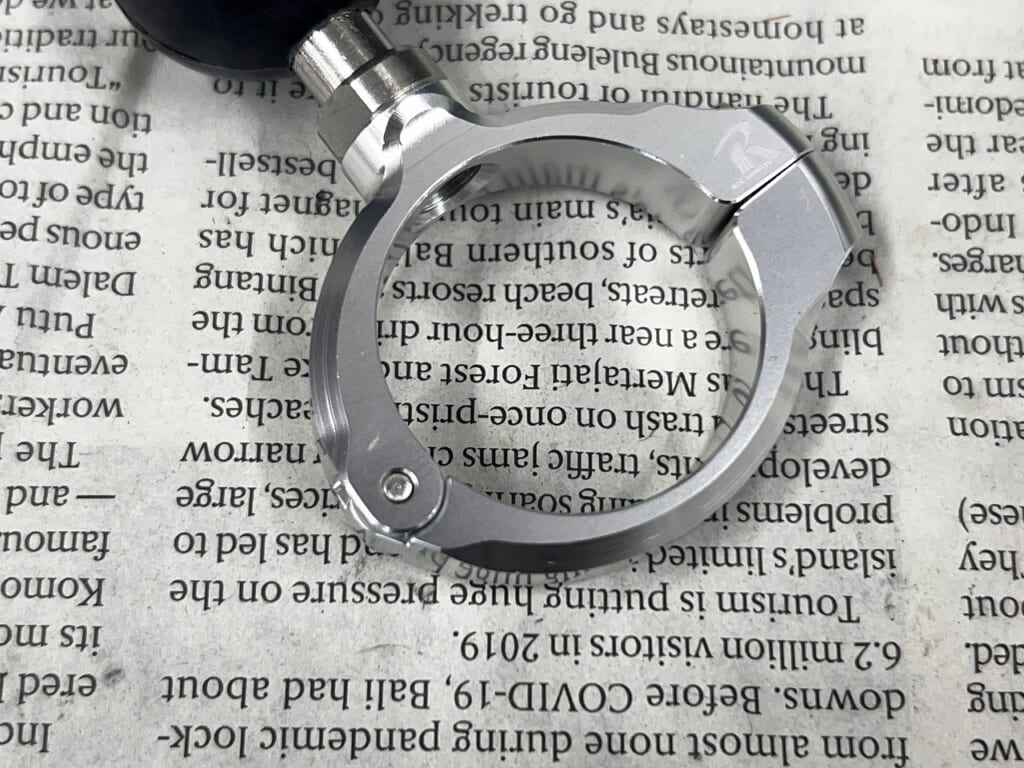
I designed it for easy position adjustment with a hinge and single-point fixing. The thin wall design makes it 5mm shorter than existing products.
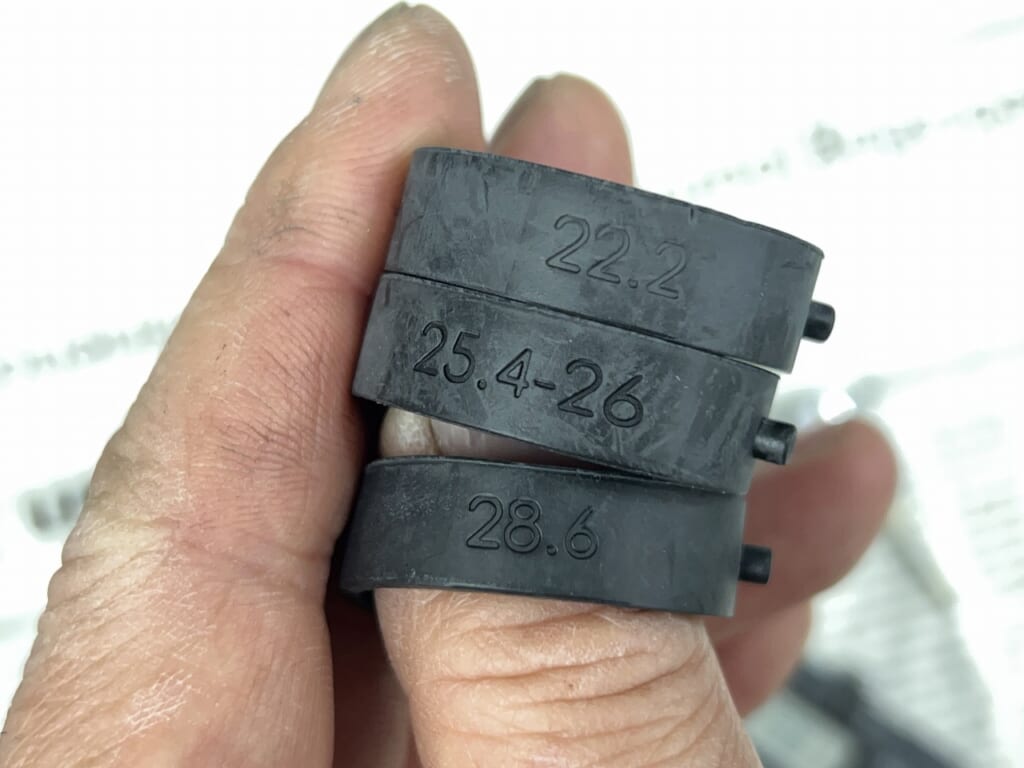
Rubber changes accommodate various sizes. I love the anti-rotation pin—such thoughtful design. Unimaginable in the 20th century… I’m moved by this consideration (;∀;)
It’s hinged like this, so choose aftermarket parts with position adjustment and removal in mind. Still, I worry every time before installation.
This is how I mounted it. Ease of adjustment and freedom are crucial for this type of product.
Without this revolutionary joint design, you won’t get the freedom you need. I’ve failed many times, and I’ve seen plenty of customers disappointed with new products.
If you can’t mount it where you want to see it or at the angle you want,you’ll feel let down, so be careful.
The compact size and floating mount with bolt fixing are great. I prefer to arrange electrical components neatly.
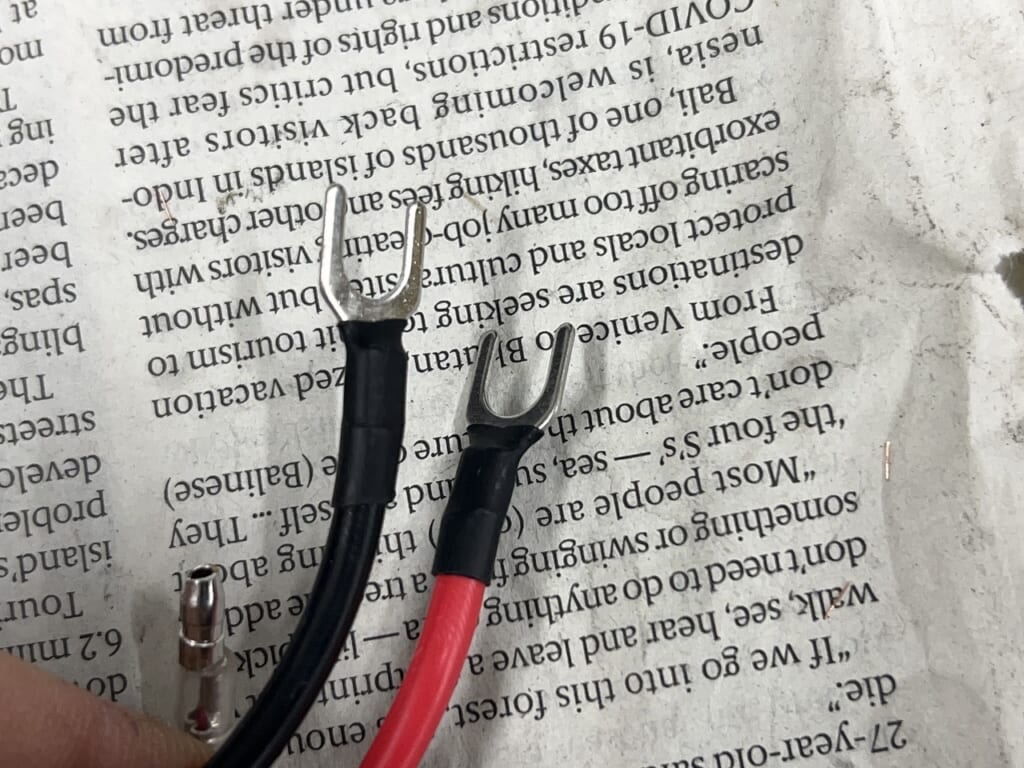
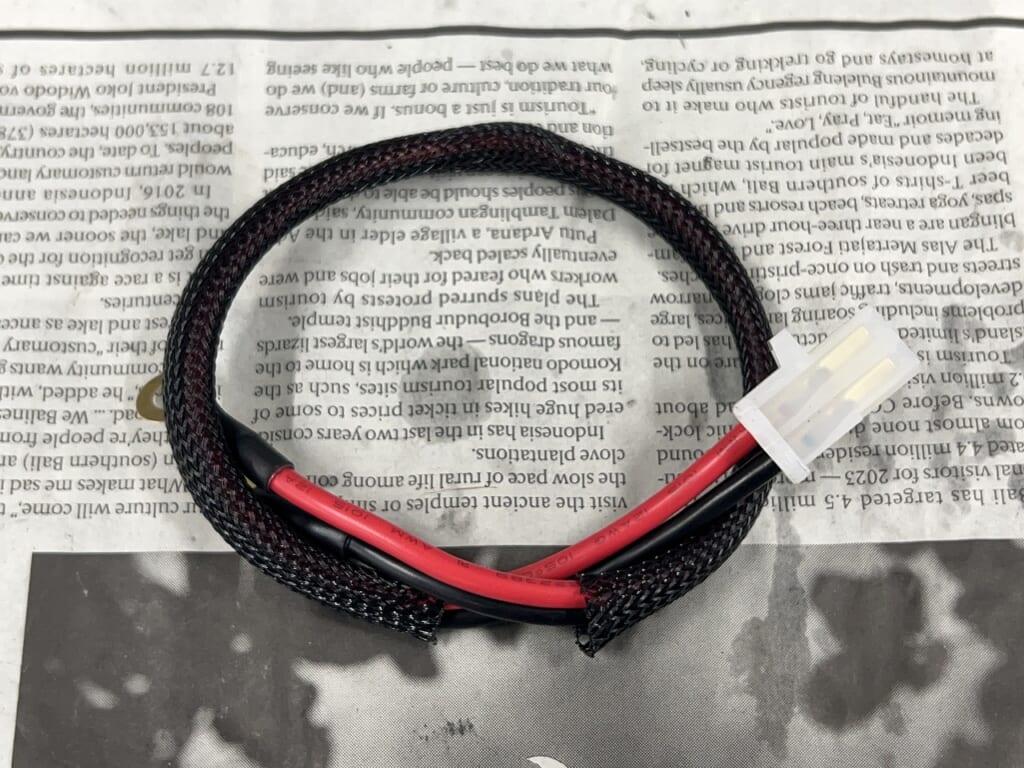
The left image shows the D-UNIT terminals. I wouldn’t use them as-is…
If you co-tighten them under the battery bolt,they can come loose. You might think putting them under the battery terminal would work,but that drastically reduces the contact area.
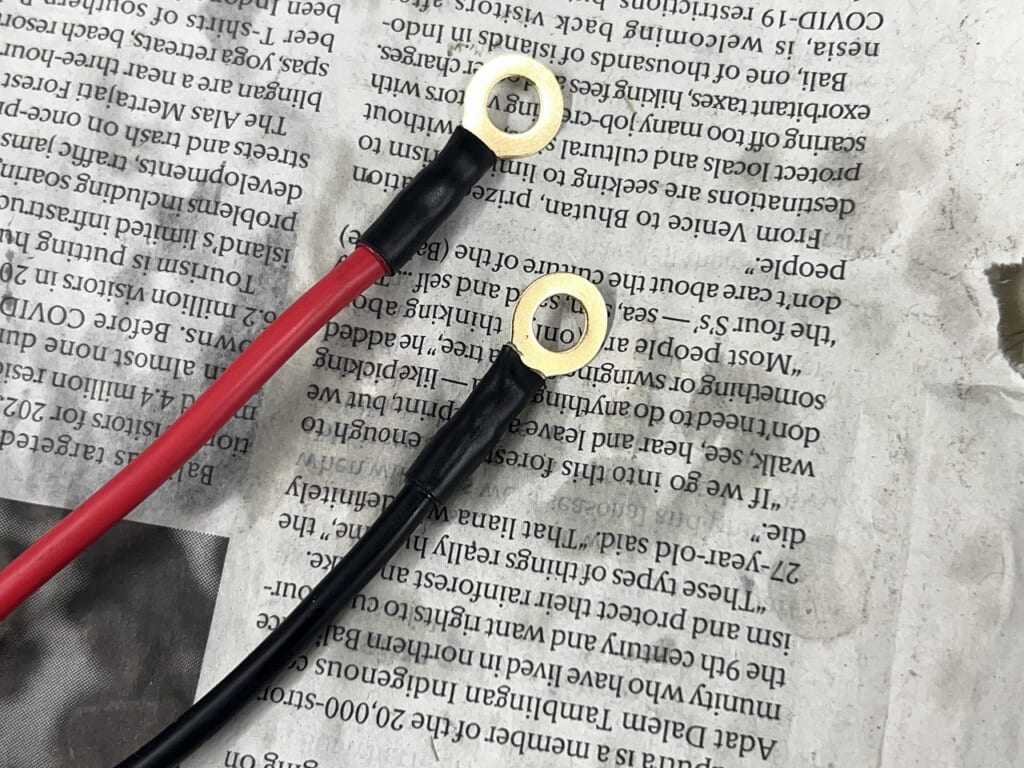
Using them as-is probably won’t cause major issues,but if you want to “ensure solid current flow on both positive and negative,” switching to ring terminals gives better peace of mind.
This time I made it split-style for better serviceability and layout flexibility. Then I thought, I could share this with the battery charging terminal… But since it needs to be swapped out, it’s easy to forget, so I rejected that idea.
Now I’ll lay out the electrical components (*´ω`*)
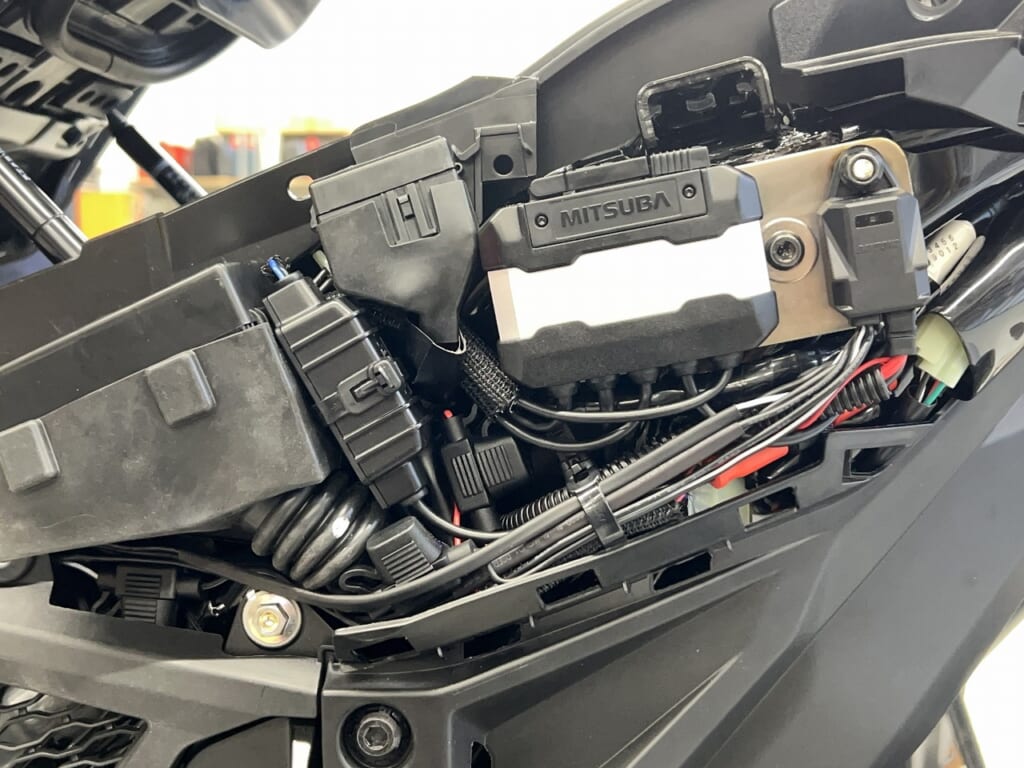
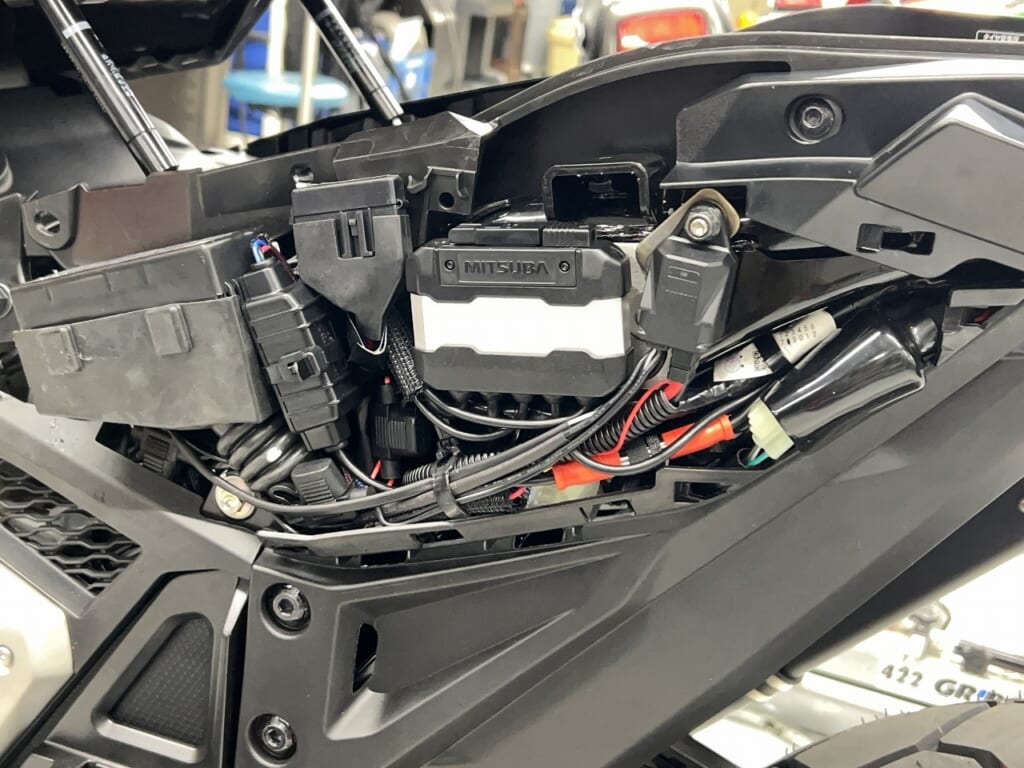
There’s space around the fuse area on the left rear, so I consolidated everything there. *It turned out the D-UNIT WR MINI contacts the cover, so it was rejected.
Then at night… I realized the cover wouldn’t fit no matter what, so I moved the layout with spot welding to a plate. Close call.
Everything is consolidated here, so it looks clean. This small dashcam EDR-22G is also excellent. Both the D-UNIT WR MINI and EDR-22G are compact, which really helped this time.
Generally, people say to put it in the top box, but…
Now I’ll connect the D-UNIT to the battery.
After much deliberation, I’ll go with the easier route. Ideally, I’d remove all the seat and top box to create a passage next to the battery and lay everything out—that would be perfect.
But I’d have to check for contact issues after installation, and battery cables are dangerous, so I rejected that.
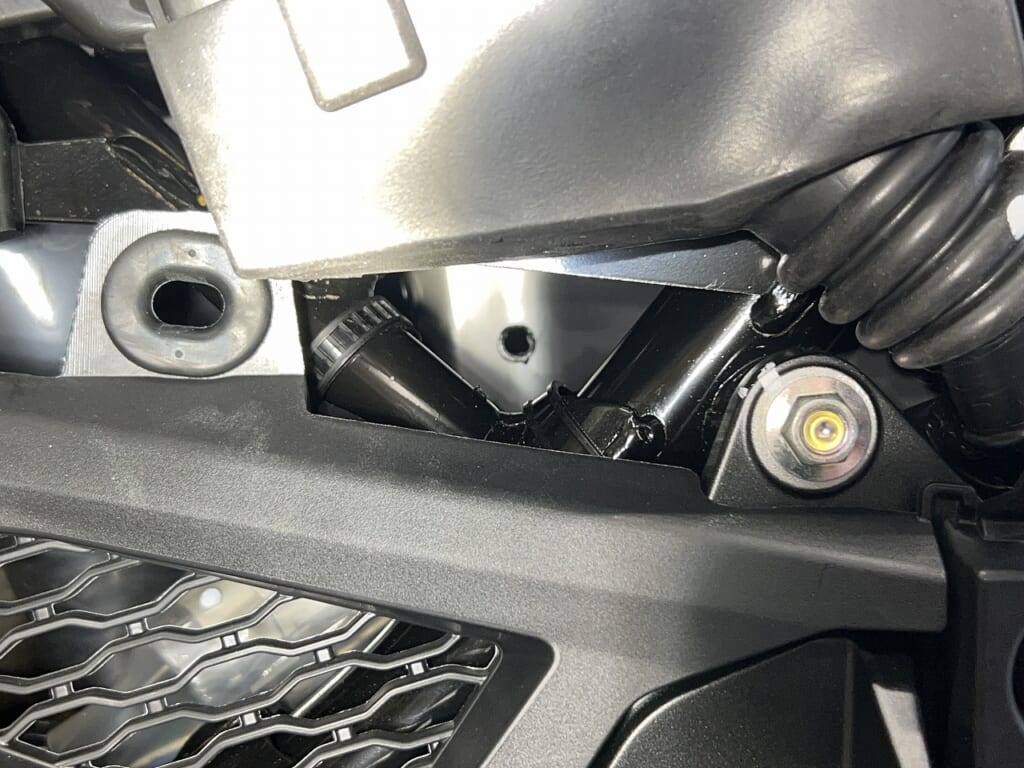
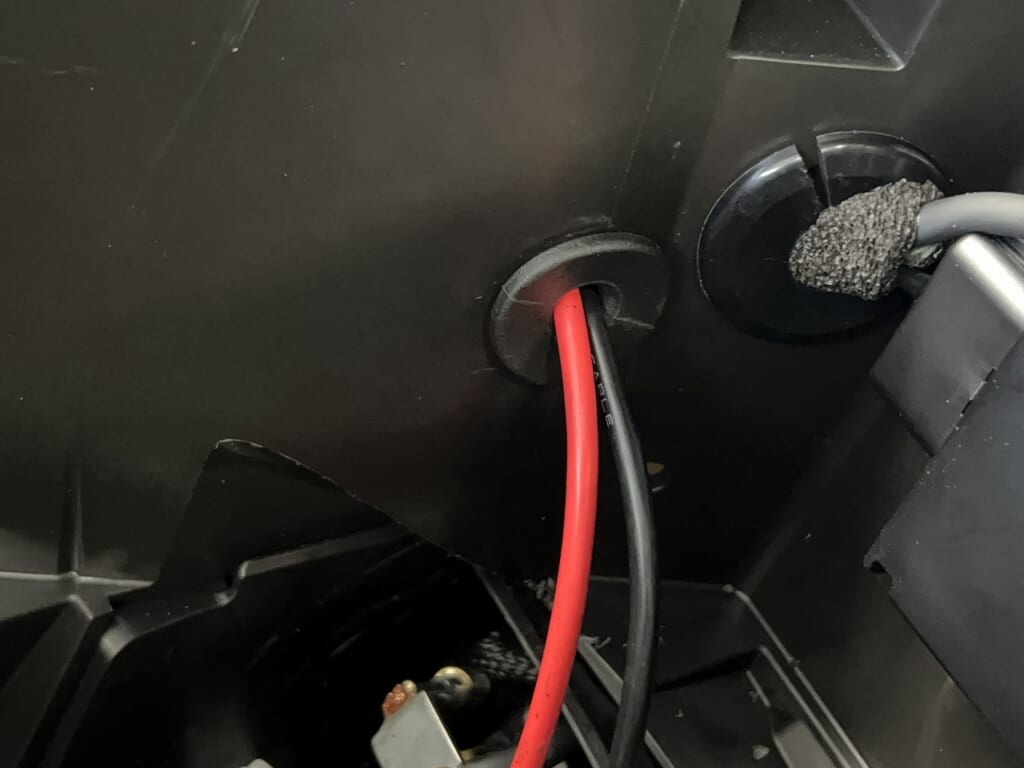
So I’ll drill a hole in an easy-to-access spot. I usually make pilot holes in plastic with a soldering iron.
I use I-Love-Inazuma grommets for a safe wiring system. Running the battery cable parallel like this is super dangerous. Caution first, caution second.
This is how it’s laid out. The battery cover has relief machining.
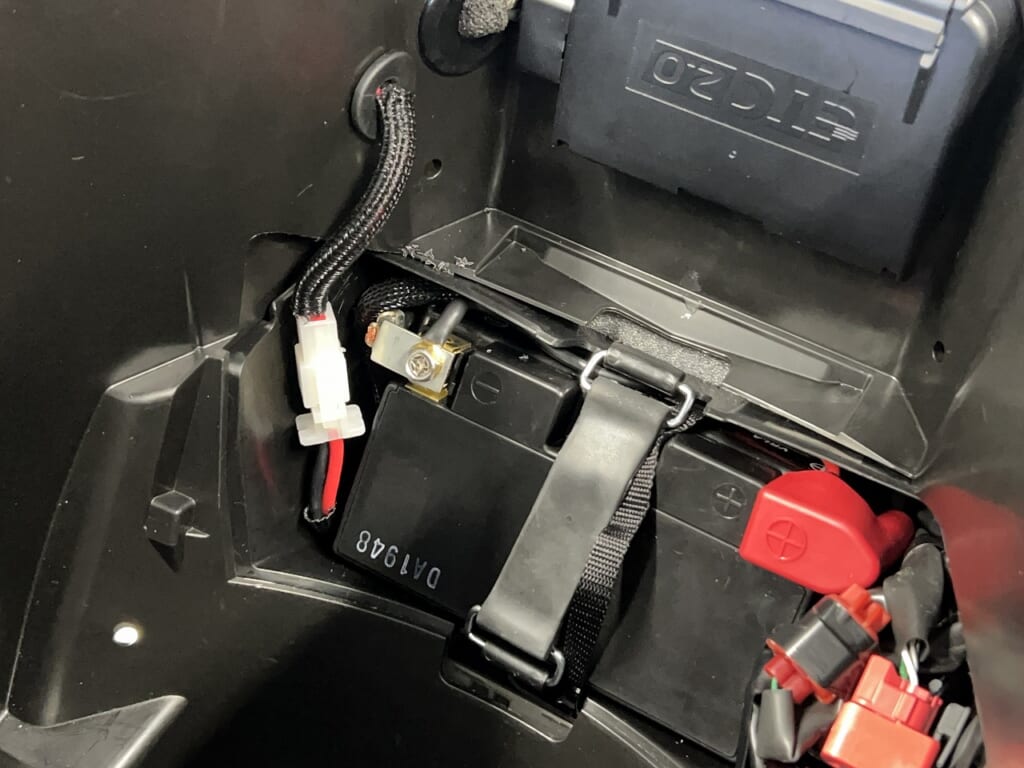
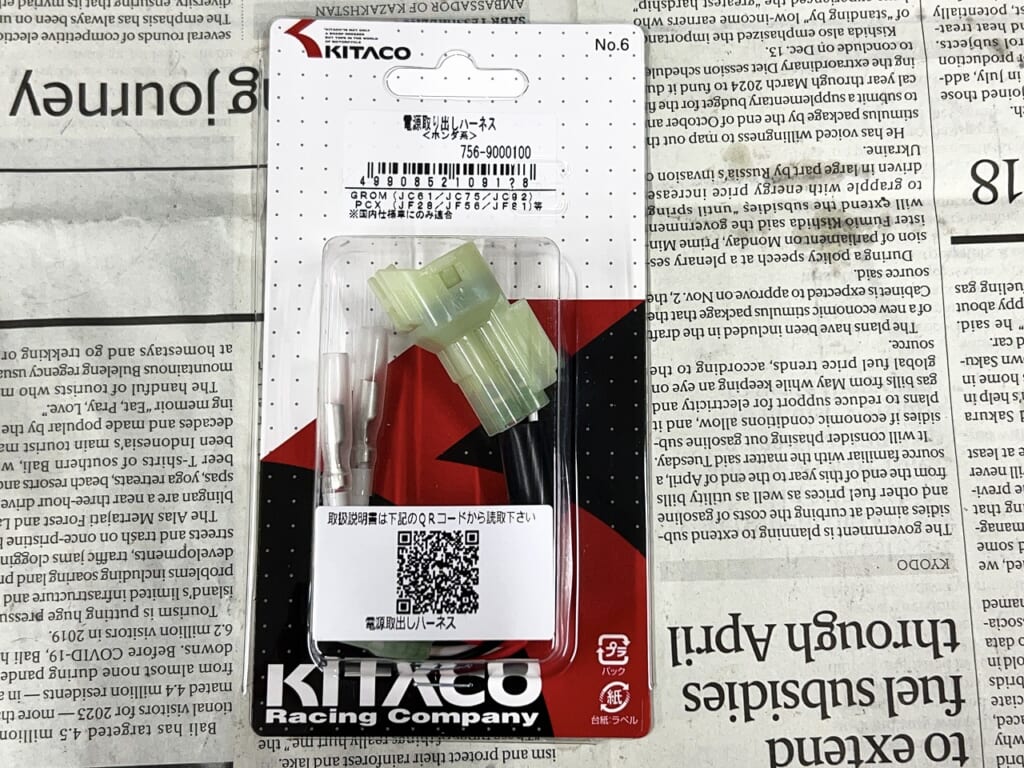
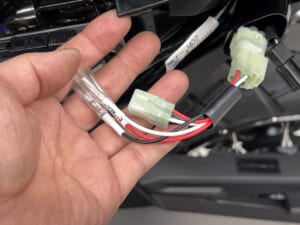
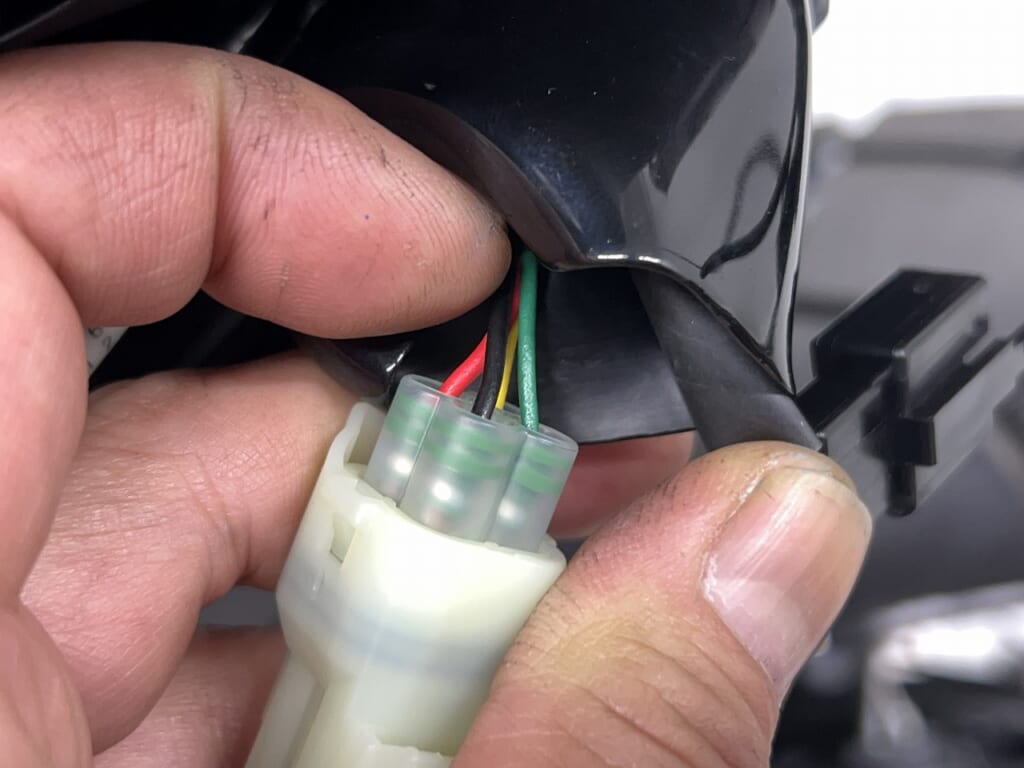
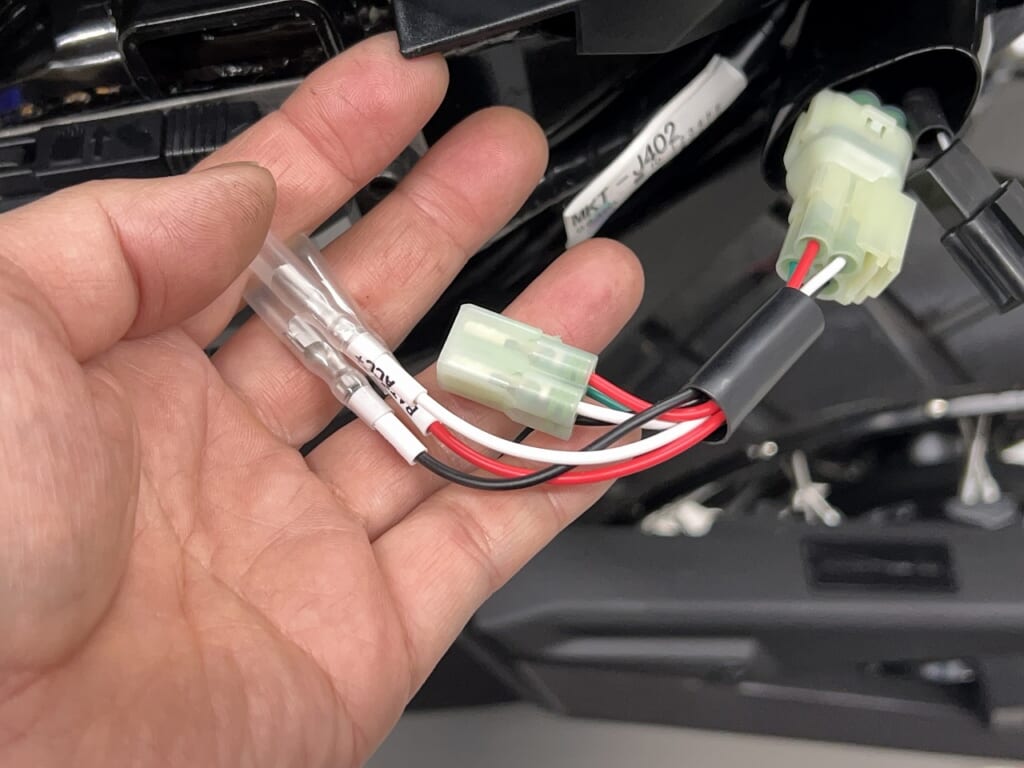
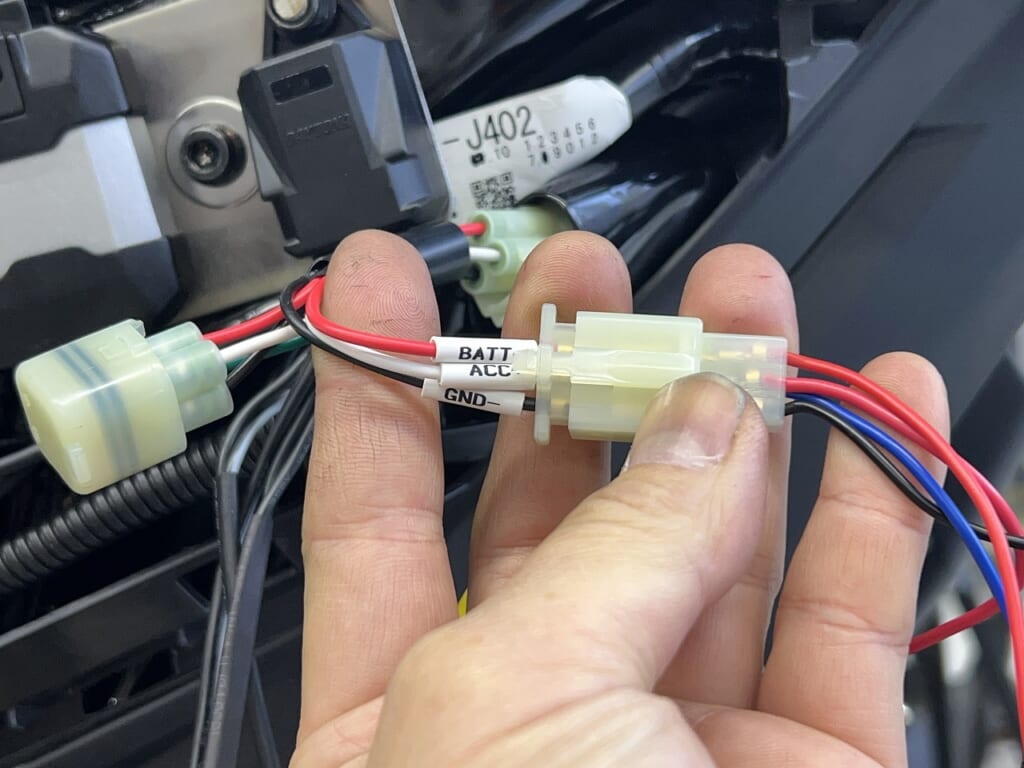
I tap from a blind connector on the left rear. But the wire seems thinner than 0.5Sq AVSS, so I can’t get relay-related power from it.
For a dashcam, there’s plenty of capacity, so I got 12V ON/12V constant/ground from here. I also got the trigger wire (12V ON) to activate the relay from here and marked it with tape. It took a long time to figure this out…
Getting even one power source on a new bike isn’t easy…
The layout and bundling are complete, and all covers are back on. Finally seeing the finish line.
Now I’ll make a hand switch and GPS antenna bracket.
I was determined to stick it on… absolutely stick it on… But looking everywhere… there’s nowhere to stick it!
All this thinking is a waste of time—it’s faster to make a bracket and attach it where I want! That’s how I battle time every day.
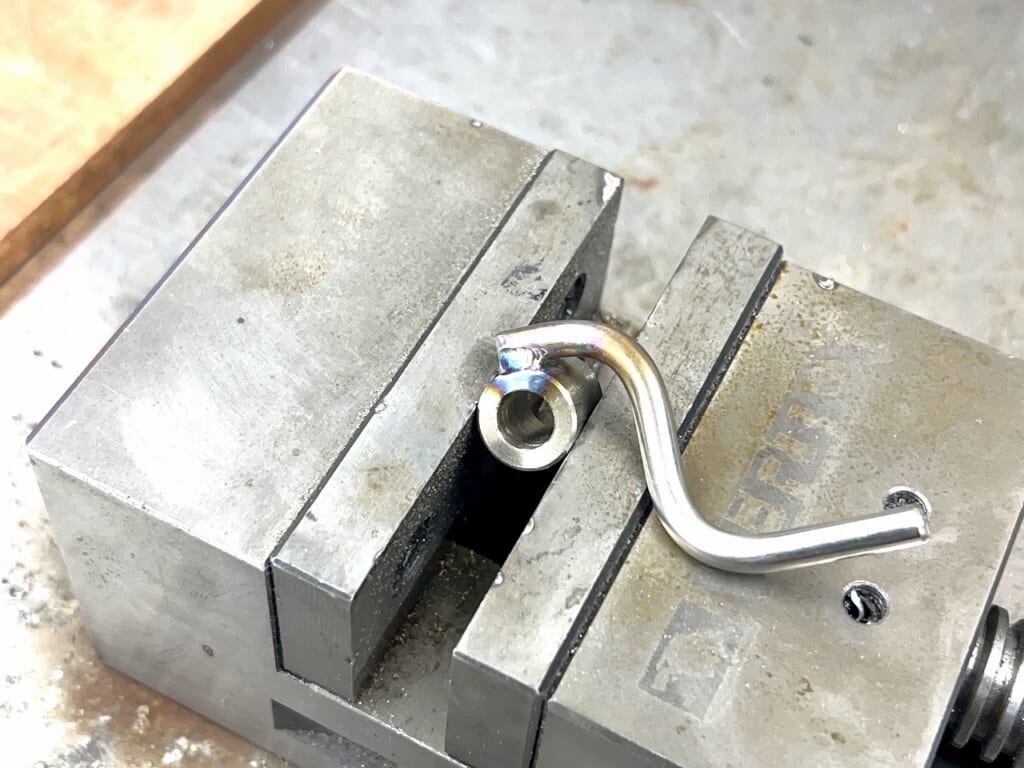
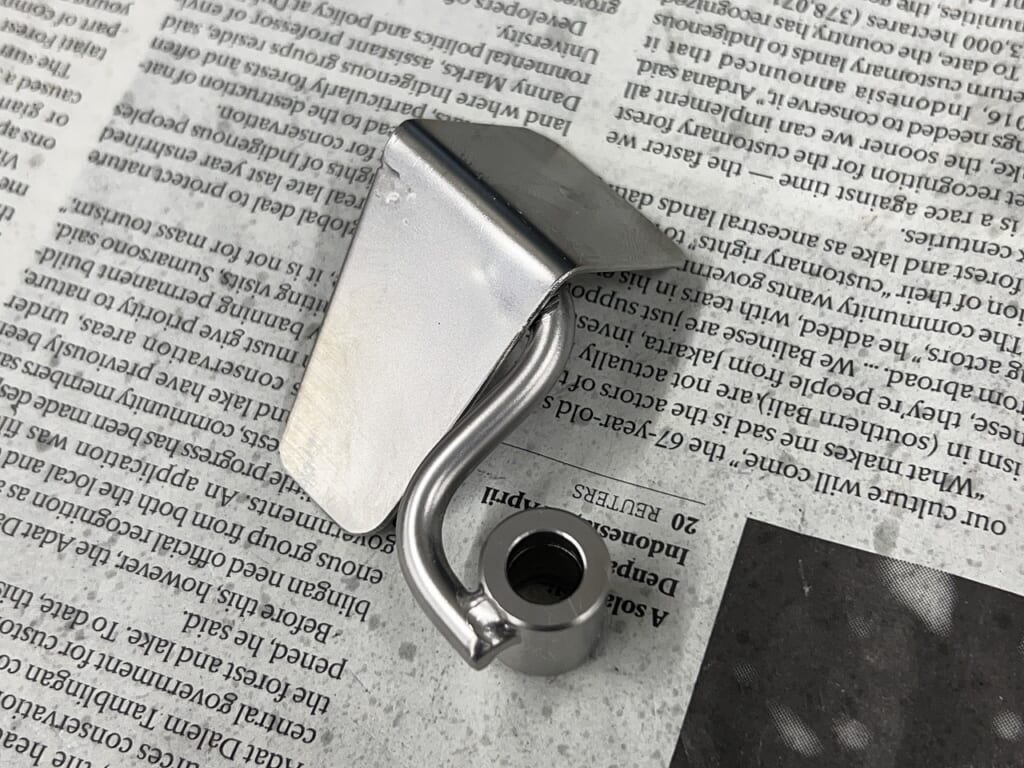
I cut, bend, weld, and make it.
Wet blasting makes it look decent. Thiscolor-to-round-bar-to-plate design has few failures and allows fine adjustments,so I use it often.
The angle can be fudged by the position of the round bar and plate—that’s the key. If points A and B positions and angles are rigidly fixed, it becomes a hassle.
I prefer to live life as easily as possible, so I keep things as simple as I can (*´ω`*)
Whether I use it or not, it’s cleanly installed and looks cool. 98% complete. I’m relieved too (*´ω`*)
Smart Power Management for X-ADV (RH21): Installing Mitsuba Dashcam with Daytona D-UNIT.
Component: Along with the dashcam, I installed the Daytona D-UNIT power management system. Why D-UNIT?: Modern bikes like the X-ADV have sensitive electronics. The D-UNIT allows accessories to draw power directly from the battery (controlled by the ignition key) without cutting into the stock wiring harness. Benefit: It keeps the wiring under the seat clean and organized, and protects the bike’s main electrical system from short circuits. Safe and expandable!



 ポチップ
ポチップ