All sorts of things come up during inspection prep…
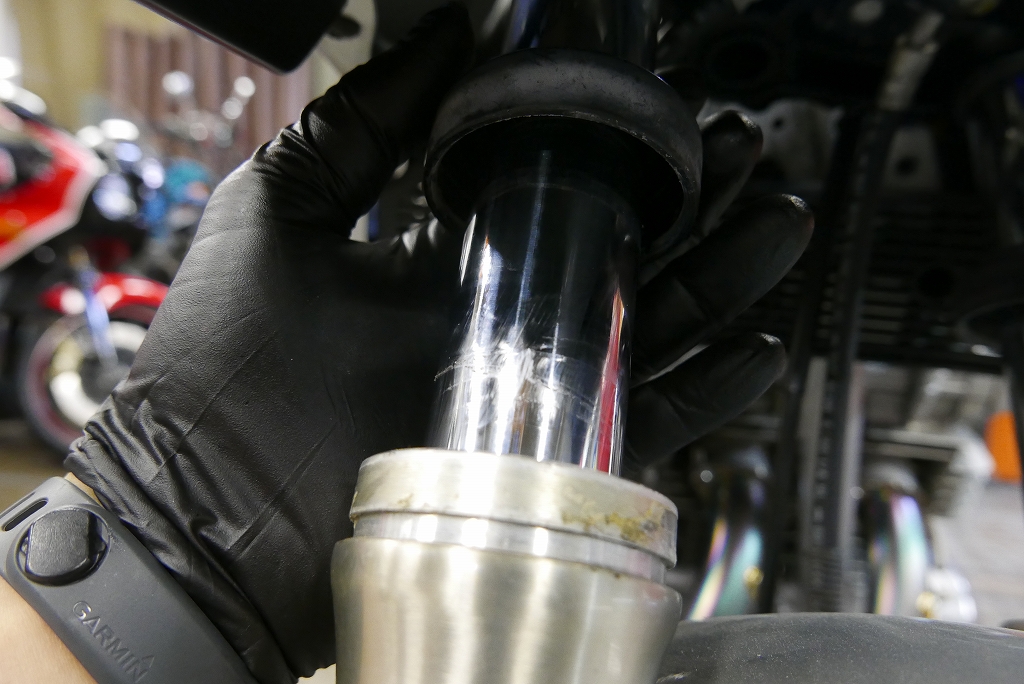
Continuing with the front. Lift the fork dust seals and clean and lubricate. Any leftover fork oil works fine. You’d be surprised how much gunk comes out.
It’s also important to visually inspect and feel by hand whether there’s any rust all the way down under the bracket.
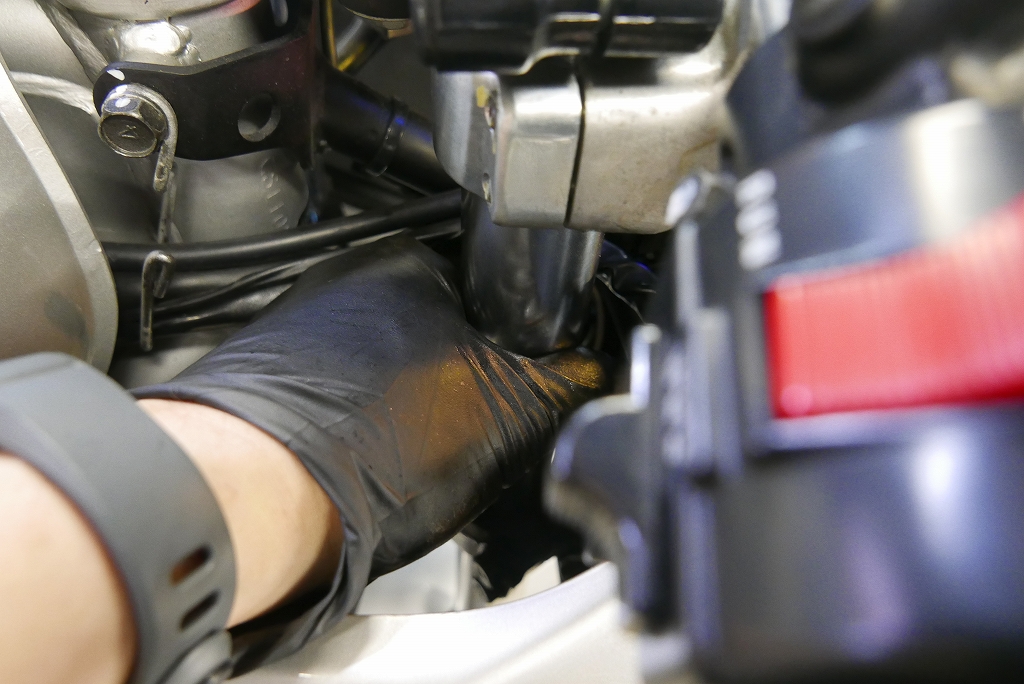
The area between the top and lower sections rusts easily, so apply anti-rust oil and spread it thin.
Apply it about as thin as you would spread oil on your skin. 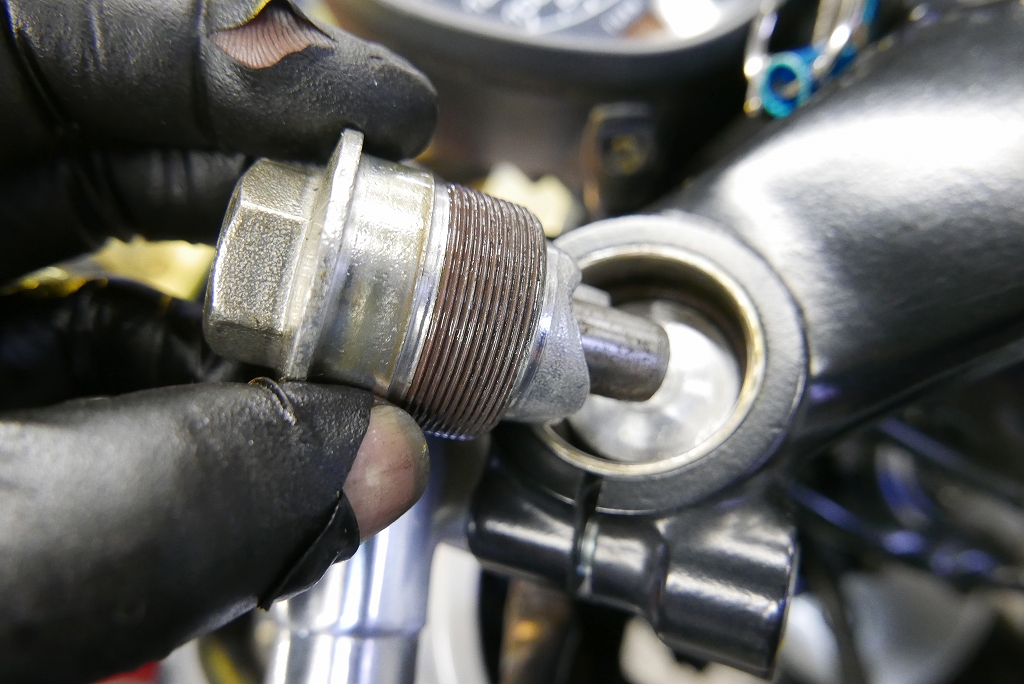
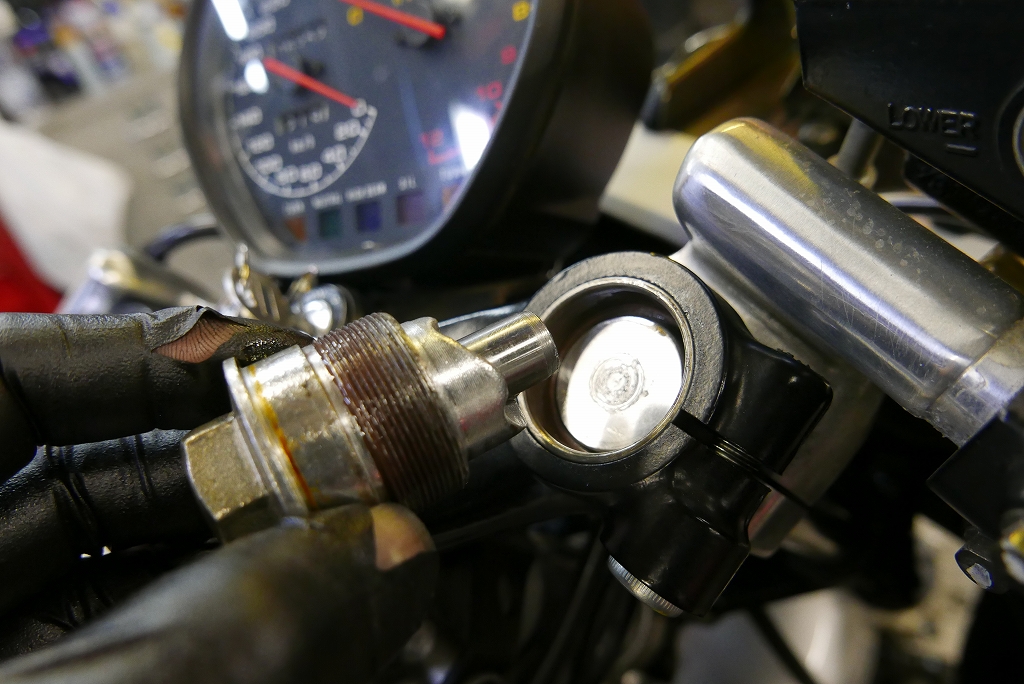
Set the fork to atmospheric pressure. Looking at it now, it’s a strange design.
It’s different from the GS, too.
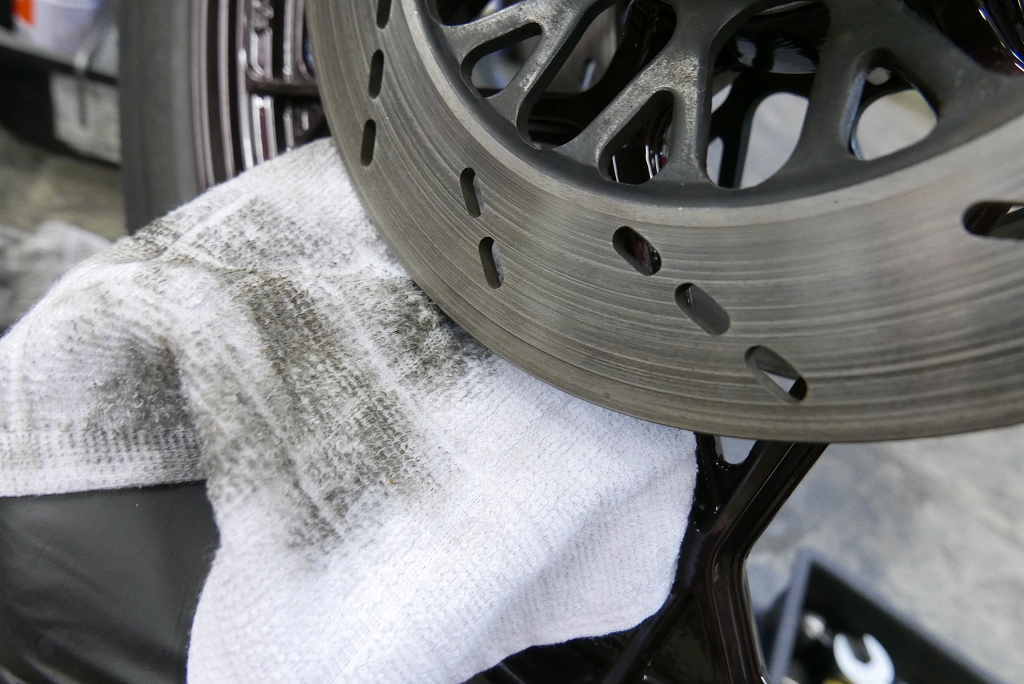
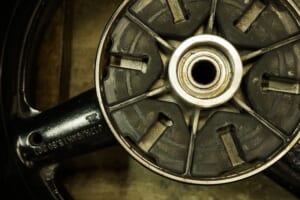
Long slot holes. Brush them out to remove debris, then degrease with cleaner. The brake disc is surprisingly dirty.
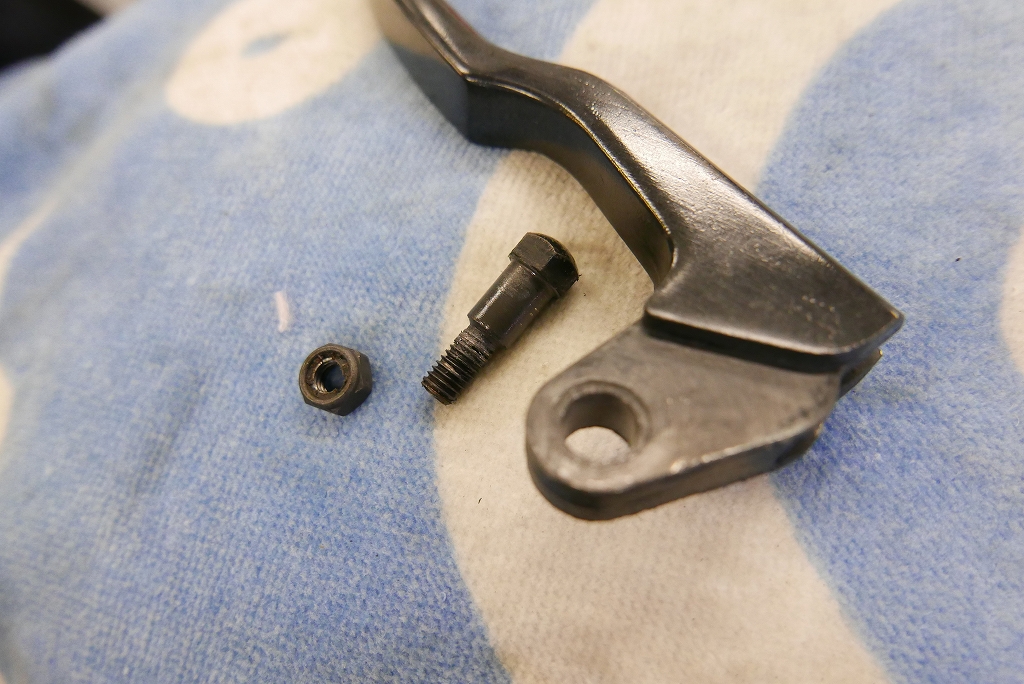
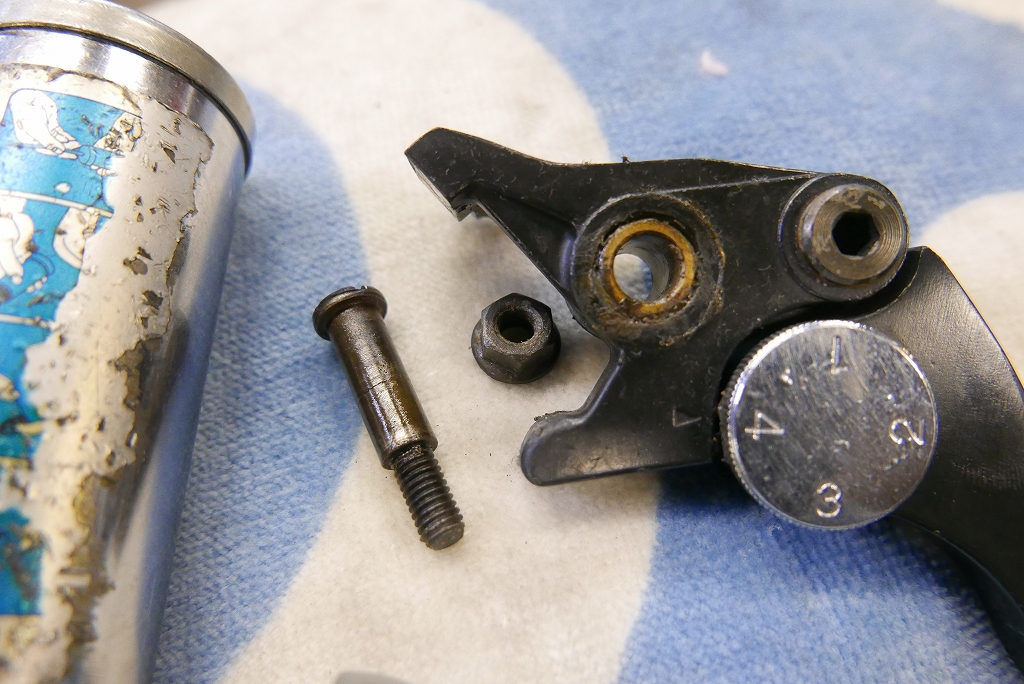
Remove the lever and lubricate it too.
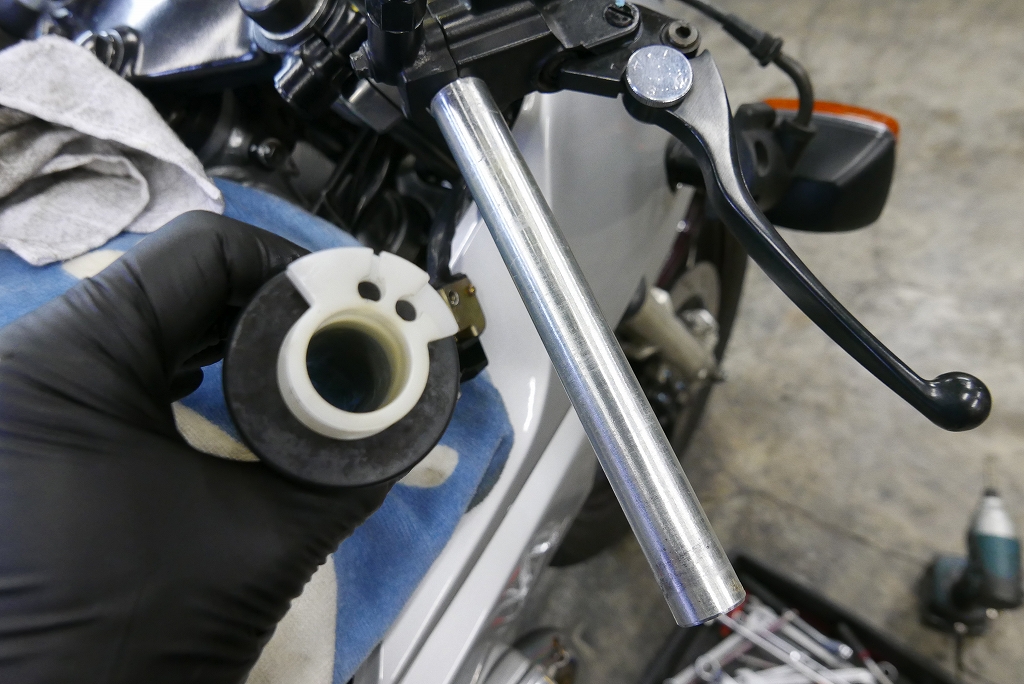
The throttle is clean. While you’re at it, lubricate the throttle and clutch cables as well.
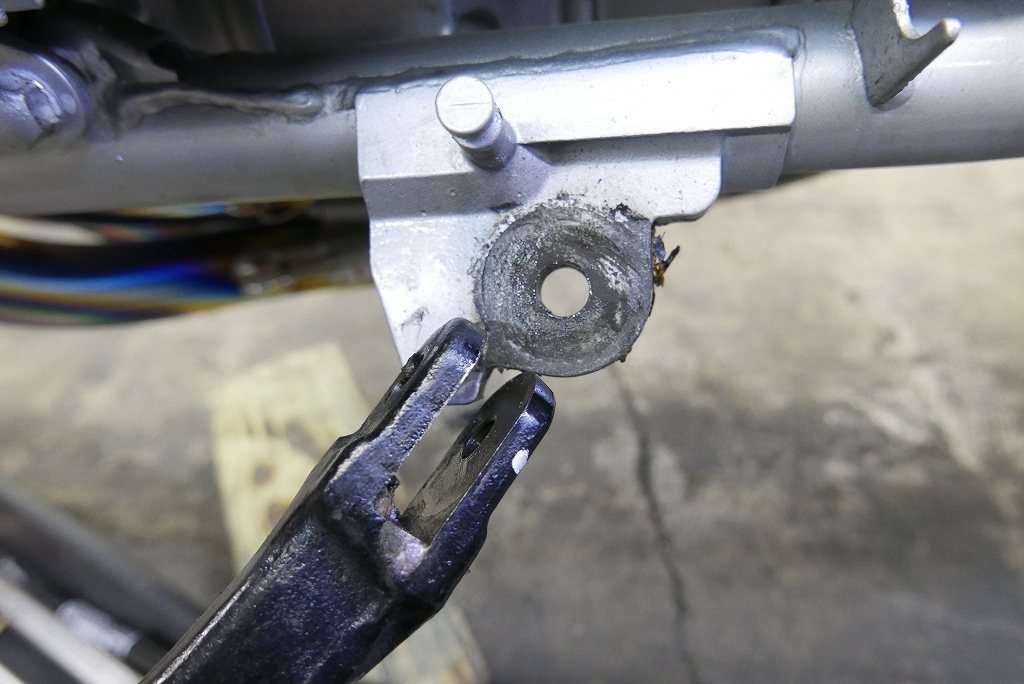
Remove the side stand and lubricate it. It’s safer to replace the lock nut every time.
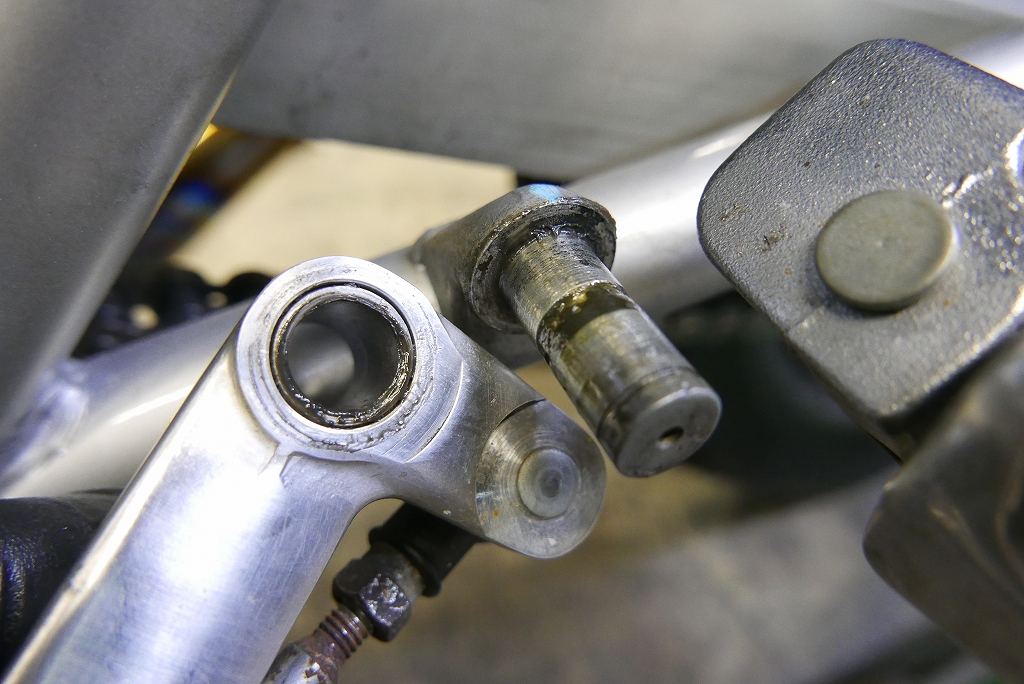
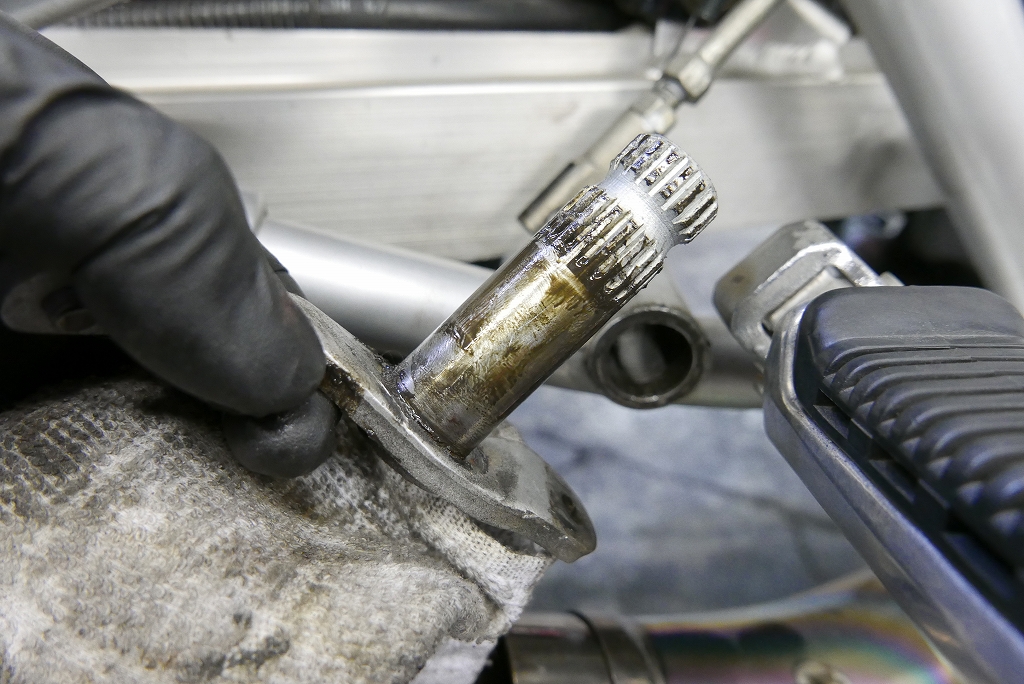
Remove the left and right pedal shafts and clean and lubricate them. You can get results from the outside, but removing them definitely makes the effect last longer.
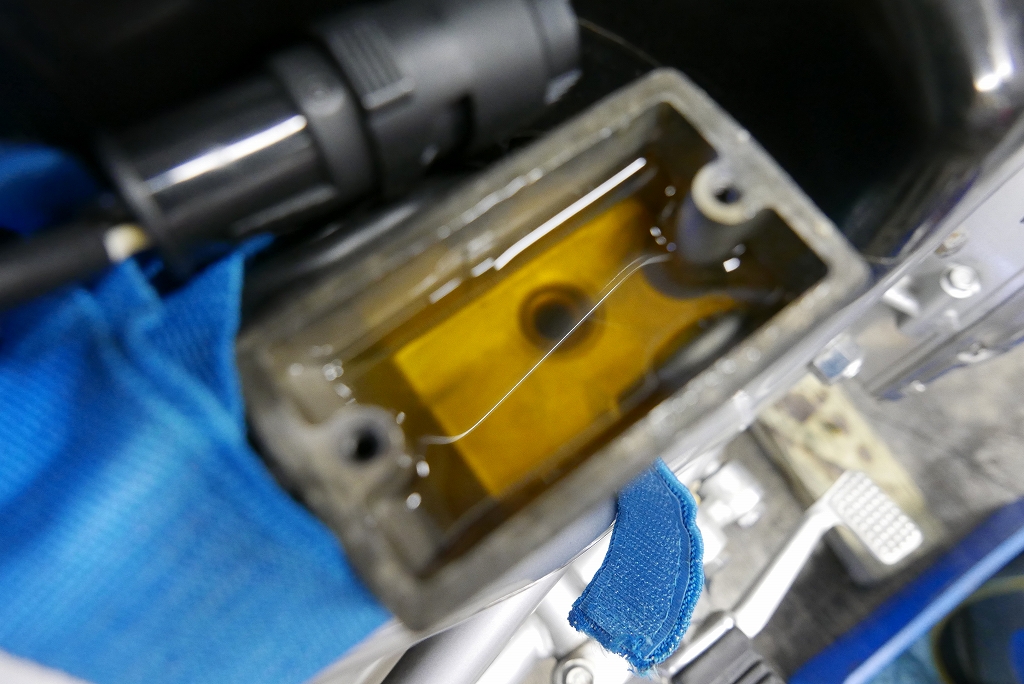
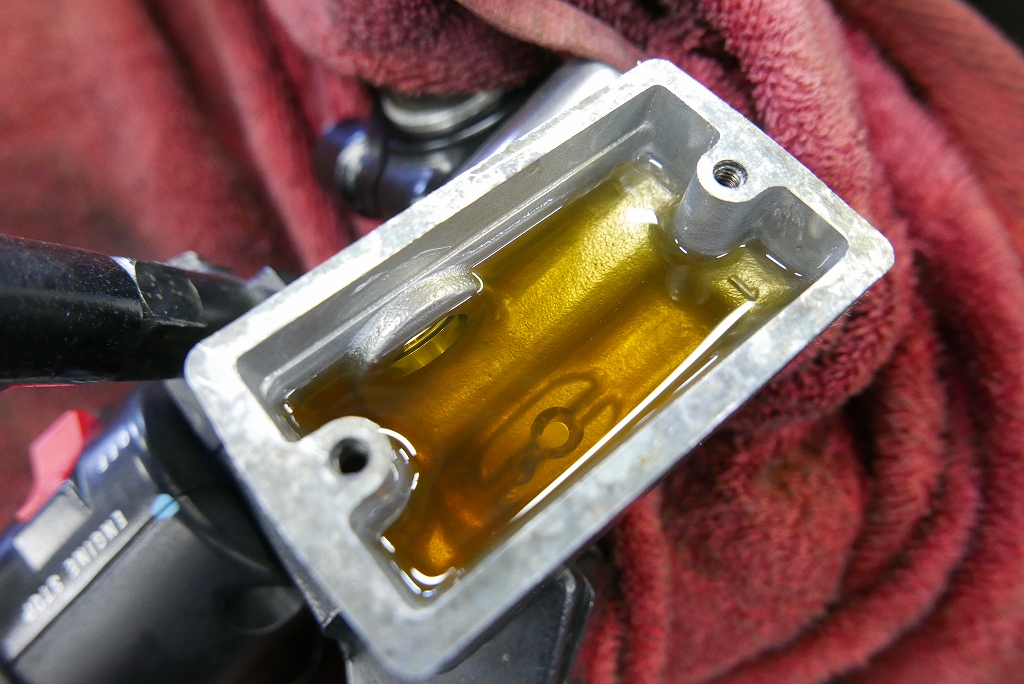
Brake fluid is CCI Golden Cruiser DOT4. I think it’s worth trying different oils and brake fluids.
If you can’t feel much difference between racing and street versions, go with the street type for longer durability. If you’re the type who says the feel matters—the lever gets mushy—then go racing. You’ll find what works for you.
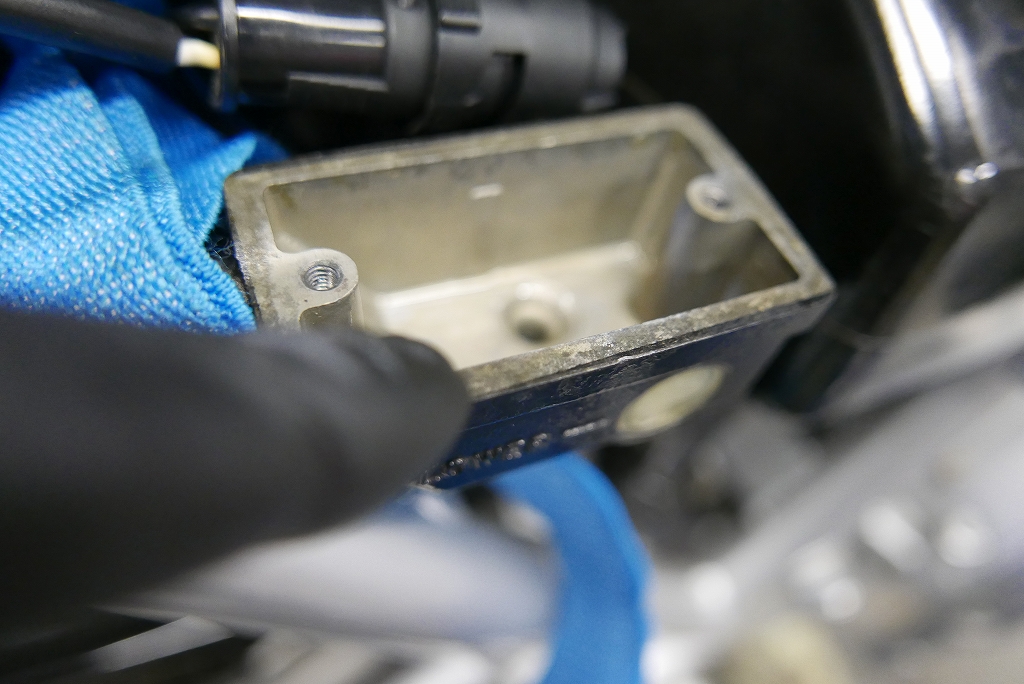
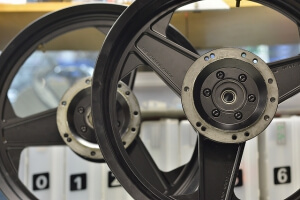
Clean the rim with an oil stone.
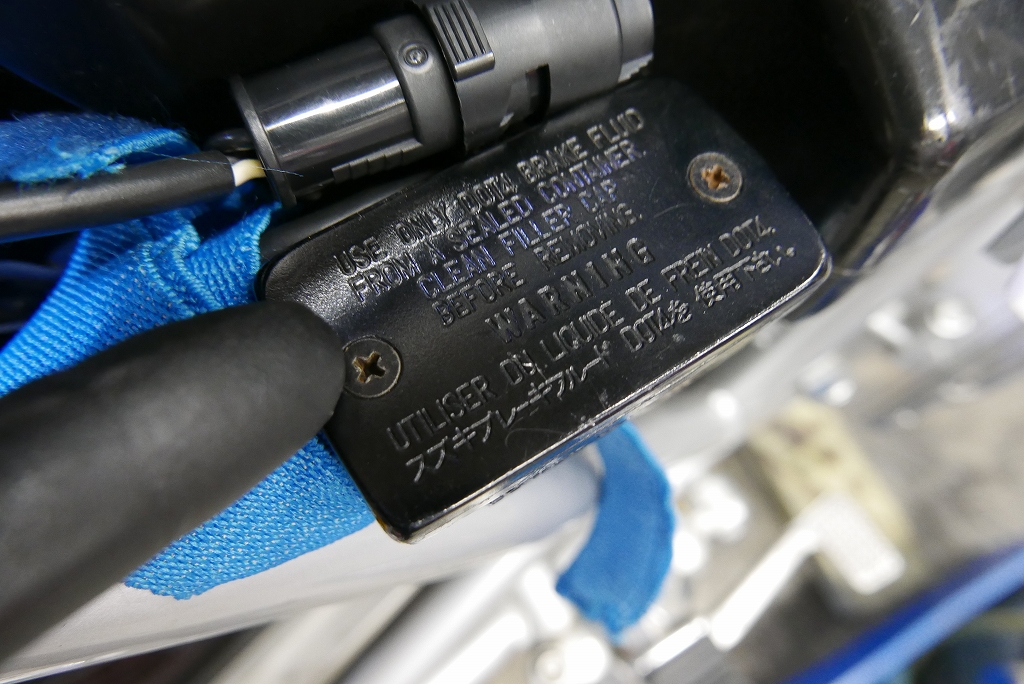
We replace the diaphragm cover bolts about every other time.
Most of these are nearly the same size. If you’re a shop, it’s worth buying them by the box.
Considering they can rust and seize, maybe stainless steel isn’t the best choice.
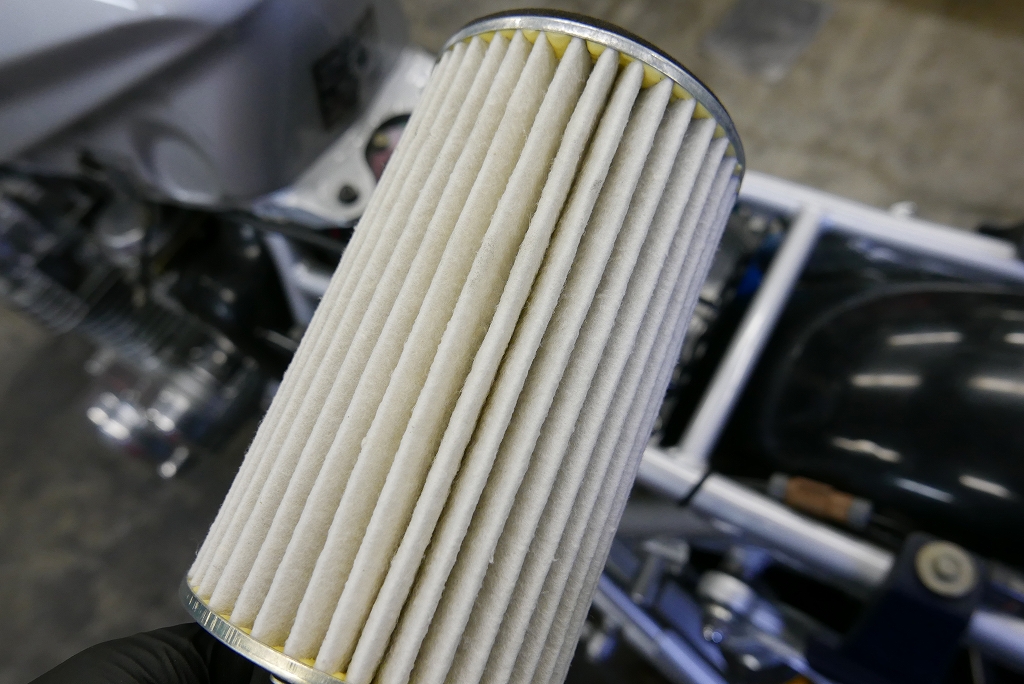
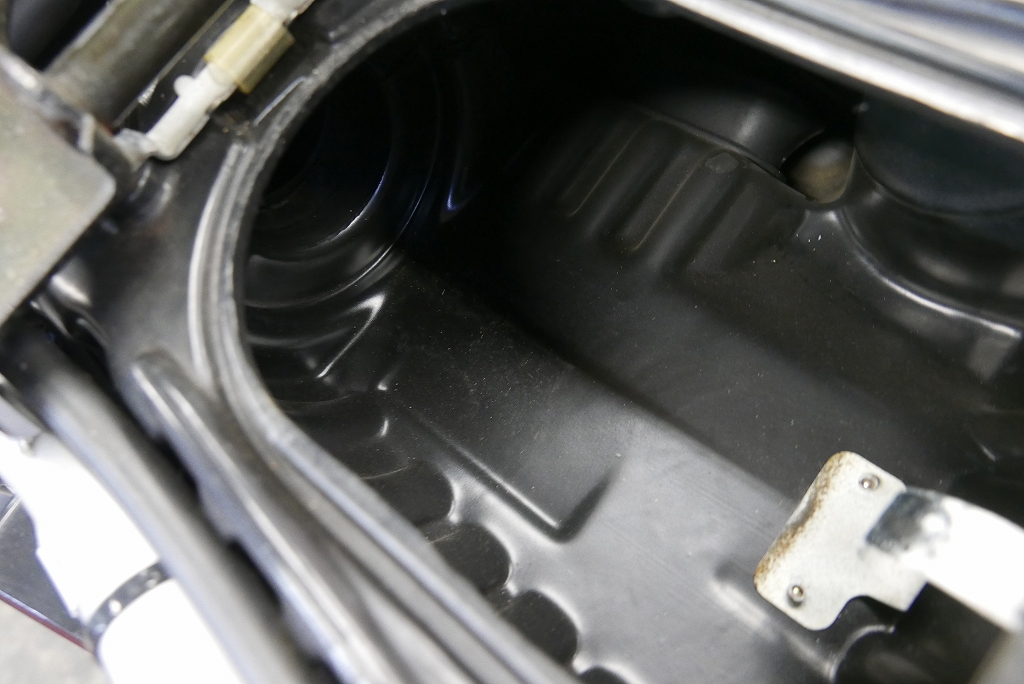
The air filter box interior was clean.
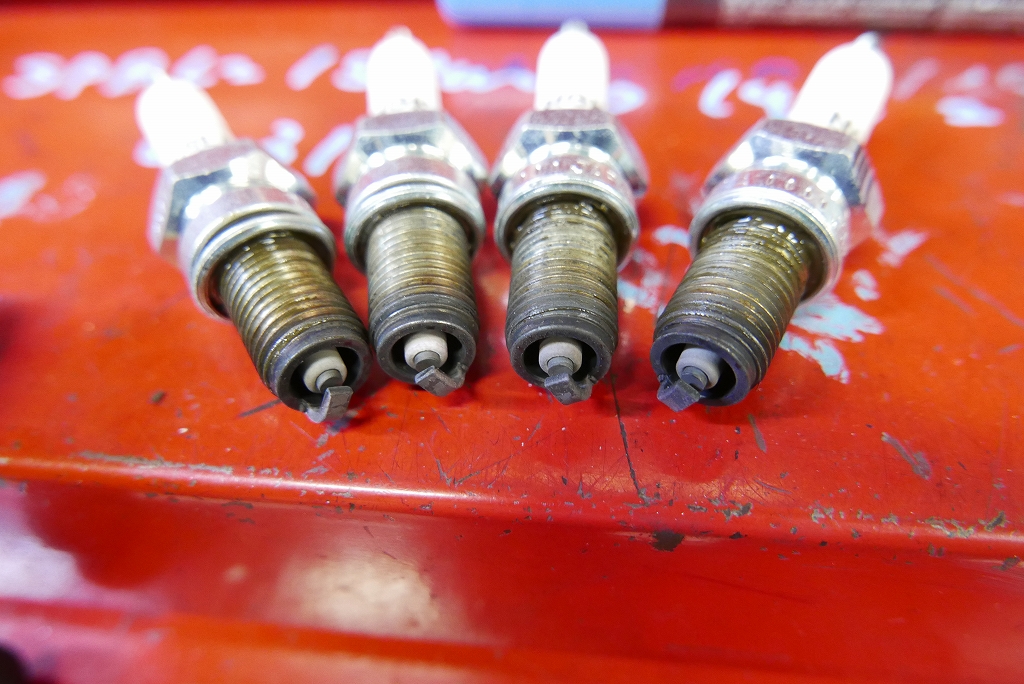
The spark plug color looks good.
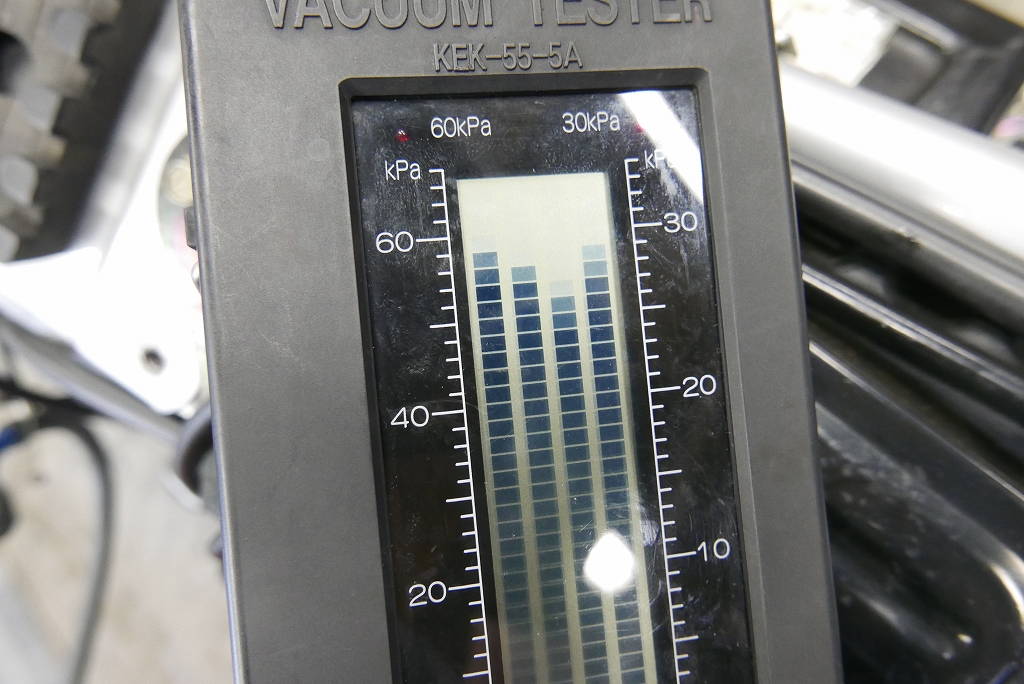
The synchronization is pretty much OK, but while we’re at it
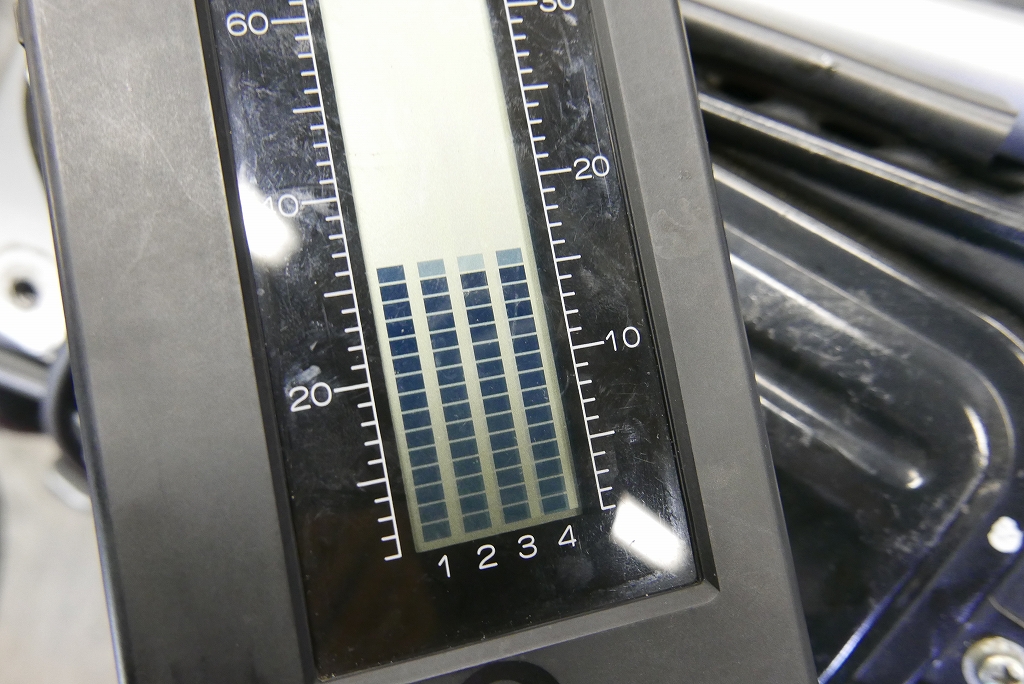
we adjusted it.
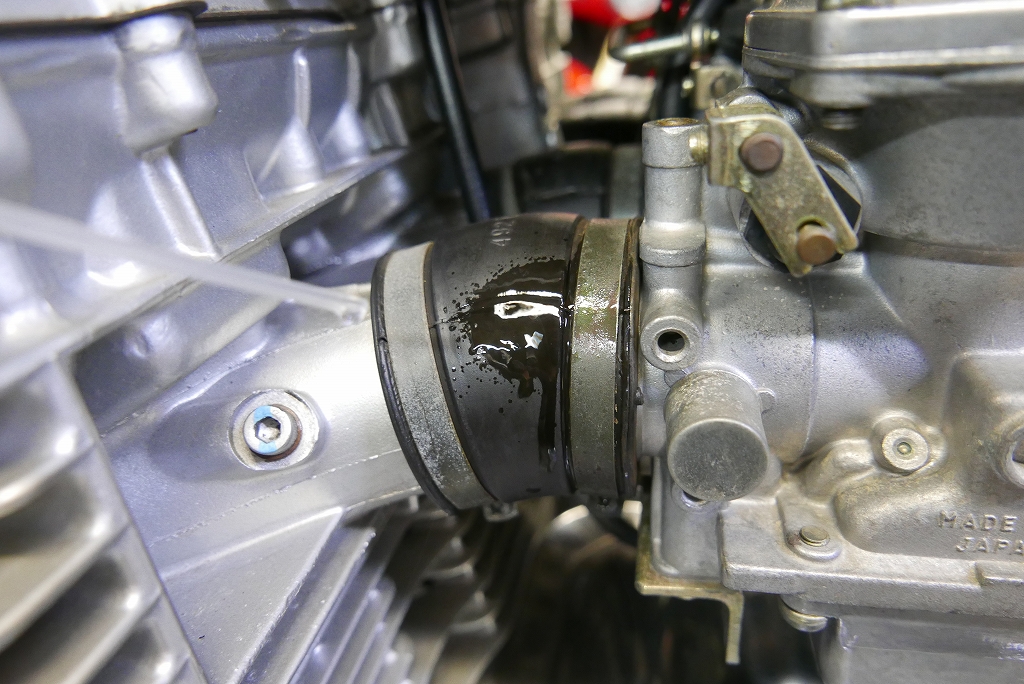
The synchronization is fine, but the sound isn’t quite crisp. Checking revealed a slight secondary air leak. Fixing that should make it sound really crisp.
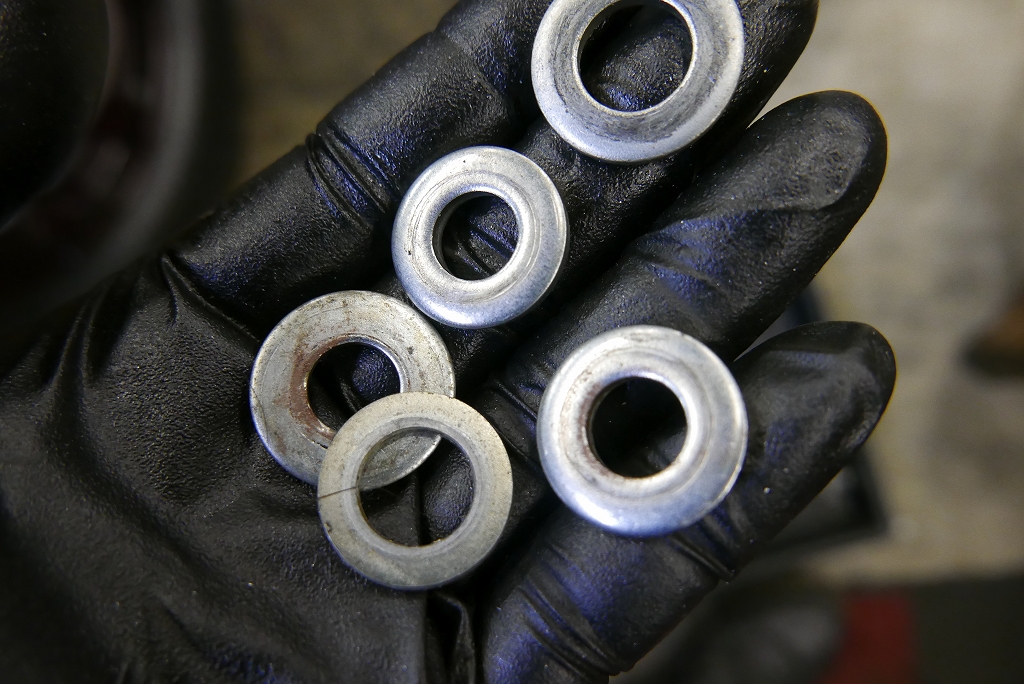
The washers on the rear suspension upper side. The left and right have different numbers, and serviceability is terrible.
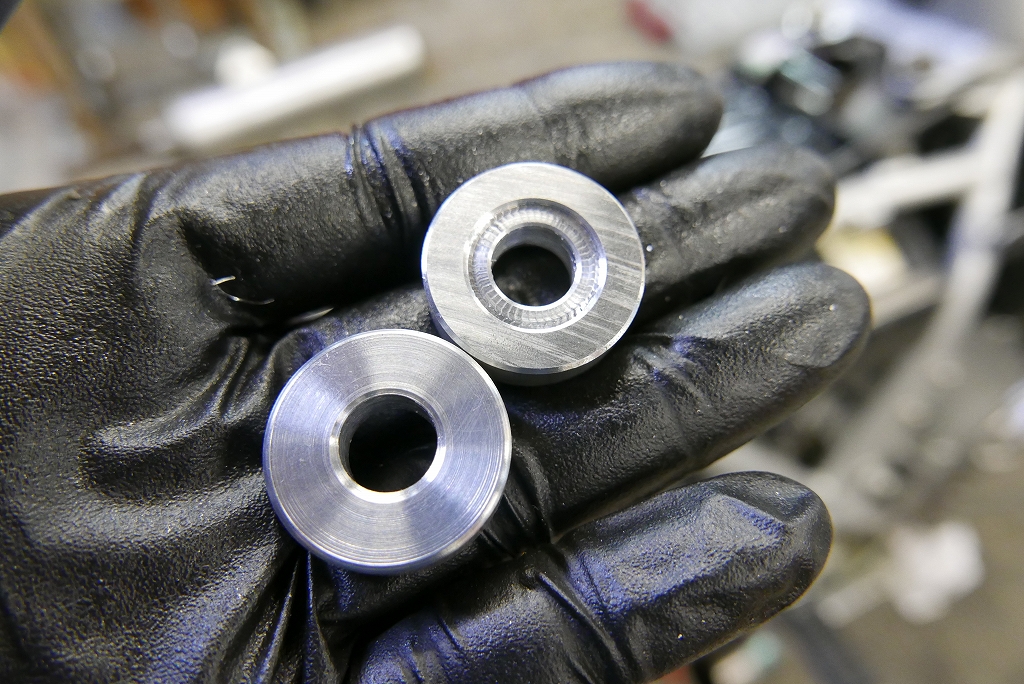
As a service, we ground the collar with a step so both sides are the same thickness (matched to the thicker one). Much easier now.
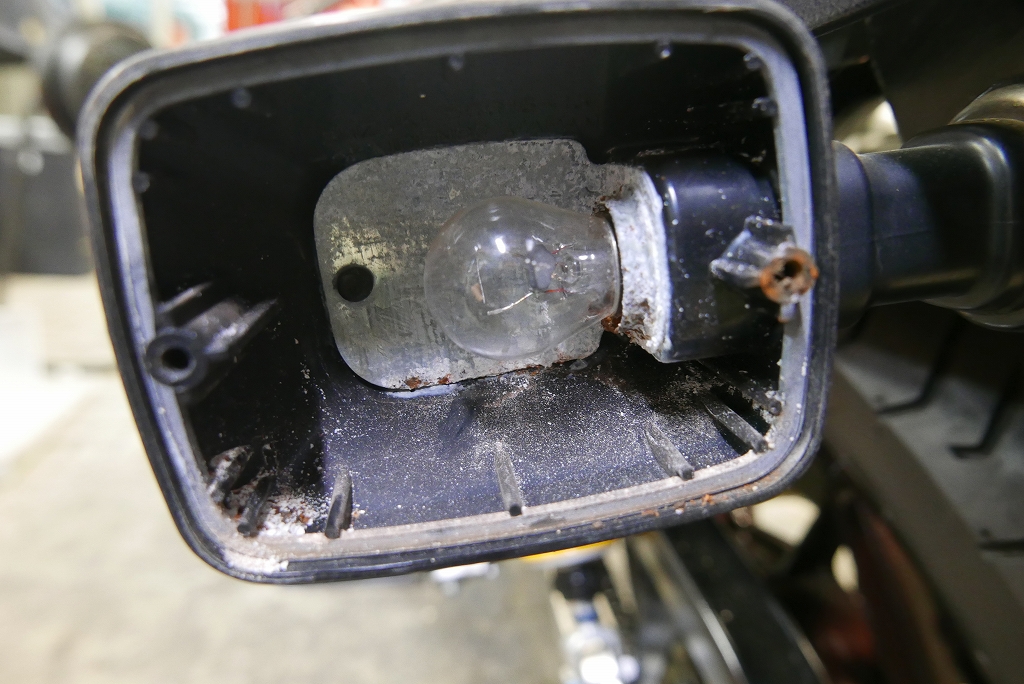
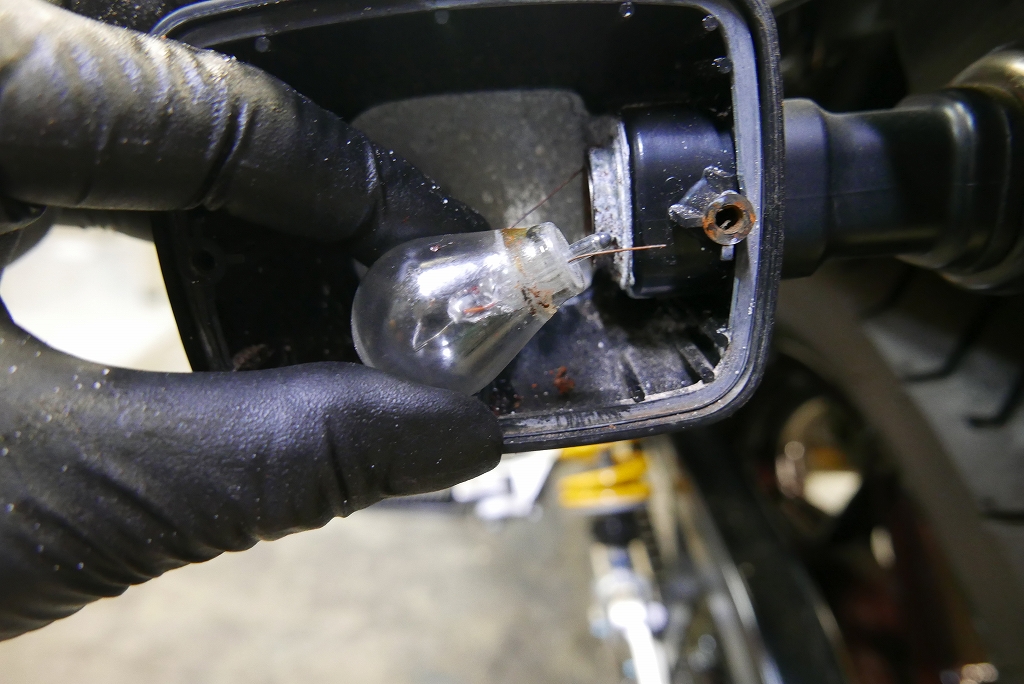
While prepping for inspection, the left rear light won’t come on…
When I removed it, there was heavy corrosion…
When I turned it, it came off and the body stayed behind…
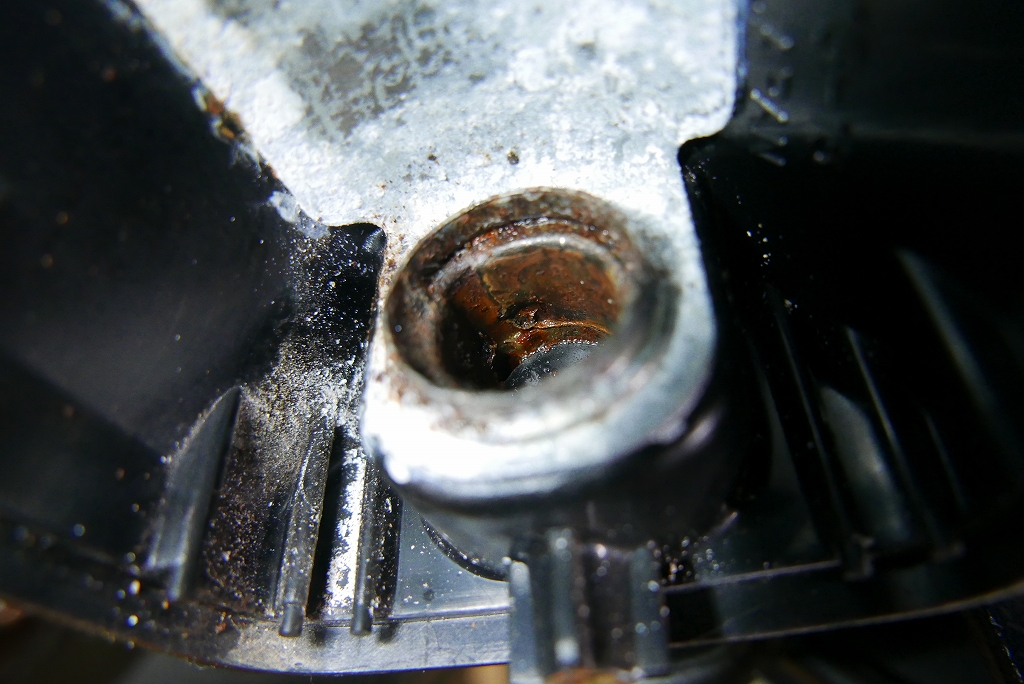
Heavily rusted… and the socket has a grounding problem. We covered it with a temporary ground for inspection. We’ll disassemble it once and add a proper ground. No sense wasting it, so let’s use it.
That’s all for now.