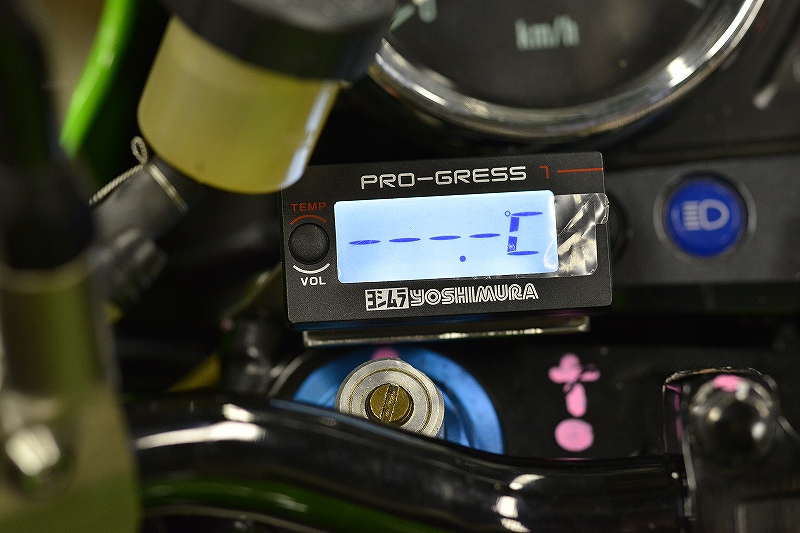
It was supposed to be finished today, but while I had ordered the housing (connector), I hadn’t arranged for the terminals (spade connectors)… oh well.
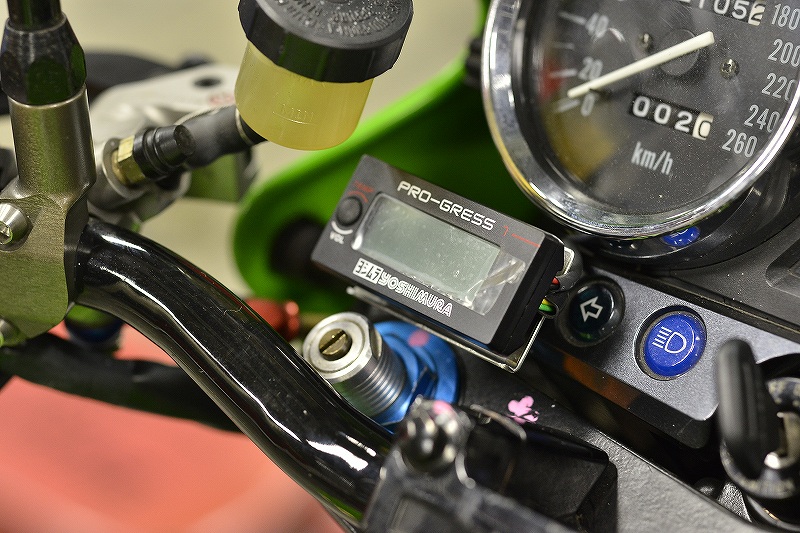
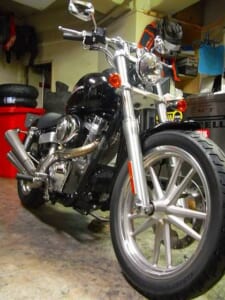
The customer wanted it center-mounted, but I mounted it on the left. I’ve raised it forward with a bracket so it’s easy to see.
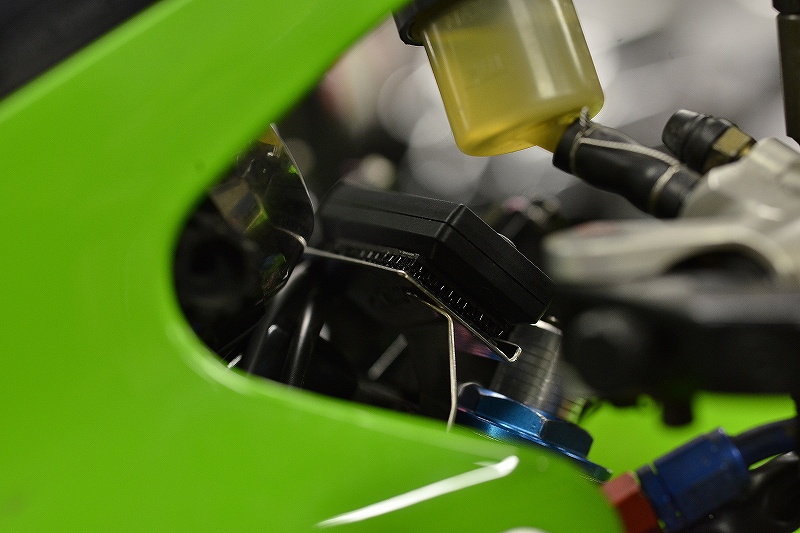
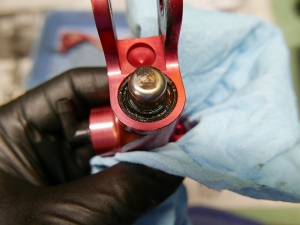
I made it a two-piece structure and welded the back together. I bent the ribs with a V5 and reinforced the plate a bit.
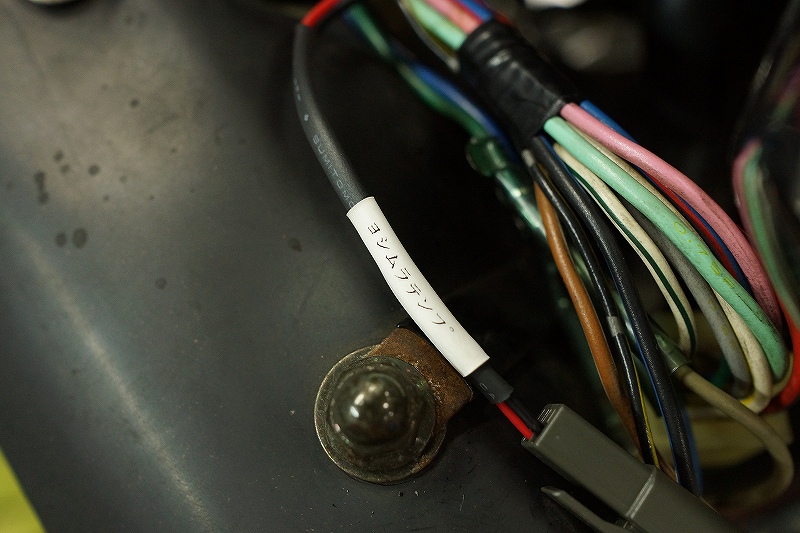
I mark it so there’s no mistake. Of course, the multi-tap goes straight in the trash after opening.
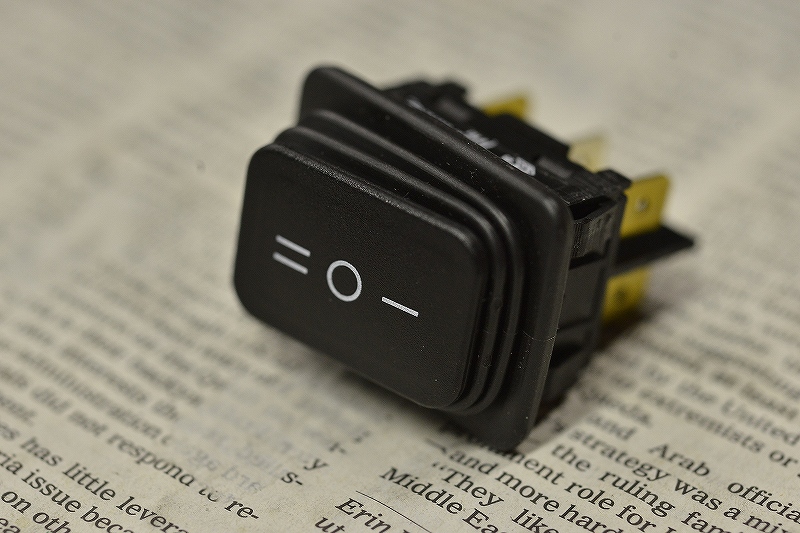
After much deliberation, I ordered a Marquardt rocker switch. I considered finger size and ease of pressing, but it had too much depth, and when I tried to install it, it seemed like it would be quite annoying, so it was rejected and I had to search for a switch again.
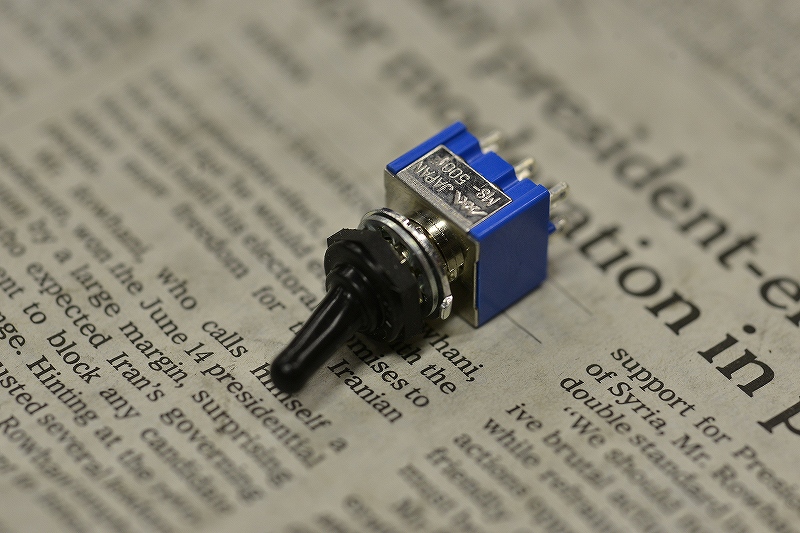
Basically, I can only choose switches where I can confirm dimensions and drawings, so the options get narrowed down accordingly.
The Miyama Electric two-circuit, two-contact switch that everyone loves—a popular standard item—and the waterproof cover felt kind of right for this, so I ordered it.
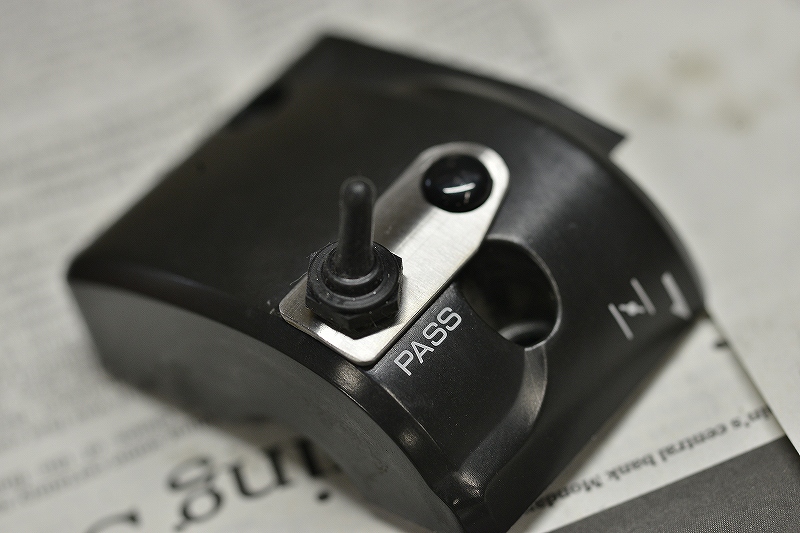
I cut SUS304HL with a hole punch contour, smoothed it with a belt sander, bent it lightly, and finished it with a super analog file.
It’s fixed with push rivets and a plate. This kind of permanent adhesive fixing turns out very disappointing. Just in case, I always think about being able to remove things, so I install them with that in mind.
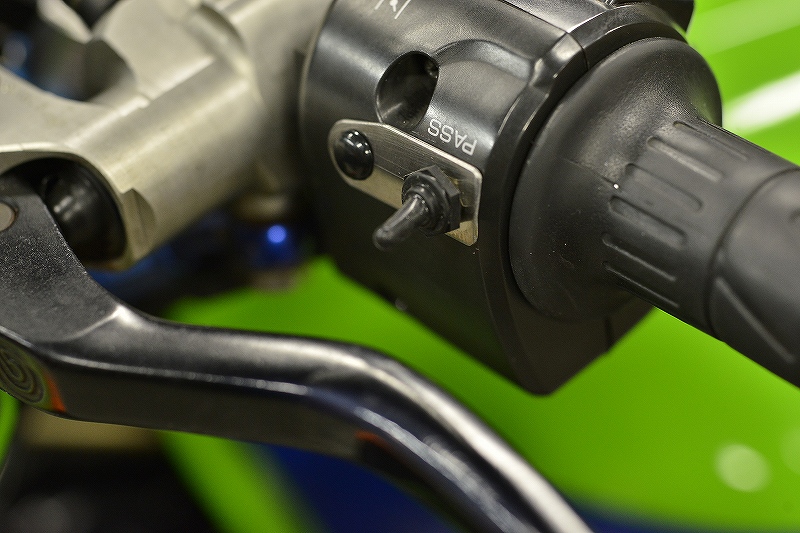
While holding the handlebar, you can switch left and right with your index finger to toggle between water temperature and oil temperature. Honestly, I spend more time searching for the switch and connector than actually building it.
But even work that seems very inefficient at first glance and doesn’t seem to lead anywhere is definitely adding to my toolkit.
However, I didn’t order the terminals, so it’s not finished yet…. On hold.