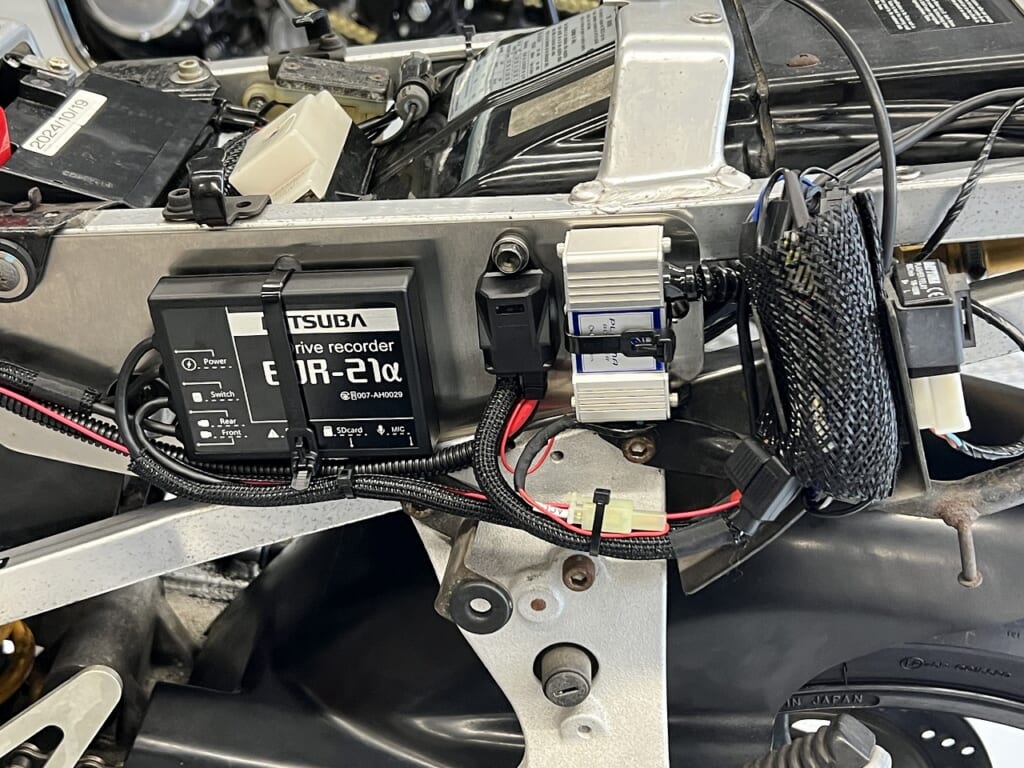
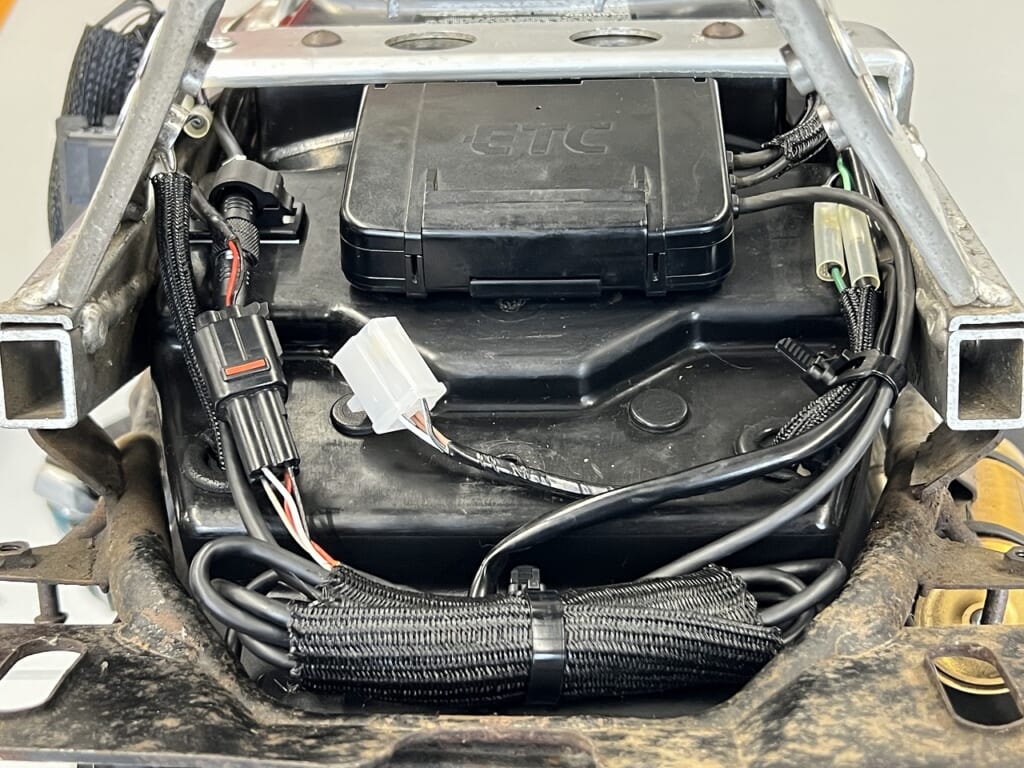
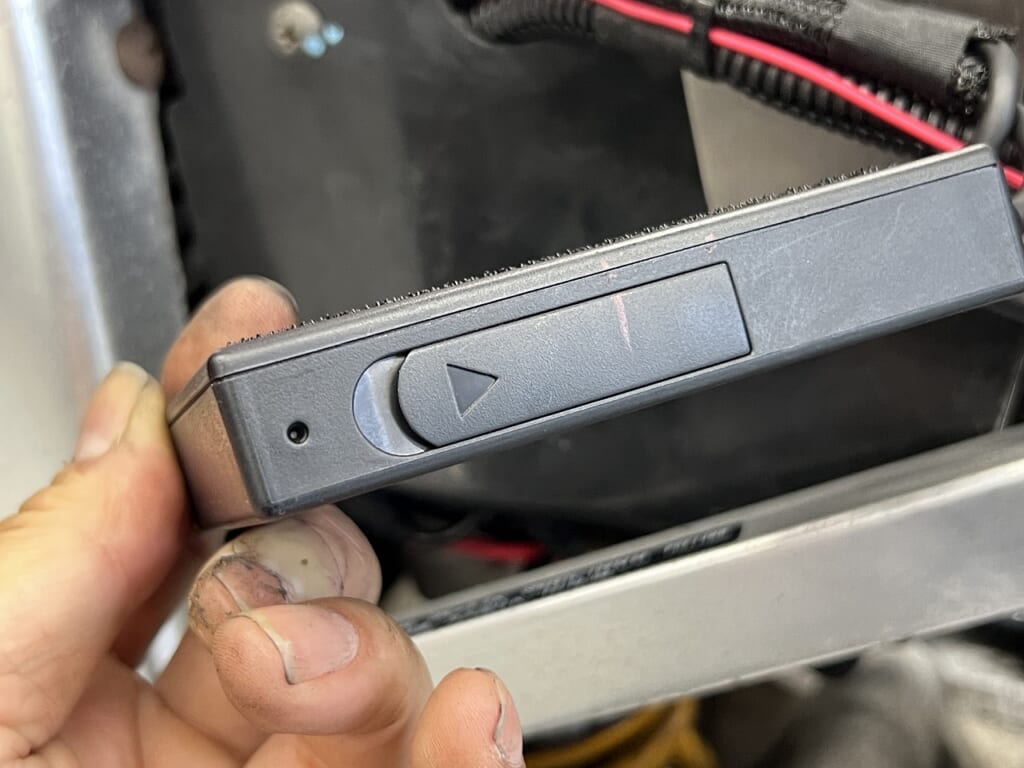
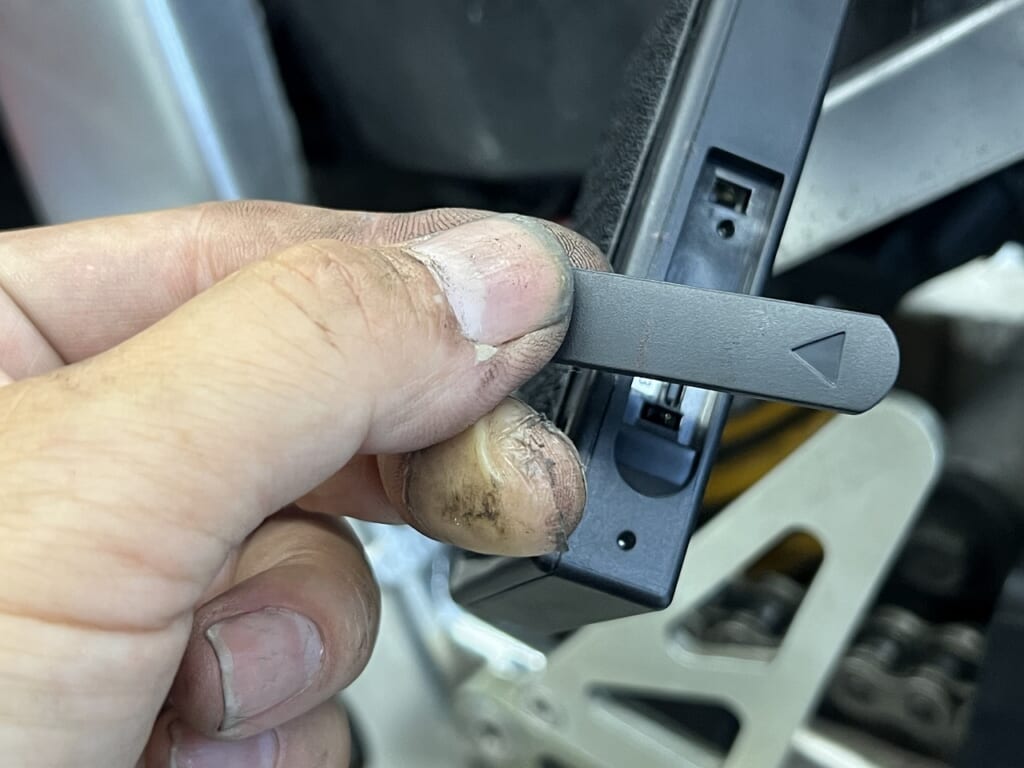
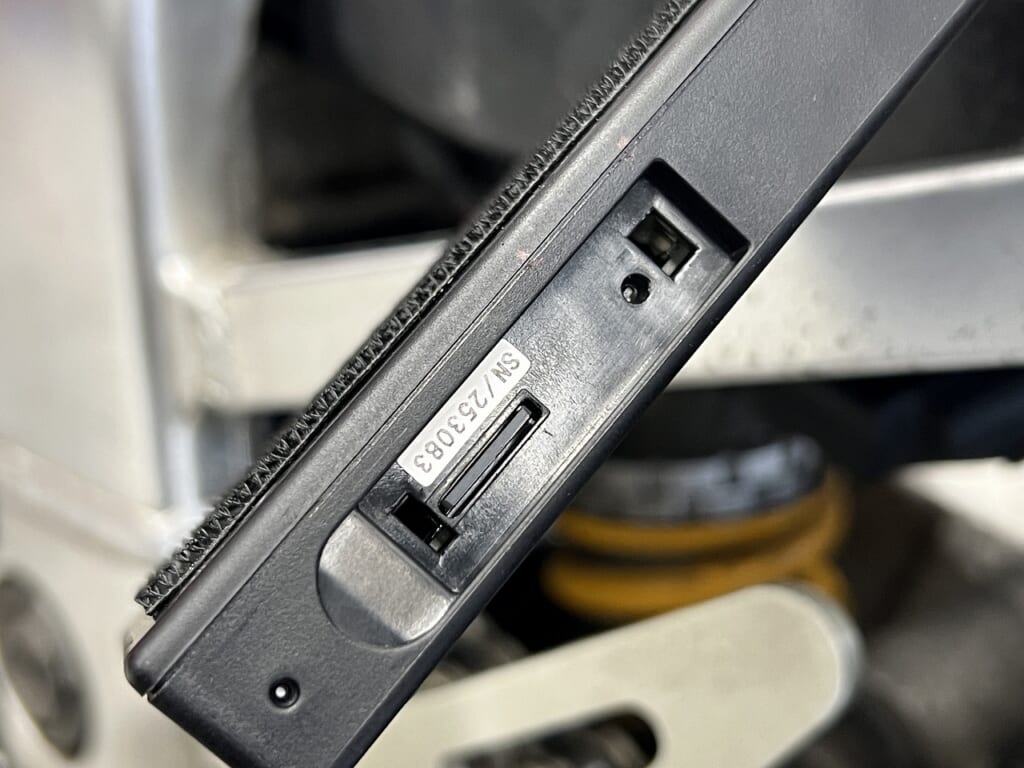
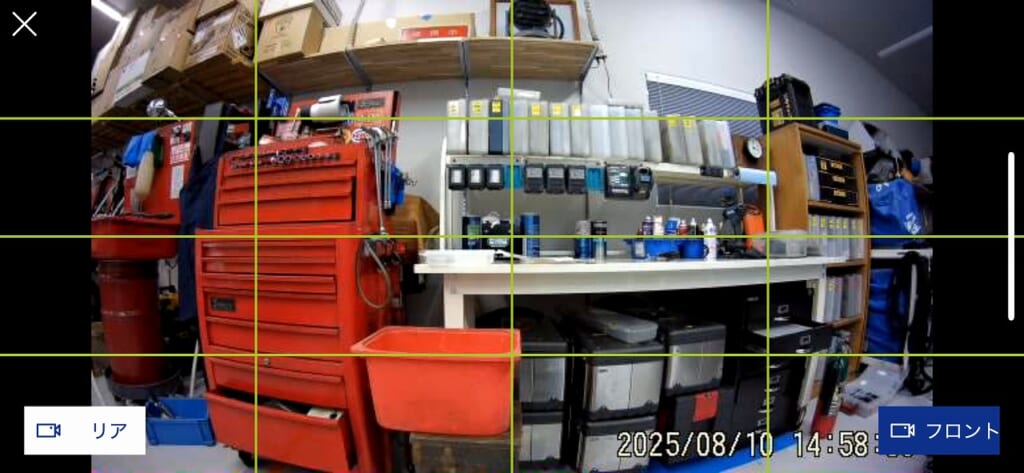
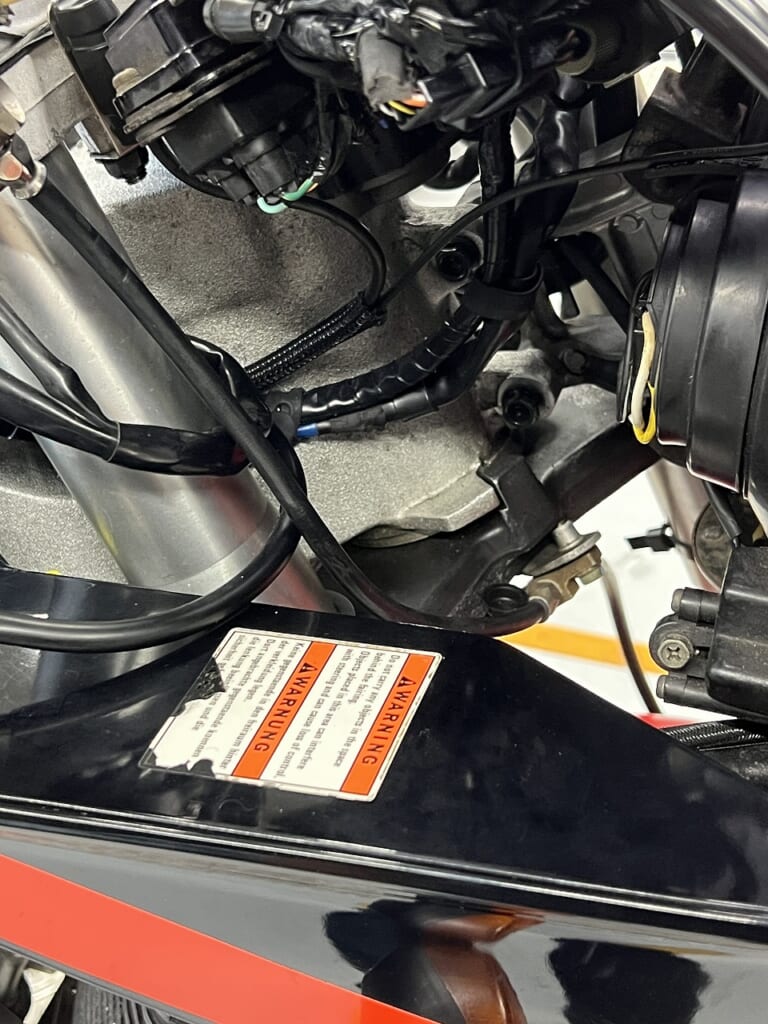
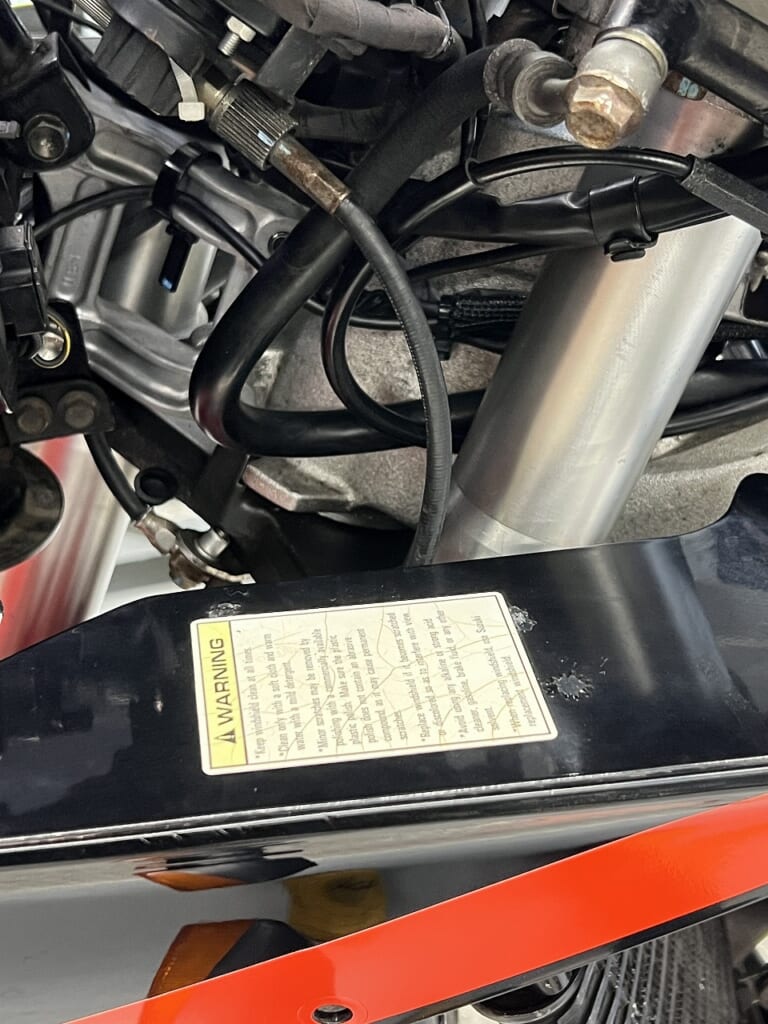
The harness and aftermarket electrical component layout is complete, so let’s verify it.
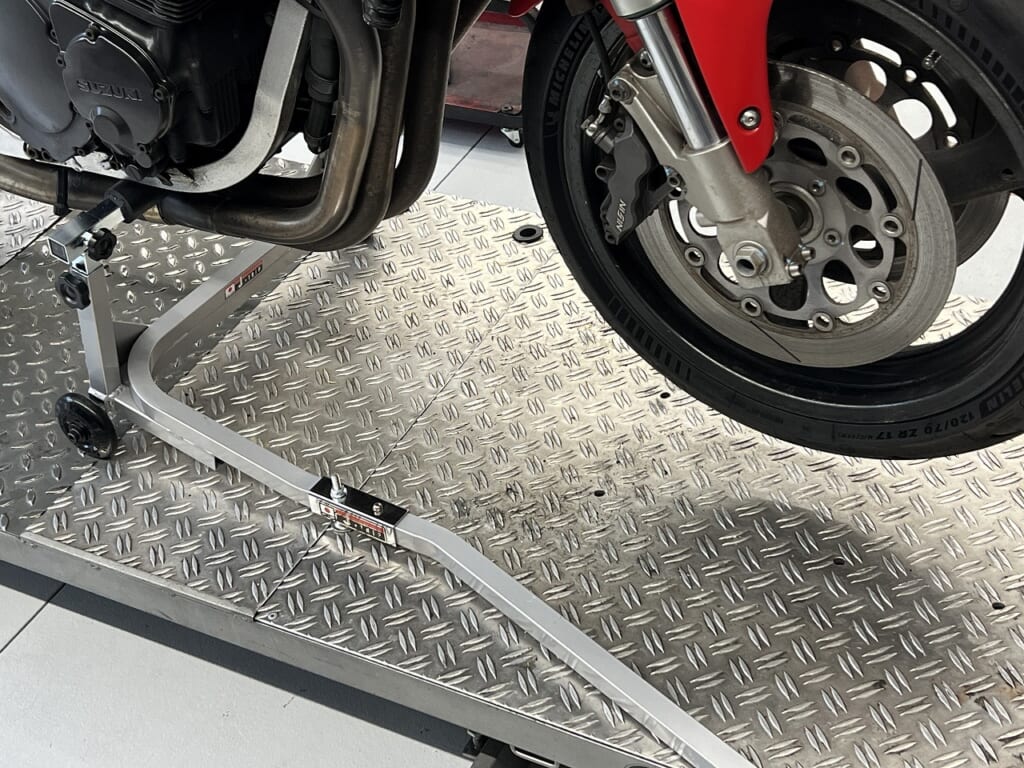
The J-TIRP front stand is something I use almost every week. For bikes with an under-tube, this is typically how we lift the front.
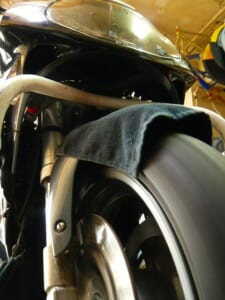
Lift the front and turn it left and right to ensure smooth movement. If something rubs, it can cause symptoms similar to steering issues. Also, if there’s rubbing, problems can occur, so let’s go with the safest approach.
↑A frame stand is truly convenient! You’ll find it revolutionary.
Daytona D-UNIT WR and similar make things convenient, but there are many components.
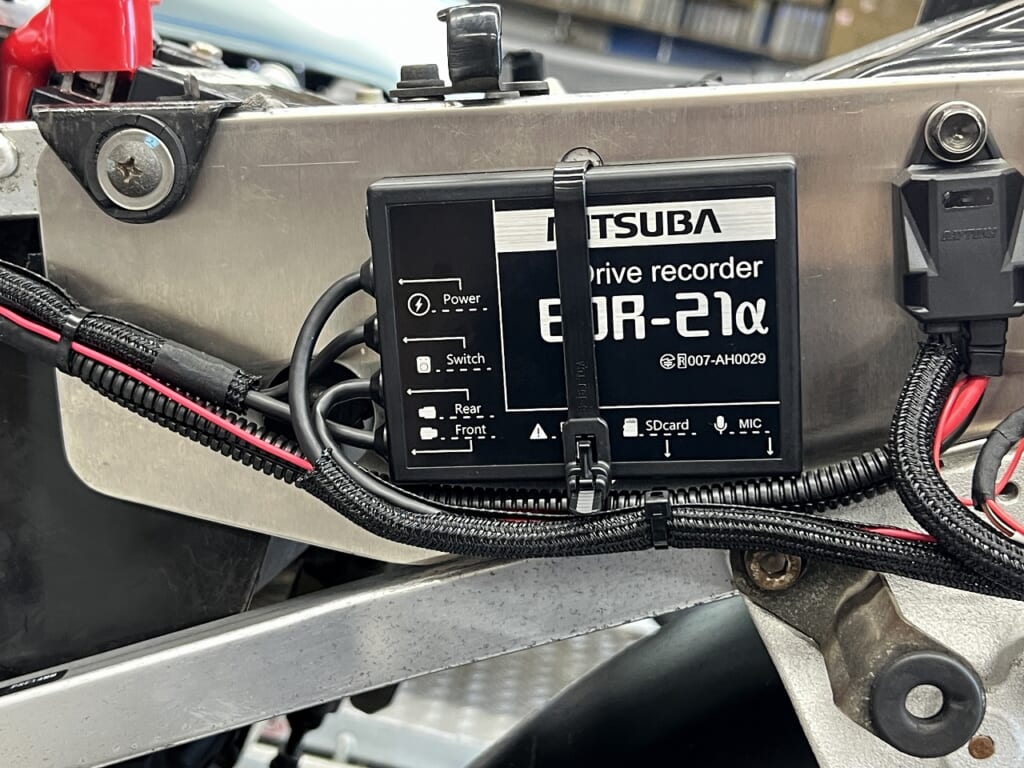
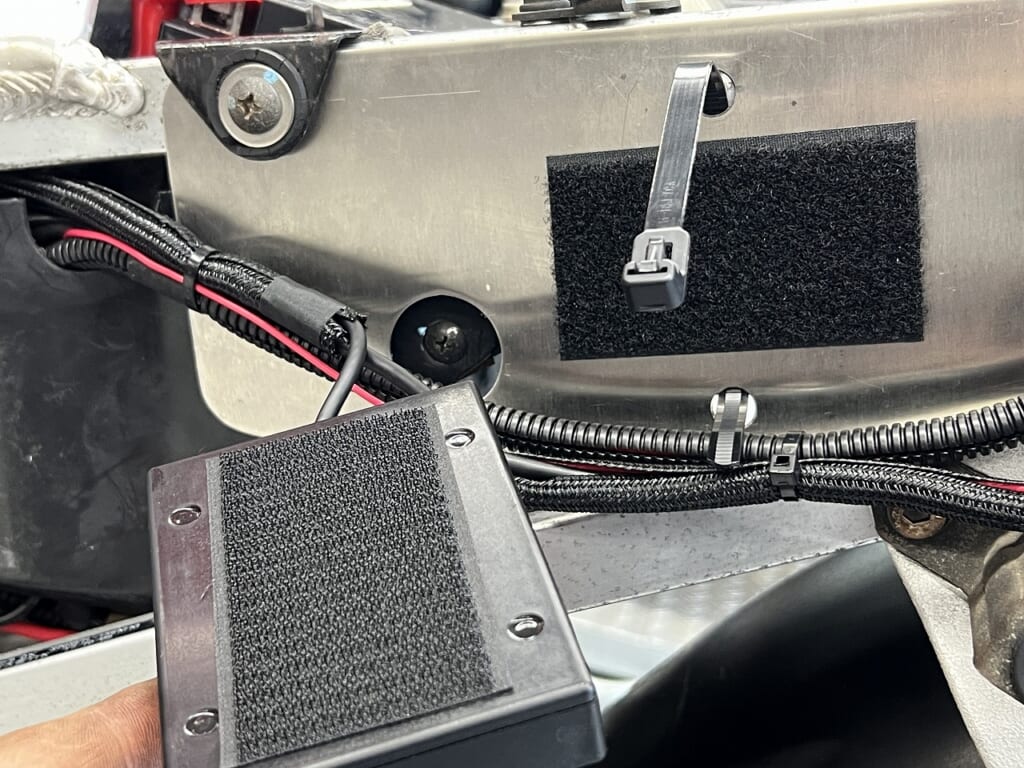
Nowadays, the frequency and number of electrical components being installed is quite high. ETC/USB/Dash Cam/Grip Heater/Thermometer
Older bikes have more freedom in layout, which is nice, but newer bikes can be quite challenging.
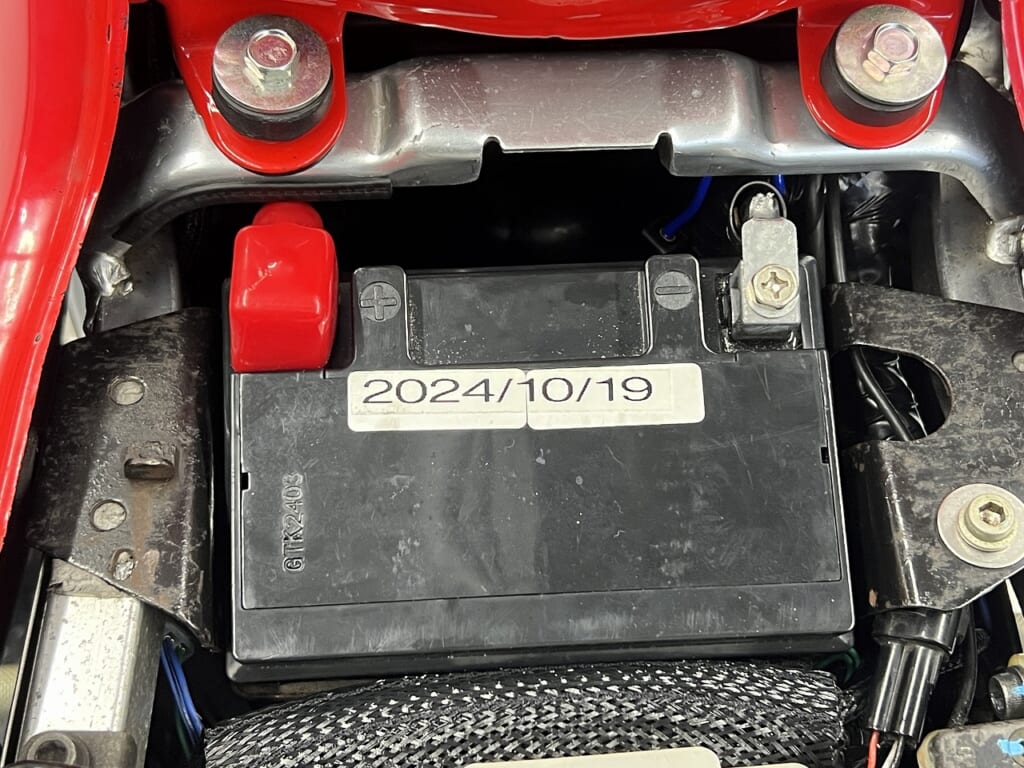
If possible, it’s simpler not to co-tighten at the battery terminal. Also, the possibility of problems occurring decreases.
I suspect that recent motorcycle fires may actually be caused by co-tightening at the battery terminal positive side. Co-tightening at the battery terminal is that dangerous.
As I get older, many things scare me, and I want to insulate these areas with conduit.
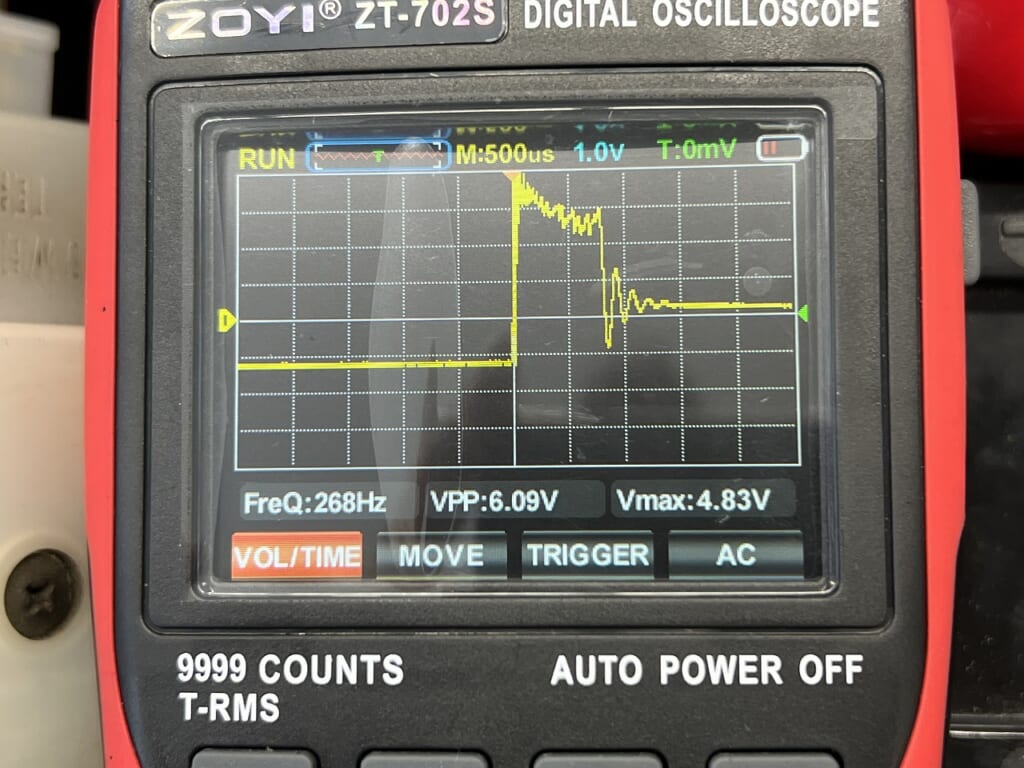
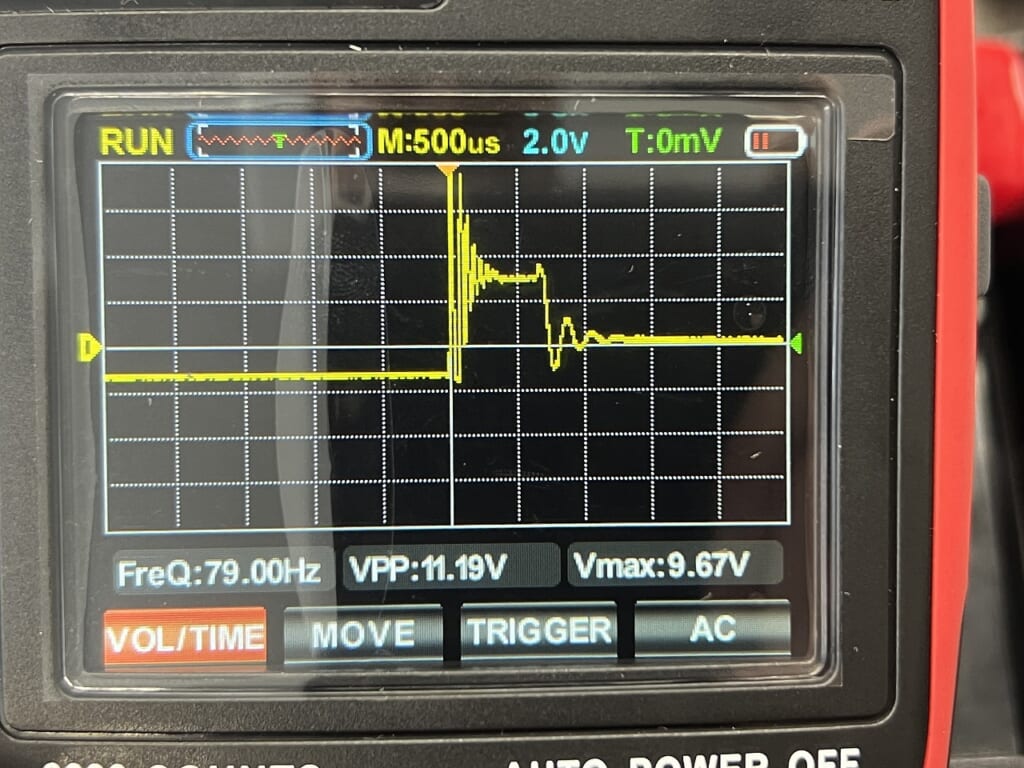
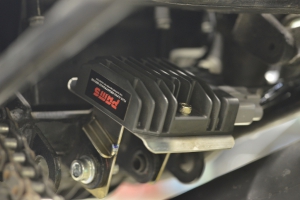
I’ll verify with a simple oscilloscope that it’s multi-sparking properly. Lately, I’m really happy that you can get this color oscilloscope cheaply on Amazon. I only use it occasionally, so I think a palm-sized cheap one is fine.
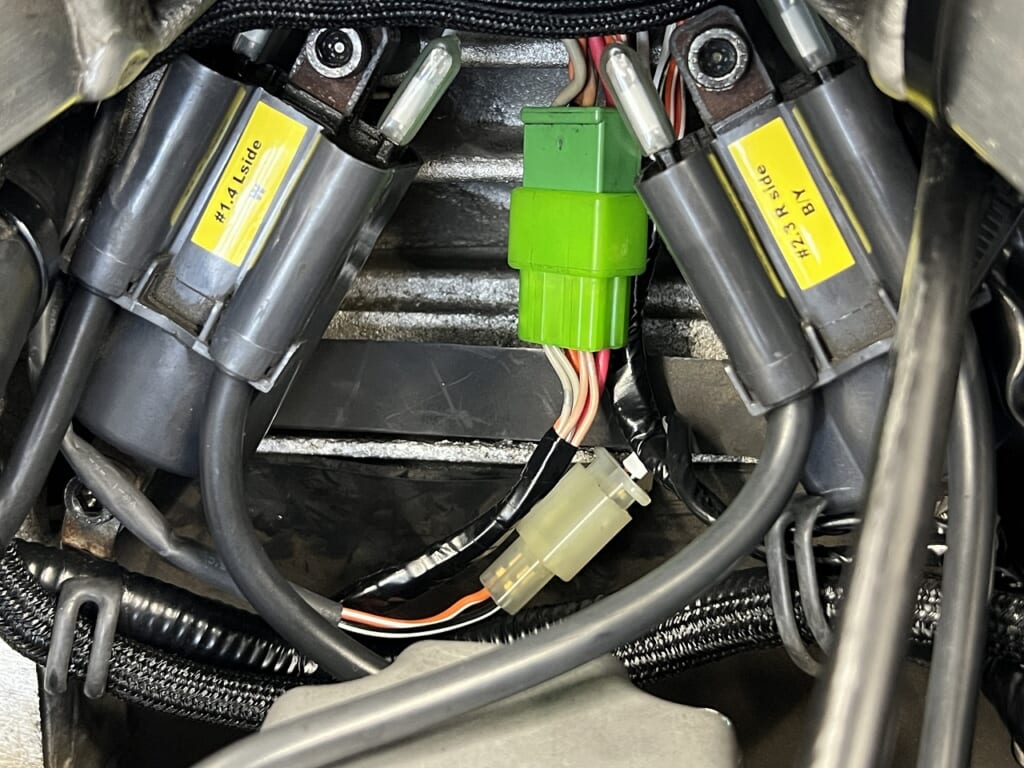
Basically, I don’t install this multi-spark amp on the ignition coil side. It looks messy, and I can’t install the ON/OFF connector nearby.
I prefer to keep things simple and not add unnecessary parts or items.
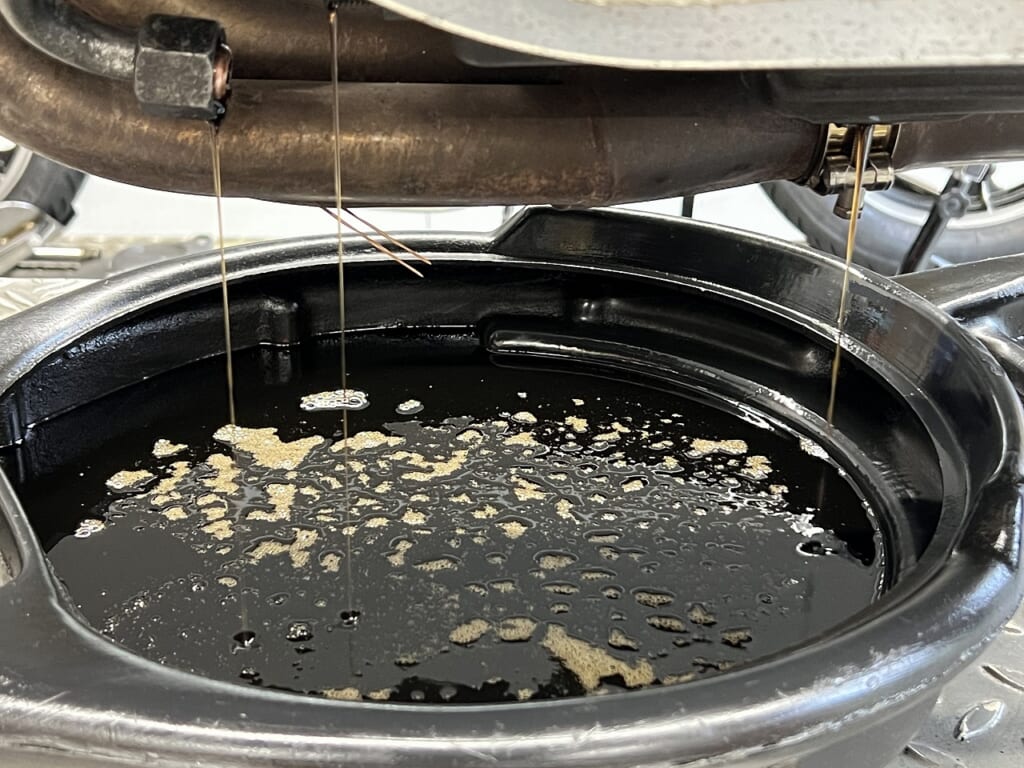
Engine oil is Shell Advance 4T Ultra 15W-50
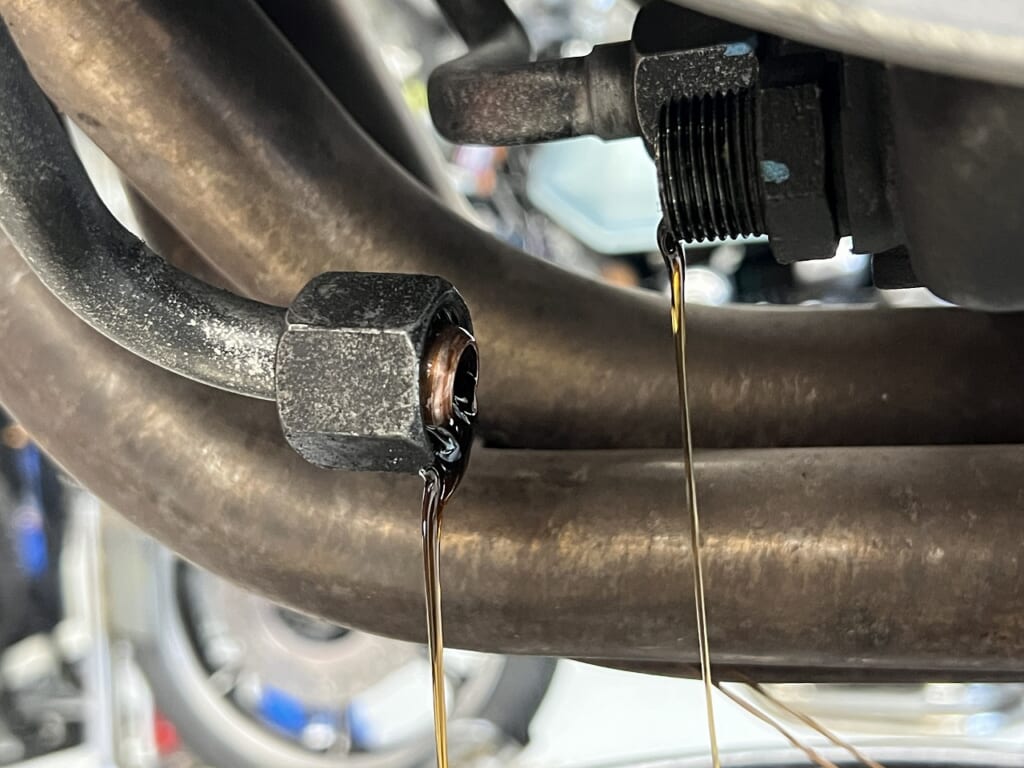
This is a muffler where you can’t remove the oil filter without disconnecting the oil cooler hose. Even if that’s not the case, occasionally disconnect the oil cooler hose and drain it, and you’ll get a bit more out.
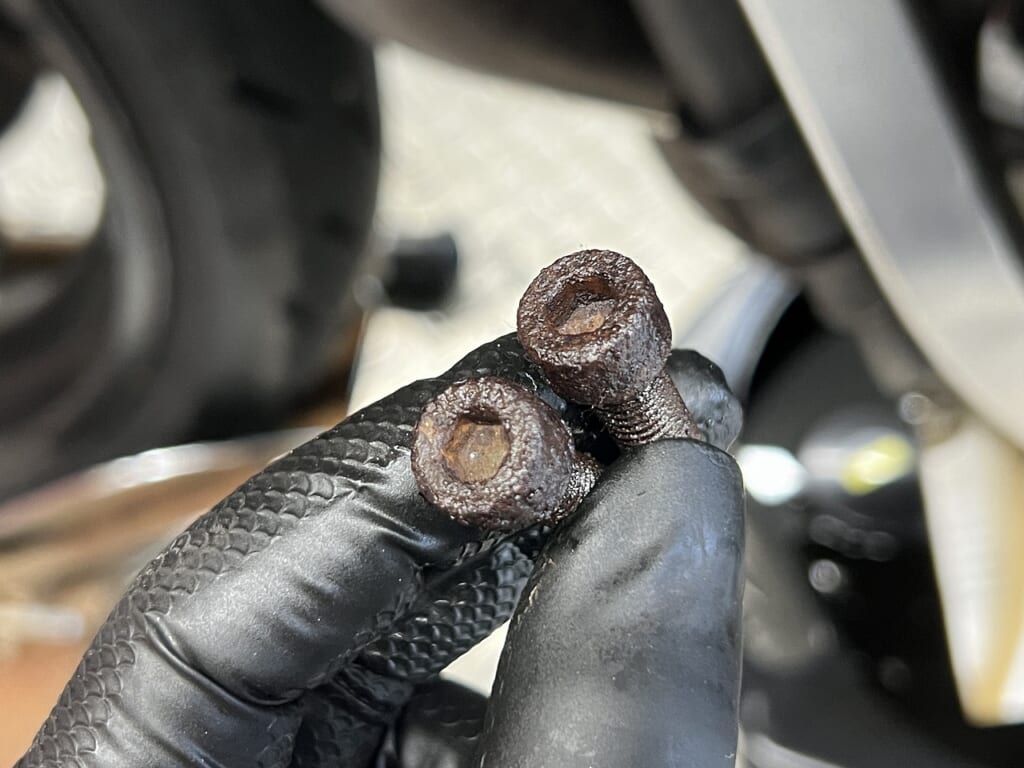
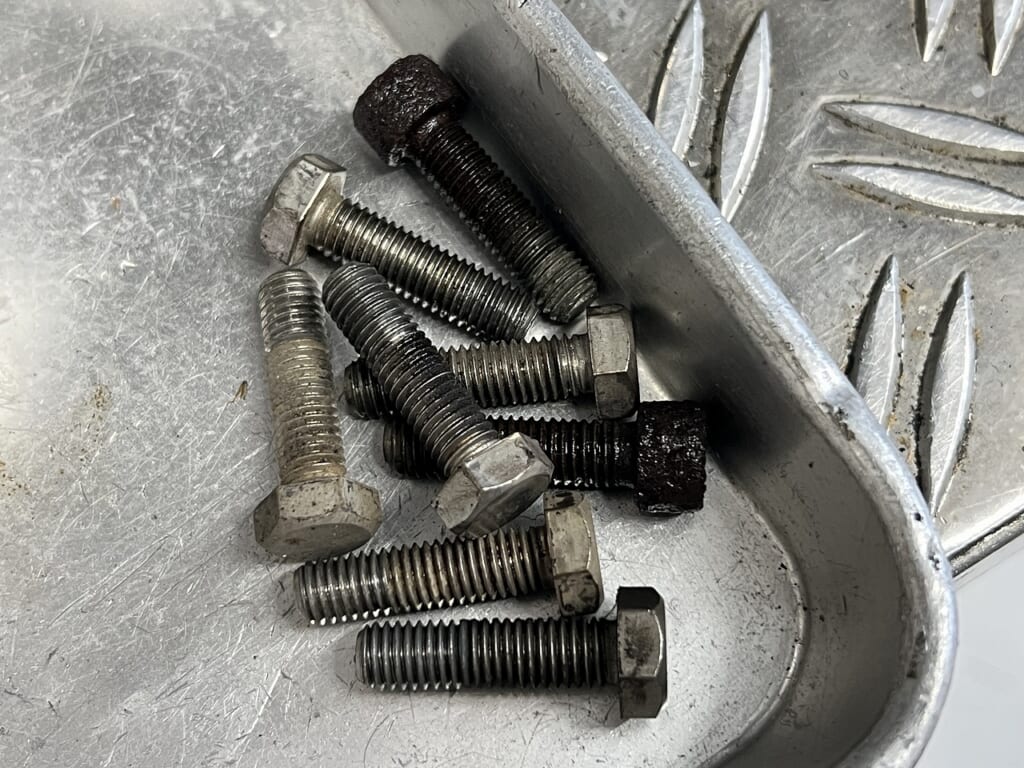
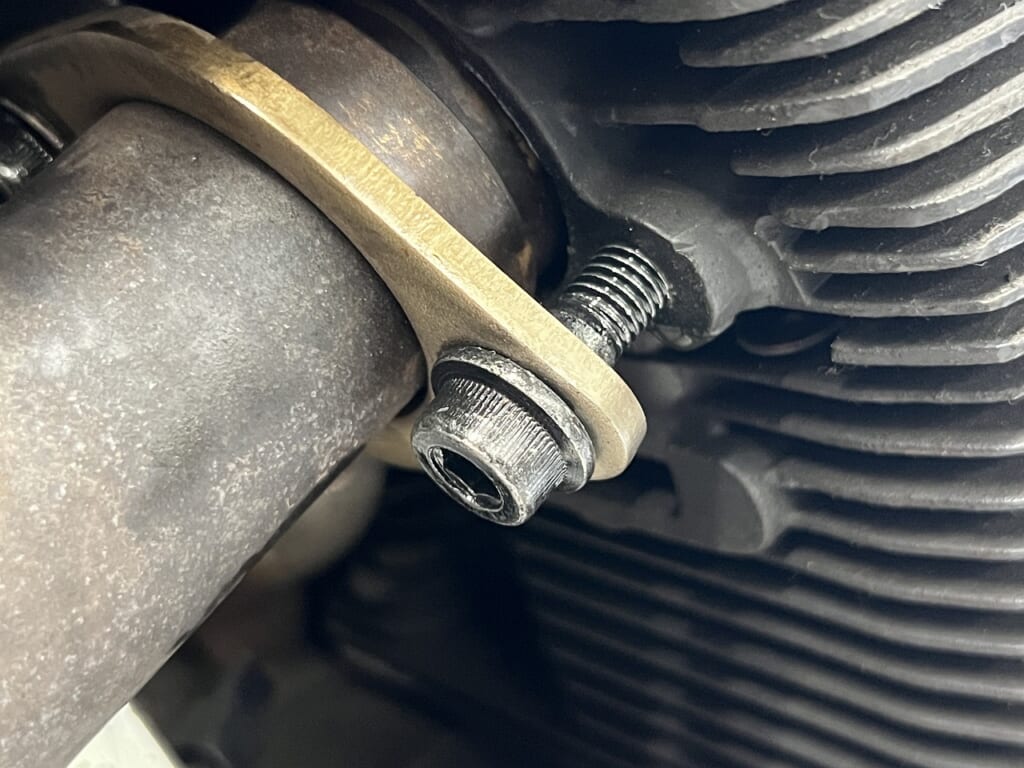
While waiting… I’ll replace the suspicious exhaust pipe bolts. Basically, stainless steel SUS304 is better not to use.
Once you experience one that gets stuck and won’t come out, you’ll never use it again. The length used was a bit short, so I increased the neck length by +5mm.
Using iron with a flanged HEX is the sure way. If you use iron, it’s unlikely to get stuck.
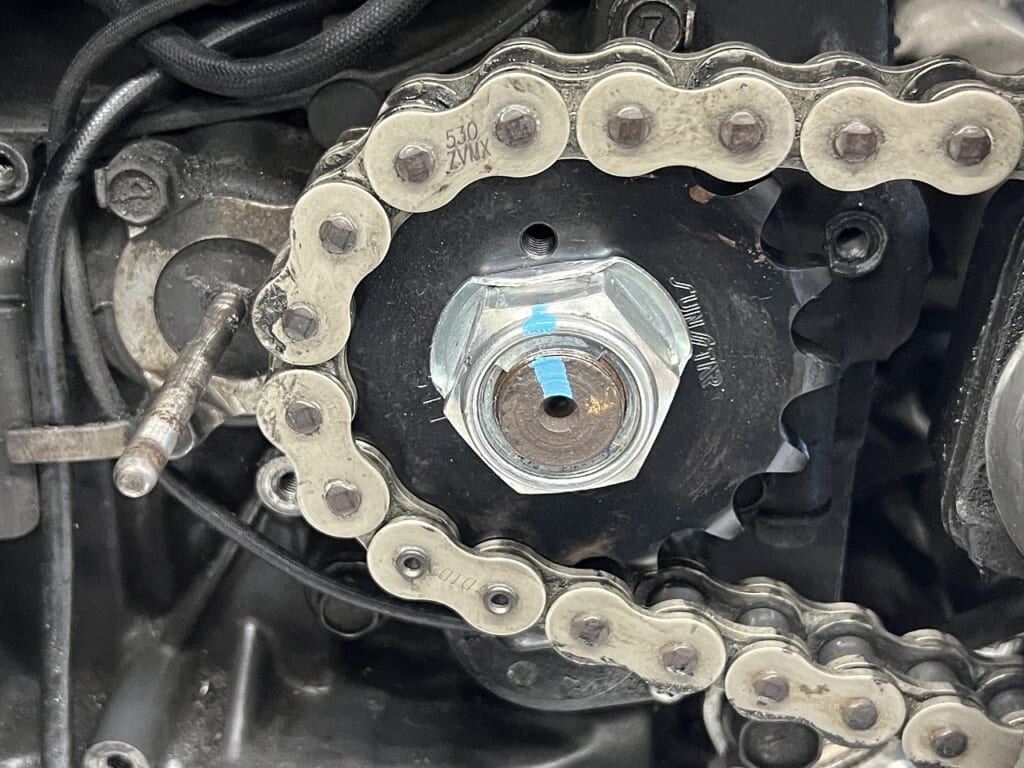
Since they wanted to ride more leisurely, I increased the front to 16 teeth. With a slightly higher speed ratio, the vibration speed range changes, which might make it more comfortable.
Adjusting the final drive according to various situations makes the bike truly yours.
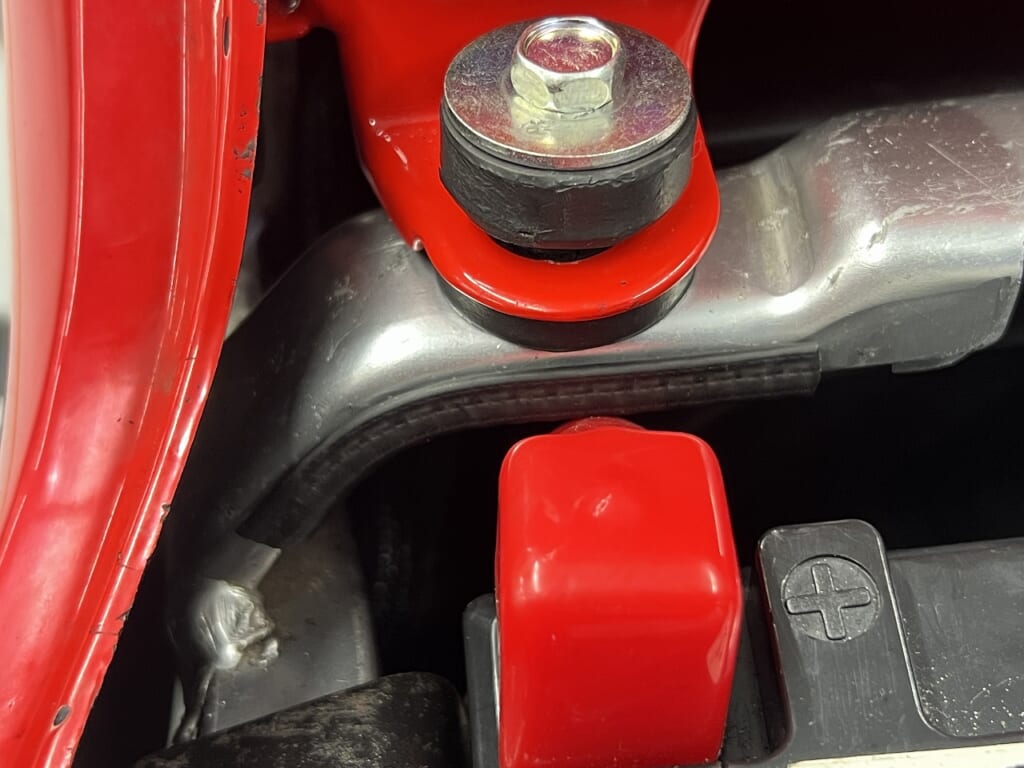
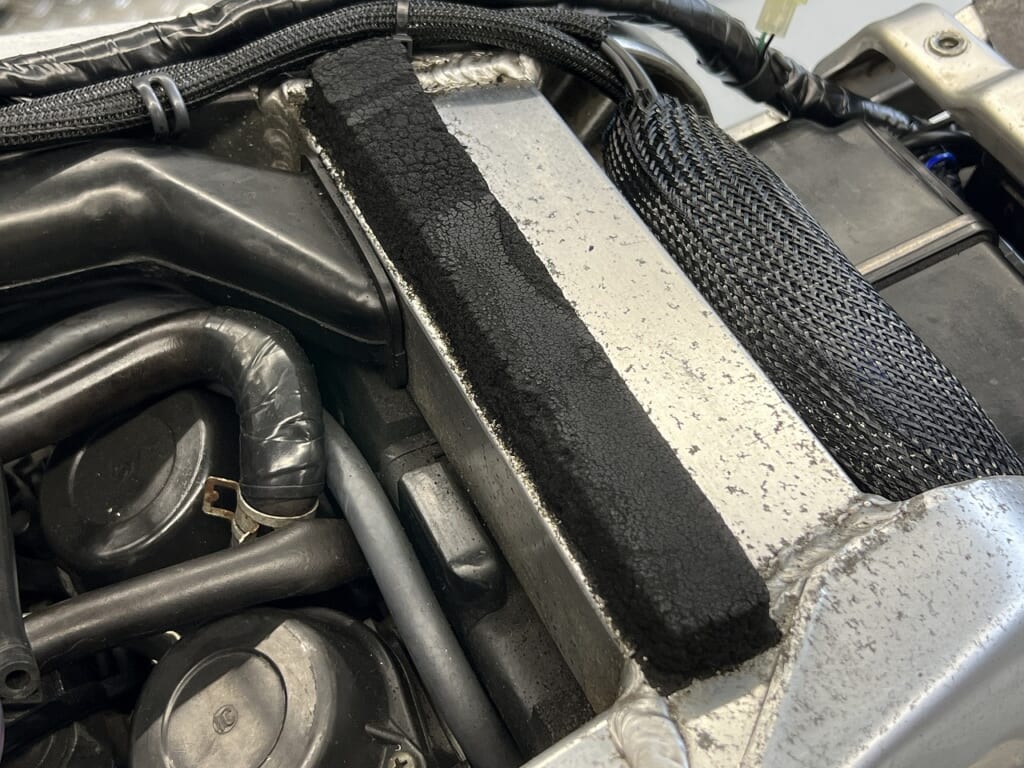
The sponge issue under the tank should be changed to rubber in the future.
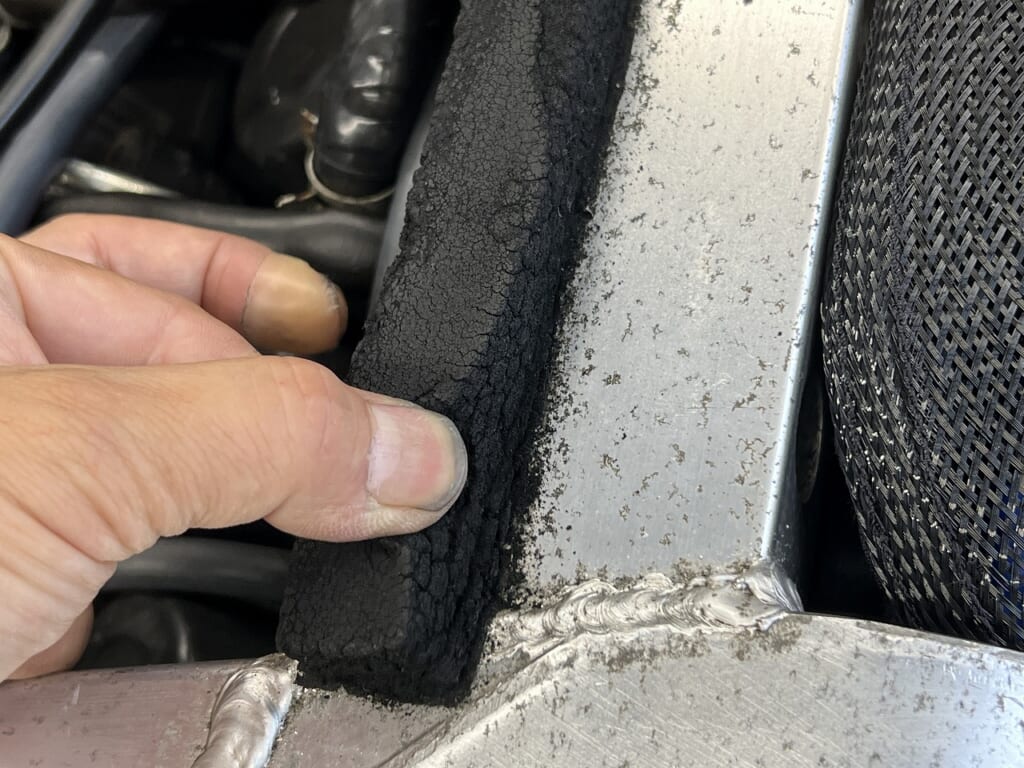
This sponge under the tank is really troublesome. Everyone’s has deteriorated into pieces over time.
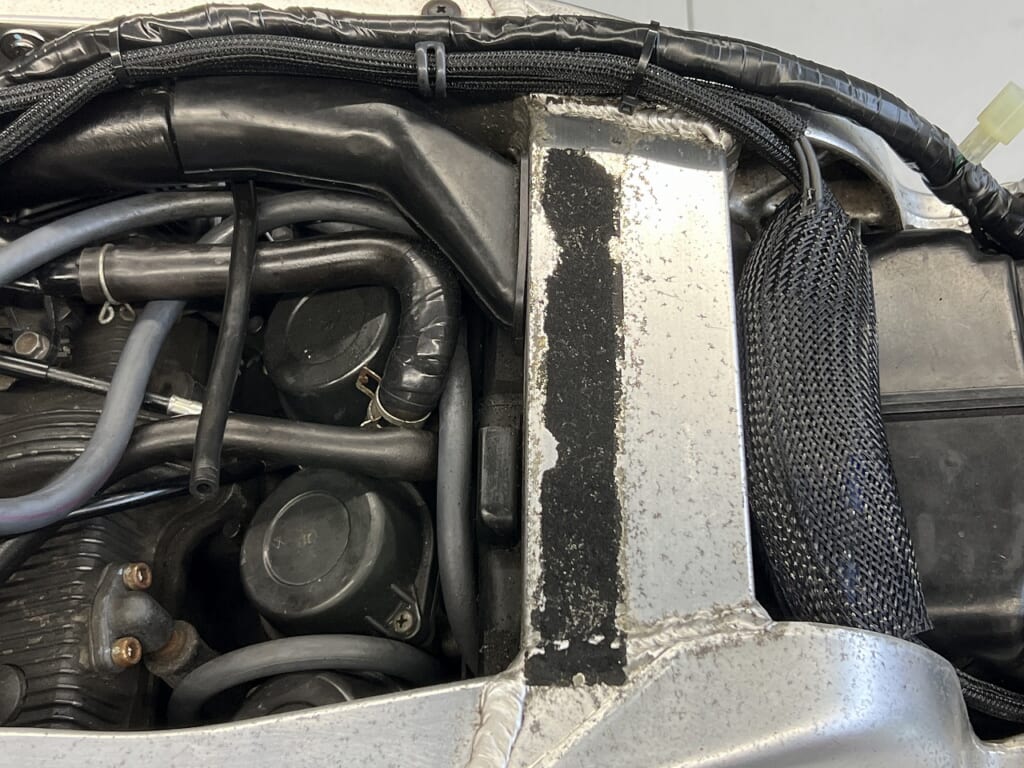
I want to avoid touching it as much as possible because it’s so weathered, so I need to think of a solution. I think a thick rubber sourced from OEM parts would be good here.
I went ahead and peeled it off. Cleaning is tedious, so let’s do that another day. For now, I’ll leave it off.
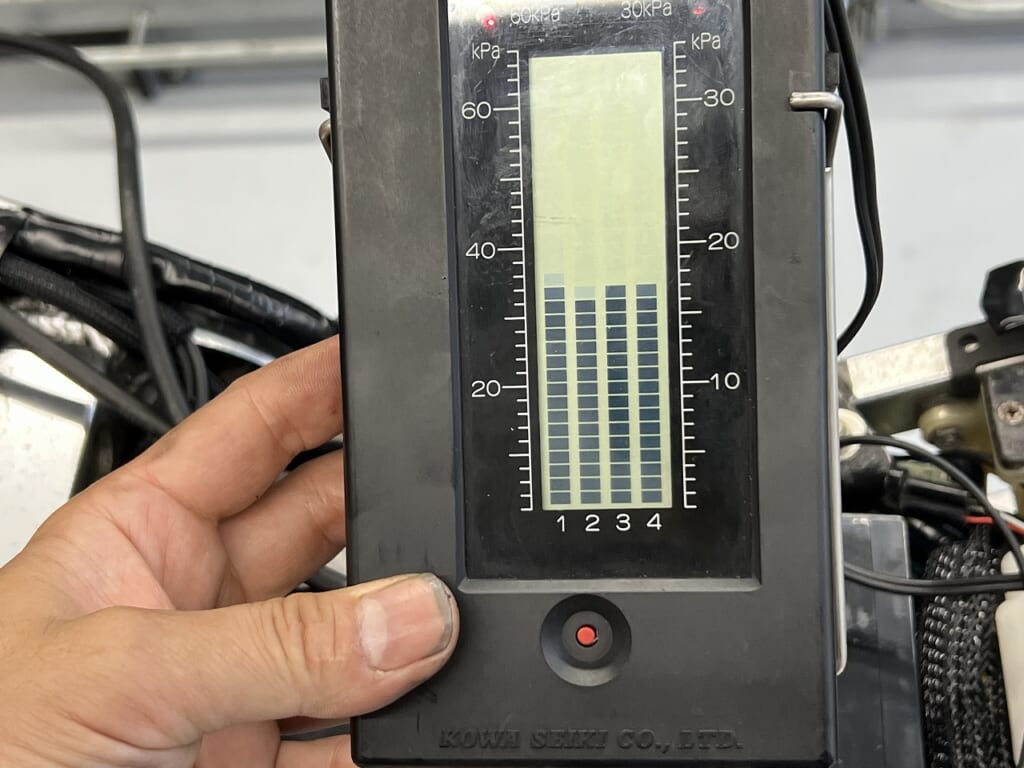
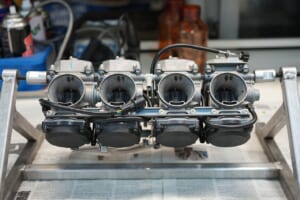
While I’m at it, let me check the carburetor synchronization. I made a slight adjustment. Four-cylinder carb sync makes a huge difference.
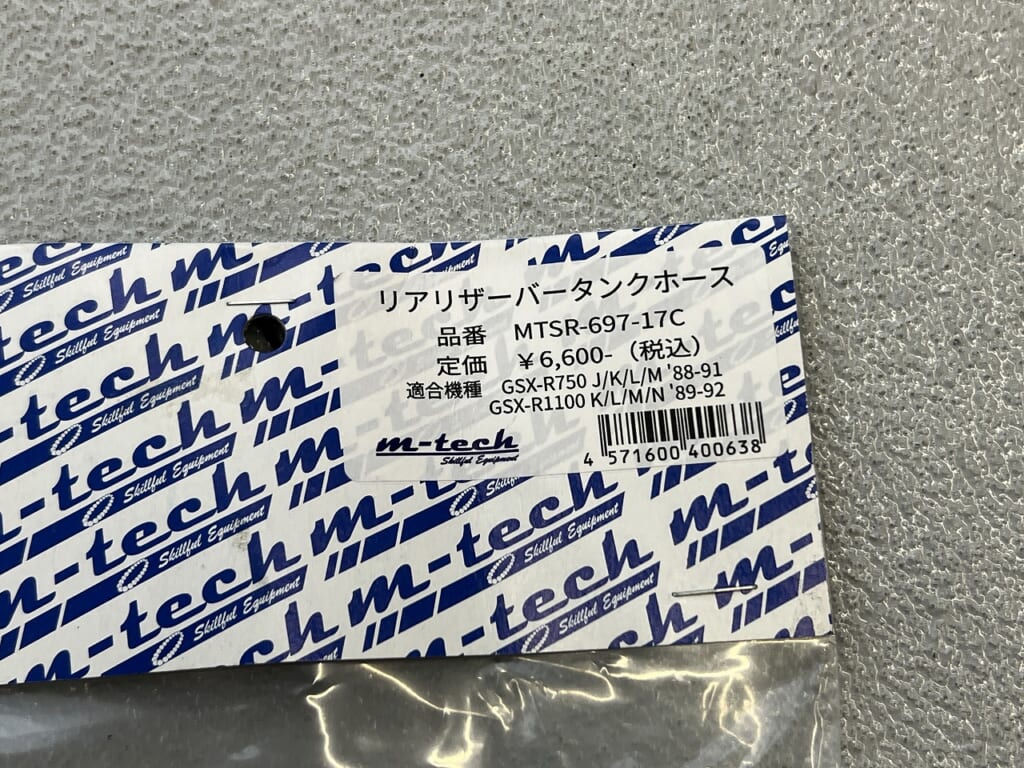
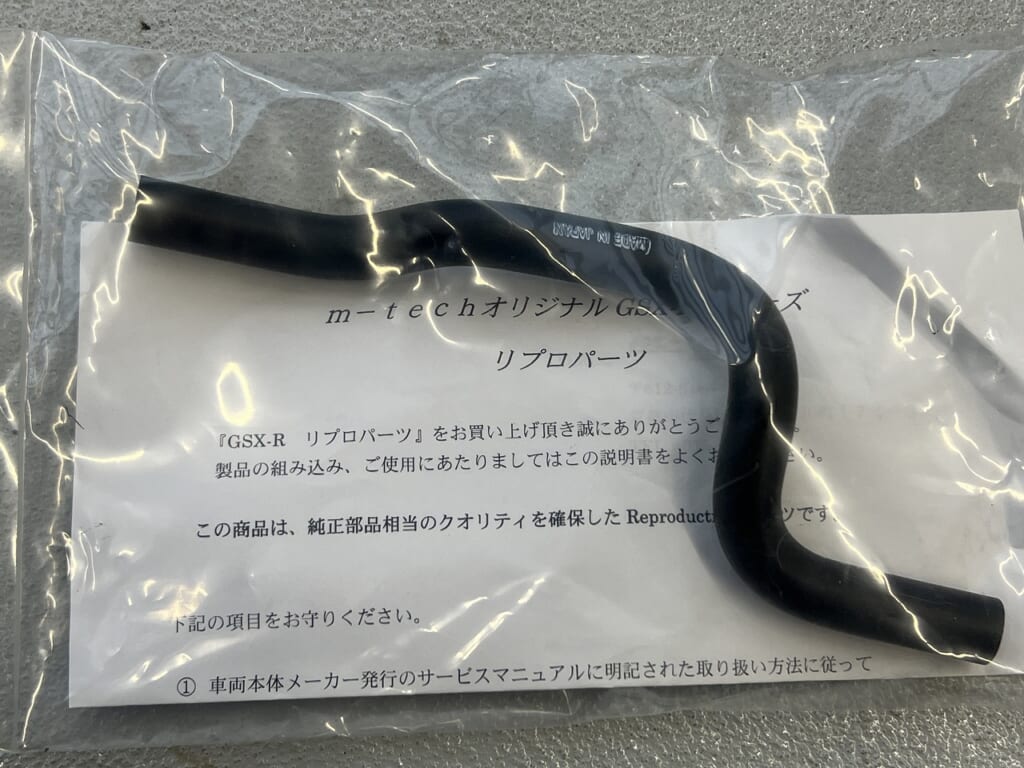
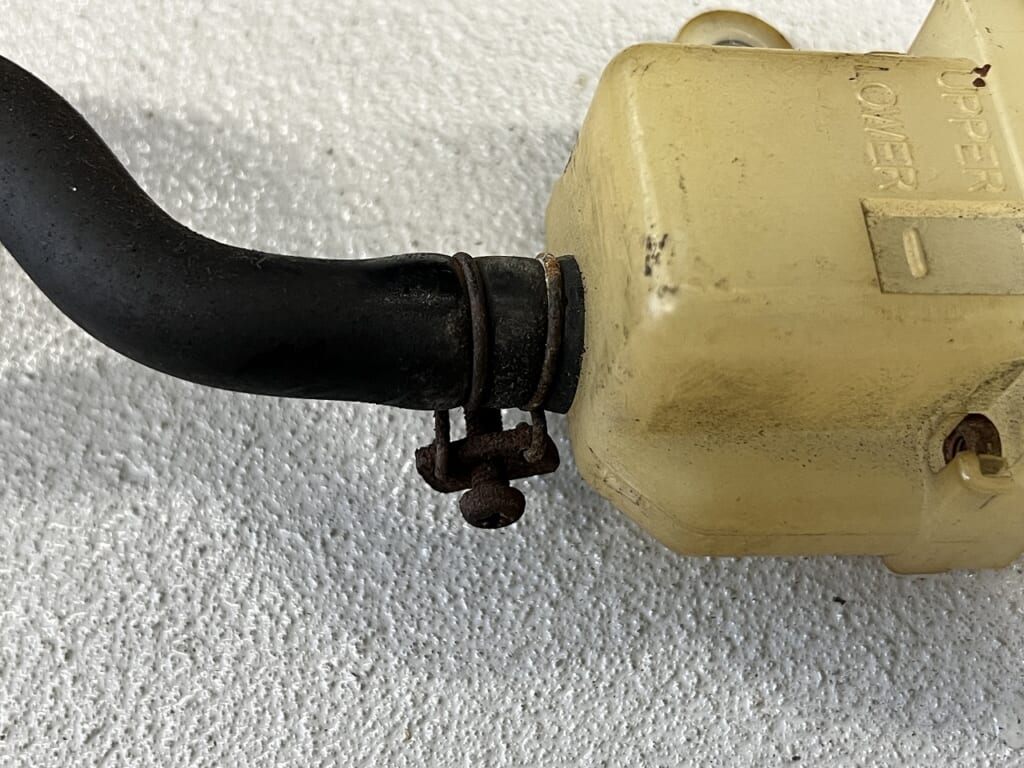
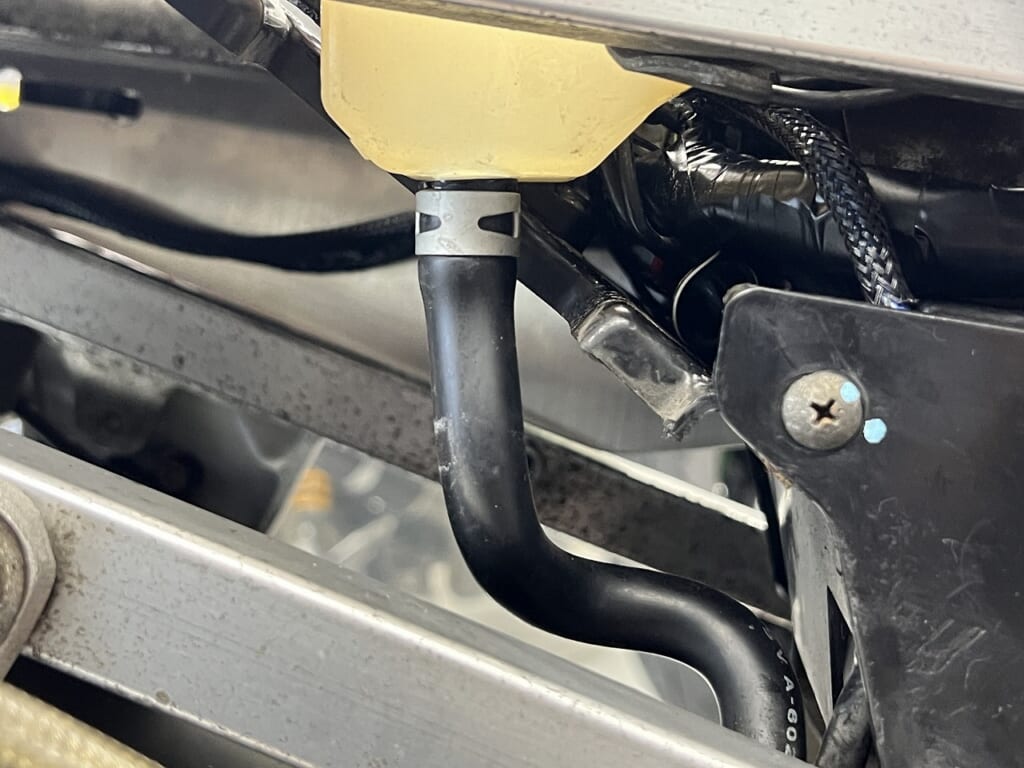
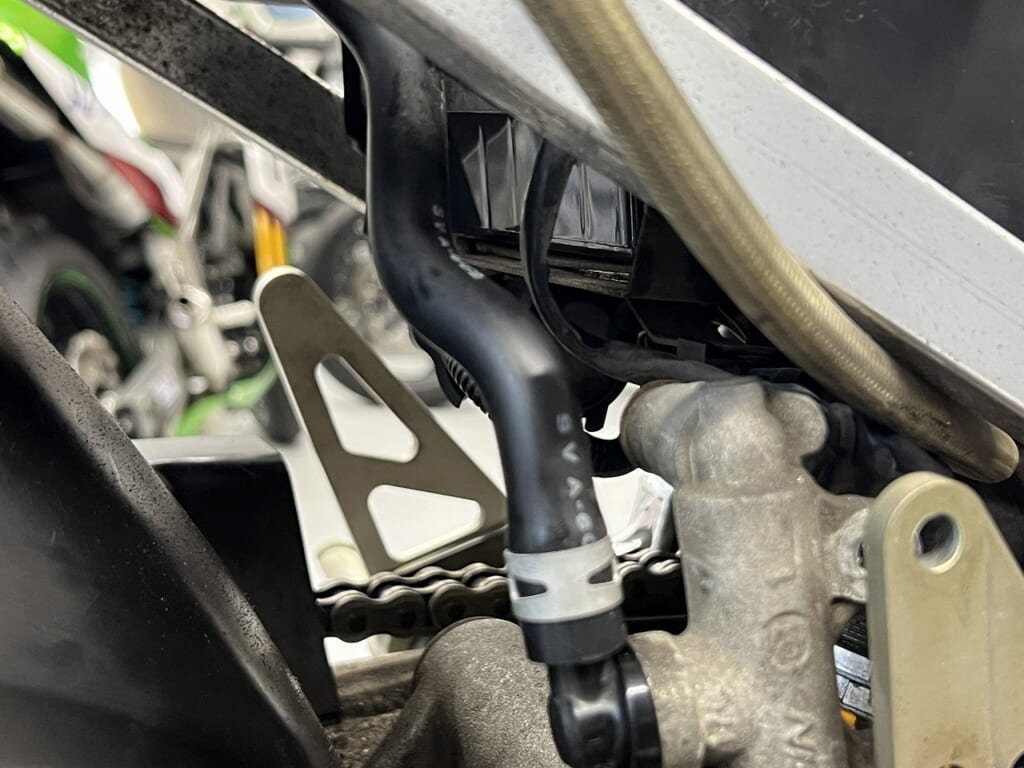
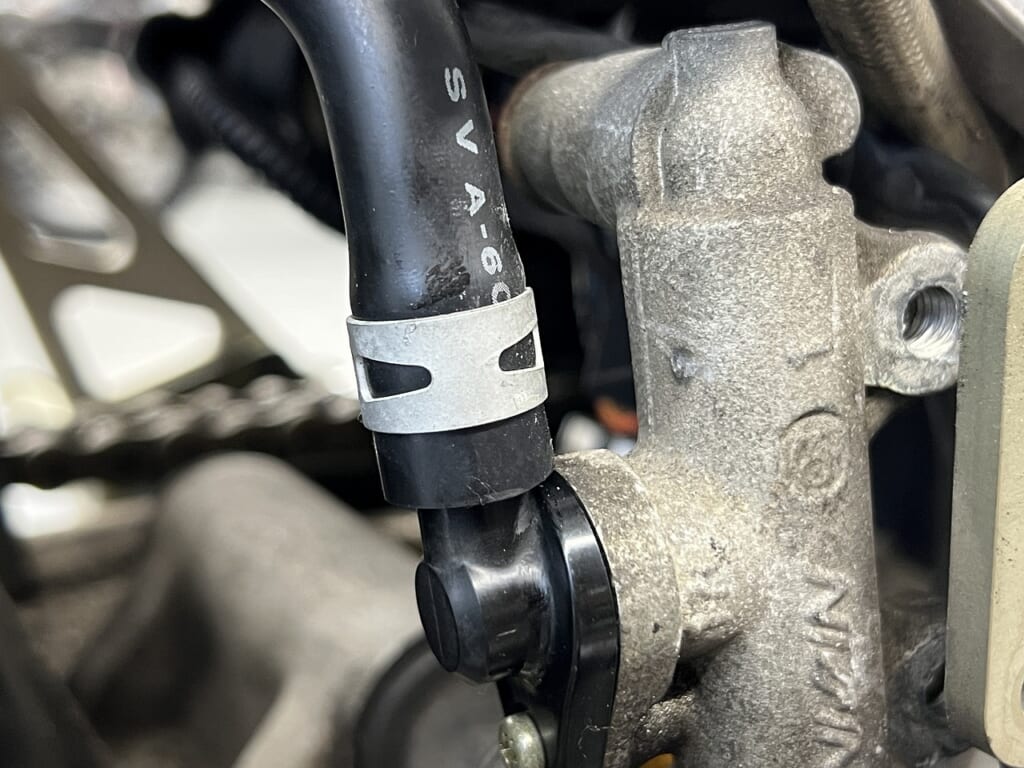
M-TECH’s niche reproduction part! Reservoir hose
You need this part when overhauling the rear brake master. Most models are discontinued.
Generally, what Kijima sells is straight hose, so layout is still difficult. Compared to the original OEM, the price is higher, but plug-and-play is truly appreciated.
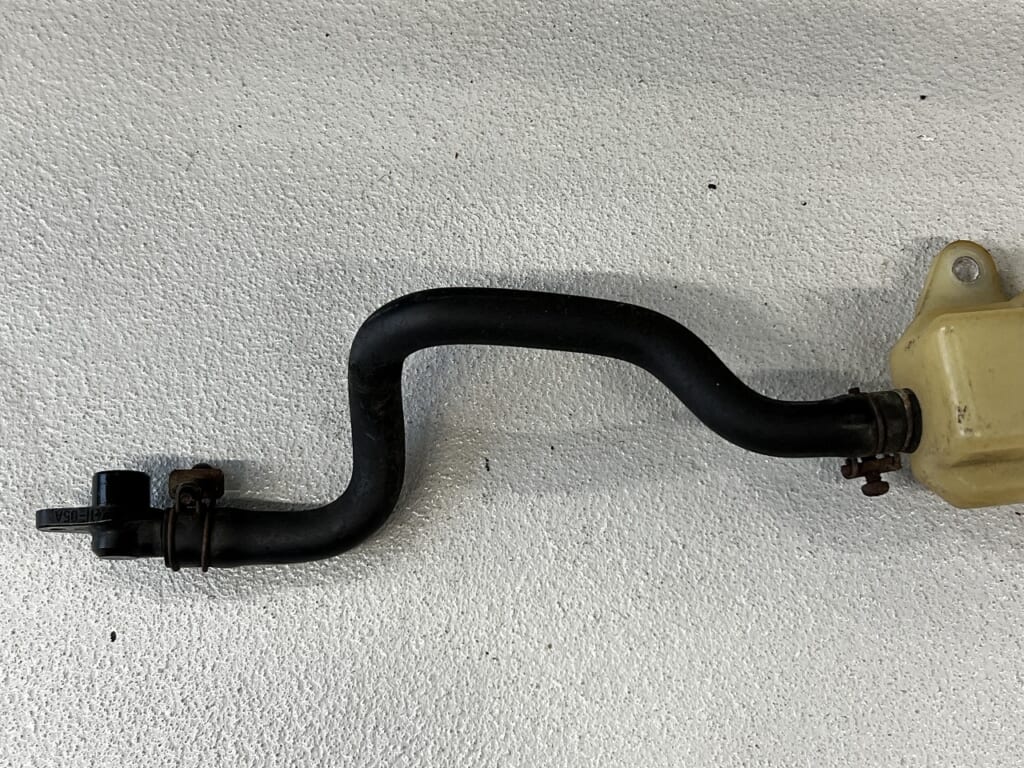
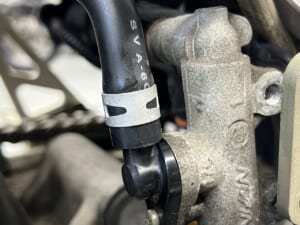
This layout is only possible with a vent hose (curved molded hose). This bike probably hasn’t had it replaced even once since 1992.
It doesn’t tear during use, but it’s always a troublesome part during overhaul.
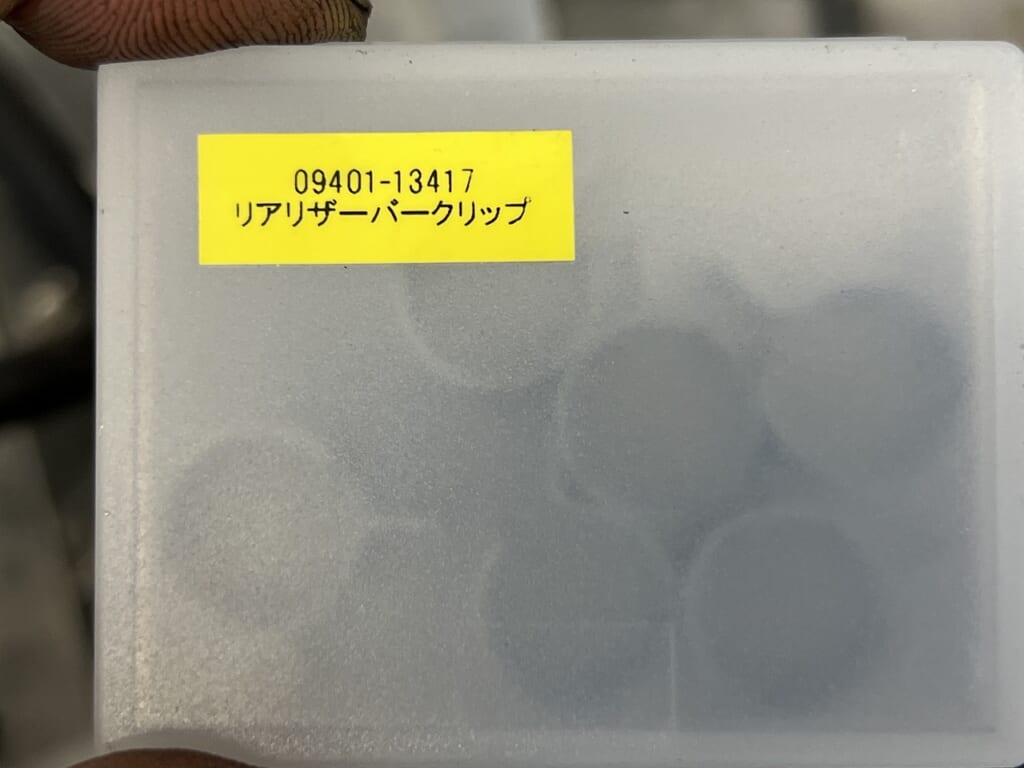
Even if you try to reuse it, the band has already creased it. Modern designs no longer use this method to secure the reservoir hose. It’s mostly already switched to clips.
Clips look much better and are easier to service, so use them when replacing this hose.




 ポチップ
ポチップ