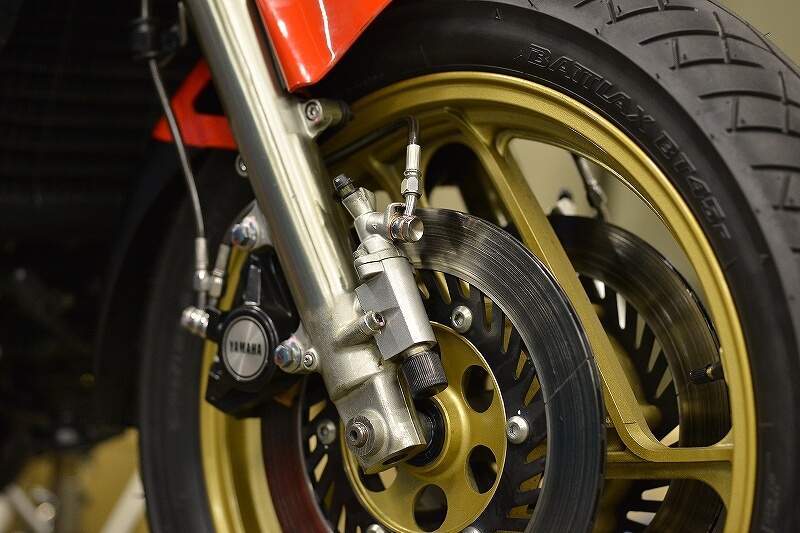
Day two. We’ll continue with the work.
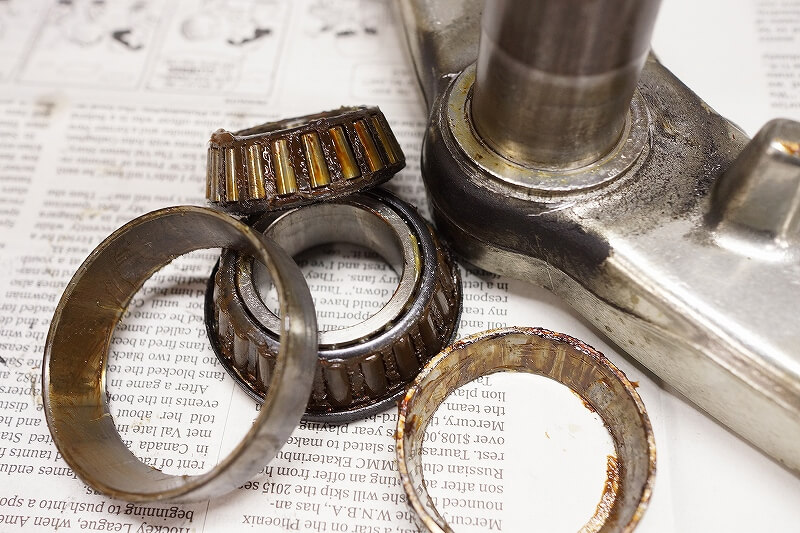
This is probably the first time we’re disassembling it. The corrosion is pretty severe.
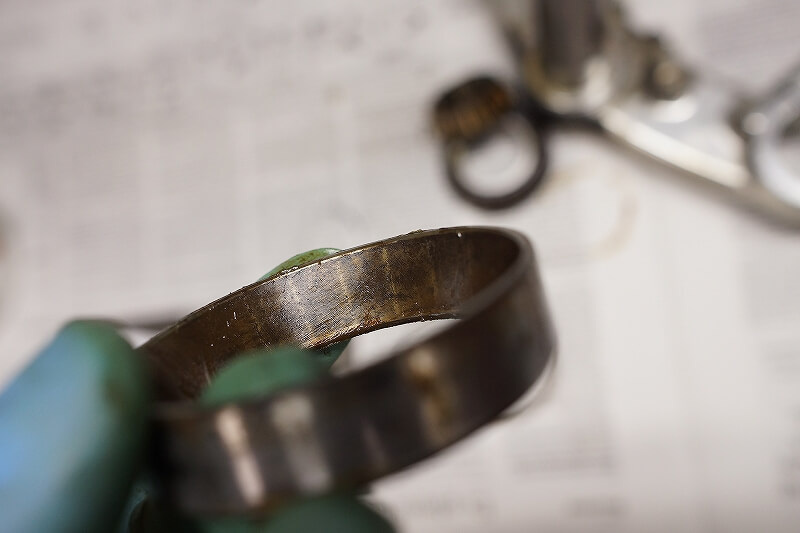
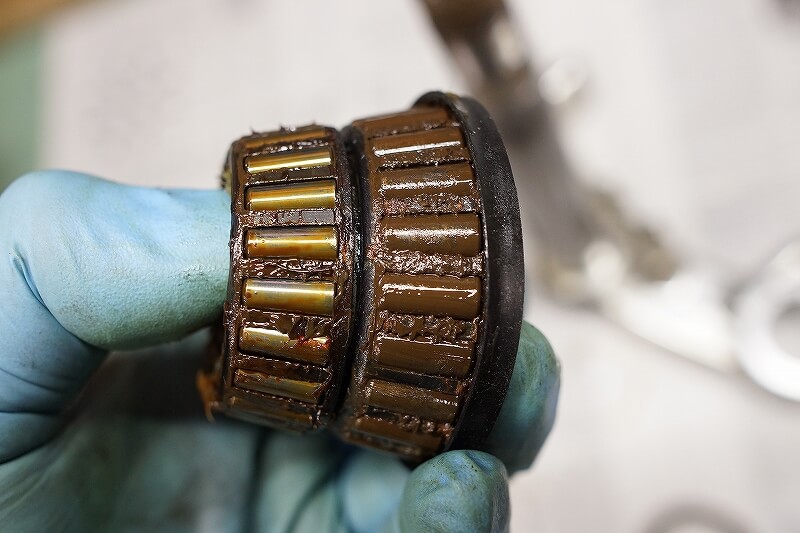
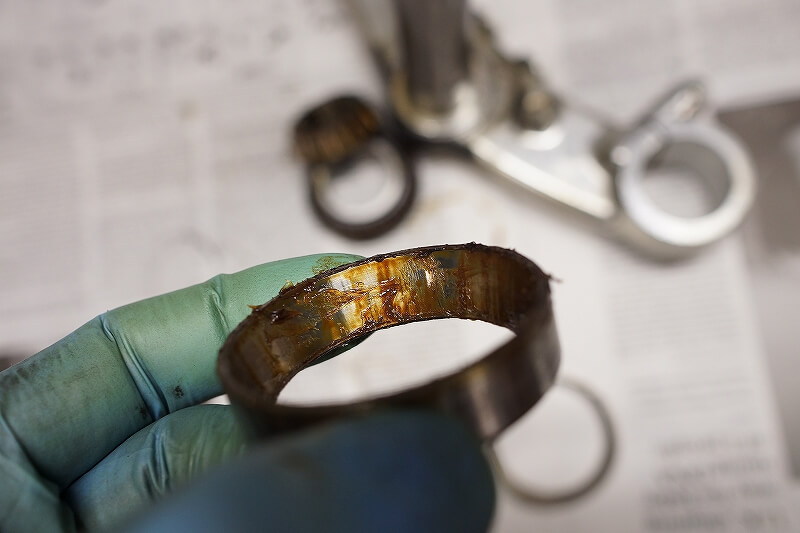
It was a perfect opportunity.
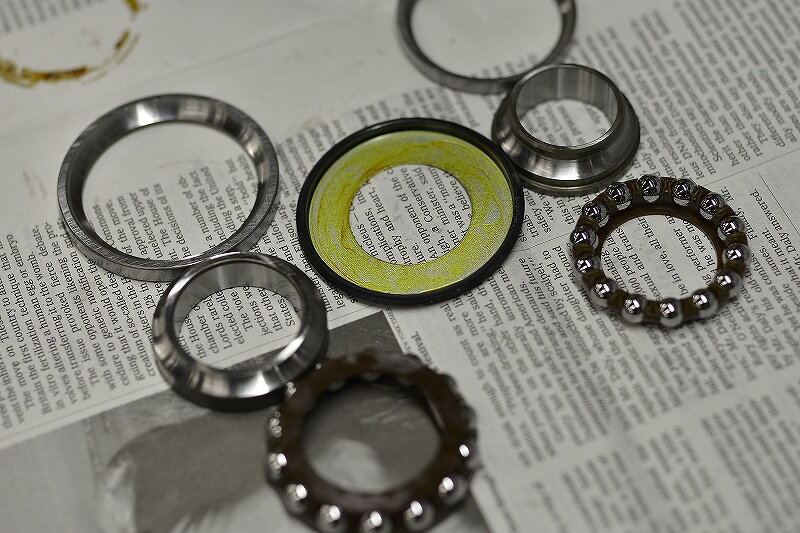
We could order the stock taper as-is, but I always like to tweak it a bit. The bearings are standard parts, but the lower seal and such—you can’t tell how well they’ll work until you see them in action.
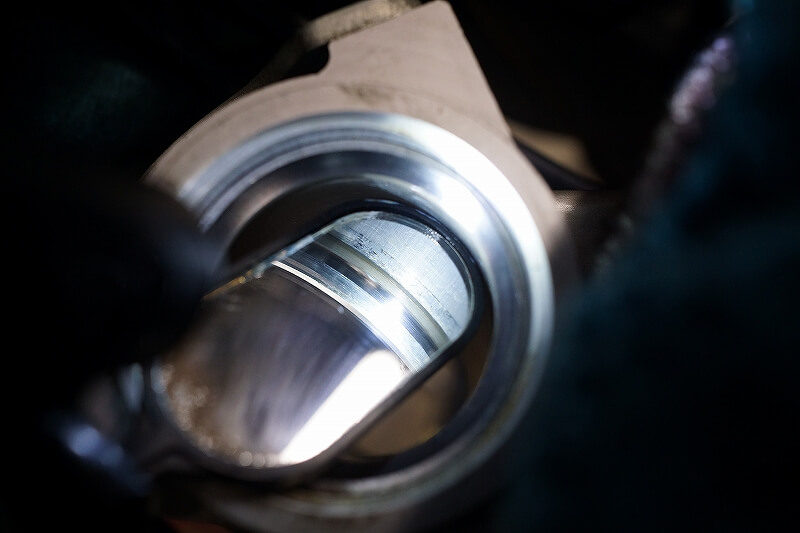
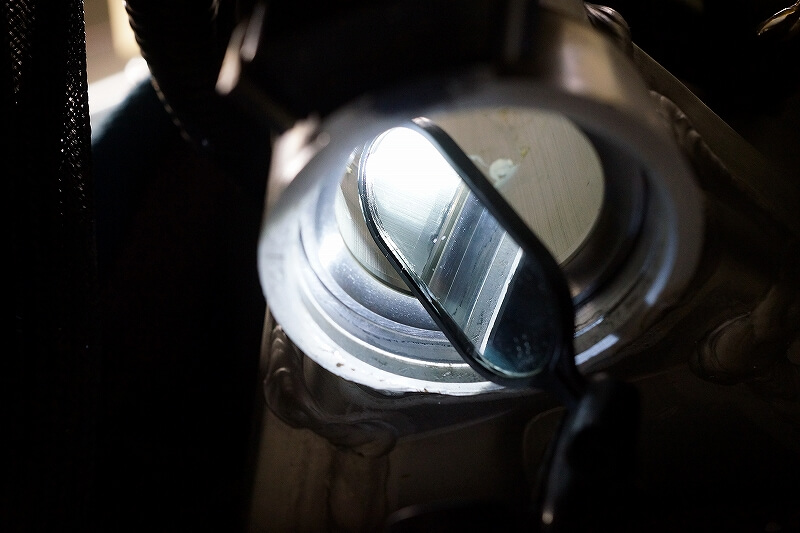
We’ll press in the race and check it.
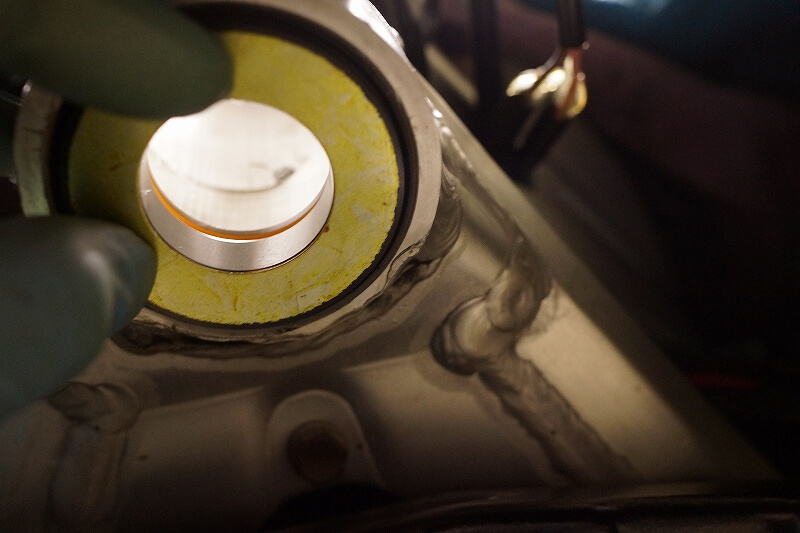
Once we fit the bearing and seal, we can see the condition. It looks good—reassuring.
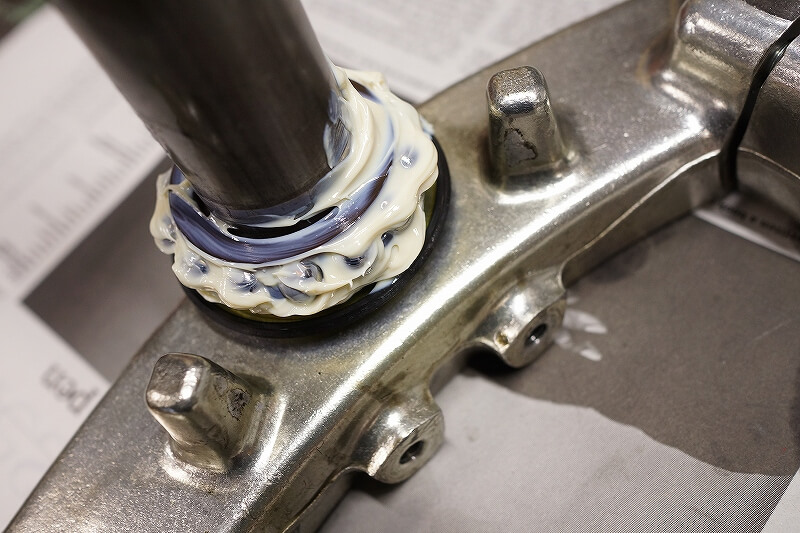
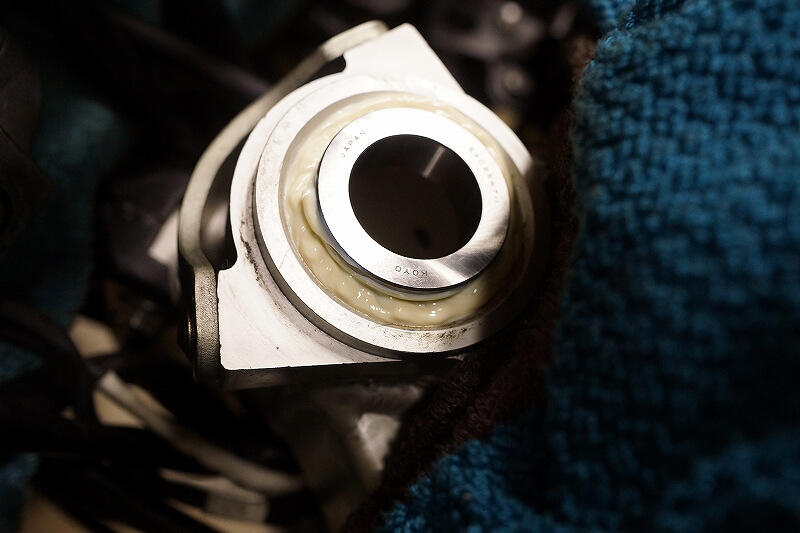
As always, we’ll seal it up properly with NC100. The upper side can’t use a seal due to its shape, so it gets the stock metal cover.
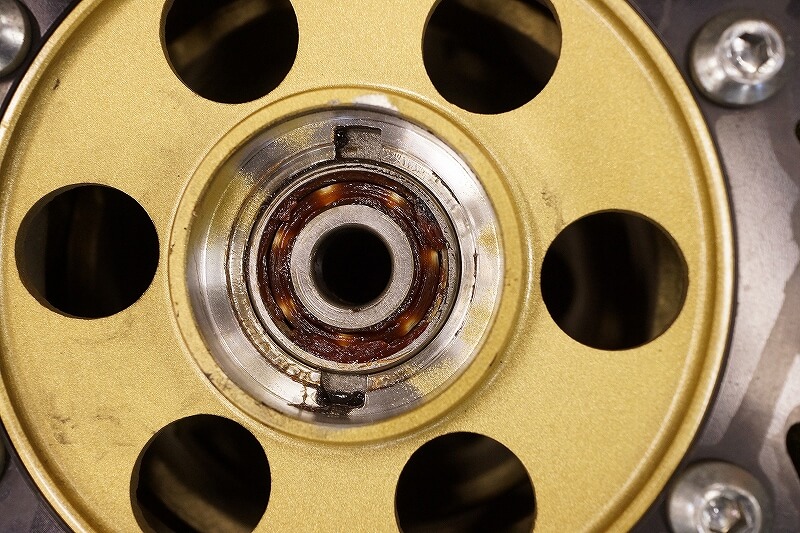
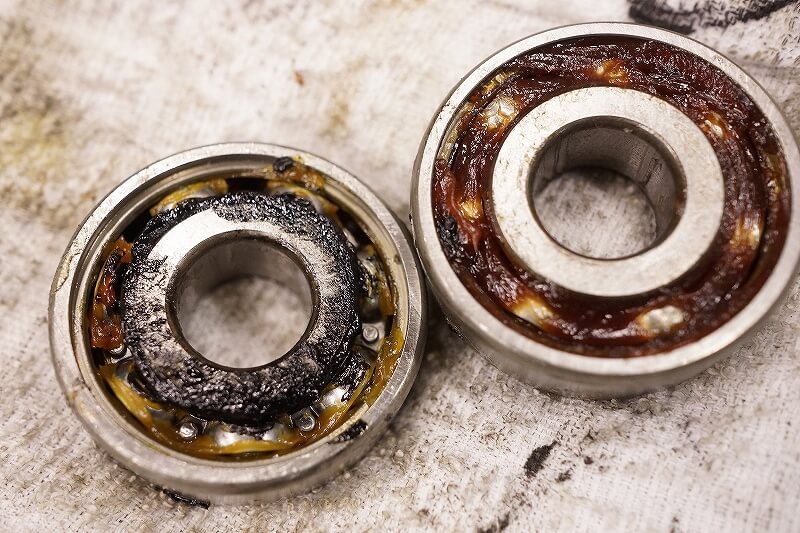
The wheel bearing—the owner said if there’s a problem, we should handle it. Looking at it, it smells pretty old and tired, so let’s replace it.
Whether parts can be reused or not matters, but replacing and adjusting them is a step toward getting everything running smoothly and feeling good.
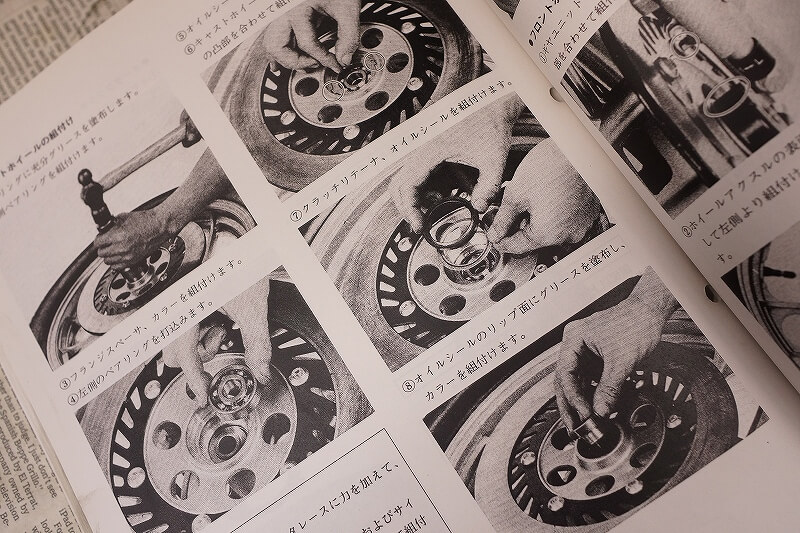
We’ve borrowed the manual and parts list, so we’re checking the Yamaha specs. The instructions are pretty rough, though.
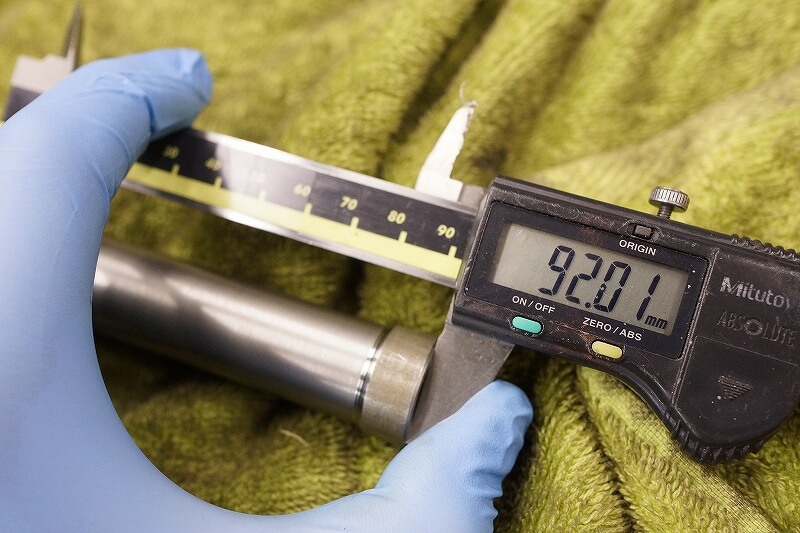
We’ll measure the distance collar. We need to know the numbers to account for age-related wear and the possibility that something’s been tampered with somewhere.
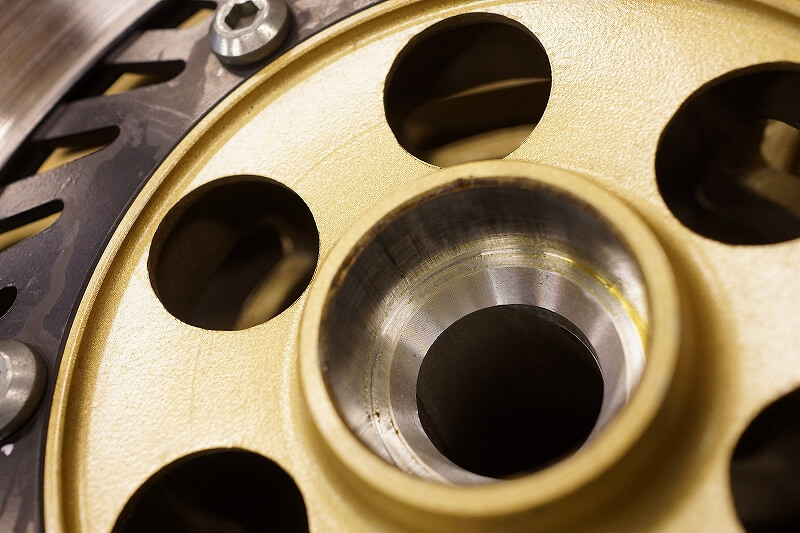
We’re also checking the depth to the shoulder—interesting details.
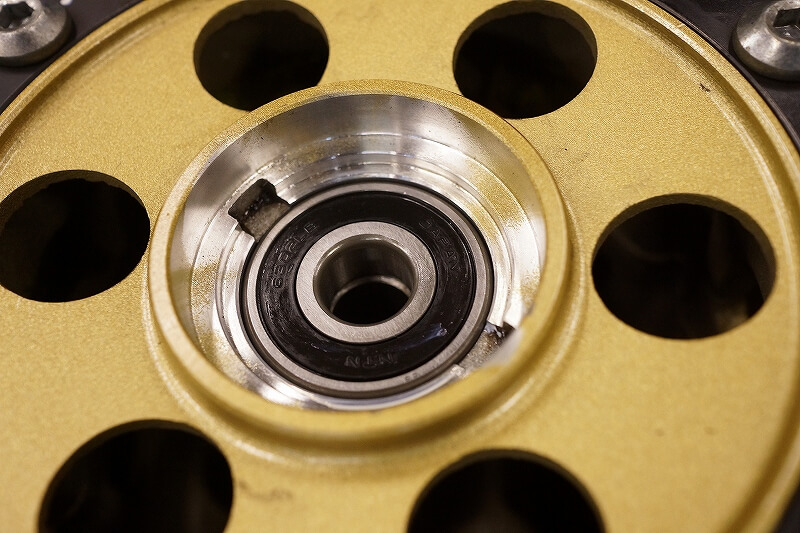
Wheel bearings aren’t just about swapping them out—simply replacing them won’t get you to a good state.
The assembly support can vary by manufacturer, so we need to be careful.
After replacement, the rolling gets worse. The disk center shifts. These things happen naturally, so it’s an area we need to pay close attention to.