(*´ω`*) Click every morning at 8 AM.
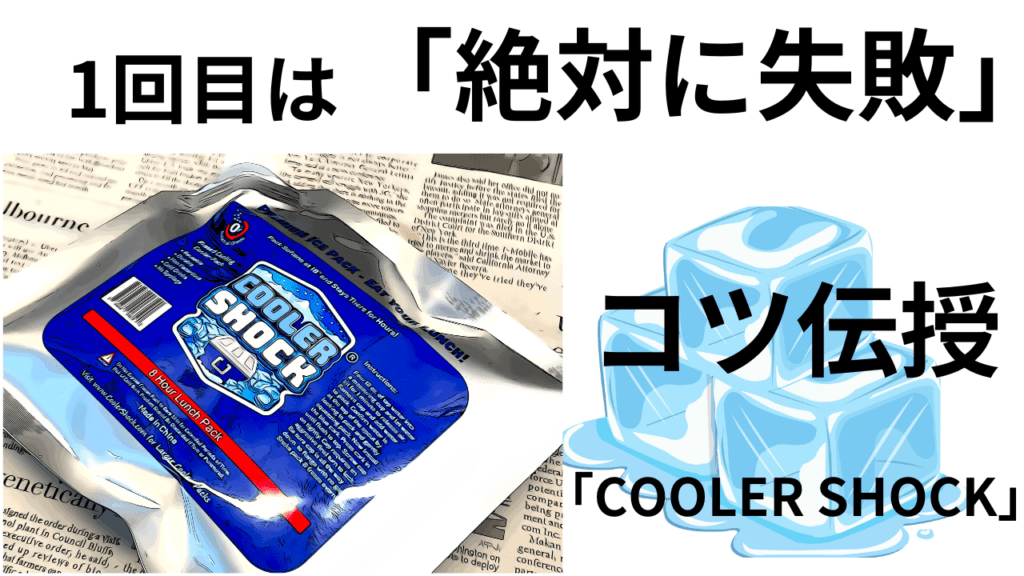
The Best Ice Pack COOLER SHOCK
Make your own ice pack by adding water? The best ice pack.
But the instructions are so vague it’s “frustrating.”
Most instruction manuals don’t include the “secret” or “tips,” do they?
I’ll share a 100% foolproof method.
*It’s not a big deal.
Since it’s tedious to read all the way through, here’s the tip:
① Add water in multiple portions. About 100ML each time
② After adding water, attach the included cap and shake well
③ Knead the bag and check that nothing is pooling in the corners
④ Add water again, about 100ML (don’t add it all at once)
Repeat this process
It won’t gel immediately, so take your time and be patient.
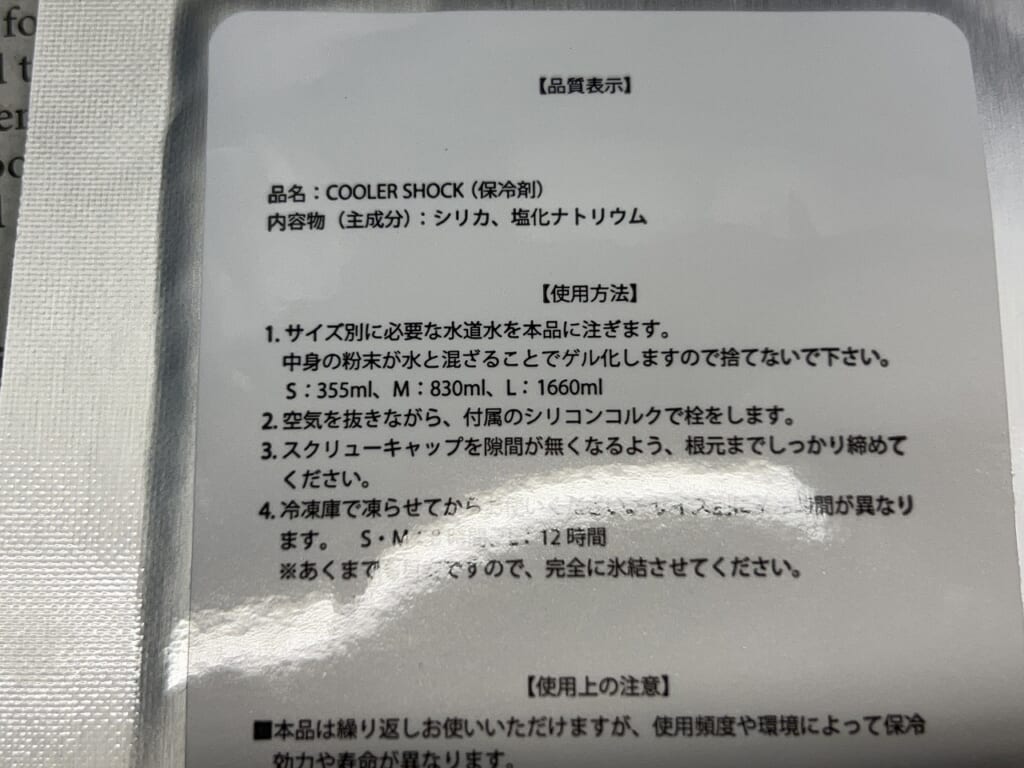
If you pour in the full amount of water all at once, it will definitely “overflow.”
Even if the water fits, there’s no room left in the bag.
“You can’t shake it, so it gets lumpy.”
I followed the instructions exactly and
had “overflow,” “lumps,” and “reduced capacity” so I’m using one that didn’t work out. ( ;∀;)
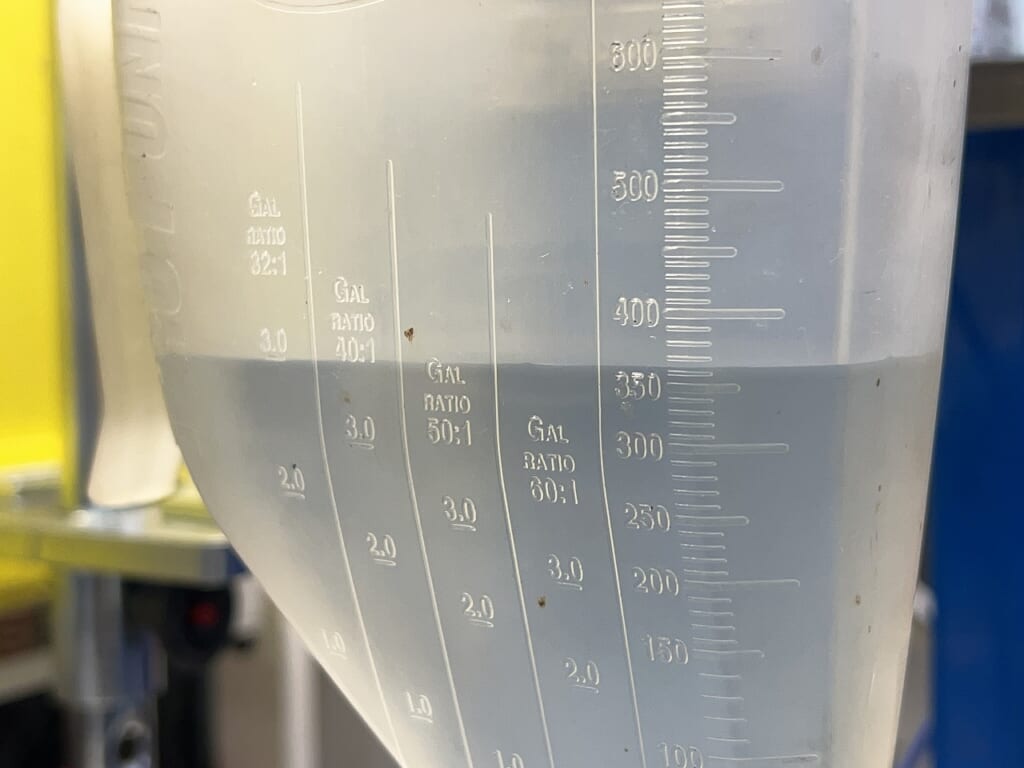
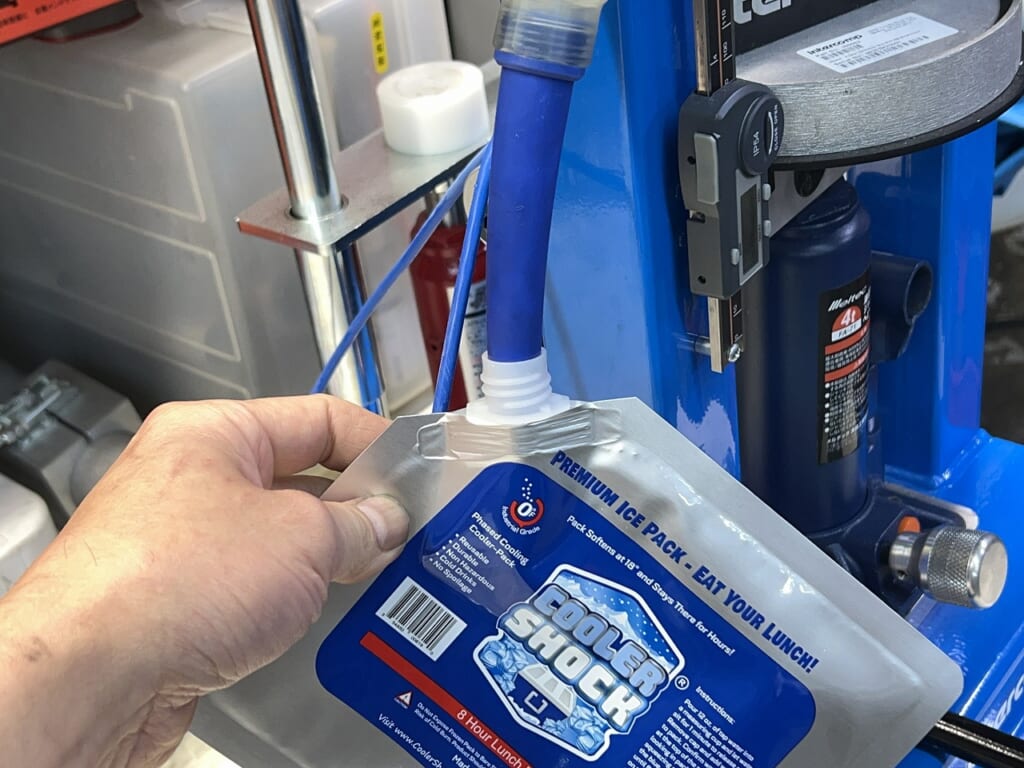
First, add about 100ML of water.
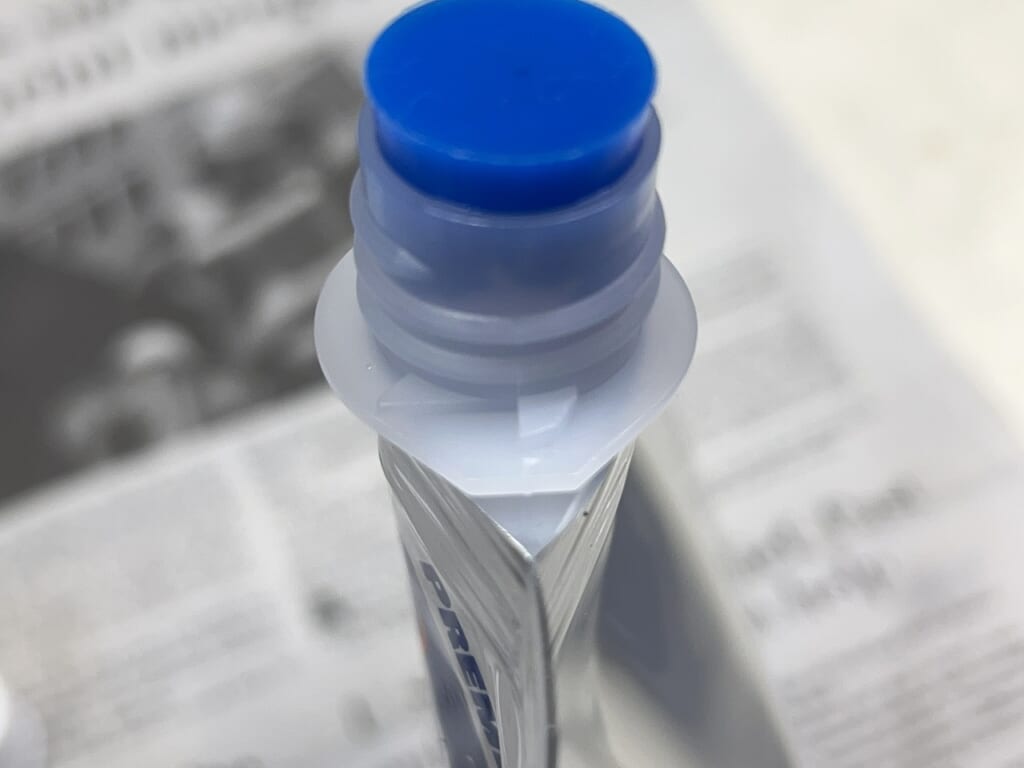
Attach the included cap and “shake it really, really well.”
Getting the first shake right is key.
The second and subsequent additions are just top-ups.
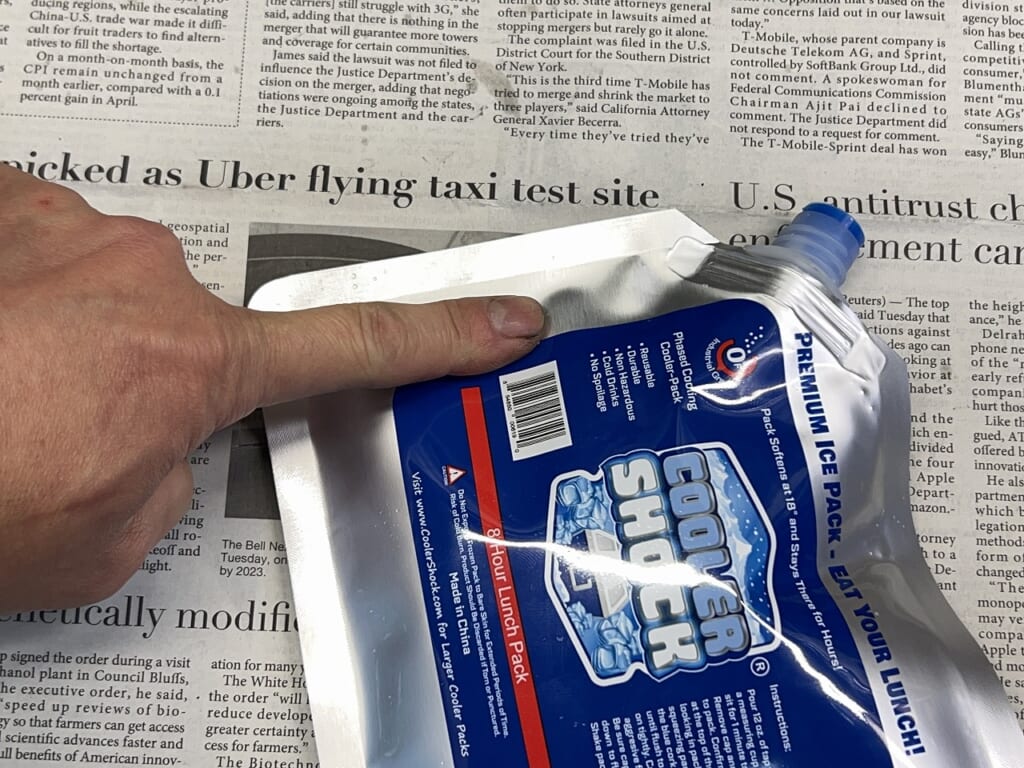
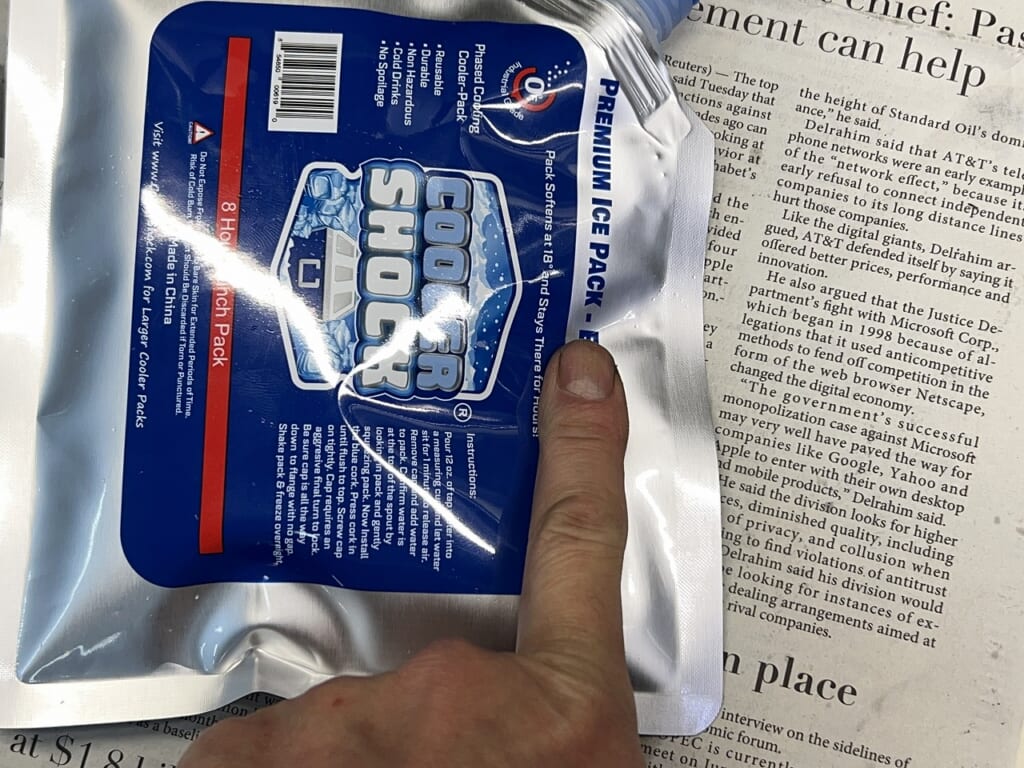
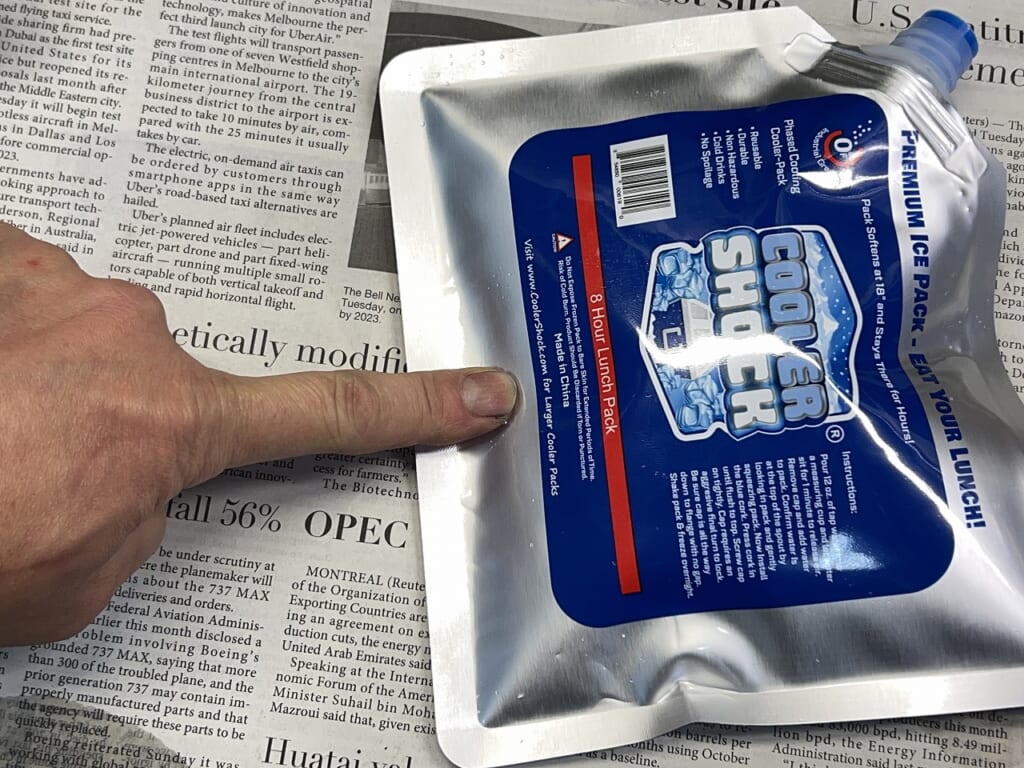
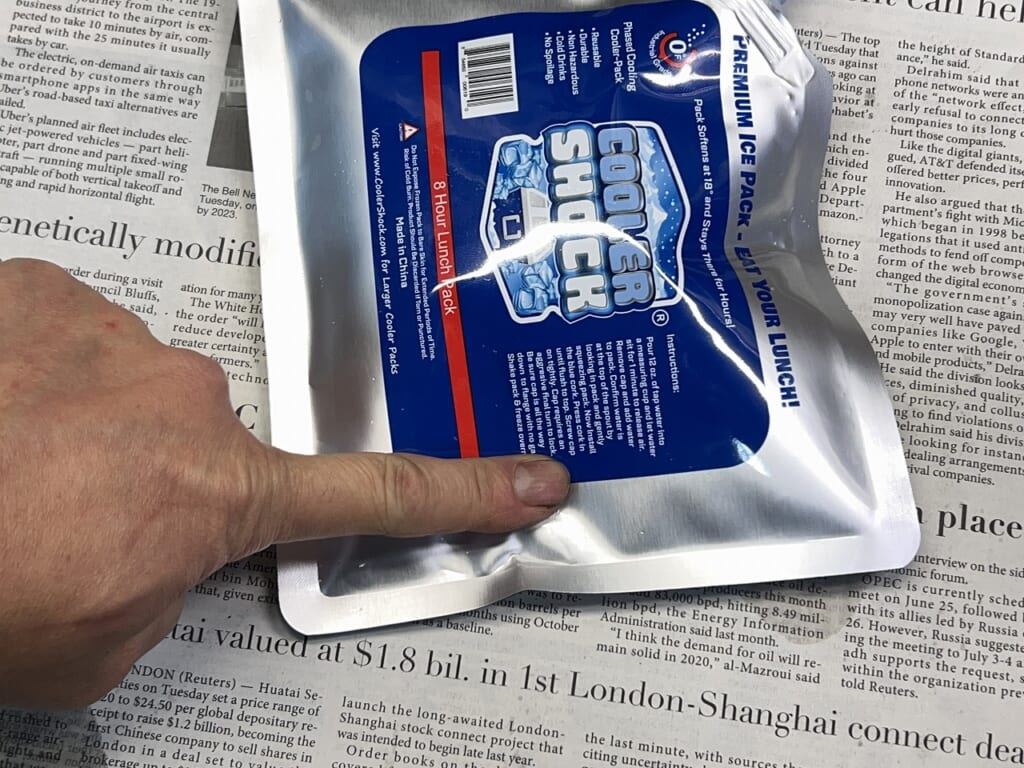
Be sure to check all four corners just in case.
If you shake well on the first try,
you won’t get lumps or pooling.
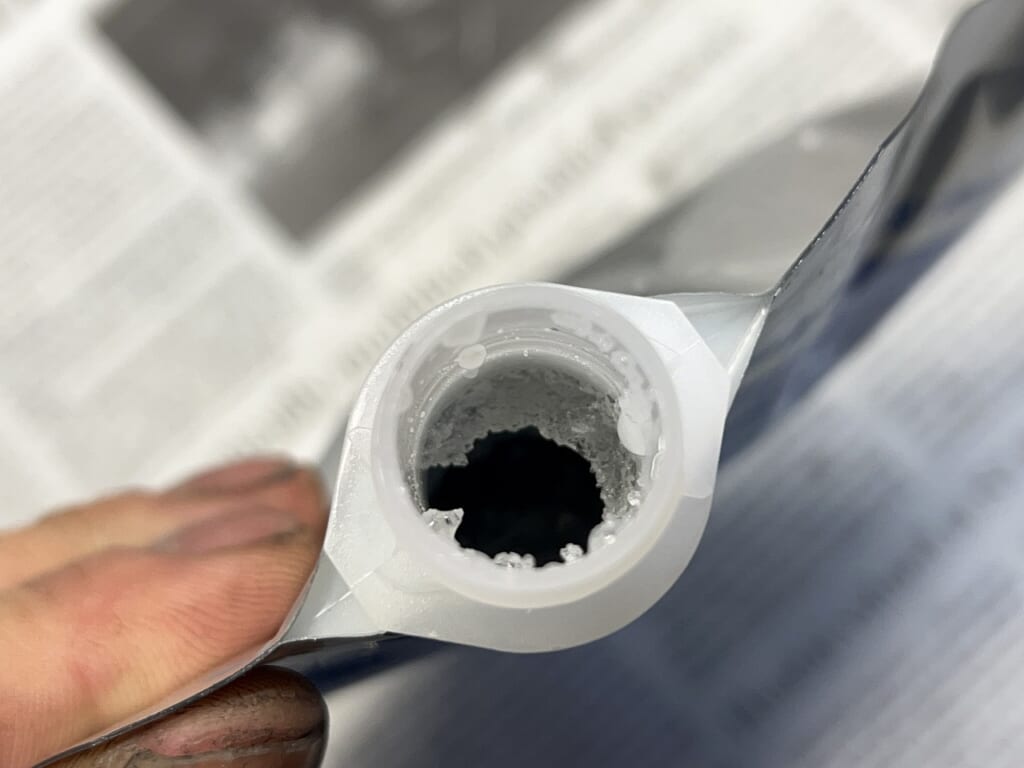
Once mixed, it becomes gel-like as shown.
It takes 2-3 minutes to gel, so you can mix it quite leisurely.
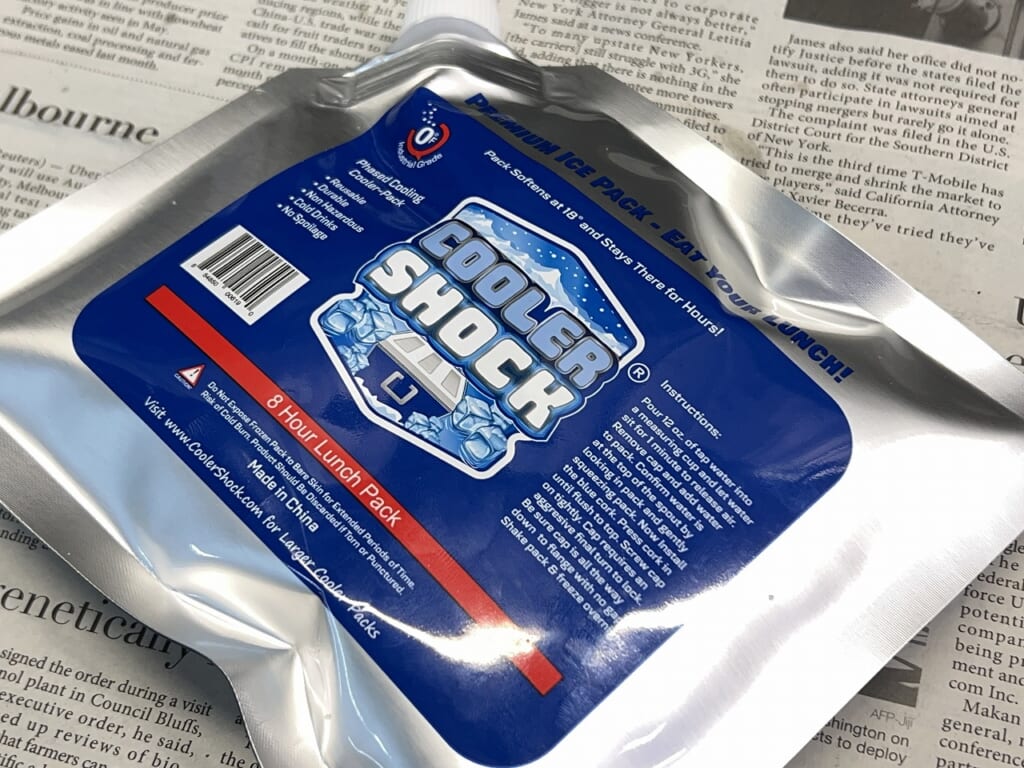
When you get the full specified amount of water in, there’s plenty of capacity.
Full capacity = longer cooling time.
It’ll cool really well.
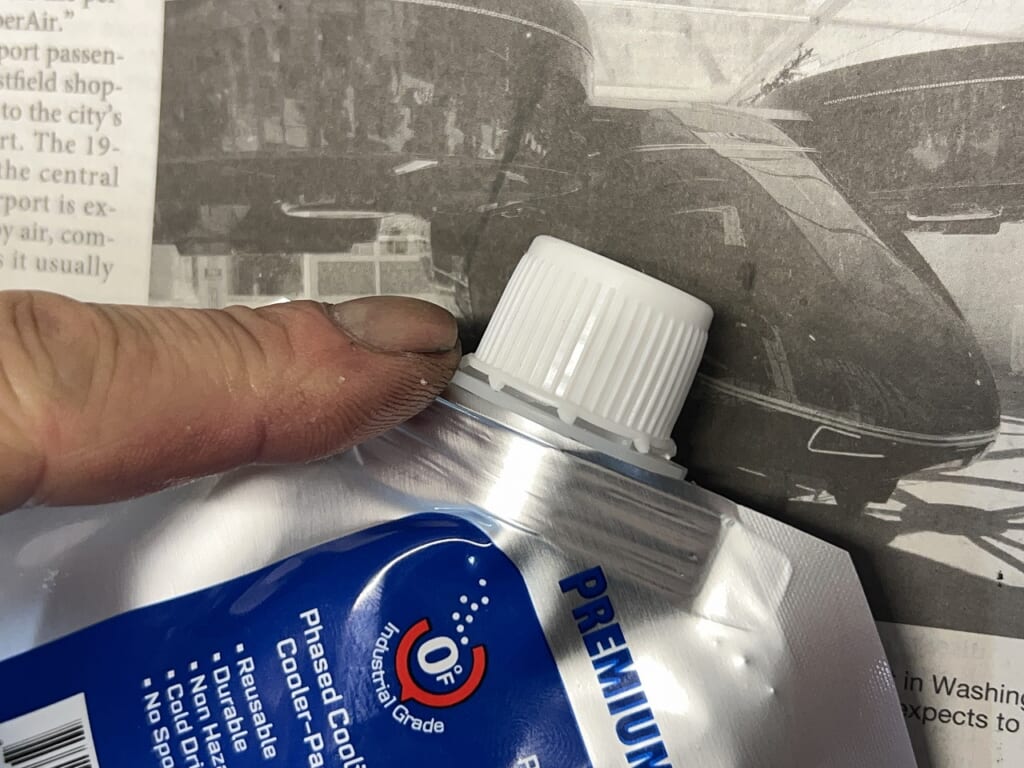
Once you seal the cap, you can’t open it!
Be careful.
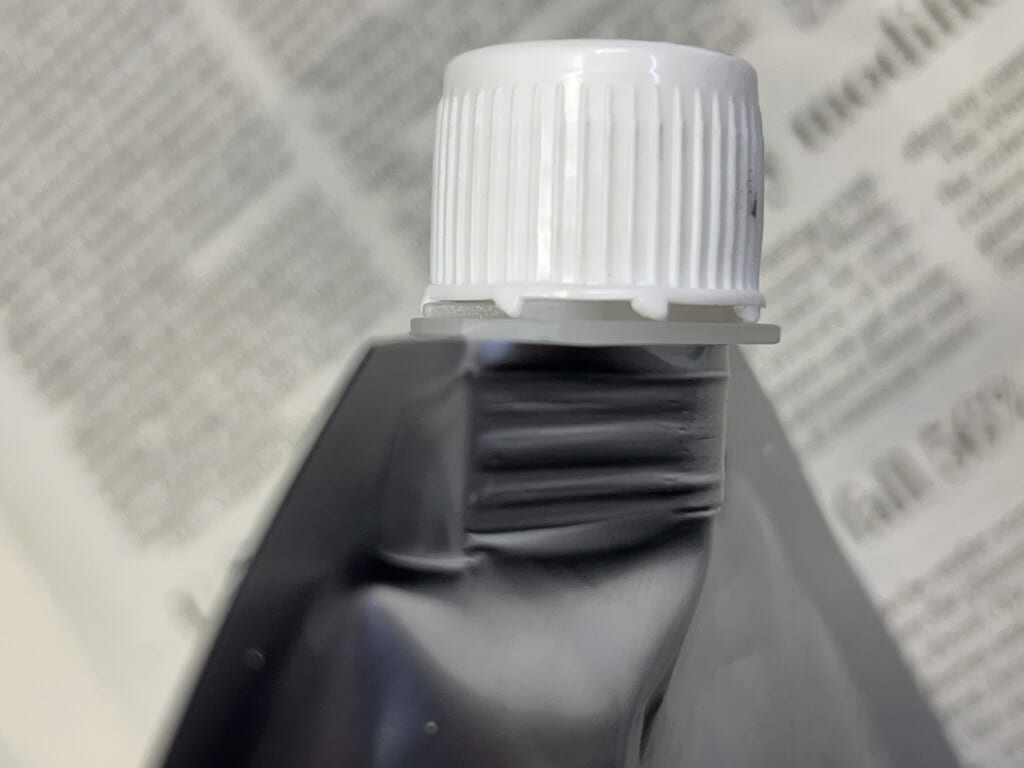
The nail in the image acts as a lock.
In a pinch, you can cut off the nail to release it.
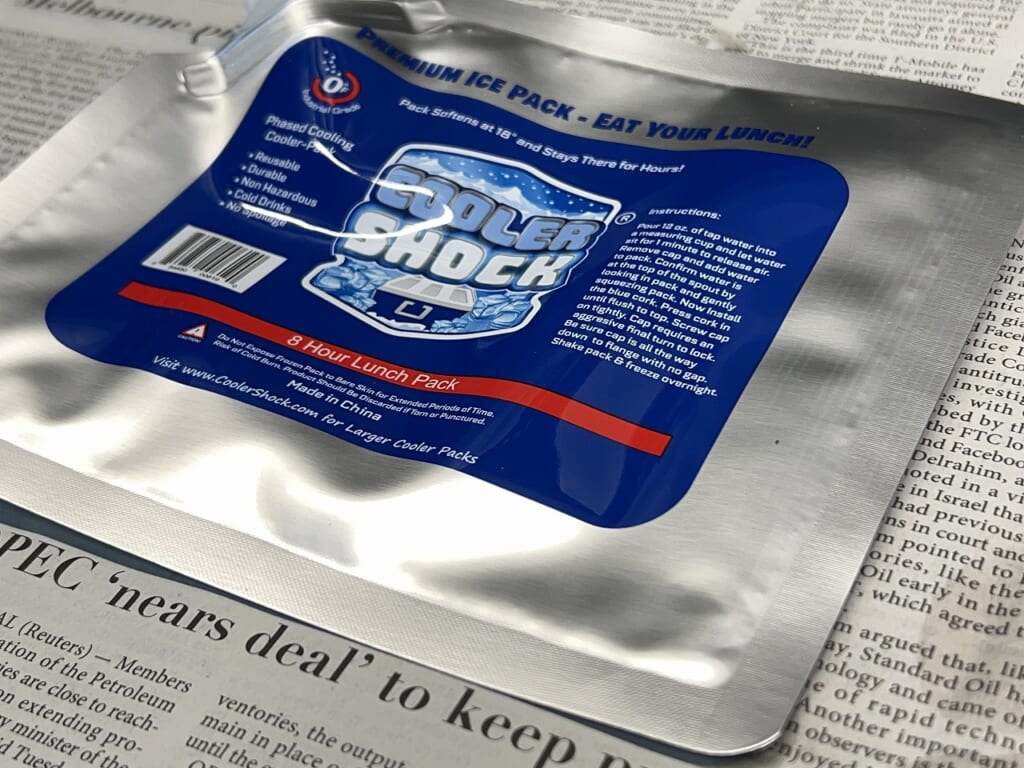
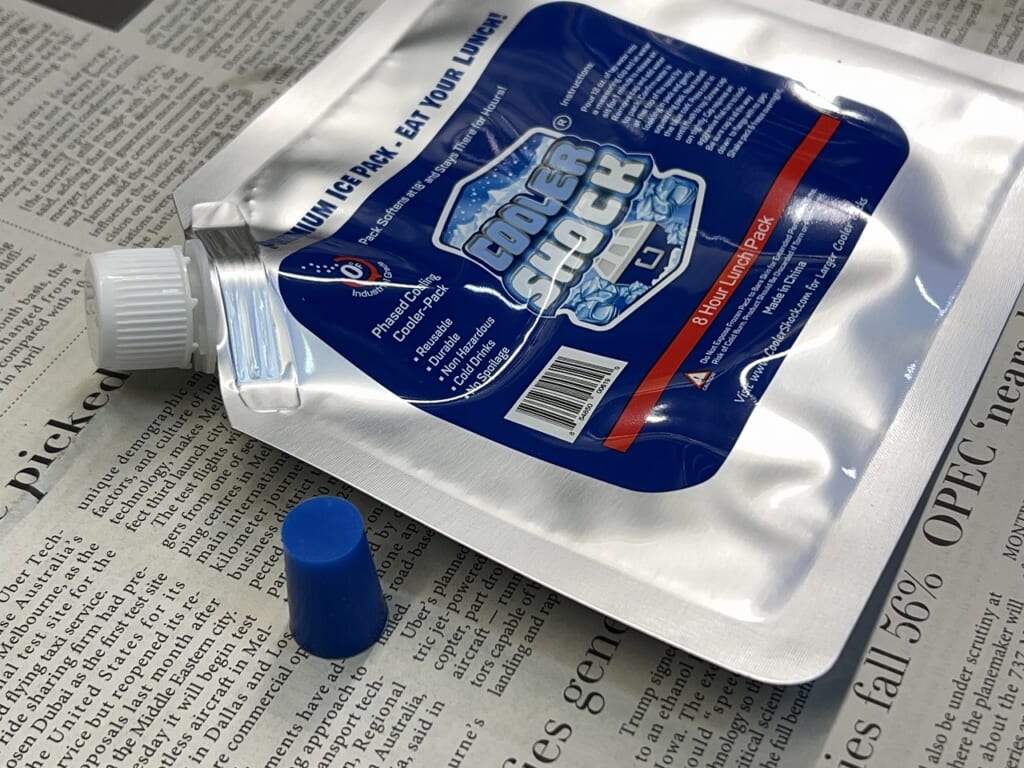
Why “add water after”?
Storage, shipping, and water costs go down, and damage risk decreases.
It’s all good for the manufacturer.
As long as you mix it well and get the performance…
Even if you mess up, it shouldn’t lose all its effectiveness, so don’t worry.
(*´Д`) Let’s keep things nice and cool!


 ポチップ
ポチップ
 ポチップ
ポチップ