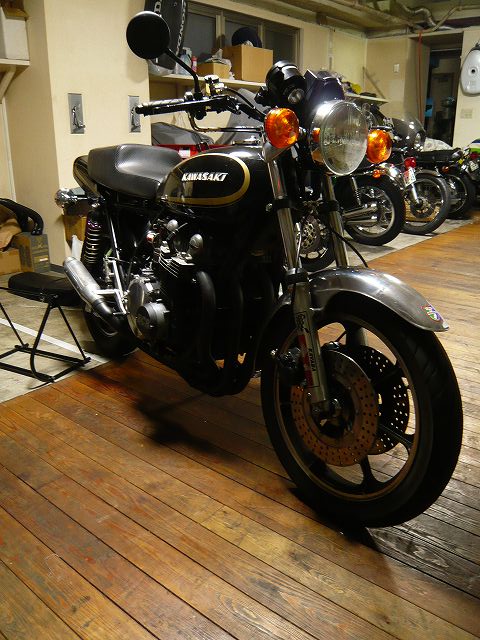
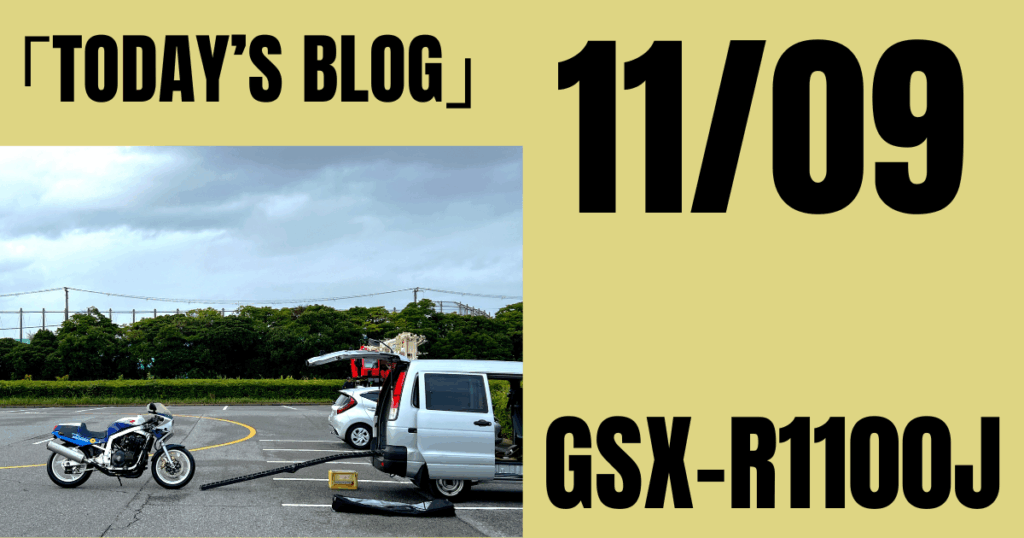
This week my schedule got a bit messed up. There’s a preliminary inspection, which is like a vehicle inspection.
I was originally planning to go next week, but when I checked the Sodegaura inspection facility schedule, it looks like 11/6 (Thursday) is the only opening this month. To be honest, I don’t normally need to make a reservation like this, but “since Sodegaura isn’t familiar to me yet,” I decided to do things properly. That means I had to prepare everything by the evening of 11/5 (Wednesday), so I rushed.
Decoboco’s other blog. “RURAL GARAGE”
A hidden room for non-motorcycle topics. We share everyday convenience items, relocation, delicious food, life philosophyand more. ←click
The sound is so loud that there’s no way it would pass inspection. And the inlet diameter is? Kind of odd? 52.???Φ Since I couldn’t use any of my existing adapters, I hastily fabricated a new one.
Since I had the materials and equipment, it went smoothly! Tools really make the difference.
Since only one headlight was working, I used the fog lights I had prepared as the low beam and only the right as high beam to pass the inspection.
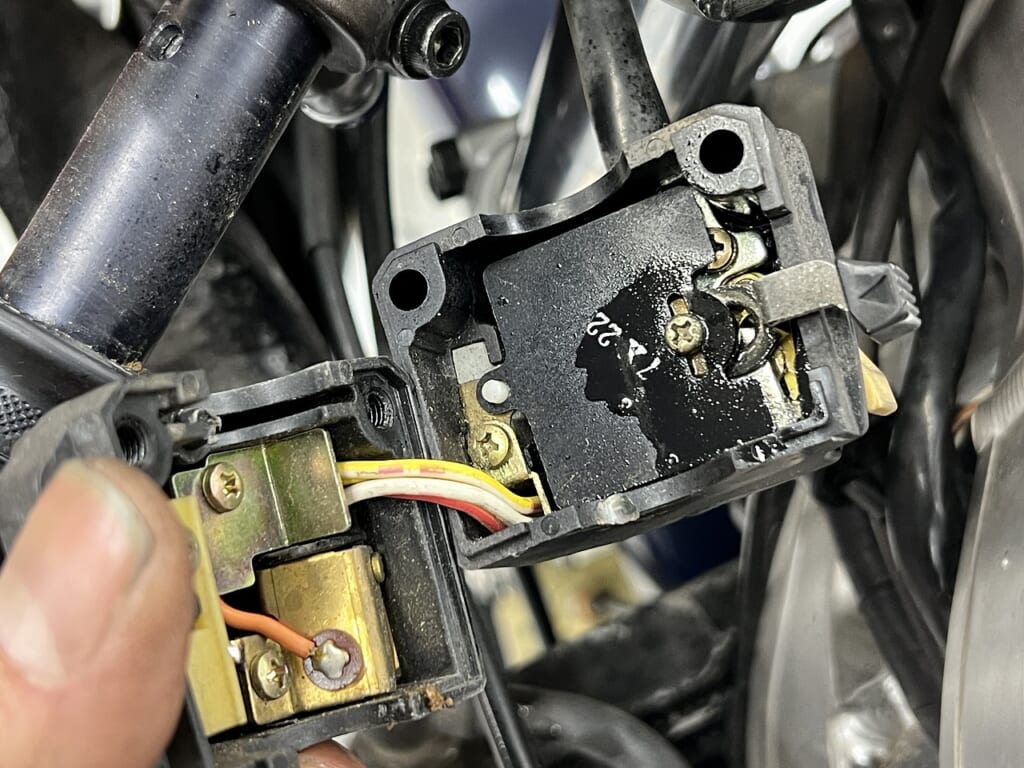
I clearly remember problem after problem popping up. Horn not working / turn signals not lighting / brake switch unstable—we cleared all of these, and when I tried to load it onto the transport trailer, “the clutch was stuck and wouldn’t disengage.”
Normally if you force it into low gear or rock it back and forth in low, it should come free, but after all these years, it wouldn’t budge at all. After all this prep work, it felt like the universe was telling me not to go…
Should I disassemble the clutch now? Or just give up? While I was fiddling with it, it finally disengaged and somehow worked out. But I have a feeling the clutch will start slipping soon.
And so the next day, I successfully completed the preliminary inspection.
Let’s replace the chain and sprockets
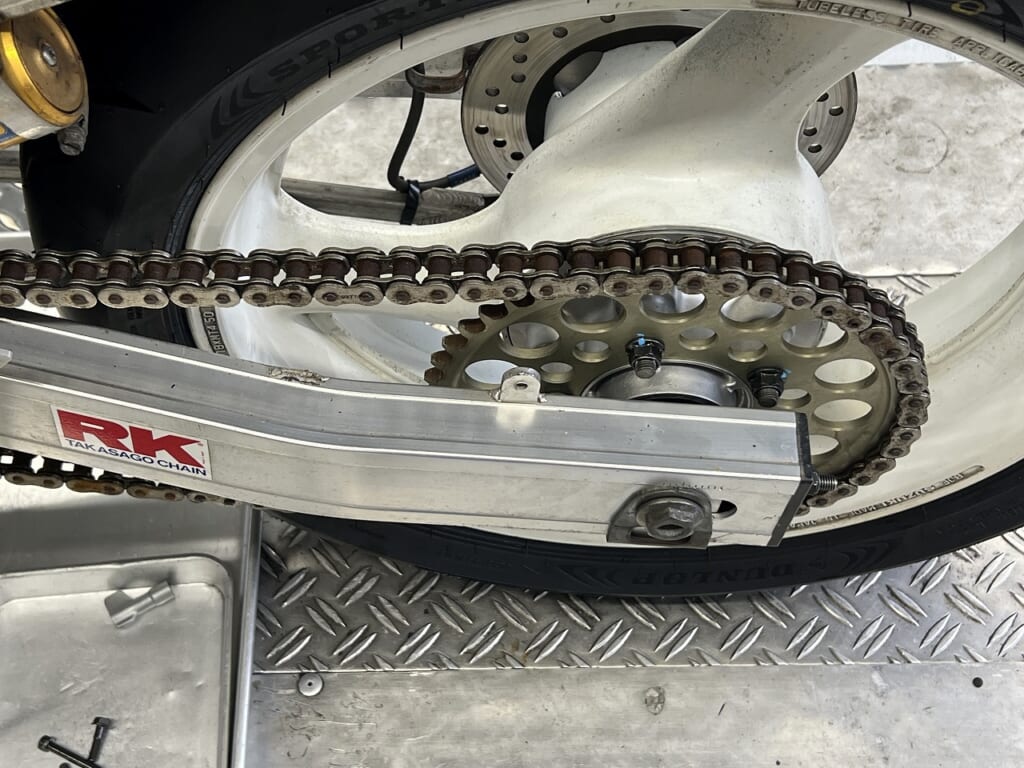
It’s rare to see a drive chain where the roller section is completely rusted like this.
For now I kept the final drive ratio the same as stock and converted to 520 size. Converting to 520 makes it lighter and rolls easier, but depending on how you ride and use it, durability can drop slightly. Ideally 525 conversion would be the most balanced, but considering the final drive options available, it ends up being either 520 or 530.
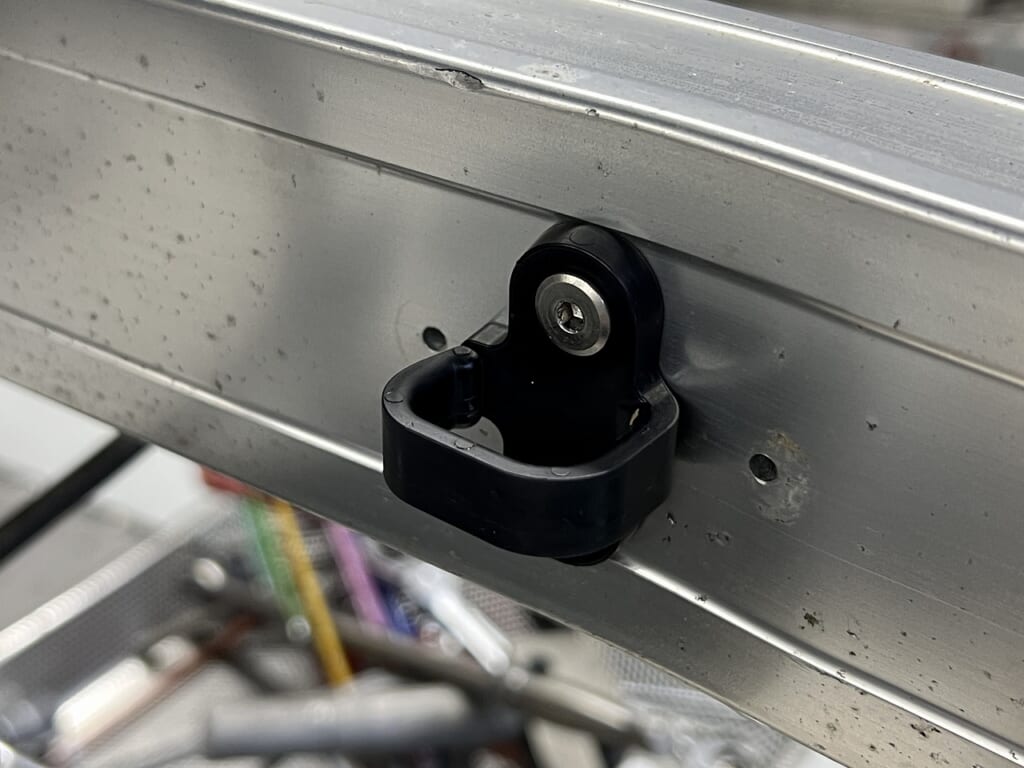
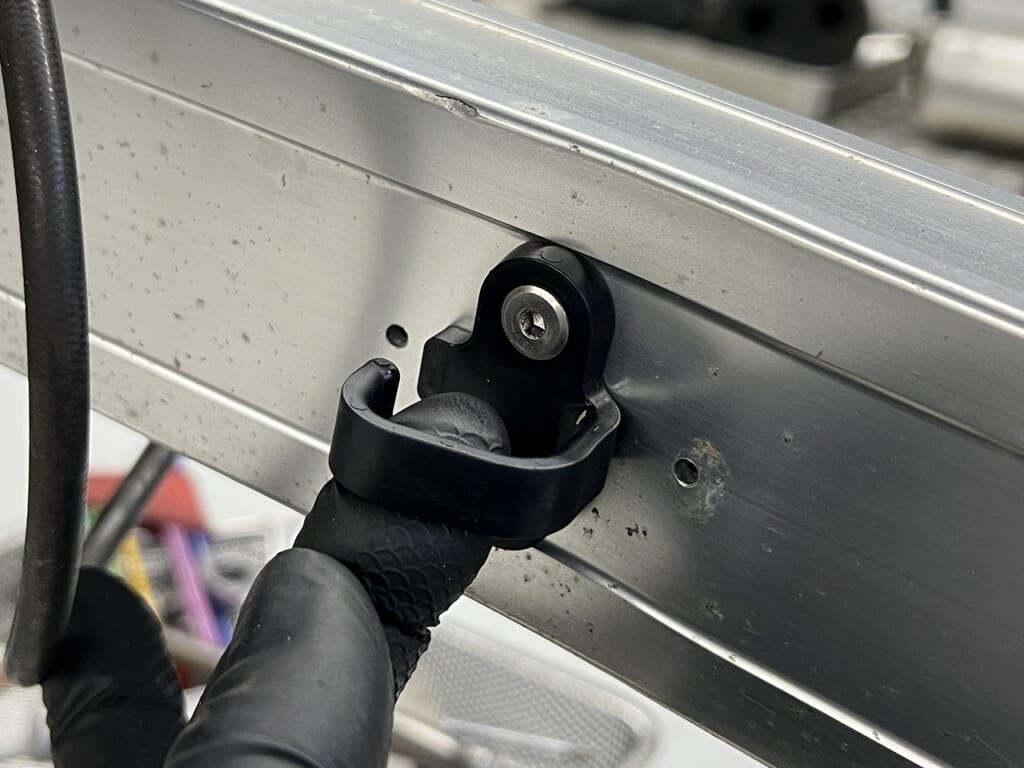
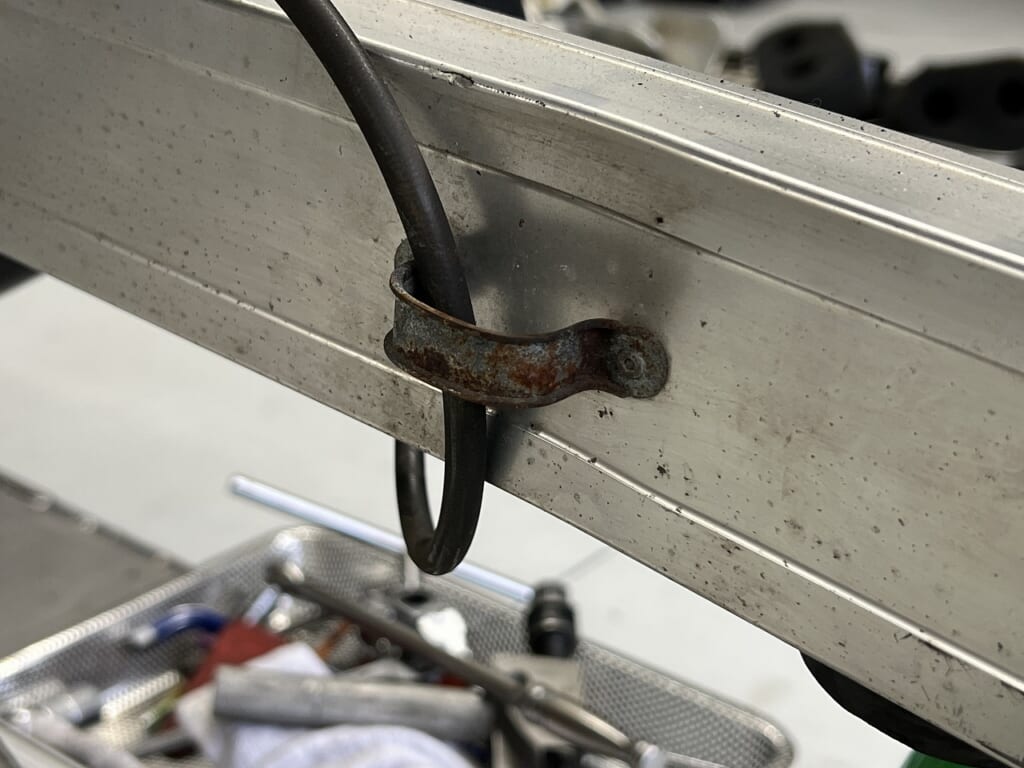
I replaced the brake hose guide with a newer type. Switching to this plastic type reduces damage to the brake hose. And when removing the swingarm, you no longer need to drain the fluid and disconnect the brake hose. Plus, when doing caliper maintenance, your freedom of movement increases dramatically.
If you always think ahead about future work and take the time to do it right, the results will definitely follow.
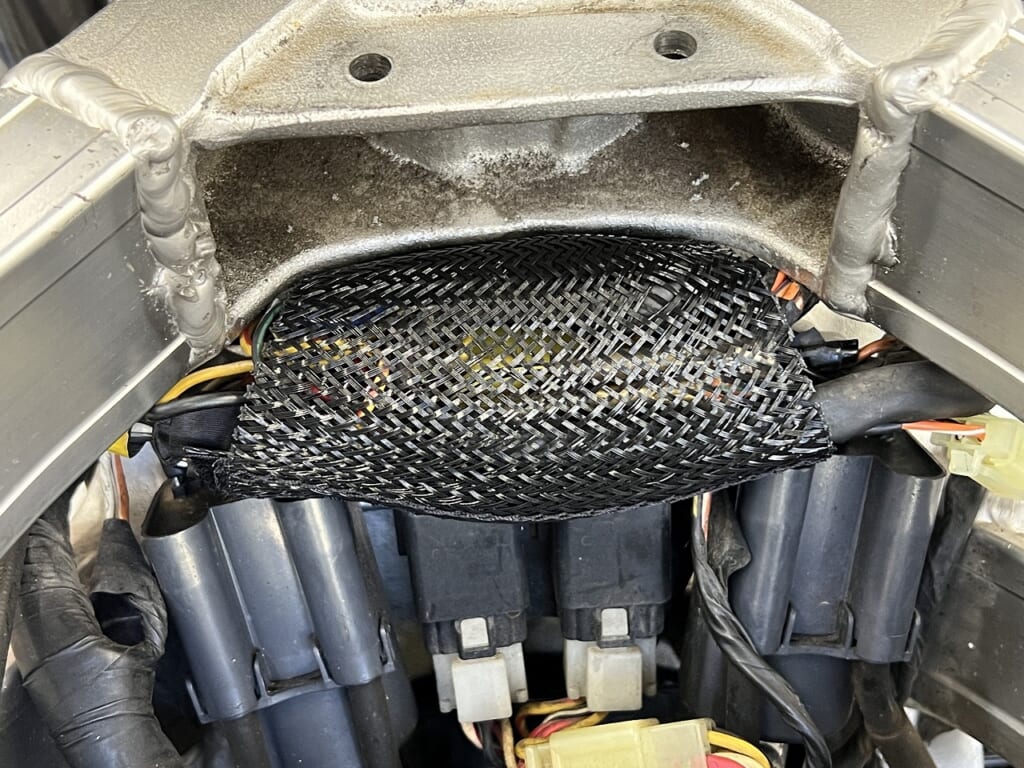
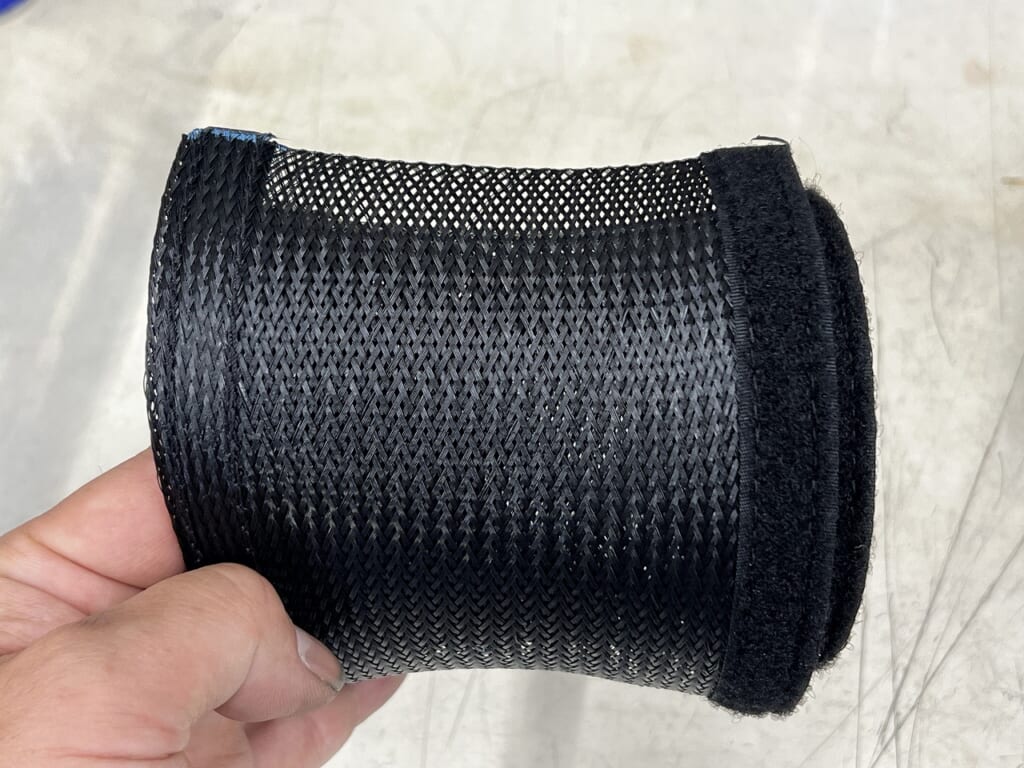
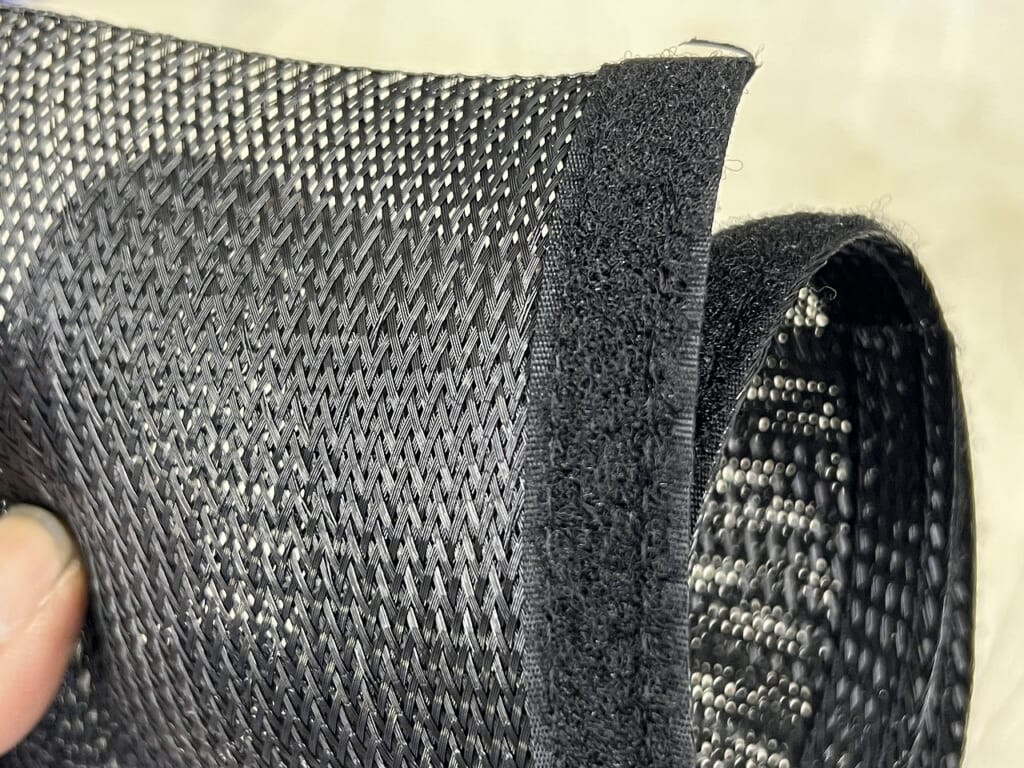
This is a pretty convenient item, so I think it’s worth having one on hand. You can prevent damage from rubbing while also improving the appearance.
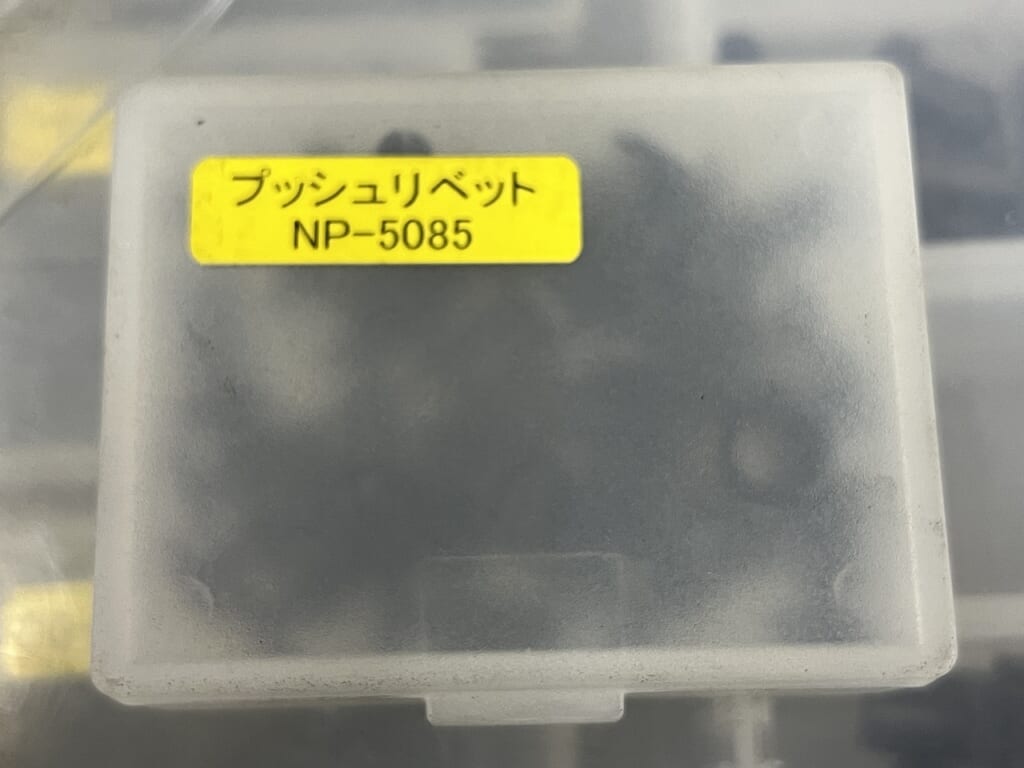
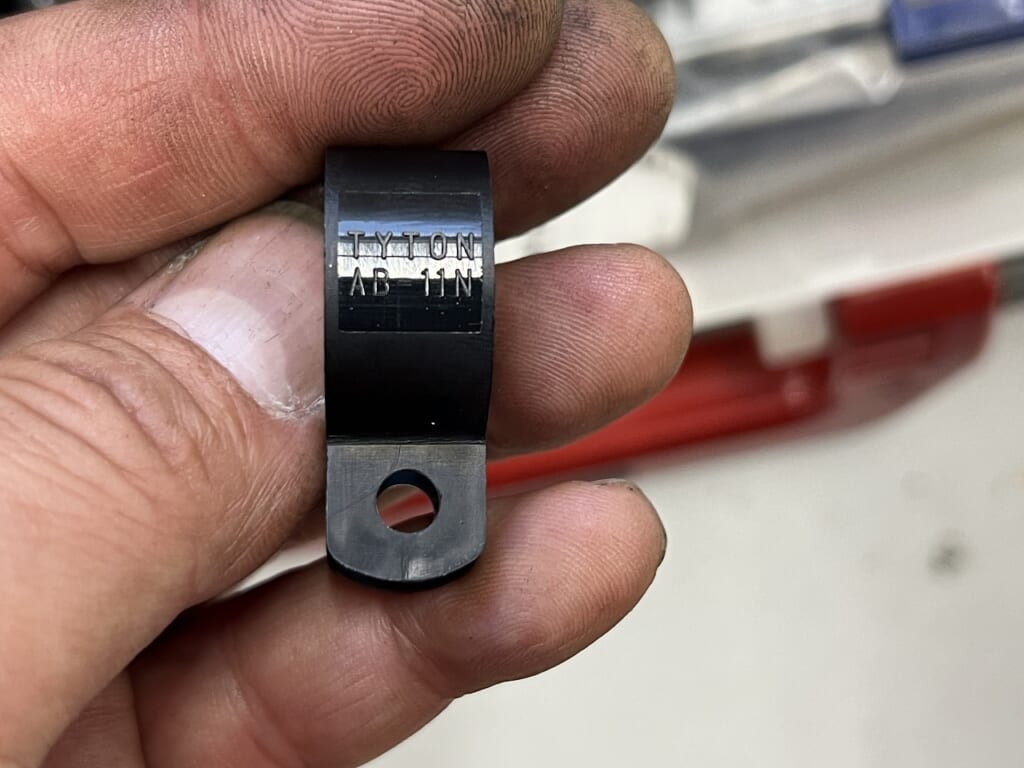
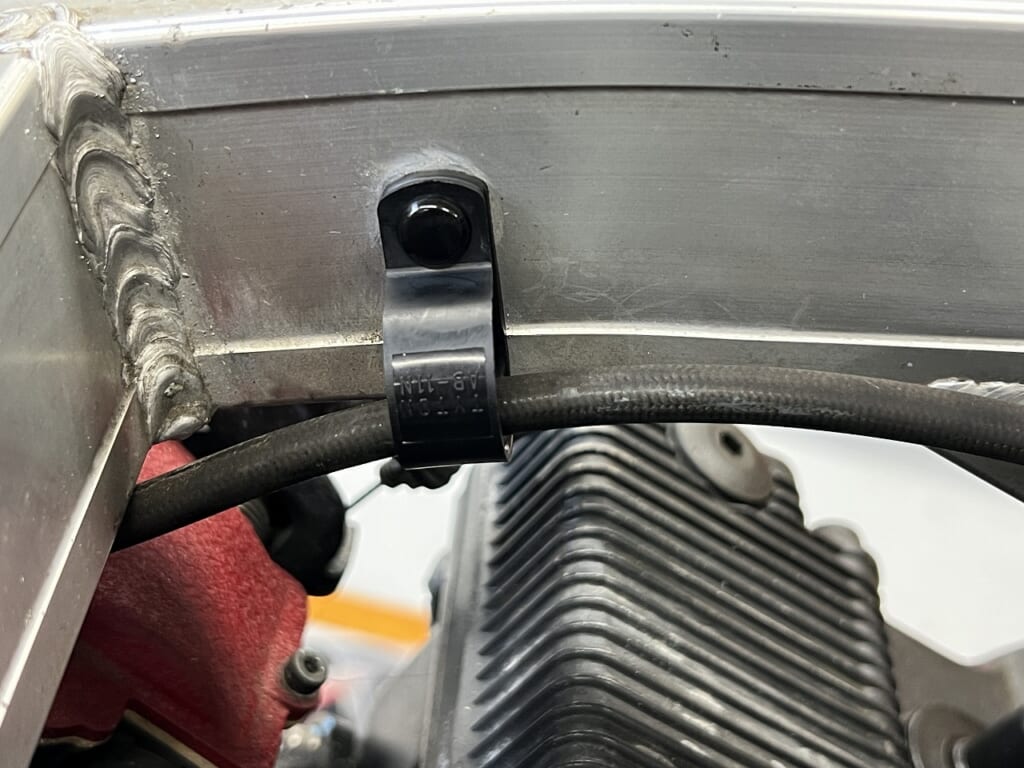
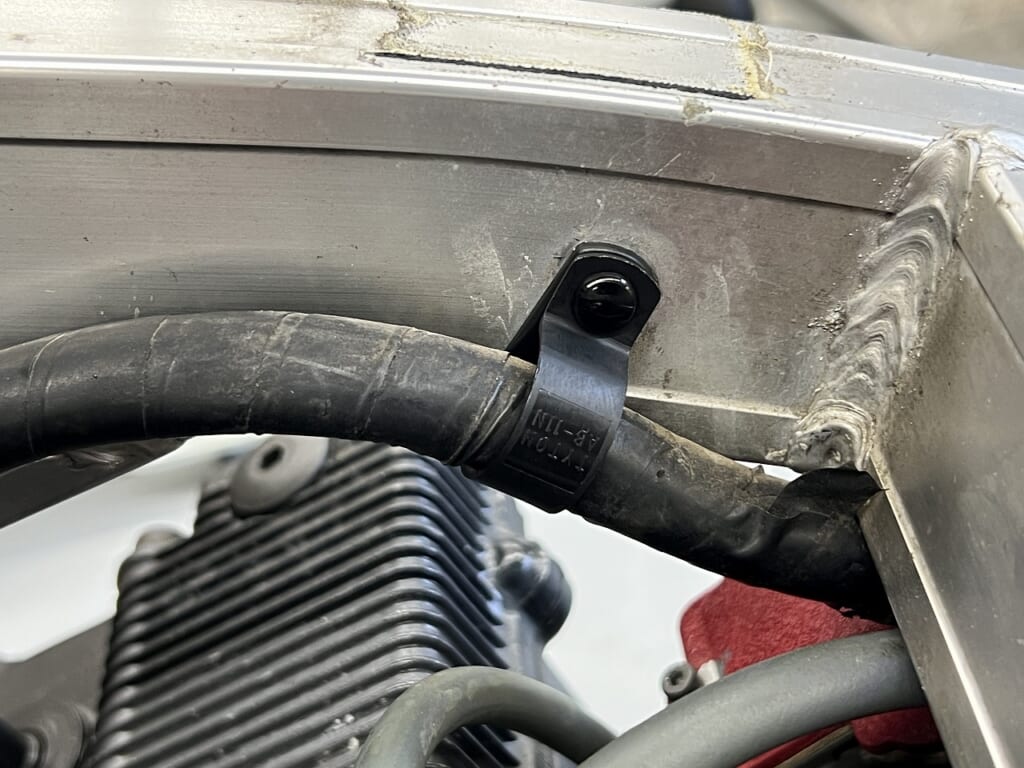
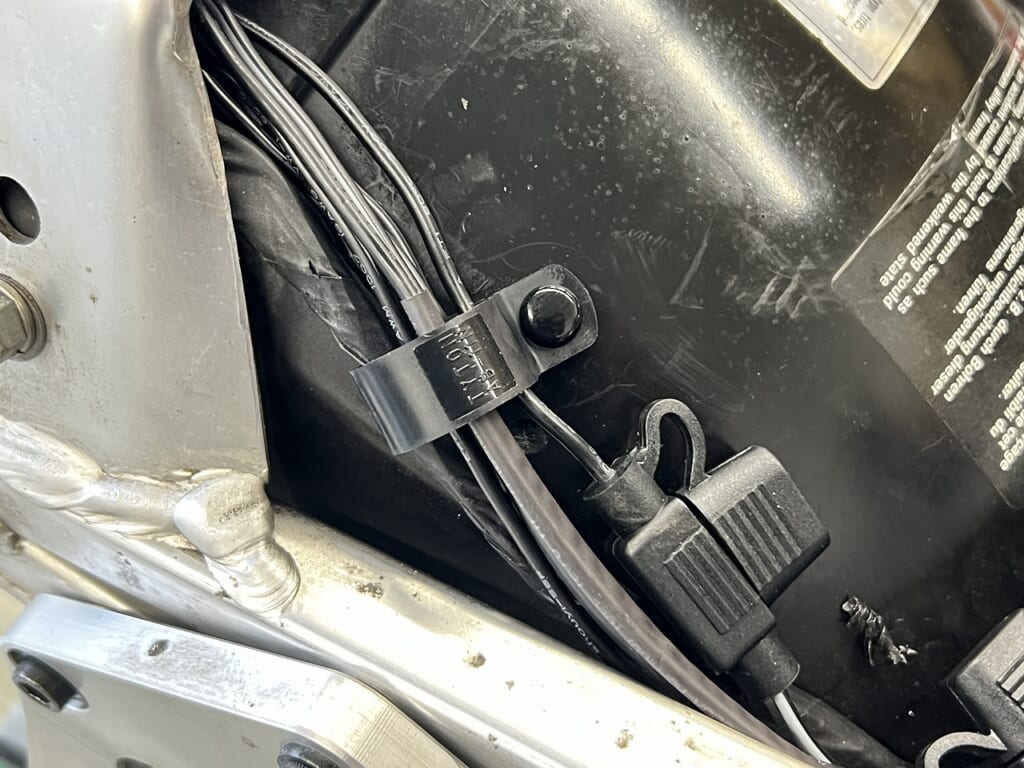
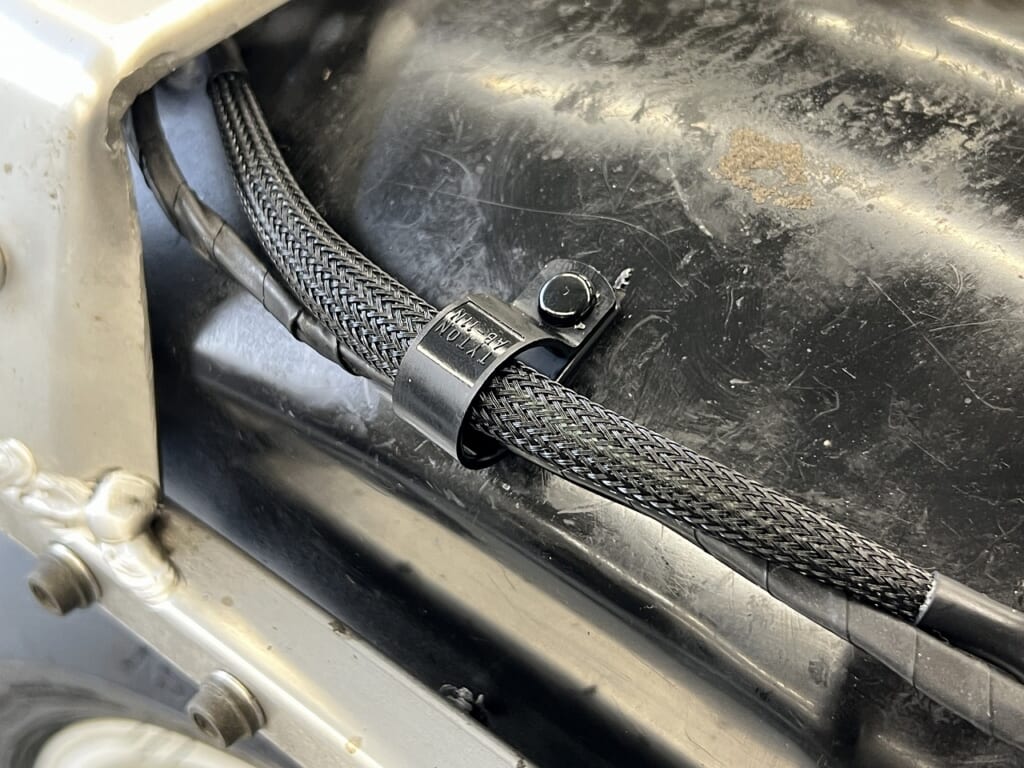
I’ll use push rivets and clips to route the wiring nicely. Avoiding cable ties as much as possible gives you a cleaner layout and better serviceability.
Ideally you want to keep cable ties to a maximum of about 20 per bike.
By routing it this way, you can get the wiring exactly where you want it.
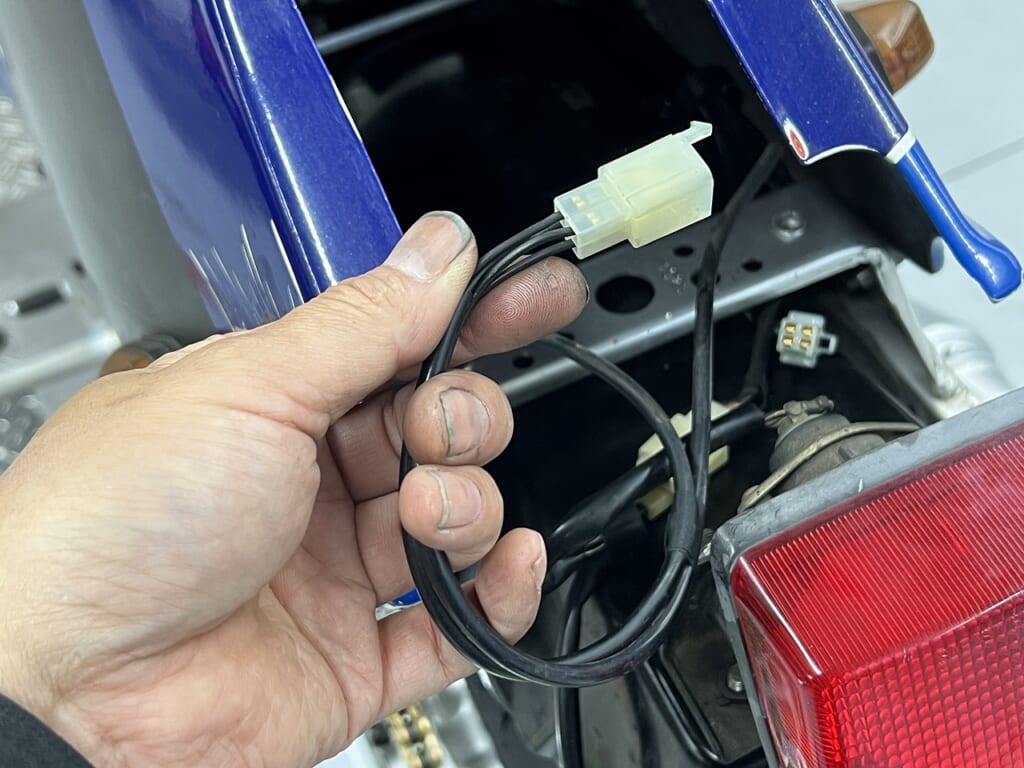
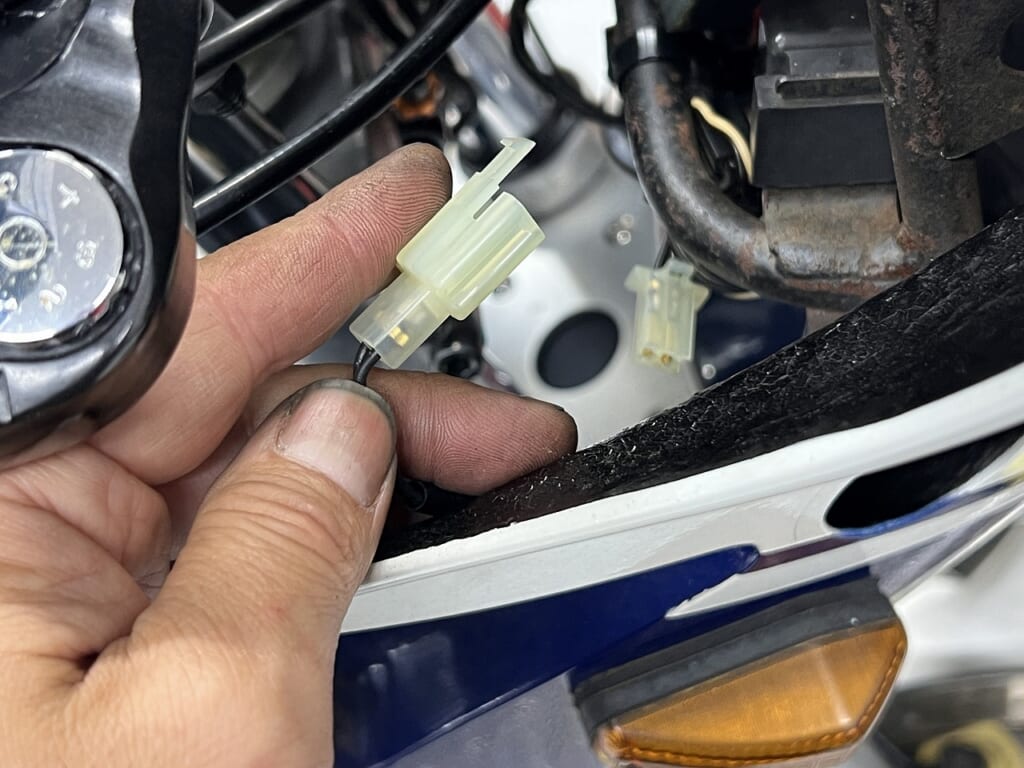
I changed all the turn signals to 110-series connectors and adjusted the lengths. It’s a bit of work at first, but doing this kind of modification makes future work much easier. If you think ahead and keep things simple and easy, it’s friendly to everyone.
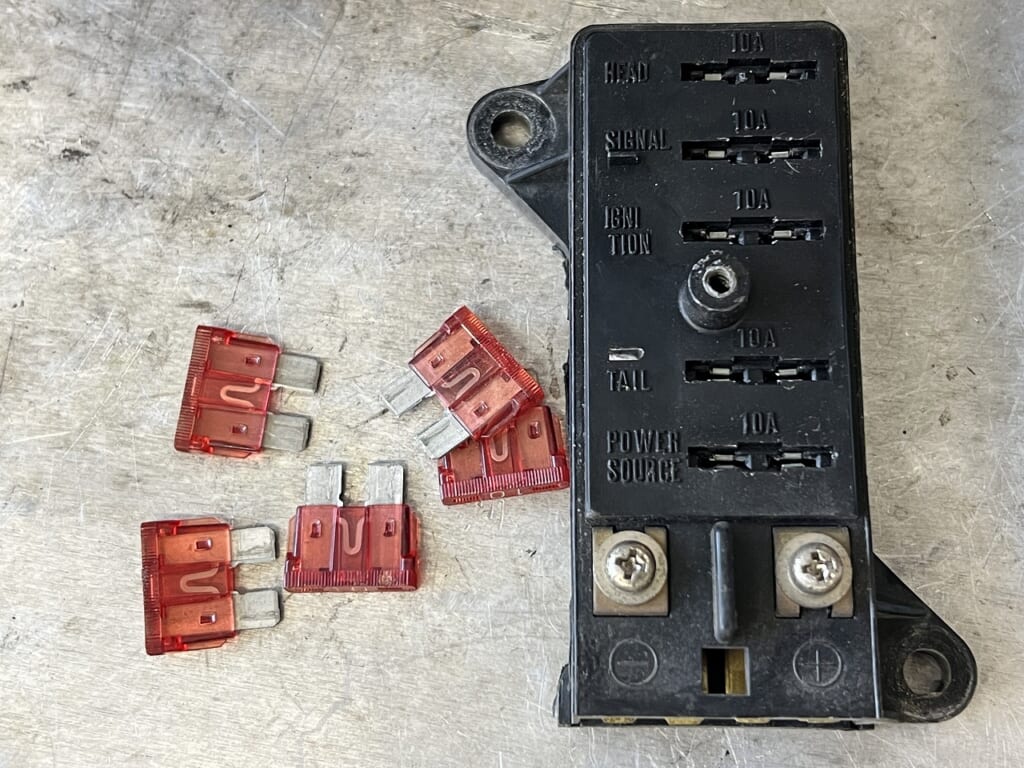
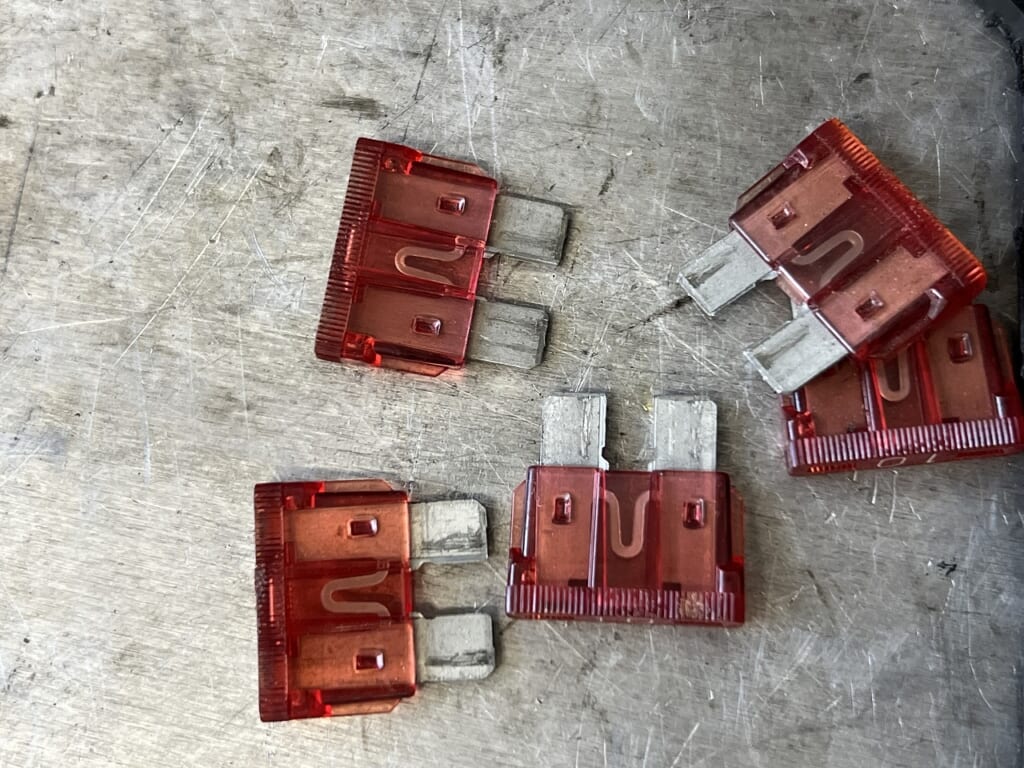
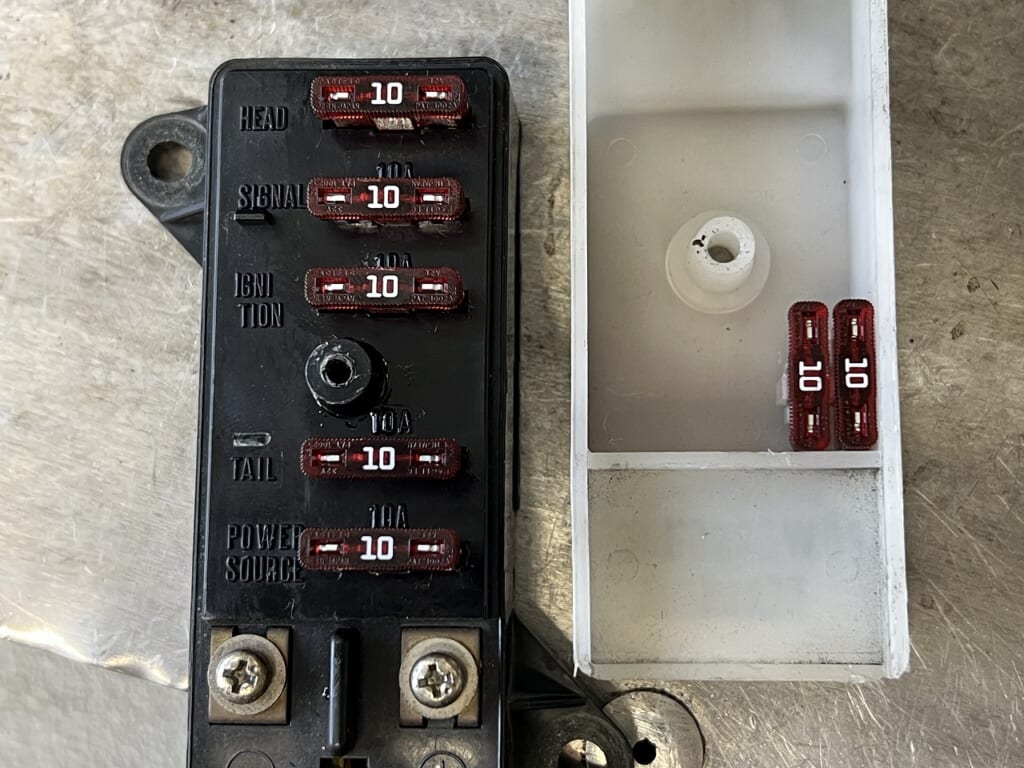
When you buy a used car, it’s a good idea to replace the fuses once. The peace of mind you get for a few hundred yen is really significant.
Also, since I’m reusing the harness, I disconnect all the connectors, apply contact cleaner, and reconnect them.
Fine work is a steady accumulation of small tasks.
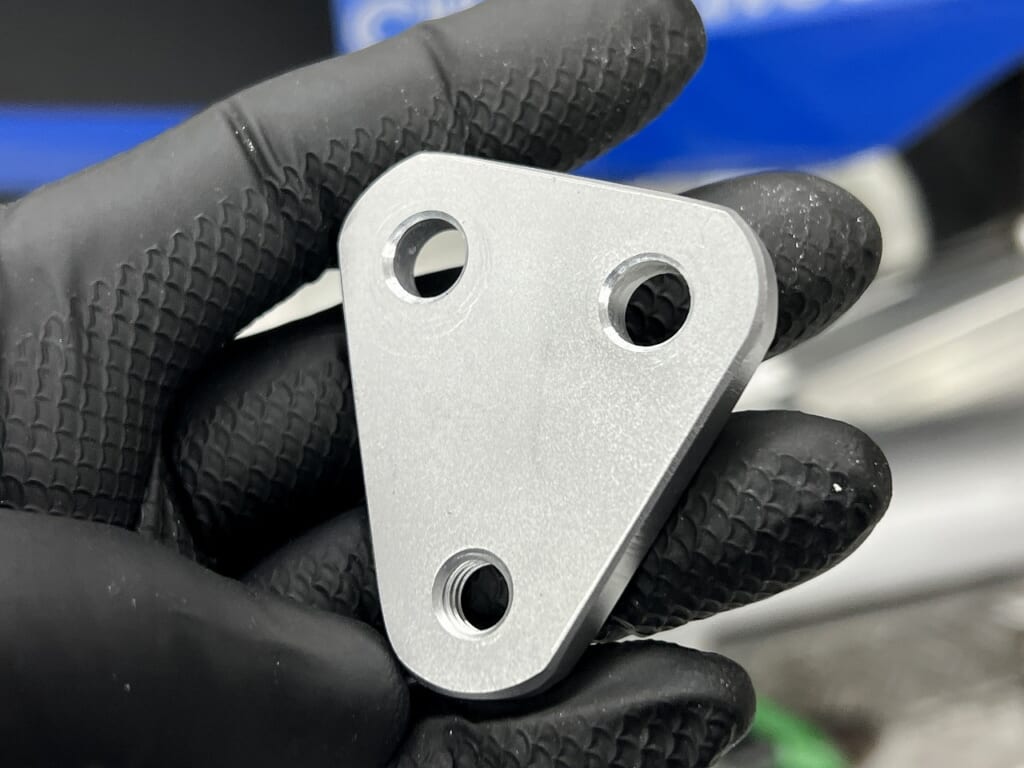
The silencer bracket position didn’t quite match, so I made an adapter. I haven’t gotten the chamfering cutter ready yet, so I’m chamfering the outer edge by feel.
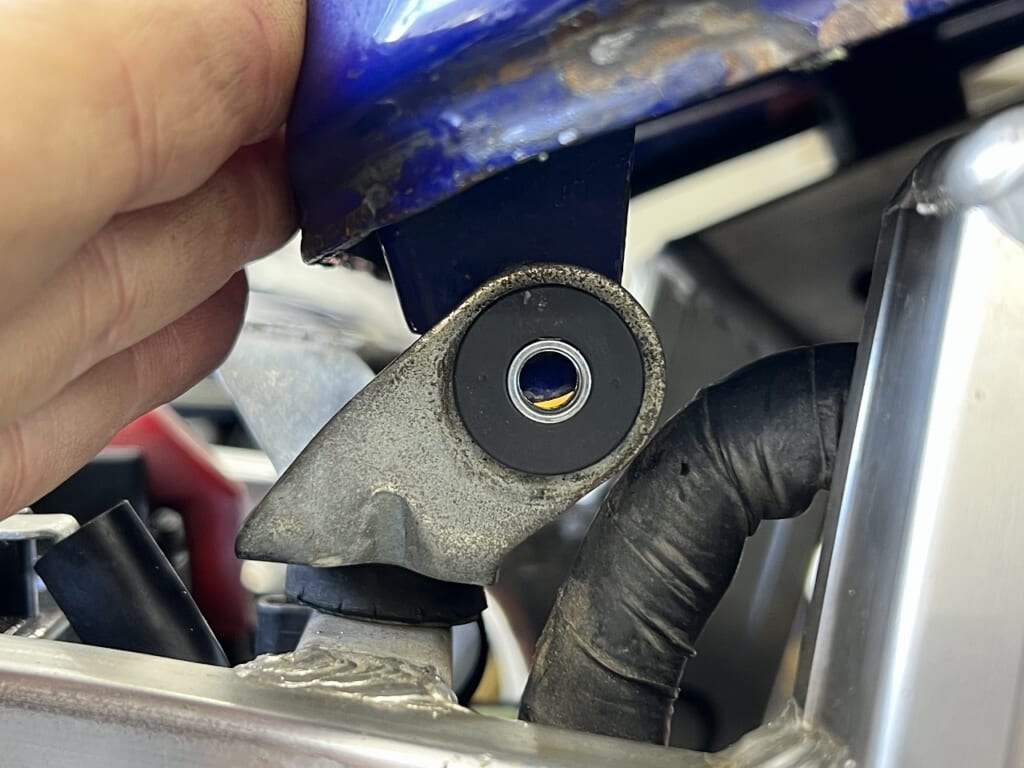
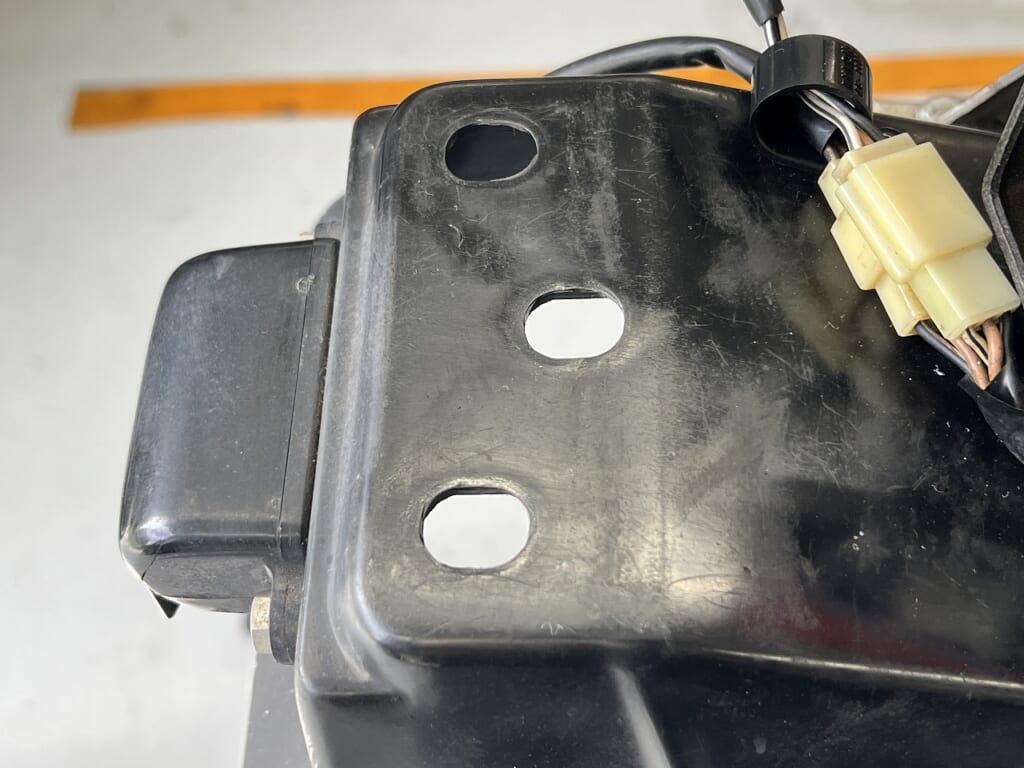
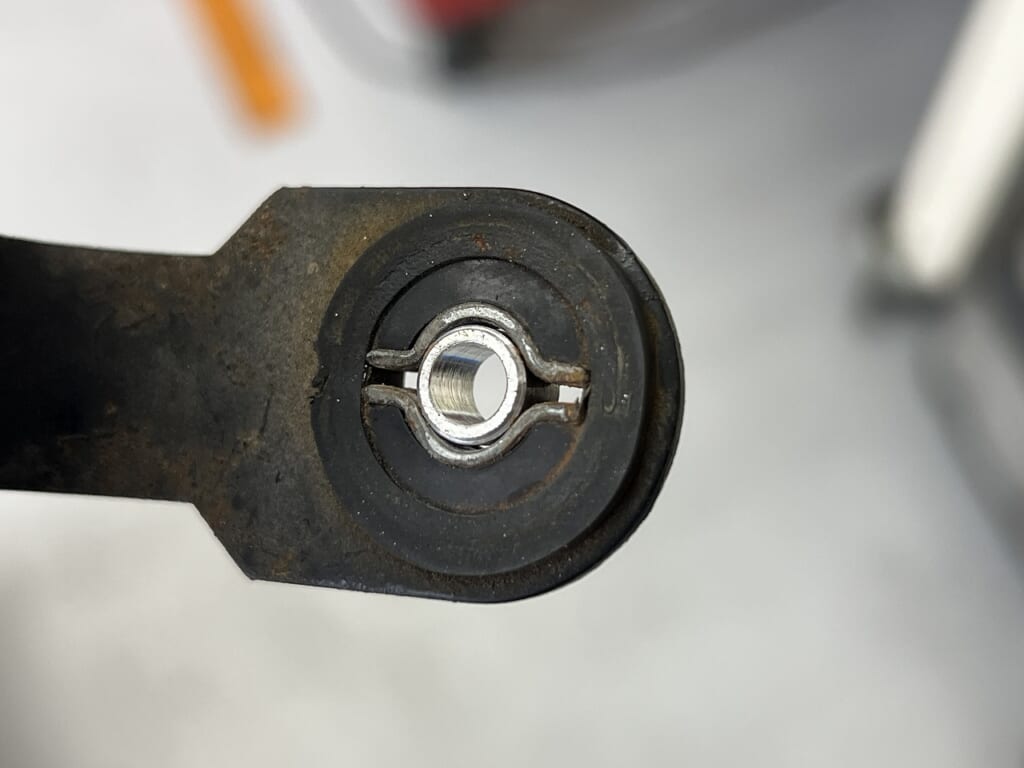
For fine details, basically whenever there’s a damper, you always need a sleeve. For the tail cowl, I couldn’t figure out what would fit, so I pulled one from the junk corner and remade the sleeve.
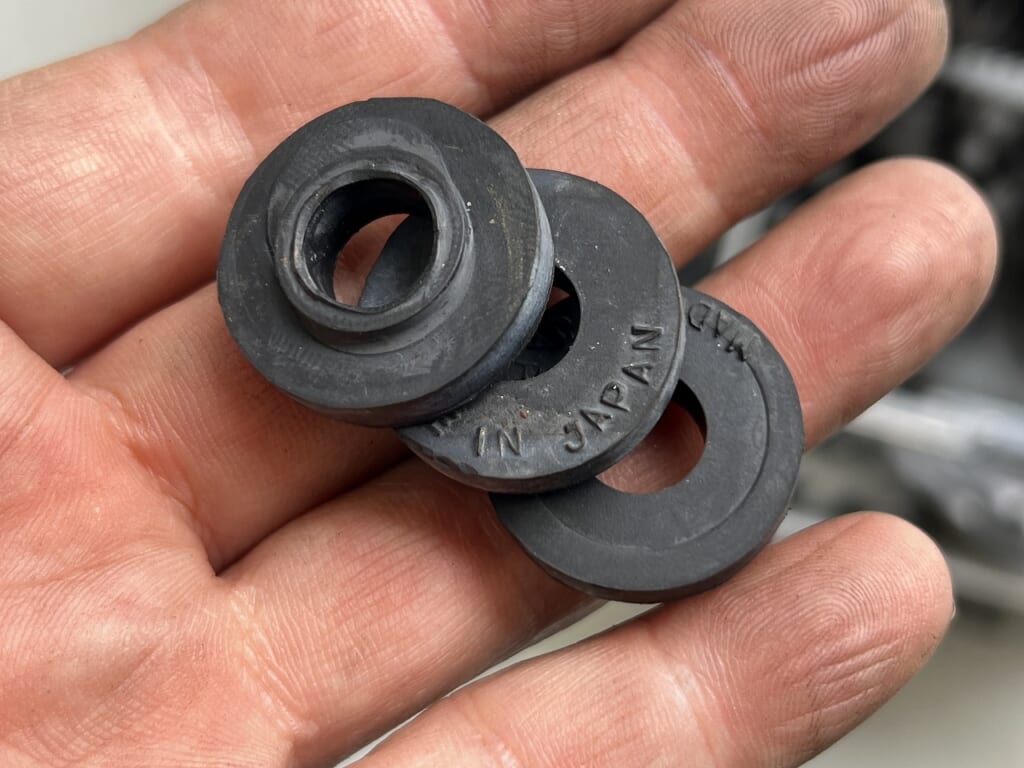
This tail lamp fixing damper is also discontinued. It has a pretty loose design typical of that era.
I thought to myself, “That’s so me!” When I searched the junk corner, I found a used damper of this type. It has a pretty unusual shape with a shallower convex part. That explains why it’s not compatible with other dampers.
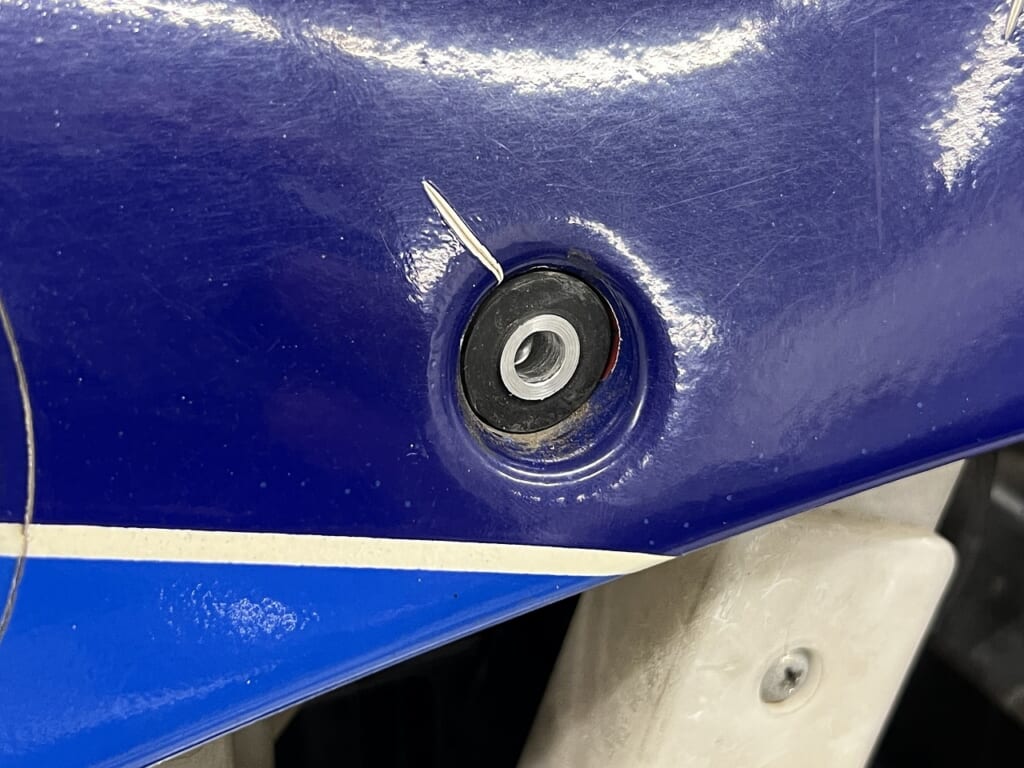
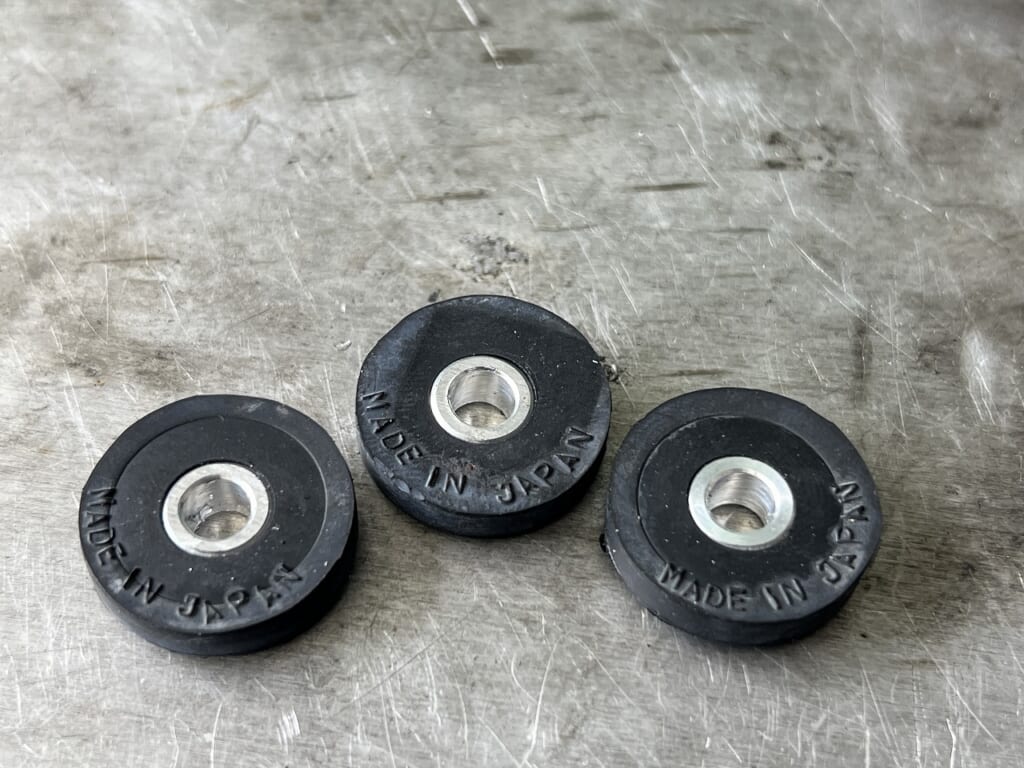
So I made the sleeve on the lathe too, and finally the tail lamp is properly secured.
A box full of various rubber and plastic parts organized in a case. If you sort and store things that might still be usable, they’ll come in handy.
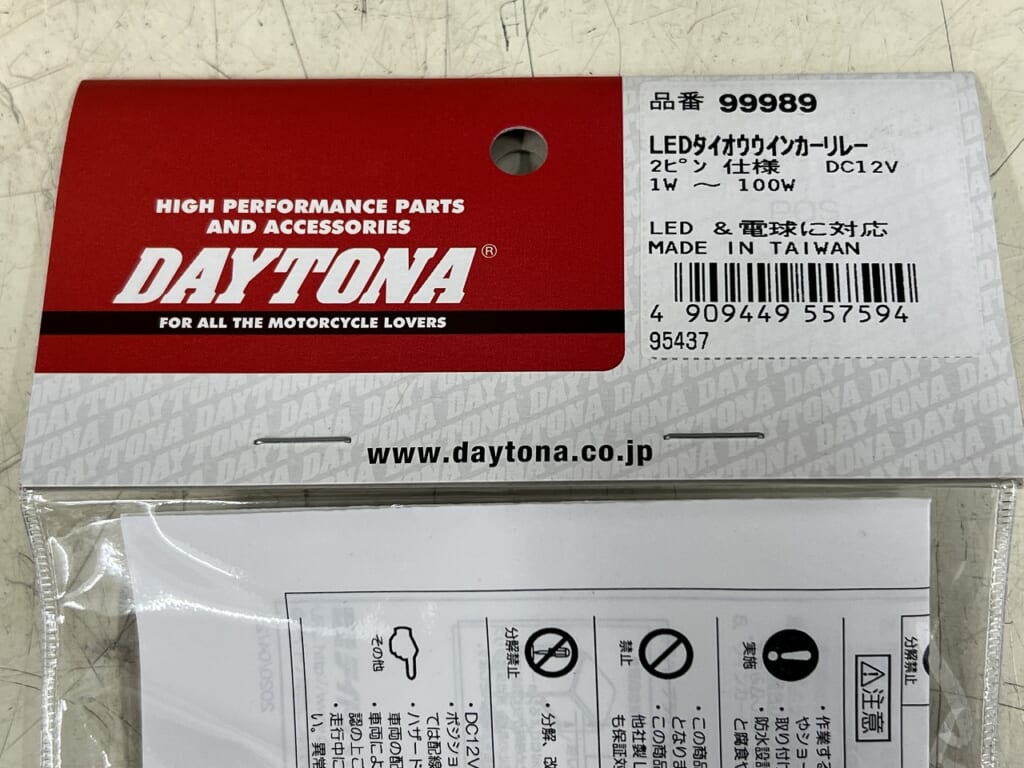
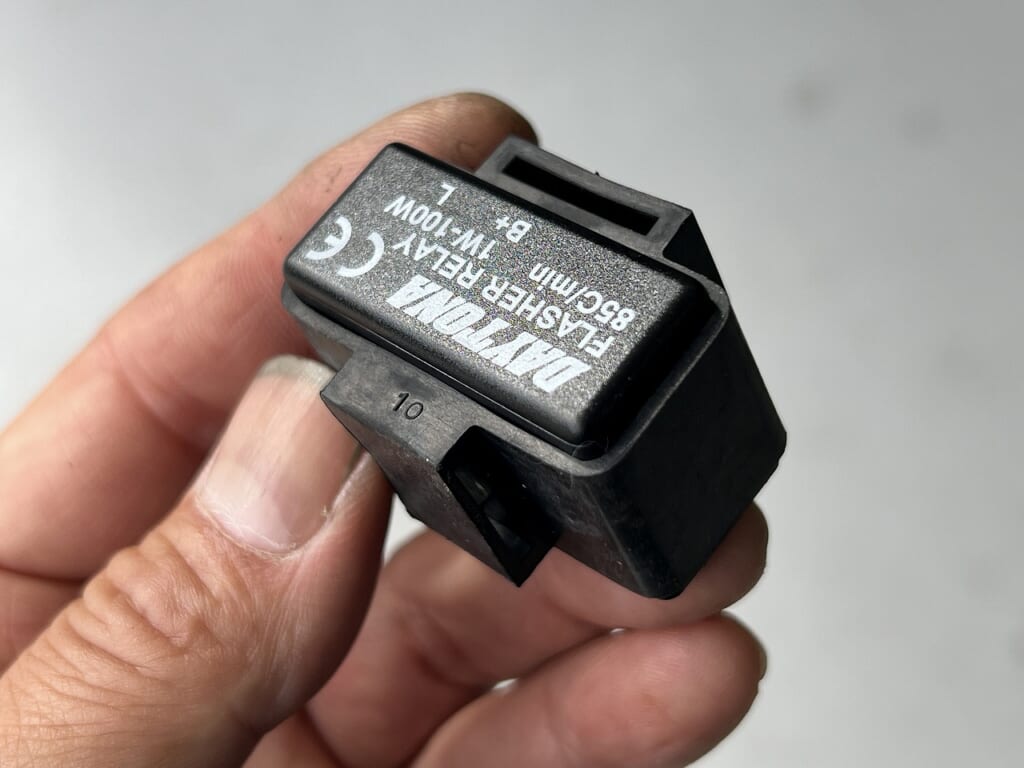
It’s gotta be Daytona! I have absolute trust in them
I can only use Daytona turn signal relays. The size, shape, price, and construction are all perfect. It handles 1-100W. *Though you’d never use 100W… But thinking about it the other way, with this much wattage, you can also use it as a hazard relay.
If you think carefully about even small parts when selecting them, you can achieve a much simpler configuration.
Vertical and horizontal layout rubber mounts are excellent! Whether you have these or not completely changes how you mount things. Nobody wants to fix something like this with cable ties.
You can mount it so simply it feels like a genuine OEM part.
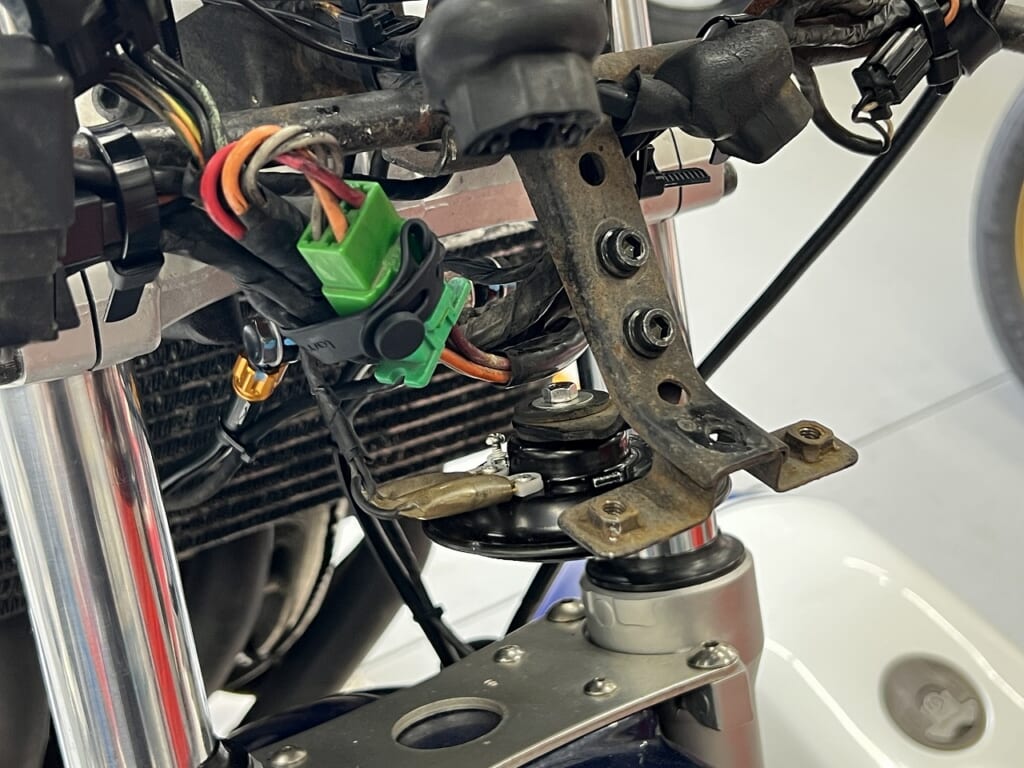
I’ll replace the horn too. It’s gotta be Daytona! I thought this was the only one that looked stock, so I ordered it, but… The GSX-R horn bracket is bent in a U-shape. In other words, the included bracket won’t work.
The GSX-R horn is M8 fixed, Daytona M5??? So I made a conversion sleeve and installed it.
Even small work like this ends up taking time.
And since the horn bracket is fixed from the inside, you have to remove all the headlights.
Converting the meter backlight to LED since it’s dim
I’m not even sure what’s incidental anymore, but I’m proceeding without regrets.
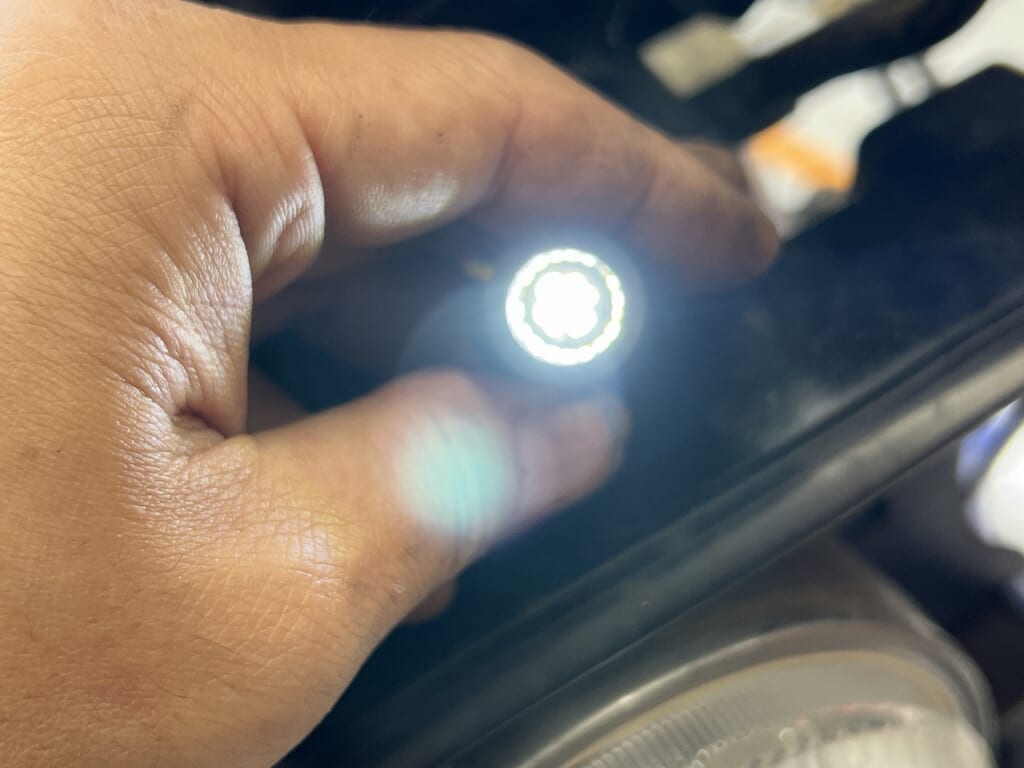
I also converted the indicator bulbs to LED. It sounds simple, but removing the bulbs is actually pretty difficult, it’s deep, the rubber and wiring are stiff, and it feels risky, yet I’m working on it anyway. Most meter backlights and indicator LEDs are in my inventory, so it went smoothly.
You can confirm the backlight is on even in daylight, so nighttime driving should be safe.
Since I’m using a Yoshimura pulsar cover, the oil pressure light won’t illuminate.
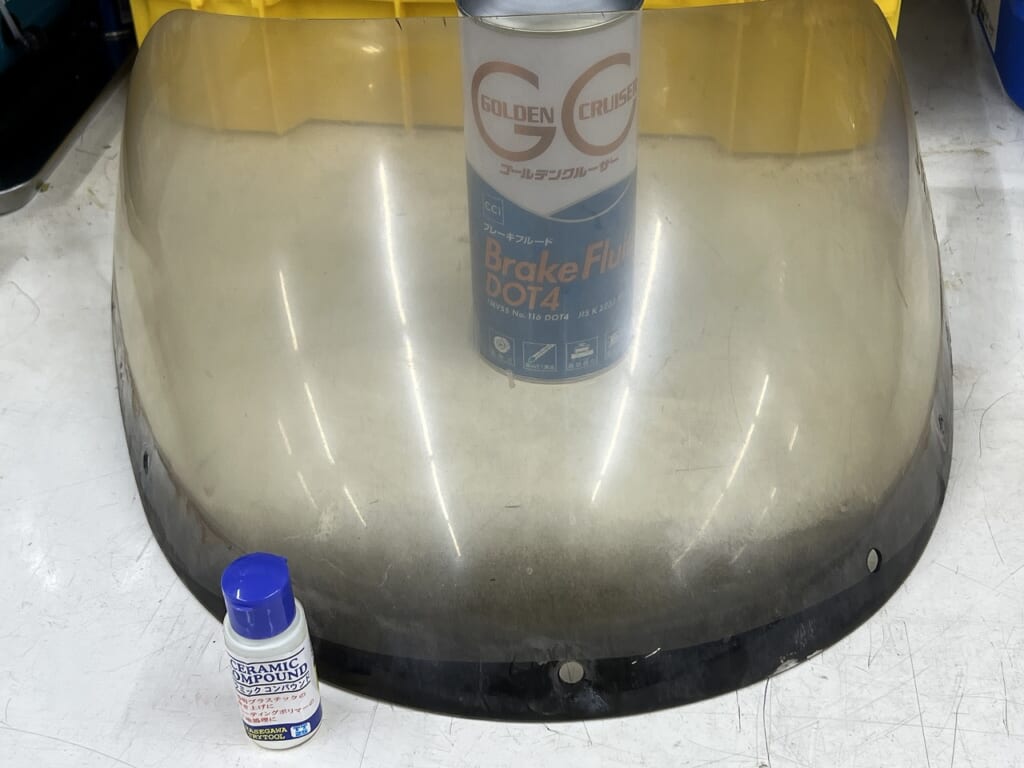
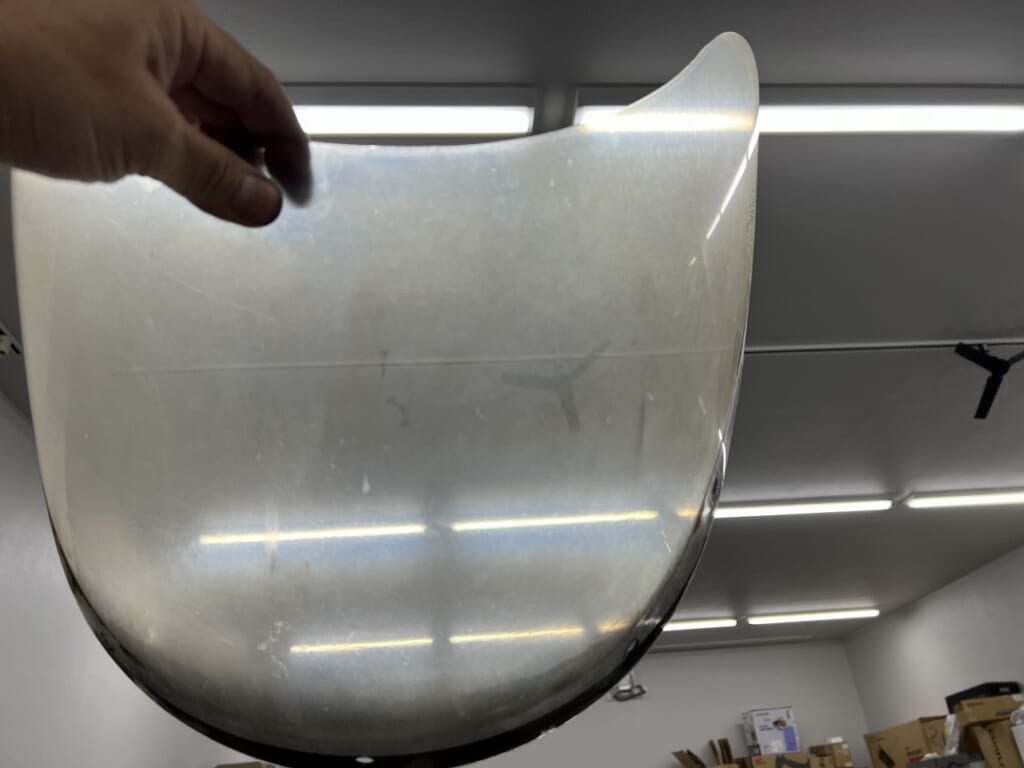
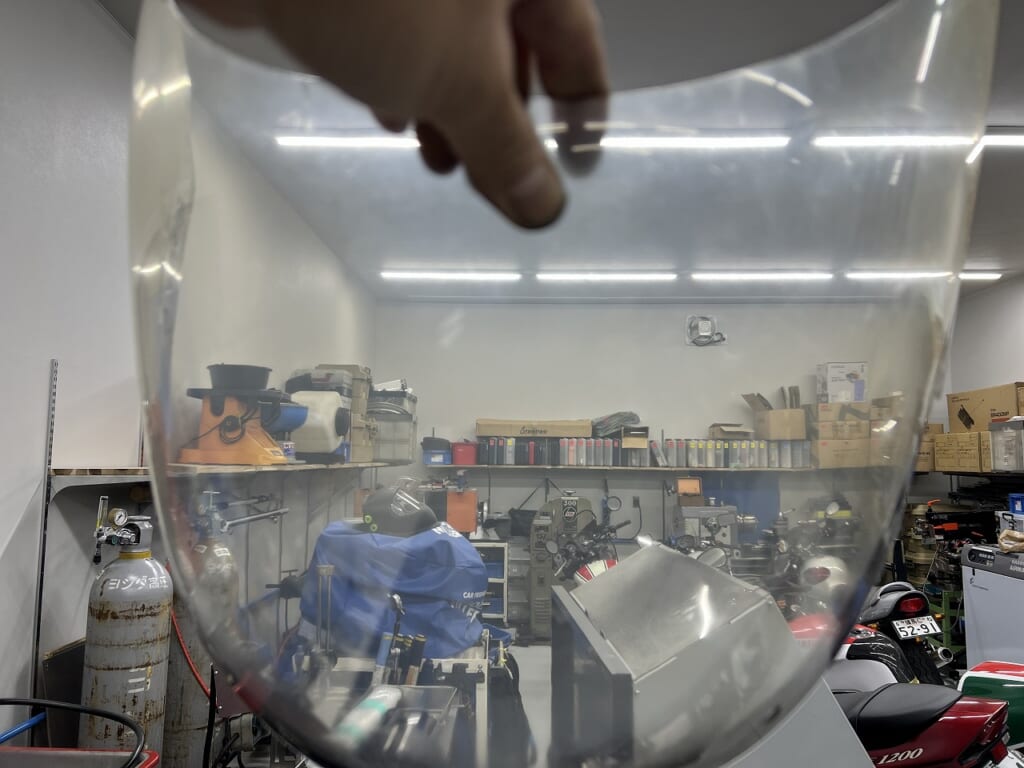
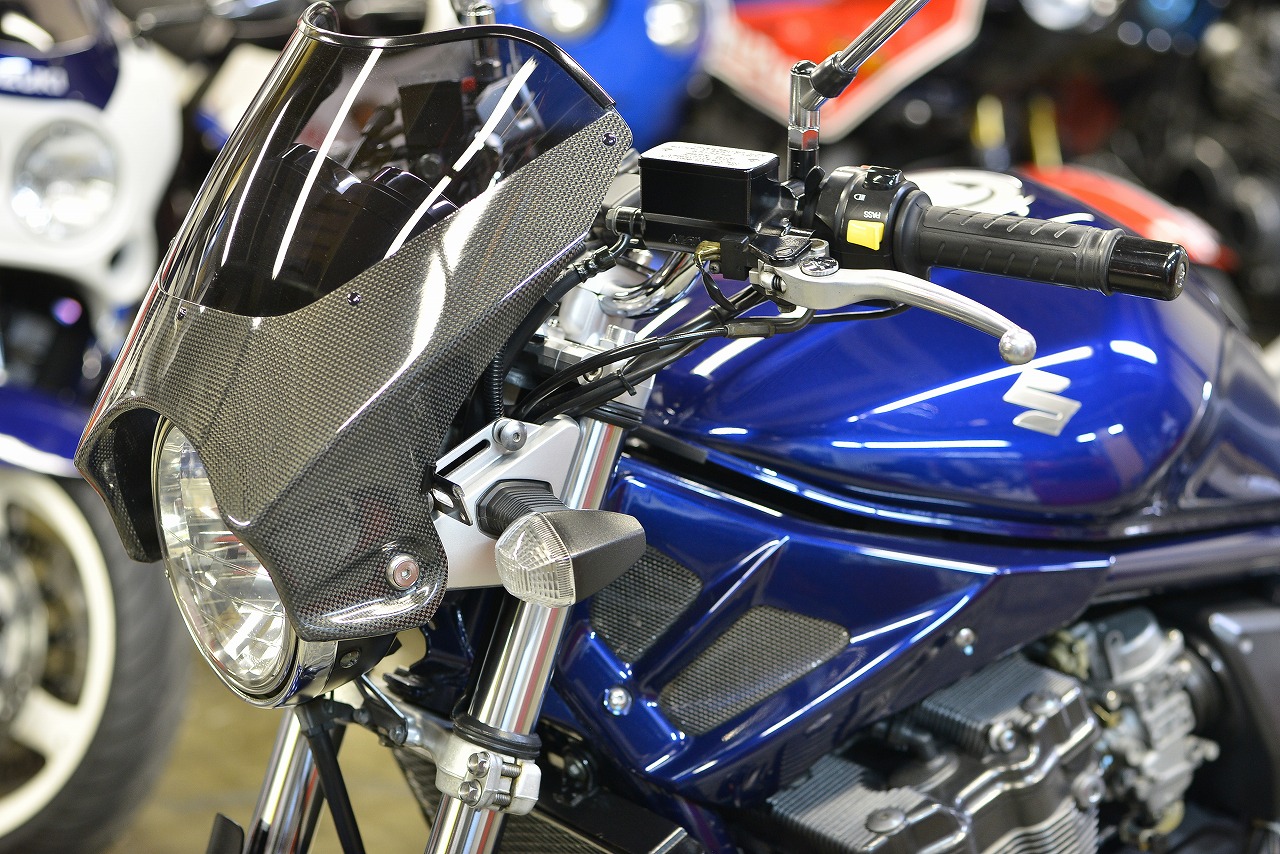
Polishing the screen with ceramic compound
I was too lazy to do more, so I only worked on it for about 15 minutes, but it recovers this much. If you put in about an hour at home, I think you could get pretty good transparency.
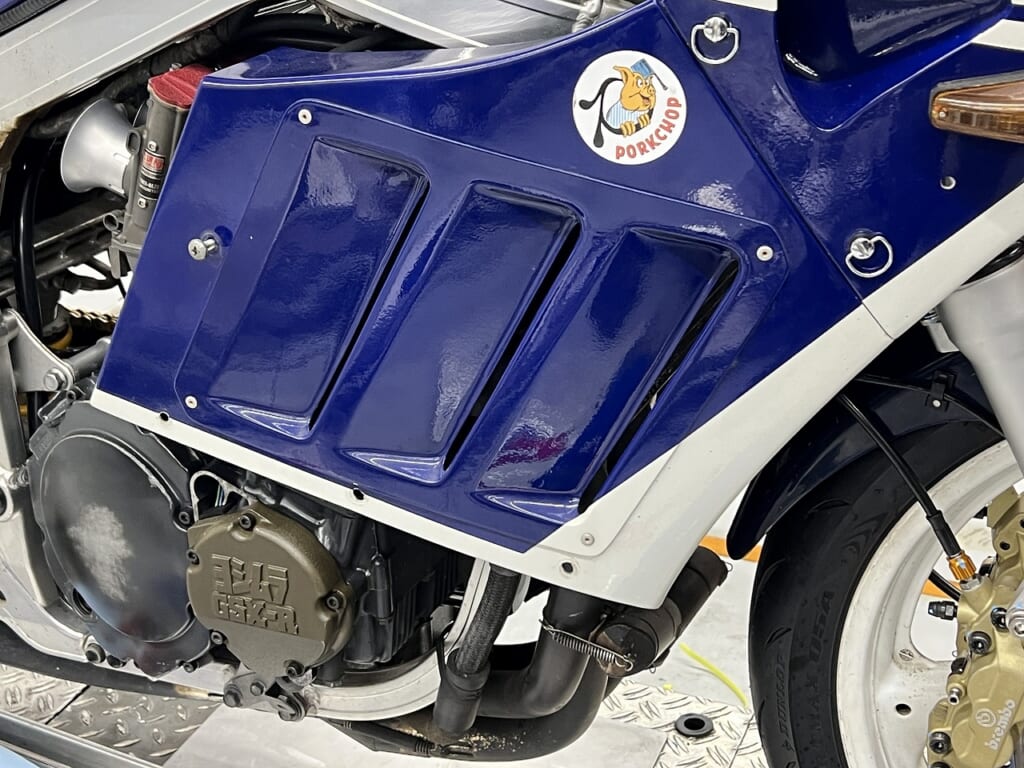
This is an aftermarket fairing, and the rear fixing was with nuts. That’s really bad for serviceability, so I changed it to quick fasteners.
Once I get a few more materials, everything will be complete. I’ll submit the registration paperwork to the administrative scrivener on Monday. We’re almost at the finish line, so I’m relieved.




 ポチップ
ポチップ