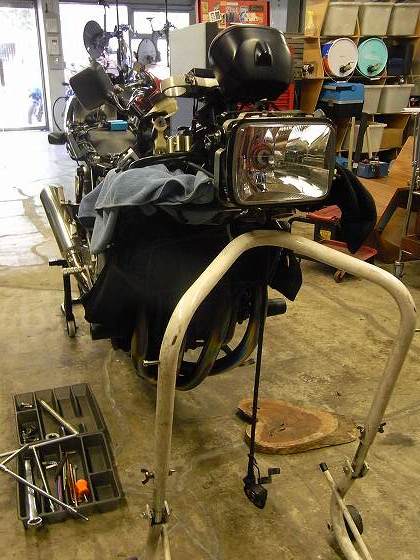
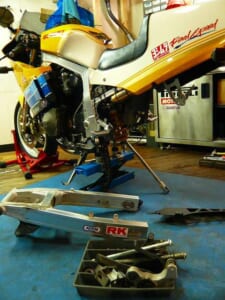
One day. What was supposed to take an hour at most
With so few parts, I thought it would take about an hour, maybe two with cleaning. My estimate was way off (;∀;)
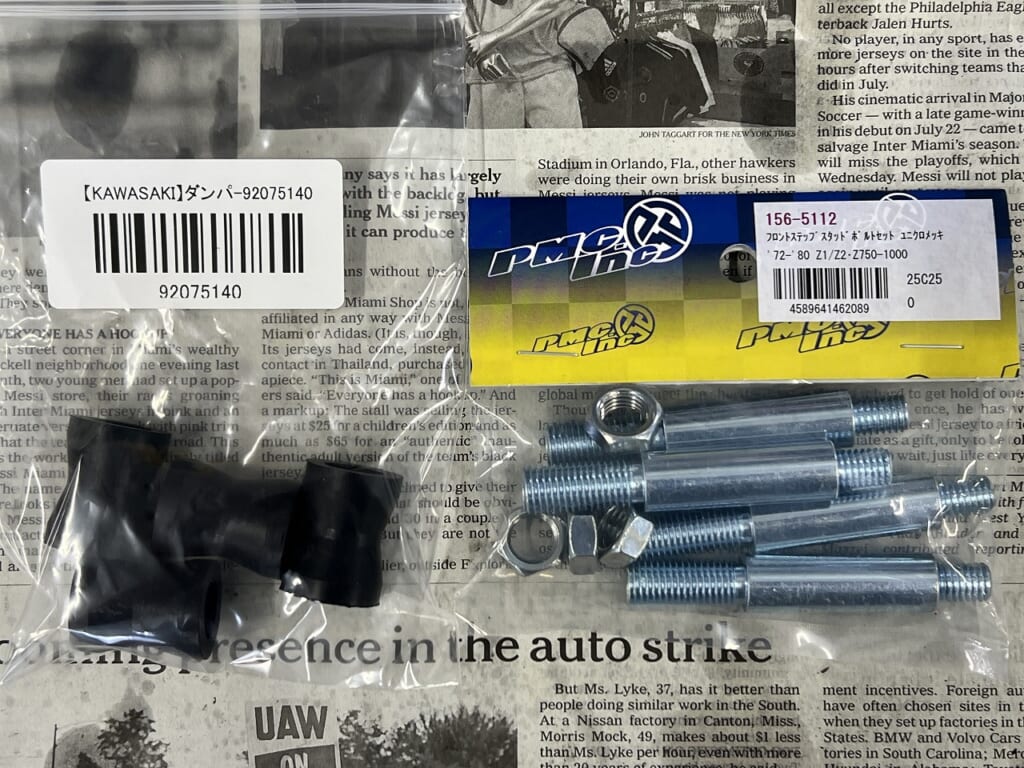
The studs are also corroded, so I’ll replace them along with the rubber. After a bath, you need fresh underwear too…
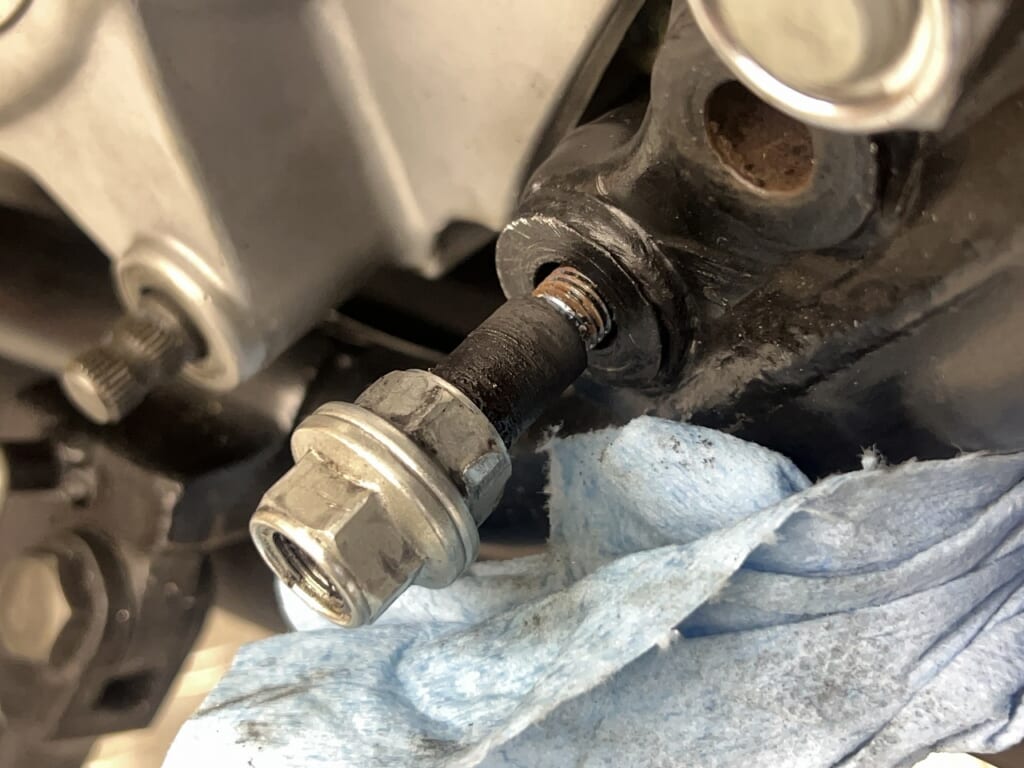
Three out of four studs won’t budge. *I removed the lock nuts on the back, so don’t worry.
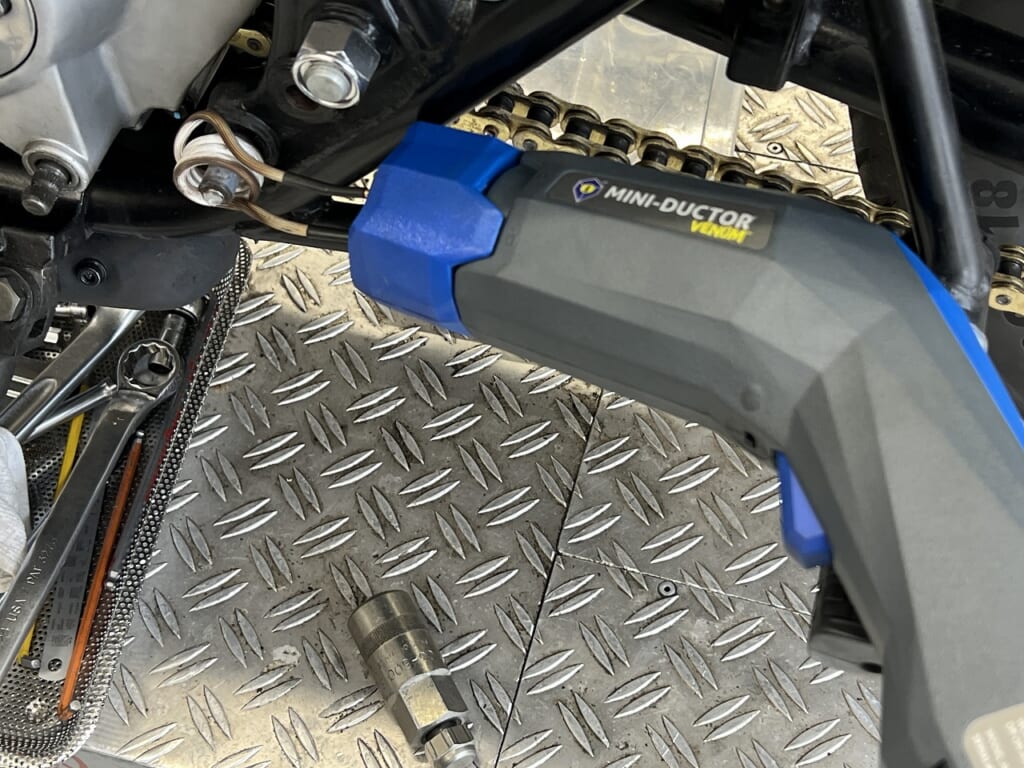
Even induction heating didn’t help…
I drilled a pilot hole first, but looking closely… it’s bent. I thought about welding the nut and snapping it off in one go, but…
I had a bad feeling about it. I wrapped it in a rag, lubricated it well, and left it to soak.
Time passes. Two days later
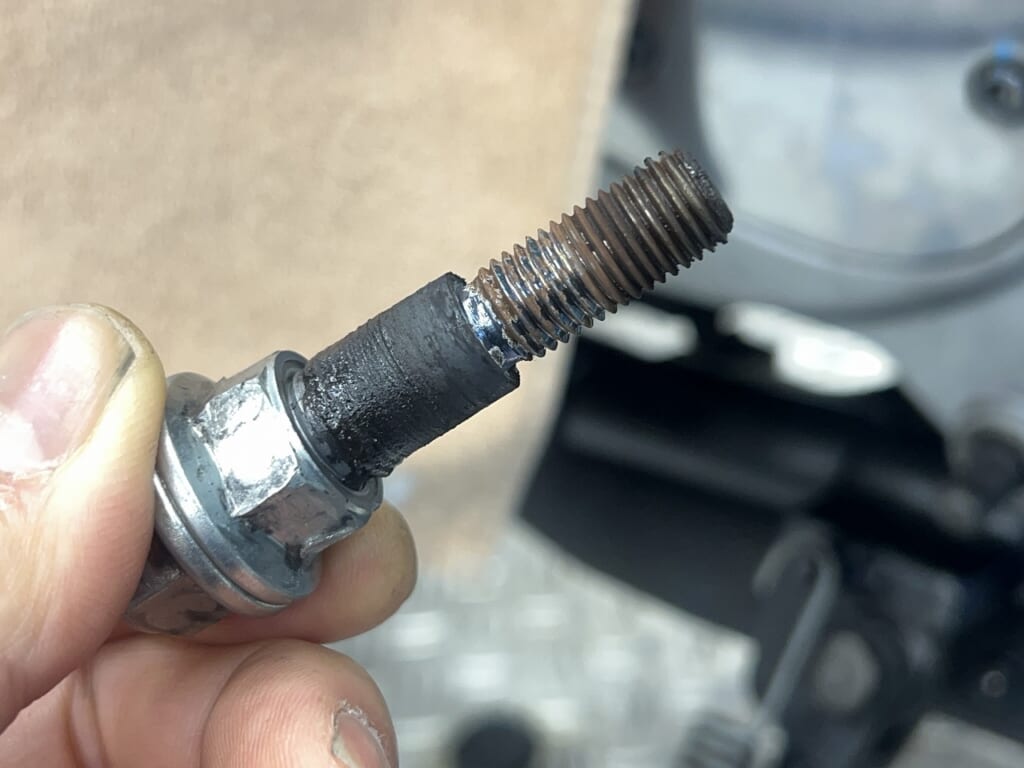
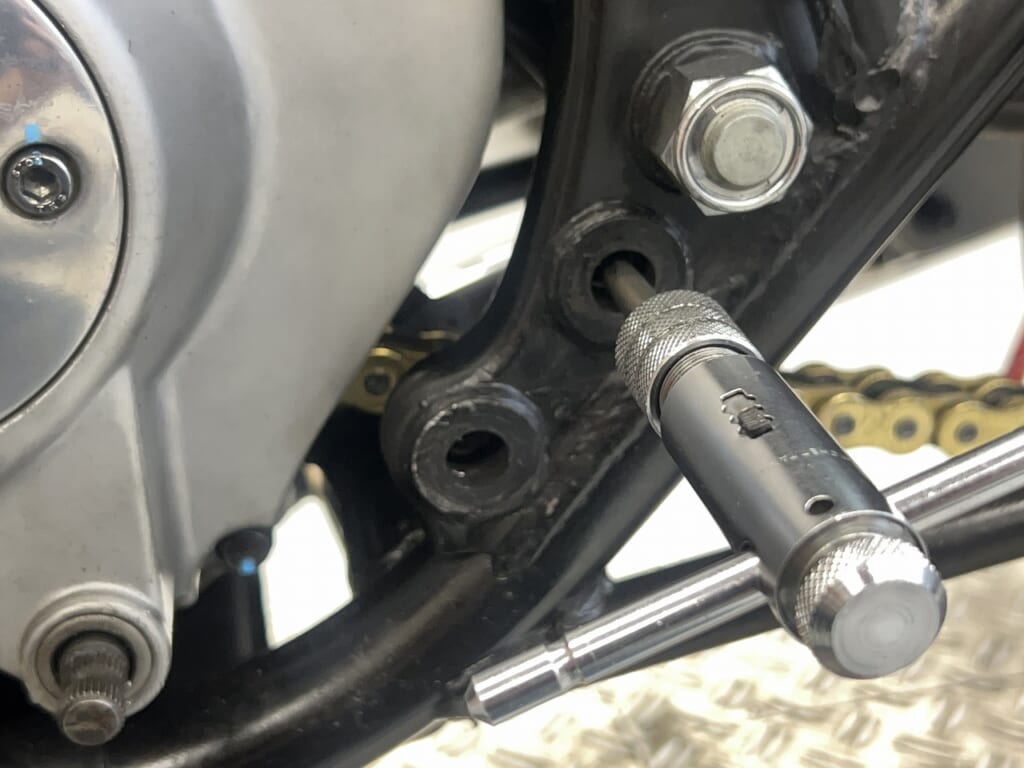
The other day, I cut M10-1.25 threads on the stud and double-nutted it. When I turned it to check before welding… it spun smoothly. Oh!
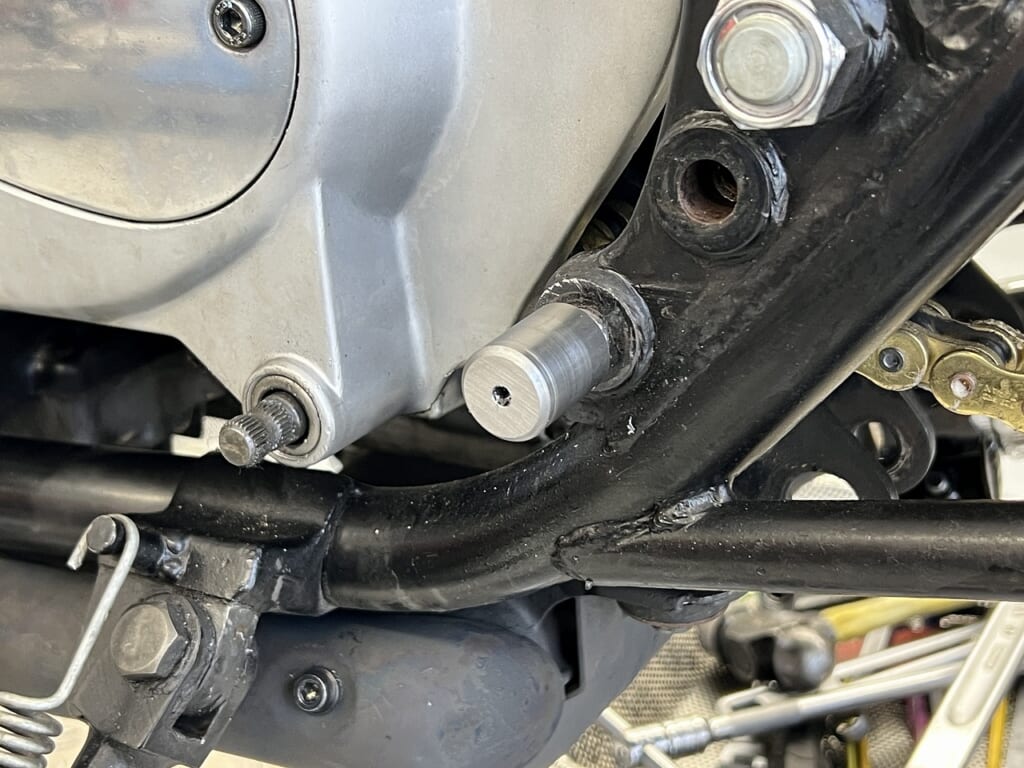
It wasn’t the threads that were tight—the shaft itself was corroded and seized.
Lucky! Things got a bit easier. The right side is healthy, so I’ll leave it alone. When there’s a high chance of making things worse, it’s wise not to push it.
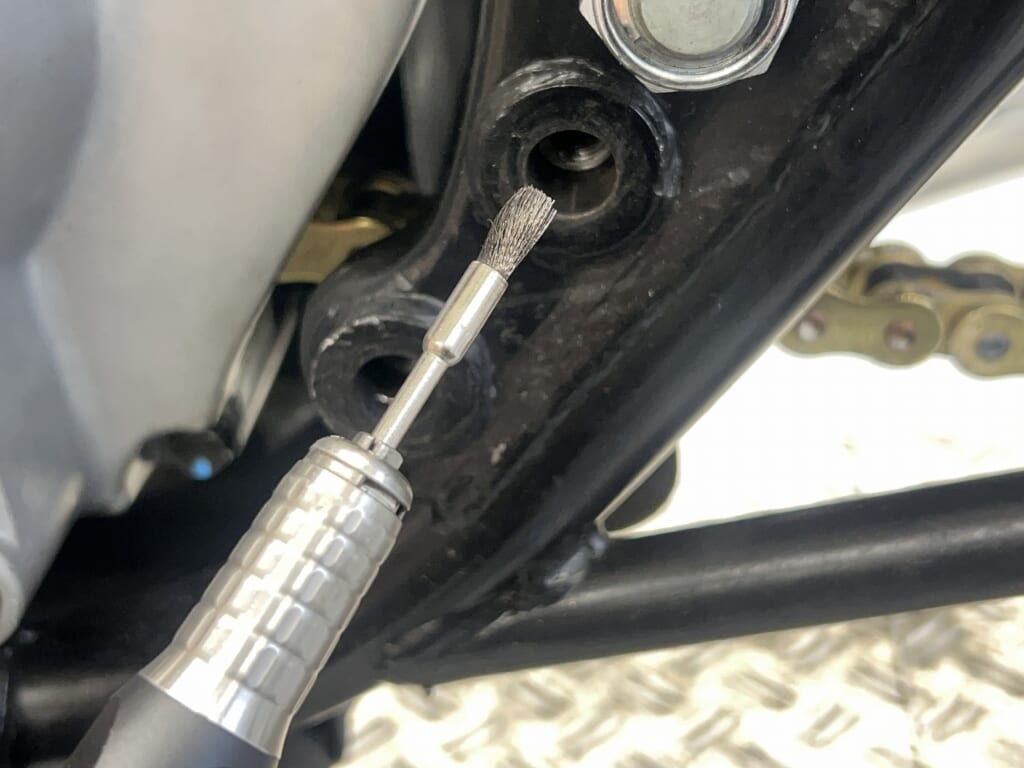
Remove rust thoroughly
I attach a brush to the rotary tool to clean the holes. Now I can relax.
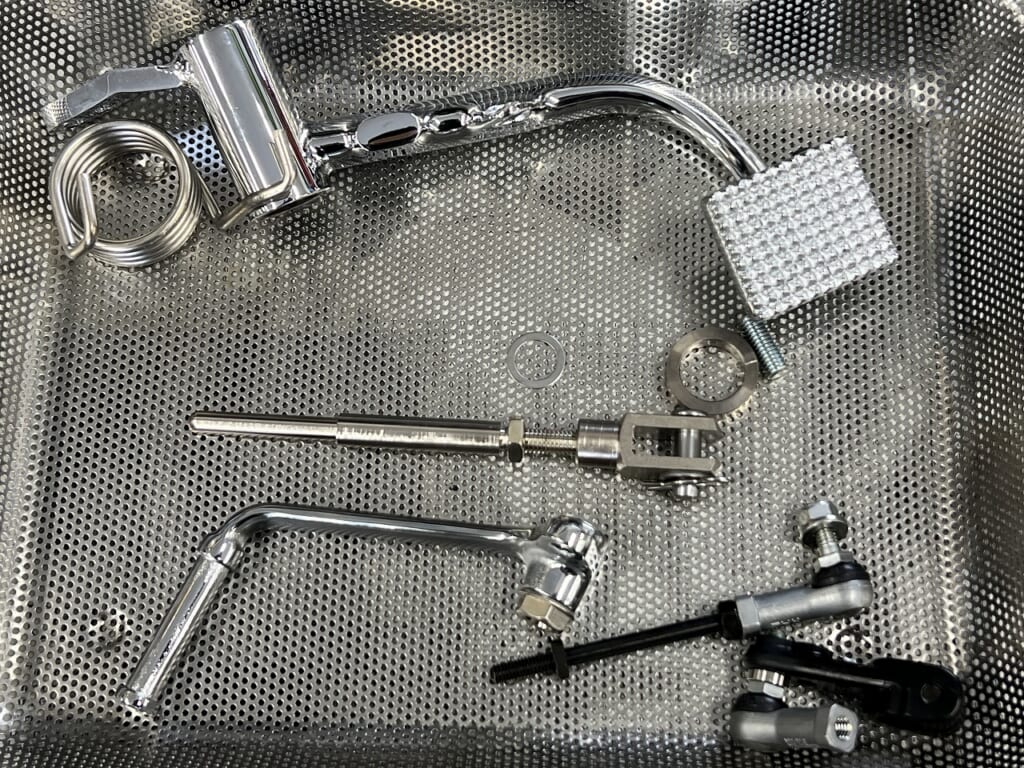
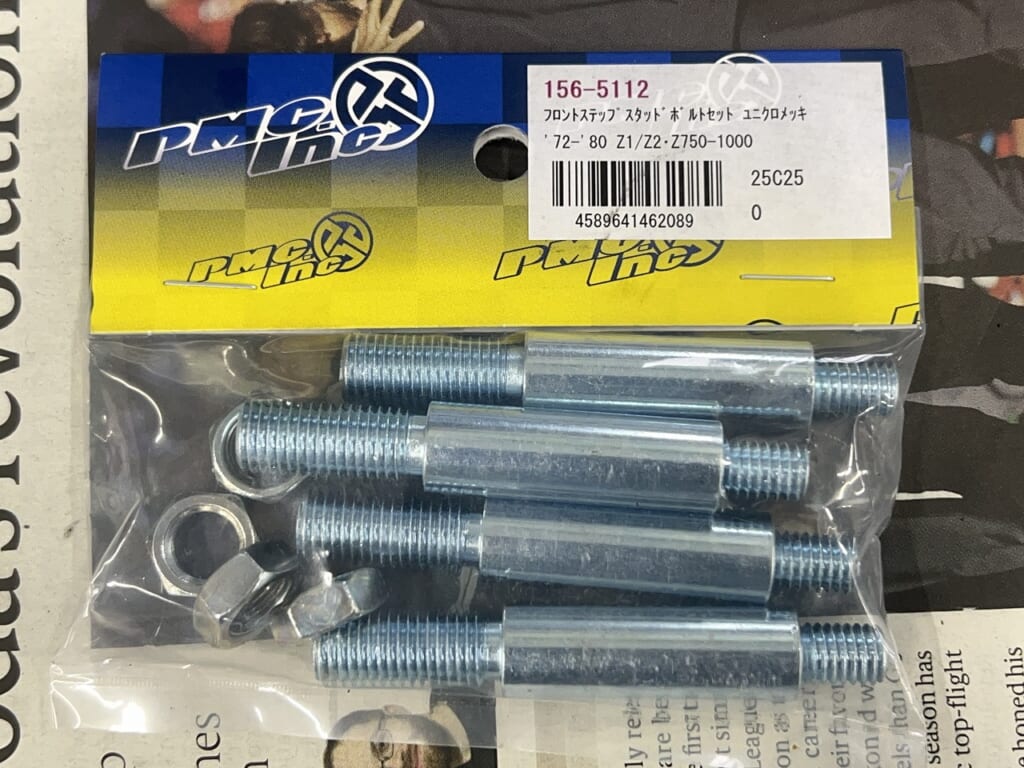
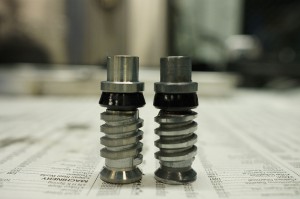
This stepped stud is also discontinued from the factory. PMC carries it, which is a lifesaver.
Problem on the right side. The rear master was modified from a Suzuki…
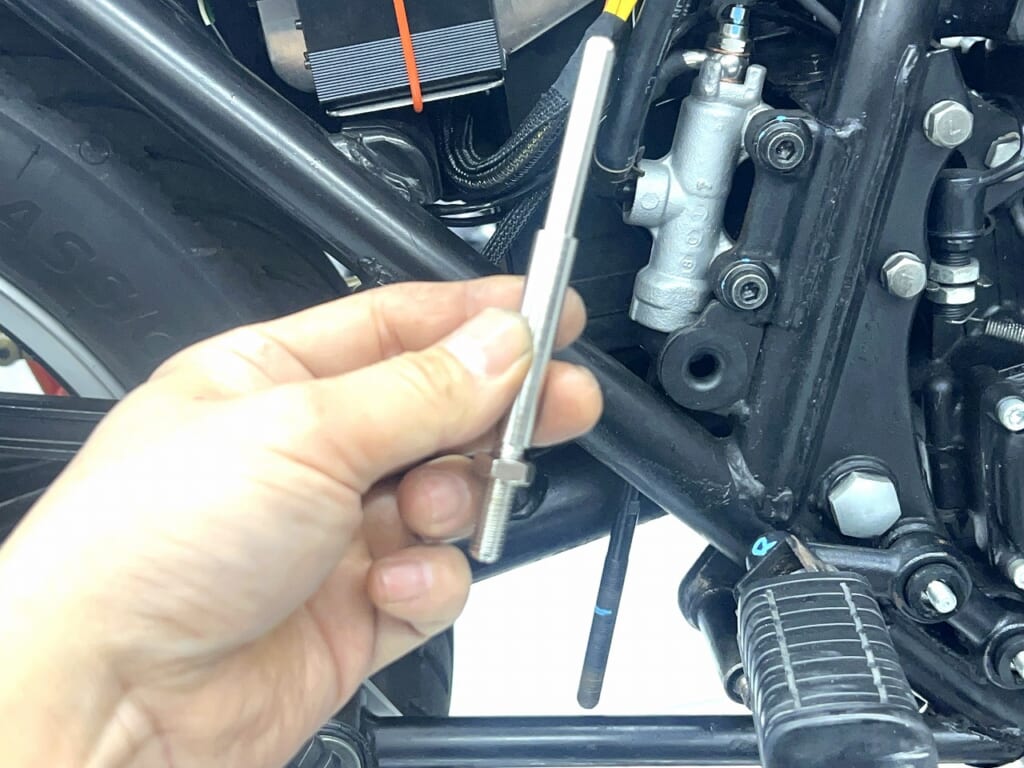
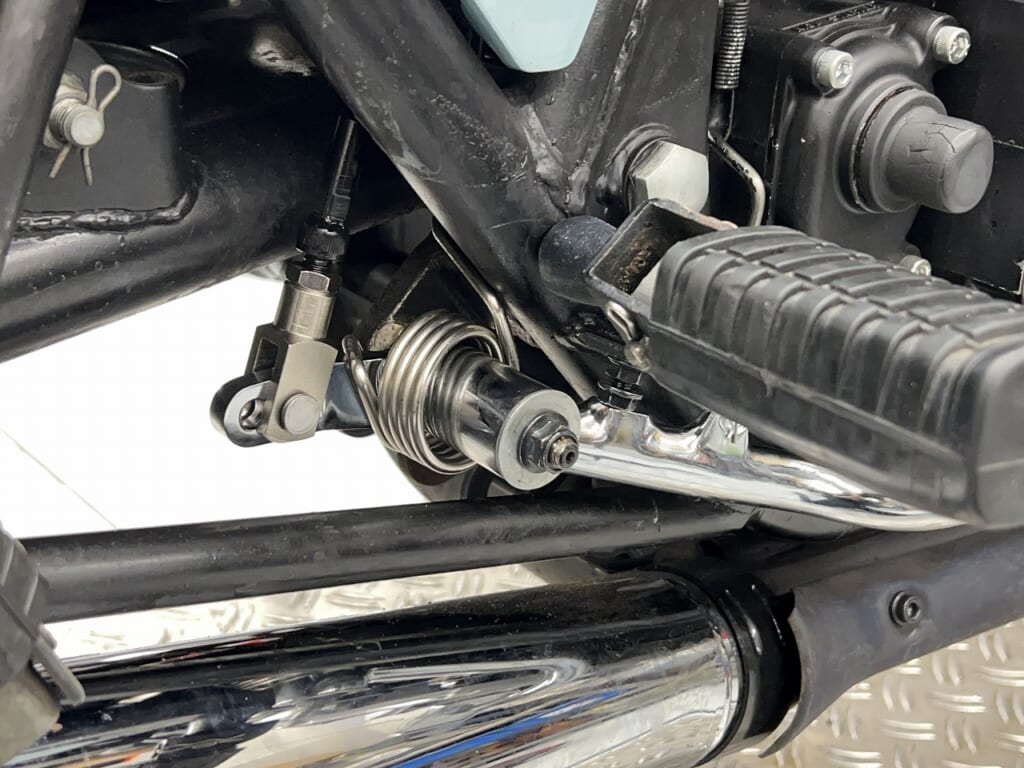
The rear master is a Suzuki unit with the rod changed to a fixed type. I need to decide whether to modify the supplied rod or modify the master itself…
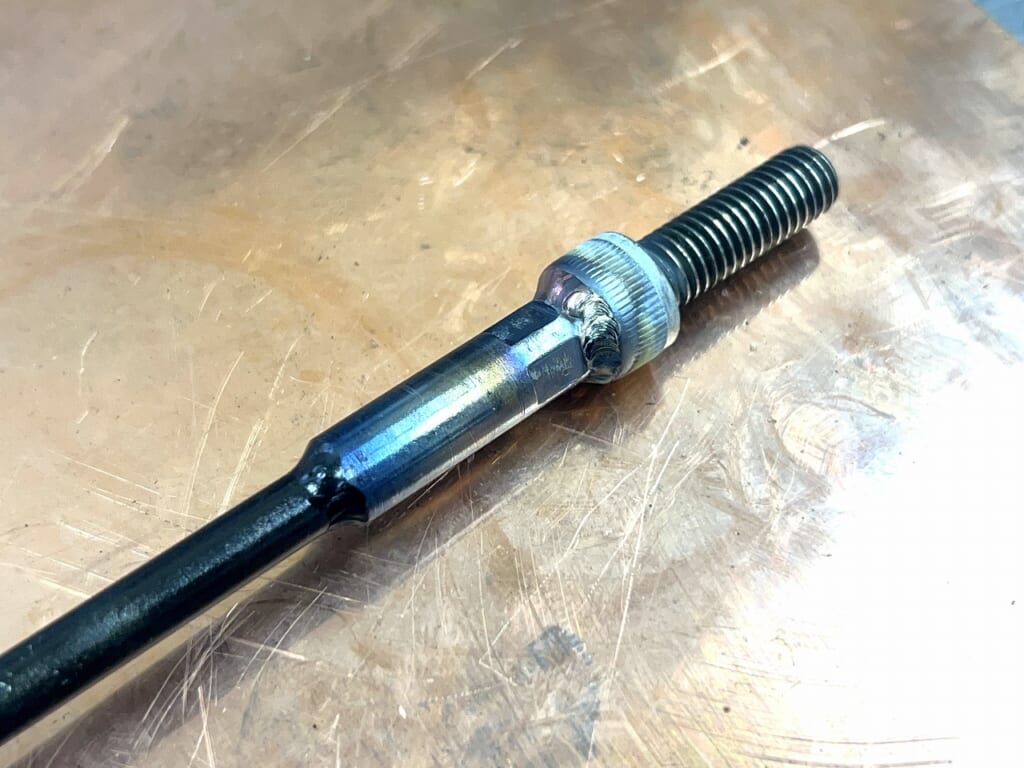
It’s a bit shallow, but I inlaid and welded it all around. Centering was a bit tedious.
Tack, tap, tack, tap. Pretty straight overall.
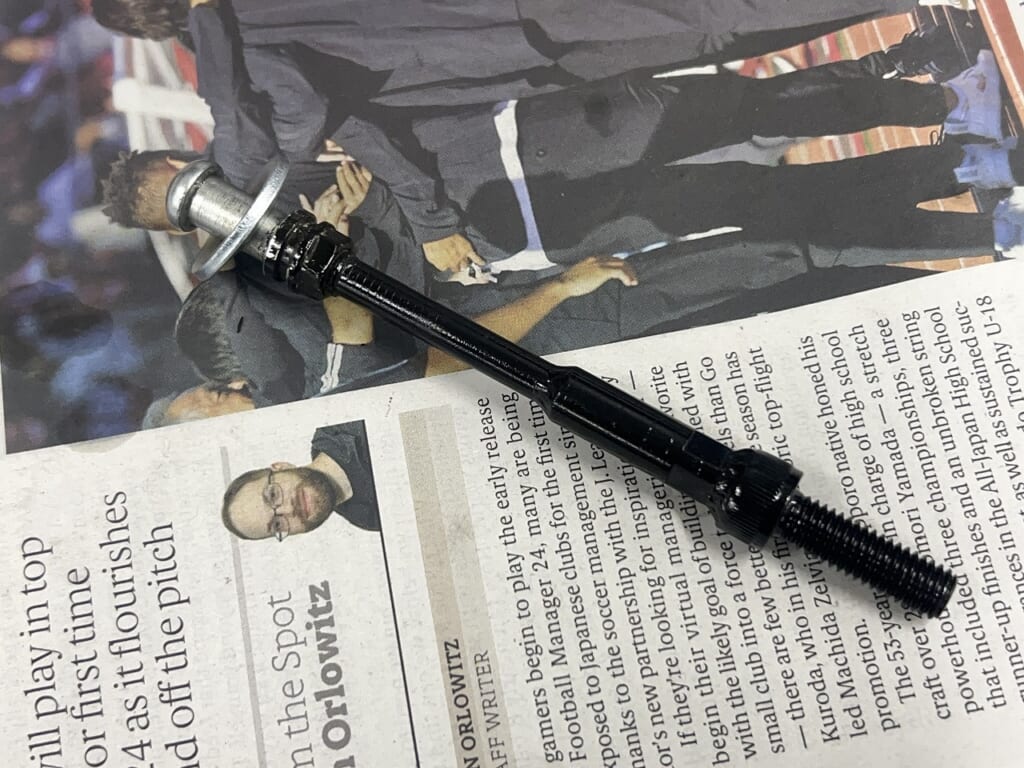
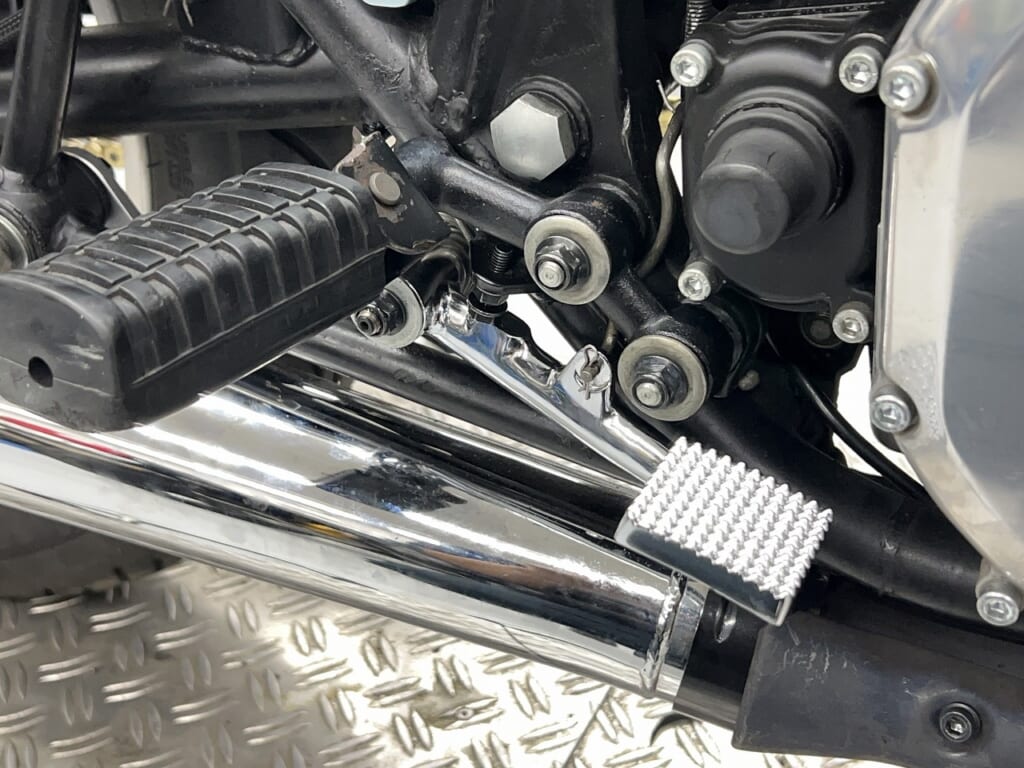
I applied gun coat for rust protection. Positioning the pedal was extremely difficult.
Install, straddle, remove, install—over and over. Of course, I had to disassemble the rear master, so it was quite the ordeal. I wish I’d cleaned off the grime beforehand.
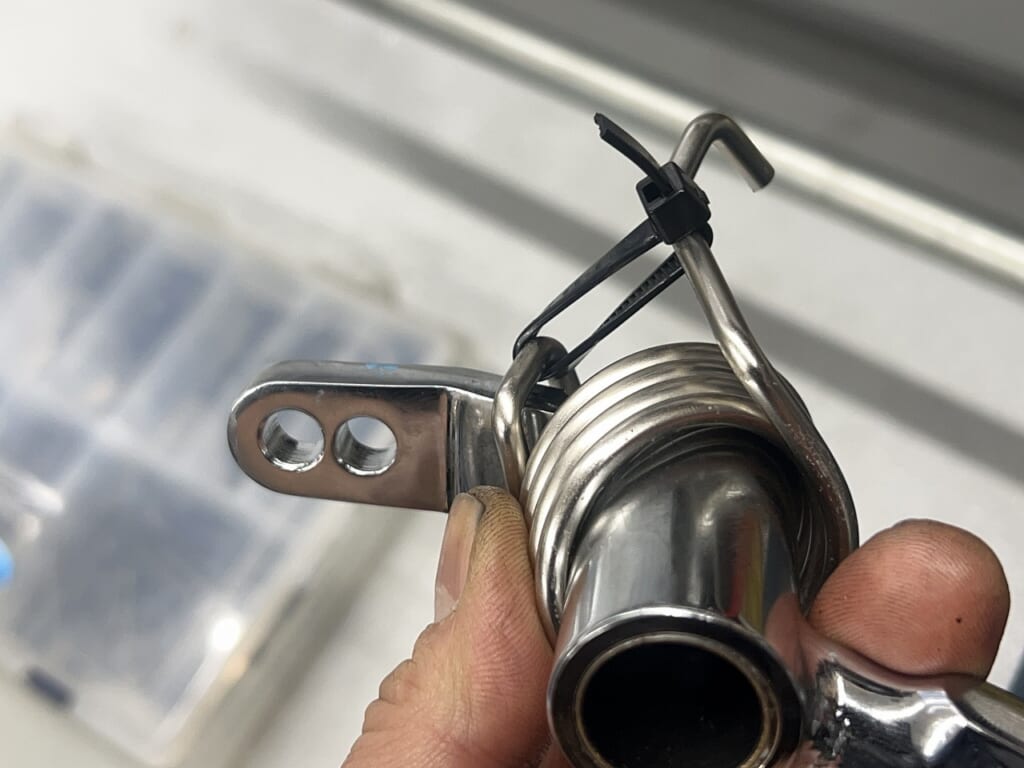
Securing the spring with a cable tie makes installation smooth.
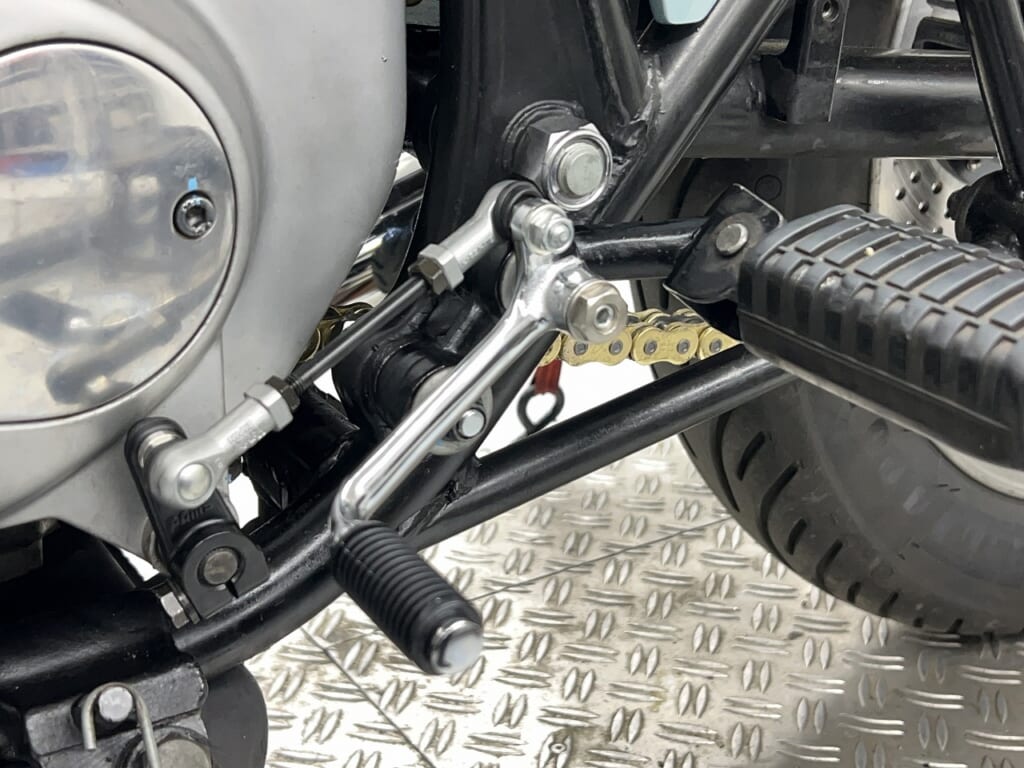
All done! (*´ω`*)
That’s how I installed the steps. I’m looking forward to how it feels when I ride it.
This invoice is from PMC, but… this is a PAMS product, right? Quite the mysterious power balance.
This Z1R runs fine, but the idle is acting weird.
I think the valve timing might be off. When I checked, sure enough… I’ll need to remove the cam, and I’m praying the head bolts don’t strip. I’m getting the tools ready. These Z bikes are scary…
Installing PAMS Back Position Kit on Z1-R. Part:PAMS Back Position Kit for Kawasaki Z series.
Concept: I wanted to improve the riding position without losing the classic “Stock Look” of the Z1-R. Racing rearsets were too flashy for this project. Review: This kit slightly moves the footpegs back and up, allowing for better knee grip and control while maintaining the original aesthetic. It’s a high-quality “Sleeper” modification perfect for a serious street bike.



 ポチップ
ポチップ