We’re updating from our short-form blog.
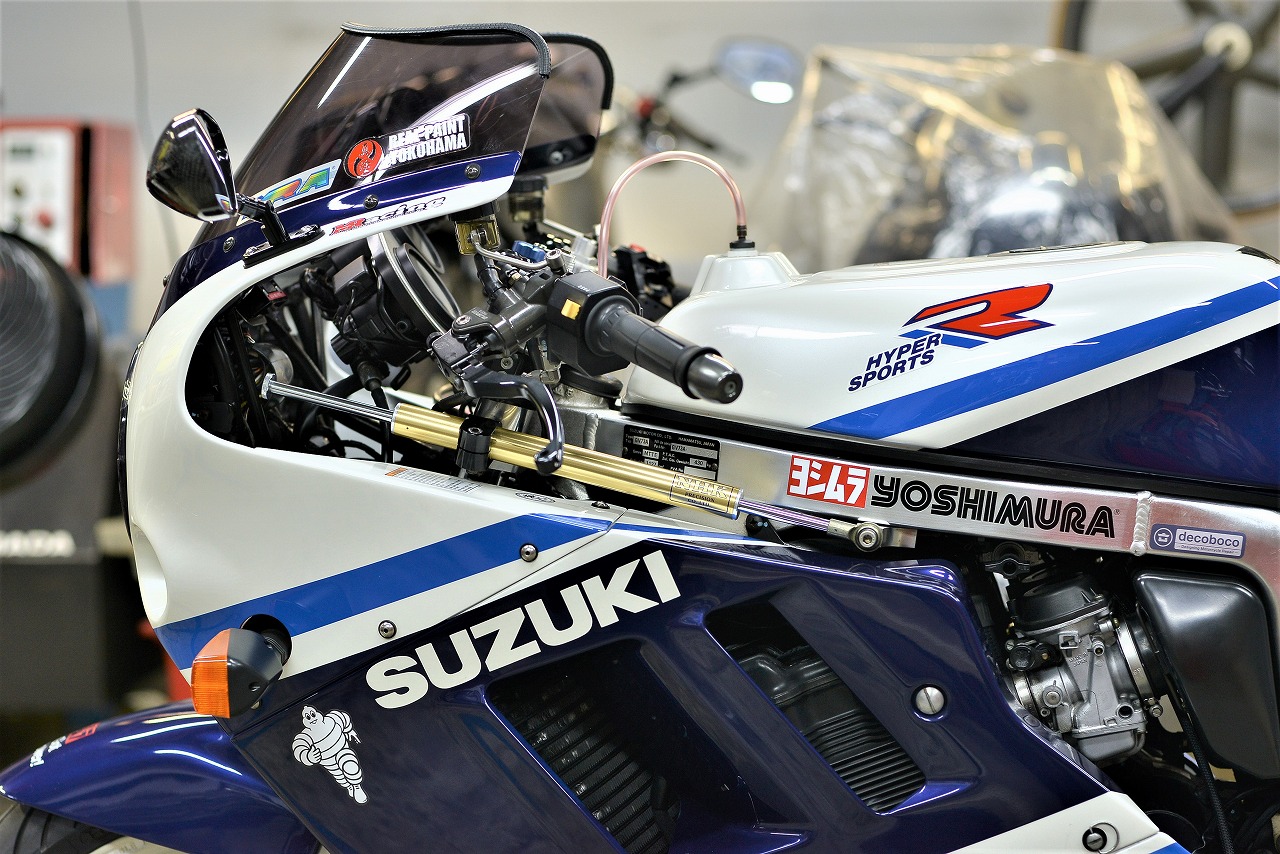
The Inazuma 1200 is hugely popular these days. It’s an amazing machine that changes into anything when you swap the fairings.
Back in the GSF/Inazuma/GS-SS era, the timing just wasn’t right, you know? If it had come a bit later… maybe it would have been a massive seller?
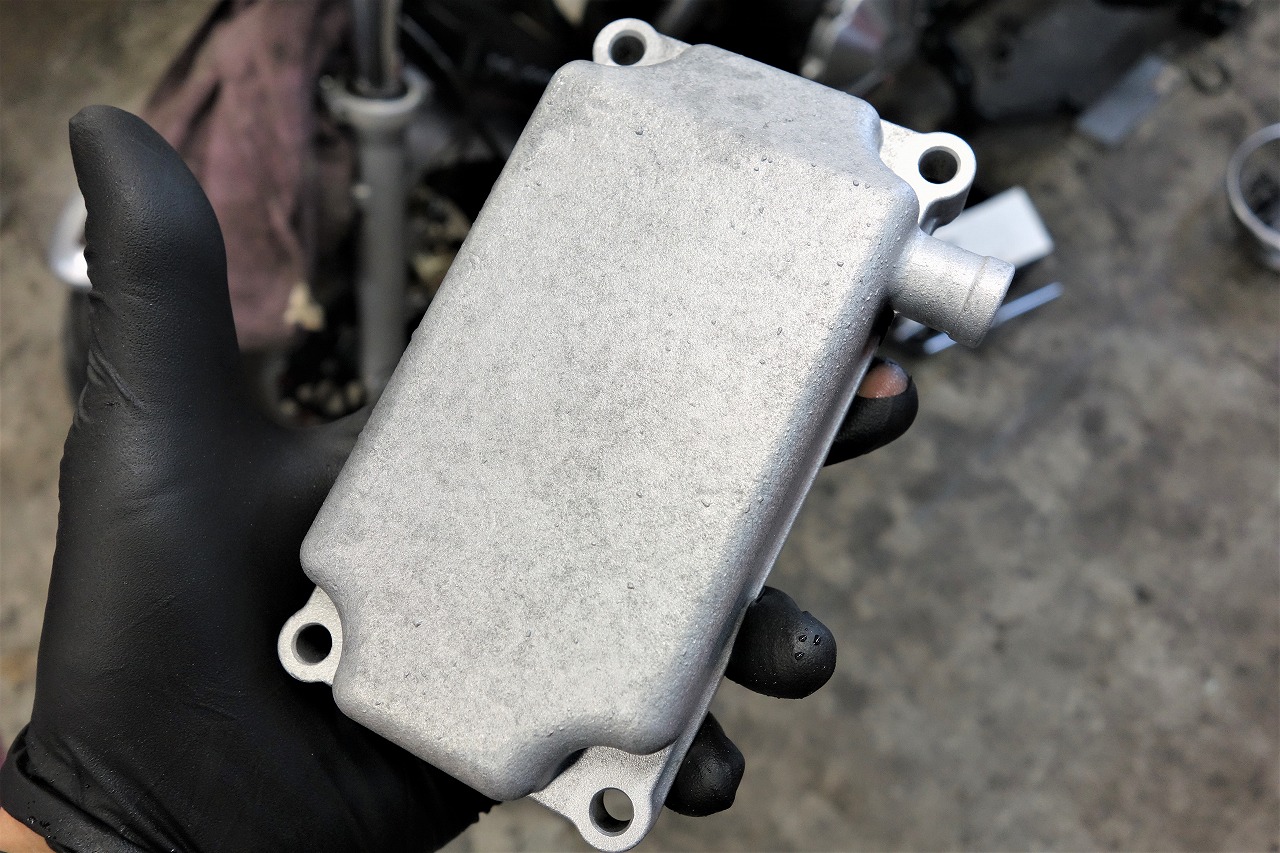
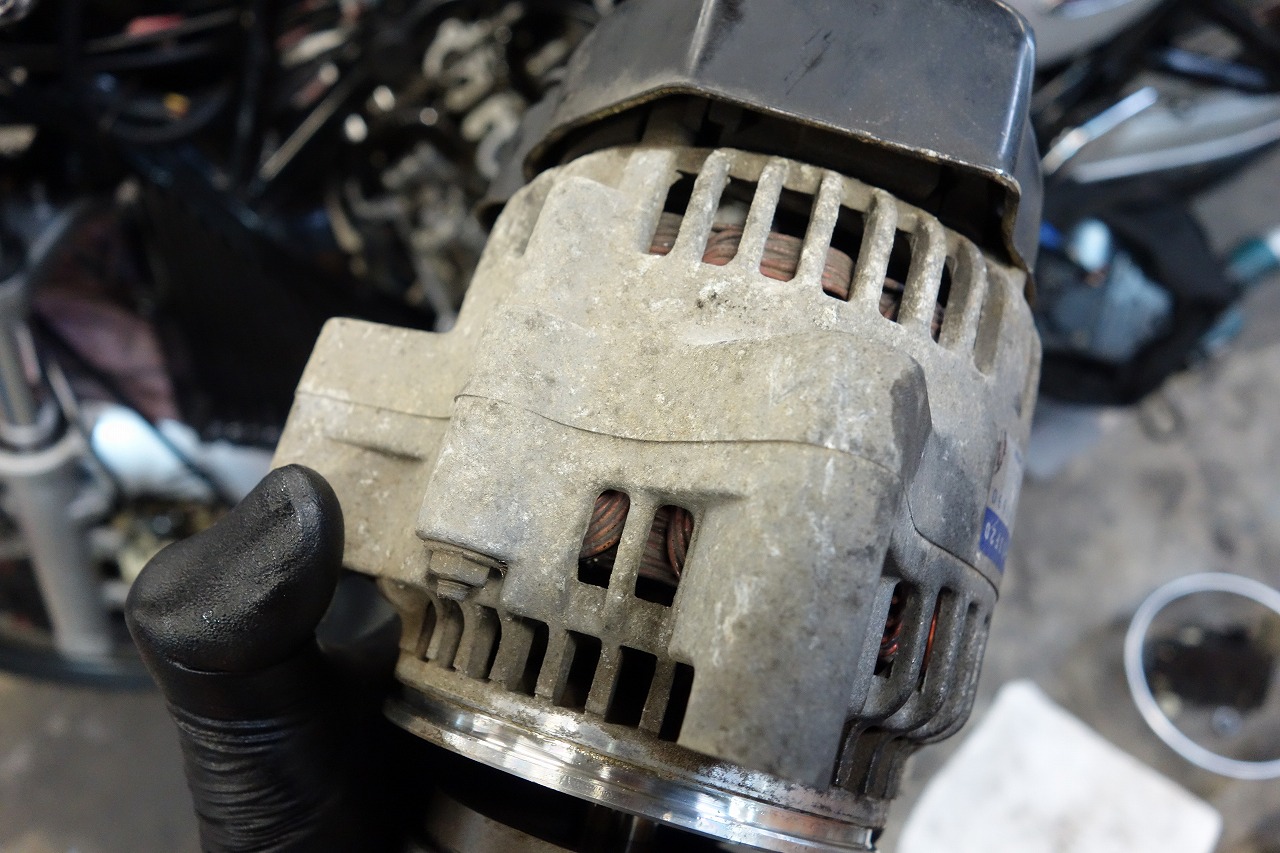
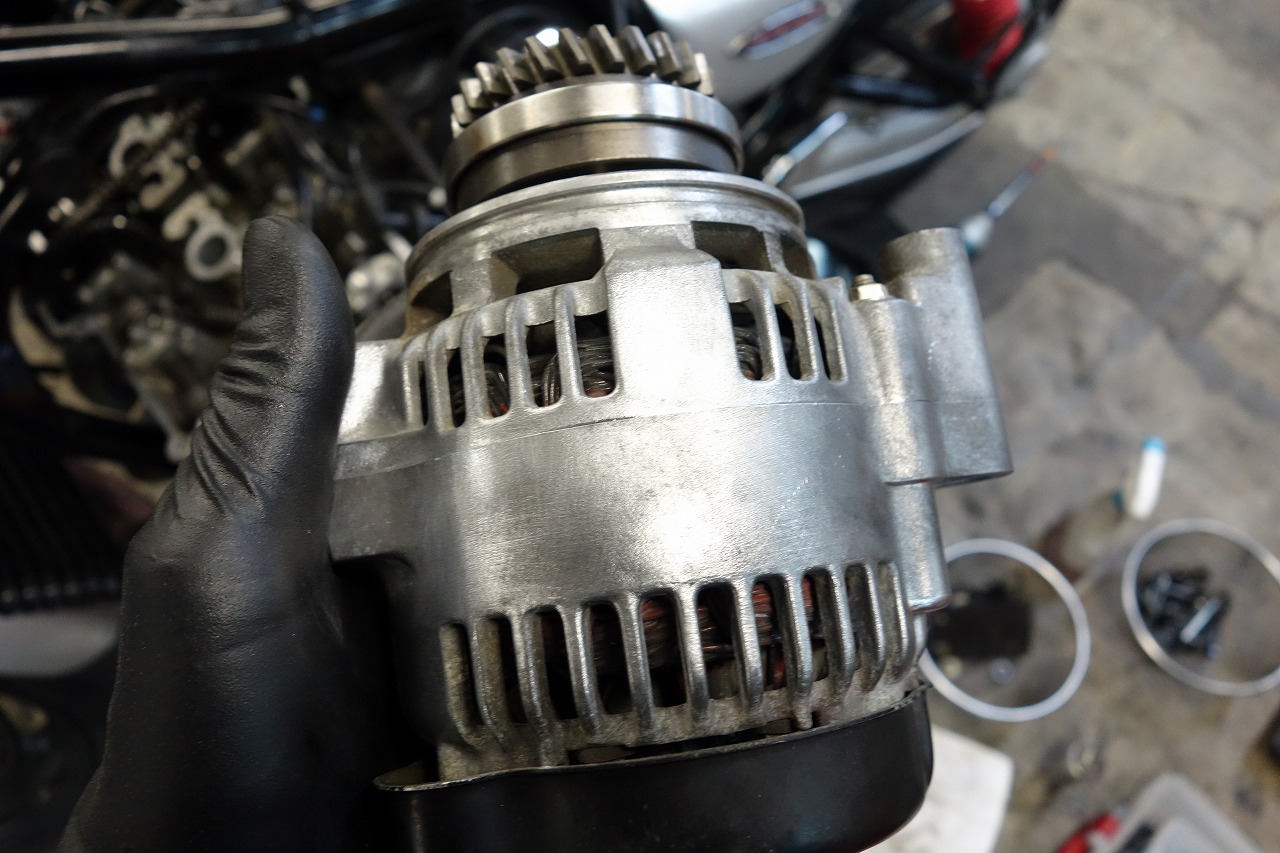
We’ve got an oil-cooled maintenance job.
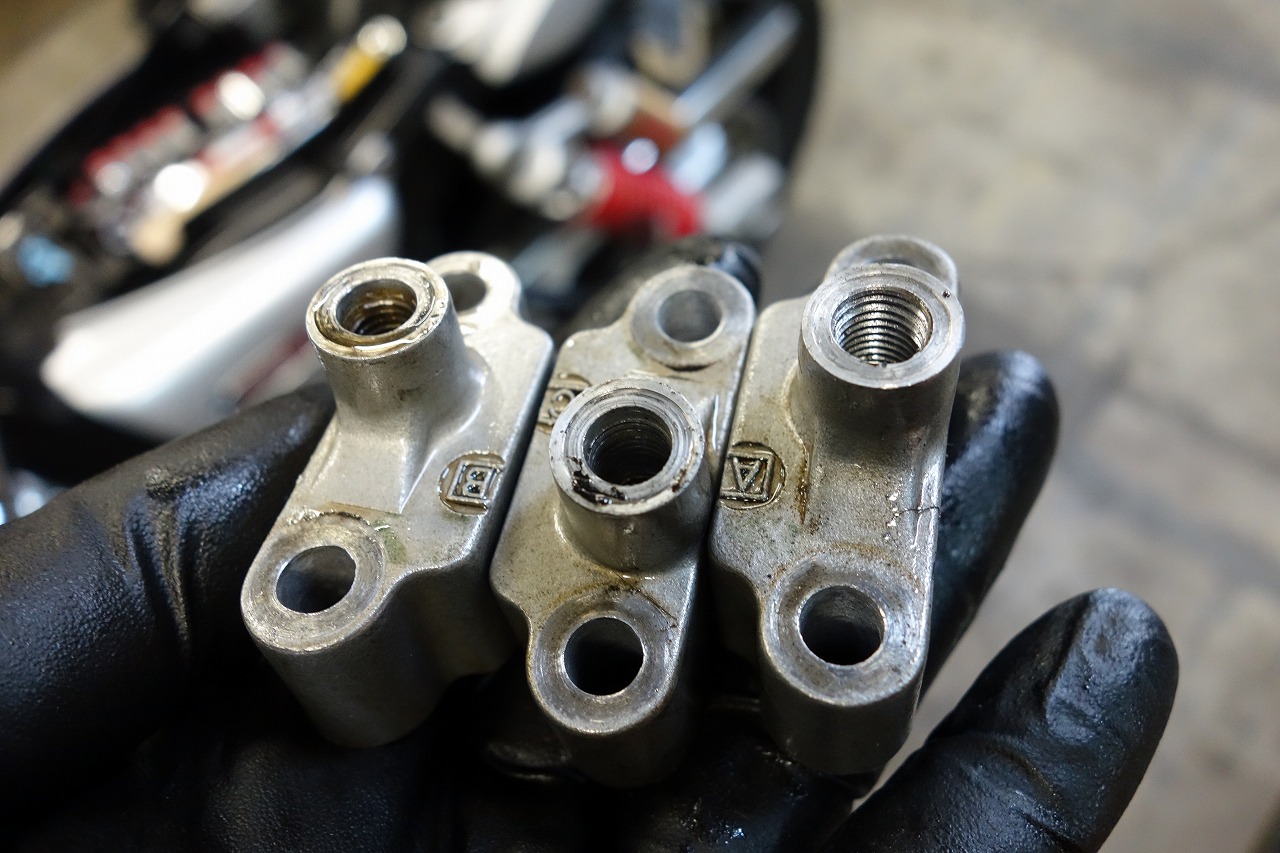
A shop job, huh? One of them was… well, if you can’t do it right, you shouldn’t touch it in the first place.
With DIY, you watch videos online and they make it look “easy! Just this!” but it’s usually a sweet trap—don’t fall for it.
*I’ve drunk plenty of hot oil myself and gotten badly burned.
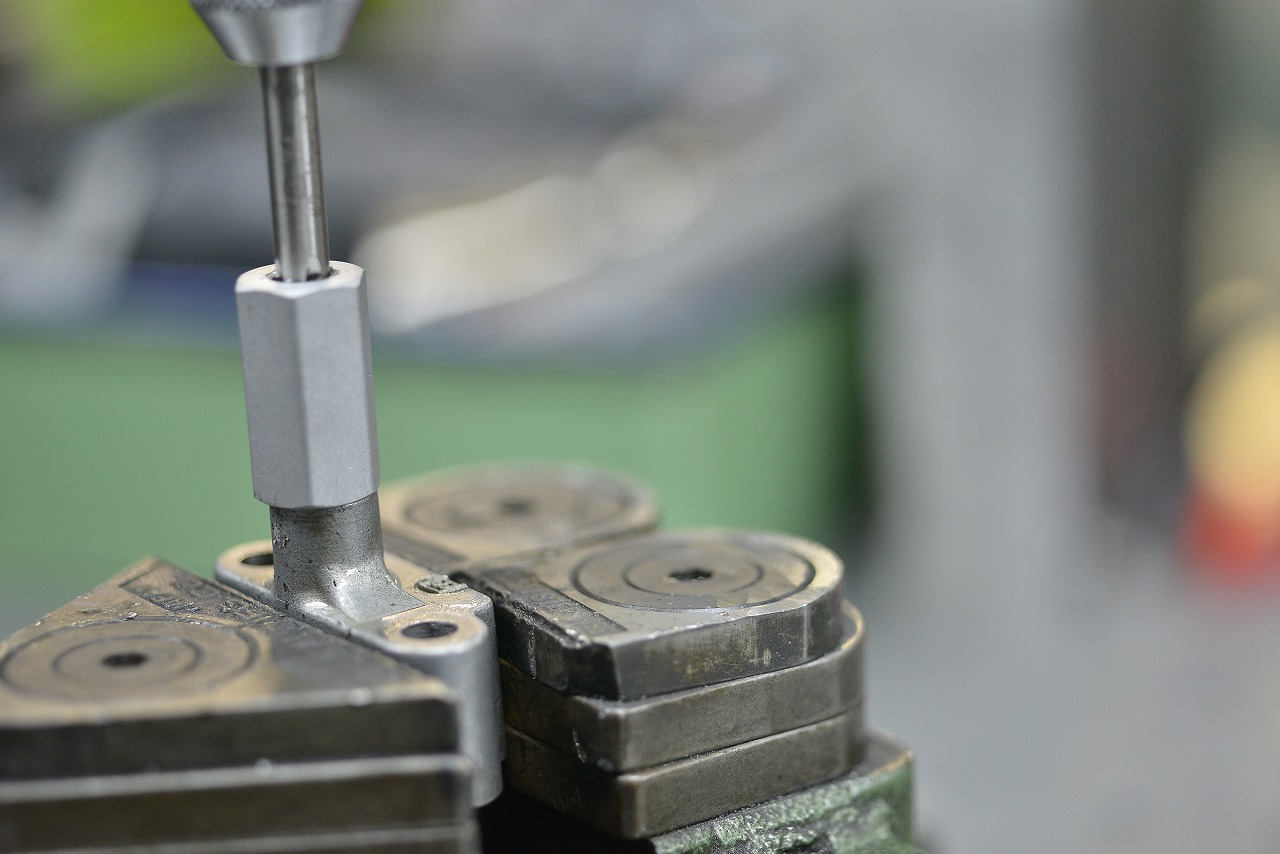
You can do it on a drill press too, but a drill press moves up and down, side to side, and the head swivels… I’m always wondering if it’s really going to be okay.
Having the bolt face perfectly perpendicular gives you absolute peace of mind.
If you make a threaded guide and tap while keeping it flush against the seating surface, you’ll have fewer failures.
*Don’t tell me you just chuck it straight in the vise… I wasn’t thinking clearly. A light grip is fine.
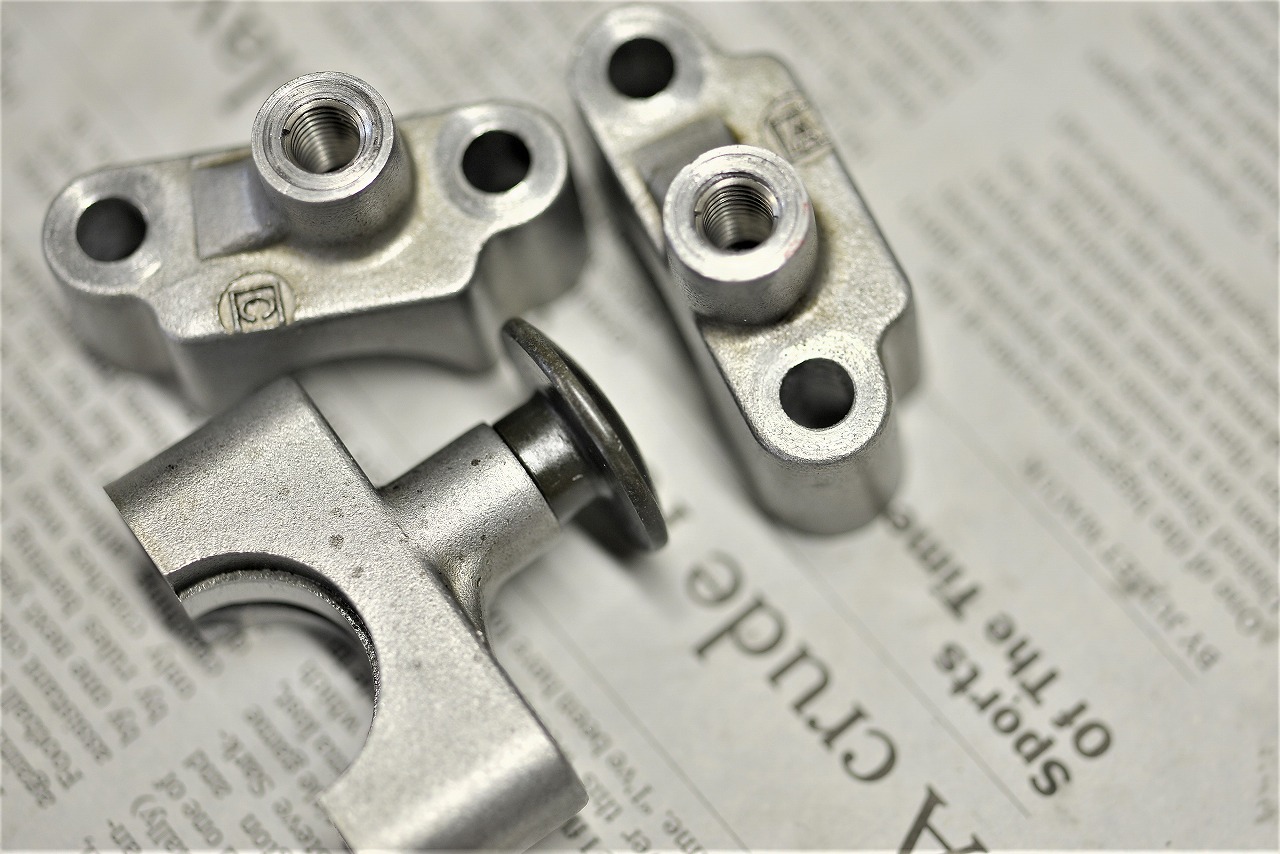
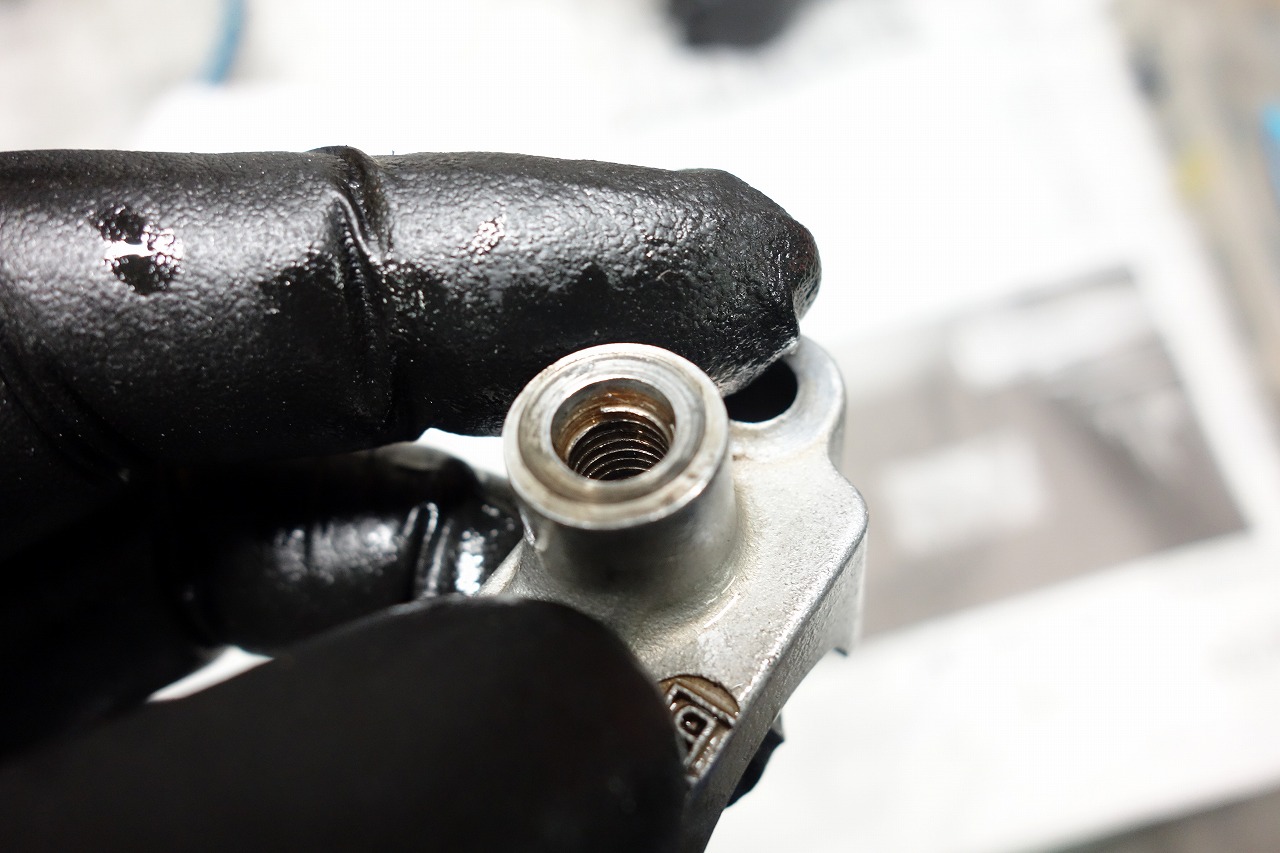
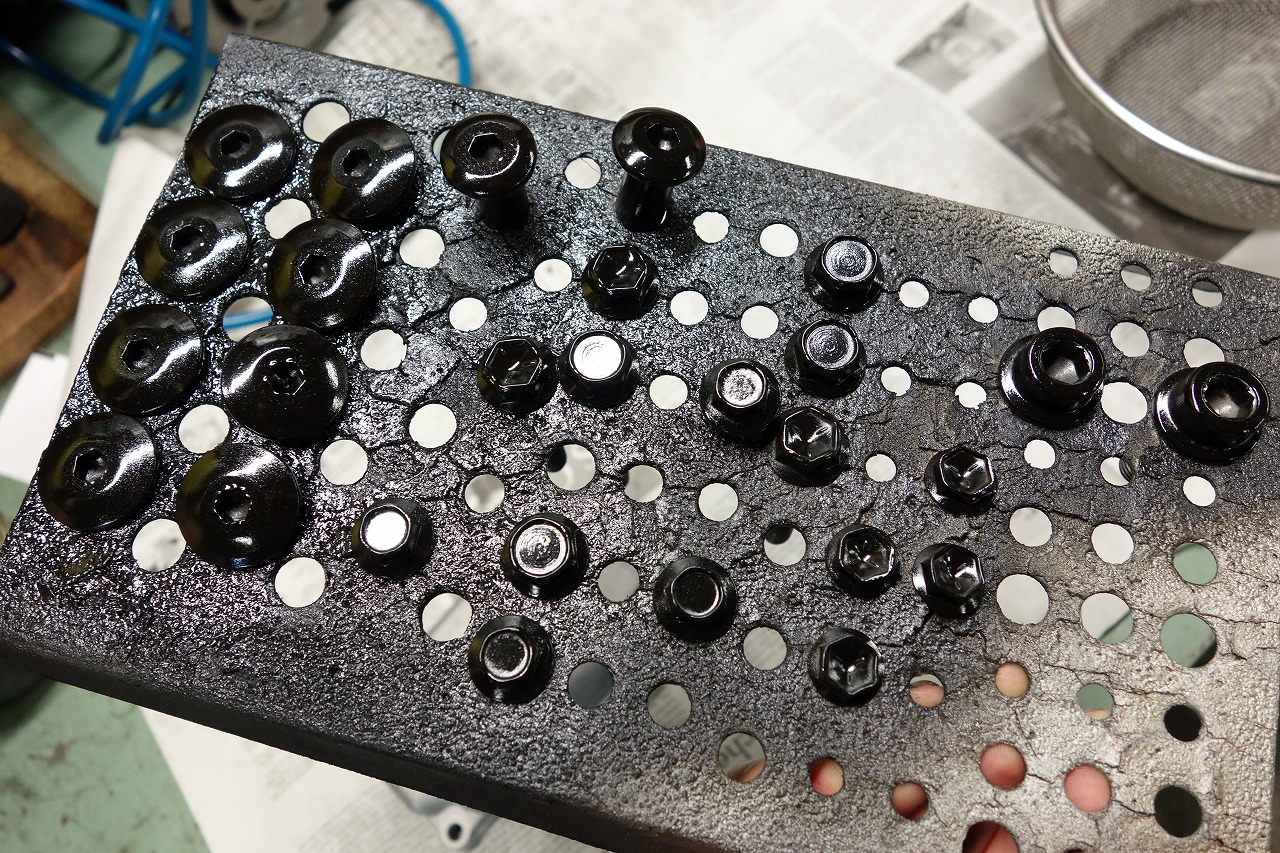
The head cover bolts have a shoulder that bottoms on the cam holder, so tightening won’t actually compress the gasket. That’s why if you crank down hard thinking “it’ll stop when it’s tight,” you’ll strip the threads. Be careful.
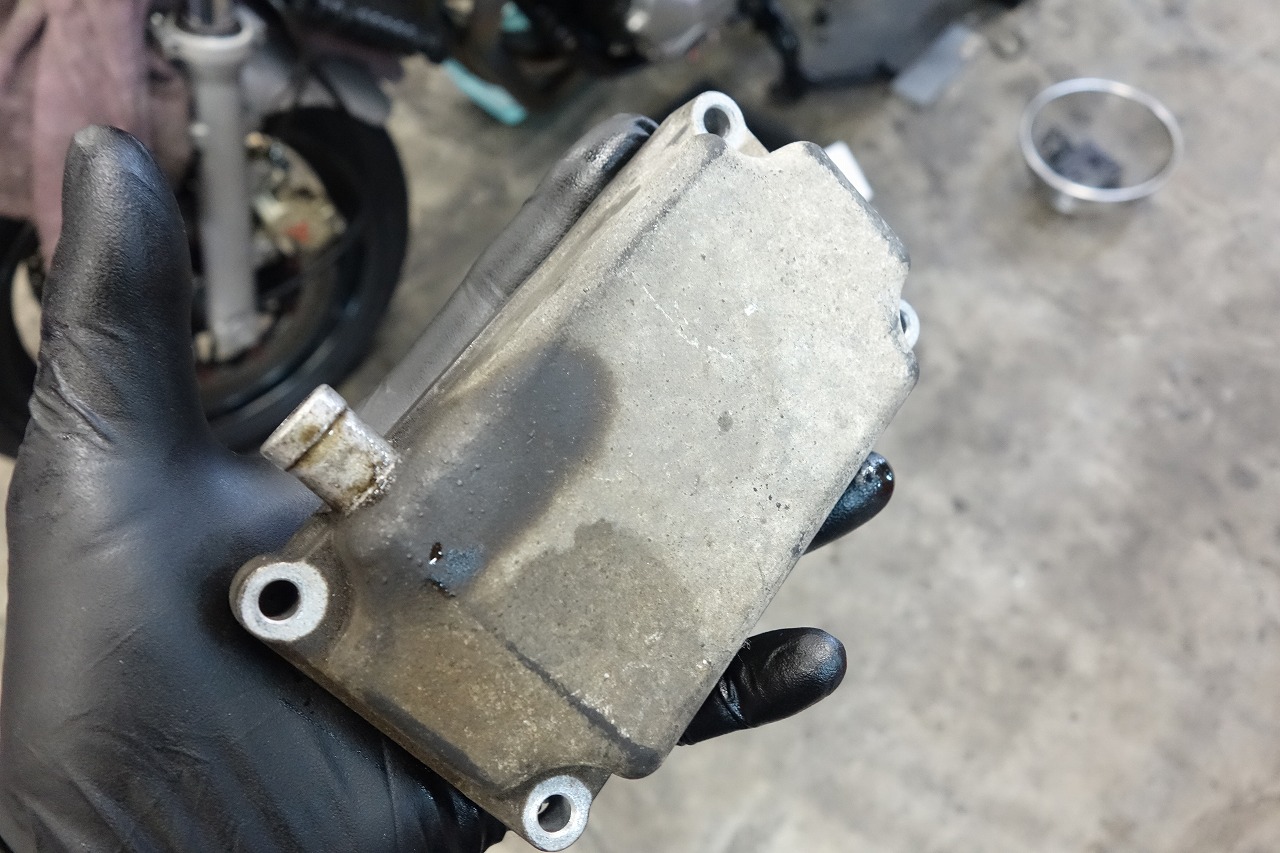
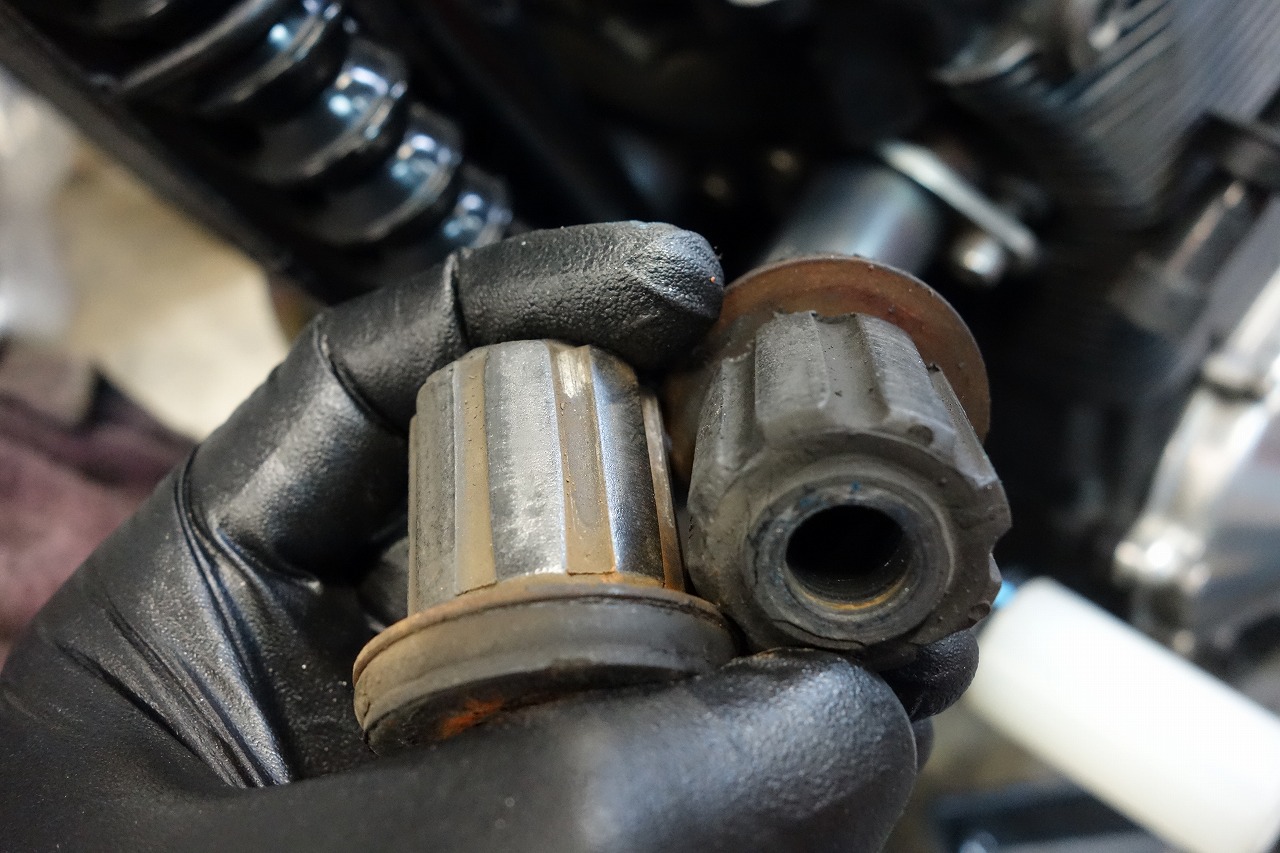
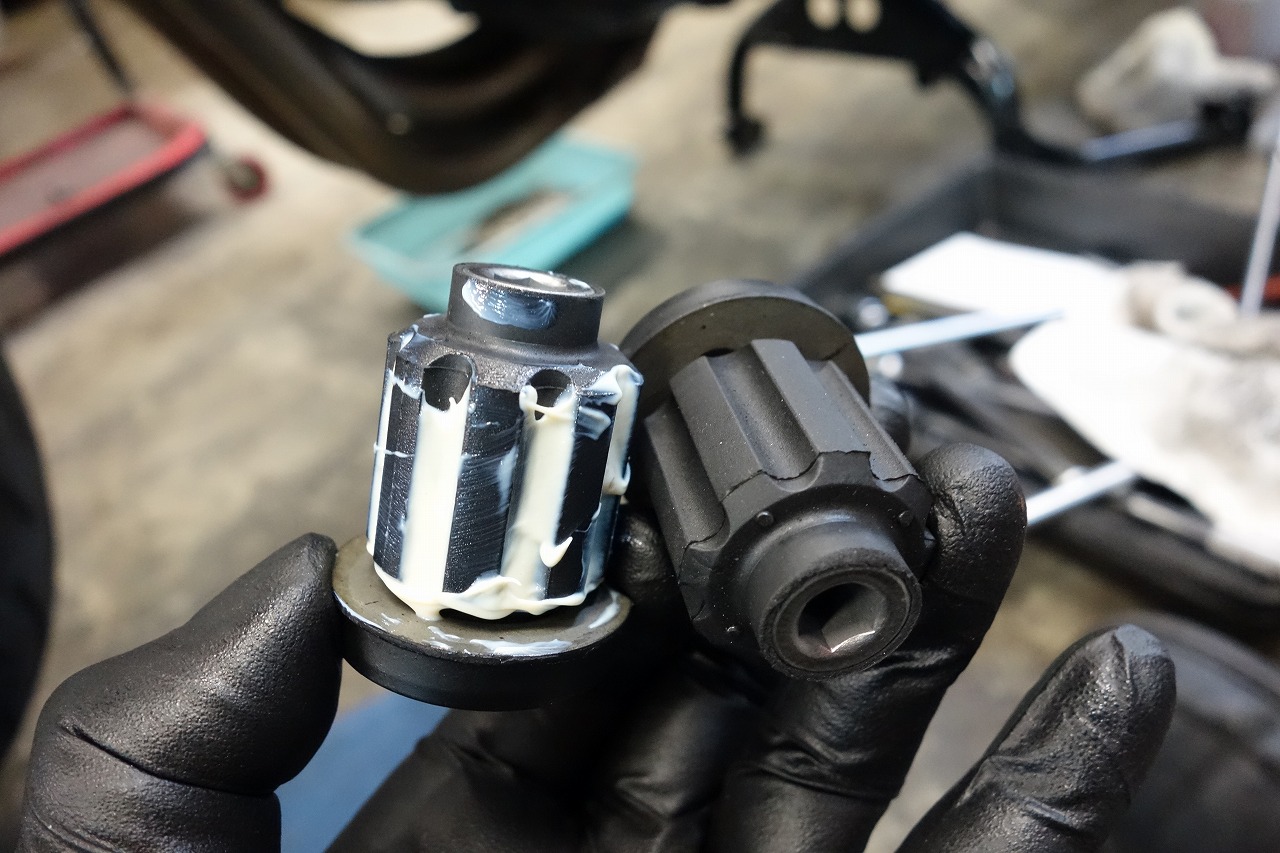
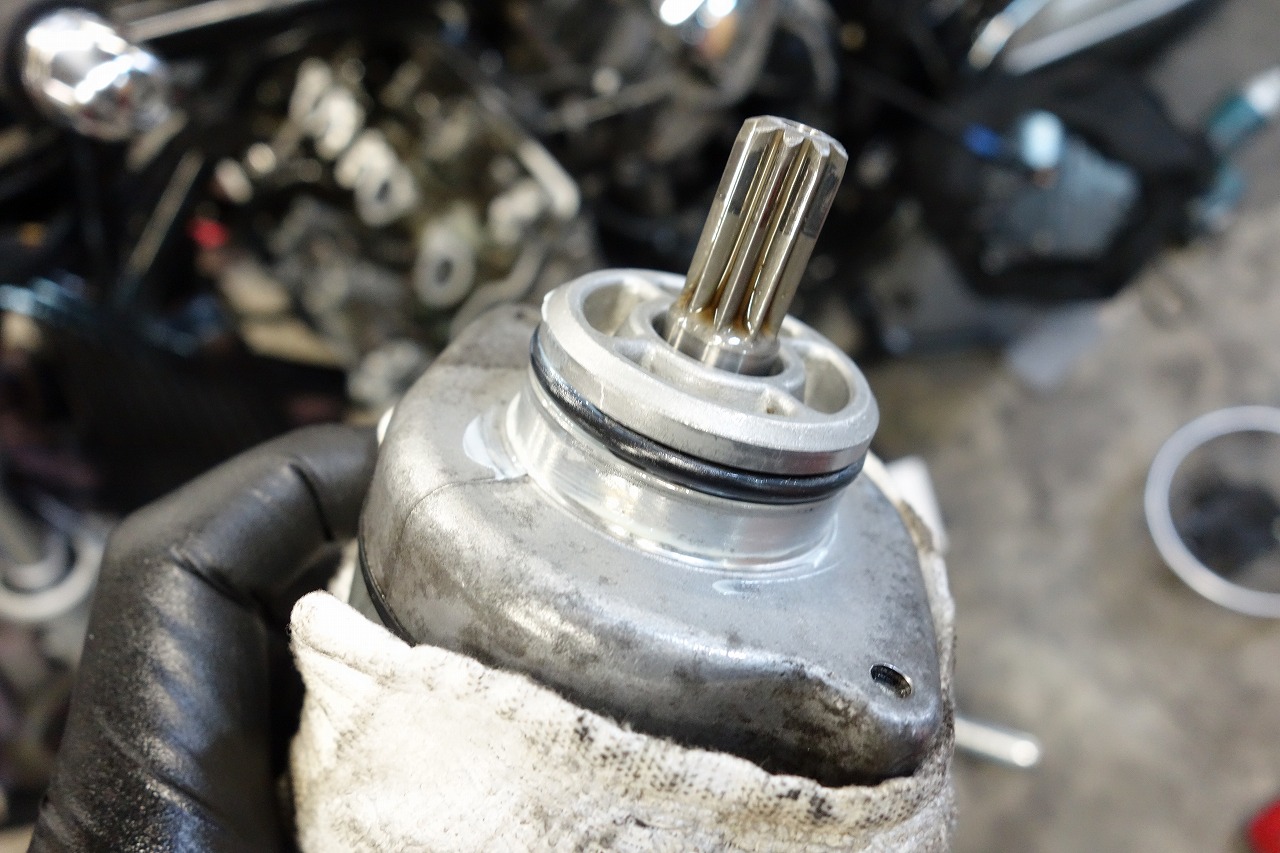
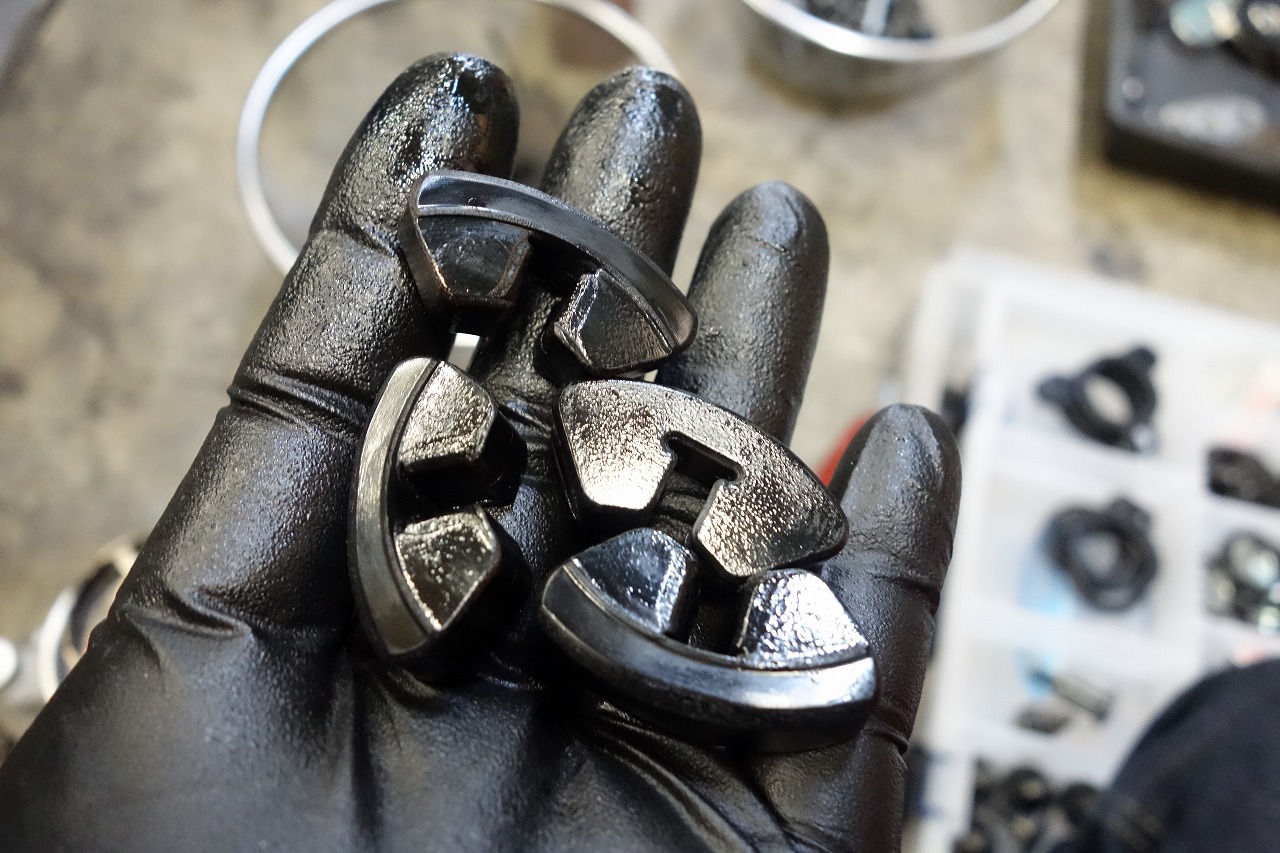
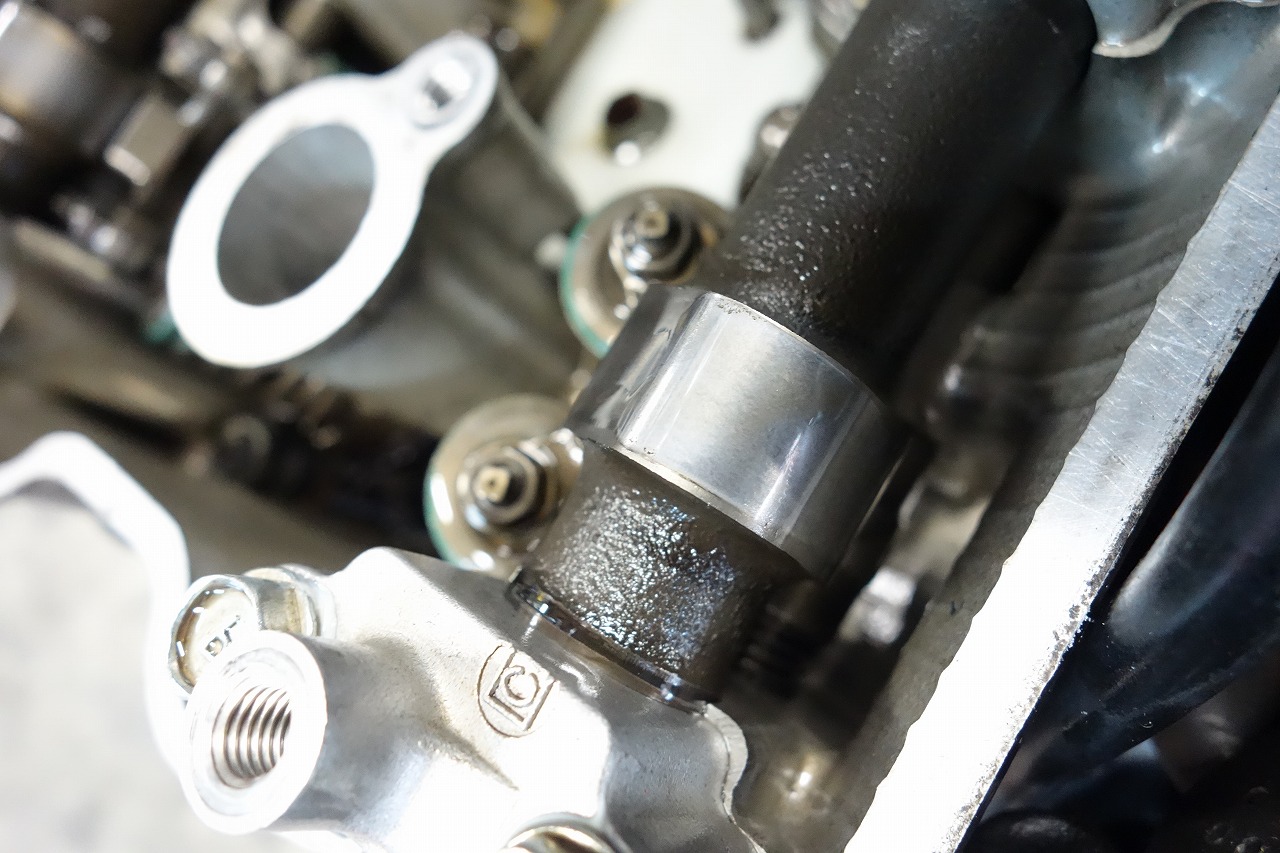
#1 IN
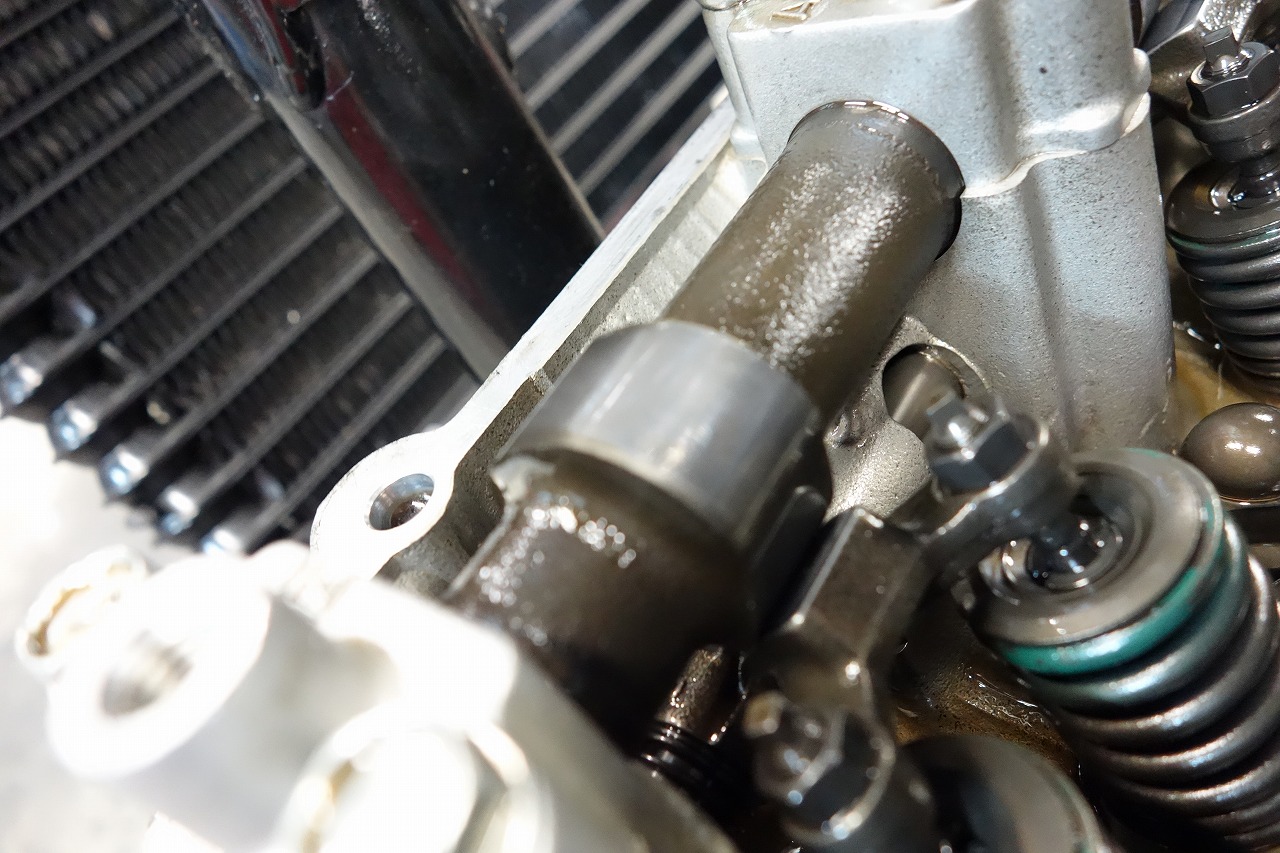
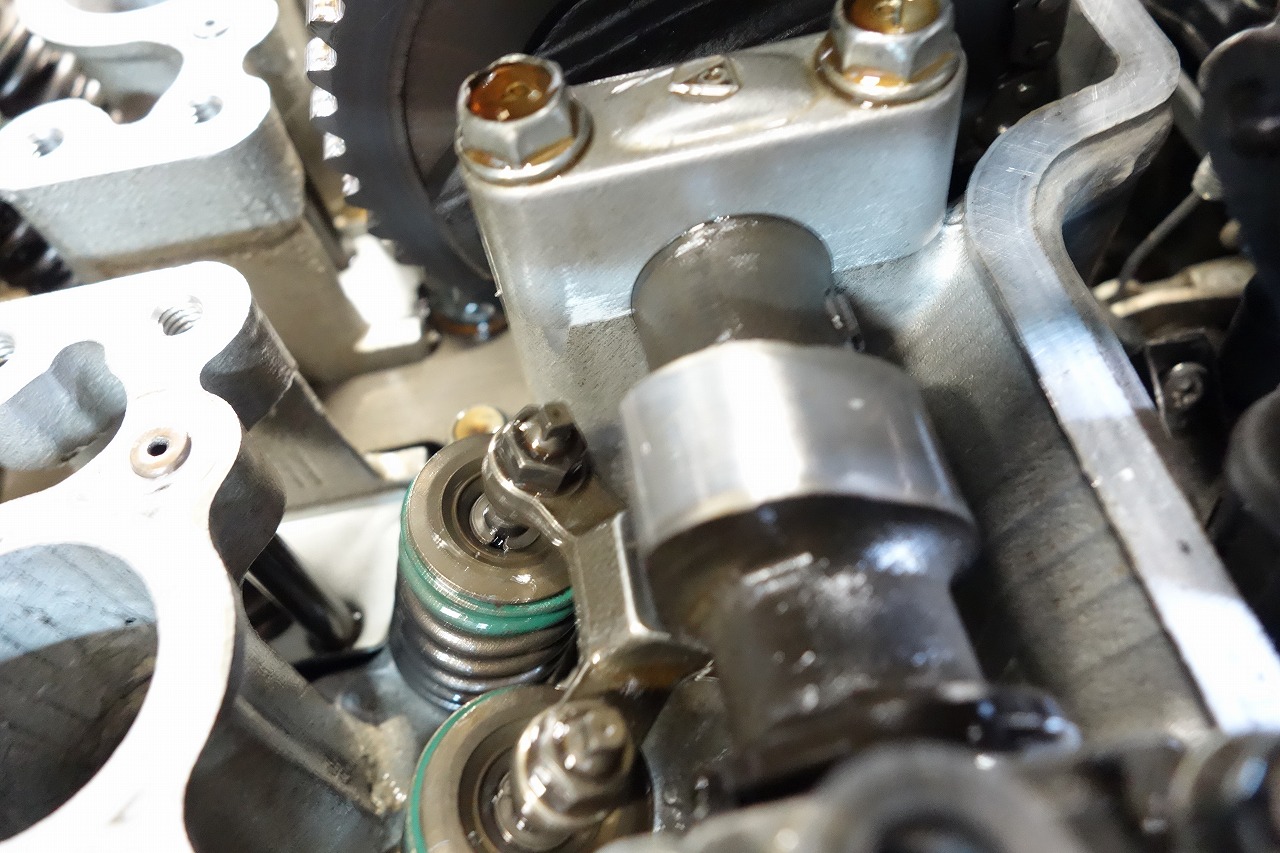
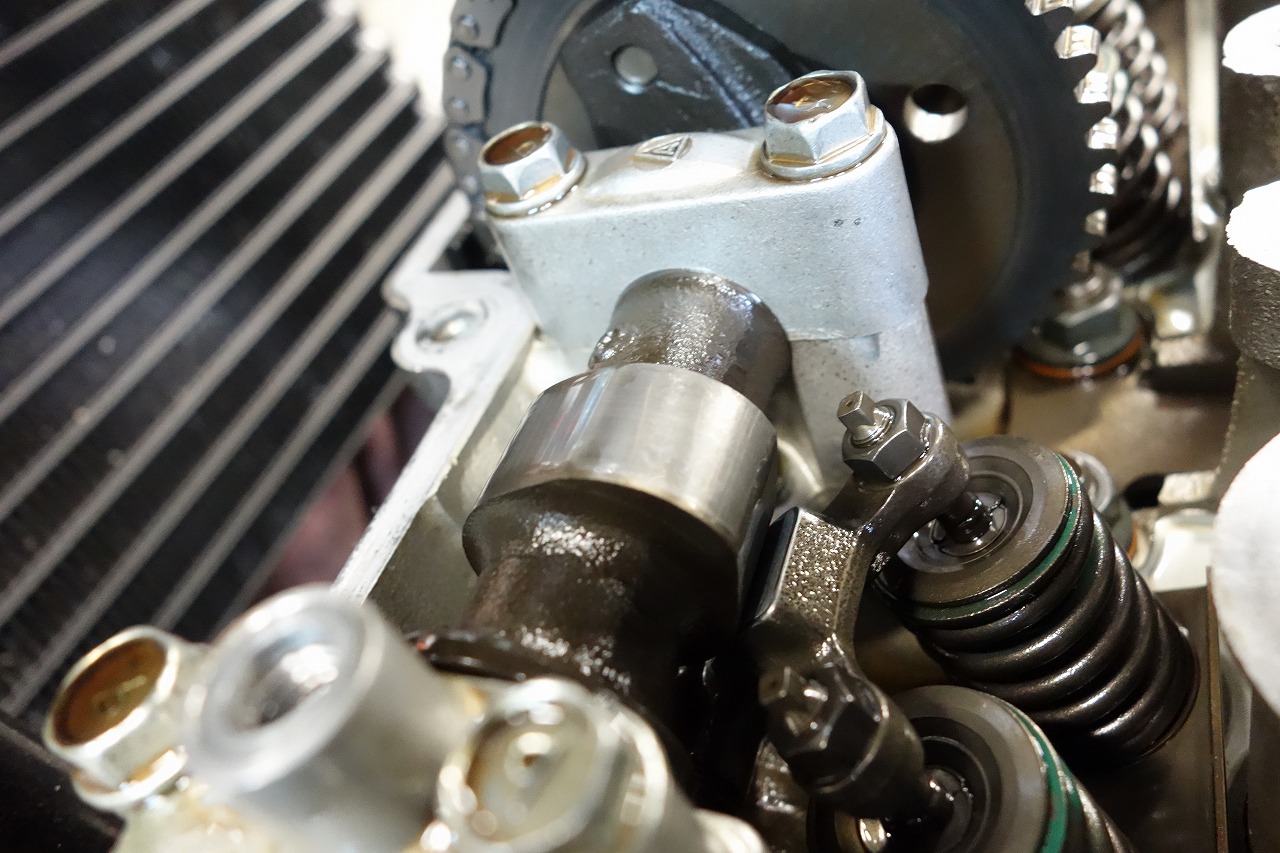
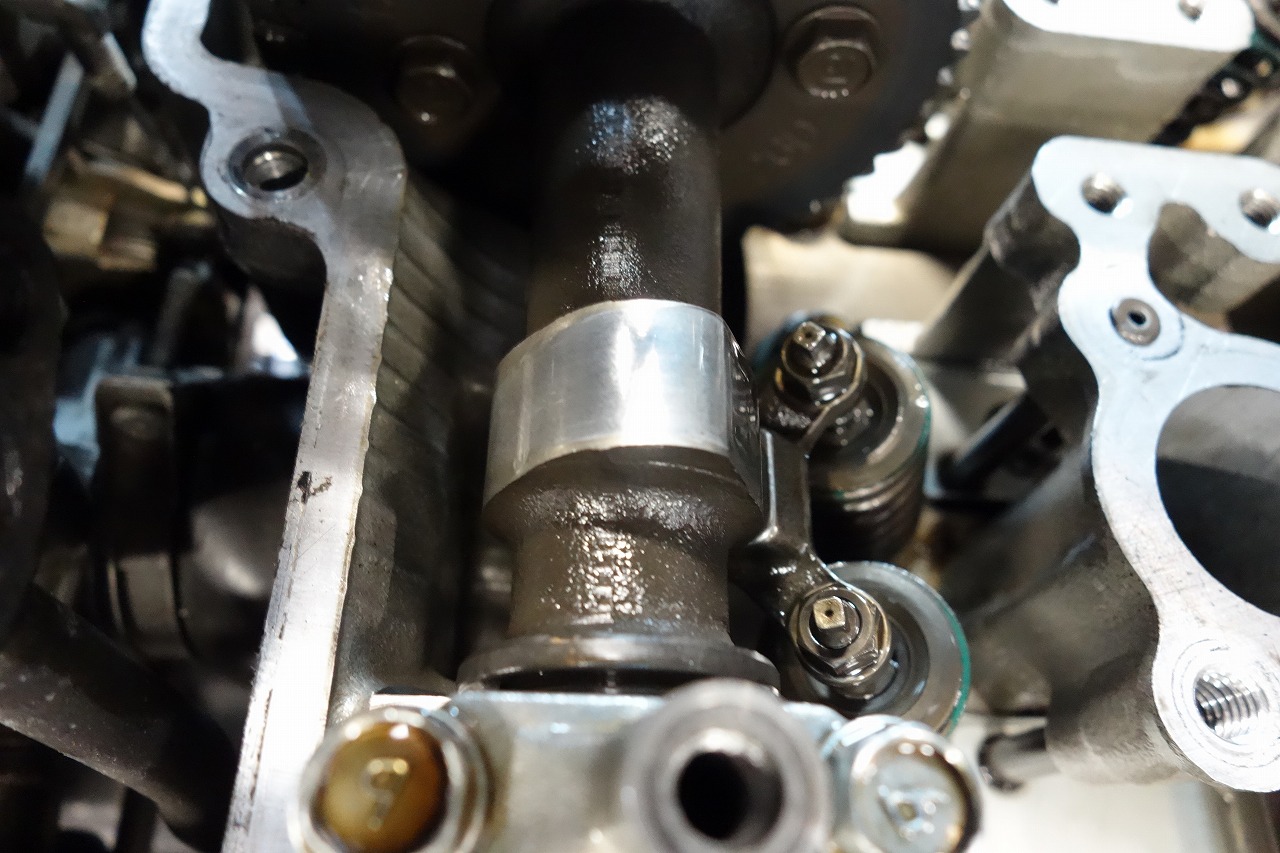
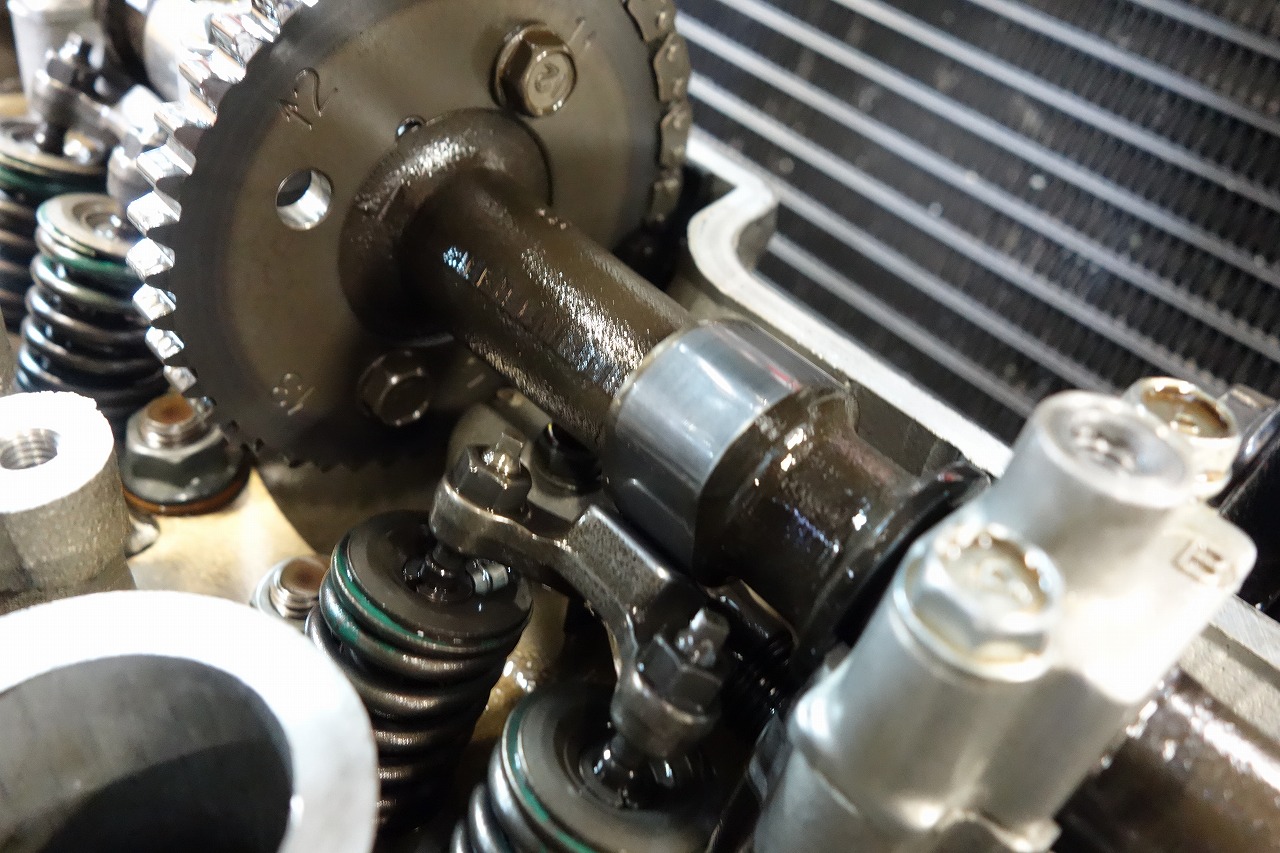
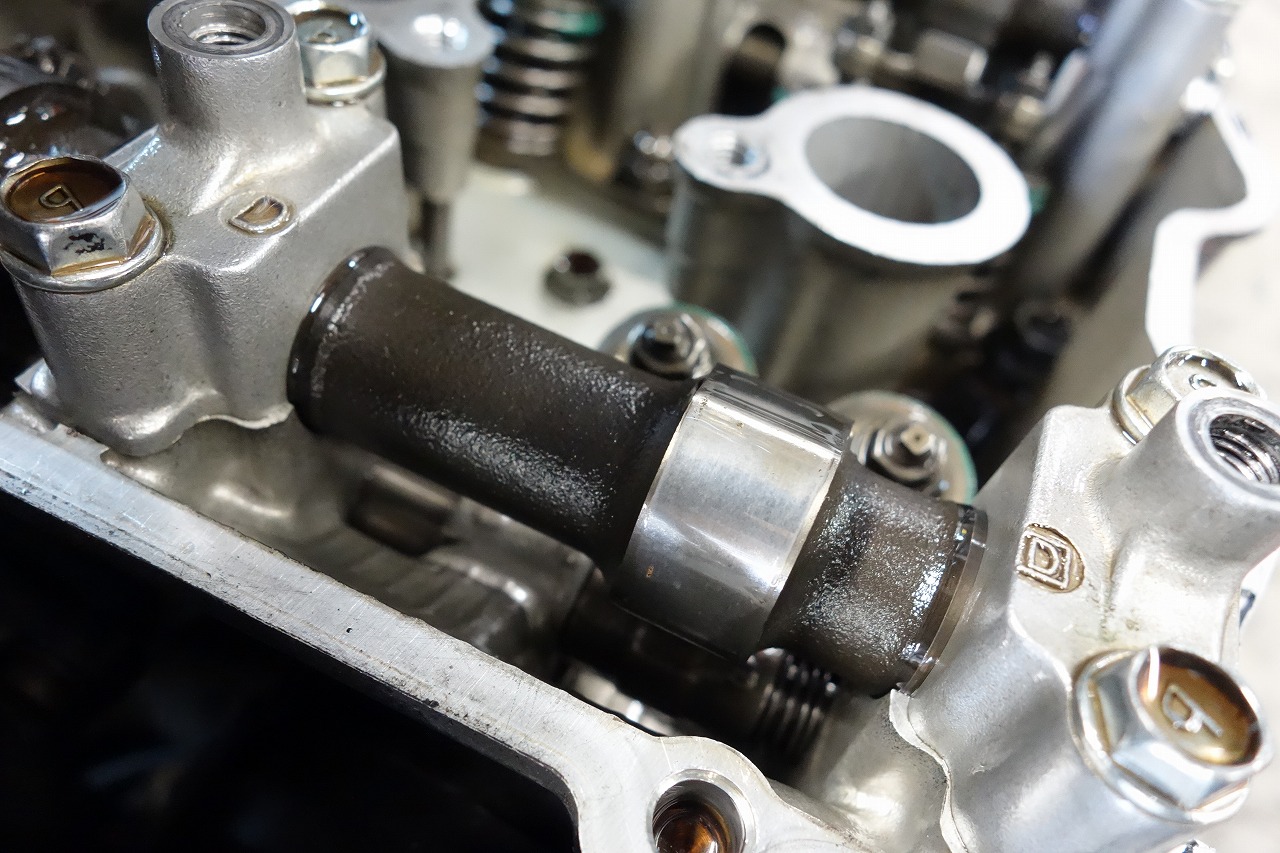
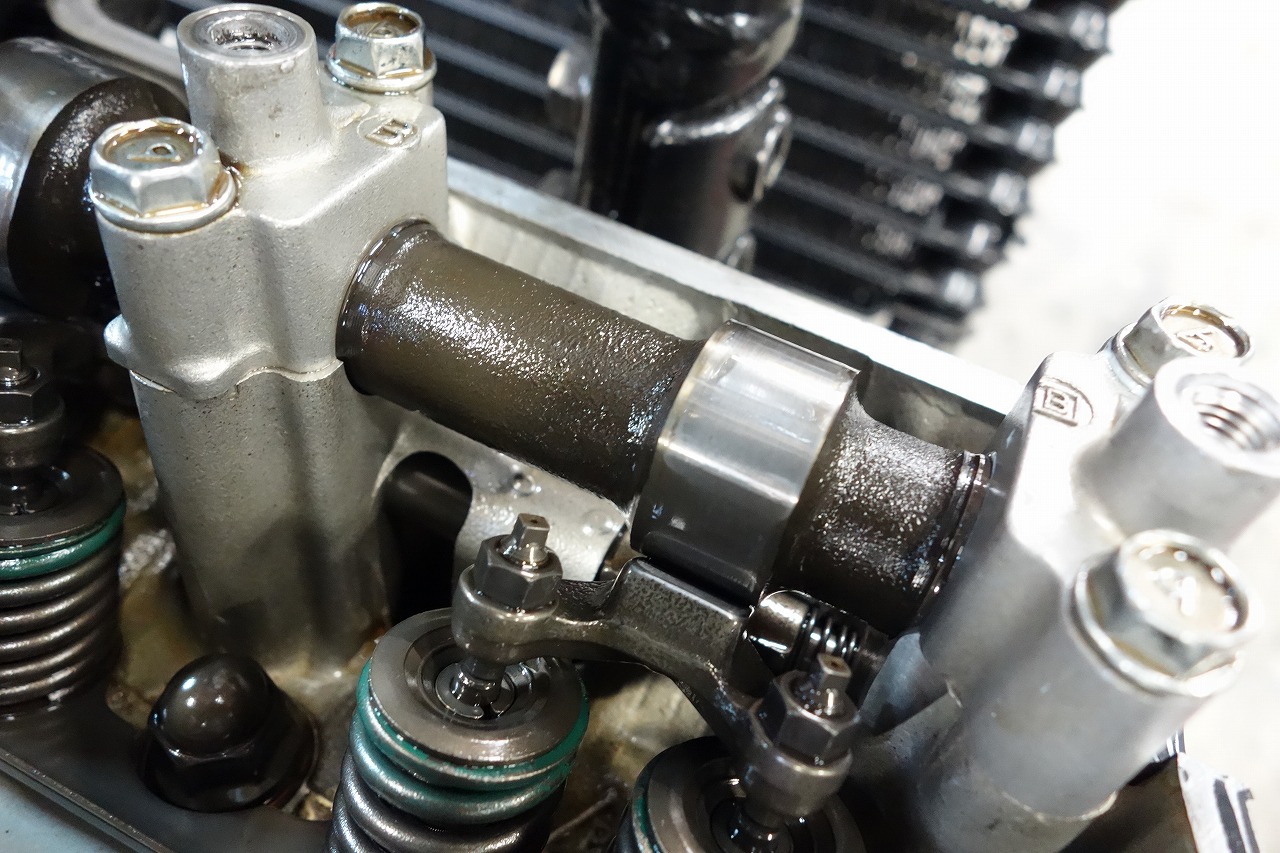
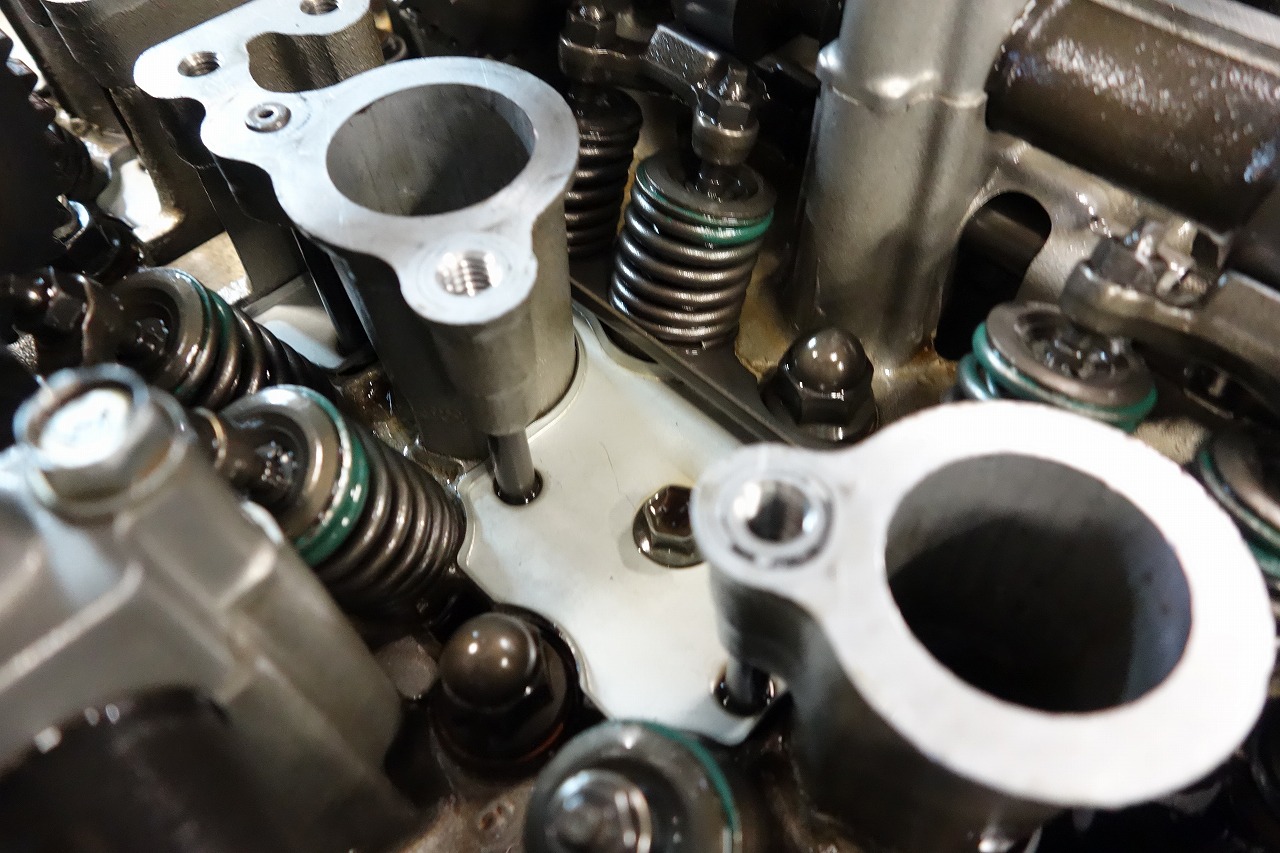
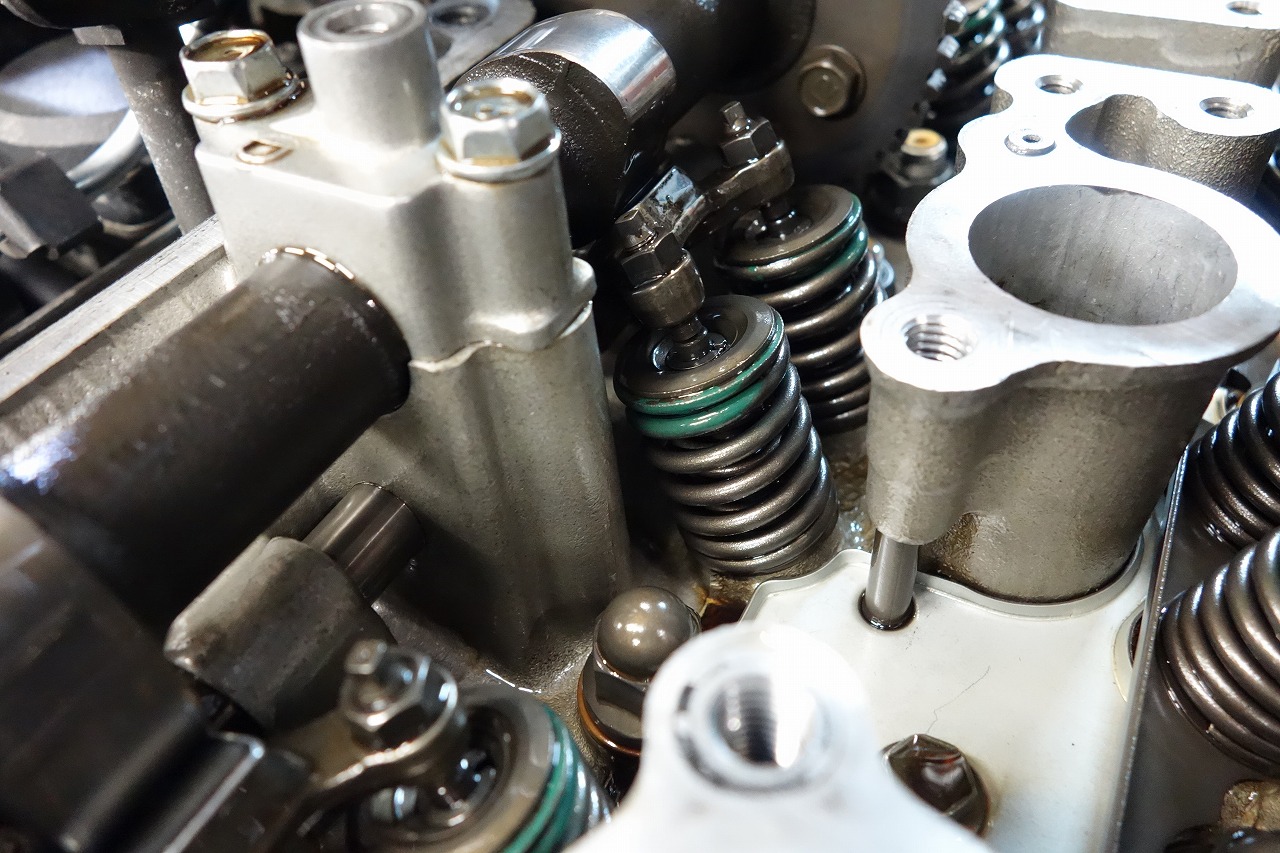
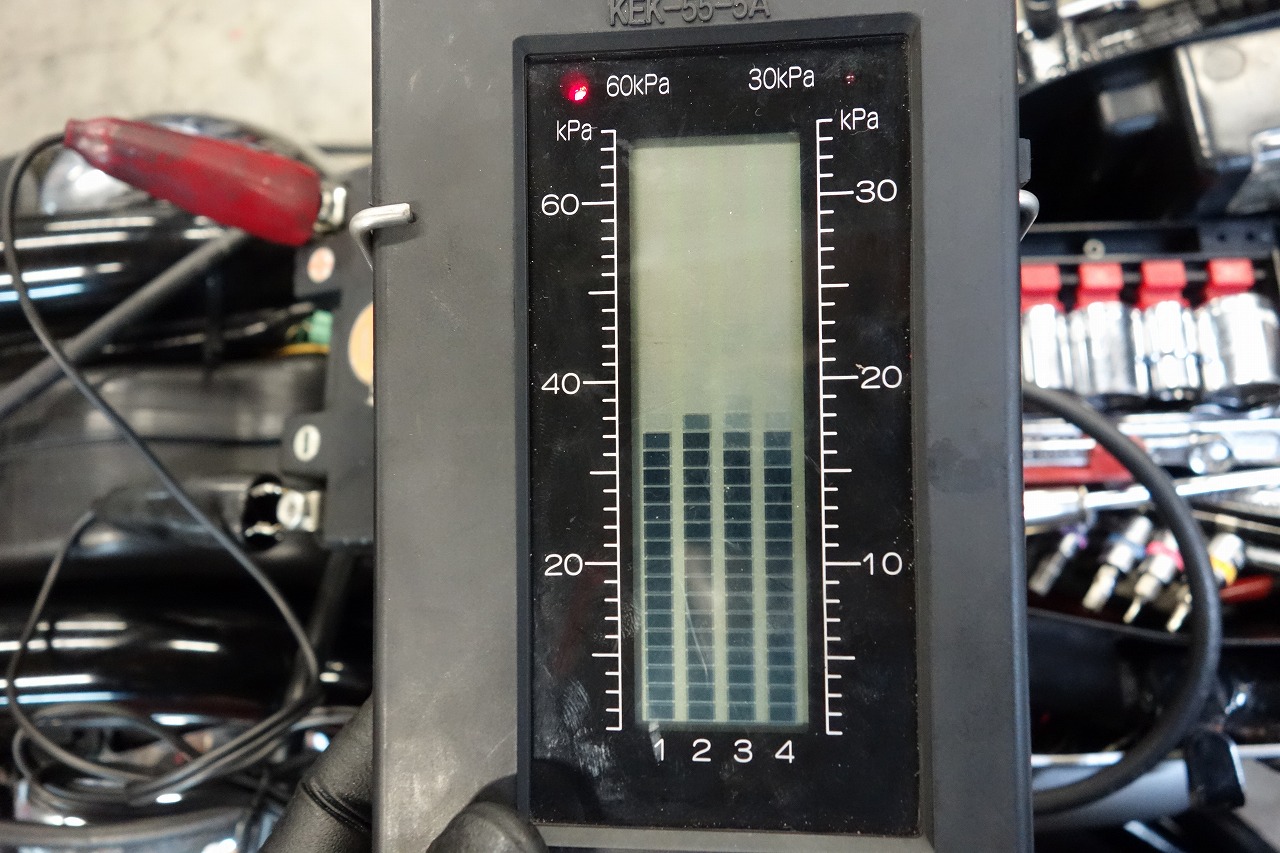
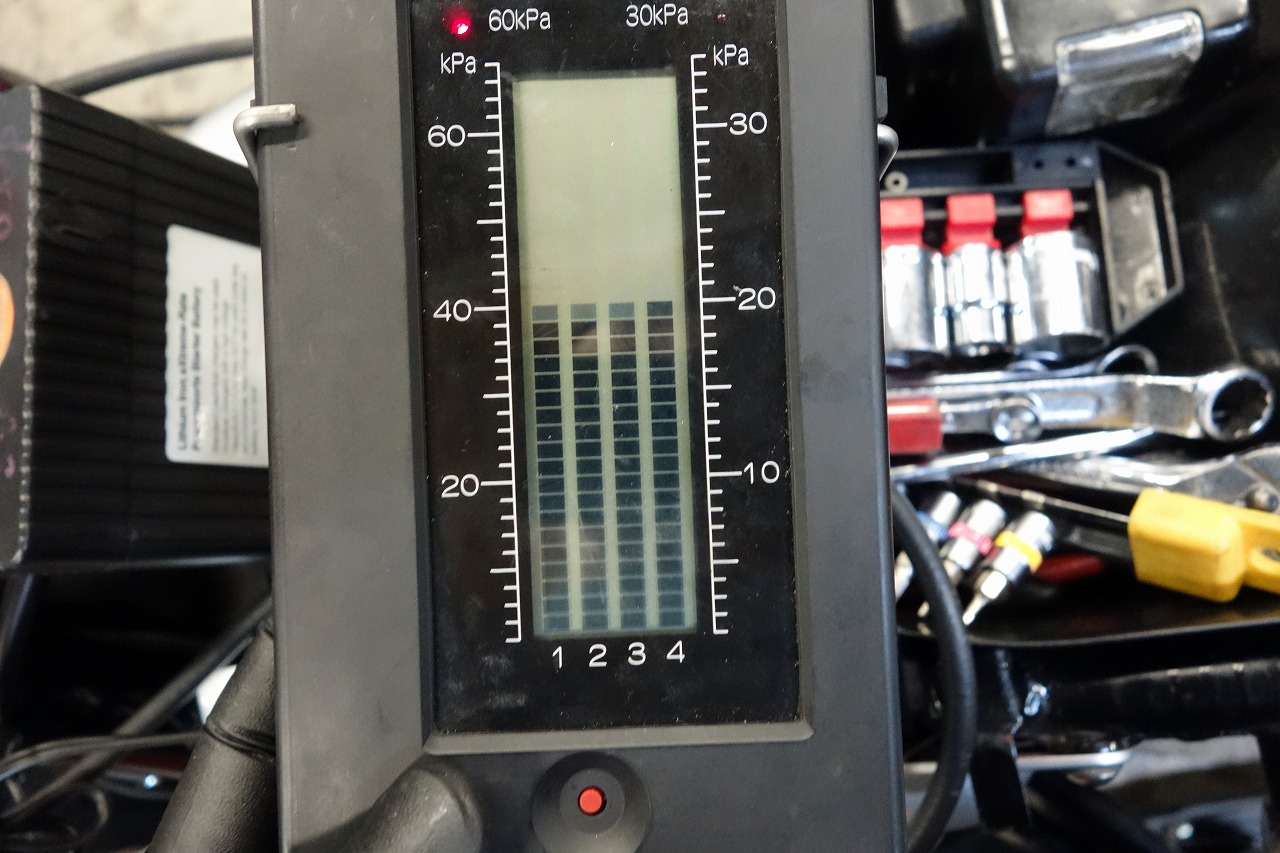
I don’t think this is a spot to be overly fussy about.
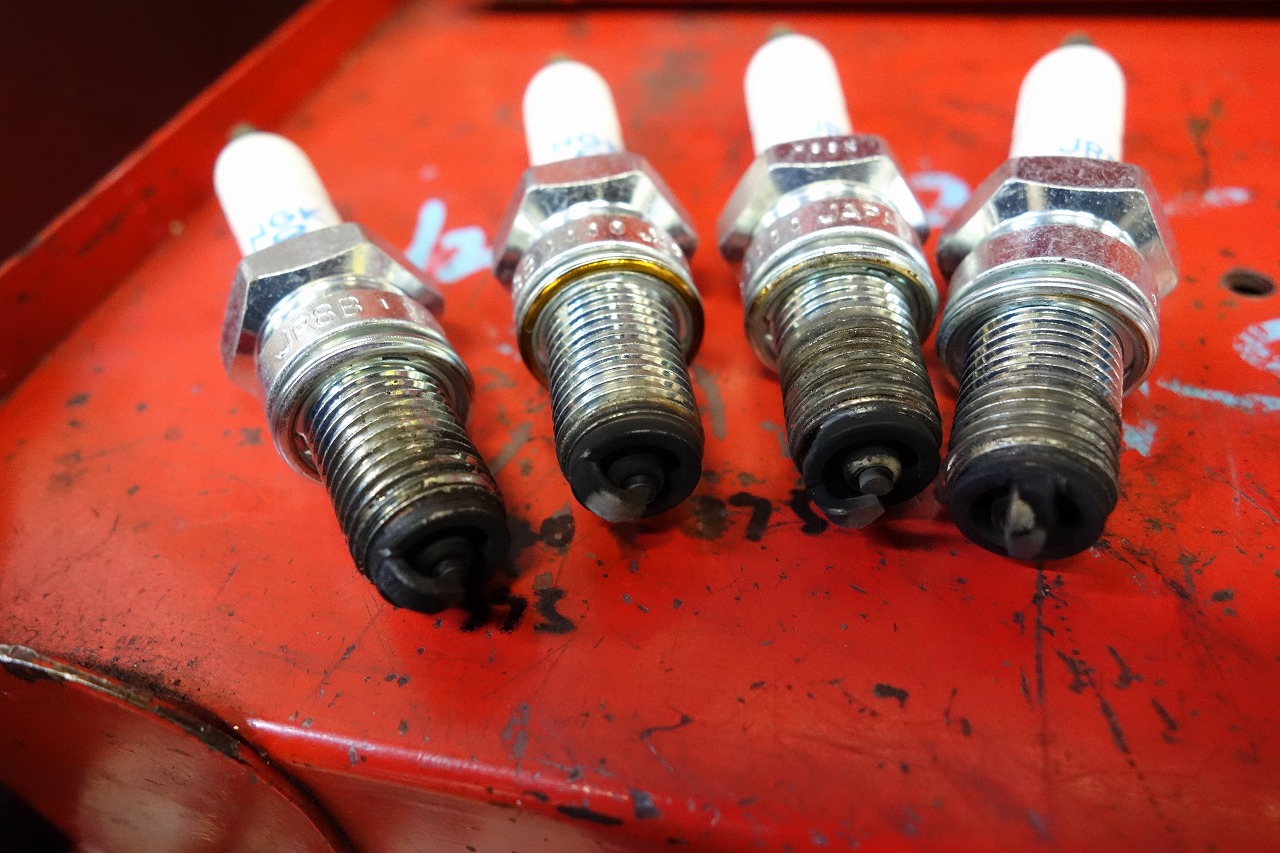
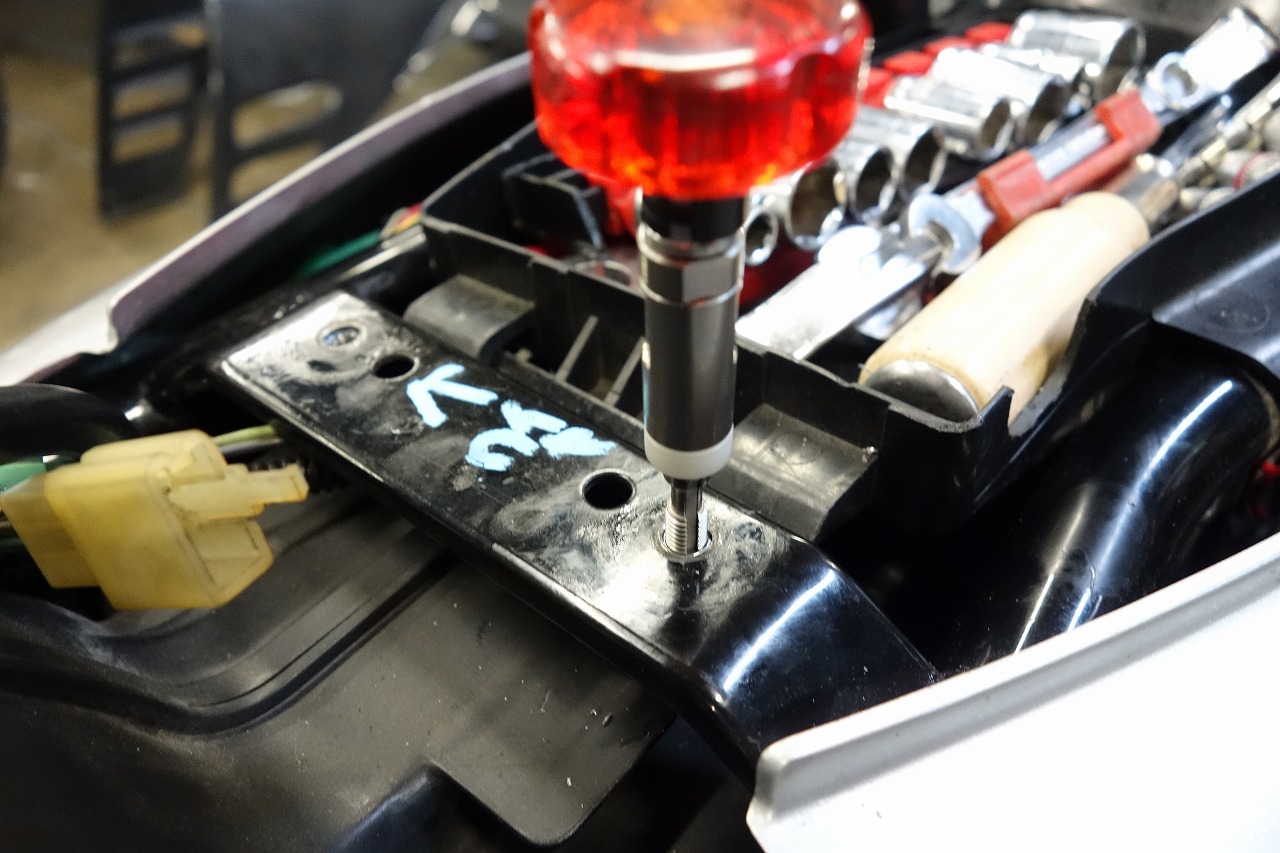
Tangless helicoil —there’s such a thing. Normal helicoils are a bit hard to install and you have to break off and remove the tang, which takes time, effort, and carries risk. Honestly, it’s a pain.
With a closed cavity (like a box-section frame), you can’t always retrieve the broken tang, so there can be unexpected debris left behind that the customer never knows about.
To put it simply:
“installs with almost no failure rate (maybe 1 miss in 1000 tries)”
“no tang removal needed”
—zero risk. Regular helicoils might as well be thrown away… maybe.
That said, we still use them, but here’s a tip for you.