The Brembo overhaul is taking quite a while to come back. Hmm~ I should have sent it out right away after receiving it… I’ll remember that as a lesson (`・ω・´)シャキーン
Now that the BST installation is settled, I’ll keep working on the remaining Chom Chom tasks~
Maintenance Log for This Article
Vehicle: SUZUKI GSX1200 (Inazuma 1200)
Work: Replacement of rear brake disc rotor and brake pads.
Parts Used:
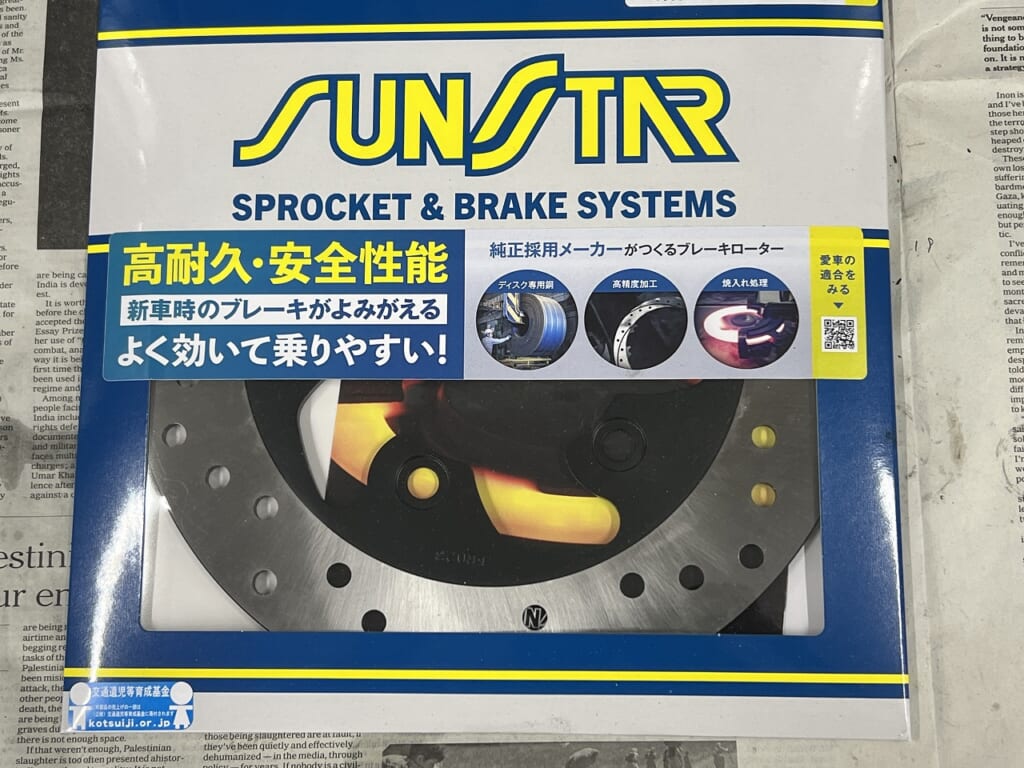
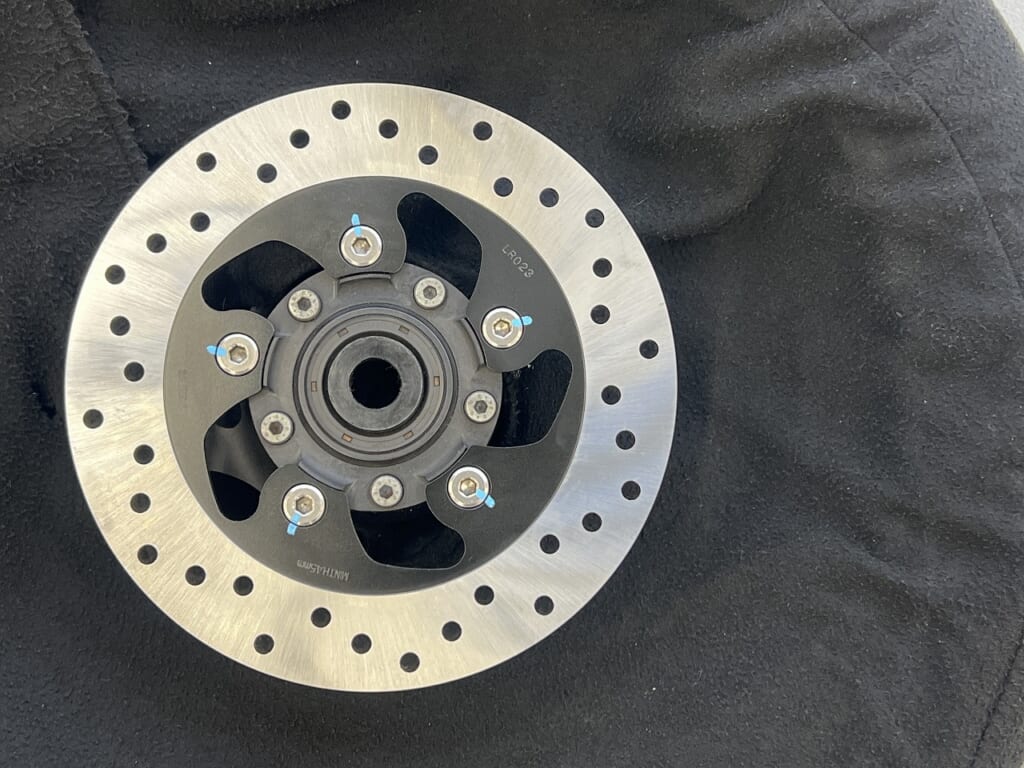
Disc: Trusted Japanese brand SUNSTAR custom type.
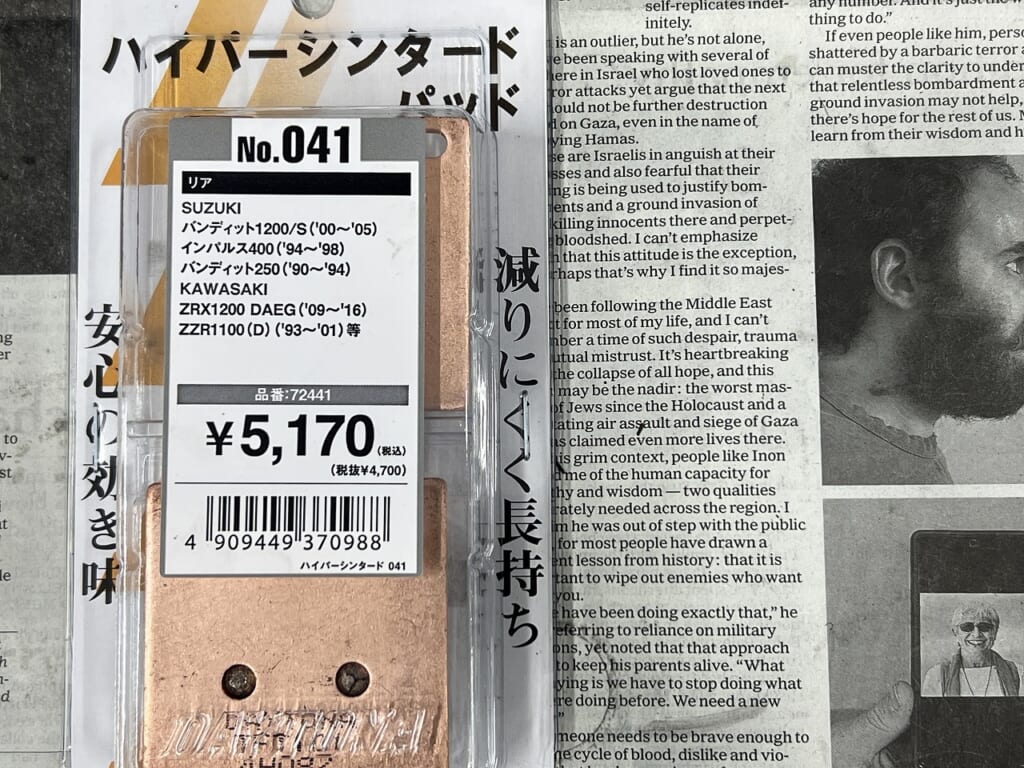
Pads: Standard street-use Daytona brake pads.
Purpose: Refresh the worn rotor that has developed step wear, and improve brake feel and rear wheel aesthetics.
Result: The crisp “click” sensation when pressing the pedal has returned. The appearance is also much sharper.
My other blog, Decoboco. “RURAL GARAGE“
A hidden room for non-motorcycle topics. I share everyday convenience items, relocation, delicious food, life philosophyand more. ←click
It’s really important to have a stable supply of consumables
Brake discs, pads, and sprockets are among the most heavily worn parts on a motorcycle. The fact that you can get these whenever you need them is actually a blessing.
Some models have completely unique designs with no compatibility options. When consumables require custom one-off work or modification, it’s tough on the rider too… Thank you. I’m grateful to Kuni Commerce, using these parts with reverence…
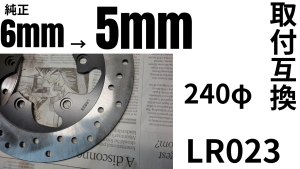
For oil-cooled 240φ, that’s the LR023. Reliable pricing and quality—very reassuring.
This rear disc used to cost less than 10,000 yen back in the day~ nostalgic.
RK’s sintered metal pads have finally been discontinued….
I loved and regularly used RK’s sintered metal pads. However, lately they’ve been discontinuing more and more models.
I sometimes wonder if I should stock up on brake pads like this… There are times when I think about it. Consumables can eventually be discontinued, so it might be worth checking and stocking up.
“When installing a new disc, it’s a rule to use new pads too” ConverselyWhen replacing brake pads, I check the disc remaining thickness and make recommendations. For example: ・Pads worn out but disc has plenty left = pads only ・Pads worn/disc barely acceptable = depending on budget, use one more pad cycle then replace disc and pads together next time
Situations, budgets, and usage patterns vary for each personI think it’s good to make recommendations tailored to each owner.
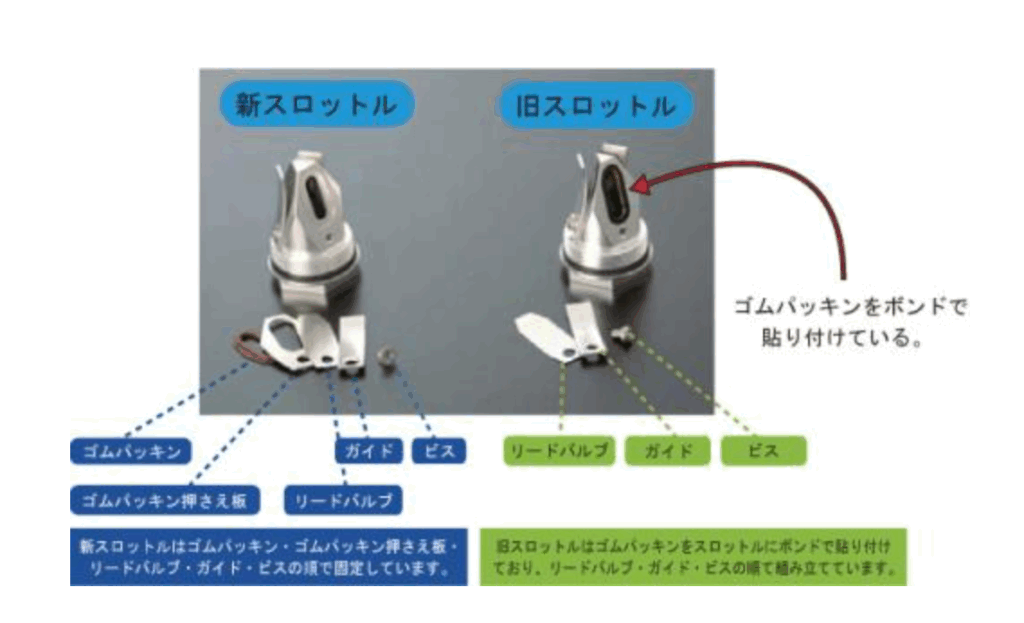
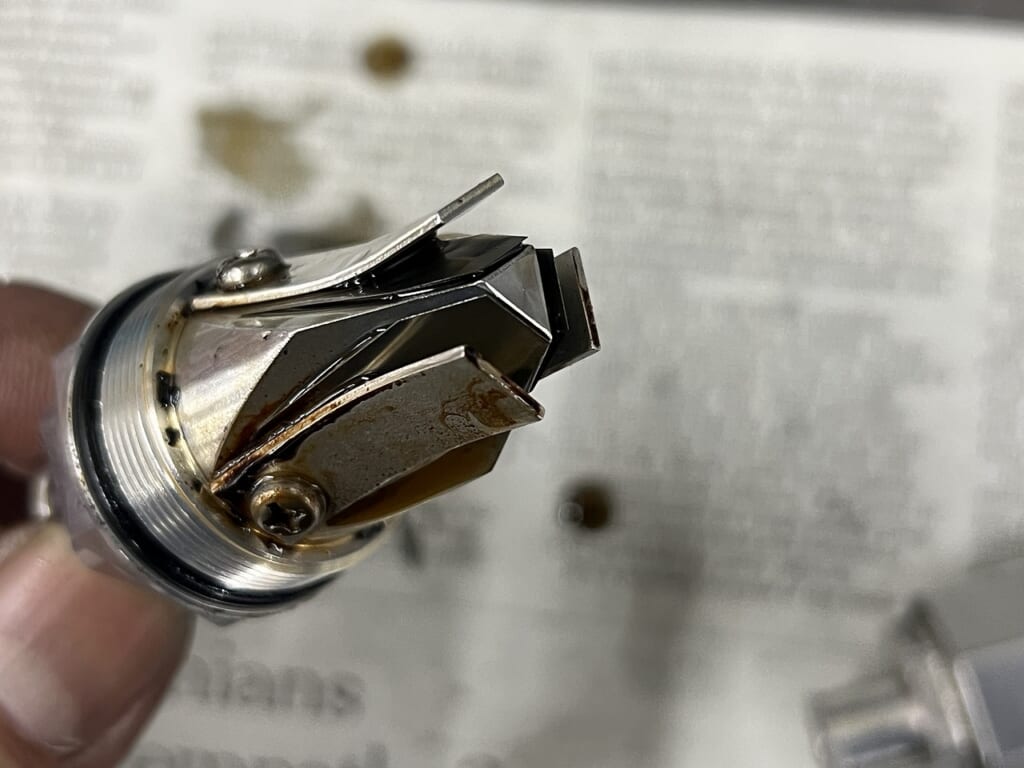
Apparently it’s become the latest model pistol without me noticing. The OH kit costs nearly 6,000 yen. Gluing the seals is subtly painful. It’s fine to replace with the new model after mileage or years and sell the old one.
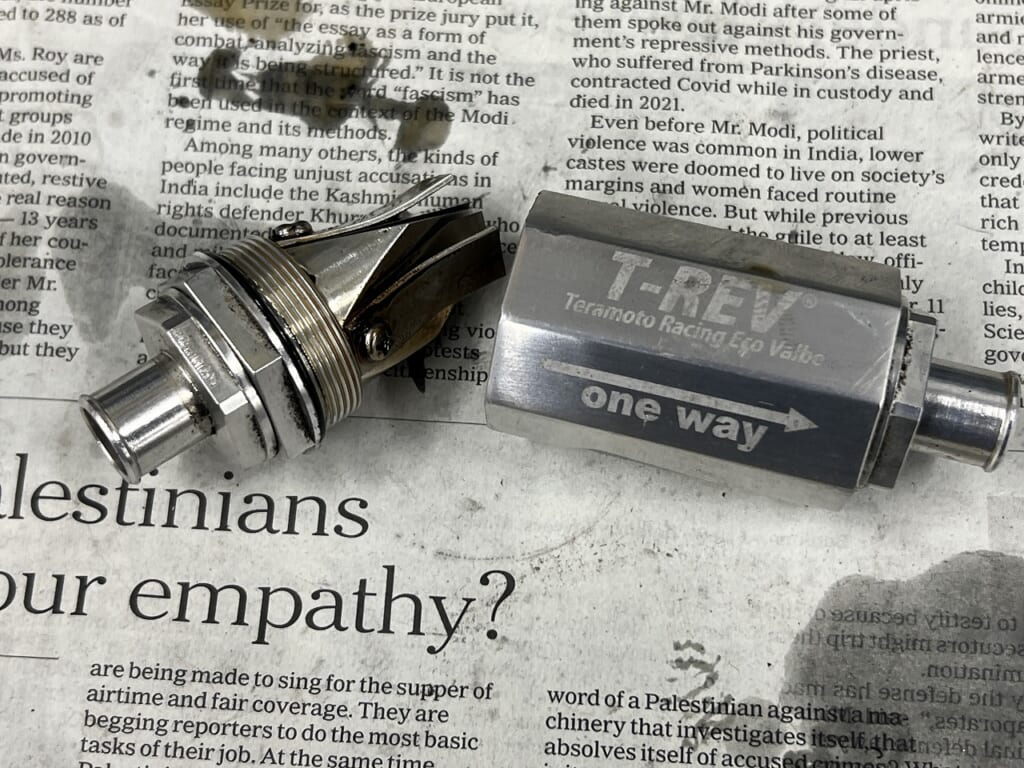
Simple structure T-REV maintenance intervals are Inspection and cleaning at 1 year or 10,000 km, and full overhaul at 2 years or 20,000 kmare recommended
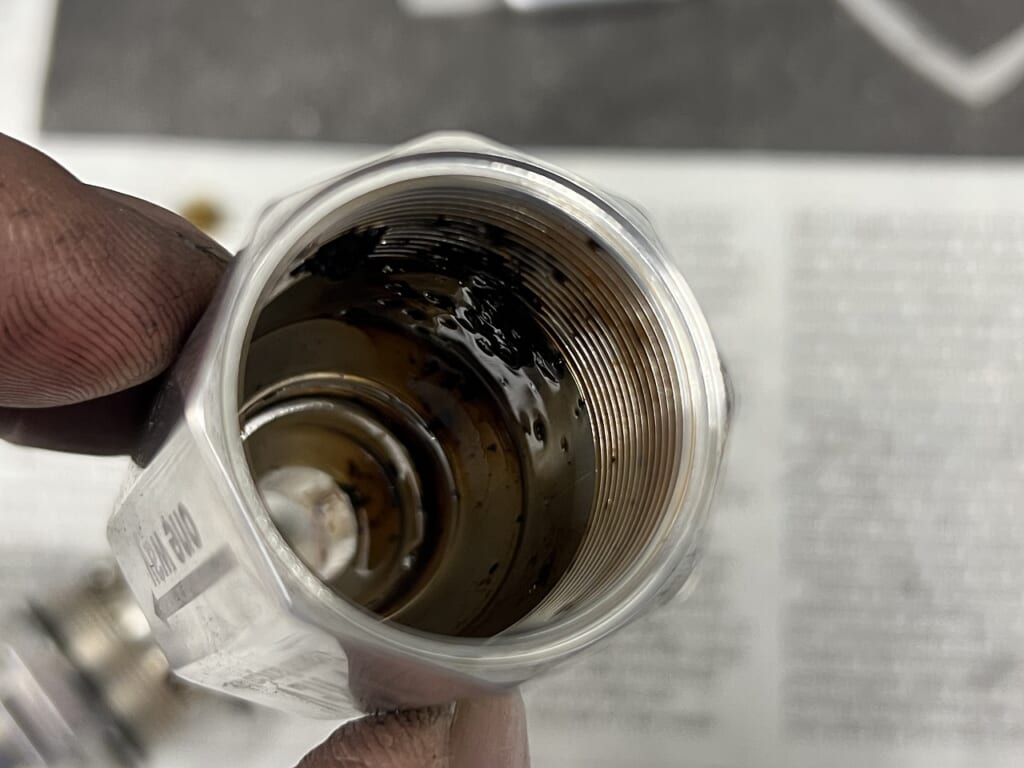
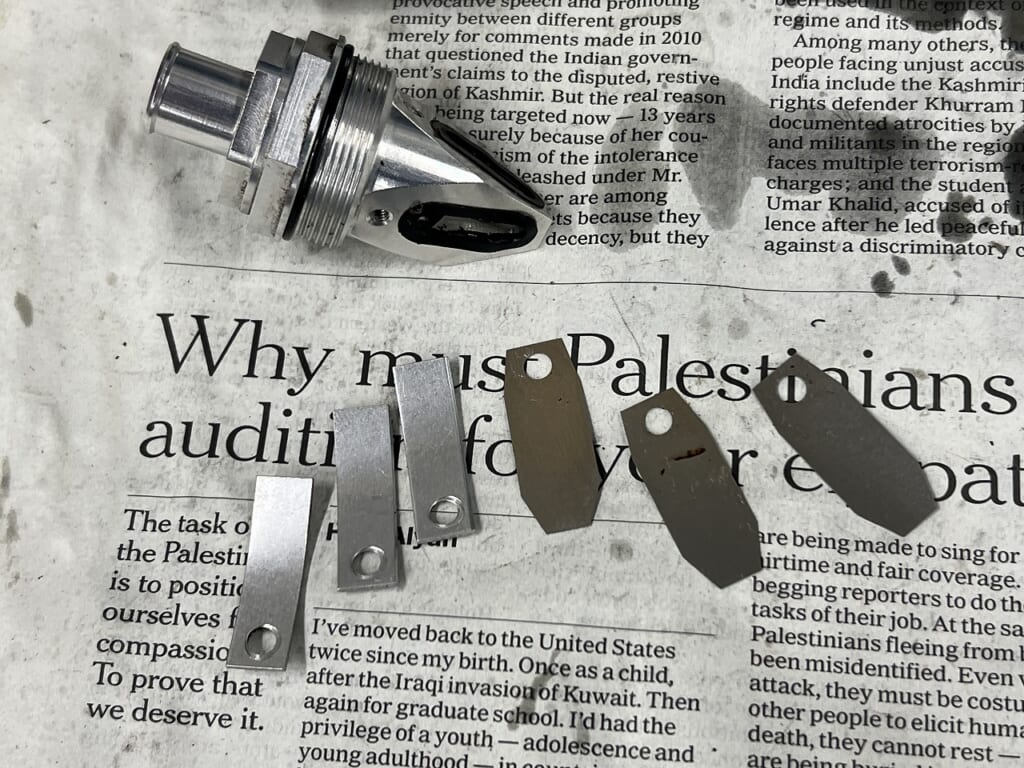
Like this, mysterious gunk? tends to accumulate surprisingly. Depending on the model, there’s emulsified gunk? too. Well, it’s a part worth washing at the right time.
It’s not a particularly fussy part. Seals and shims are basically consumables, so regular checks are necessary.
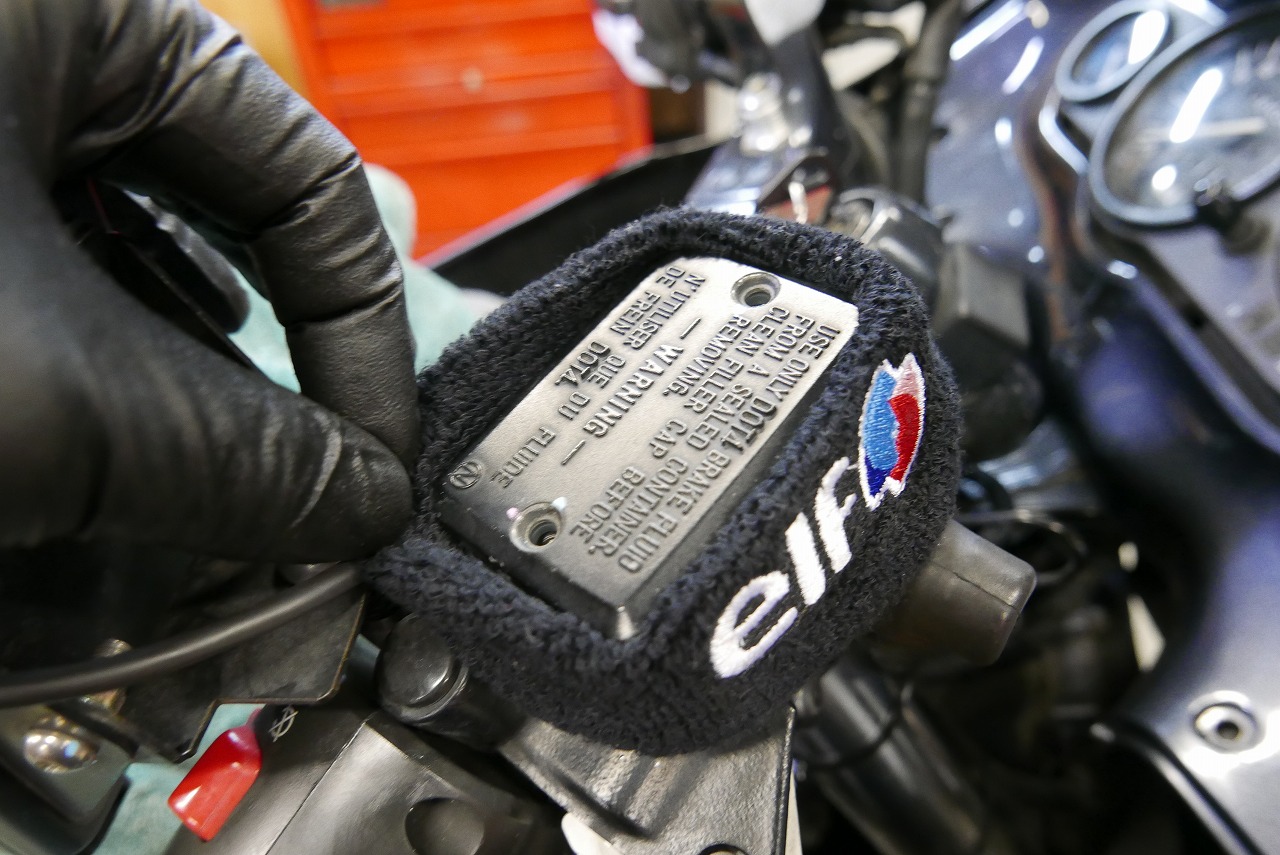
The scratches are a bit noticeable, so I’ve protected it~
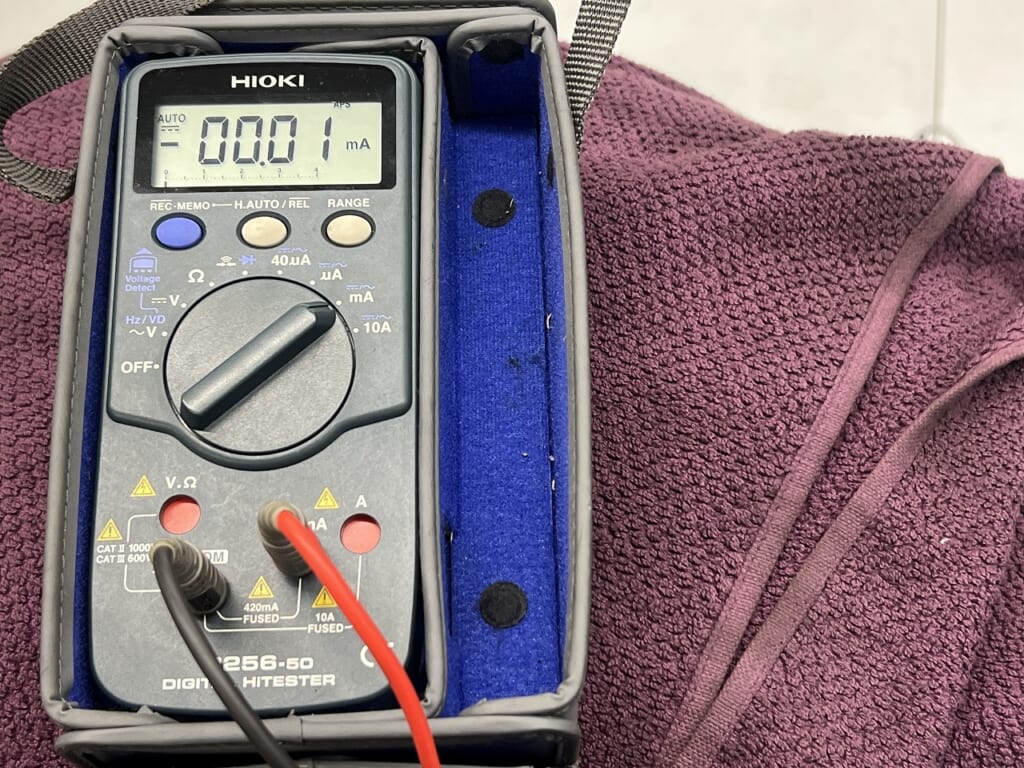
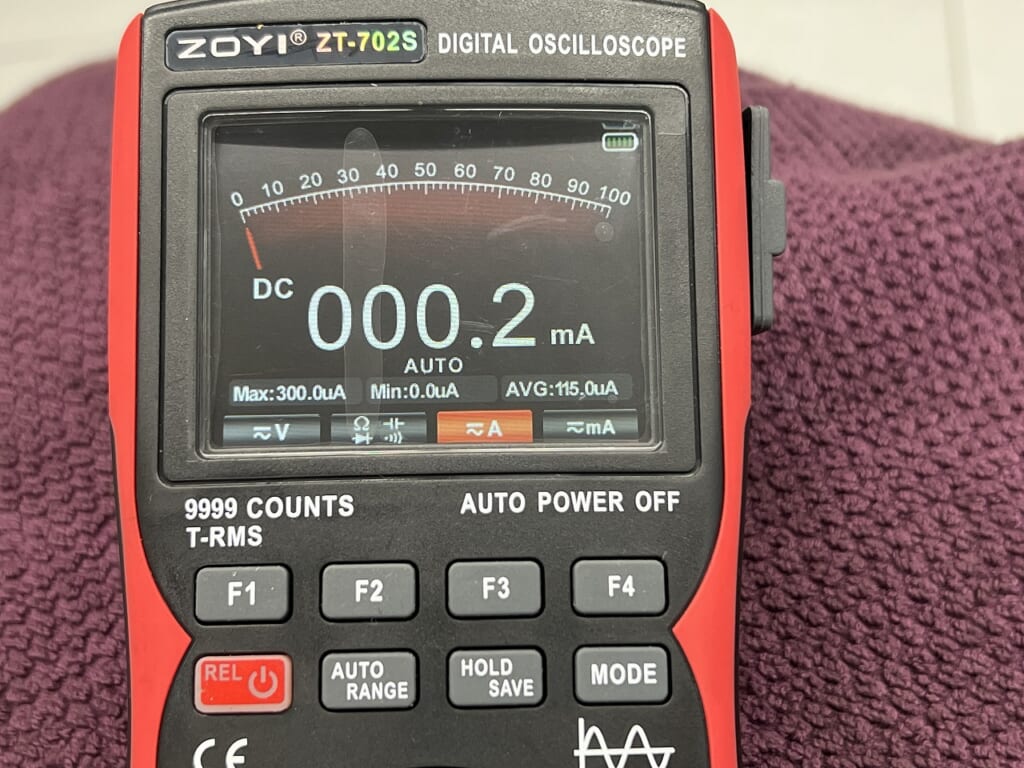
The battery seems to drain easily. Dark current measurement
I’m a Hioki fan for measuring instruments. But the cheap Amazon stuff shouldn’t be underestimated either.
I was overthinking it. The battery ground was co-fastened in many places, so I extended it from the crankcase and relocated it. It should be much cleaner now.
I checked the STACK fuel gauge operation. STACK gauges are high-function, but the wiring itself is simple. However,“Initial setup (calibration)” is requiredwhich differs from standard gauges.
Below I’ve summarized representative wire colors and their functions. The structure is so simple that it’s strange when operation goes wrong.
STACK Fuel Gauge (Electric) Wiring Diagram & Color Coding BY Gemini
Standard 5-wire harness specifications used in many models (such as ST3315).
Wire Color
Function
Connection
Red
Power (+)
To ignition power (12V when key is ON)
Black
Ground (-)
To body ground or battery negative
Green
Sensor Signal
To fuel tank sender unit (float resistance)
Orange
Illumination (White)
To illumination power (parking lights, etc.) ※1
Yellow
Illumination (Amber)
To illumination power (parking lights, etc.) ※1
(※1) Illumination color can be selected by connecting either orange or yellow. On some models, connecting both may mix colors or result in neutral. Insulate the unused one.
Simple Wiring Diagram
I’ll illustrate the wiring concept in text.
Plaintext
[ STACK Gauge Back ]
      │
      ├─ Red ─────── (+12V Ignition Power 2A Fuse Recommended)
      │
      ├─ Black ─────── (Ground / Vehicle Metal)
      │
      ├─ Green ─────── (To fuel sender unit output line) ──┐
      │                                                │
      │             [ Fuel Tank Sender ]         │
      │             ( Resistance )                           │
      │                │                               │
      │                └───────────────────────────────┘
      │
      ├─ Orange ──┐
      │       ├─── (Connect one to illumination power)
      └─ Yellow ──┘     ※If not changing color, can operate without connection
Important Notes (Resistance and Settings)
When installing a STACK fuel gauge, **”Programming (Learning)”** is just as important as wiring.
How to Enter Setup ModeTypically, using a “push switch” included in or with the wiring, you enter setup mode and teach the gauge the resistance values at full tank and empty. Without this, it won’t display correctly.
Unlike many domestic gauges that auto-recognize resistance values, STACK requires you to memorize the “Full” and “Empty” states in the gauge.
Sensor (Sender) Side WiringIf there are 2 wires coming from the fuel tank sensor:
Connect one to STACK’sgreen wire.
Make sure the other one is securelygrounded(vehicle chassis).
Work: Replaced the worn-out rear brake disc rotor and brake pads. Parts: Used a high-quality Sunstar rear disc and Daytona brake pads. Result: Replacing the scored rotor significantly improved brake pedal feel and control. The shiny new disc also makes the rear wheel area look much cleaner and newer.


 ポチップ
ポチップ