Seriously? When a motorcycle comes together beautifully piece by piece, it feels good to be the one working on it. After it’s done, somehow “Can you savor the aftertaste?” “Lingering presence?” You just want to gaze at it intently.
Honestly, cleaning it doesn’t change the performance at all. We do it more for the feeling of it.
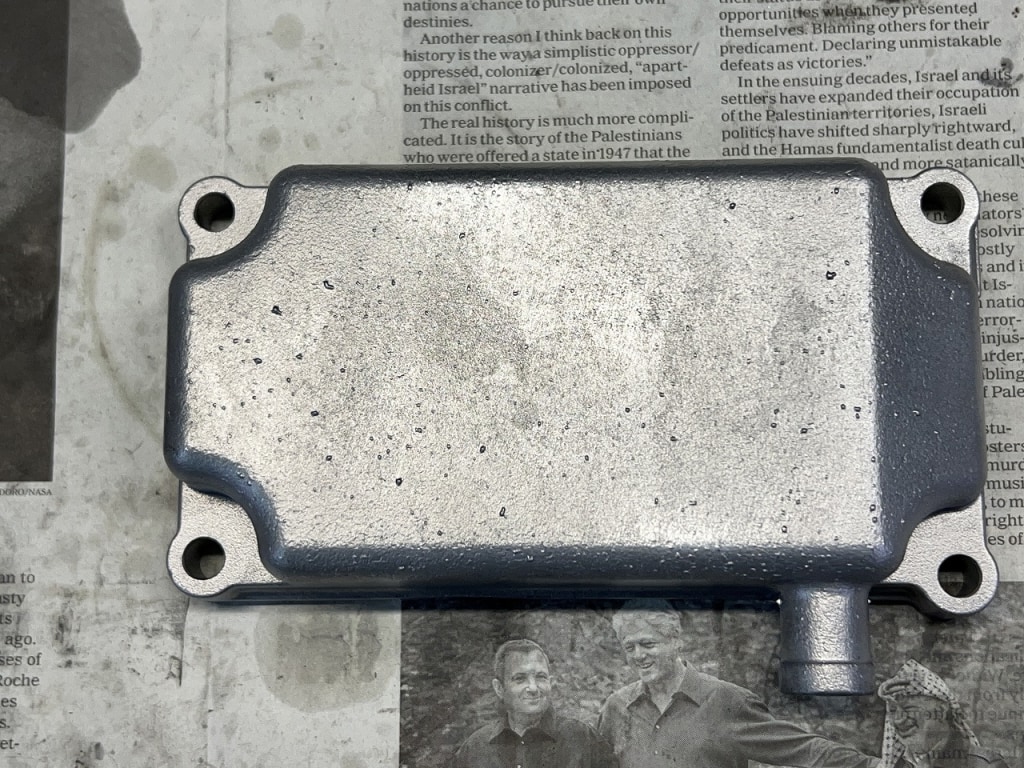
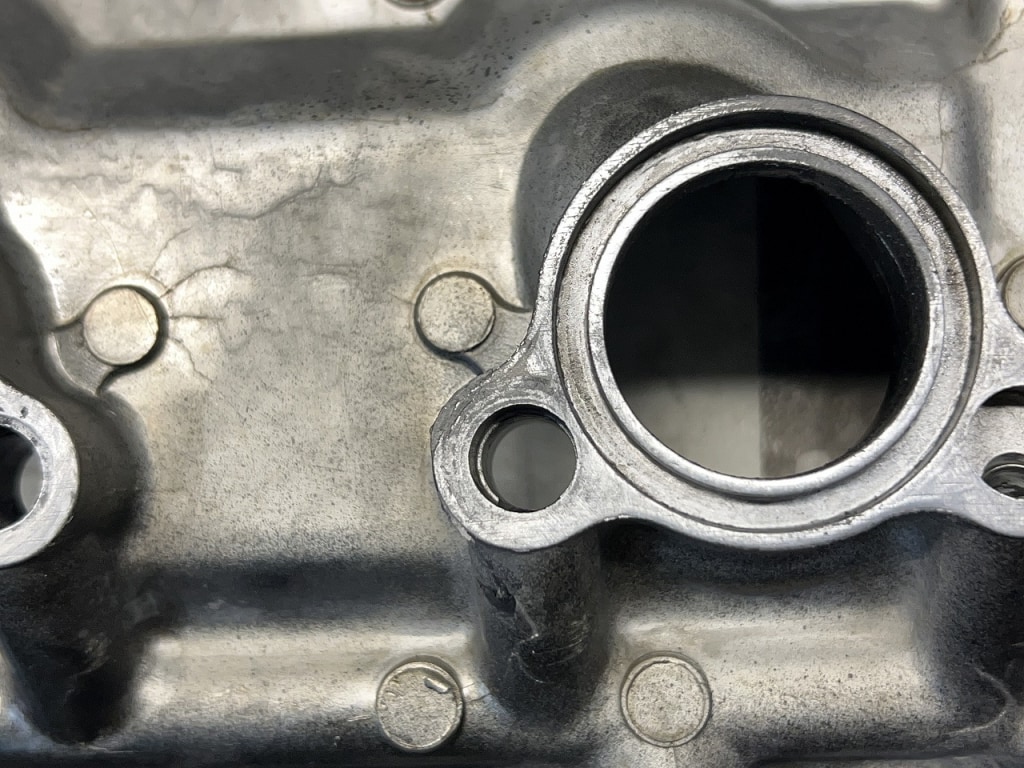
We’re fine this time too! Just don’t apply liquid gasket sealant to the head cover.
Even without applying liquid gasket sealant, if you carefully install the head cover, the head cover gasket won’t fall out. Leaks are basically due to gasket deterioration, so applying sealant doesn’t extend its lifespan.
It might be different if you’re reusing it, but cleanup becomes a hassle later, so we’d prefer you avoid it if possible. *If you’re planning to take care of it forever, applying it is OK.
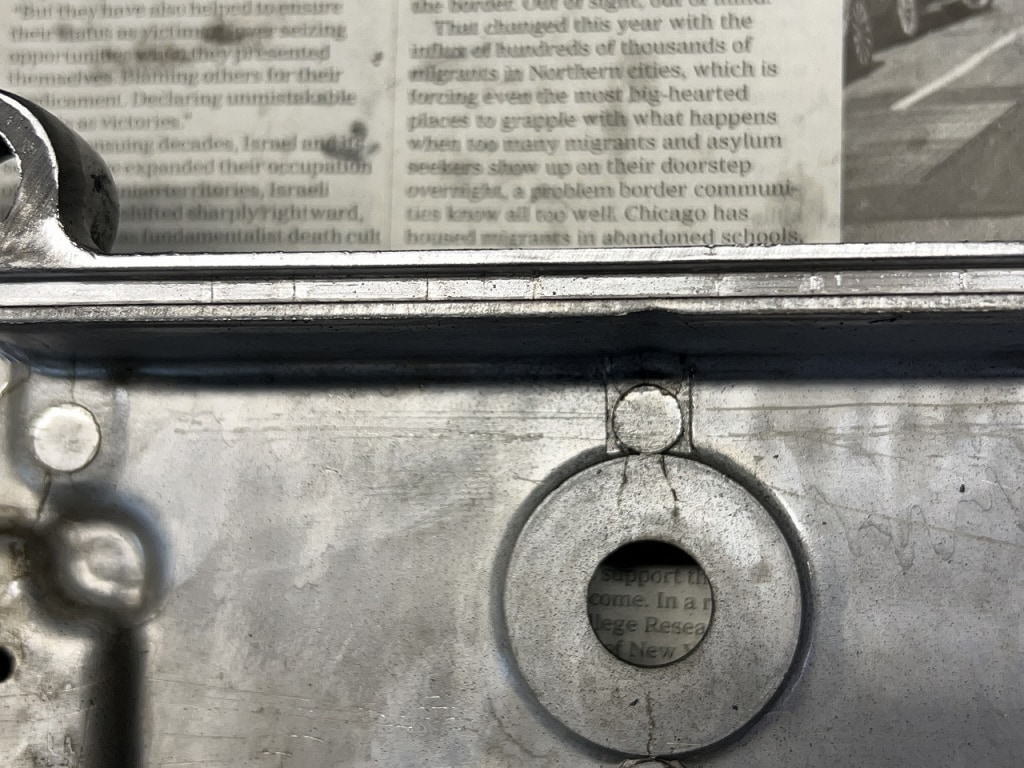
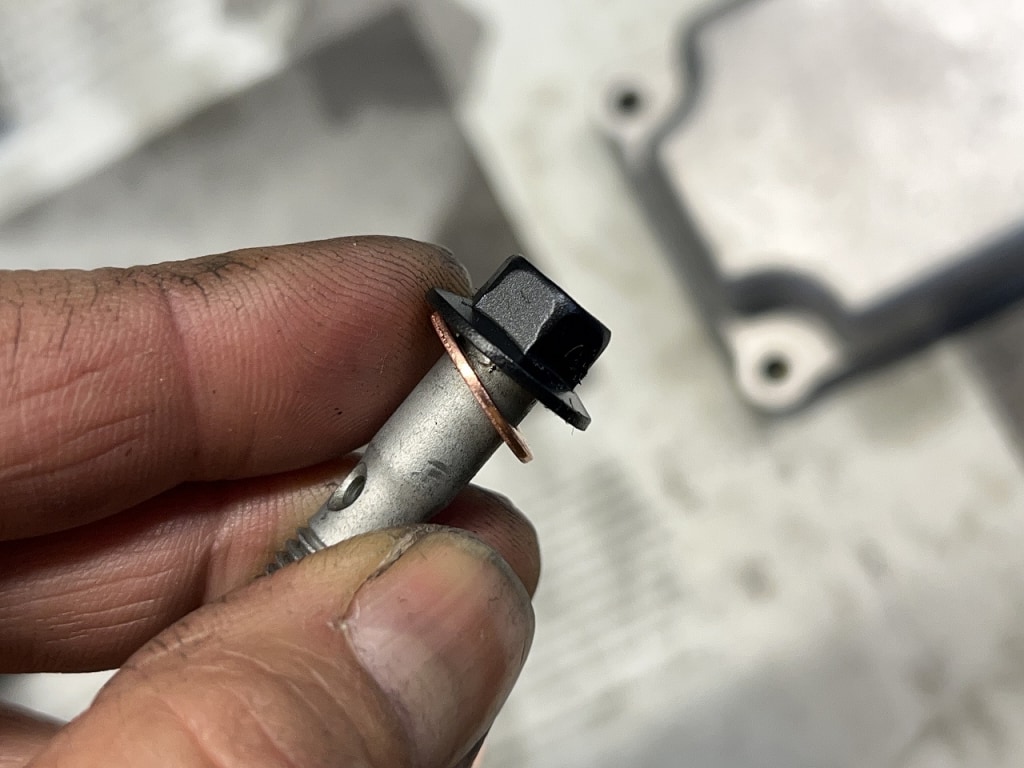
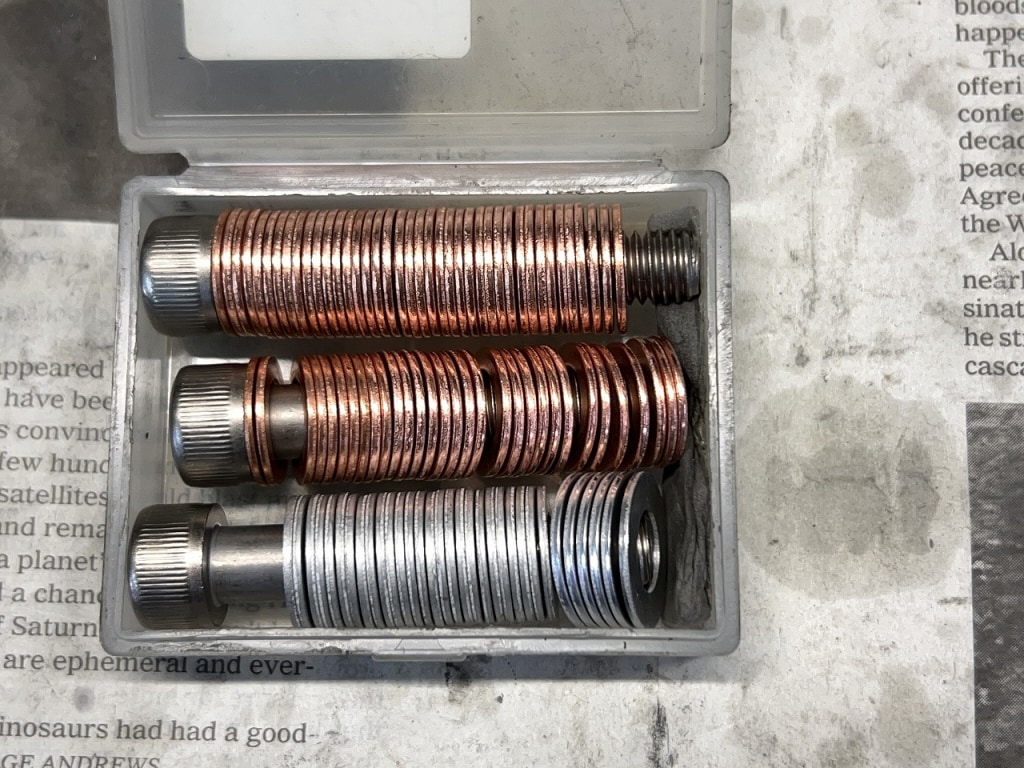
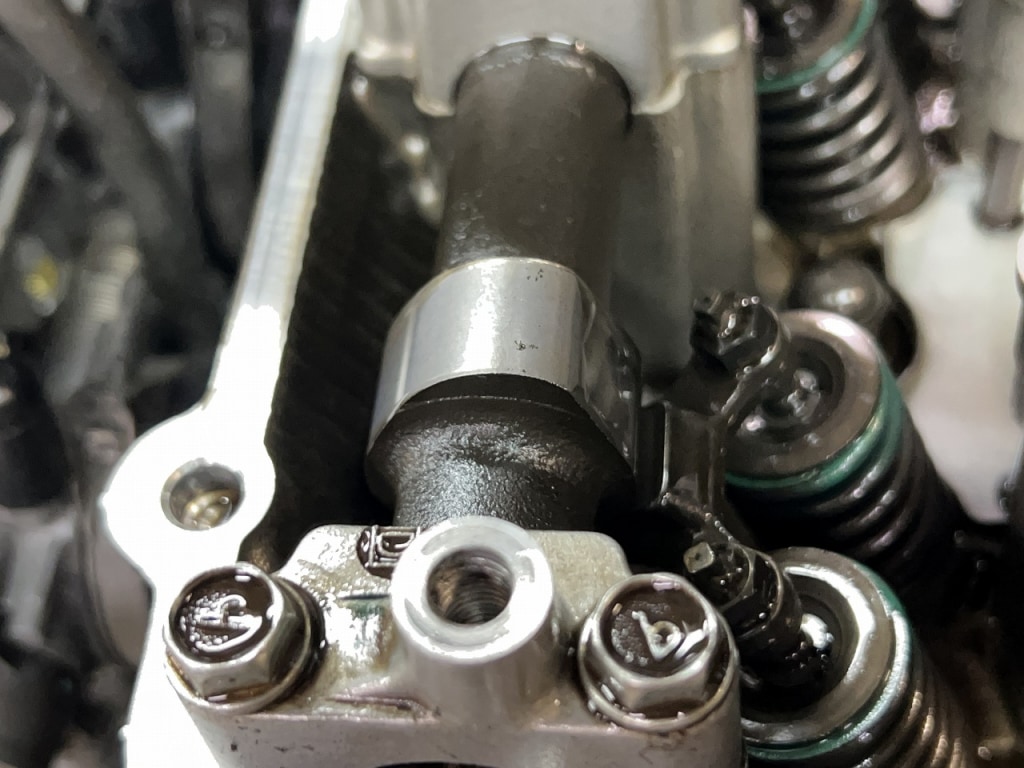
Oil-cooled head cover oil passage copper gasket—pretty nice
The OEM uses a large-diameter aluminum gasket. With this material, the tightening feel is incredibly subtle and honestly unpleasant. Also, since it deforms significantly, it tends to weep later, which is a drawback.
Even with good clamping force, the gasket itself doesn’t deform much, which is nice. Using a copper gasket should solve most weeping issues from this area. It doesn’t cost much, so give it a try. The size is M8, which is commonly available.
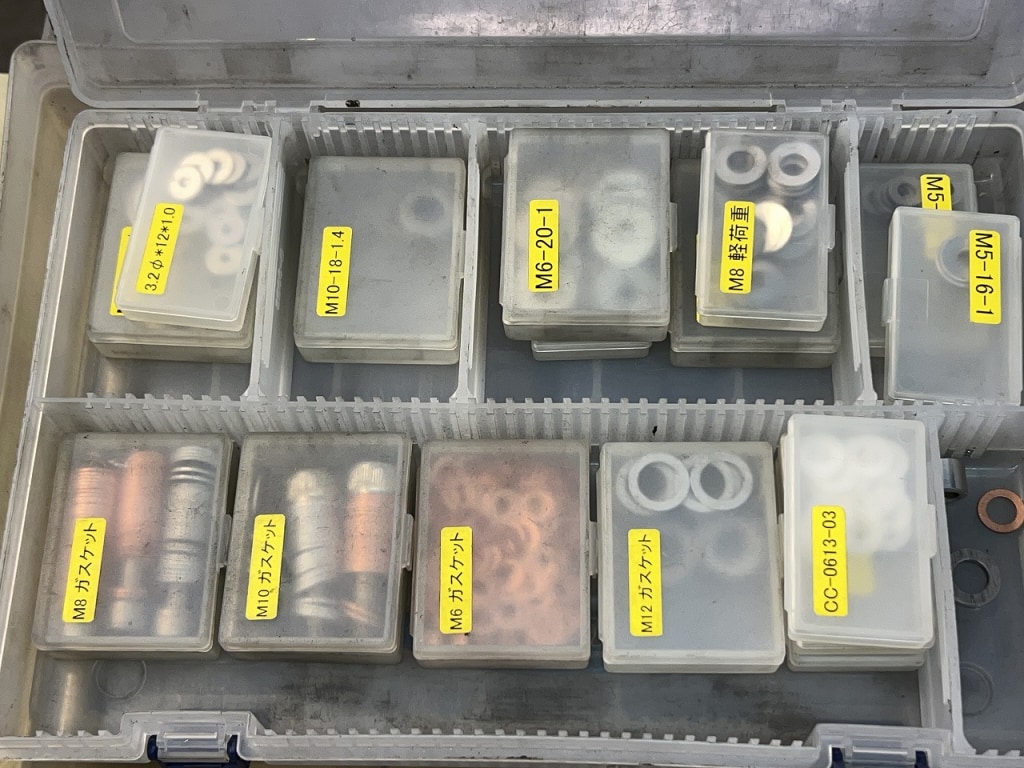
We organize and store gaskets and washers like this since we use them constantly.
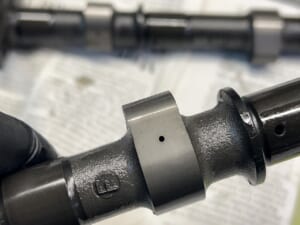
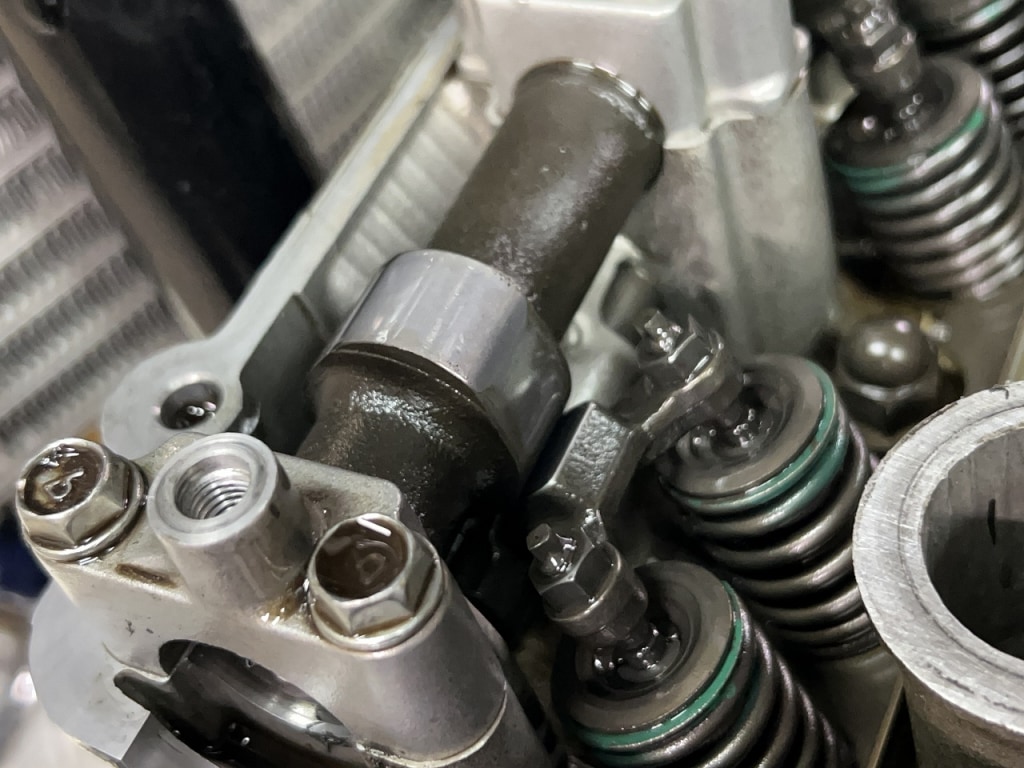
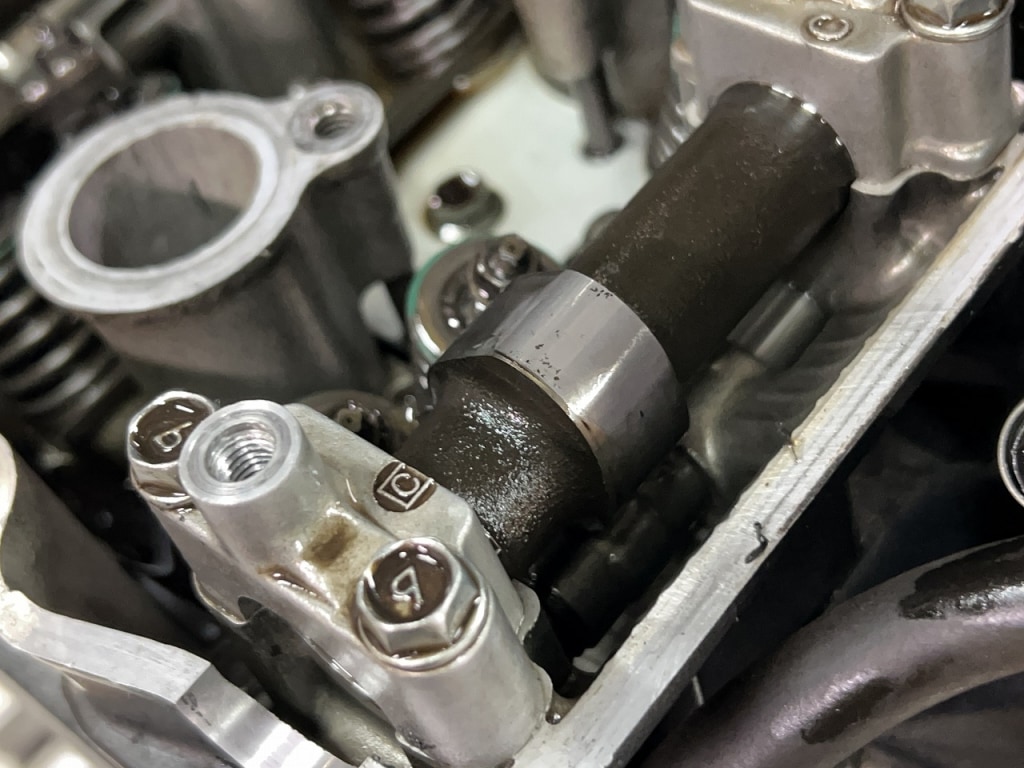
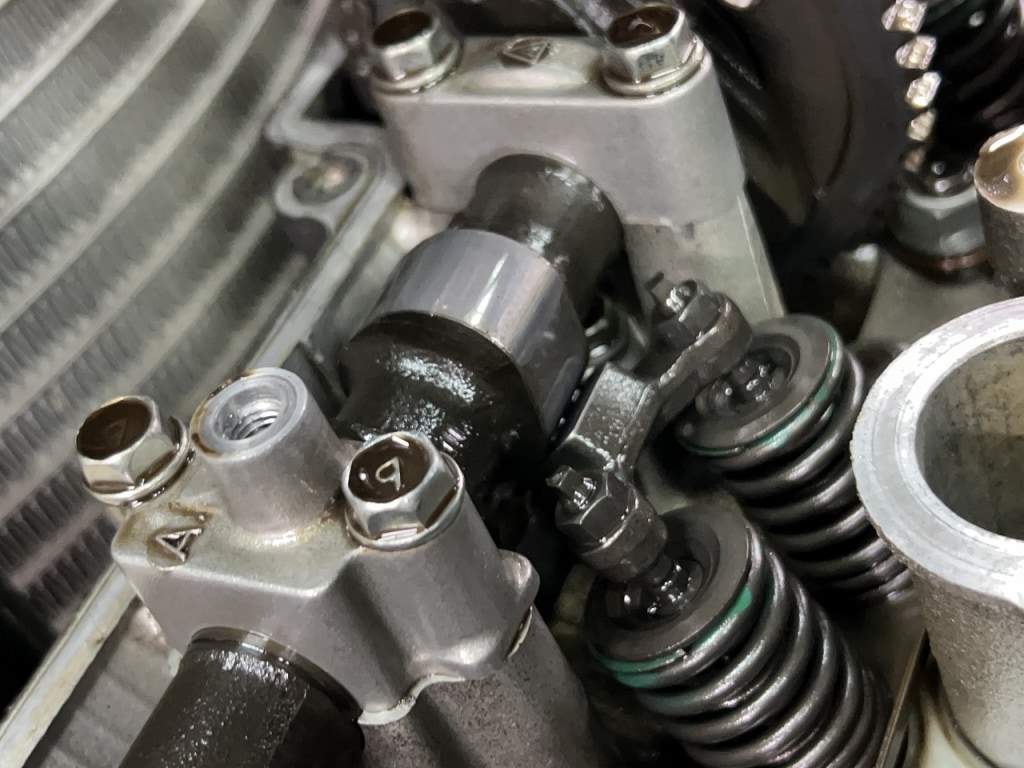
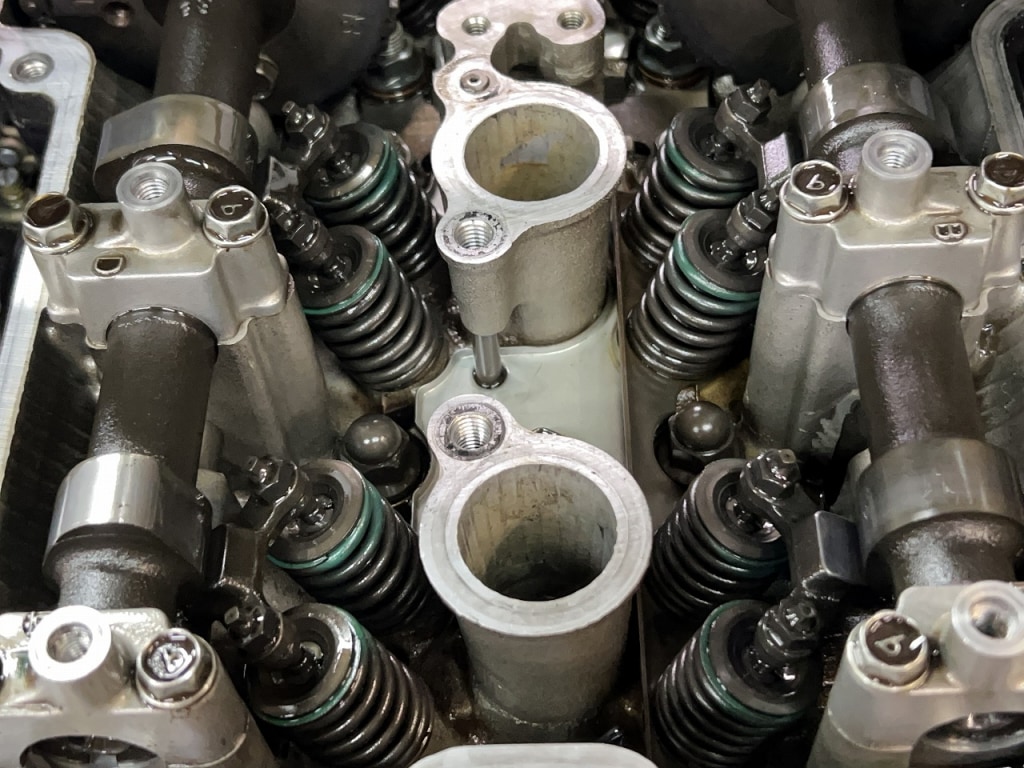
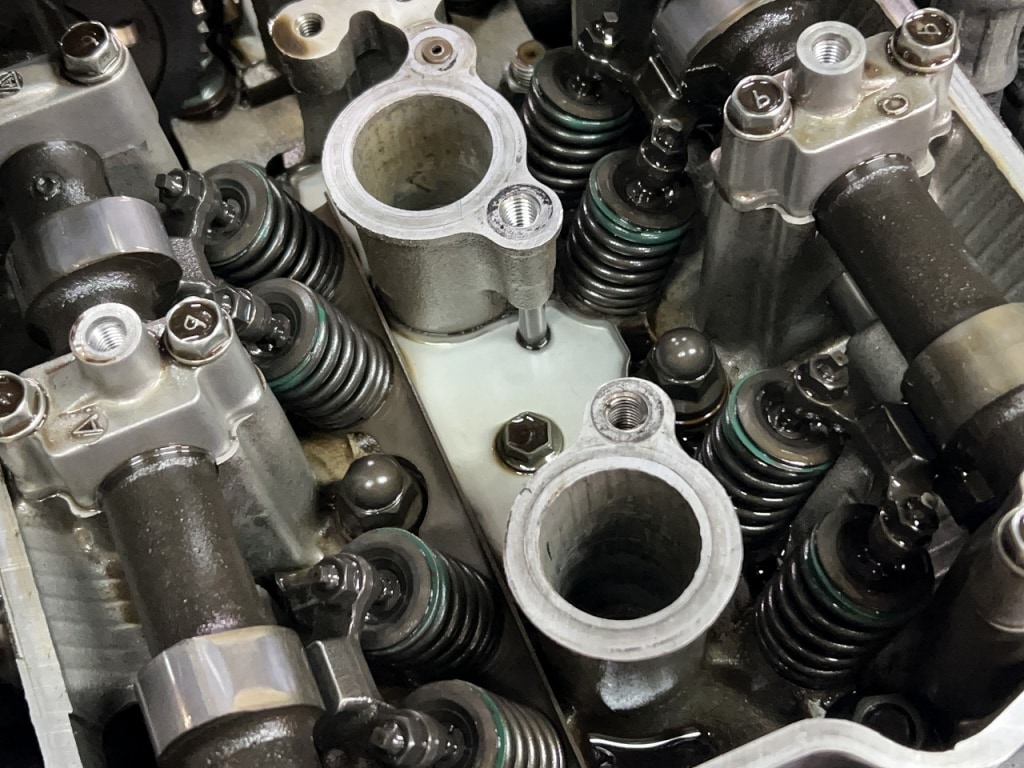
Now we’ll adjust the valve clearance
EX1
EX2
IN2
EX3
IN3
EX4
IN4
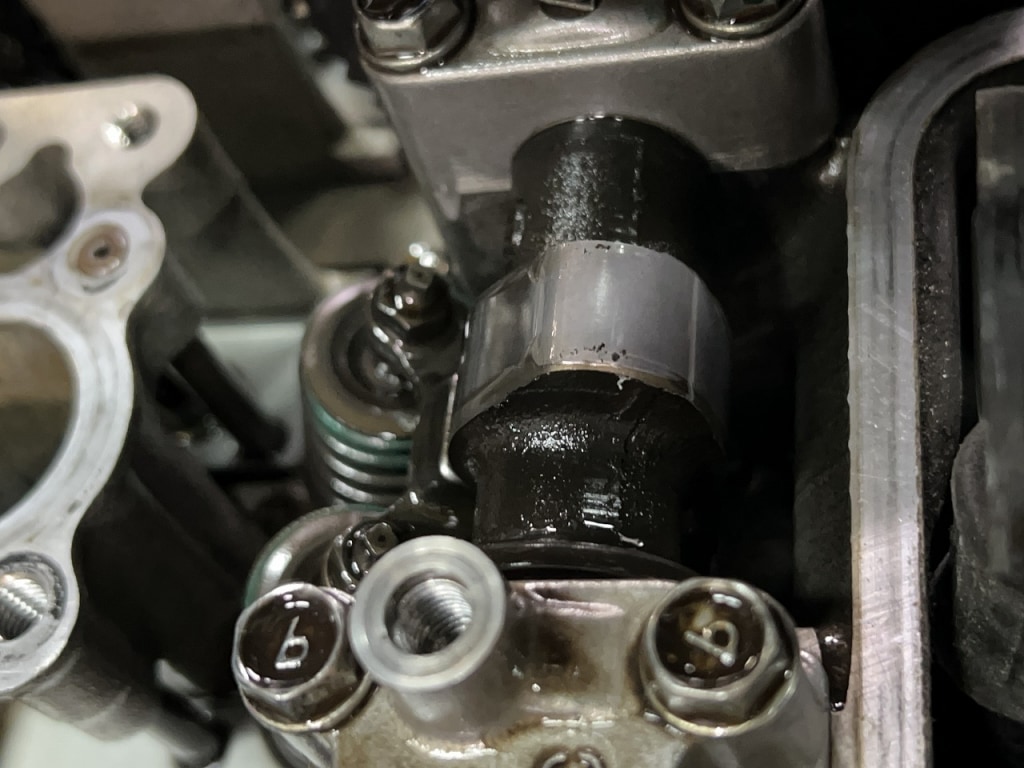
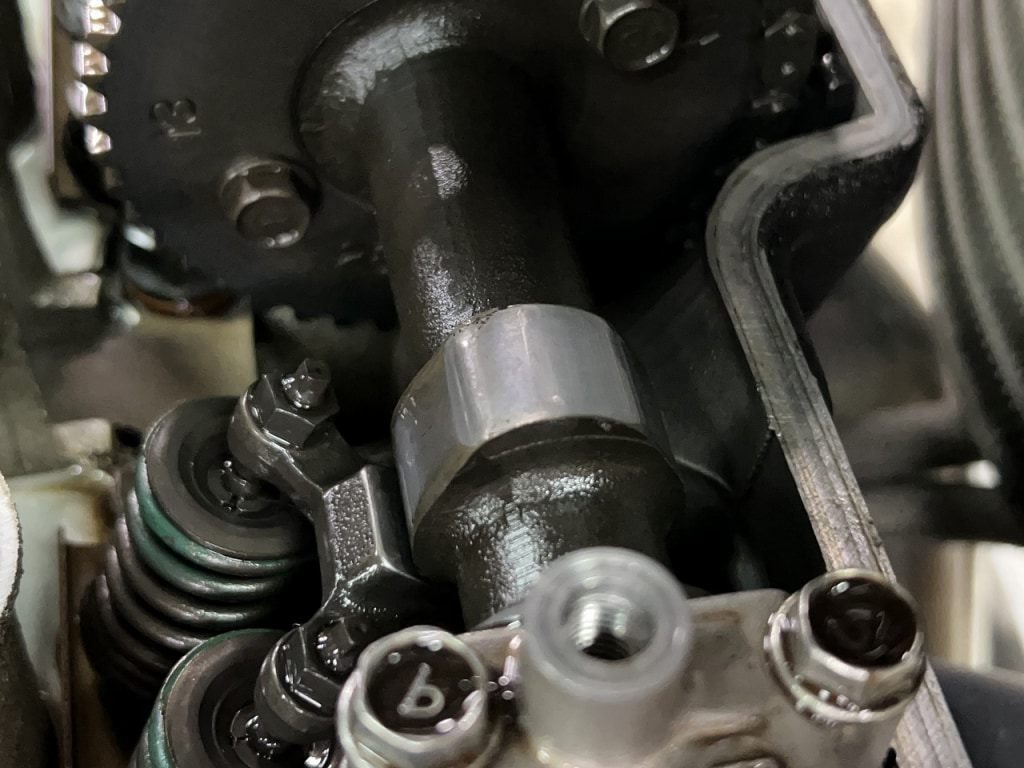
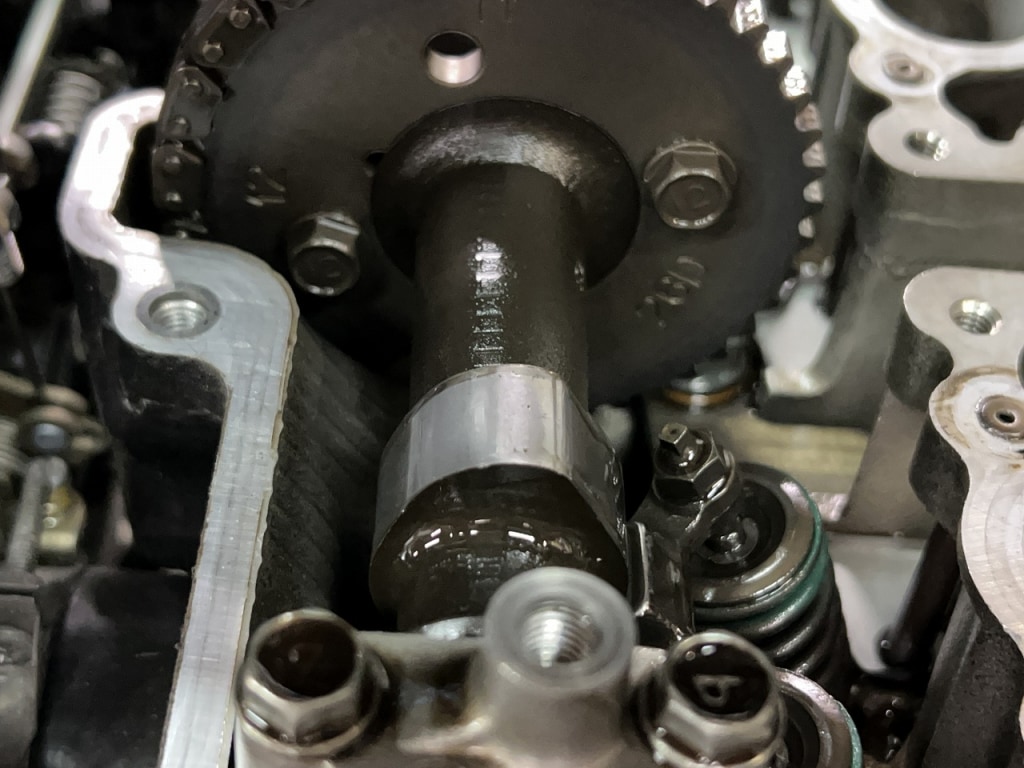
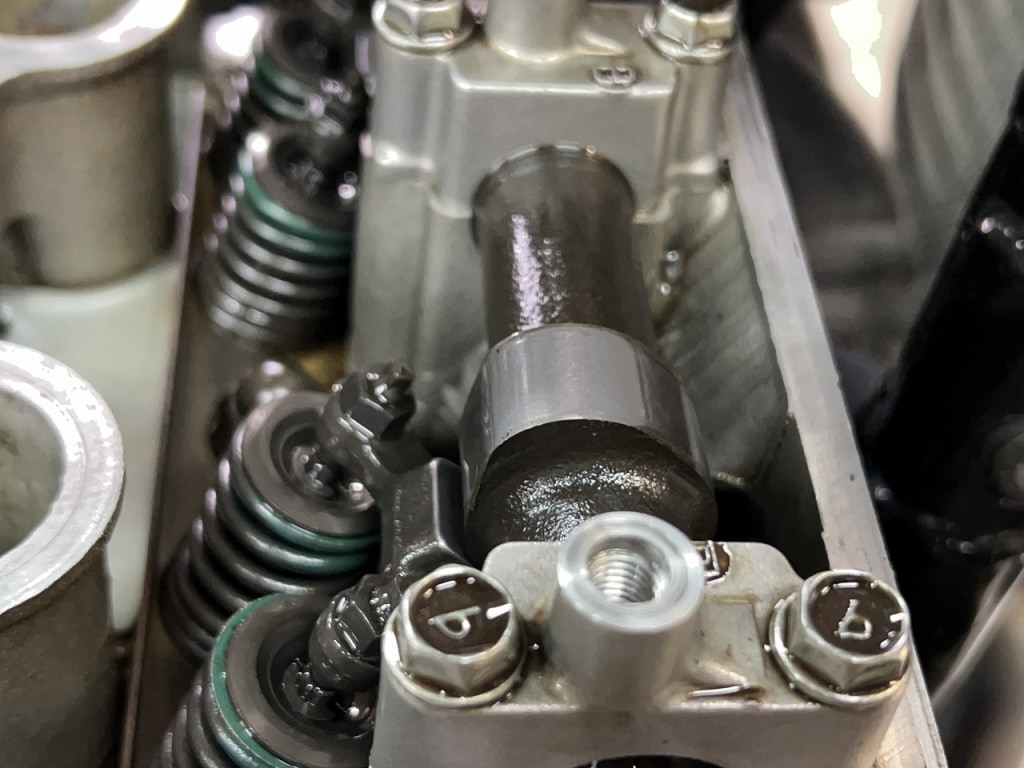
Basically it was in good condition, but there’s some scuffing on the intake side. We readjusted all the valve clearances.
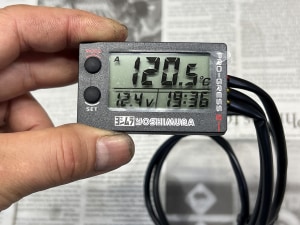
The oil temperature and oil management were well maintained, so it was in great condition. The cam chain didn’t need adjustment either. *It’s basically automatic, but sometimes fine-tuning is needed.
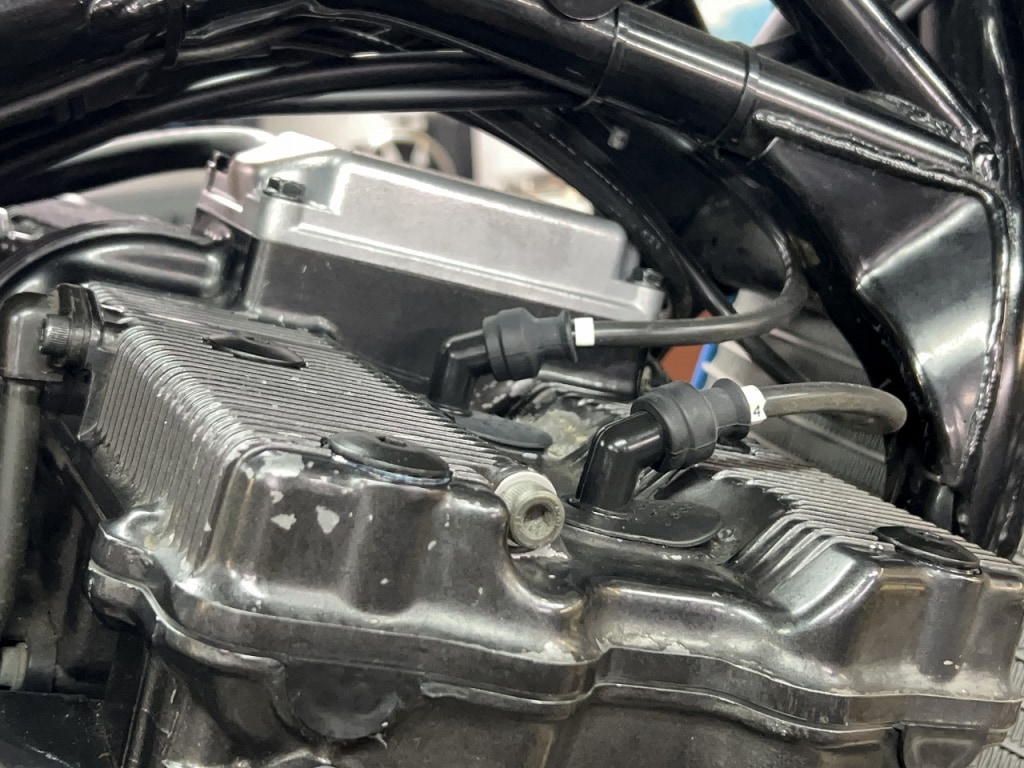
The head cover is capped and complete.
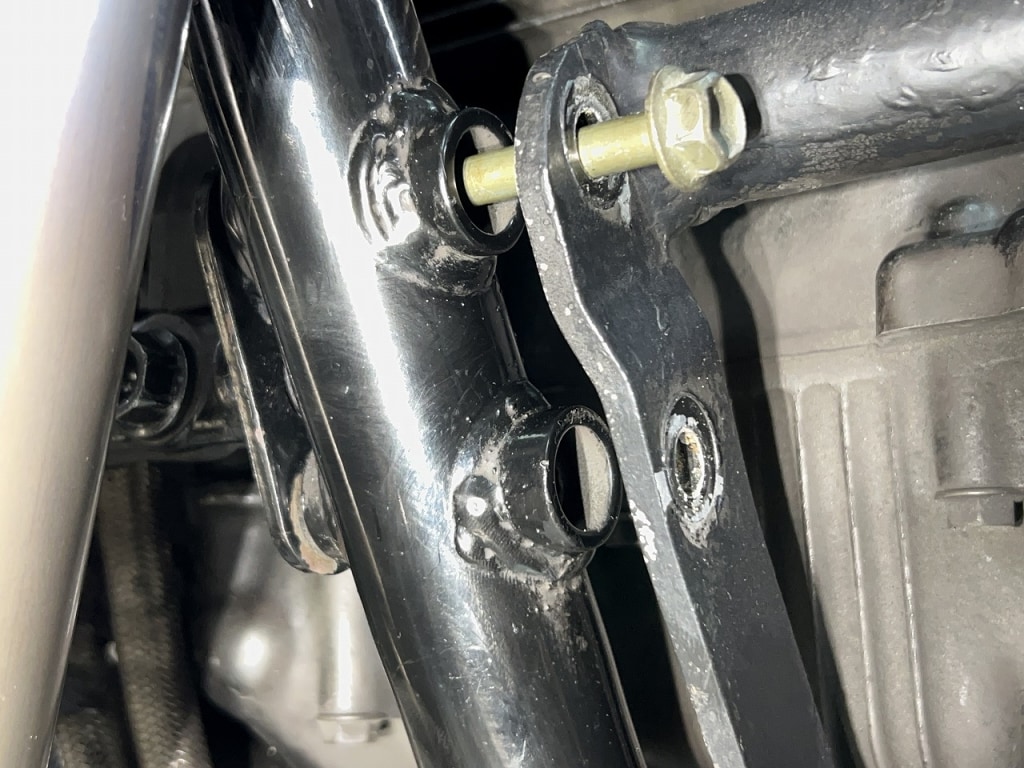
Don’t use the gold metal engine guard as-is
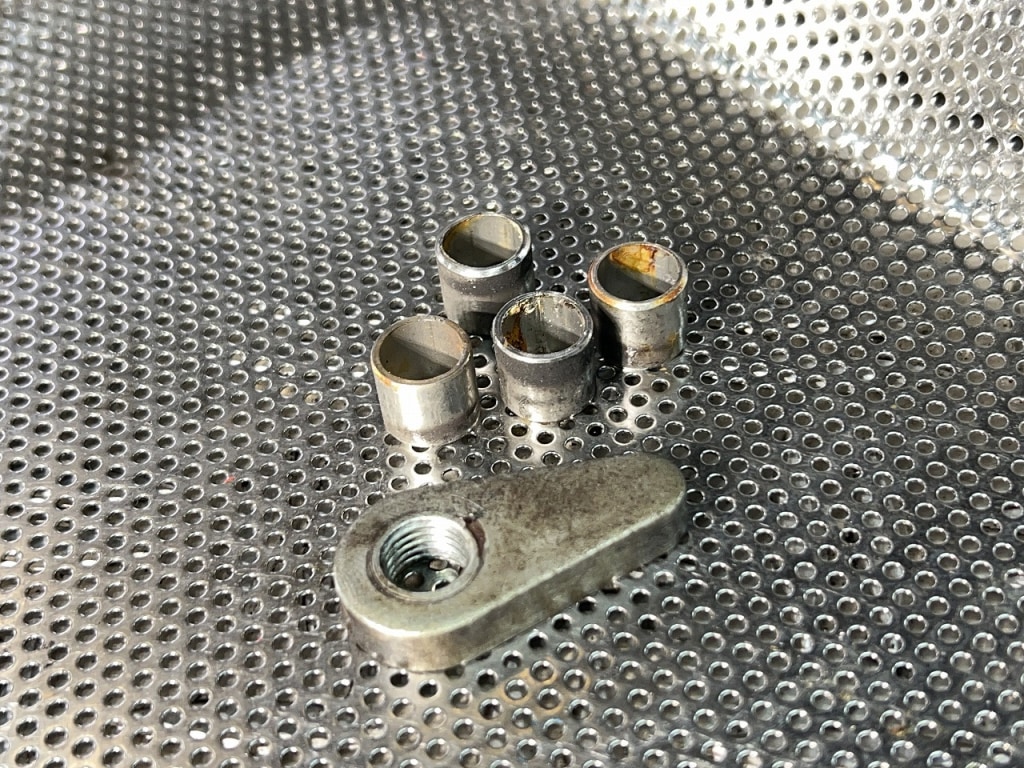
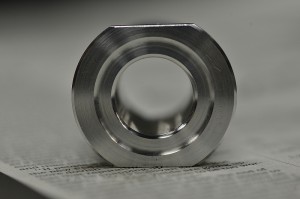
The included spacer is incredibly sloppy, so the engine doesn’t mount securely.
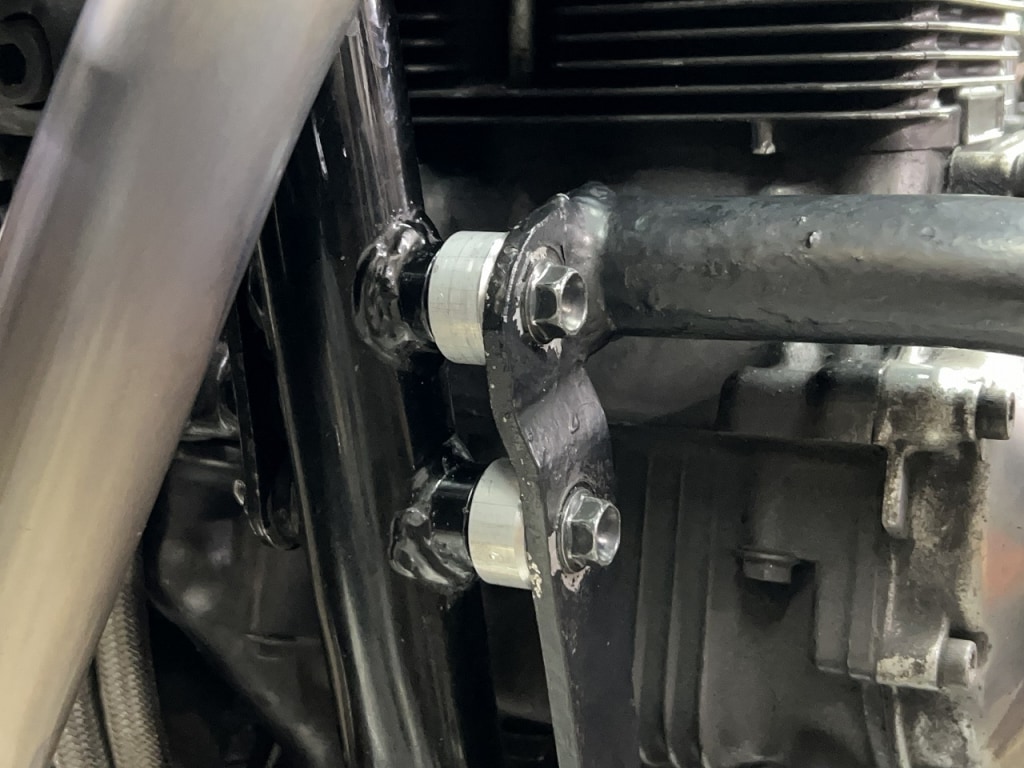
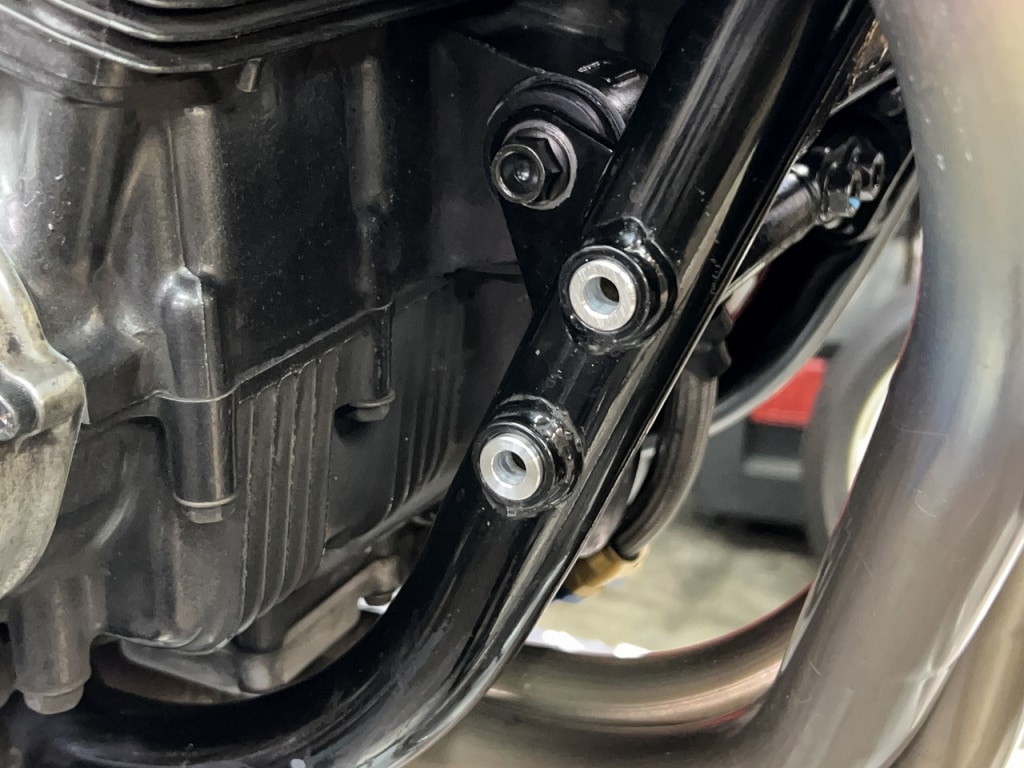
Even with proper tightening, the soft aluminum on the engine guard side gets gouged and it gradually loosens. I think it feels better to have a solid, flush fit for secure mounting.
The left and right dimensions are quite different. Well, that’s unavoidable with field fitting.
We remade it with dimensions that don’t stress the engine guard.
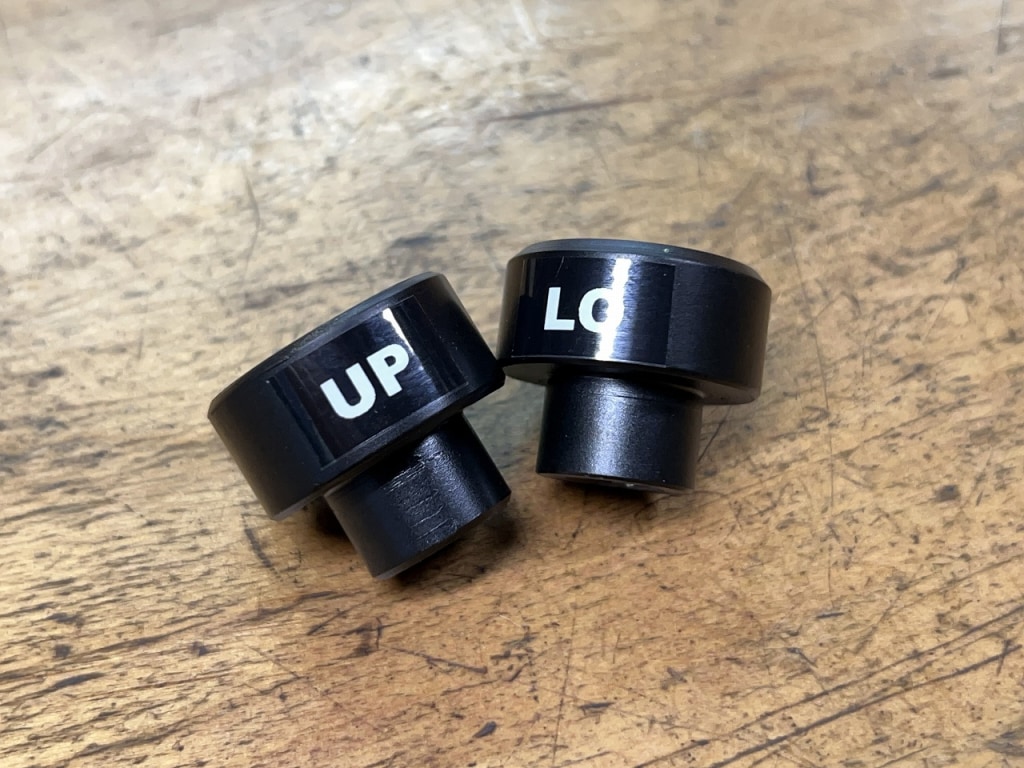
Since the top and bottom are 1 millimeter different, we marked them with P-touch so there’s no mistake. *Having a P-touch is useful for all sorts of things, so definitely get one (*´ω`*)
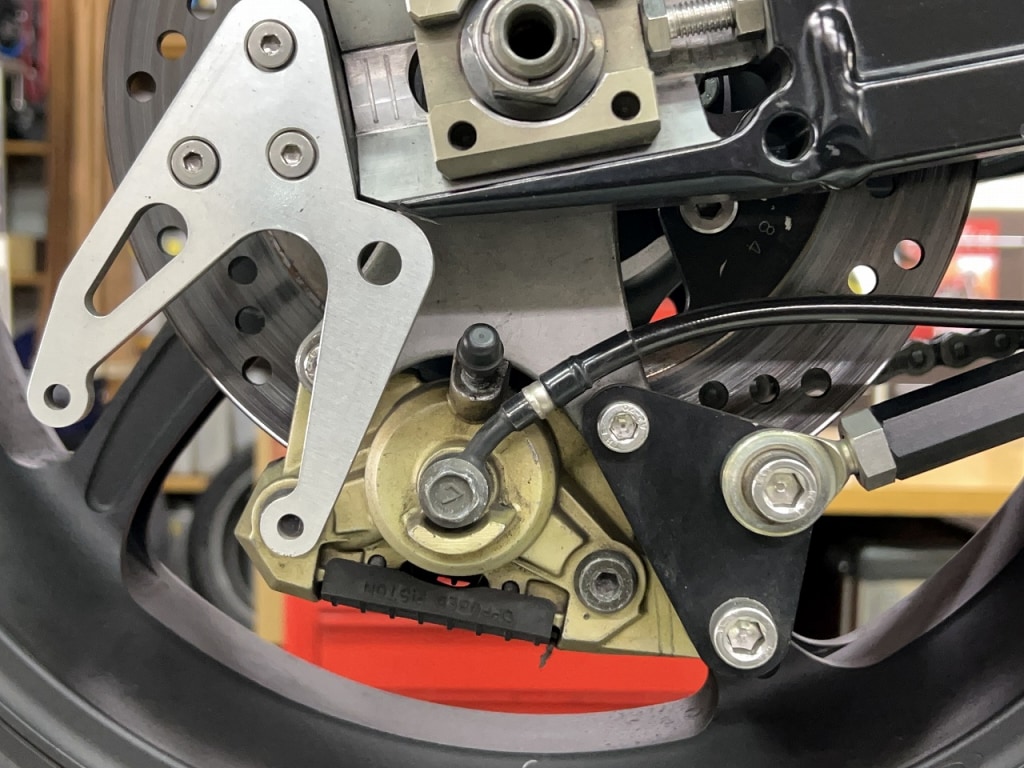
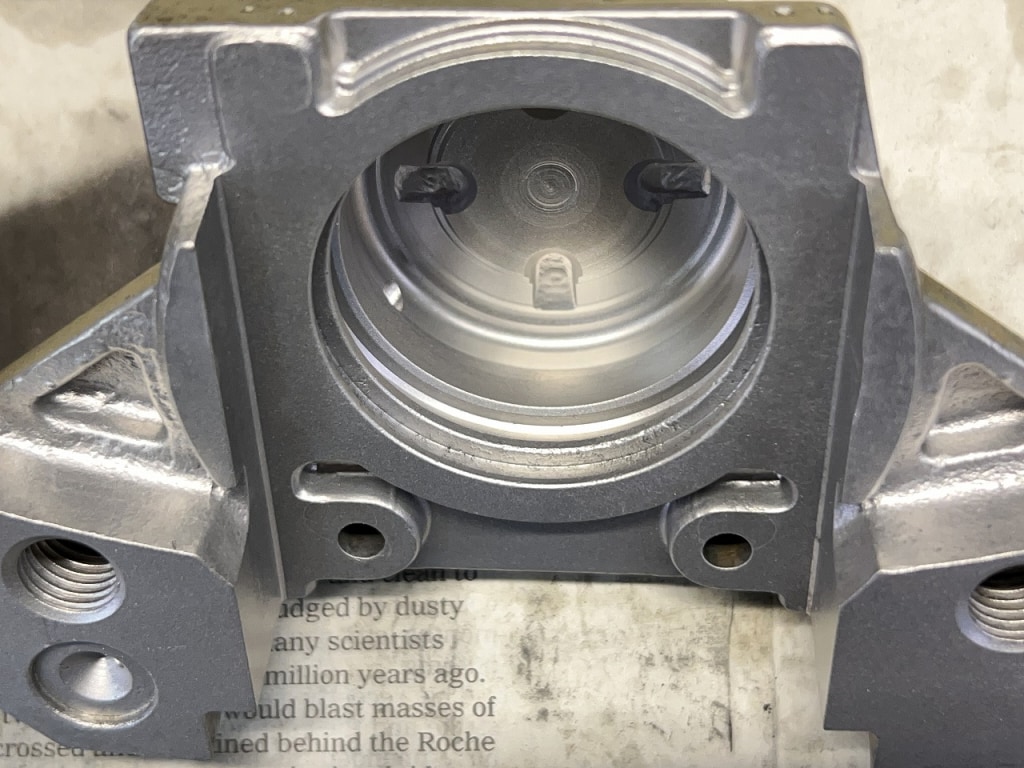
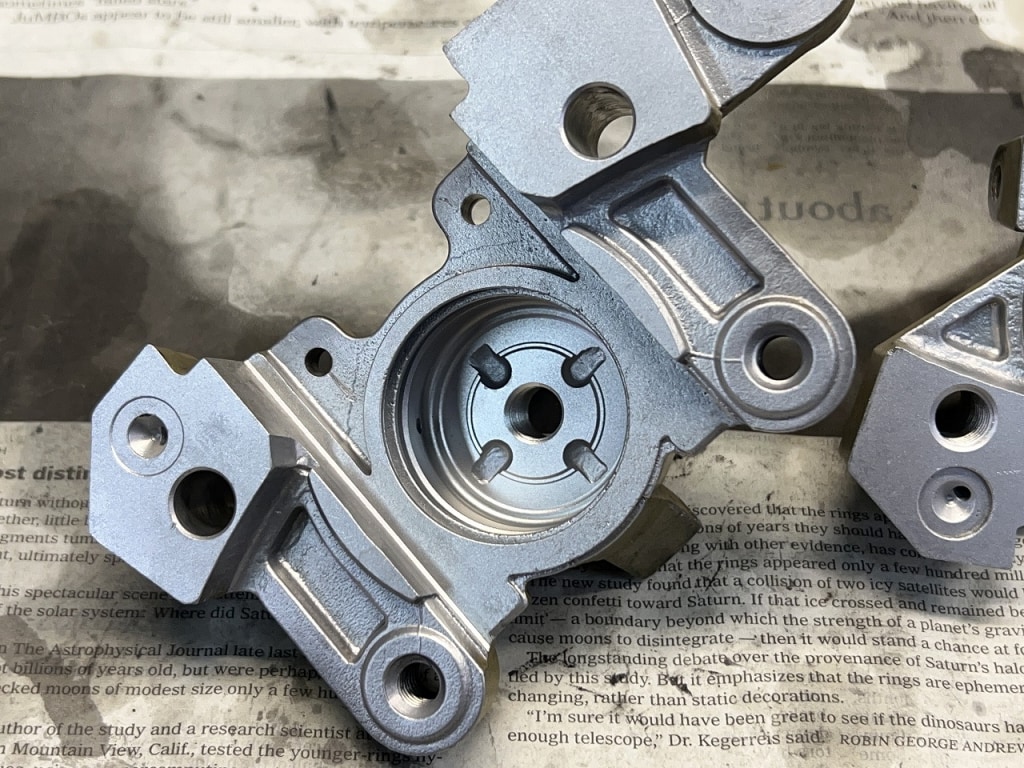
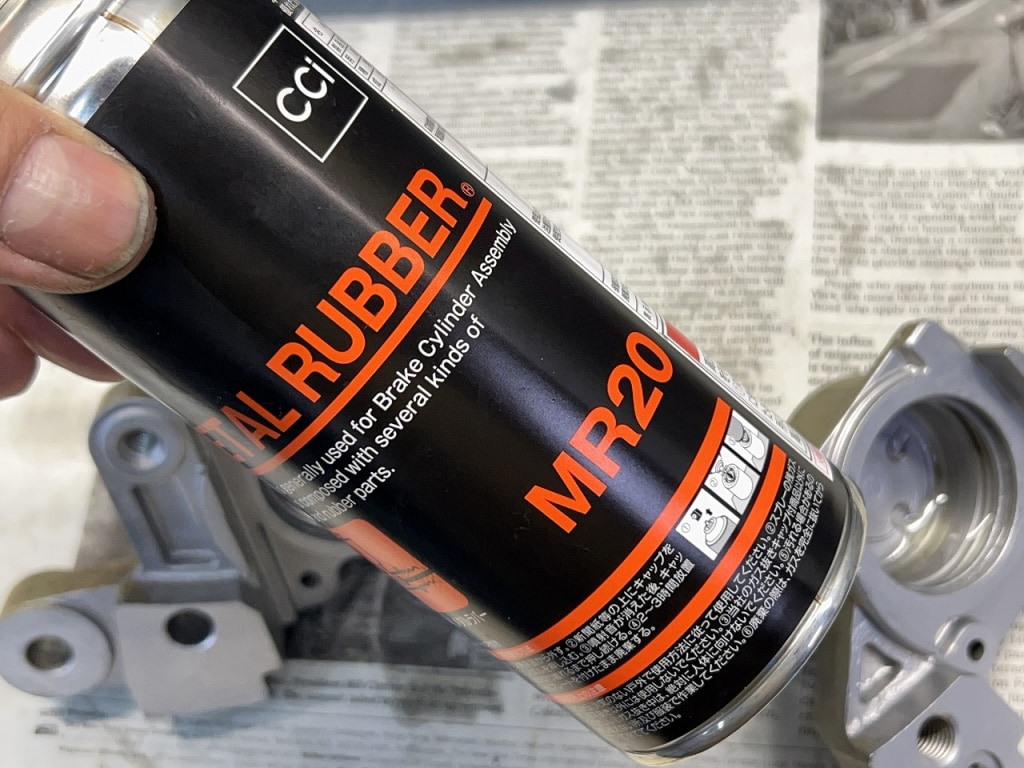
Everyone’s favorite—we’ll overhaul the Tokico caliper.
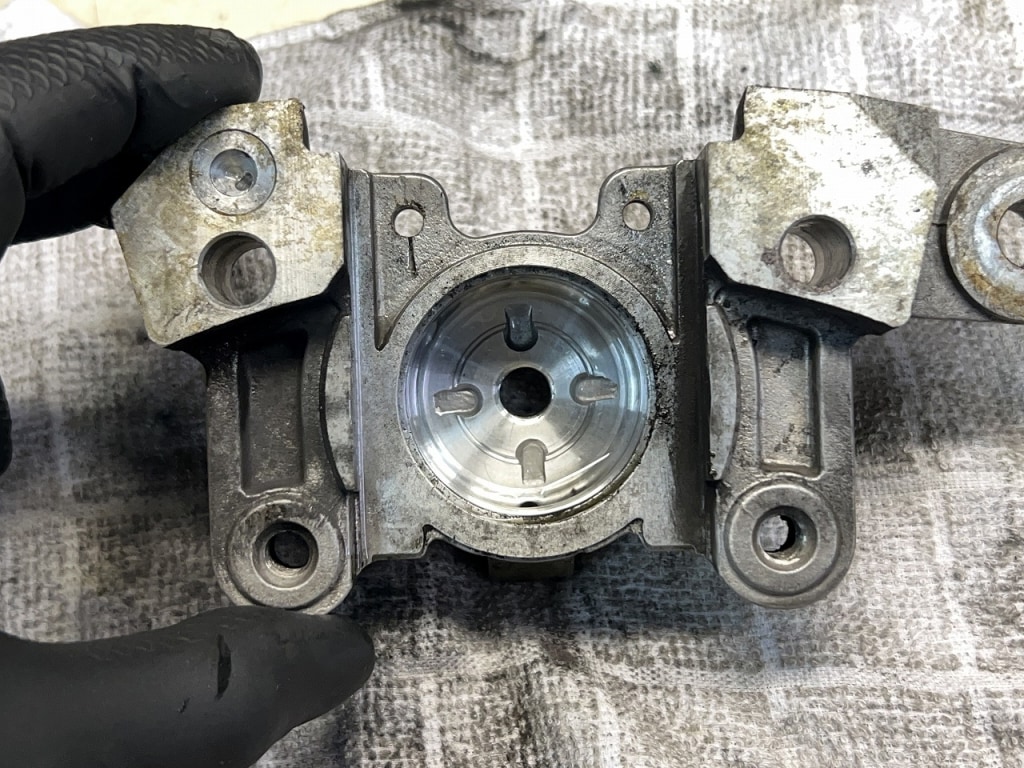
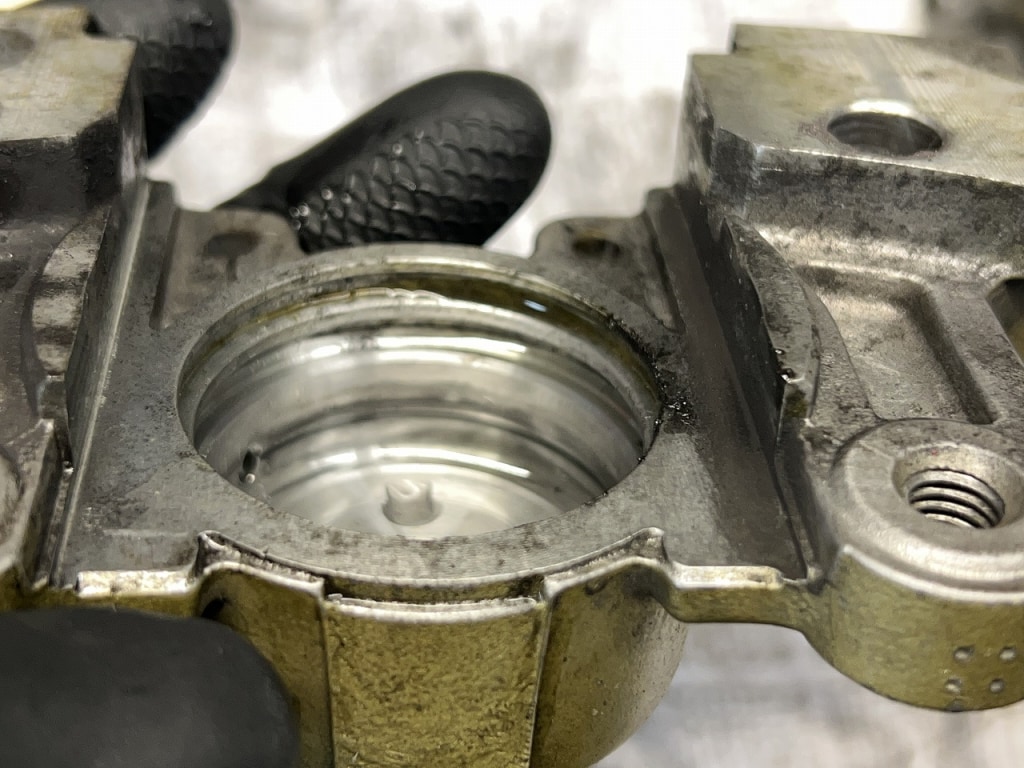
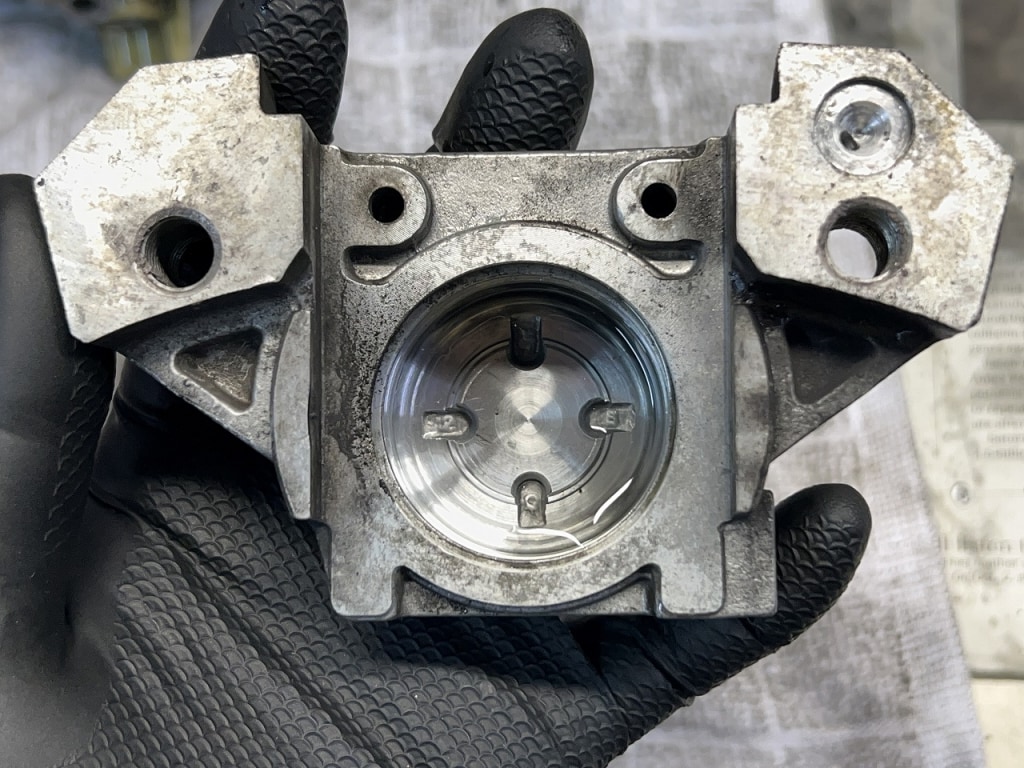
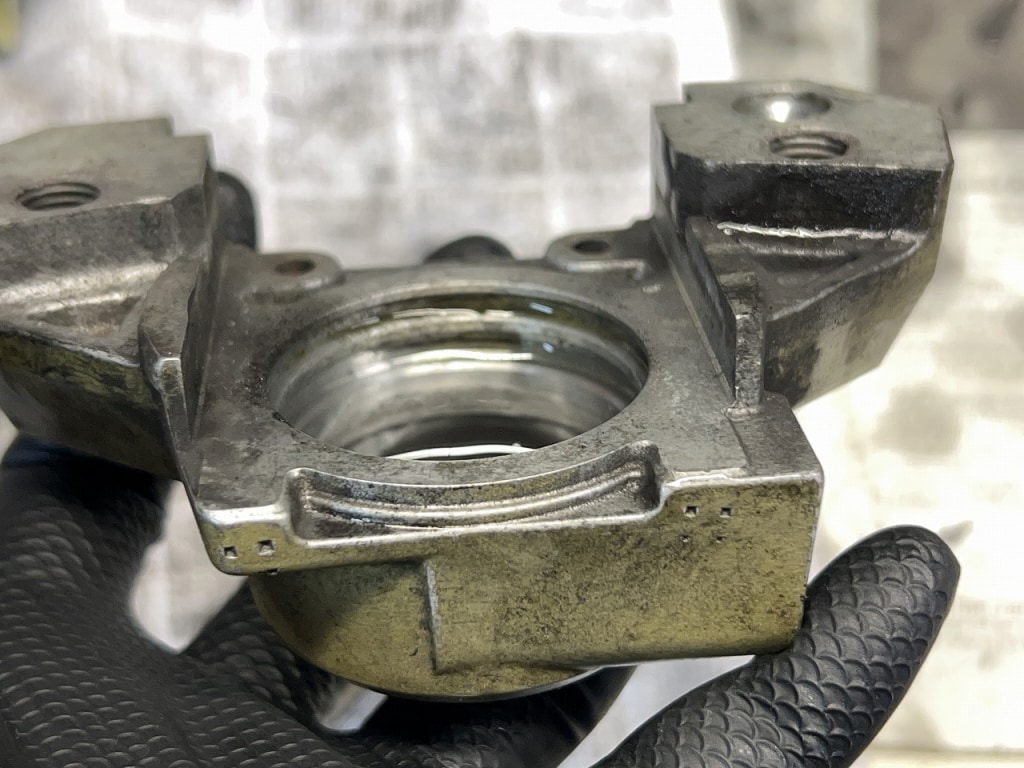
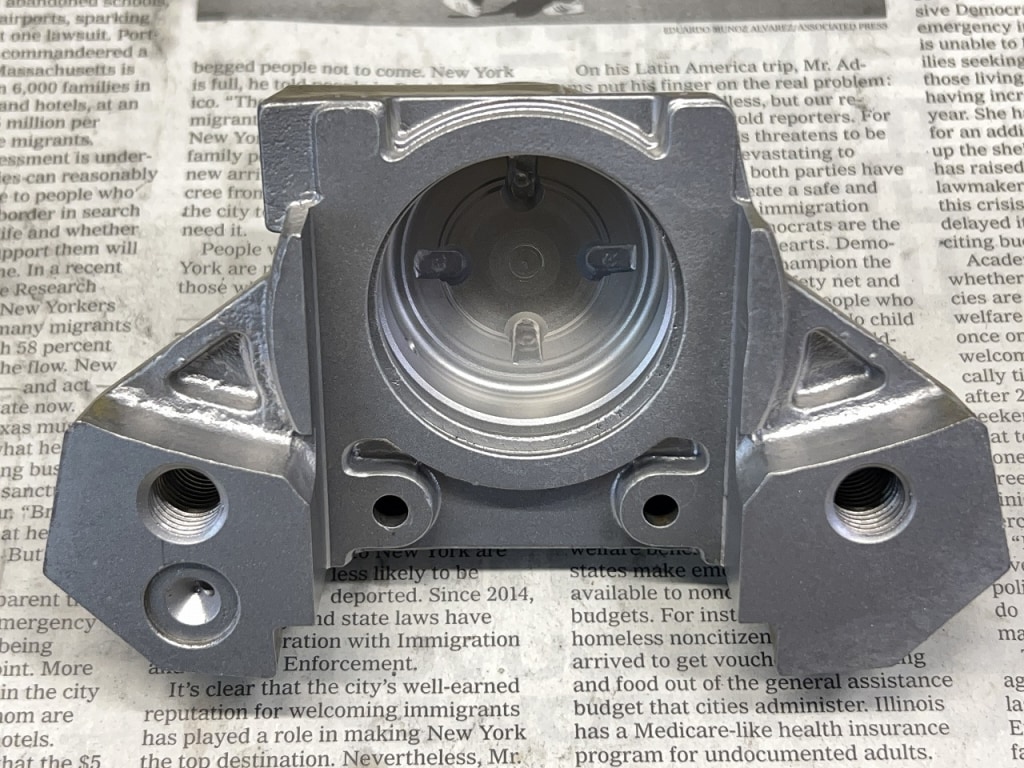
The caliper is in excellent condition. It’s rare to see the grooves this clean.
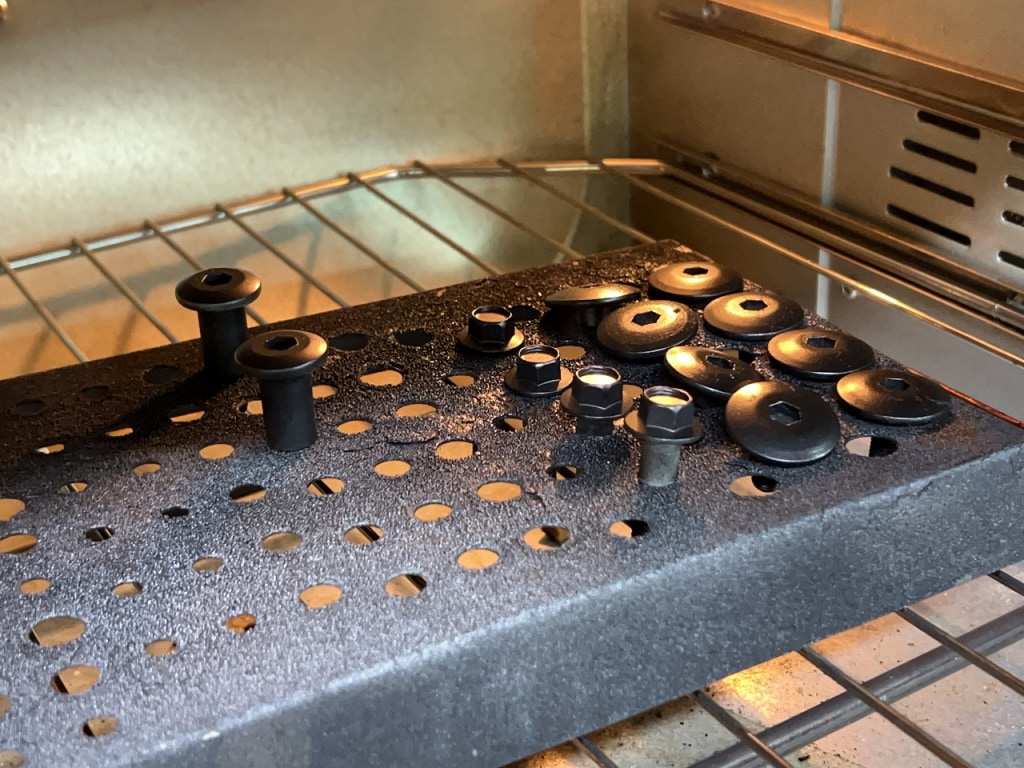
We’ll finish it up nicely with wet blasting and dry it before reassembling.
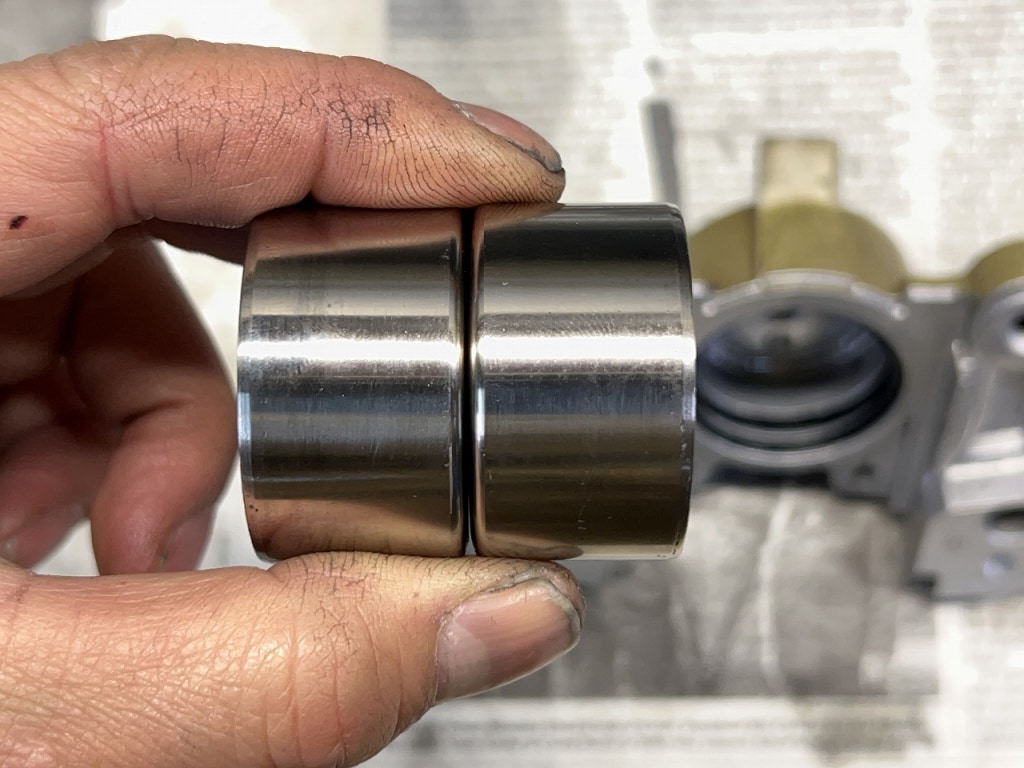
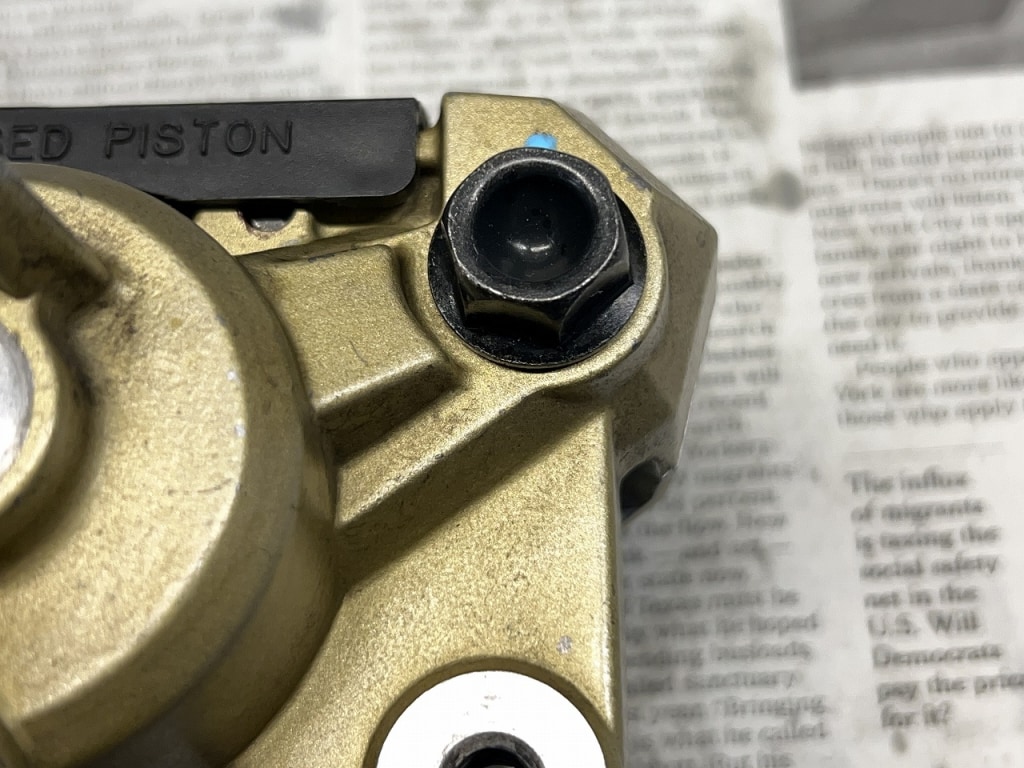
The piston was in good condition, so we reused it. Suzuki caliper split bolts run about 500 yen each. If you use Honda OEM bolts, you can get them for about 70 yen and they hold securely. You can use the savings for caliper pins, springs, and other parts. *Size is 10×45, Honda 96300-10045-07
We don’t do maintenance just to save money; by managing costs smartly while covering everything else, the bike ends up in better shape overall.
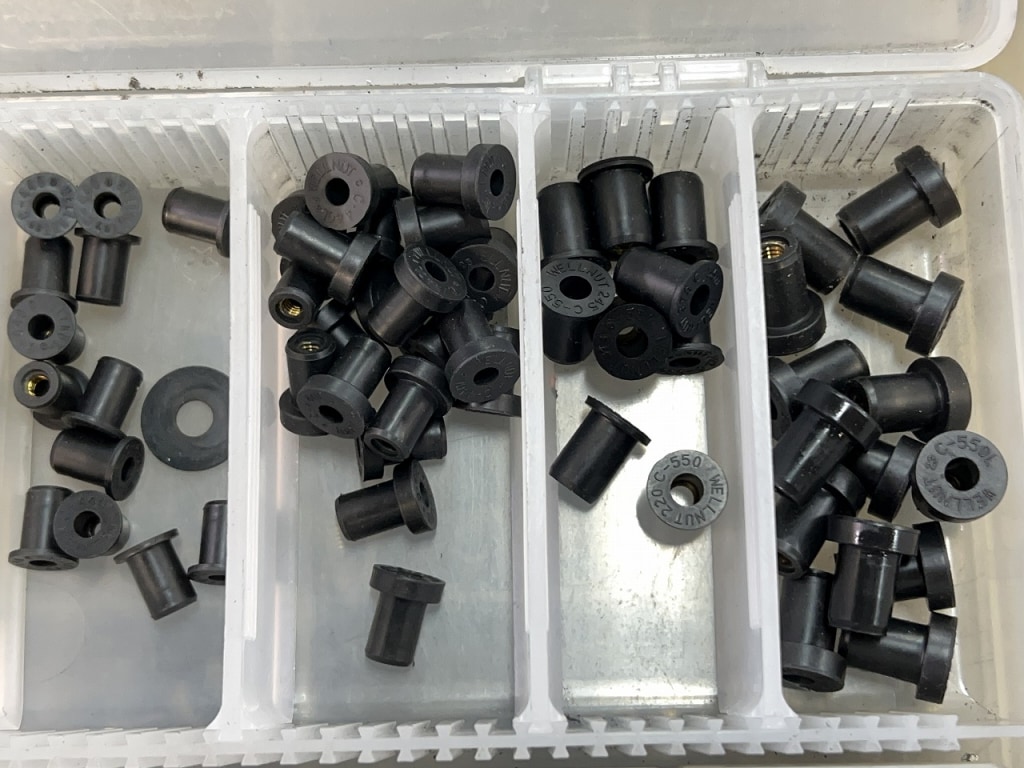
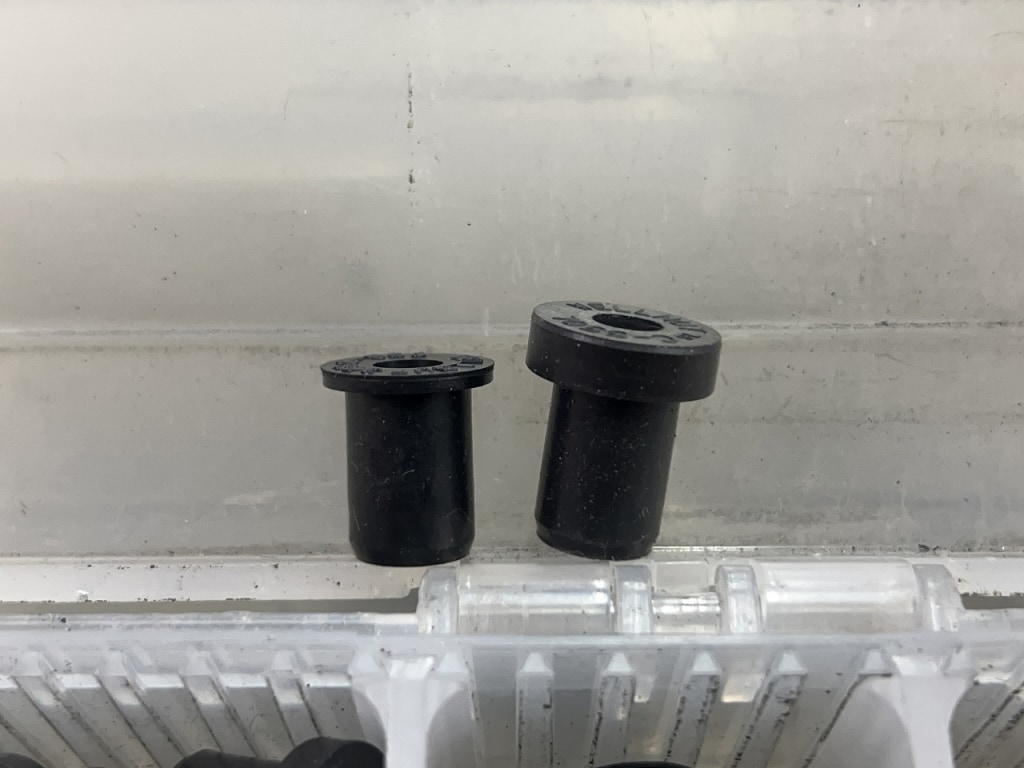
We usually stock M4 and M5 well nuts since we use them often. Two types: thin and thick. We tried the thicker one first and took it for a test ride, but there wasn’t much change.
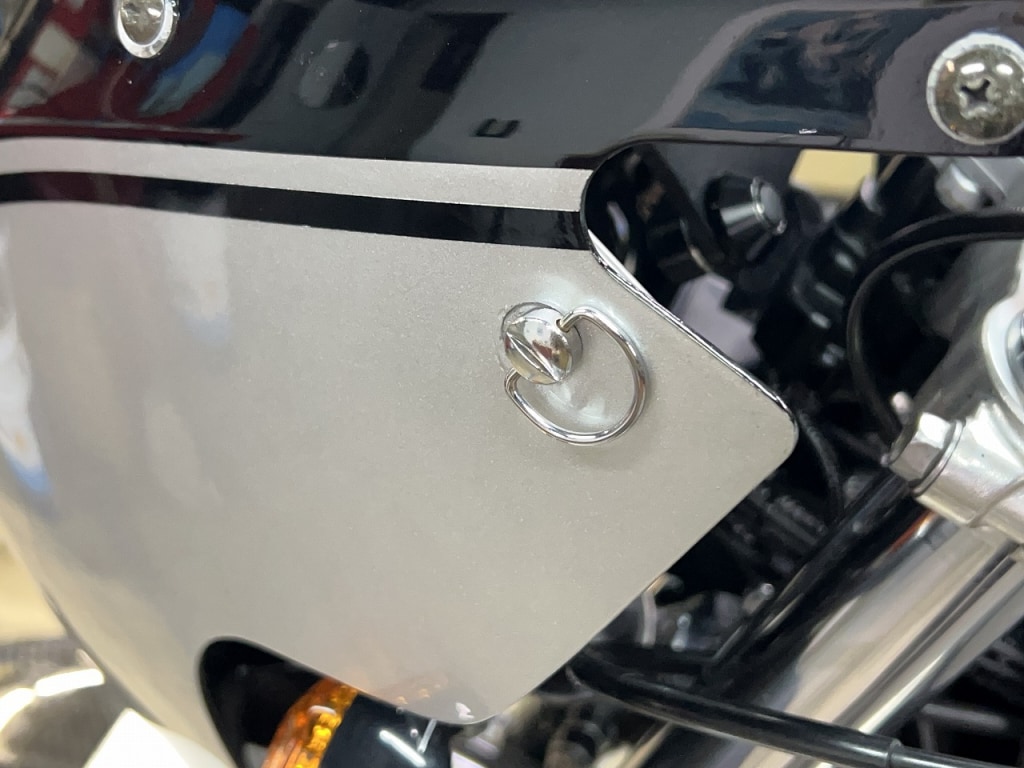
And one more! We converted it to quick fasteners with a temporary fit, but there wasn’t a big effect.
To eliminate this vibration noise, we’d need a more fundamental fix,
and the results would be pretty uncertain, so we put it on hold for now.
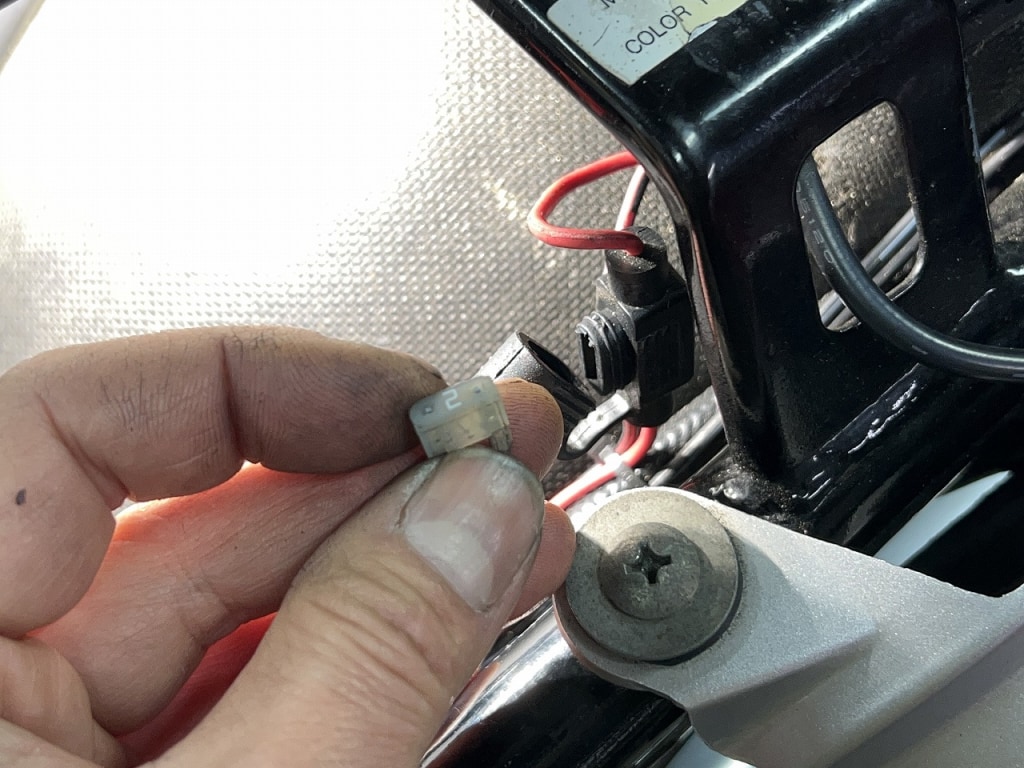
The heated jacket fuse had blown, so that’s why it wasn’t working. I haven’t read the manual, so I’m not sure, but isn’t 2 amps pretty small??
We didn’t have the same 2-amp fuse in stock, so we’re ordering one now. Anyway, it’s complete.



 ポチップ
ポチップ