Z1000R1 Flat-Rate Motorcycle Inspection, Carburettor Maintenance, Self-Point Maintenance, MOSFET Regulator, and more on the job.
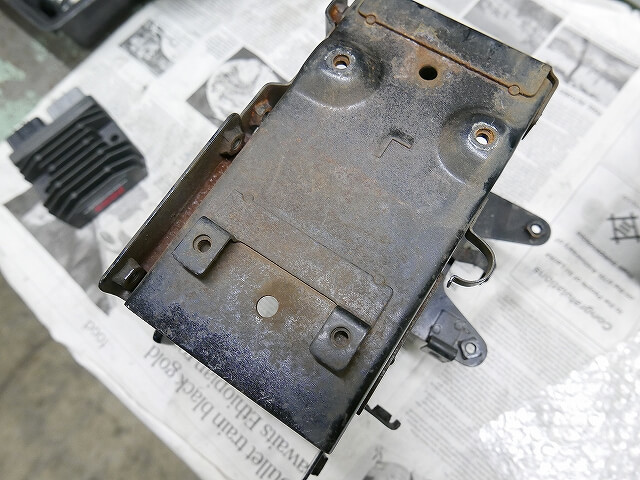
The regulator sits under the battery case—not the best location, but it seems there’s no other option.
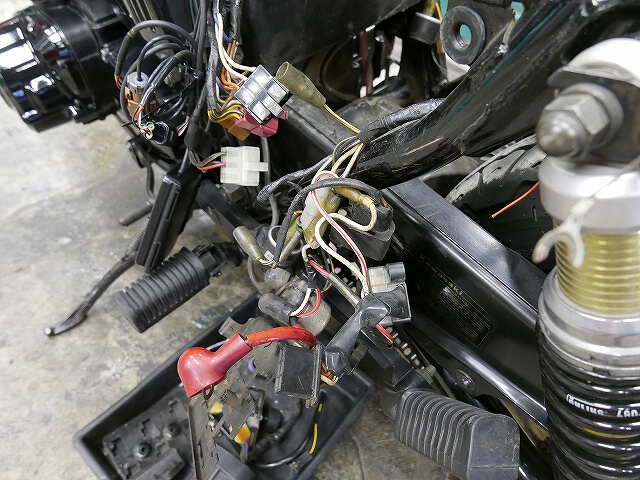
I had a bit of trouble figuring out how to remove the battery case. Whoever designed this deserves credit!
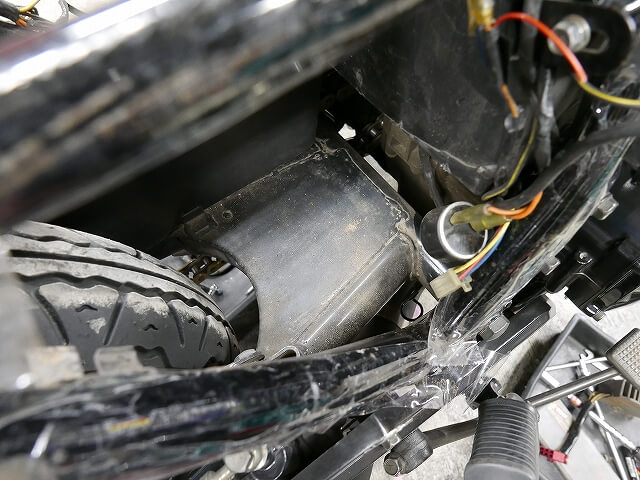
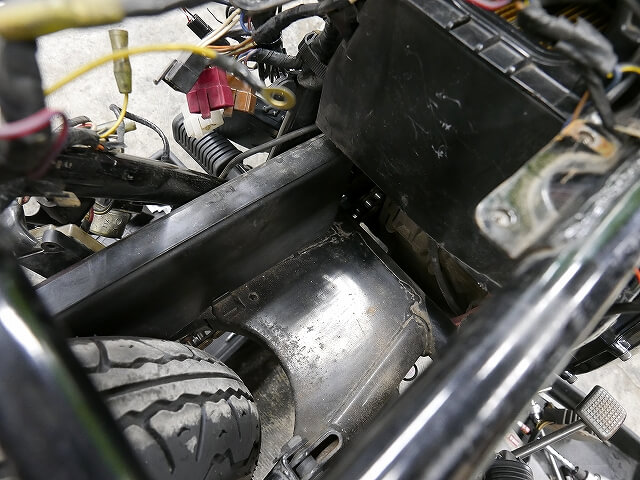
It was dusty, so I gave it a light cleaning. It’s a good idea to keep the harness and related parts untouched and clean.
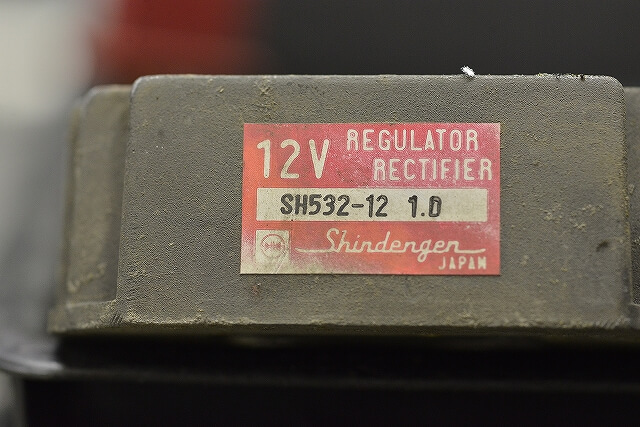
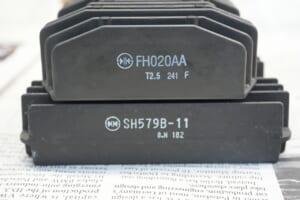
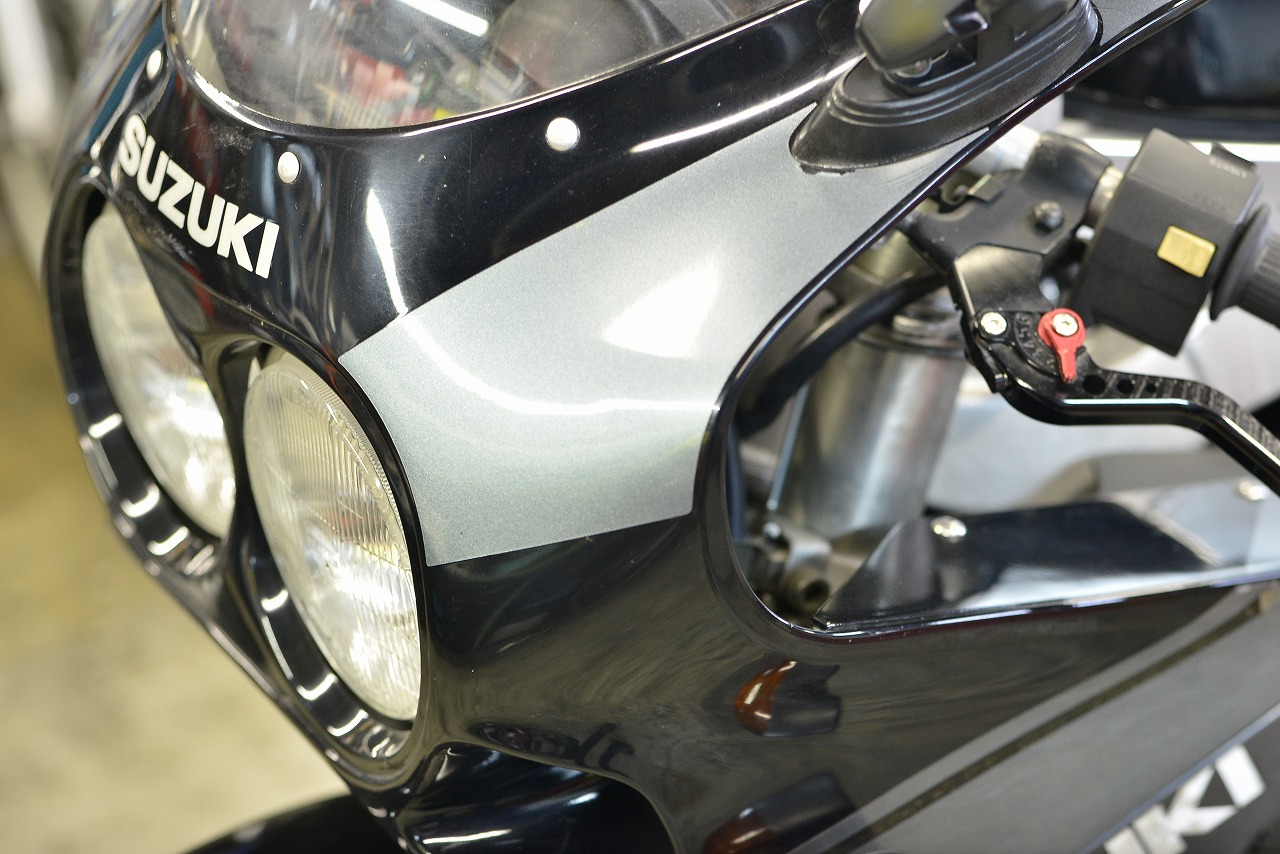
The old logo has a certain charm to it. The design really captures that spirit of catching up to and surpassing overseas makers.
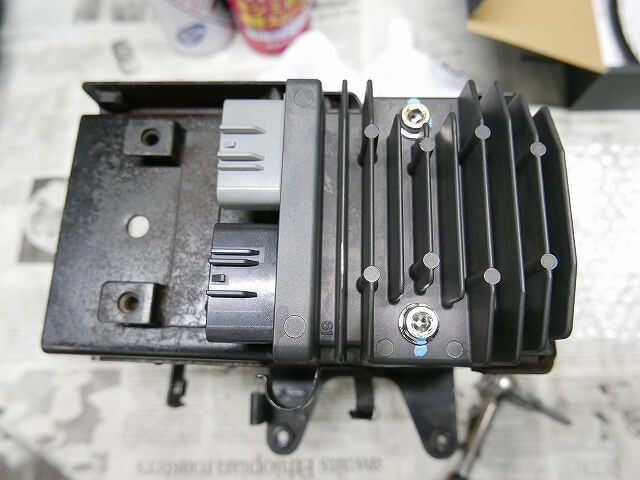
I’m going to install it contrary to the instructions. Normally it should be mounted toward the chain side using the included bracket. Since I’m reversing the orientation and it’s a custom part, I was worried the harness might not be long enough—but it was, so I’ll mount it directly like the standard version. The pitch doesn’t quite match, so I’m a bit embarrassed to admit I used an air saw with a file attachment to create an elongated hole.
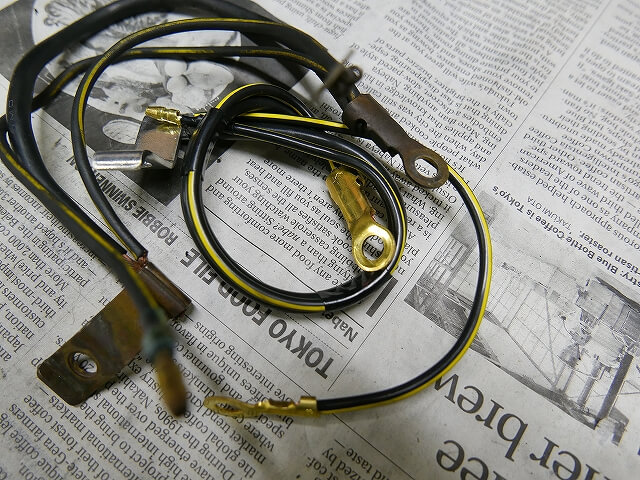
While we’re at it, let’s replace the main ground wire too. That’s definitely going to make a difference!
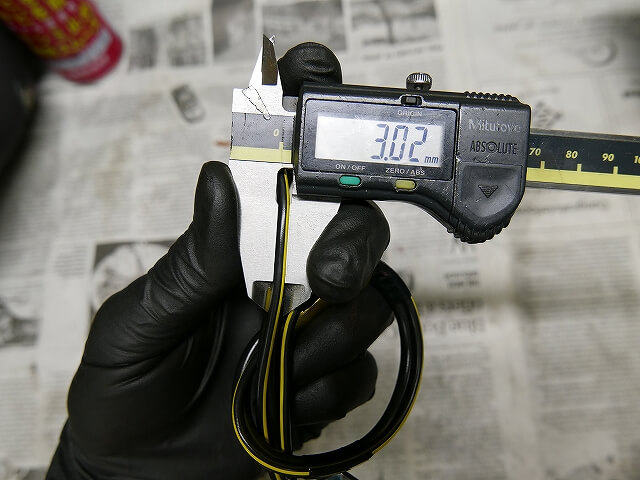
It’s a bit thicker than 2 square millimeters. The wire connecting to the battery is thick, but upstream it’s basically just this one wire.
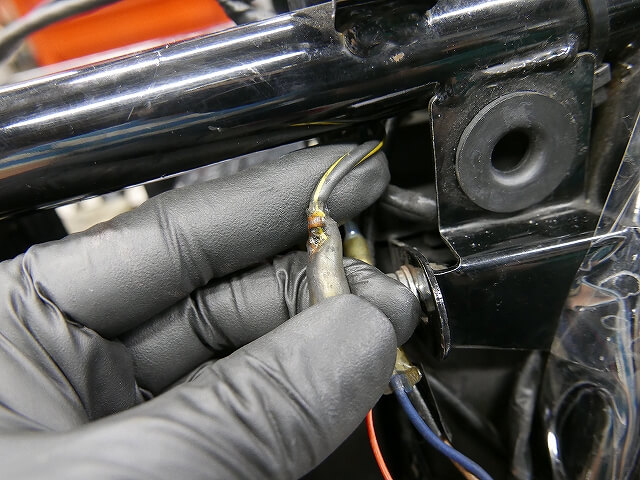
It had melted. That explains why the headlight was so dim.
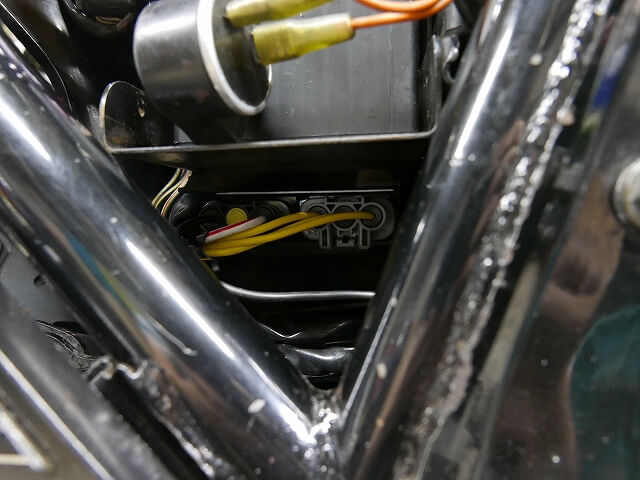
The wiring is nice and loose, which is reassuring.
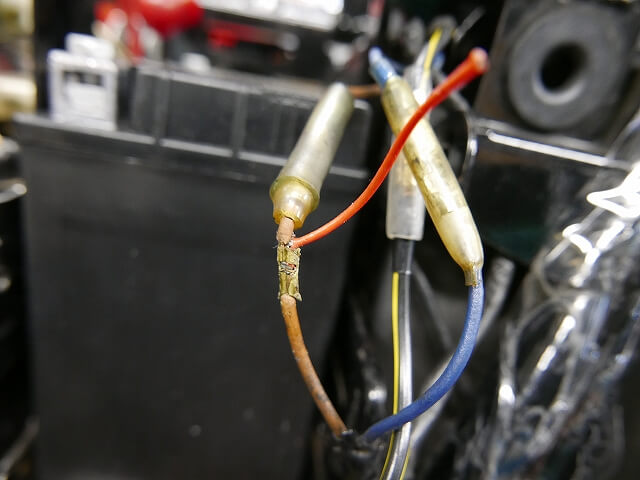
Well, the ETC power is being drawn in a somewhat questionable way, so I’ll fix that later.
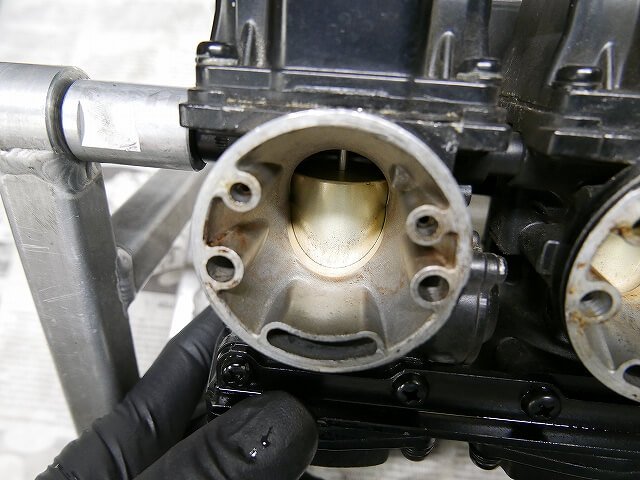
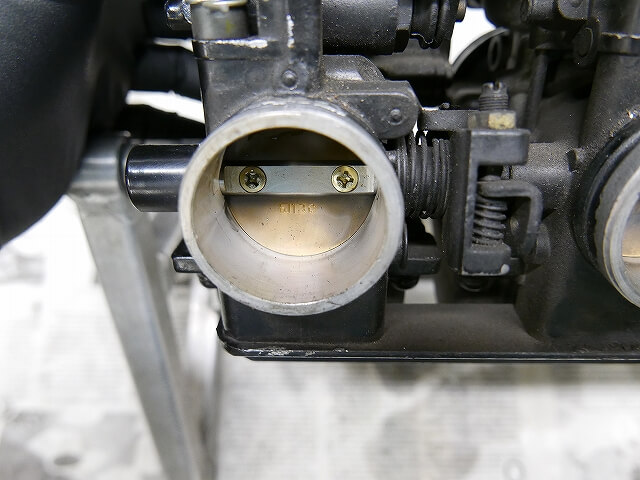
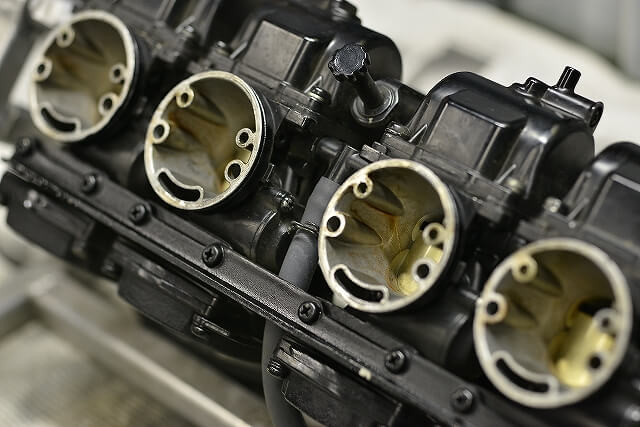
The carburetor exterior isn’t too dirty. Part of that is because it’s black, but…
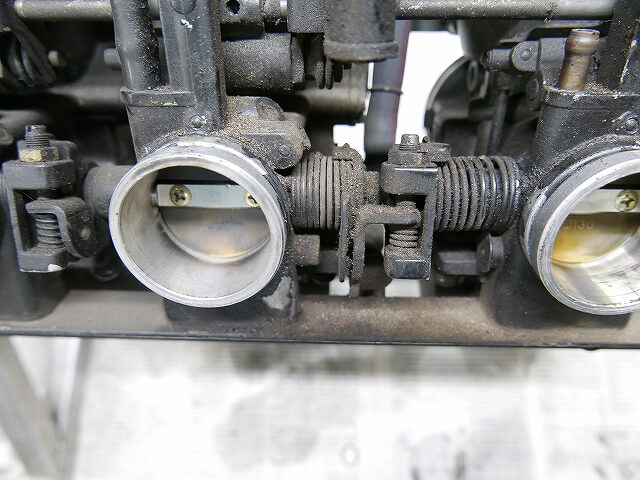
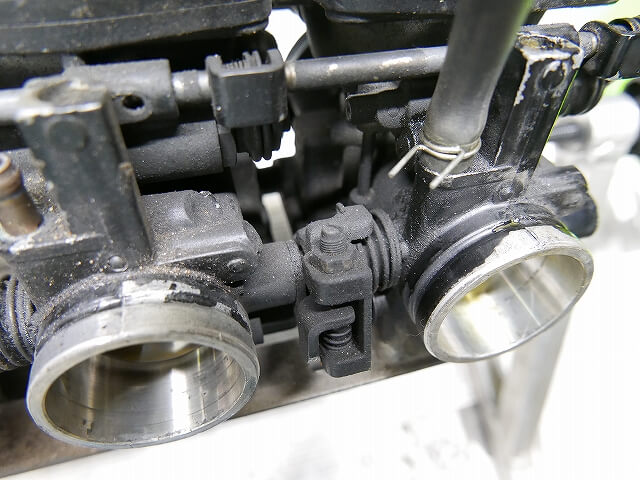
Since I’m not taking it completely apart this time, it’s less stressful. Vacuum carburetor repair parts are only available in minimal quantities. If I disassembled it and something unexpected happened, I couldn’t just quietly put the lid back on—so I have to be careful.
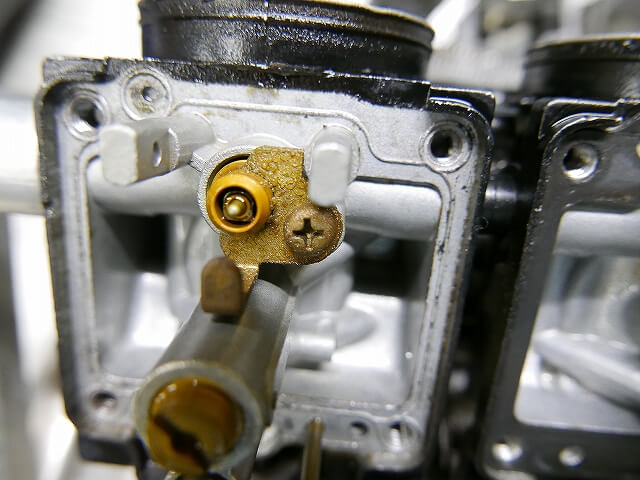
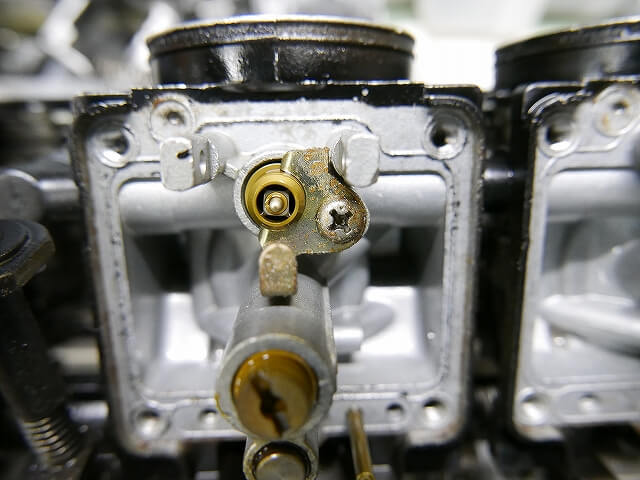
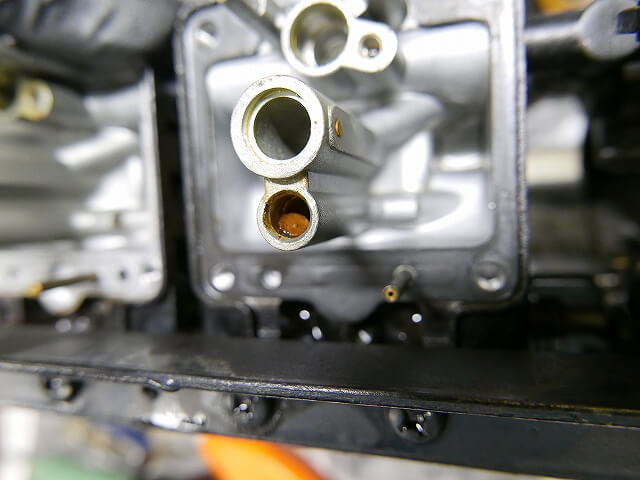
It had corrosion, rust, and the pilot jet clogged. I’ll clean it and reassemble it tomorrow.